
If your energy bills climb every winter and your attic feels like an oven every July, your roof insulation is probably underperforming. The good news is that upgrading it doesn’t have to mean a five-figure renovation. There are genuinely budget friendly roof insulation options that Toronto homeowners can install this season, several of which pay for themselves within a few winters through lower heating and cooling costs.
This guide walks through 8 top picks for insulating a roof or attic on a budget, from do-it-yourself blanket batts to professional-grade blown-in cellulose. We’ll cover real GTA pricing, R-values, installation difficulty, and where each option makes the most sense — whether you have a century-home attic in the east end or a 1990s bungalow in Mississauga. We’ll also flag where insulation choices intersect with ventilation, roof deck condition, and ice damming, since in our climate those three things are never really separate problems.
Before you buy anything, it helps to understand what “budget friendly” actually means here. It doesn’t mean cheapest-possible material — it means the best return per dollar for a Toronto winter, where attics regularly see swings from -20°C to +30°C across the year. An insulation choice that saves you $40 upfront but lets moisture accumulate in the roof deck can cost thousands in rot repair later. Every option below is budget-conscious and proven to hold up in our climate.
Why Roof Insulation Matters More in the GTA Than People Think
Toronto sits in a climate zone that swings hard between extremes. Statistics Canada and Environment Canada data both show the GTA averaging over 4,000 heating degree days annually, plus a genuinely hot, humid summer stretch. That combination means your attic and roof assembly are working overtime year-round: holding heat in during January, and keeping heat out during a July heat dome.
Poor or aging insulation shows up in a few predictable ways: ice dams forming along the eaves in February, upstairs bedrooms that never cool down in summer, and a furnace or AC unit that runs constantly without ever quite catching up. If you’ve ever noticed icicles hanging in sheets off your roofline while your neighbour’s roof stays clear, that’s almost always a heat-loss problem, not a roofing problem — warm air escaping through an under-insulated attic melts snow on the roof deck, which refreezes at the colder eave and backs up under your shingles.
Because insulation problems often masquerade as roofing problems, it’s worth having someone look at your attic insulation and ventilation together rather than treating them as separate projects. A roof replacement without addressing insulation just repeats the same ice-damming cycle on the new shingles.
What “R-Value” Actually Means for Your Budget
R-value measures resistance to heat flow — higher R-value means better insulating performance per inch of material. The Ontario Building Code recommends a minimum of R-60 for attic insulation in most GTA municipalities, though many older homes sit at R-20 or lower. Getting from R-20 to R-60 sounds expensive, but because you’re often just adding a top-up layer over existing insulation rather than starting from scratch, the incremental cost is usually far lower than a first-time install.
Here’s a quick comparison of R-value per inch across common budget materials, which is the number that actually determines how much you need to buy:
| Insulation Type | R-Value per Inch | Inches Needed for R-60 | Approx. Cost per sq ft (material only) |
|---|---|---|---|
| Fibreglass batt | R-2.9 to R-3.8 | 16-20 in. | $0.55 – $0.90 |
| Blown-in fibreglass | R-2.2 to R-2.7 | 22-27 in. | $0.45 – $0.75 |
| Blown-in cellulose | R-3.2 to R-3.8 | 16-19 in. | $0.55 – $0.95 |
| Mineral (rock) wool batt | R-3.0 to R-4.2 | 14-20 in. | $0.70 – $1.10 |
| Rigid foam board (XPS/EPS) | R-4.5 to R-5.0 | 12-13 in. | $1.20 – $2.10 |
| Spray foam (open-cell) | R-3.5 to R-3.8 | 16-17 in. | $1.50 – $2.50 |
| Spray foam (closed-cell) | R-6.0 to R-7.0 | 9-10 in. | $2.50 – $4.00 |
Notice that a higher price per square foot doesn’t automatically mean a worse deal — closed-cell spray foam costs more per foot but needs far less thickness to hit code, and it also acts as an air and vapour barrier, which the batt and blown-in options don’t. That said, for most existing attics with usable joist depth, cellulose and fibreglass remain the cheapest way to hit R-60.
8 Budget-Friendly Roof Insulation Options, Ranked by Value
Below are the 8 options we recommend most often to GTA homeowners working with a defined budget, roughly ordered from lowest upfront cost to higher-cost-but-higher-performance choices.
1. Blown-In Cellulose
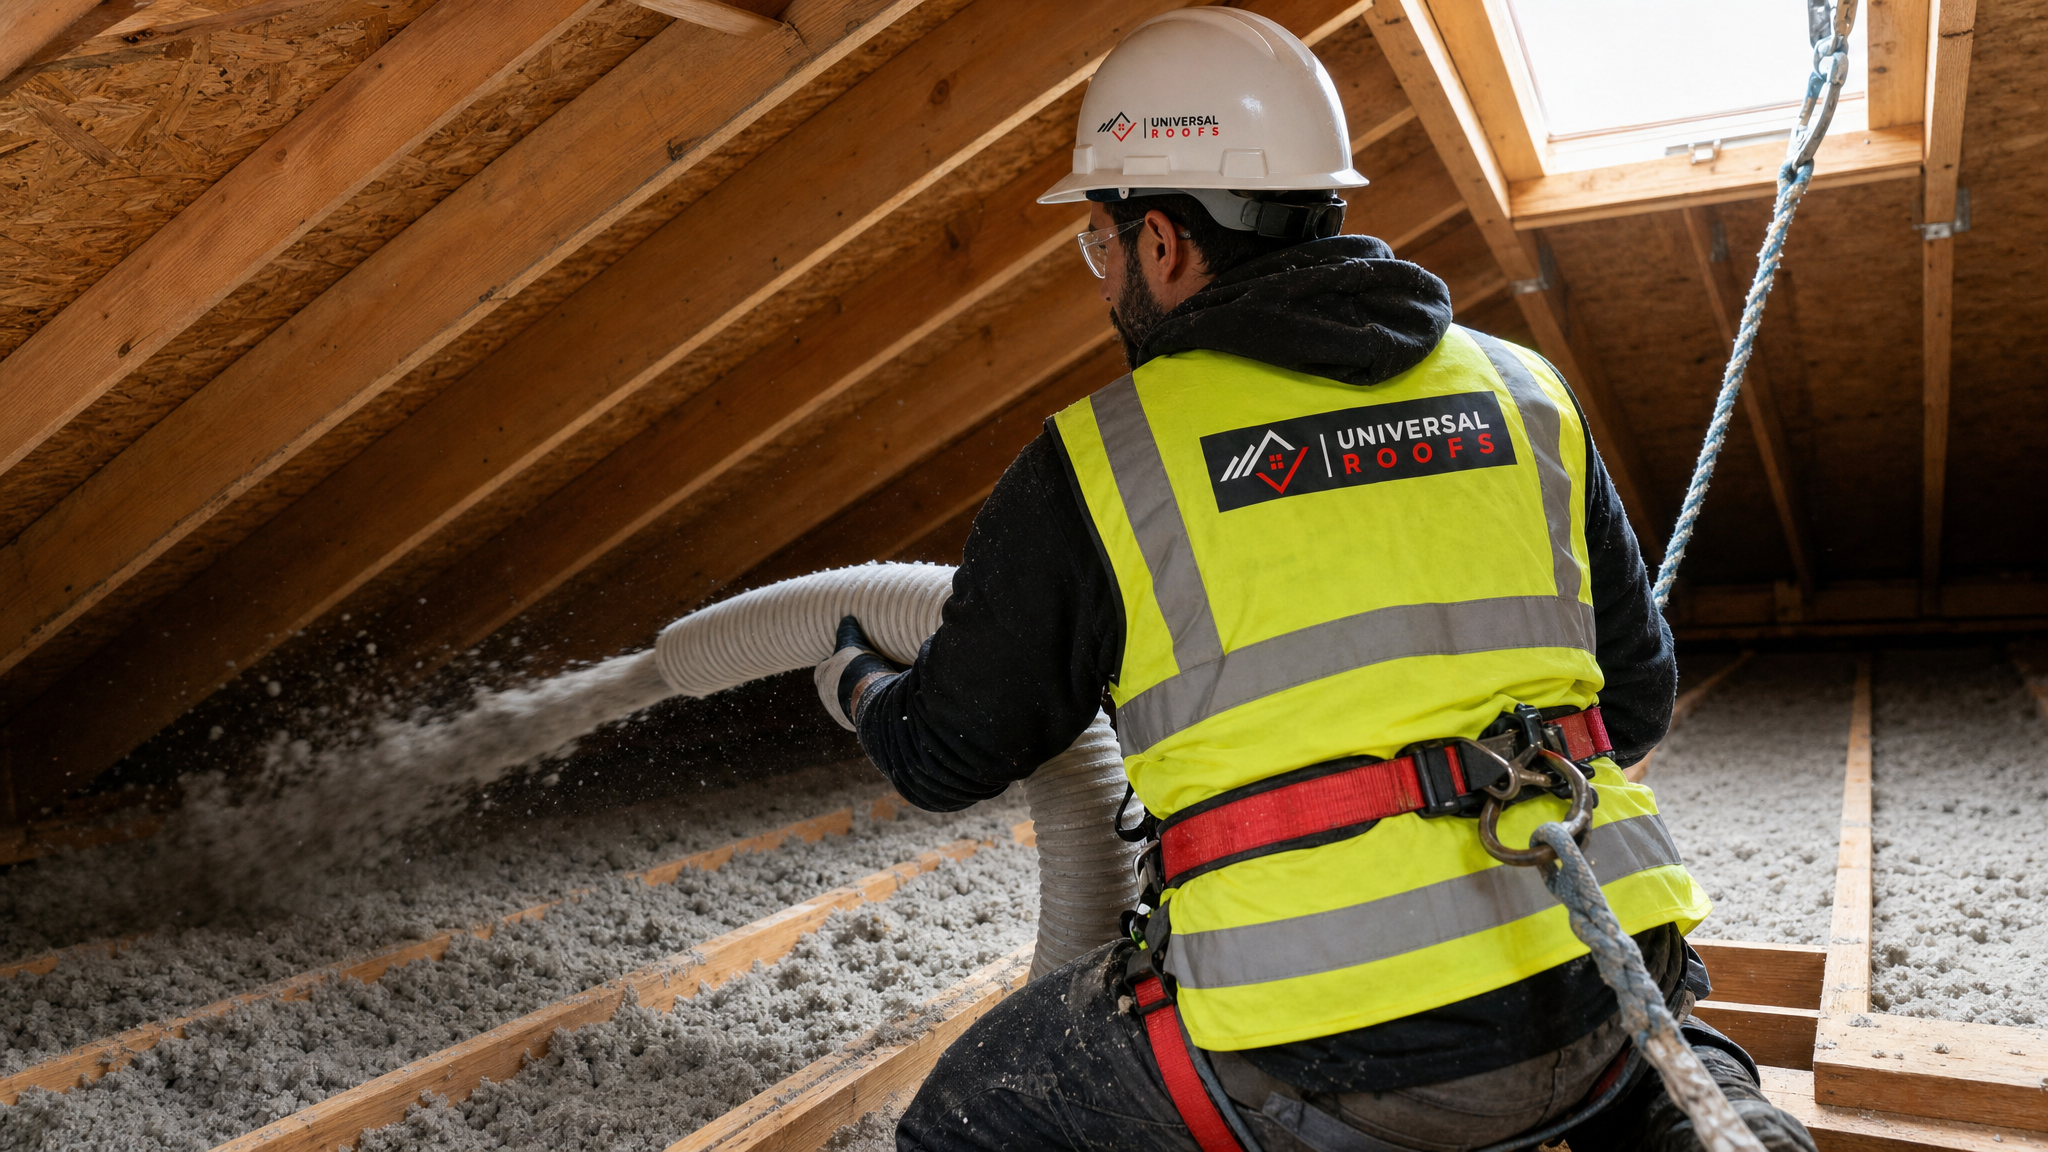
Cellulose is recycled, treated paper fibre blown into the attic with a machine. It’s our top pick for budget-conscious top-ups because it fills every gap and crevice around joists, pot lights, and wiring — something batts can’t do as well. It settles slightly over time (5-15%), so a slightly thicker initial application is worth the extra bag.
2. Fibreglass Batts
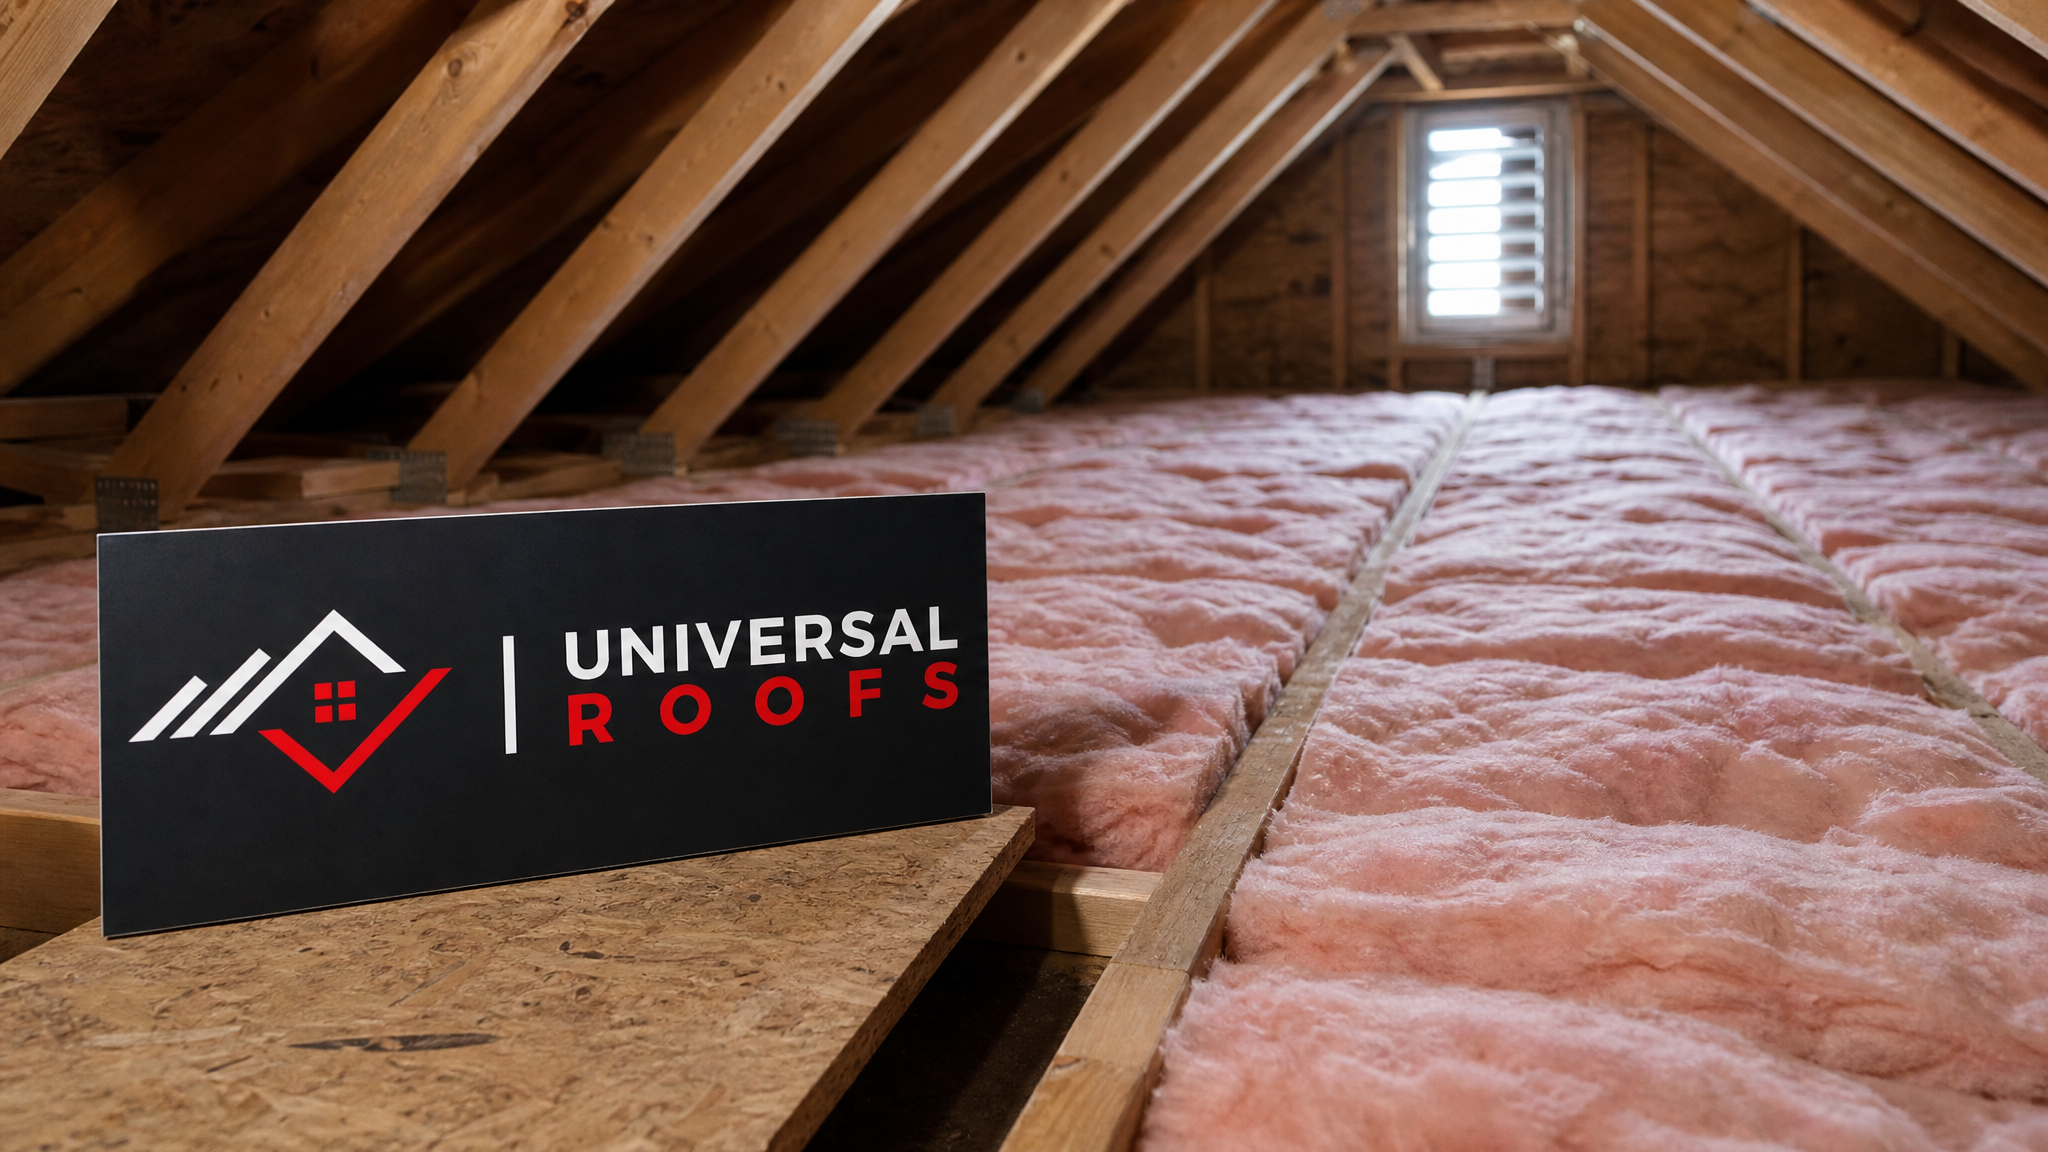
The classic pink or yellow rolls. Batts are the easiest option for a confident do-it-yourselfer to install in an open attic with standard joist spacing, and material costs are low. The catch is that batts perform poorly around irregular framing, pot lights, and hatch openings — any gap is a thermal bypass that lets warm air straight through.
3. Blown-In Fibreglass
Similar application method to cellulose but using loose-fill fibreglass. It’s slightly less dense and settles less, but has a marginally lower R-value per inch. A good choice if a homeowner has a mild paper-dust or fire-rating preference over cellulose, though cellulose is treated with borate and is not a significant fire risk.
4. Mineral (Rock) Wool Batts
More expensive than fibreglass but naturally fire-resistant, water-repellent, and a better sound dampener. Popular for homeowners insulating a finished attic knee wall or a roof deck near a chimney where fire rating matters.
5. Rigid Foam Board Over Roof Deck (Above-Sheathing Insulation)
Used mostly during a roof replacement rather than a standalone project, rigid foam boards go directly over the roof deck before new shingles go down. This is the most efficient way to add continuous insulation without touching the attic at all, and it eliminates thermal bridging through the rafters — but it only makes financial sense when you’re already re-roofing, since tearing off good shingles just to add foam isn’t budget-friendly on its own.
6. Reflective (Radiant Barrier) Insulation
A foil-faced product installed under the roof deck that reflects radiant heat rather than slowing conductive heat flow. It’s inexpensive and genuinely effective at reducing summer attic temperatures, but it does very little for winter heat retention on its own. Best used as a supplement to batt or blown-in insulation, not a replacement.
7. Open-Cell Spray Foam
A step up in cost, open-cell spray foam expands to fill every gap and also air-seals the attic in one step, which cuts down on the “top-up” work needed elsewhere. It costs more than batts or blown-in loose fill but reduces labour since sealing and insulating happen simultaneously.
8. Closed-Cell Spray Foam (Targeted Application)
The most expensive per square foot, closed-cell foam is rarely the right choice for a whole attic on a tight budget, but it’s an excellent, cost-effective spot solution for problem areas — around a bathroom fan chase, a skylight shaft, or a knee wall where ice damming has been chronic. Spending more on the 10% of the attic causing 90% of the heat loss is often the smartest budget move of all.
Cost Comparison: What Homeowners Actually Pay in the GTA
Material cost is only part of the picture — labour, attic access, and existing insulation removal all affect the final invoice. Here’s a realistic range for a typical 1,200-1,500 sq ft attic top-up or fresh install in the Toronto area, based on jobs we’ve quoted across Toronto, Peel, York, Halton, and Durham:
| Project Type | Typical Total Cost (Materials + Labour) | Timeline | Best For |
|---|---|---|---|
| Blown-in cellulose top-up (existing insulation present) | $1,200 – $2,200 | Half day | Bringing an under-insulated attic up to R-60 code minimum |
| Fibreglass batt DIY install (open, unfinished attic) | $600 – $1,400 (material only, self-installed) | 1-2 days DIY | Handy homeowners with simple, unobstructed joist bays |
| Full blown-in fibreglass or cellulose (from bare joists) | $2,000 – $3,800 | Full day | New builds or attics with old, degraded insulation removed |
| Open-cell spray foam (full attic) | $4,500 – $8,500 | 1-2 days | Combined air sealing and insulating in one pass |
| Targeted closed-cell foam (problem areas only) | $400 – $1,500 | Half day | Fixing chronic ice dam or cold-spot locations |
A useful rule of thumb: if your existing insulation is less than 15 years old, dry, and evenly distributed, a top-up is almost always cheaper and just as effective as a full tear-out and reinstall. Removal costs (bagging and hauling old, compressed insulation) can add $500-$1,000 to a job for little performance gain, unless there’s evidence of moisture damage, pest activity, or mould.
Signs Your Attic Insulation Needs an Upgrade
You don’t need to climb into your attic with a tape measure to get a sense of whether an upgrade is worthwhile. Watch for these signs over a full year:
- Uneven snow melt on the roof — patches of bare roof next to snow-covered sections in winter mean heat is escaping unevenly through the attic.
- Ice dams or icicles along the eaves — a classic sign of warm attic air melting roof snow that then refreezes at the colder overhang.
- Rooms that are hard to heat or cool — especially top-floor bedrooms that lag several degrees behind the rest of the house.
- Visible daylight or drafts from the attic hatch — a sign of poor air sealing, which insulation alone won’t fully solve.
- Rising heating and cooling bills without a change in usage habits, especially compared to similar-sized homes nearby.
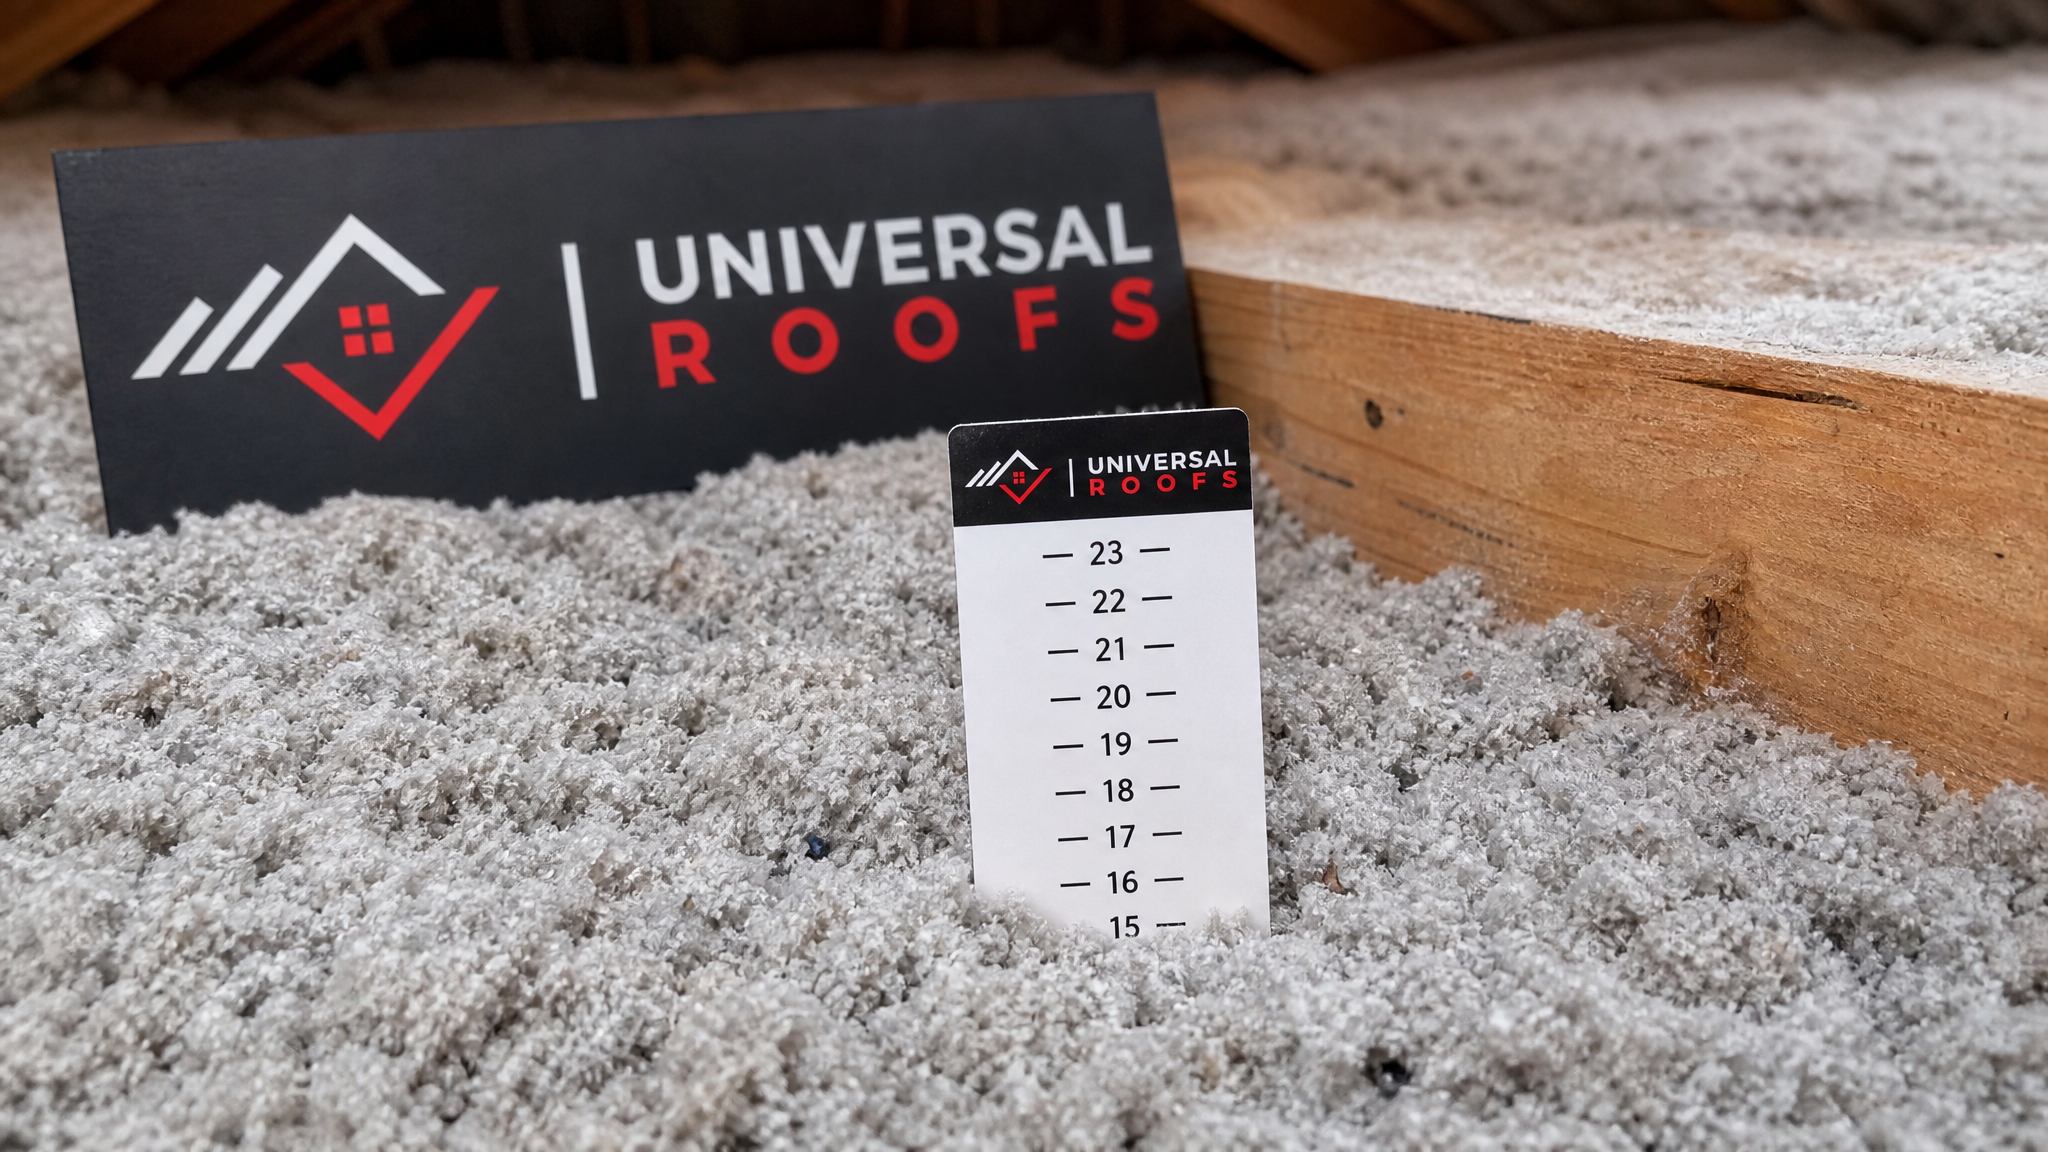
- Insulation that looks compressed, discoloured, or thin — anything under 12 inches deep in most attics is a strong sign you’re below current code recommendations.
If any of these sound familiar and you’re not sure whether the root cause is insulation, ventilation, or the roof itself, it’s worth having a professional look at the whole assembly rather than guessing. Sometimes a $300 bathroom fan duct fix solves what looks like an insulation problem.
DIY vs. Professional Installation: Where the Line Sits
Fibreglass batt installation in an open, accessible attic with standard joist spacing is genuinely doable for a reasonably fit homeowner with a weekend free. Blown-in insulation, on the other hand, requires renting or borrowing an insulation blower, and getting even coverage takes practice — uneven blowing leaves thin spots that undercut your R-value exactly where you need it most.
Spray foam of any kind should not be a DIY project. It requires specific temperature and humidity conditions to cure properly, off-gasses during application, and improperly mixed foam can shrink, crack, or fail to adhere. This is squarely professional territory.
Here’s a quick breakdown of what’s realistic to tackle yourself versus what to hand off:
| Task | DIY-Friendly? | Main Risk if Done Poorly | Recommended Approach |
|---|---|---|---|
| Laying fibreglass batts in open joist bays | Yes, for most homeowners | Compressed batts lose R-value; gaps left around edges | DIY with careful measuring, or hire for large attics |
| Blowing in loose-fill cellulose or fibreglass | Possible, but uneven results common | Thin spots, incorrect depth, missed baffles at eaves | Rent equipment for small jobs; hire pro for whole-attic jobs |
| Installing baffles/vent chutes near eaves | Yes, moderate skill needed | Blocked soffit ventilation causes moisture buildup | DIY if comfortable in tight attic spaces |
| Spray foam application (open or closed-cell) | No | Poor cure, off-gassing, adhesion failure, code violations | Licensed professional only |
| Rigid foam over roof deck | No, tied to reroofing | Improper fastening, moisture trapped under new shingles | Professional, during roof replacement only |
Don’t Forget Ventilation — It’s Half of the Equation
Insulation and ventilation work as a team. Adding insulation without maintaining clear airflow from soffit to ridge can trap moisture in the attic, leading to mould, wood rot, and reduced insulation performance over time — moist insulation loses much of its R-value. Before adding any new insulation, make sure soffit vents aren’t blocked by existing material and that baffles are installed to maintain a clear air channel.
This is also the point where insulation projects most often reveal roofing issues that were hiding underneath — soft roof decking, rusted flashing, or a skylight that’s been letting moisture into the insulation for years. If your project touches a skylight shaft, it’s worth having the unit itself inspected; sometimes what looks like an insulation failure around the shaft is actually a case for skylight replacement rather than more insulation.
Making the Right Choice for Your Budget This Summer
Summer is actually the ideal season for attic insulation work in the GTA — the attic space is dry, there’s no snow load to worry about, and contractors typically have more flexible scheduling than in the fall rush before winter. If you’re planning to tackle this before the next heating season, here’s a simple decision path:
- If your existing insulation is thin but otherwise healthy, a blown-in cellulose top-up is almost always the best value.
- If you’re comfortable doing physical work in a hot attic and have simple, open joist bays, fibreglass batts save on labour costs.
- If you have chronic ice damming in one specific area, spend your budget on targeted closed-cell spray foam there rather than redoing the whole attic.
- If you’re already planning a roof replacement, ask about adding rigid foam board above the deck while the roof is already open.
- If summer heat is your bigger complaint than winter cold, a reflective radiant barrier paired with your existing insulation offers a lot of value for relatively little cost.
Whichever option fits your home, getting an honest, no-pressure assessment first is worth more than any single product choice. We’ve walked homeowners across Toronto, Peel Region, York Region, Halton Region, and Durham Region through exactly this decision, and the right answer depends heavily on your attic’s current condition, not just a product’s marketing.
What are the most budget friendly roof insulation options for a Toronto attic?
How much does it cost to insulate a roof or attic in the GTA?
Can I install budget friendly roof insulation myself?
What R-value do I need for roof insulation in Toronto?
Does adding roof insulation help with ice dams?
Is it better to top up old insulation or remove it and start fresh?
Need Help With Budget Friendly Roof Insulation?
Choosing between these 8 options is easier with a second set of eyes on your specific attic. The team at Universal Roofs has been assessing GTA attics and roofs since 2005, and we can tell you quickly whether a simple top-up, a targeted spray foam fix, or a full reinsulation makes the most financial sense for your home.
Call us today at (416) 732-2421 or request a free inspection to get started.
Universal Roofs proudly serves Toronto, Mississauga, Brampton, Vaughan, Markham, Oakville and the GTA since 2005.