
When a Toronto summer heat wave settles in and the attic feels like an oven by mid-afternoon, most homeowners blame the air conditioner. In reality, the roof and the insulation beneath it are usually doing most of the damage. A poorly insulated roof assembly can push attic temperatures past 60°C on a hot July afternoon, and that heat radiates straight down into living spaces, forcing cooling systems to work overtime.
The good news is that Universal Roofs has spent almost two decades helping GTA homeowners solve exactly this problem, and the fixes are not exotic. They are practical, well-understood building science techniques that any licenced contractor can install correctly. This guide walks through seven efficient roof insulation tips for hot climates, tailored to the humid summers and freeze-thaw winters that define our region, so you get a roof that performs well in July and January alike.
We will cover ventilation, insulation materials, reflective roofing, air sealing, radiant barriers, insulation depth, and skylight upgrades — the seven levers that make the biggest difference in a Toronto-area attic. Along the way we will reference real cost ranges, R-value targets, and troubleshooting steps so you can plan the work with confidence.
1. Balance Intake and Exhaust Ventilation First
Before adding a single bag of insulation, fix the airflow. Attic ventilation and insulation work as a team — insulation slows heat transfer into the living space, while ventilation flushes out the hot air that builds up above it. Skip the ventilation step and even premium insulation will underperform, because the attic keeps acting like a greenhouse that slowly bakes your roof deck and shingles from below.
The building science principle here is called the intake-to-exhaust ratio. Cooler air needs to enter low, at the soffits, and warm air needs to exit high, at a ridge vent or roof-mounted exhaust vents. When intake is blocked by paint, insulation, or debris, exhaust vents simply pull air backward from wherever they can find it, sometimes from the living space itself through can lights and attic hatches. That defeats the purpose entirely and can actually pull conditioned, humid indoor air into the attic, worsening condensation problems in winter.
For most GTA homes, a continuous ridge vent paired with continuous soffit vents delivers the most even airflow across the entire roof deck. Older homes with box vents or turbine vents can still perform well if the total net free area is sized correctly and intake is not restricted. A qualified inspection through our attic services can measure your current ventilation and tell you whether you are undervented, which is extremely common in homes built before 1995.
| Ventilation Type | Best For | Typical Install Cost (CAD) | Notes |
|---|---|---|---|
| Continuous ridge vent | Gable and hip roofs with a clear ridge line | $400 – $900 | Most even airflow; pairs with soffit intake |
| Soffit vents (continuous strip) | Nearly all roof types | $300 – $700 | Must stay unblocked by insulation |
| Box vents (static) | Roofs without a usable ridge | $150 – $350 per vent | Needs several units for adequate coverage |
| Powered attic fan | Homes with persistent heat buildup | $450 – $1,100 | Should be thermostat controlled, not always-on |
| Turbine vent | Windy, exposed properties | $150 – $300 per unit | Performance drops on calm summer days |
2. Choose the Right Insulation Material for Summer Heat
Not all insulation behaves the same way in hot, humid conditions. The material you choose affects both summer cooling performance and how the assembly manages moisture through a Toronto winter, so this is not a decision to make on price alone.
Blown-in fibreglass and cellulose remain the most common choices for attic floors because they are affordable, install quickly, and reach an R-value of R-50 to R-60 without excessive weight. Cellulose has a slight edge in dense-pack applications because its higher density slows convective air movement within the insulation layer, which matters more than most homeowners realize — convection currents inside loose-fill insulation can quietly rob 10 to 20 percent of its rated performance on hot, sunny roof decks.
Spray foam, particularly closed-cell spray polyurethane foam, is increasingly popular for homeowners converting an attic into conditioned space or insulating the roofline directly. Closed-cell foam creates an air barrier and a vapour barrier simultaneously, which is valuable in humid summer conditions because it prevents moisture-laden air from migrating into the assembly and condensing. The tradeoff is cost — spray foam typically runs two to three times the price per square metre of blown-in fibreglass.
Rigid foam board (polyiso or XPS) is the material of choice above the roof deck in a “hot roof” or continuous insulation assembly, often used during a full roof replacement when the deck is already exposed. Installing rigid insulation above the sheathing eliminates thermal bridging through the rafters entirely, which conventional batt insulation cannot do.
| Material | R-Value per 25mm | Moisture Performance | Best Application |
|---|---|---|---|
| Blown-in fibreglass | R-2.2 to R-2.7 | Good if air-sealed first | Open attic floors |
| Cellulose (dense-pack) | R-3.2 to R-3.8 | Very good; slows convection | Attic floors, wall cavities |
| Closed-cell spray foam | R-6.0 to R-6.5 | Excellent; built-in vapour barrier | Roofline, conditioned attics |
| Open-cell spray foam | R-3.6 to R-3.9 | Requires separate vapour control | Interior walls, some rooflines |
| Rigid polyiso board | R-5.7 to R-6.5 | Excellent above deck | Continuous insulation over sheathing |
3. Install a Reflective or Cool Roof Surface
Insulation slows heat that has already entered the roof assembly, but a reflective roofing surface reduces how much solar heat gets absorbed in the first place. This is called the “cool roof” approach, and it makes a measurable difference on the type of dark asphalt shingle roofs common across the GTA.
Standard dark shingles can reach surface temperatures of 65 to 80°C under direct July sun, while a light-coloured or reflective granule shingle can run 15 to 20 degrees cooler on the same afternoon. That temperature difference translates directly into less heat pushed through the roof deck and into the attic. Many manufacturers now offer Energy Star-rated shingles with reflective granules that maintain the traditional asphalt shingle appearance while improving solar reflectance.
For flat and low-slope sections, which are common on additions, garages, and older GTA homes, a reflective membrane makes an even bigger difference. Our flat roofing team regularly installs white or light grey TPO and PVC membranes that reflect a large share of incoming solar radiation rather than absorbing it, which keeps the deck below noticeably cooler and can extend membrane lifespan by reducing thermal cycling stress.
If a full roof replacement is not in the current budget, reflective roof coatings are a lower-cost interim option for flat and low-slope roofs, though they need reapplication every 5 to 10 years and are not a substitute for proper insulation.
4. Seal Air Leaks Before Adding More Insulation
Adding insulation on top of an air-leaky ceiling is one of the most common mistakes we see during attic inspections. Warm, humid indoor air escapes upward through gaps around pot lights, plumbing stacks, electrical penetrations, the attic hatch, and top plates. In summer this pushes cooled indoor air into the attic and lets attic heat radiate back down through those same gaps. In winter the same leaks cause warm moist air to condense on the cold underside of the roof deck, which can lead to mould and ice damming.
A proper air-sealing pass uses caulking, canned spray foam, and gasketed covers to close every penetration before insulation goes down. This step is inexpensive relative to the insulation itself but often has the single biggest impact on comfort and energy bills, because air leakage moves far more heat than conduction through the insulation layer alone.
Homeowners sometimes ask whether it is worth sealing an attic themselves versus hiring a professional. A blower-door-assisted inspection, which our crews use during larger insulation upgrades, can pinpoint leaks that are invisible to the eye, particularly around chimney chases, dropped soffits above kitchen cabinets, and knob-and-tube wiring penetrations common in older Toronto housing stock.
5. Add a Radiant Barrier Under the Roof Deck
A radiant barrier is a reflective foil layer, typically stapled to the underside of roof rafters or laid over existing insulation, that reflects radiant heat back toward the roof deck instead of letting it radiate down into the attic space. This is a distinct mechanism from conductive insulation, which is why radiant barriers are installed in addition to, not instead of, standard attic insulation.
Radiant barriers earn their keep specifically in hot, sunny climates, which makes them a genuinely useful addition for GTA summers even though our winters demand a heavier conductive insulation strategy as well. The most common installation method stretches perforated foil sheeting across the rafters with the reflective side facing down into the attic air space, leaving the required air gap that lets it work correctly.
Installation is straightforward for a professional crew and typically adds one to two days to a larger attic upgrade. Homeowners considering a DIY installation should be aware that the foil must be installed with the reflective face oriented correctly and with an air gap maintained, or the product provides little to no benefit. It should never be laid directly against the insulation, since that eliminates the air gap the reflection depends on.
6. Bring Attic Insulation Up to Current R-Value Targets
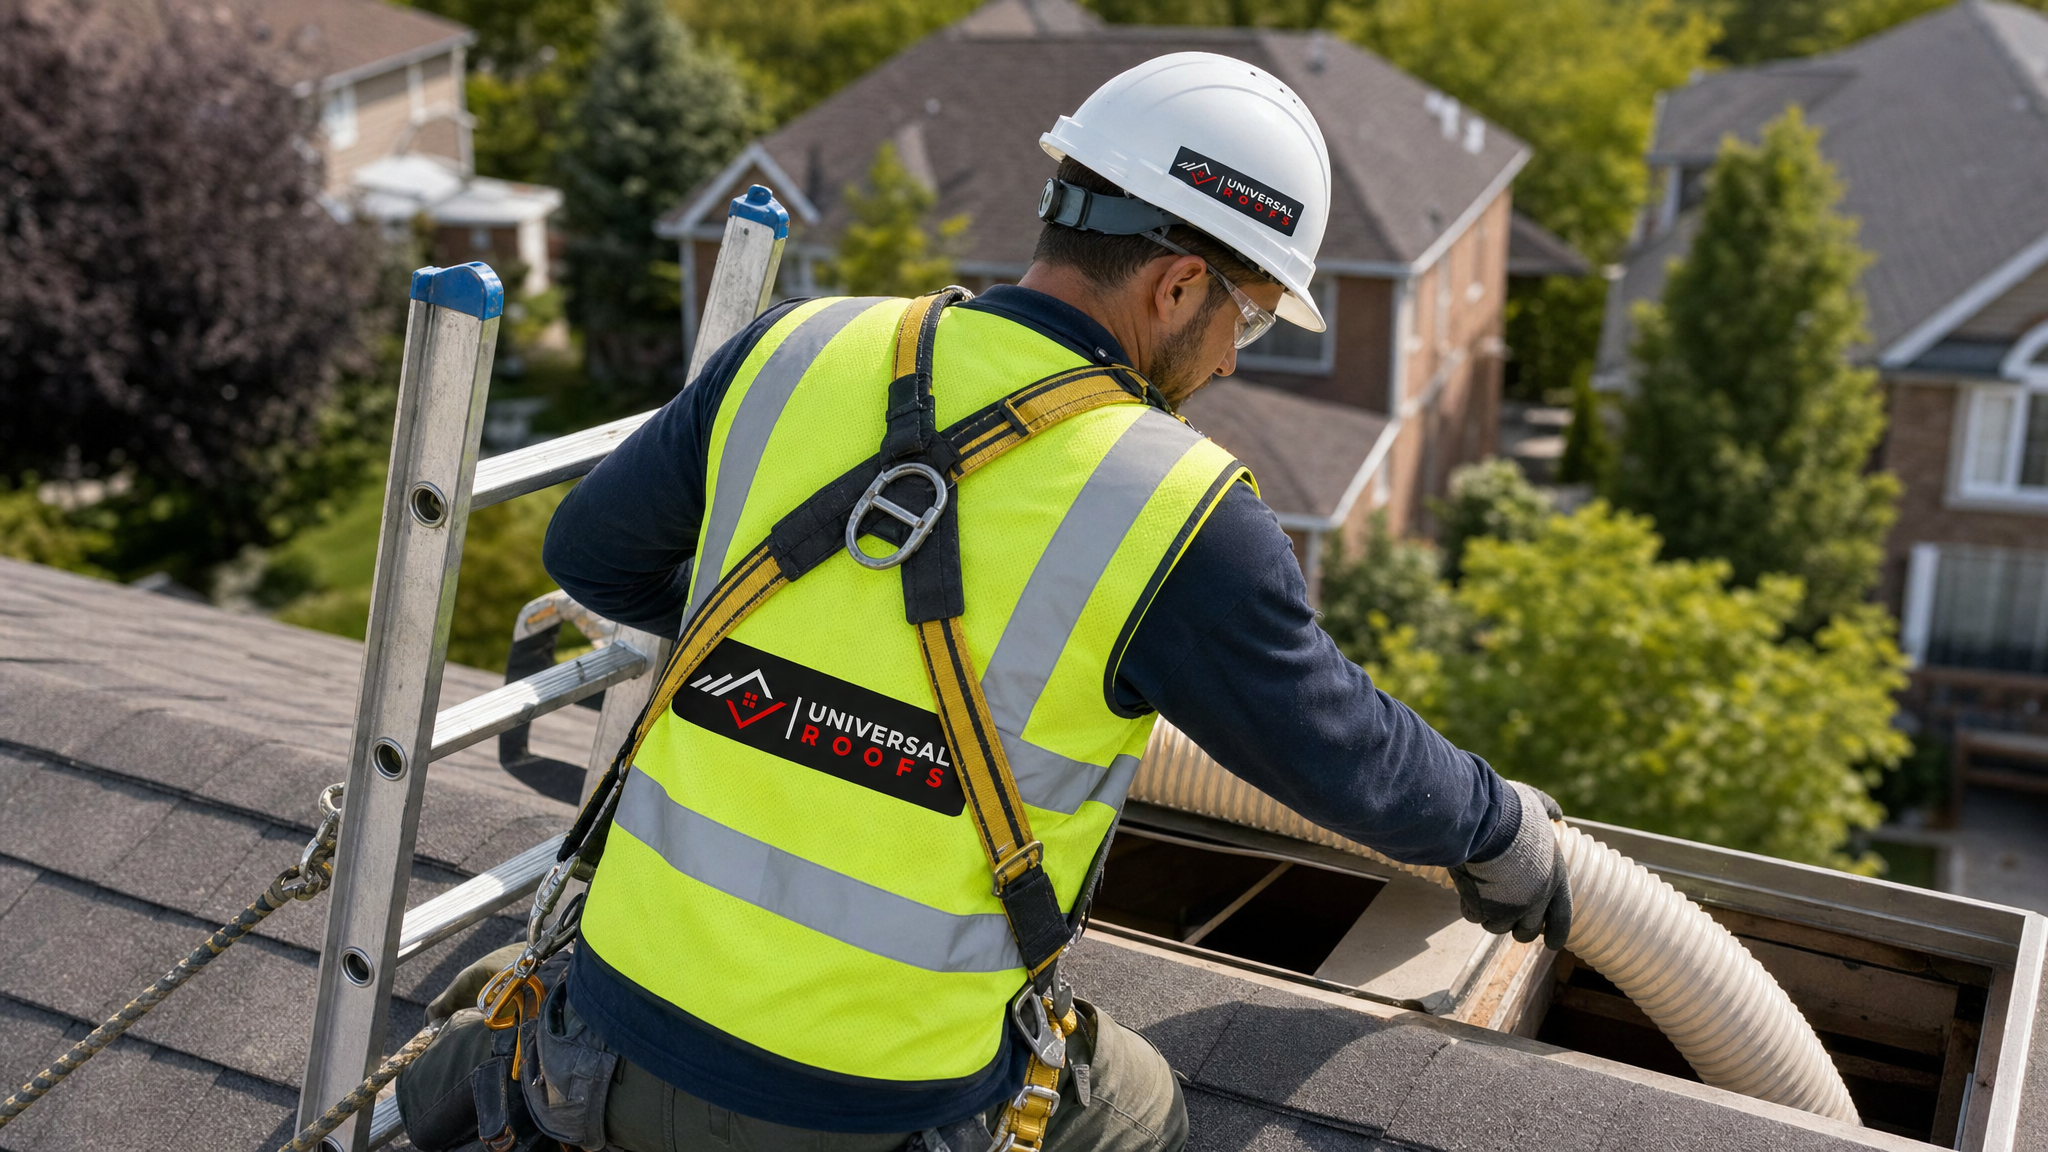
Ontario’s building code guidance for attic insulation in the Toronto climate zone calls for R-60 in the attic floor for new construction, though many existing homes were built to R-20 or R-30 standards decades ago and have never been topped up. If your attic insulation looks thin, patchy, or compressed in spots, it is very likely underperforming regardless of how good the ventilation or roofing above it is.
The fastest way to check is to measure the depth of your existing insulation at several points across the attic floor, since depth correlates directly with R-value for most blown-in materials. As a rough guide, 300mm of blown fibreglass gets you to roughly R-38, while 400 to 450mm reaches the R-50 to R-60 range recommended for our climate.
Topping up existing insulation is one of the more cost-effective upgrades available, since it does not require removing the old material in most cases — new insulation can simply be blown on top, provided the old layer is dry, mould-free, and not compressed by stored items. Attics used for storage should have raised platforms built above the insulation line rather than boxes sitting directly on top, which crushes the material and destroys its R-value in that section.
| Current Insulation Depth | Approx. R-Value | Recommendation | Priority |
|---|---|---|---|
| Under 150mm | R-19 or less | Top up immediately | High |
| 150mm – 250mm | R-20 to R-30 | Add 150-250mm more | High |
| 250mm – 350mm | R-30 to R-45 | Add 100-150mm more | Medium |
| 350mm – 450mm | R-45 to R-60 | Meets current target | Low |
| Over 450mm | R-60+ | No action needed | None |
7. Upgrade or Reseal Skylights, Which Are Common Heat and Leak Points
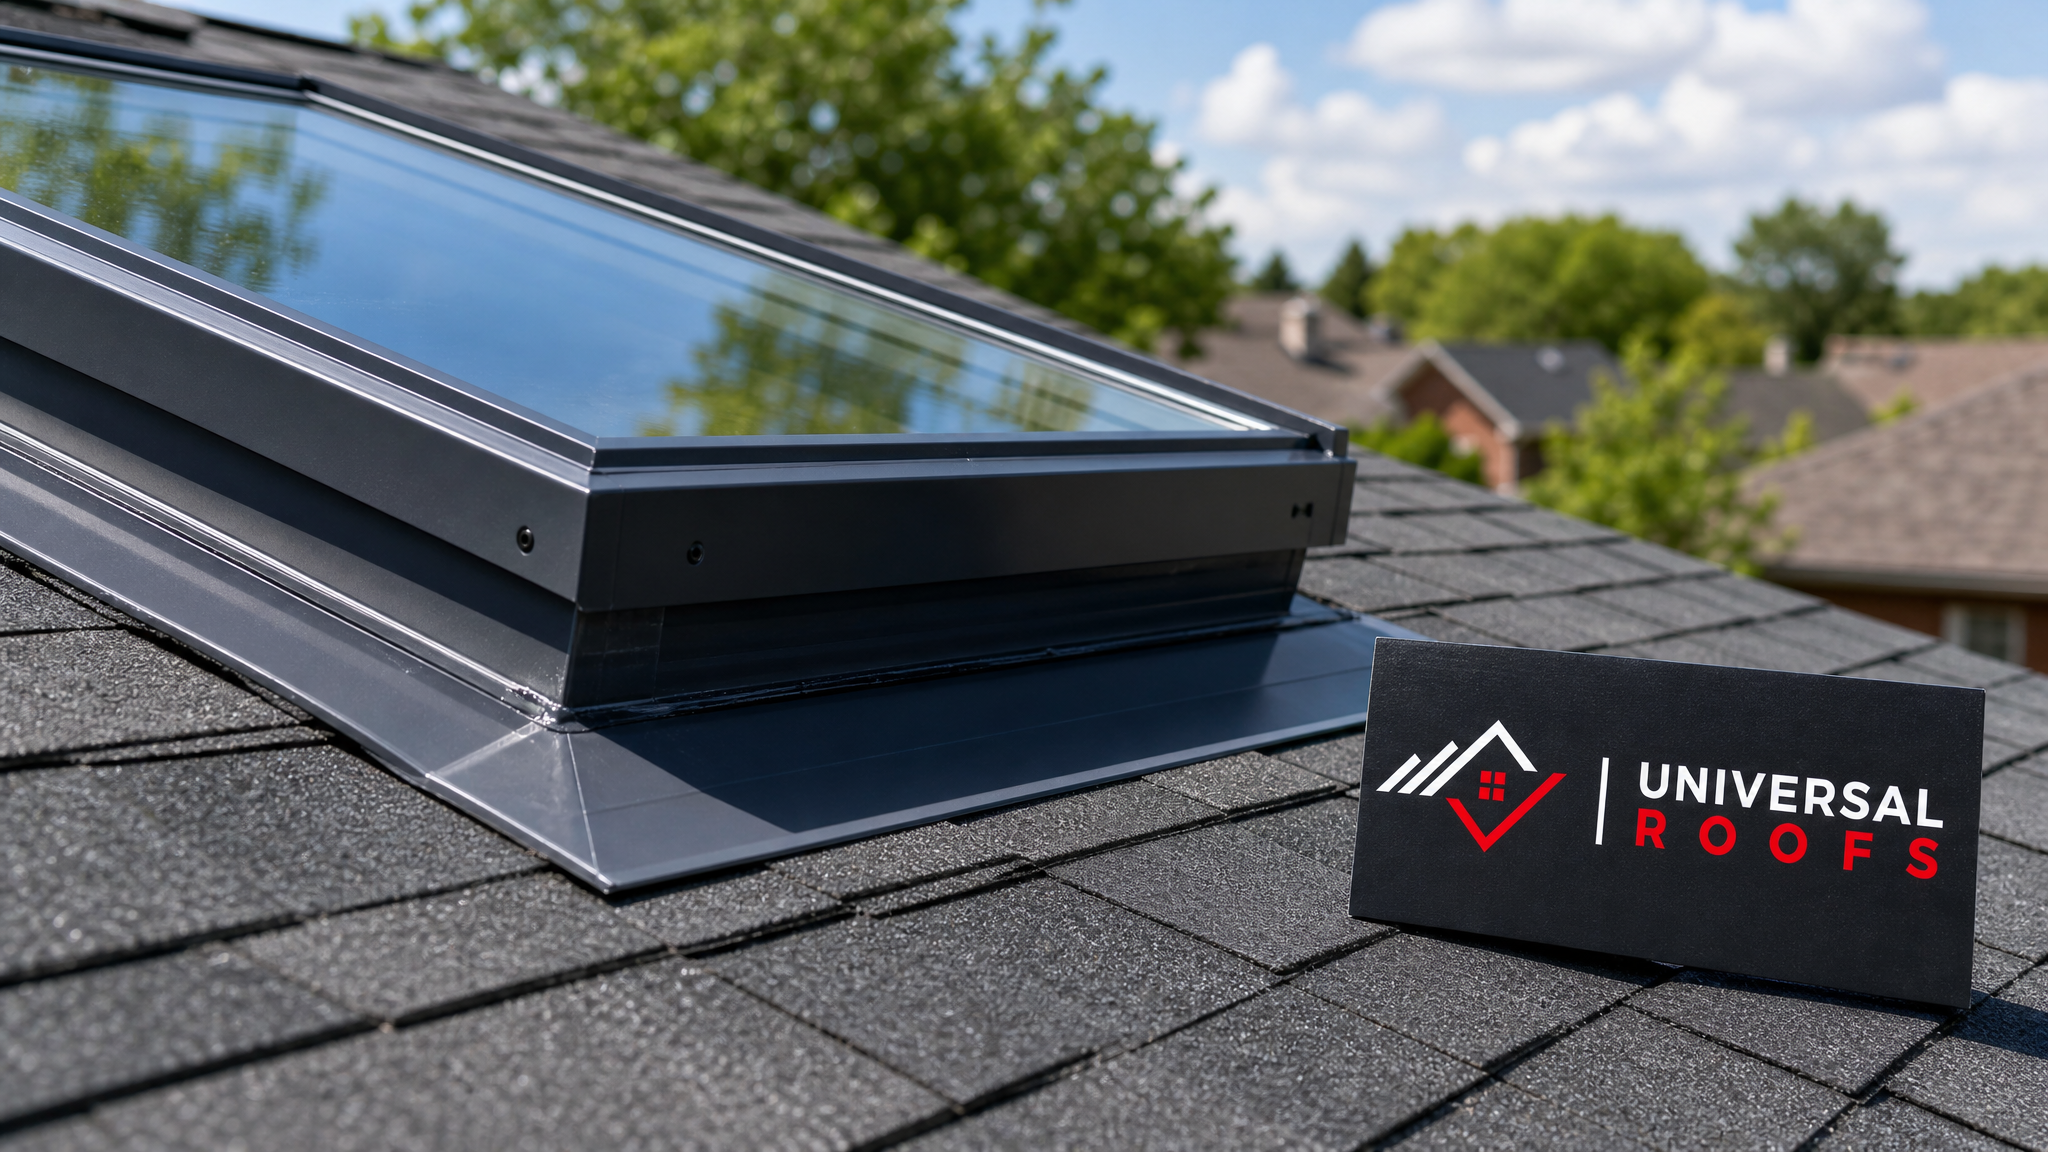
Skylights bring welcome natural light into a home, but older units are frequently the weakest point in an otherwise well-insulated roof. Single or older double-glazed skylight units, and flashing that has hardened or shifted over fifteen-plus years, can leak both air and water, undermining every other insulation improvement you make elsewhere on the roof.
Modern skylight units use double or triple glazing with low-E coatings and argon or krypton gas fills, dramatically reducing both summer heat gain and winter heat loss compared to units installed even a decade ago. If your existing skylights predate 2010 or show condensation between the panes, that is a clear sign the seal has failed and performance has dropped significantly. Our skylight replacement team can assess whether a full unit swap or a flashing and reseal job is the right call.
For homeowners considering adding natural light where none currently exists, our skylights page covers the current range of energy-efficient units, including options with built-in solar-powered shades that block summer solar gain on demand without sacrificing the light in cooler months.
| Issue Observed | Likely Cause | Recommended Fix | Urgency |
|---|---|---|---|
| Condensation between glass panes | Failed seal on double-glazed unit | Full skylight replacement | Medium |
| Water staining around frame | Deteriorated or improperly installed flashing | Reflash or reseal | High |
| Room feels noticeably hotter under skylight | Older single/double glazing, no low-E coating | Upgrade to low-E, gas-filled unit | Medium |
| Visible cracking in the dome or glass | Age, hail damage, or thermal stress | Immediate replacement | Urgent |
| Draft felt near skylight edge | Air sealing gap in the curb or frame | Air seal and reflash | Medium |
Putting the Seven Roof Insulation Tips Together
None of these seven measures works in complete isolation. Ventilation needs air-sealed insulation to be effective. Reflective roofing reduces the load that insulation has to handle. Radiant barriers only help once conductive insulation is already at target depth. The most efficient roof insulation strategy for a hot climate summer, while still respecting our harsh GTA winters, combines several of these tips into one coordinated project rather than tackling them piecemeal over several years.
A trained eye matters here. What looks like a ventilation problem is sometimes an air-sealing problem, and what looks like an insulation problem is sometimes a failed skylight seal letting conditioned air escape. A thorough inspection through our attic assessment service identifies which of the seven levers will move the needle most for your specific home, rather than guessing and spending money on the wrong fix first.
Homeowners across our service areas in Toronto, Peel Region, York Region, Halton Region, and Durham Region tend to face similar attic conditions: older housing stock, mixed retrofit histories, and a climate that swings from humid 30°C summer days to -20°C winter nights. That combination is exactly why a properly matched insulation and ventilation strategy matters more here than in a milder, single-season climate.
When to Call a Professional Versus DIY
Several of the tips above, like topping up blown-in attic insulation or sealing accessible penetrations, are reasonable DIY projects for a comfortable, handy homeowner with the right safety equipment and a rented insulation blower. Others, including radiant barrier installation with correct orientation, reflective roofing membrane work, and any skylight flashing or replacement, are best left to a licenced crew, both for safety reasons and because mistakes in these areas can cause leaks that cost far more to repair than the original job would have.
Working at height on a roof deck carries real fall risk, and improperly sequenced work, such as insulating before sealing, or sealing without addressing an existing moisture problem, can trap issues inside the assembly where they are expensive to diagnose later. If you are unsure which category your project falls into, a quick consultation before you start is almost always worth it.
We also encourage homeowners to read what past clients have said about their experience before hiring anyone for attic or roofing work. You can browse verified feedback on our reviews page, and our FAQ page answers many of the specific questions homeowners ask before booking an assessment.
Signs Your Current Roof Insulation Is Underperforming in Hot Weather
A few practical signs tend to show up before a homeowner ever measures insulation depth. Upstairs rooms that stay noticeably hotter than the rest of the house through summer afternoons are the most common complaint, and it is often blamed on the air conditioner when the actual cause is heat radiating down through an under-insulated, poorly ventilated attic above.
Rising cooling bills relative to prior summers, with no change in thermostat settings or occupancy, is another common indicator. Ice damming along the eaves in winter is a related symptom of the same underlying problem, since heat escaping into the attic through poor insulation and air sealing melts snow on the upper roof, which then refreezes at the colder eaves. If your home shows both a hot upper floor in summer and ice damming in winter, that is a strong signal the insulation and ventilation assembly needs attention rather than either symptom being addressed as a separate, one-off issue.
A visible sag or uneven surface in blown-in insulation, visible daylight through the attic hatch or soffit area, or a musty smell in the attic during humid weather are all worth having assessed. Our team can review the roof deck, insulation, and ventilation together during a single visit through our roof repair service, which lets us diagnose whether the fix belongs at the insulation level, the roofing surface level, or both.
What are the most efficient roof insulation tips for hot climates like Toronto’s summer?
Does adding more attic insulation actually help in summer, not just winter?
Is a radiant barrier worth installing in a GTA attic?
How do I know if my roof ventilation is causing hot climate insulation problems?
Can reflective or cool roofing really reduce attic heat in summer?
How much does it cost to improve roof insulation for hot weather performance in the GTA?
Need Help With 7 Efficient Roof Insulation?
Getting hot-climate roof insulation right takes more than one fix — it means balancing ventilation, insulation depth, air sealing, and roofing surface together, and Universal Roofs has the experience to get that balance right the first time.
Call us today at (416) 732-2421 or request a free inspection to get started.
Universal Roofs proudly serves Toronto, Mississauga, Brampton, Vaughan, Markham, Oakville and the GTA since 2005.