
Fall behind on attic upgrades and you will feel it twice: once on your February heating bill, and again when ice damming creeps under your shingles every spring thaw. The good news is that the steps for DIY roof insulation installation are genuinely approachable for a motivated GTA homeowner with a free weekend, a few basic tools, and a clear plan. You do not need a licence to lay batts or blow in loose-fill insulation in most attic spaces, and the payback period on materials is often under two years once you factor in Ontario energy rebates and lower heating and cooling costs.
This guide walks through the five practical stages of the job — assessing your attic, choosing the right material, prepping the space, installing insulation correctly, and sealing air leaks so the insulation actually performs the way the R-value on the bag promises. We will also cover the mistakes that trip up first-time installers in Toronto-area homes, from compressing insulation near soffit vents to ignoring the vapour barrier on older houses.
If, after reading this, the attic turns out to have deeper problems — knob-and-tube wiring, active roof leaks, rotted sheathing, or a roof deck that needs replacing before you can safely add insulation — that is the point where it makes sense to bring in a professional. Universal Roofs has been assessing and upgrading GTA attics since 2005, and a quick call before you start can save you from insulating over a problem that gets worse under a fresh layer of fibreglass.
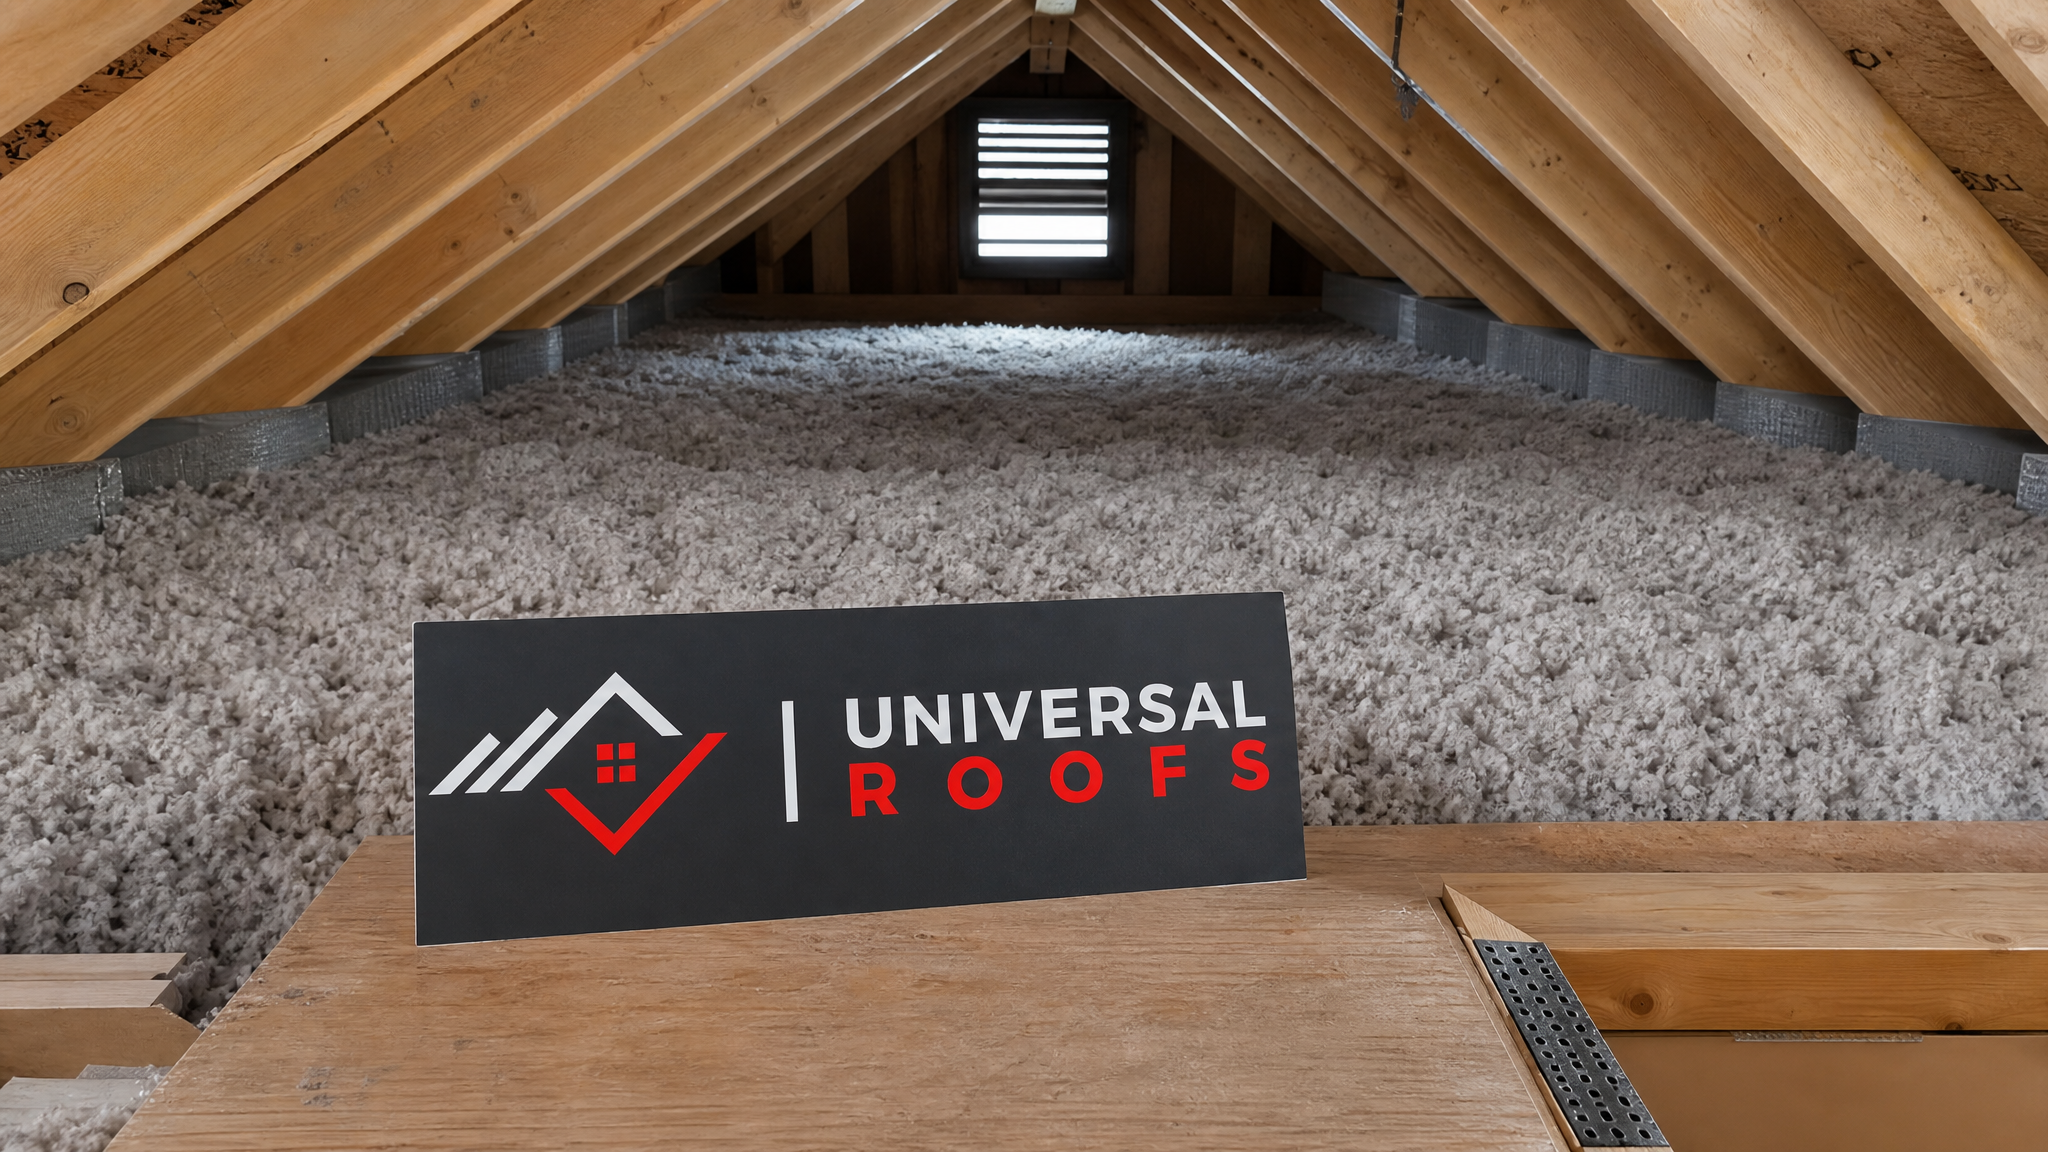
Step 1: Assess Your Attic Before You Buy a Single Bag of Insulation
Every successful insulation project starts with an honest inventory of what is already up there. Head into the attic on a dry afternoon with a flashlight, a tape measure, and a dust mask, and check the following before you plan your materials list:
- Existing insulation depth and type. Measure in at least four spots. Older GTA homes built before the 1990s often have only 100–150mm of insulation, well under the 400mm+ that Ontario Building Code now recommends for attics (roughly R-60).
- Signs of moisture. Look for dark staining on the roof sheathing, matted or compressed insulation, or a musty smell. Moisture problems must be fixed first — insulating over a wet attic traps humidity and accelerates mould growth and wood rot.
- Ventilation baffles at the soffits. Confirm that air can still travel from the soffit vents to the ridge or roof vents. Blocked soffits are one of the single biggest causes of ice damming in Toronto winters.
- Bypass locations. Note every spot where warm house air can leak into the attic: pot lights, the attic hatch, plumbing stacks, bathroom fan ducts, and the top plate of interior walls.
- Knob-and-tube wiring or exposed junction boxes. Many older insulation programmes will not certify blown-in insulation over active knob-and-tube wiring, and for good reason — it’s a fire risk. If you find it, have an electrician assess it before insulating.
While you are up there, snap a few photos. If you later decide the project is bigger than a weekend DIY job — say the roof deck itself needs attention — those photos are useful when you call for a professional roof repair quote, since a contractor can often give you a preliminary read without an immediate site visit.
Step 2: Choose the Right Insulation Material for Your Attic
There is no single “best” insulation for every attic — the right choice depends on your existing conditions, budget, and how much of the work you want to do yourself. The three most common DIY-friendly options in the GTA are fibreglass batts, blown-in fibreglass, and blown-in cellulose.
| Material | Approx. R-Value per 25mm | DIY Difficulty | Best For |
|---|---|---|---|
| Fibreglass batts | R-3.0 to R-3.4 | Easy — no rental equipment needed | Open attics with simple joist framing and few obstructions |
| Blown-in fibreglass | R-2.2 to R-2.7 | Moderate — requires rented blowing machine | Topping up existing insulation, irregular joist spacing |
| Blown-in cellulose | R-3.2 to R-3.8 | Moderate — requires rented blowing machine | Maximizing R-value per centimetre, tight budgets |
| Rigid foam board | R-4.0 to R-6.5 | Advanced — cutting and sealing seams | Roof deck insulation, cathedral ceilings, finished attics |
| Spray foam (kits) | R-5.0 to R-6.5 | Advanced — best left to professionals | Air sealing plus insulation in one step, rim joists |
For most first-time DIYers tackling a standard attic floor, blown-in cellulose offers the best combination of cost, coverage, and forgiving installation — it settles into irregular spaces around wiring and framing better than batts, and most tool rental centres in the GTA will lend you the blowing machine free with a minimum purchase of cellulose bags. Fibreglass batts remain the simplest option if your joist bays are a consistent, unobstructed width and you want to avoid renting equipment entirely.
Whichever material you choose, always check the bag for the R-value rating and confirm it meets or exceeds Ontario’s recommended R-60 for attics — you may need two layers to hit that target, with the second layer running perpendicular to the joists to cover thermal bridging.
Step 3: Prep the Attic — Air Sealing Comes Before Insulation, Not After
This is the step DIYers skip most often, and it is the one that determines whether your new insulation actually performs. Insulation slows heat transfer through the material itself, but it does nothing to stop air from moving through gaps. A well-insulated attic with unsealed bypasses still loses enormous amounts of heat, and warm, moist house air leaking into a cold attic is exactly what causes frost buildup on the underside of the roof deck in winter.
Before laying a single batt or running the blower, work through this checklist:
- Seal around the attic hatch or pull-down stair frame with weatherstripping and caulk.
- Caulk or foam around every plumbing stack, electrical wire penetration, and bathroom or kitchen exhaust duct where it passes through the ceiling.
- Install fireproof, insulated covers over recessed pot lights that are not rated IC (insulation contact) — never bury a non-IC-rated fixture directly in insulation.
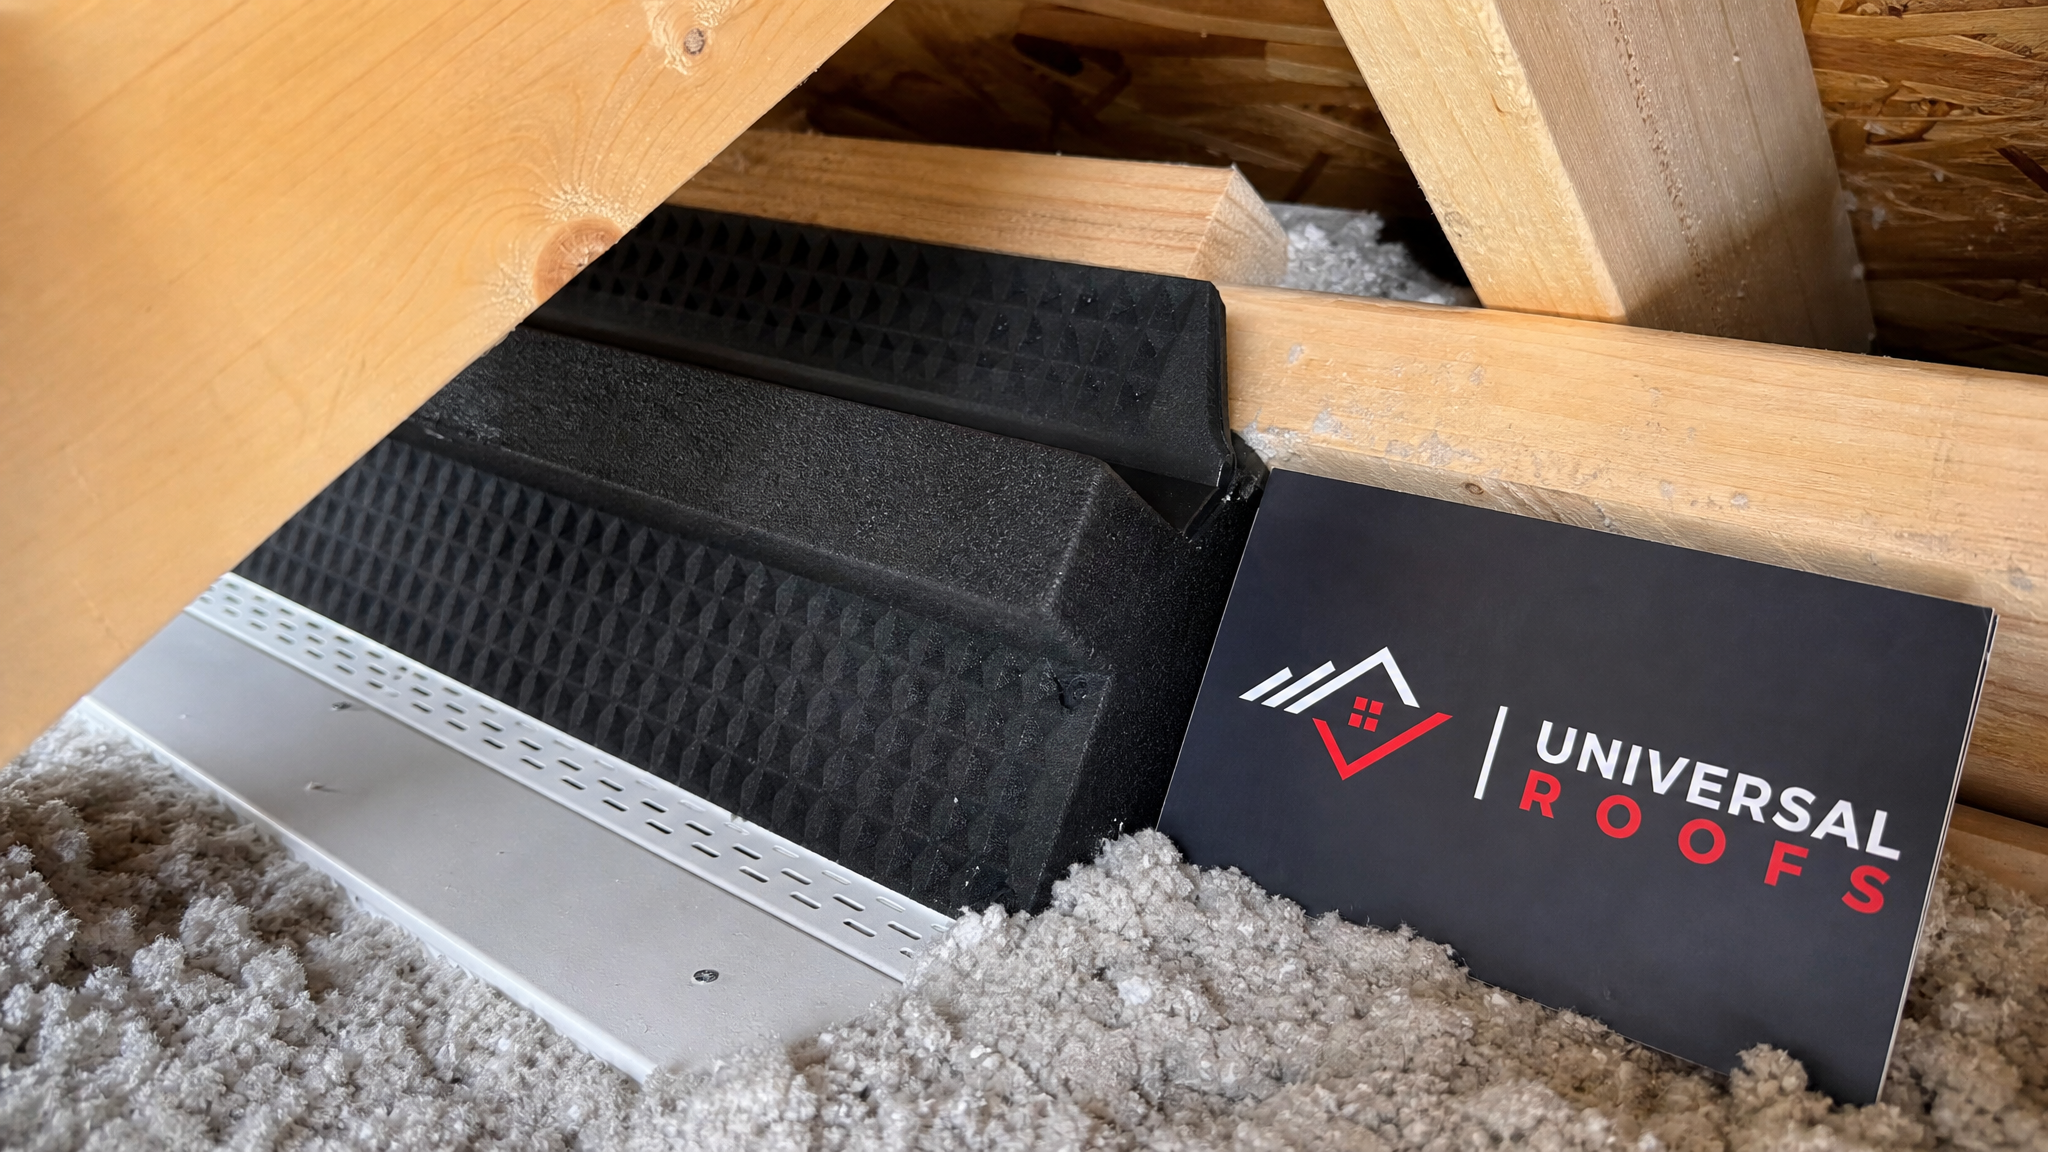
- Install rigid foam or cardboard baffles at every soffit vent to keep the airflow channel open once insulation is added.
- Weatherstrip and add a foam gasket to any attic access panel from a walk-in closet or garage ceiling.
Air sealing typically takes two to three hours for an average GTA bungalow or two-storey attic and costs under $150 in caulk, spray foam cans, and baffle materials. It is, hands down, the highest-return hour you will spend on this entire project.
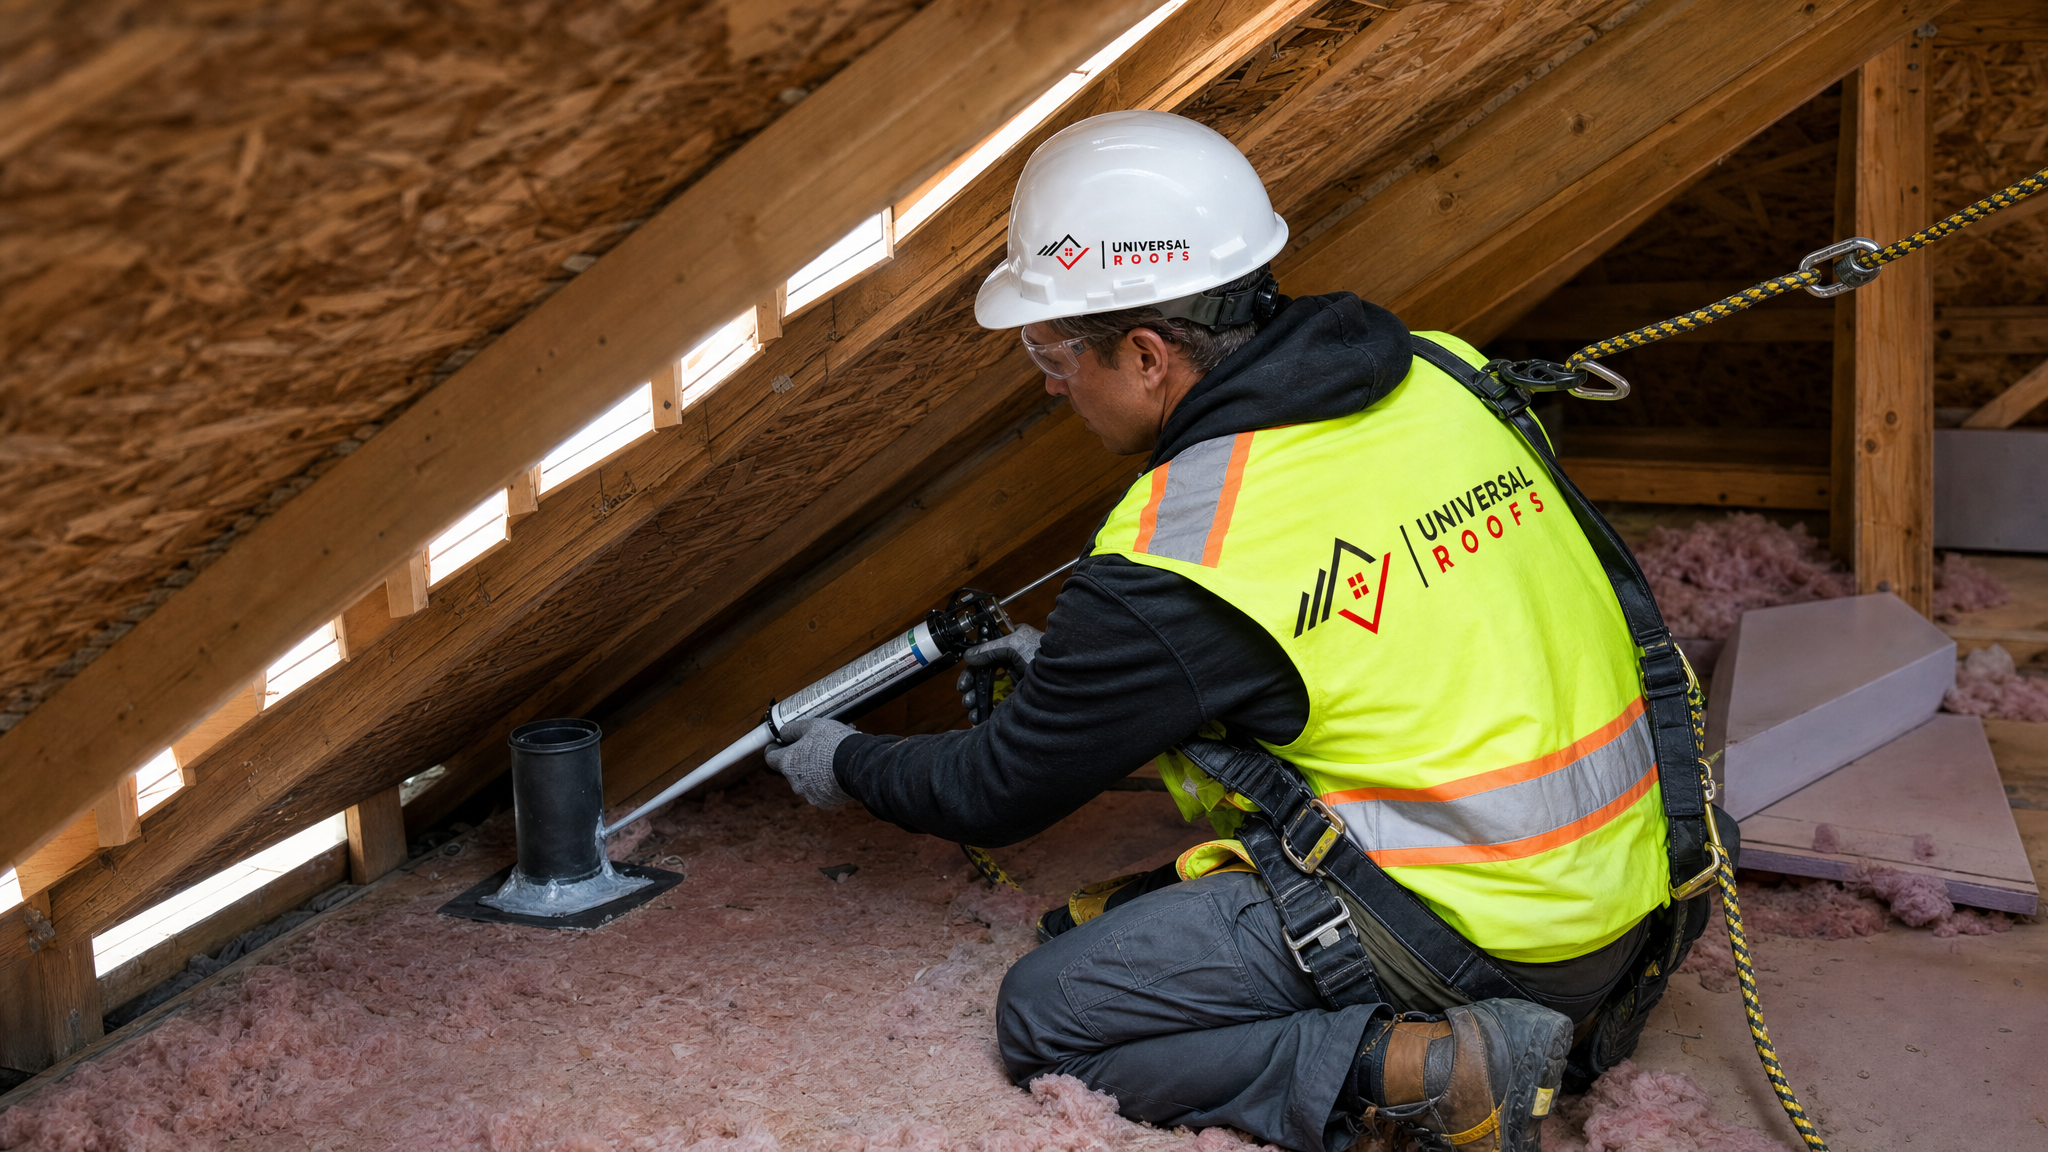
Step 4: Install the Insulation — Batts or Blown-In, Done Right
With air sealing and baffles in place, you are ready for the insulation itself. The technique differs slightly depending on material.
For fibreglass batts: Lay the first layer between the joists, unfaced side up if it is a second layer over existing insulation (a vapour barrier should never be sandwiched between two insulation layers). Cut batts to fit snugly around wiring and obstacles rather than compressing them — compressed insulation loses much of its R-value. For a second layer, run it perpendicular to the joists to cover the thermal bridging that bare wood joists create.
For blown-in cellulose or fibreglass: Set up insulation depth markers (small rulers or painted dowels) every couple of metres so you can gauge coverage as you go. Work from the far corners of the attic back toward the hatch so you are not blowing insulation onto areas you have already walked over. Keep the hose moving in a slow, sweeping motion rather than dumping in one spot, and maintain a consistent depth across the whole attic floor — low spots are where heat escapes fastest.
Whichever method you use, keep insulation pulled back at least 75mm from any recessed light fixture that is not IC-rated, and never insulate directly over or against a b-vent or chimney chase — maintain the clearances specified by the manufacturer, typically 50–75mm from metal flues and 50mm from masonry chimneys.
| Task | Typical DIY Time | Approx. Material Cost (1,200 sq ft attic) | Tool Rental Needed |
|---|---|---|---|
| Attic assessment & photos | 30–45 minutes | $0 | No |
| Air sealing bypasses | 2–3 hours | $100–$150 | No |
| Installing soffit baffles | 1–2 hours | $60–$100 | No |
| Laying fibreglass batts (top-up) | 3–4 hours | $450–$700 | No |
| Blowing in cellulose/fibreglass | 3–5 hours | $500–$900 | Yes — usually free with bag purchase |
Most homeowners can complete the entire project — assessment through final insulation pass — over a single weekend, with Saturday for prep and air sealing and Sunday for the insulation itself.
Step 5: Check Ventilation and Verify Your Work
The final step is verification, and it is just as important as the installation itself. A poorly ventilated attic can undo the benefits of even a perfect insulation job by trapping moisture and accelerating ice damming along the eaves.
Walk the attic one more time and confirm:
- Soffit baffles are still open and insulation has not slumped in front of them.
- Insulation depth is consistent across the whole floor — use your depth markers to spot-check at least six locations.
- The attic hatch is weatherstripped and, ideally, has its own insulated cover box.
- Roof and ridge vents are unobstructed from the outside — a quick look from the ground or a ladder is enough.
- No insulation is touching the underside of the roof sheathing directly, which would block the airflow channel and encourage condensation.
If your home relies on a mix of soffit and roof vents, the general rule of thumb is a balanced ratio — roughly equal net free area of intake (soffit) and exhaust (ridge or roof vents). An unbalanced system is one of the more common reasons attics in older Toronto and Mississauga homes still develop frost and ice damming even after a fresh insulation upgrade. If you are unsure whether your attic ventilation is balanced, it is worth having it checked alongside your attic ventilation system rather than guessing.
Common DIY Insulation Mistakes and How to Fix Them
Even careful homeowners run into the same handful of problems. Here is how to spot and correct the most frequent ones before they cause a callback.
| Problem | Likely Cause | Fix |
|---|---|---|
| Ice damming persists after insulating | Air bypasses were not sealed before insulation was added | Re-check pot lights, hatch, and plumbing stacks; add caulk or foam sealant |
| Frost or condensation on roof sheathing | Blocked soffit vents or unbalanced ventilation ratio | Reinstall baffles, clear blockages, confirm intake/exhaust balance |
| Insulation looks uneven or thin in spots | Blower hose moved too quickly or depth markers weren’t used | Add a top-up pass focused on low areas, verify with a tape measure |
| Musty smell returns weeks later | Existing moisture or mould was not addressed before insulating | Remove affected insulation, treat the source, replace with dry material |
| Heating bills barely improved | R-value target too low, or bypasses left unsealed | Add a second insulation layer and complete a full air-sealing pass |
If several of these symptoms show up together, or if you pull back insulation and find soaked sheathing or soft, spongy wood, that usually points to a leak in the roofing assembly itself rather than an insulation problem. That is a good moment to stop the DIY project and have the roof deck inspected — insulating over an active leak just hides it while the damage continues underneath.
When to Call In a Professional Instead
DIY roof insulation makes sense for straightforward attics with good access, no active leaks, and standard framing. It stops making sense the moment any of these show up:
- Visible roof leaks, staining, or soft spots in the sheathing — these need repair before insulation goes in.
- Steep or cathedral ceilings with little to no attic access, where insulation has to be installed from the roof deck side.
- Knob-and-tube wiring, which typically requires an electrician’s sign-off before insulation can be added around it.
- Flat or low-slope roof sections, which insulate very differently than a pitched attic and often need rigid foam installed above the deck. If your home has a flat roof section over a porch or addition, our flat roofing team can advise on the right approach.
- Skylights or roof windows that need re-flashing or insulating around the shaft — see our skylights and skylight replacement pages if that is part of your attic’s layout.
Homeowners across Toronto, Peel Region, York Region, Halton Region, and Durham Region deal with a wide range of attic ages and roof types, from 1960s bungalows with minimal original insulation to newer builds that still have gaps around mechanical penetrations. A short phone consultation is usually enough to tell you whether your project is a true weekend DIY job or one that needs a roof deck assessment first.
Cost Comparison: DIY vs. Professional Insulation Installation
Budget is often the deciding factor between doing the work yourself and calling in a crew. Here is how the two approaches typically compare for a standard GTA attic in the 1,000–1,500 sq ft range.
| Approach | Typical Total Cost | Time to Complete | Includes Air Sealing? |
|---|---|---|---|
| DIY — batts, top-up only | $450–$800 | 1 weekend | Only if done separately by homeowner |
| DIY — blown-in, full attic | $700–$1,200 | 1 weekend | Only if done separately by homeowner |
| Professional — blown-in, full attic | $1,800–$3,200 | 1 day | Yes — included as standard practice |
| Professional — insulation plus ventilation upgrade | $2,500–$4,500 | 1–2 days | Yes, plus balanced soffit/roof venting |
The DIY route saves the most money upfront, but professional installations generally include air sealing, ventilation balancing, and a workmanship warranty as standard — value that is easy to underestimate until an unsealed bypass or blocked soffit undoes months of comfort gains. Many homeowners choose a hybrid approach: doing the air sealing and insulation themselves, then having a professional verify ventilation and check for any hidden roof deck issues afterward.
It’s also worth checking current utility rebate programmes before you buy materials — Ontario has periodically offered home efficiency rebates that cover a portion of attic insulation costs, and the paperwork requirements sometimes call for a contractor-issued invoice rather than a big-box store receipt, which is worth confirming before you decide between DIY and professional installation.
Maintaining Your Insulation Long-Term
Once the project is done, attic insulation is largely maintenance-free, but a few habits keep it performing at its rated R-value for decades:
- Avoid using the attic as storage space directly on top of loose-fill insulation — foot traffic compresses it and reduces its effectiveness. If you need storage, build a raised platform above the insulation line.
- Check the attic hatch seal once a year, ideally before winter, since this is a high-traffic bypass that loosens over time.
- After any electrical or plumbing work in the attic, re-seal around new penetrations — contractors doing unrelated work don’t always restore air sealing.
- Have your roof inspected periodically, especially after major wind or ice storms, since a compromised roof surface can lead to moisture intrusion that damages insulation from above. See our roof replacement page if your shingles are approaching the end of their service life.
- Keep an eye on attic ventilation each summer — blocked or painted-over soffit vents are easy to miss from inside the house.
Read what GTA homeowners say about their insulation and roofing projects on our reviews page, or check our FAQ page for answers to more roofing and attic questions. You can also learn more about our team’s background on the about page.
What are the basic steps for DIY roof insulation installation?
Can I install attic insulation myself, or do I need a licensed contractor?
How much insulation does a Toronto-area attic actually need?
Is blown-in insulation or fibreglass batts better for a DIY project?
Why does my attic still get ice dams after I added insulation?
When should I stop the DIY project and call a roofing professional?
Need Help With 5 Easy Steps for?
Whether you tackle the insulation yourself or want a professional crew to handle the whole project, Universal Roofs can help you get it right the first time, from air sealing to ventilation balancing to full attic upgrades.
Call us today at (416) 732-2421 or request a free inspection to get started.
Universal Roofs proudly serves Toronto, Mississauga, Brampton, Vaughan, Markham, Oakville and the GTA since 2005.