
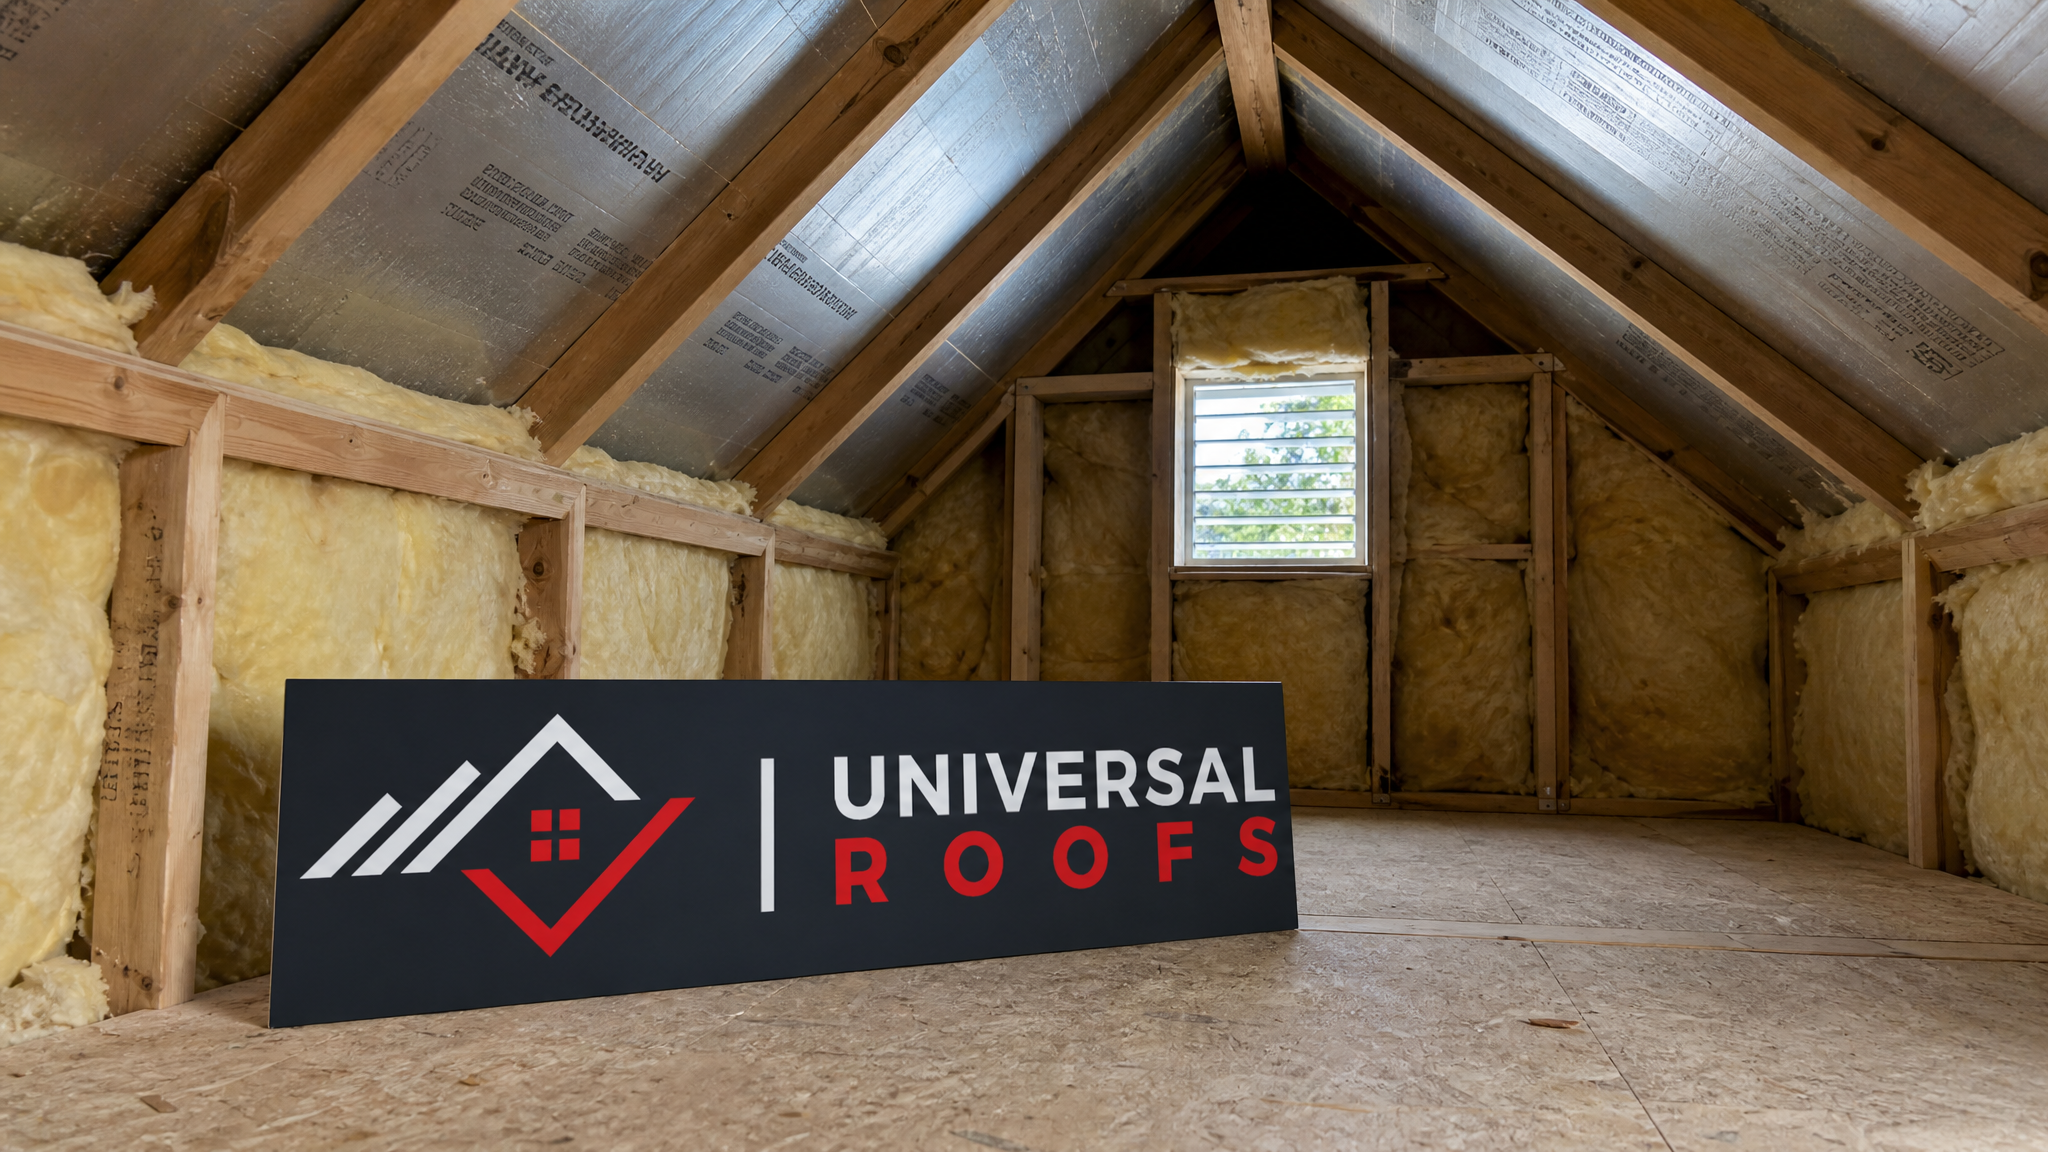
If your Toronto attic feels like a sauna in July and an icebox in January, the problem usually traces back to one thing: the insulation between your rafters or attic floor was never matched to how your pitched roof actually breathes. Choosing the right types and installation methods of pitched roof insulation is one of the few home upgrades that pays you back every single month, in every season, for decades.
At Universal Roofs, we’ve spent close to two decades inspecting GTA attics that were insulated wrong the first time — vapour barriers installed backwards, batts crammed against soffit vents, spray foam applied without accounting for ventilation, or R-values that fall well short of what Ontario’s climate demands. This guide walks through the five best insulation types for pitched roofs, exactly how each one is installed, what it costs, and how to avoid the mistakes that lead to ice damming, mould, and sky-high heating bills.
Whether you’re planning a full re-roof, finishing an attic into living space, or simply topping up insulation before winter, this article gives you the practical, contractor-level detail you need to make the right call for your home.
Why Pitched Roof Insulation Matters More in the GTA Than Almost Anywhere Else
Toronto and the surrounding GTA sit in a climate zone that swings from -20°C polar vortex days to +35°C humid summer afternoons, often within the same calendar year. That kind of temperature swing puts enormous stress on a pitched roof assembly. Poorly insulated rafters allow warm, moist household air to rise into the attic, where it meets cold roof sheathing and condenses. Over a single winter, that condensation can soak framing, rot sheathing, and feed mould colonies that are expensive to remediate.
The freeze-thaw cycle common to Southern Ontario winters is the other half of the problem. When attic heat escapes through under-insulated rafters, it melts snow on the upper roof slopes. That meltwater runs down to the cold eaves, refreezes, and builds the classic ice dam that backs water up under your shingles. We cover the structural side of ice dam damage in our roof repair guide, but the root cause is almost always insulation and ventilation, not the shingles themselves.
The Ontario Building Code sets minimum insulation values for pitched roof assemblies at roughly R-60 for attics in most GTA municipalities (climate zone 5 and 6 requirements), though many older homes in Toronto, Mississauga, and Vaughan were built decades ago with R-20 or less. Bringing a roof up to current standards during a roof replacement is the single best time to fix decades of underperformance, since the roof deck is already exposed.
The 5 Best Types of Pitched Roof Insulation
Not every insulation type suits every pitched roof. Rafter depth, roof slope, budget, whether the attic will be finished as living space, and whether you’re insulating during new construction or as a retrofit all change which material makes sense. Here are the five options we install most often across Toronto, Peel, York, Halton, and Durham Region homes.
1. Fibreglass Batt Insulation
Fibreglass batts remain the most common pitched roof insulation in the GTA because they’re affordable, widely available, and simple to install between standard rafter and joist spacing (16″ or 24″ on centre). Batts come in pre-cut widths and thicknesses rated from R-12 up to R-30 per layer, and multiple layers can be stacked perpendicular to each other to reach code minimums while minimizing thermal bridging through the framing.
The downside is that batts rely entirely on correct installation. Compressed batts, gaps around wiring and pot lights, or batts pushed too tightly against the roof deck (blocking the ventilation channel) all cut real-world performance well below the rated R-value. We routinely find batts installed 20-30% under-performing simply because of sloppy fitting.
2. Blown-In Loose-Fill Insulation (Cellulose or Fibreglass)
For open attic floors above pitched roofs — the most common configuration in GTA bungalows and two-storey homes — blown-in cellulose or fibreglass is often the fastest way to reach high R-values. A machine blows loose fibre through a hose, filling every gap, corner, and irregular space around trusses that batts simply can’t reach. Cellulose, made from recycled treated newsprint, also offers slightly better sound dampening and settles less than older formulations.
Blown-in insulation is less suited to finished cathedral ceilings or tight rafter cavities where airflow to soffit and ridge vents must be preserved, since loose fill can migrate and block ventilation channels if baffles aren’t installed first.
3. Closed-Cell Spray Polyurethane Foam
Closed-cell spray foam is the highest-performing option per inch of thickness, delivering roughly R-6 to R-7 per inch compared to R-3.5 for fibreglass. It expands to fill every crack and penetration, creates its own air and vapour barrier in one application, and adds meaningful structural rigidity to the roof deck. This makes it the preferred choice for finished attics, cathedral ceilings, and “hot roof” assemblies where the goal is an unvented, conditioned attic space.
The tradeoff is cost — closed-cell spray foam runs roughly three to four times the price of batt insulation per square foot — and the fact that unvented spray foam assemblies must be engineered correctly from the start, since they eliminate the traditional soffit-to-ridge ventilation path entirely.
4. Open-Cell Spray Foam
Open-cell foam offers a softer, less dense alternative to closed-cell, at roughly R-3.5 to R-4 per inch. It’s lighter, more affordable than closed-cell, and still air-seals effectively, but it’s vapour-permeable rather than a true vapour barrier, so it generally still requires a ventilated roof assembly or a separate interior vapour retarder in cold climates like ours. It’s a popular middle-ground choice for finished knee walls and sloped ceilings in Toronto and Mississauga attic conversions.
5. Rigid Foam Board (Polyiso, XPS, or EPS)
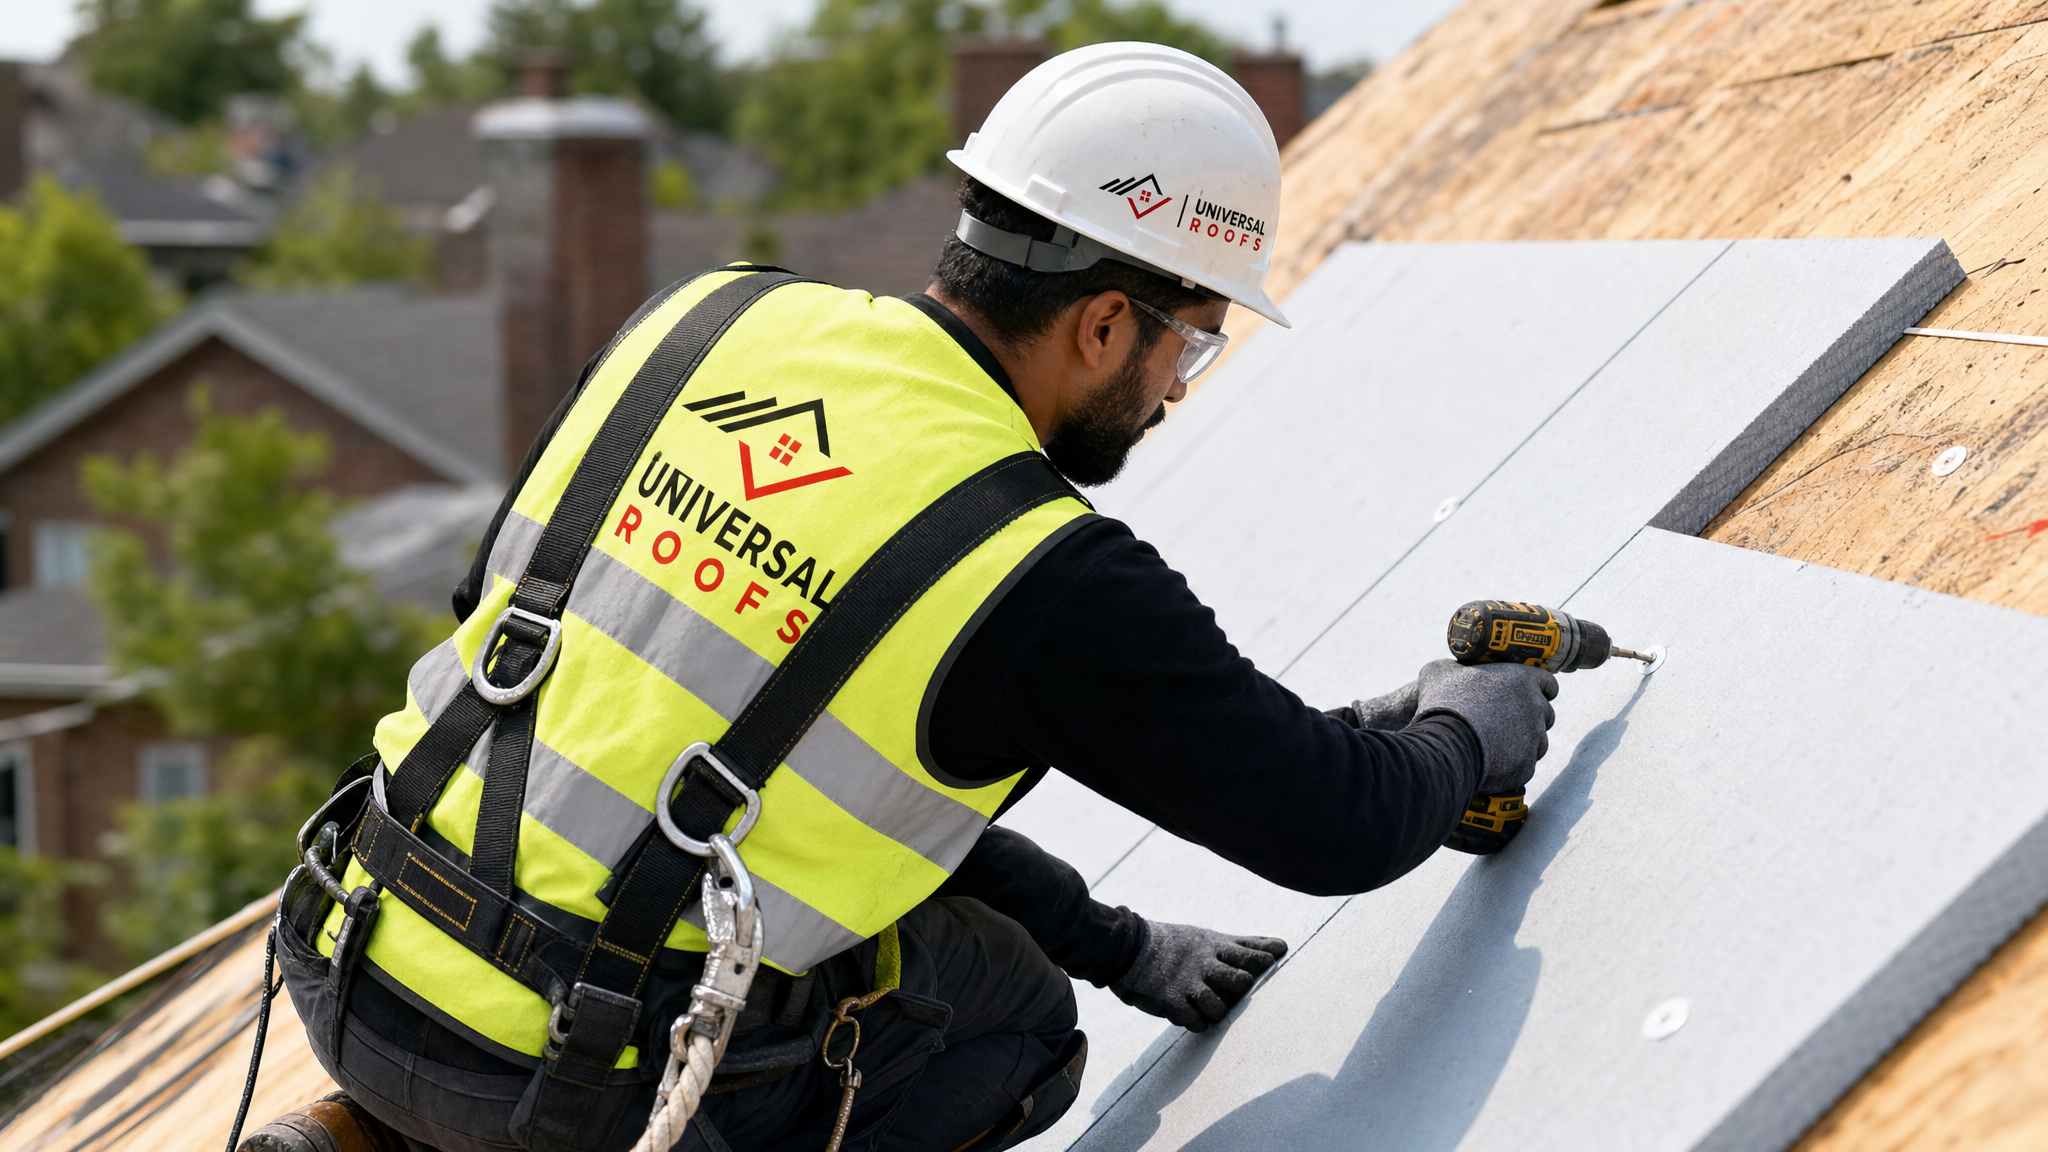
Rigid foam boards are most often used above the roof deck, either during a full re-roof or new build, creating a continuous thermal layer that eliminates the thermal bridging batts and blown-in insulation leave at every rafter. Polyisocyanurate (polyiso) boards offer the highest R-value per inch of the rigid options (roughly R-6), followed by extruded polystyrene (XPS) and expanded polystyrene (EPS). Rigid board is also frequently combined with batt or spray foam in a hybrid assembly to hit high R-values without excessively deep rafter cavities — a technique we use often when re-roofing older Toronto homes that weren’t framed with today’s insulation depths in mind.
| Insulation Type | R-Value per Inch | Best Application | Approx. Cost per Sq. Ft. |
|---|---|---|---|
| Fibreglass Batt | R-3.0 – R-3.5 | Standard rafter/joist cavities, budget retrofits | $0.50 – $1.00 |
| Blown-In Cellulose/Fibreglass | R-3.2 – R-3.8 | Open attic floors, irregular truss spaces | $1.00 – $1.80 |
| Closed-Cell Spray Foam | R-6.0 – R-7.0 | Finished attics, unvented cathedral ceilings | $3.00 – $5.50 |
| Open-Cell Spray Foam | R-3.5 – R-4.0 | Vented sloped ceilings, knee walls | $1.75 – $3.00 |
| Rigid Foam Board (Polyiso) | R-5.5 – R-6.5 | Above-deck continuous insulation, re-roofs | $2.00 – $4.00 |
Installation Methods, Step by Step
The material only performs as well as the installation. Here’s how each method is actually carried out on a typical Toronto-area pitched roof.
Batt Installation Method
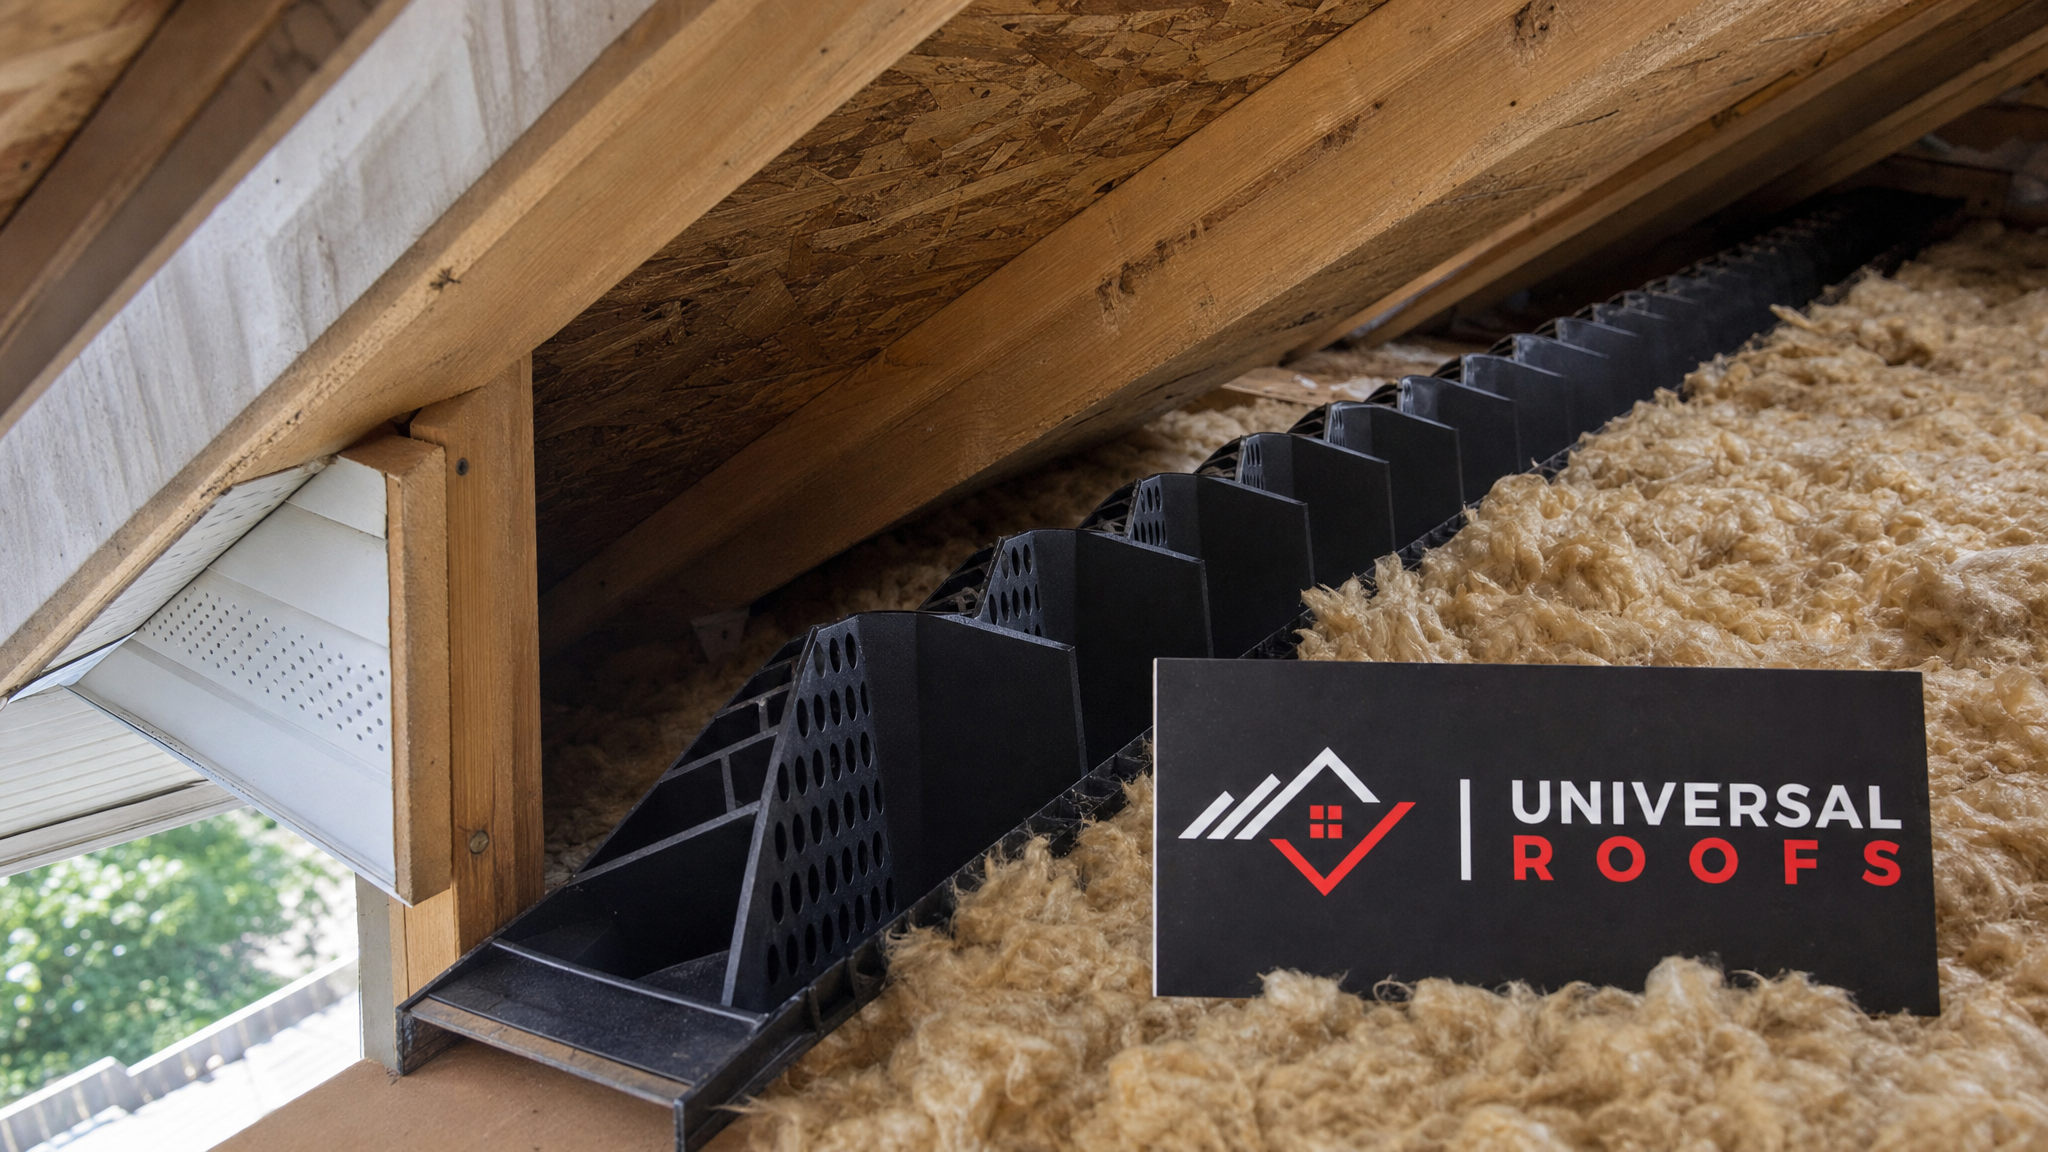
Batts are friction-fit between rafters or joists, cut slightly oversized so they wedge snugly without compressing. Baffles (also called vent chutes) are installed first against the roof deck at every rafter bay to preserve a clear airflow channel from soffit to ridge — skipping this step is the single most common batt installation error we find during inspections. A vapour barrier (typically 6-mil poly) is then sealed on the warm, interior side of the insulation with acoustic sealant at every seam, penetration, and edge, since a torn or missing vapour barrier lets warm interior air migrate into the cold attic and condense.
Blown-In Installation Method
A blowing machine, usually staged in a driveway or on a trailer, feeds loose fill through a long hose into the attic through a roof or gable vent access. The installer distributes material evenly across the attic floor to a marked depth (rulers or depth markers are placed throughout to confirm uniform coverage), working around bath fan exhaust ducts, pot lights rated for insulation contact, and the attic hatch, which needs an insulated, weather-stripped cover of its own.
Closed-Cell and Open-Cell Spray Foam Installation Method
Spray foam is a two-component chemical system mixed and heated at the spray rig, then applied through a hose and gun directly onto the underside of the roof deck or into rafter cavities in lifts (passes) of one to two inches to control the exothermic reaction and avoid scorching. Technicians work in full respiratory and skin protection, since the components are hazardous until fully cured. Once cured, closed-cell foam is typically left exposed in unfinished attics or covered with an ignition/thermal barrier (such as intumescent paint or drywall) if the space will be occupied, per Ontario Fire Code requirements.
Rigid Board Installation Method
During a re-roof, rigid foam boards are laid directly over the existing roof deck, staggered at the joints like brick coursing to eliminate continuous seams, then mechanically fastened or adhered before the new underlayment and shingles go down over top. Seams are taped with a foil or foam-compatible tape to stop air leakage through the joints. Because this method raises the roof deck height, flashing details around chimneys, skylights, and walls must be re-planned — something our crews account for on every re-roof that adds rigid board, and a detail that also matters if you’re upgrading a skylight or considering skylight replacement at the same time, since curb heights need to match the new insulated deck.
Ventilation: The Step Homeowners Forget
Insulation and ventilation are a matched pair, not separate decisions. A vented pitched roof assembly needs continuous intake at the soffits and continuous exhaust at the ridge or through roof vents, with a clear air channel maintained between the insulation and the roof deck the entire way. Blocking that channel with insulation — even really good insulation — traps moisture against the sheathing and can void shingle warranties.
Homes with finished attics or vaulted ceilings sometimes move to an unvented “hot roof” assembly instead, using closed-cell spray foam applied directly to the underside of the deck to eliminate the need for airflow entirely. This works well, but it must be an intentional, code-compliant design decision, not something guessed at during a partial insulation top-up. If you’re unsure which category your roof falls into, our attic services team can assess your current ventilation setup before recommending an insulation type.
| Roof Assembly Type | Ventilation Requirement | Compatible Insulation | Typical Use Case |
|---|---|---|---|
| Vented Attic (Standard) | Continuous soffit-to-ridge airflow required | Batt, blown-in cellulose/fibreglass | Unfinished attic above living space |
| Vented Cathedral Ceiling | Baffled channel per rafter bay | Batt, open-cell spray foam with baffles | Finished sloped ceilings |
| Unvented “Hot Roof” | No ventilation; sealed assembly | Closed-cell spray foam only | Finished attic living space, low-slope sections |
| Above-Deck Continuous | Vented above insulation, deck stays warm | Rigid foam board | Full re-roofs, additions |
How Much Does Pitched Roof Insulation Cost in Toronto?
Cost depends on material, the depth needed to hit code R-value, roof accessibility, and whether the work is a standalone insulation job or bundled into a larger re-roof. For a typical 1,500 to 2,000 square foot GTA attic, homeowners can expect the following ranges, based on jobs we’ve quoted across Toronto, Mississauga, Brampton, and Markham over the past two years.
| Project Scope | Typical Total Cost Range | Timeline | Notes |
|---|---|---|---|
| Top-up blown-in over existing batt | $1,200 – $2,400 | 1 day | Fastest ROI, no roof access needed |
| Full batt replacement with vapour barrier | $2,500 – $5,000 | 1 – 2 days | Requires attic access, some drywall repair |
| Closed-cell spray foam (full attic) | $6,000 – $12,000 | 2 – 3 days | Includes ignition barrier if occupied space |
| Rigid board during re-roof | $3 – $6 per sq. ft. added to re-roof cost | Adds 1 – 2 days to re-roof | Best value when bundled with new shingles |
Homeowners in Peel Region and York Region often ask whether municipal or provincial rebates apply — Ontario’s Home Efficiency Rebate Plus and Enbridge Home Efficiency programs periodically offer incentives for attic insulation upgrades that meet minimum R-value thresholds, so it’s worth checking current program status before your project starts, since it can offset a meaningful chunk of material cost.
Signs Your Pitched Roof Insulation Needs Attention
Most homeowners don’t think about attic insulation until a symptom shows up elsewhere in the home. Watch for these signals:
- Ice dams or icicles forming along the eaves every winter, even after gutter cleaning
- Uneven snow melt patterns on the roof — bare patches near the ridge, snow still deep near the eaves
- Rooms directly under the roof feeling noticeably hotter in summer or colder in winter than the rest of the house
- Visible frost or condensation on the underside of the roof deck when you check the attic in winter
- Rising heating and cooling bills without any change in usage habits
- Musty odours or visible mould near the roofline, especially around bathroom or kitchen exhaust penetrations
Any of these are worth a proper attic assessment. In our experience across Toronto and the Halton Region, ice damming complaints are the number one symptom that traces back to insufficient or improperly vented insulation, and it’s a problem that tends to get worse, not better, if left alone for another winter.
Common Installation Mistakes We See on Inspections
After thousands of attic inspections across the GTA, a handful of mistakes show up again and again, regardless of which insulation type was originally installed.
| Mistake | Consequence | Fix | Prevention Tip |
|---|---|---|---|
| Blocked soffit vents (insulation stuffed into eaves) | Trapped moisture, ice damming, mould | Install baffles, clear vent channels | Always install baffles before adding batt or blown-in |
| Missing or torn vapour barrier | Warm air migrates into attic, condenses on deck | Reseal or replace vapour barrier with acoustic sealant | Inspect vapour barrier continuity during any attic work |
| Insulation compressed around pot lights | Localized heat loss, fire risk with non-IC fixtures | Replace with IC-rated (insulation contact) fixtures | Confirm fixture ratings before insulating over them |
| Unvented spray foam applied without engineering review | Trapped moisture in mixed assemblies, warranty voids | Full assessment and possible partial removal/redesign | Confirm vented vs. unvented design before spraying |
| Uninsulated attic hatch or knee wall | Major localized heat loss despite good attic insulation | Add insulated, weather-stripped hatch cover | Treat the hatch as part of the insulation plan, not an afterthought |
Choosing the Right Type for Your GTA Home
There’s no single “best” insulation for every pitched roof — the right choice depends on your specific attic configuration, budget, and whether you’re planning to finish the space. As a general guide from our field experience across Toronto, the Peel Region, York Region, Halton Region, and Durham Region:
If you have a standard unfinished attic above a flat ceiling, blown-in cellulose or fibreglass over an existing batt layer is usually the fastest, most cost-effective way to reach code R-value. If you’re finishing an attic into living space with sloped ceilings, closed-cell or open-cell spray foam in a properly designed vented or unvented assembly gives the best combination of R-value per inch and air sealing. If you’re already committed to a full re-roof, adding rigid foam board above the deck is the single best long-term investment, since it eliminates thermal bridging entirely and you’re only paying incremental labour on top of a job that’s already underway.
For homes with flat or low-slope roof sections — common on additions and garages throughout the GTA — insulation strategy differs from the pitched assemblies covered here; our flat roofing team handles those separately, since the ventilation and vapour control details don’t translate directly from pitched roof methods.
Whatever you choose, always confirm the installer is following current Ontario Building Code R-value minimums for your specific climate zone, not outdated figures from a decade-old renovation. You can read what past customers experienced with our insulation and attic work on our reviews page, and browse more homeowner questions on our FAQ page.
Why Work With a Local GTA Contractor for Insulation Projects
Pitched roof insulation isn’t a job to hand to a generalist. It touches roofing, ventilation, building science, and fire code all at once, and a mistake in any one of those areas can cost far more to fix than the original installation. Universal Roofs has been diagnosing and correcting attic insulation problems across the GTA since 2005, and every insulation recommendation we make accounts for your specific roof pitch, existing ventilation, and how the space is used.
Learn more about our team and approach on our about page, or see the specific neighbourhoods we serve in Toronto, the Peel Region, York Region, Halton Region, and Durham Region.
What are the best types and installation methods of pitched roof insulation for a Toronto attic?
What R-value do I need for a pitched roof in the GTA?
Can I install pitched roof insulation myself?
Does spray foam insulation stop ice dams on a pitched roof?
Is blown-in insulation better than batt insulation for a pitched roof?
How long does pitched roof insulation installation take?
Need Help With Pitched Roof Insulation?
Choosing between the types and installation methods of pitched roof insulation is easier with an experienced set of eyes in your attic. Universal Roofs has been solving GTA insulation and ventilation problems since 2005, and we’ll recommend the right assembly for your specific roof, not a one-size-fits-all package.
Call us today at (416) 732-2421 or request a free inspection to get started.
Universal Roofs proudly serves Toronto, Mississauga, Brampton, Vaughan, Markham, Oakville and the GTA since 2005.