
A summer hailstorm or a sudden windstorm rolling off Lake Ontario can do more damage to a flat roof in twenty minutes than years of normal weathering. Because flat and low-slope roofing systems have no pitch to shed debris or shrug off pooling rainwater, they are especially vulnerable to bruising, membrane tears, and lifted seams after severe weather. Knowing what to look for — and how to respond quickly — can mean the difference between a straightforward repair and a full premature replacement.
At Universal Roofs, we have been inspecting and repairing storm-damaged flat roofs across the Greater Toronto Area since 2005. Every summer we see the same pattern: a hailstorm or wind event passes through, homeowners assume the roof “looks fine” from the ground, and six months later a slow leak has soaked the insulation and stained a ceiling. This guide walks through exactly how hail and wind damage flat roofing membranes, how to inspect your roof safely, which repair method fits which type of damage, and when it makes more financial sense to replace rather than patch.
Whether you have a torch-on modified bitumen roof, an EPDM rubber membrane, or a TPO system, the fundamentals of storm damage assessment and repair are similar. We will cover all three, along with realistic cost ranges, repair timelines, and the warning signs that tell you a professional inspection can no longer wait.
How Hail and Wind Actually Damage a Flat Roof
Flat roofs fail differently than sloped shingle roofs, and understanding the mechanics helps you know where to look. Hail does not usually punch a hole straight through a membrane on impact. Instead, it bruises the material — compressing the granules or fibreglass mat inside modified bitumen, or denting the felt backing beneath a single-ply membrane. That bruise may not leak immediately, but it thins the material at the impact point, and UV exposure over the following weeks and months breaks down the weakened spot until it finally cracks or splits.
Wind damage works through a different mechanism entirely: uplift. As wind passes over a flat roof, it creates negative pressure (essentially suction) at the edges, corners, and any raised details like parapet walls, HVAC curbs, or skylight kerbs. This uplift force works at the seams and mechanical fasteners first, since those are the weakest points in the membrane’s attachment to the deck. A single severe gust can peel back a corner of membrane that was already slightly loose; repeated wind events over a season will fatigue seams that were originally installed correctly but have simply aged.
Both hail and wind damage share one dangerous trait: they are frequently invisible from ground level and even difficult to spot from a ladder at the eave. This is why insurance adjusters and roofing contractors walk the entire roof surface after a storm rather than relying on a visual scan from below.
Immediate Steps to Take After a Hail or Wind Event
The hours and days immediately following a storm matter. Acting quickly limits water intrusion and strengthens any insurance claim you may need to file.
- Document interior signs first. Check ceilings, especially in top-floor rooms, for new water stains, bubbling paint, or a musty odour. Photograph anything unusual with a timestamp.
- Photograph the exterior from the ground. Look for granules collecting in downspouts and gutters, dented flashing, or loose vent caps — all indirect evidence of hail impact.
- Do not walk the roof yourself after a storm. Wet membranes are slippery, damaged sections may not support weight safely, and debris can hide sharp material. Leave the roof-level inspection to a professional with proper fall protection.
- Call for a professional inspection within 48 hours if possible. Insurance companies often have documentation windows, and a prompt roof repair assessment creates a paper trail that supports your claim.
- Cover any obvious active leak temporarily. Move furniture, place a bucket, and lay a tarp over interior contents rather than attempting a roof-level tarp yourself in windy or wet conditions.
Homeowners across the Toronto, Peel Region, and York Region areas often ask whether a same-day inspection is realistic during storm season. In practice, most reputable roofers triage active leaks first and schedule cosmetic-only inspections within a few business days, so be clear on the phone about whether water is actively entering the building.
How to Spot Hail Damage on Different Flat Roof Membranes
Not every membrane shows hail damage the same way, and misreading the signs is one of the most common mistakes homeowners make when trying to assess their own roof.
Modified bitumen (torch-on or self-adhered): Look for circular bruises where the mineral granules have been driven into the underlying asphalt, exposing a shinier or darker patch. Severe impacts crack the fibreglass reinforcement mat beneath, which you may be able to feel as a soft or spongy spot underfoot.
EPDM rubber membrane: Hail bruising on EPDM often appears as small indentations or a slightly different sheen where the rubber has been compressed. Because EPDM is a single, uniform material rather than layered granules, damage can be subtler and easier to miss without close inspection.
TPO or PVC single-ply membranes: These reflective white or grey membranes tend to show hail impact as small punctures, hairline cracks along heat-welded seams, or a whitish stress mark. Because TPO is thinner than modified bitumen, it is generally more vulnerable to penetrating hail damage from larger hailstones.
In every case, granule loss, exposed fibreglass matting, and any softness underfoot are signs that a section needs professional attention rather than a do-it-yourself patch.
| Membrane Type | Typical Hail Damage Appearance | Vulnerability Level | Recommended First Response |
|---|---|---|---|
| Modified bitumen (torch-on) | Circular granule loss, exposed dark asphalt, soft spots | Moderate | Granule and mat inspection, patch if isolated |
| EPDM rubber | Subtle indentations, sheen changes, seam stress | Moderate to low | Close visual and tactile inspection of seams |
| TPO single-ply | Small punctures, hairline cracks, whitish stress marks | Higher (thinner membrane) | Seam and puncture check, welded patch if needed |
| PVC single-ply | Cracking at seams, brittleness in older membranes | Moderate, higher with age | Flexibility test, professional weld repair |
| Built-up roofing (BUR) | Gravel displacement, exposed felt layers | Low to moderate | Gravel redistribution and felt patching |
How to Spot Wind Damage: Seams, Edges, and Flashing
Wind damage tends to concentrate at predictable weak points rather than spreading randomly across the roof surface. When inspecting for wind-related issues, focus your attention on these areas first.
Perimeter edges and parapet walls take the brunt of uplift forces. Look for membrane that has pulled away from the edge metal, termination bars that have loosened, or fasteners that have backed out and left small punctures.
Seams between membrane sheets are the next most common failure point. A seam that has opened even a few centimetres allows wind-driven rain to travel underneath the membrane and spread far beyond the visible opening, which is why interior leaks often appear in a different room than the actual roof damage.
Flashing around penetrations — HVAC curbs, plumbing stacks, and skylights — can be bent, lifted, or cracked by wind gusts moving debris across the roof. If your building has a skylight and you notice condensation or a leak specifically around its frame after a windstorm, a targeted skylight replacement inspection may be warranted rather than a general membrane repair.
Loose or missing ballast, gravel, or coping caps are visual clues that wind speeds on your roof exceeded what the current installation was designed to handle, even if the membrane itself looks intact.
Repair Methods for Hail and Wind Damage
Once damage has been identified and mapped, the repair method depends on both the type of membrane and the extent of the damage. Below is an overview of the most common techniques used across the GTA.
Granule and coating touch-up: For minor hail bruising on modified bitumen where the fibreglass mat is intact, a reflective roof coating or granule-embedded patch compound can restore UV protection without a full membrane replacement.
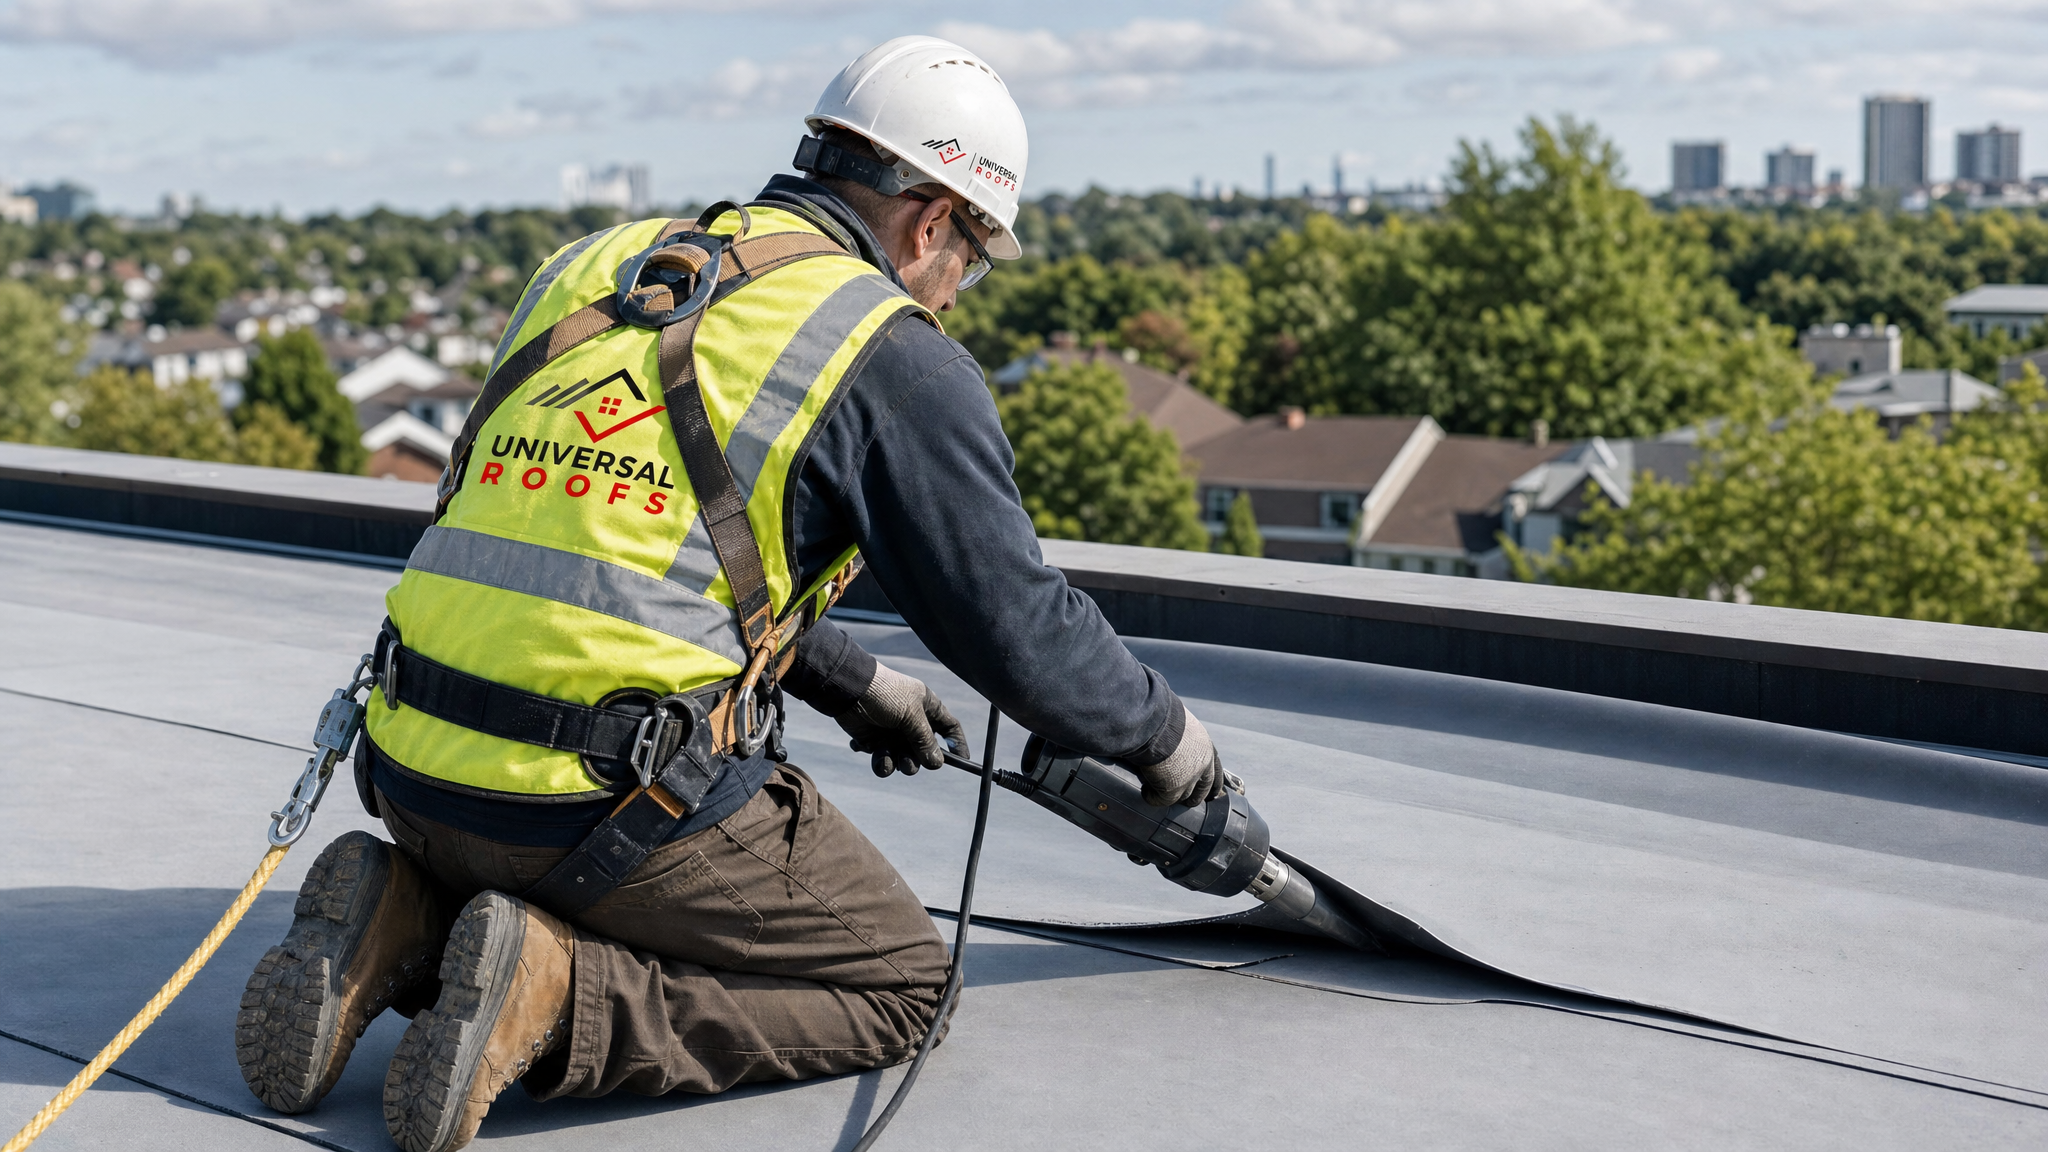
Heat-welded or chemically-welded patches: TPO and PVC membranes are repaired using a hot-air welder or solvent weld to fuse a new patch of matching material directly over the damaged area, creating a seam that is often stronger than the surrounding membrane.
Torch-applied cap sheet patches: For modified bitumen systems, a new cap sheet section is torched down over cleaned, primed damage, overlapping existing seams by at least 15 centimetres to prevent water tracking.
Liquid-applied membrane repair: EPDM seams and small punctures are often repaired with a liquid rubber compound reinforced with fabric mesh, which cures into a flexible, seamless patch that moves with the membrane through Toronto’s freeze-thaw cycles.
Fastener and edge metal resecuring: Wind-lifted edges are re-fastened to the deck and the termination bar is resealed, often combined with additional mechanical fasteners spaced more tightly than the original installation to resist future uplift.
| Repair Method | Best For | Typical Cost Range (CAD) | Typical Timeline |
|---|---|---|---|
| Granule/coating touch-up | Minor hail bruising, intact mat | $250 – $600 | Same day |
| Heat-welded patch (TPO/PVC) | Punctures, small seam failures | $400 – $1,200 | 1 day |
| Torch-applied cap sheet patch | Modified bitumen tears or bruising | $500 – $1,500 | 1 day |
| Liquid-applied membrane repair | EPDM seams, small punctures | $350 – $900 | 1 day (plus cure time) |
| Edge/fastener resecuring | Wind uplift at perimeter or parapet | $600 – $2,000 | 1 – 2 days |
| Multi-area combined repair | Widespread hail and wind damage | $1,500 – $4,500 | 2 – 4 days |
Repair vs. Replacement: Making the Right Call
One of the most difficult decisions after storm damage is whether to repair the existing membrane or move ahead with a full roof replacement. Repair is almost always the right first step when damage is isolated, the membrane is under ten to twelve years old, and there is no widespread evidence of pre-existing wear such as extensive blistering or ponding water. In these cases, a well-executed patch or resecured seam can perform for years without issue.
Replacement becomes the more sensible option when several conditions overlap: the membrane is already near or past its expected service life, storm damage is scattered across many areas rather than confined to one or two spots, or an insurance adjuster determines that the cumulative damage exceeds a reasonable repair threshold. Continuing to patch an aging roof that has taken repeated hail and wind hits often costs more over three to five years than replacing it once, since each new storm tends to find the next weak point.
A useful rule of thumb we share with GTA homeowners: if more than 25 to 30 percent of the roof surface shows storm-related damage, or if the membrane is already showing unrelated signs of age such as widespread cracking or granule loss, request a full replacement quote alongside the repair estimate so you can compare long-term value rather than just the immediate fix.
| Roof Condition | Recommended Approach | Estimated Cost Range (CAD) | Expected Lifespan After Work |
|---|---|---|---|
| Isolated hail bruise, membrane under 10 years old | Spot repair | $250 – $1,200 | 10+ years remaining |
| Scattered wind damage, membrane 10–15 years old | Multi-area repair | $1,000 – $4,500 | 5 – 8 years remaining |
| Widespread damage, membrane 15+ years old | Full replacement | $8,000 – $20,000+ | 20 – 25 years (new system) |
| Damage plus pre-existing ponding water | Full replacement recommended | $9,000 – $22,000+ | 20 – 25 years (new system) |
| Insurance-approved partial loss | Repair per adjuster scope | Varies by claim | Depends on scope |
Working With Your Home Insurance Company
Most home and commercial insurance policies in Ontario cover sudden, accidental storm damage, including hail and wind, though coverage details vary by insurer and policy age. A few practices make the claims process smoother and faster.
Get a written inspection report from a licensed roofing contractor that documents the specific damage, its likely cause, and photographs of each affected area, ideally with a date stamp. Adjusters respond well to reports that clearly separate storm-caused damage from pre-existing wear, since insurers are not obligated to cover damage attributable to age or lack of maintenance.
Keep your own records too: the date of the storm, any weather service confirmation of hail or high winds in your area, and a timeline of when you noticed interior signs of a leak. If your policy includes a deductible for wind or hail claims specifically, confirm that amount before assuming full coverage applies to the repair estimate.
It’s worth noting that a legitimate roofing contractor will never pressure you to file a claim you are unsure about, and will give you an honest opinion on whether the damage is severe enough to justify going through insurance rather than paying for a smaller repair directly.
Preventing Future Hail and Wind Damage
While no roof can be made entirely stormproof, several maintenance practices meaningfully reduce the risk and severity of future hail and wind damage on a flat roof.
- Schedule a spring and fall inspection. Catching loose seams or deteriorating flashing before storm season arrives prevents minor issues from becoming major failures during the next weather event.
- Keep drains and scuppers clear. Ponding water adds weight and accelerates membrane fatigue, making the roof more susceptible to wind uplift and hail penetration alike.
- Trim overhanging branches. Wind-driven branches are a common source of punctures during storms, particularly on roofs shaded by mature trees.
- Upgrade fastening patterns during re-roofing. If you are due for a roof replacement anyway, ask about enhanced wind-uplift fastening specifications, which exceed minimum code requirements and are worth the modest added cost in wind-exposed locations.
- Address attic ventilation. Proper attic ventilation reduces temperature-driven membrane stress that can make a roof more brittle and prone to storm damage over time.
- Keep a maintenance log. A documented history of inspections and repairs strengthens future insurance claims and helps a contractor spot recurring weak points.
Choosing a Qualified Flat Roof Repair Contractor
Storm damage brings out both reputable contractors and opportunistic “storm chasers” who go door to door in the days after severe weather. A few questions help homeowners across Halton Region and Durham Region separate the two.
Ask for proof of Workplace Safety and Insurance Board (WSIB) coverage and general liability insurance specific to roofing work, since flat roof repair involves working at height and improper coverage exposes homeowners to real risk. Ask how long the company has operated locally — a contractor that will still be answering the phone in five years matters far more than one offering the lowest bid today. Request references or check a reviews page for recent, verifiable feedback from homeowners with similar flat roof systems.
Be cautious of any contractor who pressures an immediate cash payment, refuses to provide a written scope of work, or claims your insurance company has “already approved” work before an adjuster has actually inspected the property. A legitimate flat roof specialist will walk you through the damage, explain the repair method being used and why, and put every detail in writing before work begins.
Frequently Asked Questions
What are the best expert tips for flat roof repair after hail and wind damage?
How do I know if my flat roof has hail damage?
Can wind damage a flat roof even without visible holes?
Is flat roof repair after hail and wind damage covered by insurance?
How much does flat roof repair after a storm typically cost?
When should I replace my flat roof instead of repairing storm damage?
Need Help With Expert Tips for Flat?
Storm season across the GTA brings hail and wind damage every year, and the sooner a damaged flat roof is properly assessed, the less likely a small repair turns into a costly interior leak. Universal Roofs has been helping homeowners navigate exactly this situation since 2005, from same-week inspections to full insurance documentation.
Call us today at (416) 732-2421 or request a free inspection to get started.
Universal Roofs proudly serves Toronto, Mississauga, Brampton, Vaughan, Markham, Oakville and the GTA since 2005.