
Flashing is one of the smallest components on a flat roof, yet it is responsible for more leaks than almost any other part of the assembly. If you have noticed a water stain creeping across a ceiling, a soft spot near a wall, or bubbling around a vent pipe, damaged flashing is very often the culprit. The good news is that there are proven, well-understood solutions for damaged flat roof flashing, and choosing the right one depends on how severe the damage is, how old your roofing membrane is, and how much longer you expect the roof to last.
In this guide we break down the three best solutions for damaged flat roof flashing that professional roofers actually use in the Greater Toronto Area: targeted sealant and patch repairs, full flashing strip-and-replace, and membrane-integrated flashing upgrades performed during a broader roof repair or replacement. We will also cover how Toronto’s freeze-thaw winters and humid summers accelerate flashing failure, what each option costs, and how to tell which one is right for your roof.
Whether you manage a single detached home or a commercial flat roof, understanding these options will help you have a more informed conversation with your contractor and avoid paying for more work than your roof actually needs.
What Is Flat Roof Flashing and Why It Fails
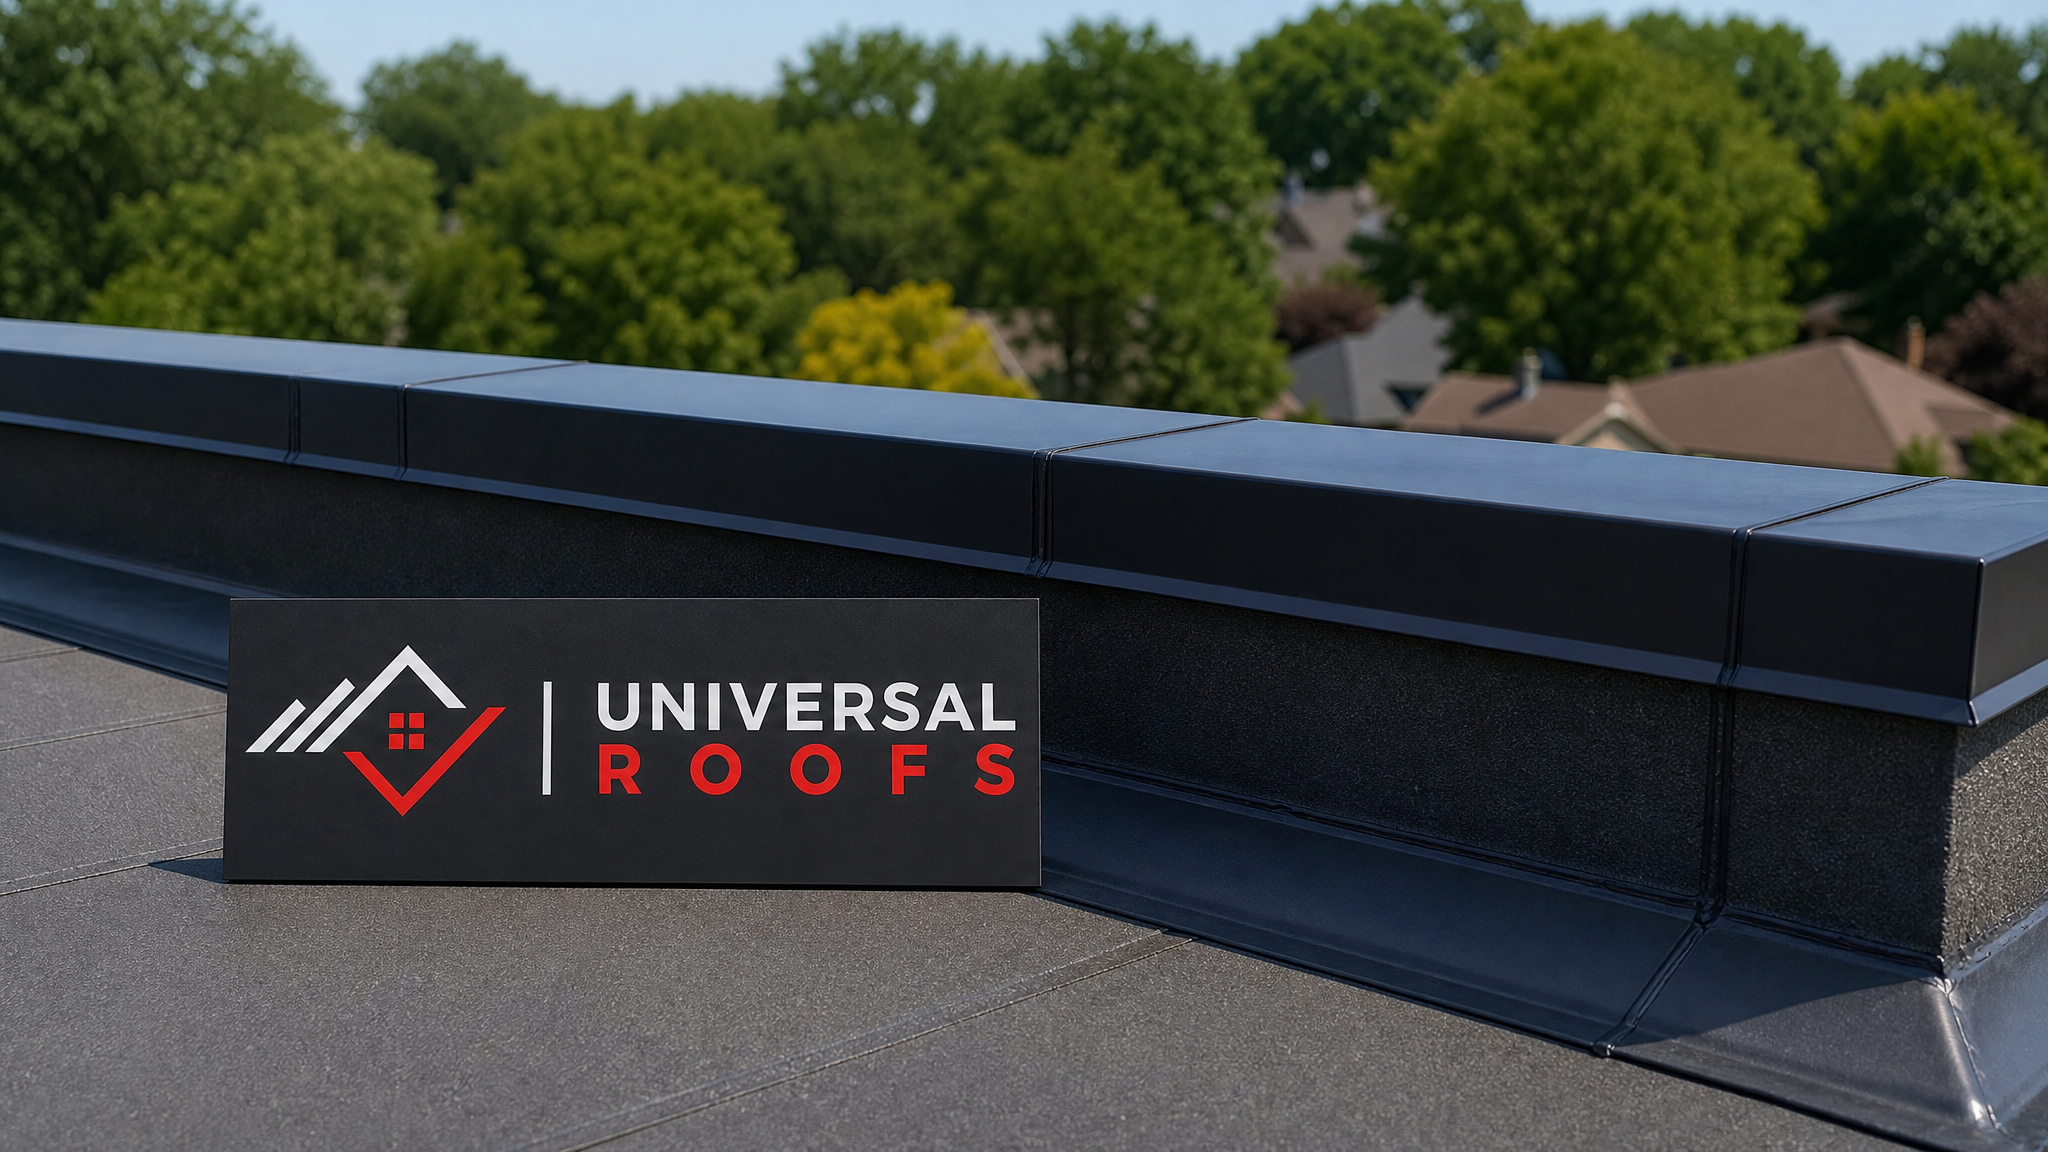
Flashing is the metal or membrane material installed at the joints, edges, and penetrations of a flat roof, everywhere the flat surface meets a wall, chimney, vent pipe, skylight, or roof edge. Its job is simple: direct water away from these vulnerable transition points so it never gets underneath the main roofing membrane. When flashing fails, water does not need a large opening to cause damage. A gap the width of a pencil is enough to let litres of water into your attic or ceiling cavity over the course of a rainy season.
Flashing typically fails for one of these reasons:
- Thermal movement — Toronto’s temperature swings from -20°C in January to over 30°C in July cause metal and membrane flashing to expand and contract repeatedly, eventually cracking sealant and loosening fasteners.
- UV degradation — Sealants and membrane-based flashing break down under years of direct sun exposure, becoming brittle and losing adhesion.
- Poor original installation — Flashing that was not properly lapped, primed, or fastened will fail years before it should.
- Age — Most flashing systems are rated for 10-15 years, shorter than the membrane itself in many cases.
- Physical damage — Falling branches, foot traffic during other repairs, or ice damming can tear or lift flashing edges.
Because flashing sits at the seams of your roofing system rather than across the open field, it is also disproportionately responsible for leaks relative to its size. Roofing inspectors routinely find that flashing detail failures, not membrane failures, account for the majority of flat roof leaks they diagnose during a roof repair call-out.
Solution 1: Spot Sealant and Patch Repair
The first and least invasive of the three solutions for damaged flat roof flashing is a targeted sealant and patch repair. This approach works best when the flashing itself is structurally sound but has developed small cracks, gaps, or lifted edges in isolated spots.
A proper patch repair involves several steps that matter as much as the materials used:
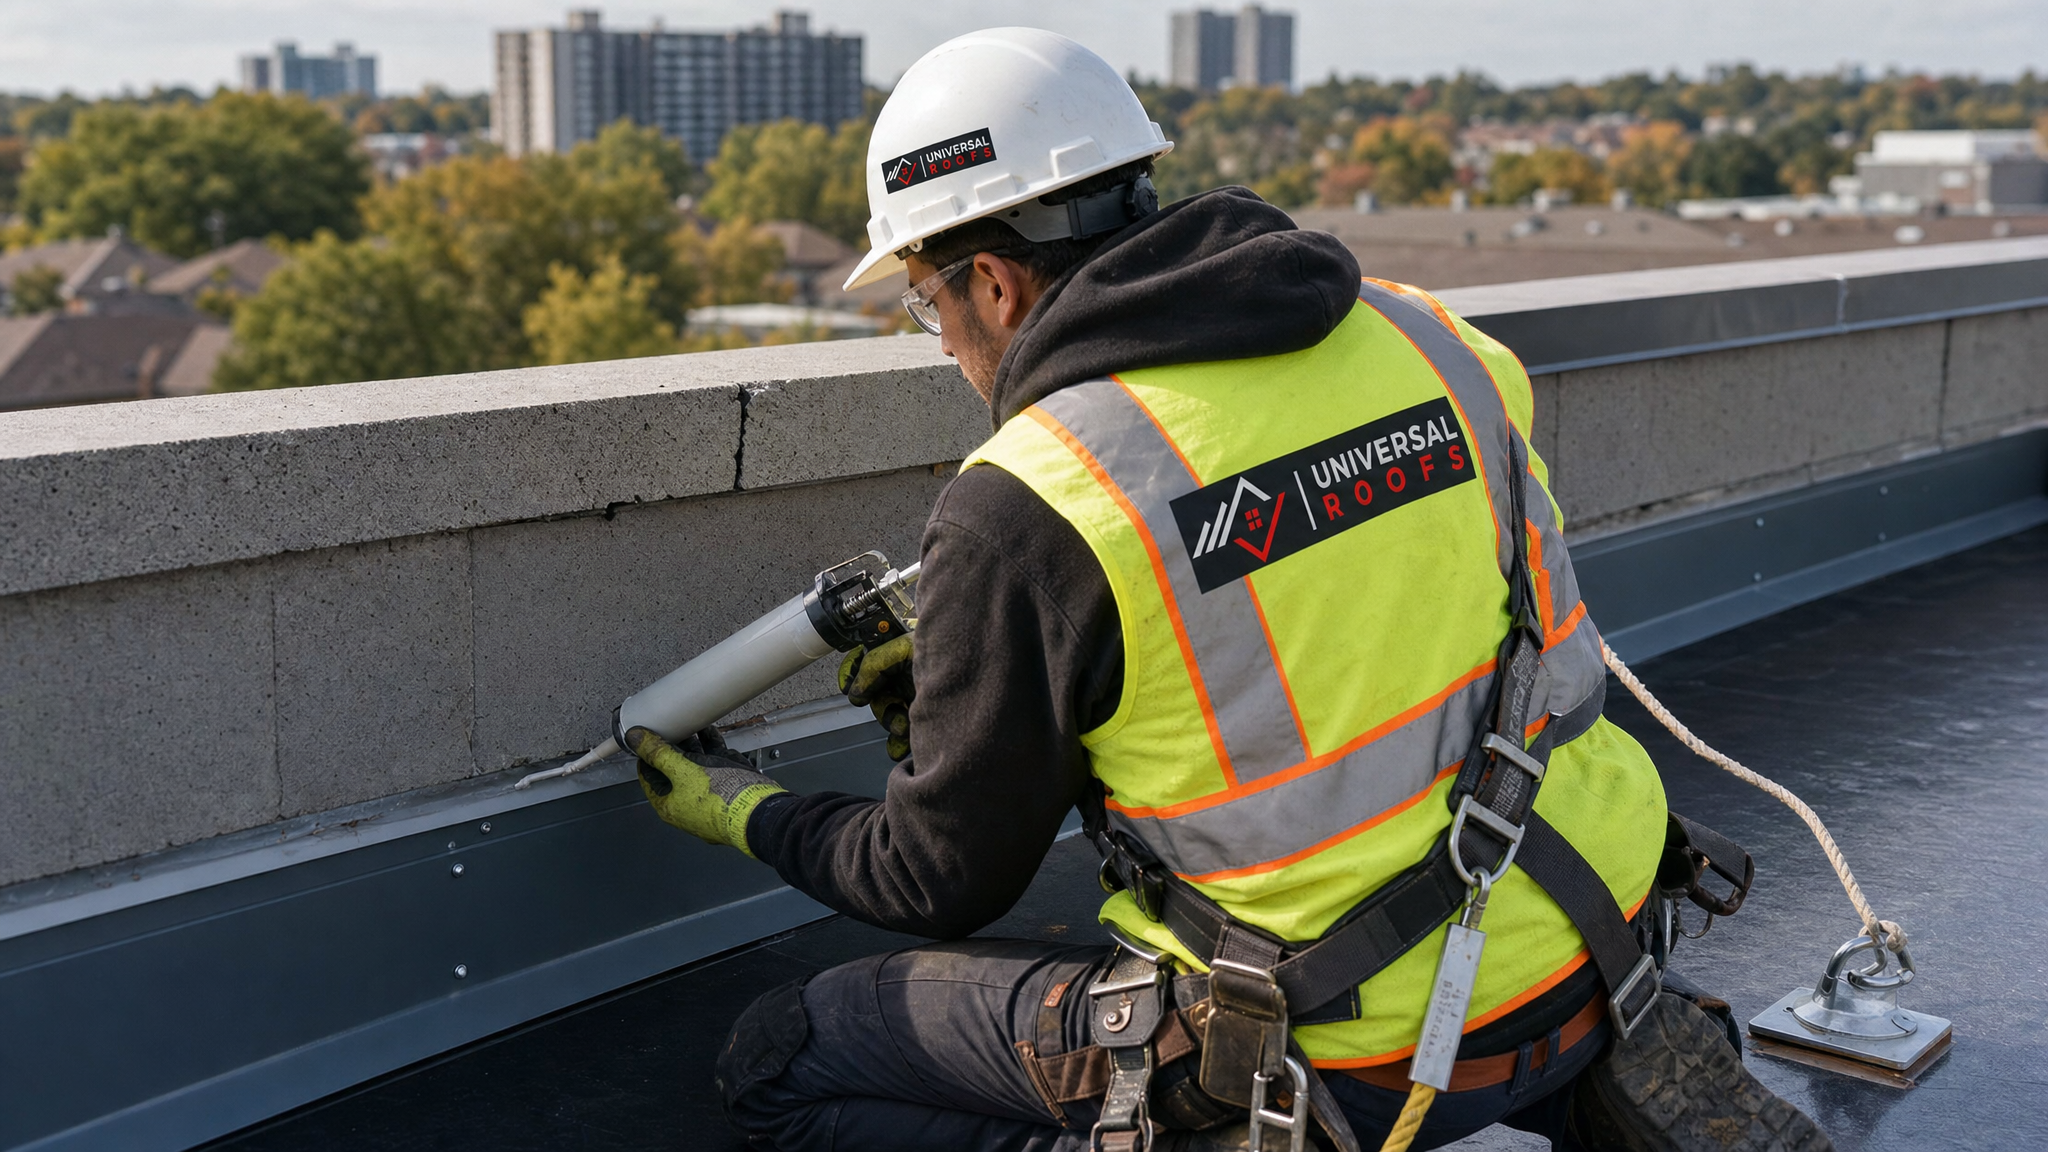
- Clean the damaged area thoroughly, removing dirt, moss, and old, failed sealant so the new material can bond properly.
- Dry the substrate completely — sealants applied over damp flashing will fail within a season.
- Apply a compatible primer if the flashing material calls for one (metal flashing and modified bitumen membranes often require different primers).
- Install a reinforced patch, typically a fibreglass mesh embedded in roofing cement or a self-adhered membrane patch, over the damaged section.
- Finish with a UV-stable sealant or coating to protect the patch from sun exposure.
This solution is fast, affordable, and ideal for isolated damage discovered early. However, it is a localized fix, not a system upgrade. If the surrounding flashing is also nearing the end of its service life, a patch will buy time but is unlikely to be a long-term answer. Homeowners should treat a successful patch repair as a signal to book a full inspection, not as proof the flashing problem is permanently solved.
| Damage Type | Patch Repair Suitable? | Typical Lifespan of Patch | Estimated Cost Range (CAD) |
|---|---|---|---|
| Small hairline crack in sealant | Yes | 3-5 years | $150-$400 |
| Lifted edge, single penetration | Yes | 4-6 years | $250-$600 |
| Corroded metal flashing (localized) | Partially | 2-4 years | $300-$750 |
| Widespread cracking across multiple joints | Not recommended | Under 2 years | $800+ (temporary only) |
| Flashing separated from wall or parapet | No | Under 1 year | Full replacement advised |
Solution 2: Full Flashing Strip-and-Replace
When flashing has failed across multiple sections, has significant corrosion, or is simply past its expected service life, the better long-term solution is a full strip-and-replace. This is the second of the three best solutions for damaged flat roof flashing, and it is the option most contractors recommend once flashing is more than 12-15 years old, regardless of the membrane’s condition.
A strip-and-replace job typically includes:
- Removing all existing flashing at the affected wall, edge, curb, or penetration back to sound substrate.
- Inspecting the underlying deck and membrane termination for hidden water damage or rot.
- Installing new base flashing (often membrane-based, self-adhered modified bitumen or a mechanically fastened metal counter-flashing) properly lapped with the field membrane.
- Installing new counter-flashing or cap flashing where the roof meets a parapet, wall, or chimney, set into a reglet or secured with proper fasteners and sealant.
- Testing the repaired sections with a water test or flood test where accessible.
This approach costs more upfront than a patch, but it addresses the root cause rather than the symptom. It is especially important around chimneys, parapet walls, and mechanical curbs, where flashing does the most work and sees the most thermal stress. Many Toronto homeowners bundle a flashing strip-and-replace with other flat roof maintenance, since the roofer is already on-site with the right tools and materials.
Solution 3: Membrane-Integrated Flashing Upgrade During Repair or Replacement
The third solution applies when flashing damage is discovered alongside broader membrane problems, or when a homeowner is already planning a larger roof replacement. In this case, the smartest long-term move is to upgrade the flashing detail as an integrated part of the new membrane system rather than treating it as a separate repair.
Modern flat roofing systems, including TPO, EPDM, and modified bitumen, are designed with flashing details engineered to be installed as one continuous system with the field membrane. This eliminates many of the weak seams that plague older flashing retrofits, where mismatched materials (old metal flashing paired with a newer membrane, for example) create differential movement and premature failure.
Benefits of a membrane-integrated flashing upgrade include:
- Flashing and field membrane share the same material and warranty, removing compatibility guesswork.
- Fewer transition seams means fewer future leak points.
- Modern reglet and termination bar details are more resistant to freeze-thaw movement than older nailed or caulked systems.
- Work can be scheduled alongside skylight curbs, vent stacks, and other penetrations for a fully coordinated waterproofing plan, which is especially relevant if your roof also includes a skylight or is due for a skylight replacement.
This is generally the most expensive of the three solutions for damaged flat roof flashing, but it is also the most durable, often carrying 15-20 year warranties on the combined system when installed by a qualified contractor.
| Solution | Best For | Average Timeline | Typical Warranty |
|---|---|---|---|
| Spot sealant/patch repair | Isolated, recent damage on younger flashing | Half day to 1 day | 1-3 years (labour/material) |
| Full strip-and-replace | Aging flashing, multiple failure points | 1-3 days | 5-10 years |
| Membrane-integrated upgrade | Roof already due for repair or replacement | 2-5 days (part of larger job) | 15-20 years |
| DIY caulk-over (not recommended) | Emergency stopgap only | Under 1 hour | None — weeks to months |
How Toronto’s Climate Accelerates Flashing Damage
The GTA’s climate is uniquely hard on flat roof flashing. Winters bring repeated freeze-thaw cycles that expand ice inside tiny cracks, widening them with every cycle. Ice damming along parapet walls and roof edges pushes meltwater directly against flashing seams, precisely where the material is already under the most mechanical stress. Summers then bring intense UV exposure and high humidity, which dry out sealants and accelerate corrosion on unprotected metal flashing.
Homeowners across Toronto, Peel Region, York Region, Halton Region, and Durham Region should expect flashing to need attention on a shorter cycle than the membrane itself, even on a well-installed flat roof. A proactive inspection every spring, after the freeze-thaw season has finished its work, is the single best way to catch flashing problems while a simple patch repair is still enough.
Signs You Need Flashing Repair Right Now
Not every flat roof problem is obvious from the ground. Look for these warning signs, ideally from a safe vantage point or with binoculars rather than climbing onto the roof yourself:
- Water stains on interior ceilings near exterior walls, chimneys, or where a wall meets the roofline.
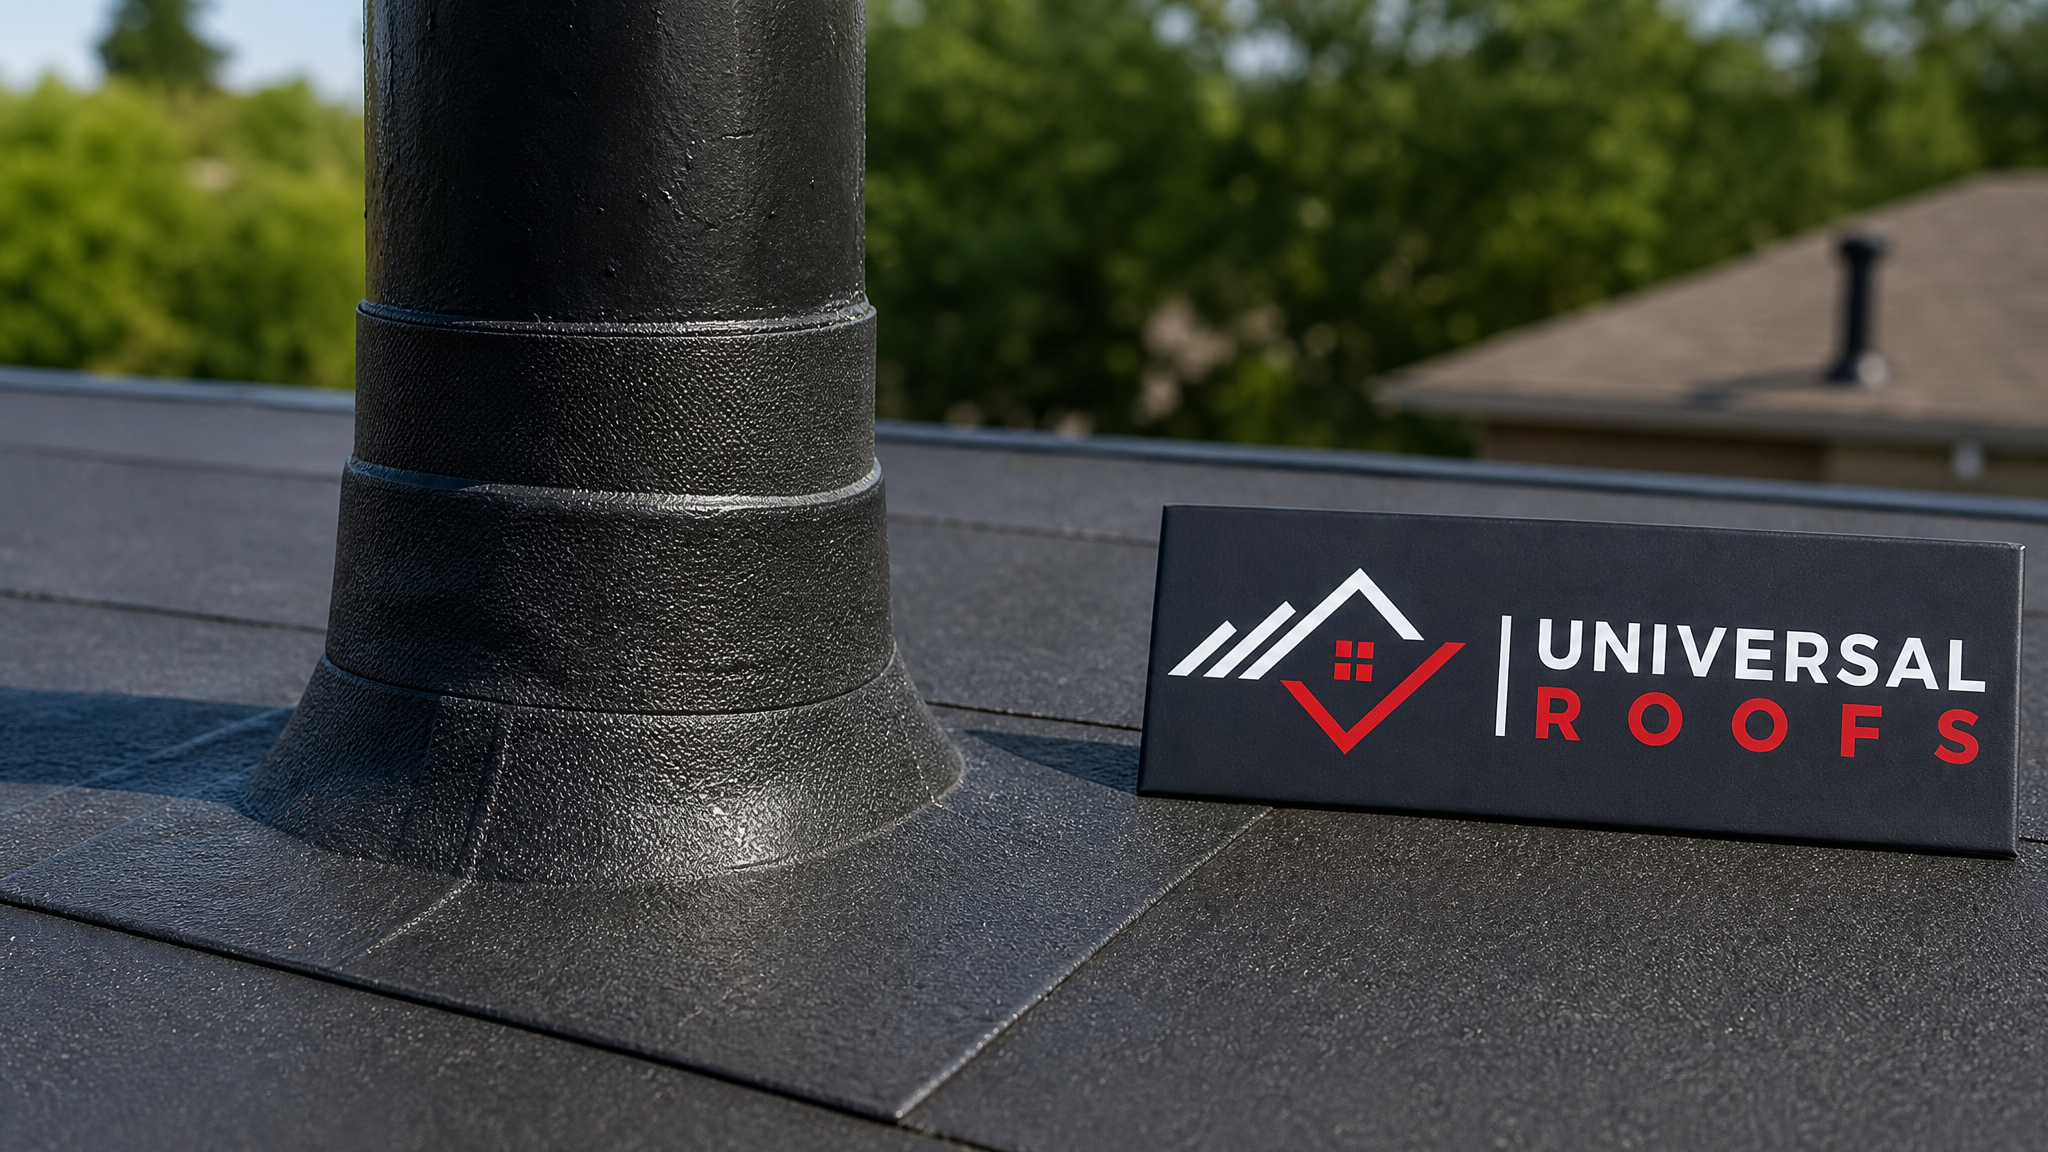
- Visible gaps, cracks, or separation where flashing meets a parapet wall, vent pipe, or skylight curb.
- Rust streaks running down the face of metal flashing.
- Bubbling or lifted membrane near a flashing edge.
- Sealant that has become chalky, cracked, or has pulled away from the flashing.
- Musty smells or visible mould near an attic hatch or top-floor ceiling, which often points to a chronic slow leak through failed flashing rather than the membrane field itself.
Any one of these signs is a reason to book an inspection before the next significant rainfall. Small flashing failures are inexpensive to fix. Left unaddressed through even one more Toronto winter, they frequently escalate into rotted decking, damaged insulation in the attic, and interior drywall repairs that cost far more than the roofing fix itself.
Choosing the Right Solution for Your Roof
With three legitimate solutions for damaged flat roof flashing available, the right call depends on a few practical questions:
- How old is the flashing? Under 8 years with isolated damage generally favours a patch repair. Over 12-15 years favours strip-and-replace or a full membrane-integrated upgrade.
- How extensive is the damage? A single failed seal at one penetration is a patch job. Multiple failure points across several walls or curbs point toward a full replacement.
- What is the condition of the field membrane? If the membrane itself is near the end of its life, it rarely makes sense to invest in standalone flashing repair — plan for an integrated upgrade instead.
- What is your time horizon? If you plan to sell the property soon or need a fast, budget-conscious fix, a patch may be appropriate. If you plan to stay long-term, the durability of a full replacement or integrated upgrade pays for itself.
A qualified roofer should always inspect the full extent of the damage, including probing for soft decking and checking insulation for moisture, before recommending one of these three approaches. Any contractor who recommends a full tear-off without first explaining why a targeted repair would not hold is worth a second opinion, and the reverse is true as well: a contractor who proposes another quick patch on flashing that is clearly at the end of its service life is only delaying an inevitable, more expensive fix.
What a Professional Flashing Repair Should Include
Whichever solution fits your roof, a professional flashing repair or replacement should never be a rushed, single-material job. At minimum, expect your contractor to:
- Provide a written scope describing exactly which sections of flashing will be repaired or replaced.
- Use materials compatible with your existing membrane type (EPDM, TPO, modified bitumen, or built-up roofing all use different flashing details).
- Prime substrates properly before applying any adhesive or sealant.
- Photograph the damage before and after the work for your records.
- Offer a written warranty on both labour and materials.
- Check and, if needed, address related components like eavestroughs, roof drains, and parapet caps that interact with the flashing system.
These standards separate a durable repair from a stopgap measure that will need to be redone within a year or two. Homeowners can also review a contractor’s reviews and ask direct questions using resources like a contractor’s FAQ page before committing to any of the three solutions outlined above.
| Flashing Location | Common Failure Mode | Inspection Frequency | Priority Level |
|---|---|---|---|
| Roof drains and scuppers | Sealant erosion, debris blockage | Twice yearly | High |
| Parapet wall caps | Cracked coping, loose fasteners | Annually | Medium |
| HVAC curb flashing | Vibration-loosened seams | Annually with HVAC service | High |
| Roof edge metal | Wind uplift, fastener back-out | Annually | Medium |
| Skylight curb flashing | Sealant UV breakdown | Twice yearly | High |
What are the best solutions for damaged flat roof flashing?
How do I know if my flat roof flashing is damaged?
Can damaged flat roof flashing be repaired without replacing the whole roof?
How much does flat roof flashing repair cost in Toronto?
Why does flat roof flashing fail so often in the GTA?
Should I hire a professional or attempt a DIY fix for damaged flashing?
Need Help With 3 Best Solutions for?
If you have spotted signs of flashing damage on your flat roof, do not wait for the next storm to find out how bad it really is. The team at Universal Roofs has been diagnosing and repairing flat roof flashing across the GTA since 2005, and we will always recommend the right one of these three solutions for your specific roof, not the most expensive one.
Call us today at (416) 732-2421 or request a free inspection to get started.
Universal Roofs proudly serves Toronto, Mississauga, Brampton, Vaughan, Markham, Oakville and the GTA since 2005.