
If you have ever had a roofer point at a strip of bent metal near your chimney and say “that’s your flashing,” you have probably wondered what the fuss is about. Flashing looks like a small detail compared to the shingles, decking, and underlayment that make up most of a roof system, but it is often the single biggest factor in whether a roof leaks. Understanding the purpose of flashing in roof repair is essential for any GTA homeowner trying to diagnose a leak, plan a repair, or simply keep their roof performing the way it should through our freeze-thaw winters and humid summers.
At its core, flashing is a thin, weatherproof material — almost always metal — installed at any point where the roof surface changes direction, is interrupted by a protrusion, or meets a vertical wall. Shingles and roofing membranes are excellent at shedding water on flat, uninterrupted planes, but they cannot bend around a chimney corner or seal themselves against a brick wall. Flashing fills that gap. It creates a continuous, engineered water-diversion path so that rain, meltwater, and wind-driven moisture are directed back onto the roof surface and down into the gutters, rather than finding a way into the wood decking, attic, and eventually the ceiling below.
In this guide we will walk through exactly what flashing does, the different types used on GTA homes, the materials contractors choose and why, the warning signs of flashing failure, and what a proper flashing repair or replacement involves. Whether you are dealing with a slow drip after a spring rainstorm or you are simply trying to understand your roof repair estimate, this article covers the full picture.
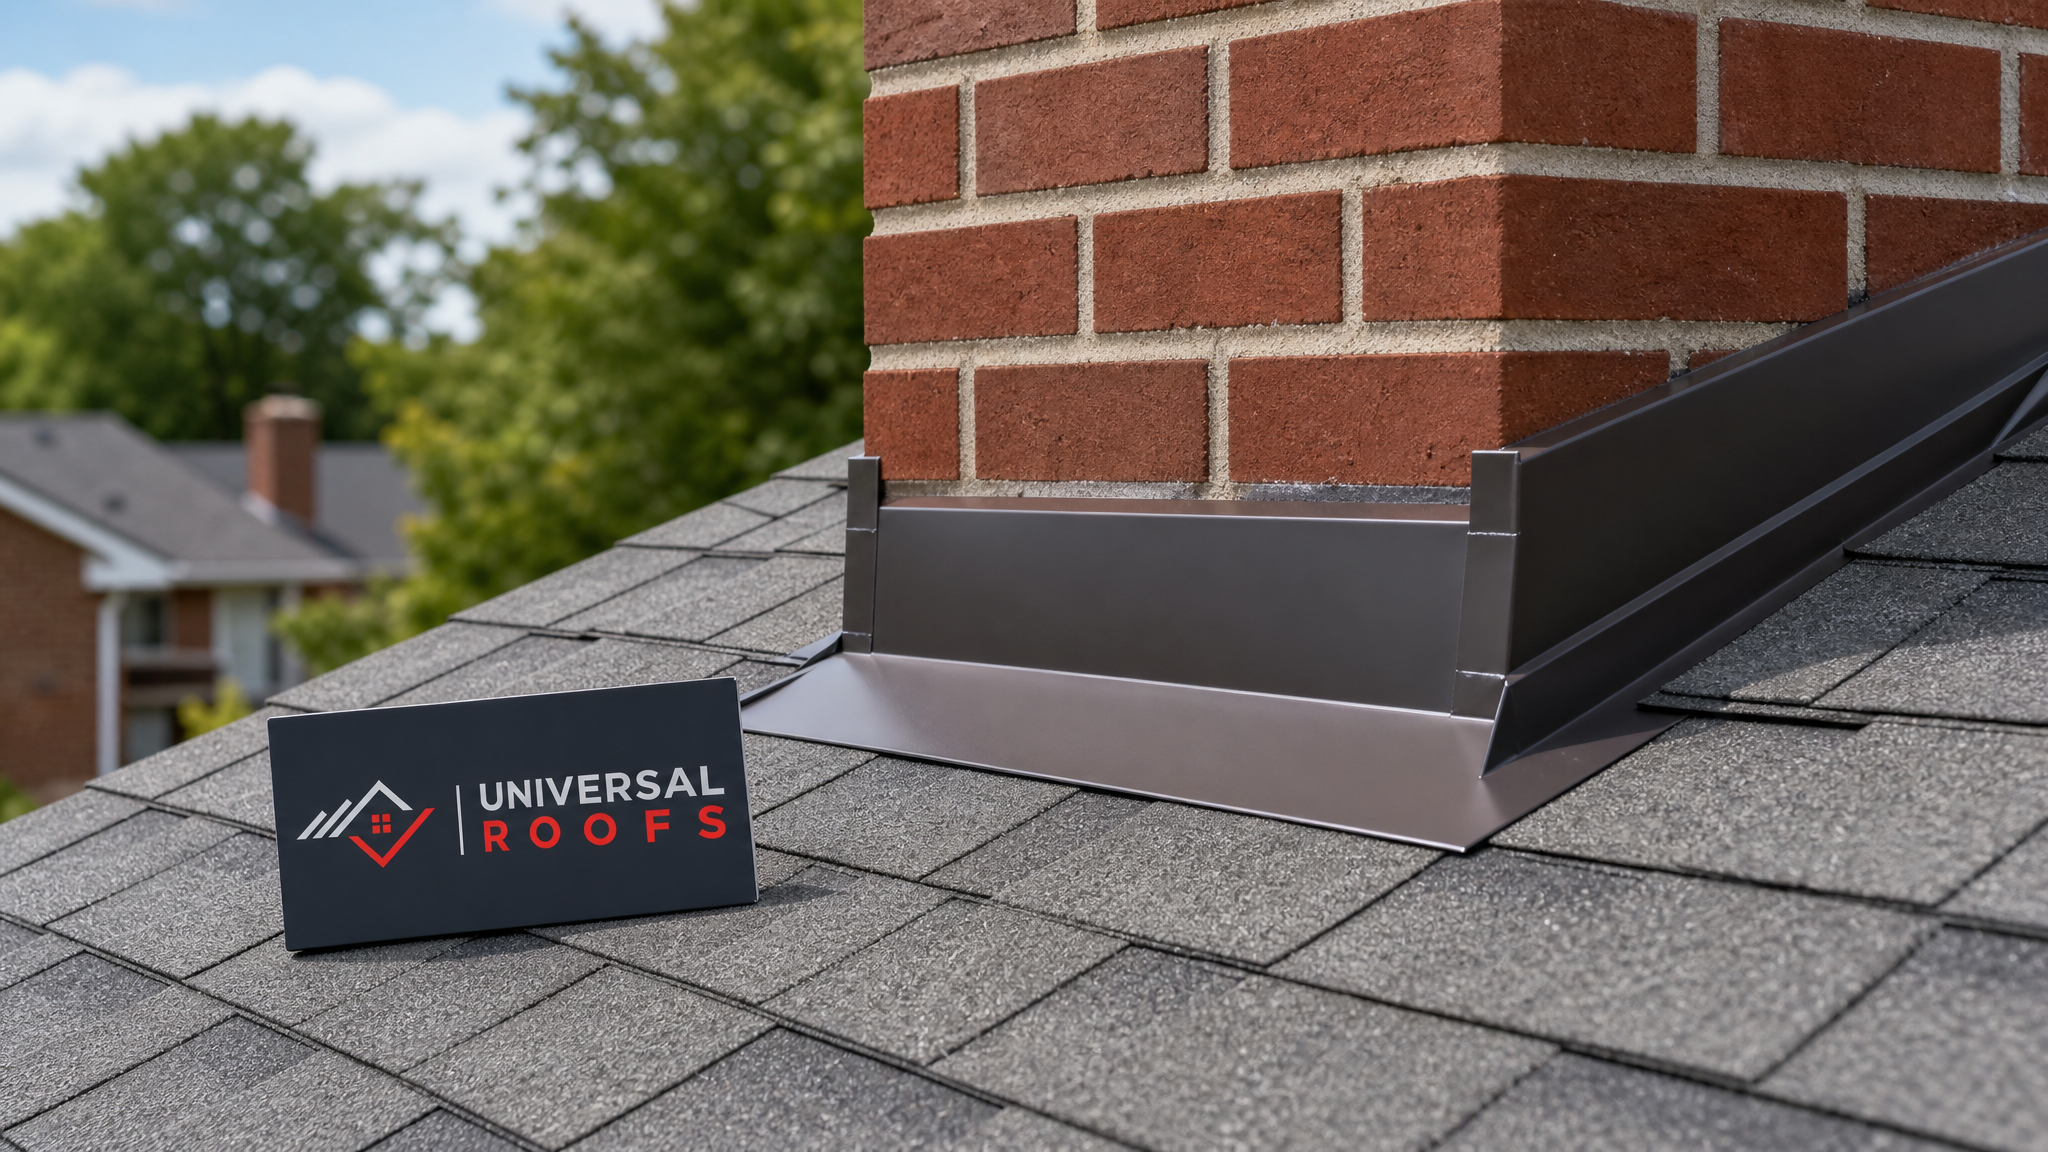
The Core Purpose of Flashing in Roof Repair
The purpose of flashing in roof repair comes down to one job: stopping water intrusion at the weak points of a roof system. Shingles, membranes, and tiles are designed to overlap and shed water when they are laid flat, in an unbroken plane, sloped consistently downward. The moment that plane is broken — by a chimney, a skylight, a dormer wall, a vent pipe, or a valley where two roof slopes meet — you introduce a seam. Seams are where roofs fail.
Flashing solves this by physically bridging the seam with a durable, corrosion-resistant material that is shaped to match the geometry of the joint and installed in a specific overlapping sequence (often called “shingle-fashion”) so that water always flows over the top of the next piece down, never underneath it. When installed correctly, flashing:
- Directs water away from vertical surfaces and back onto the sloped roof plane
- Prevents wind-driven rain from being forced sideways or upward into gaps
- Accommodates the natural expansion and contraction of roofing materials in Toronto’s temperature swings
- Protects the wood roof deck from rot, which in turn protects the structural integrity of the whole roof
- Reduces the risk of ice damming by keeping meltwater channels clear and properly diverted in winter
Roofers often say that a roof rarely fails in the middle of a clean shingle field — it fails at the transitions. That is precisely why flashing quality and installation technique matter more than almost any other single detail in a roof replacement or repair project.
Where Flashing Is Used on a Typical GTA Roof
Every roof has multiple flashing points, and each one serves a slightly different function depending on its location and the geometry it is protecting. Below is a breakdown of the most common flashing locations found on homes across Toronto, Mississauga, Vaughan, and the wider GTA.
| Flashing Location | What It Protects | Typical Material | Common Failure Mode |
|---|---|---|---|
| Chimney base and sides | Roof-to-masonry joint | Step flashing + counterflashing | Mortar joint erosion, rusted metal |
| Roof valleys | Where two slopes meet | Open metal valley or woven shingle valley | Debris buildup causing water backup |
| Sidewalls and dormers | Roof-to-vertical-wall joint | Step flashing | Missing pieces after siding work |
| Skylight perimeter | Roof-to-frame joint | Manufacturer skylight flashing kit | Improper kit installation, aged sealant |
| Vent pipes and stacks | Roof penetrations | Rubber boot with metal base | Cracked rubber collar from UV exposure |
| Roof edges (drip edge) | Perimeter water shedding | Aluminum drip edge | Bent or missing sections |
| Low-slope to steep-slope transitions | Change in roof pitch | Transition/apron flashing | Undersized overlap, ponding |
Homes with a flat roofing section attached to a steep-slope section — a common layout on additions and older Toronto homes — need particular attention at that transition point, since it combines two very different water-shedding mechanisms in one seam.
Common Types of Roof Flashing and How They Work
Not all flashing looks the same, and using the wrong type in the wrong place is one of the most frequent mistakes we see when we inspect a leaking roof that someone else installed or patched. Here is how the main types differ.
Step Flashing
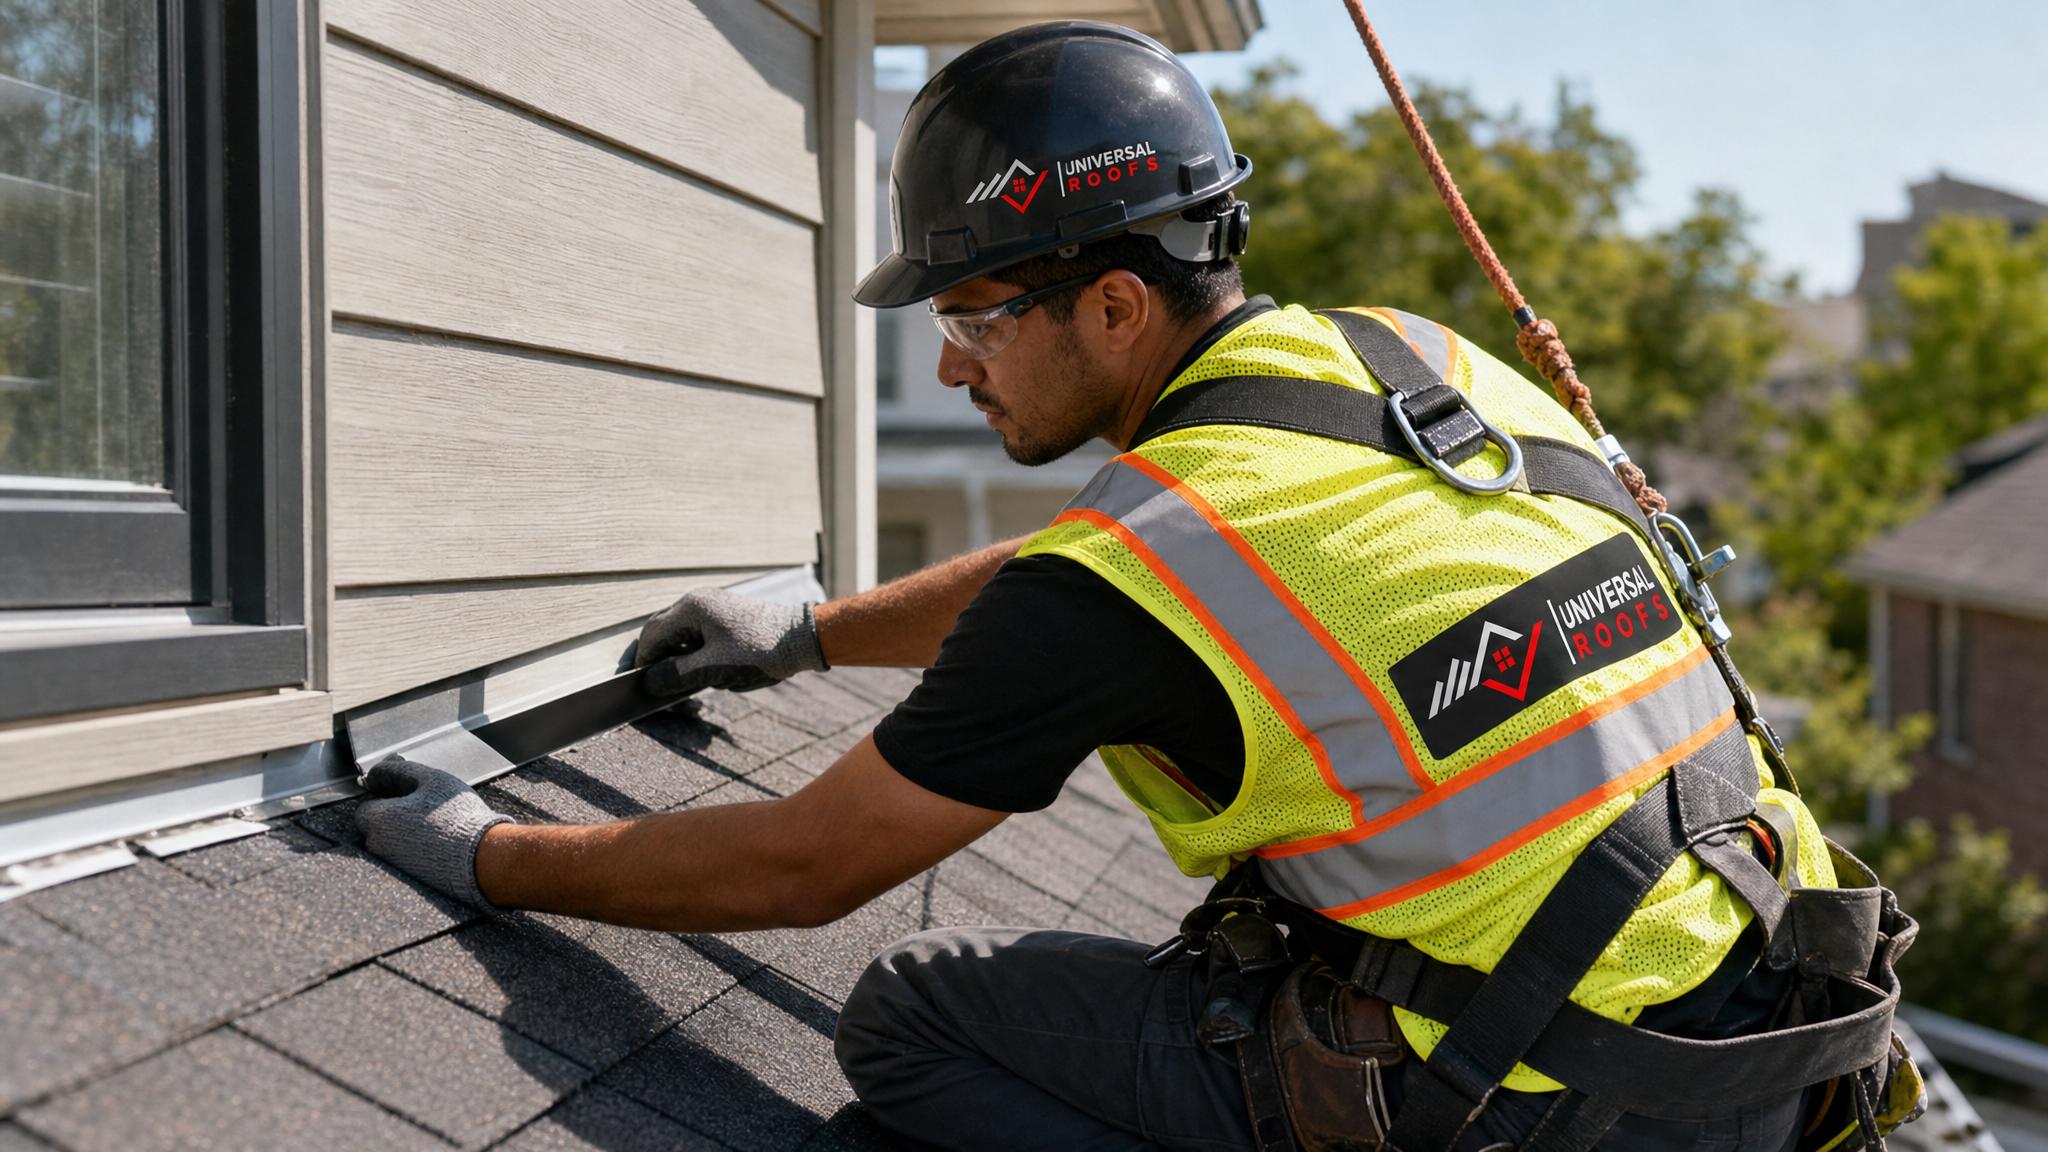
Step flashing consists of small, L-shaped pieces of metal, each roughly 5 by 7 inches, installed one at a time with every course of shingles along a sidewall or dormer. Each piece overlaps the one below it and is partially covered by the next shingle course, creating a stair-step pattern (hence the name) that channels water down and away from the wall. Step flashing should never be replaced with a single continuous strip of metal — continuous flashing cannot flex with the roof and will eventually crack or pull away at the fasteners.
Counterflashing
Counterflashing is the companion piece to step flashing at masonry surfaces like chimneys. While step flashing is woven into the shingle courses, counterflashing is embedded into a cut mortar joint (called a “reglet”) above it and folded down to overlap the step flashing completely. This two-layer system means that even if water gets behind the counterflashing, it still lands on the step flashing below and is carried onto the roof surface, not into the wall cavity.
Valley Flashing
Valleys concentrate more water than any other part of a roof, since they collect runoff from two full slopes. Open metal valleys — typically galvanized steel, aluminum, or copper — leave a visible metal channel down the centre of the valley. Closed or woven valleys use overlapping shingles instead, with a rubberized underlayment beneath. Open metal valleys generally handle Toronto’s heavy spring runoff and winter ice better because debris and ice have a smoother path to shed.
Drip Edge
Installed along the eaves and rakes (the horizontal and sloped edges of the roof), drip edge flashing directs water past the fascia and into the gutter instead of allowing it to curl back underneath the shingles by capillary action. It is a small, inexpensive component, but its absence is a leading cause of fascia board rot on older homes that predate its widespread code adoption.
Skylight and Vent Flashing
Modern skylights come with a manufacturer-engineered flashing kit that is specific to the roof pitch and skylight model. Using a generic or improvised flashing detail on a skylight is one of the fastest ways to create a chronic leak, which is why kit mismatches are a leading reason we see calls for skylight replacement rather than simple resealing. Vent pipe flashing typically uses a rubber or thermoplastic boot fitted over a metal base plate, and the rubber component is the first part to degrade under UV exposure.
Flashing Materials Compared
The material a contractor chooses for flashing affects both its lifespan and its compatibility with the surrounding roofing materials. Mixing incompatible metals, for example, can trigger galvanic corrosion over time. Here is how the most common flashing materials compare for GTA roofs.
| Material | Typical Lifespan | Cost Level | Best Use Case | Notes for GTA Climate |
|---|---|---|---|---|
| Aluminum | 20-30 years | Low-moderate | Drip edge, valleys, general use | Lightweight, resists rust, can corrode near coastal-style de-icing salt use |
| Galvanized steel | 15-25 years | Low | Step flashing, valleys | Zinc coating wears over decades of freeze-thaw cycling |
| Copper | 50-plus years | High | Chimneys, heritage homes, premium valleys | Develops a protective patina, excellent longevity |
| Lead-coated copper | 50-plus years | High | Complex masonry details | Highly malleable for tight custom bends |
| PVC/rubber boots | 10-15 years | Low | Vent pipe penetrations | UV exposure shortens lifespan; check annually |
For most residential repairs in Toronto and the surrounding regions, aluminum and galvanized steel remain the practical choice given their balance of cost and performance, while copper is often reserved for heritage properties or chimneys where longevity justifies the higher upfront cost.
Warning Signs Your Flashing Has Failed
Flashing failure rarely announces itself with a dramatic leak on day one. It typically starts small and worsens with each freeze-thaw cycle or heavy rainstorm. Homeowners should watch for the following signs, particularly after a hard winter or a summer thunderstorm season.
- Water stains on ceilings or walls near a chimney, skylight, or where an addition meets the main roofline
- Rust streaks or visibly lifted metal around chimneys, vents, or wall junctions when viewed from the ground with binoculars
- Granules or debris collecting in valleys, which can trap moisture against the metal
- Daylight visible through the attic at any roof penetration point
- Musty odours in the attic that suggest slow, ongoing moisture intrusion rather than a single leak event
- Cracked or dried-out sealant around skylight or vent flashing, especially after several summers of UV exposure
Because so many of these signs are subtle, an annual inspection is the most reliable way to catch flashing problems before they cause interior damage. A quick visual check after major storms is also worthwhile, particularly for homes in the Toronto, Peel Region, York Region, Halton Region, and Durham Region areas, where microbursts and heavy summer downpours are increasingly common.
Why Freeze-Thaw Cycles Make Flashing Even More Important in Toronto
Toronto’s climate puts flashing through a demanding annual cycle. Winters bring repeated freeze-thaw swings that cause ice to form along eaves and around penetrations, and that ice expands as it forms, prying at fasteners and sealant joints. Spring brings rapid snowmelt that sends large volumes of water toward valleys and chimney bases all at once. Summer thunderstorms then test every seal with intense, short-duration rainfall, and the same UV exposure that fades a deck also dries out rubber boots and caulking around vent flashing.
This is why flashing designed for a milder, drier climate does not always hold up here, and why proper overlap, fastener placement, and material selection matter more in the GTA than in regions with gentler weather. A flashing detail that is “good enough” in a dry climate can fail within a few winters in Toronto if it was not built to account for ice and thermal movement.
Flashing Repair Options: Patch, Reseal, or Replace
Not every flashing issue requires a full tear-off and reinstall. The right approach depends on the extent of the damage, the age of the surrounding roofing material, and whether the flashing was installed correctly in the first place. The table below outlines the typical repair paths and what to expect from each.
| Repair Approach | When It Applies | Typical Timeline | Expected Result |
|---|---|---|---|
| Resealing existing flashing | Metal is sound, only sealant has dried out | Same-day | Short-to-medium term fix, needs monitoring |
| Spot replacement of a few step flashing pieces | Isolated corrosion or storm damage | 1 day | Long-term fix if surrounding shingles are healthy |
| Full chimney flashing rebuild | Counterflashing pulled from mortar, widespread rust | 1-2 days | Restores full watertight seal |
| Valley flashing replacement | Metal thinning, granule loss, visible pinholes | 1-2 days | Prevents high-volume runoff leaks |
| Full flashing replacement during reroofing | Roof nearing end of life, multiple failure points | Included in reroof timeline | Complete system renewal, longest lifespan |
A qualified roofer will always inspect the roof deck underneath a failed flashing point before repairing it. If moisture has already reached the plywood, patching the flashing alone will not solve the underlying problem — the damaged decking needs to be addressed first, or the leak will simply resurface in another form.
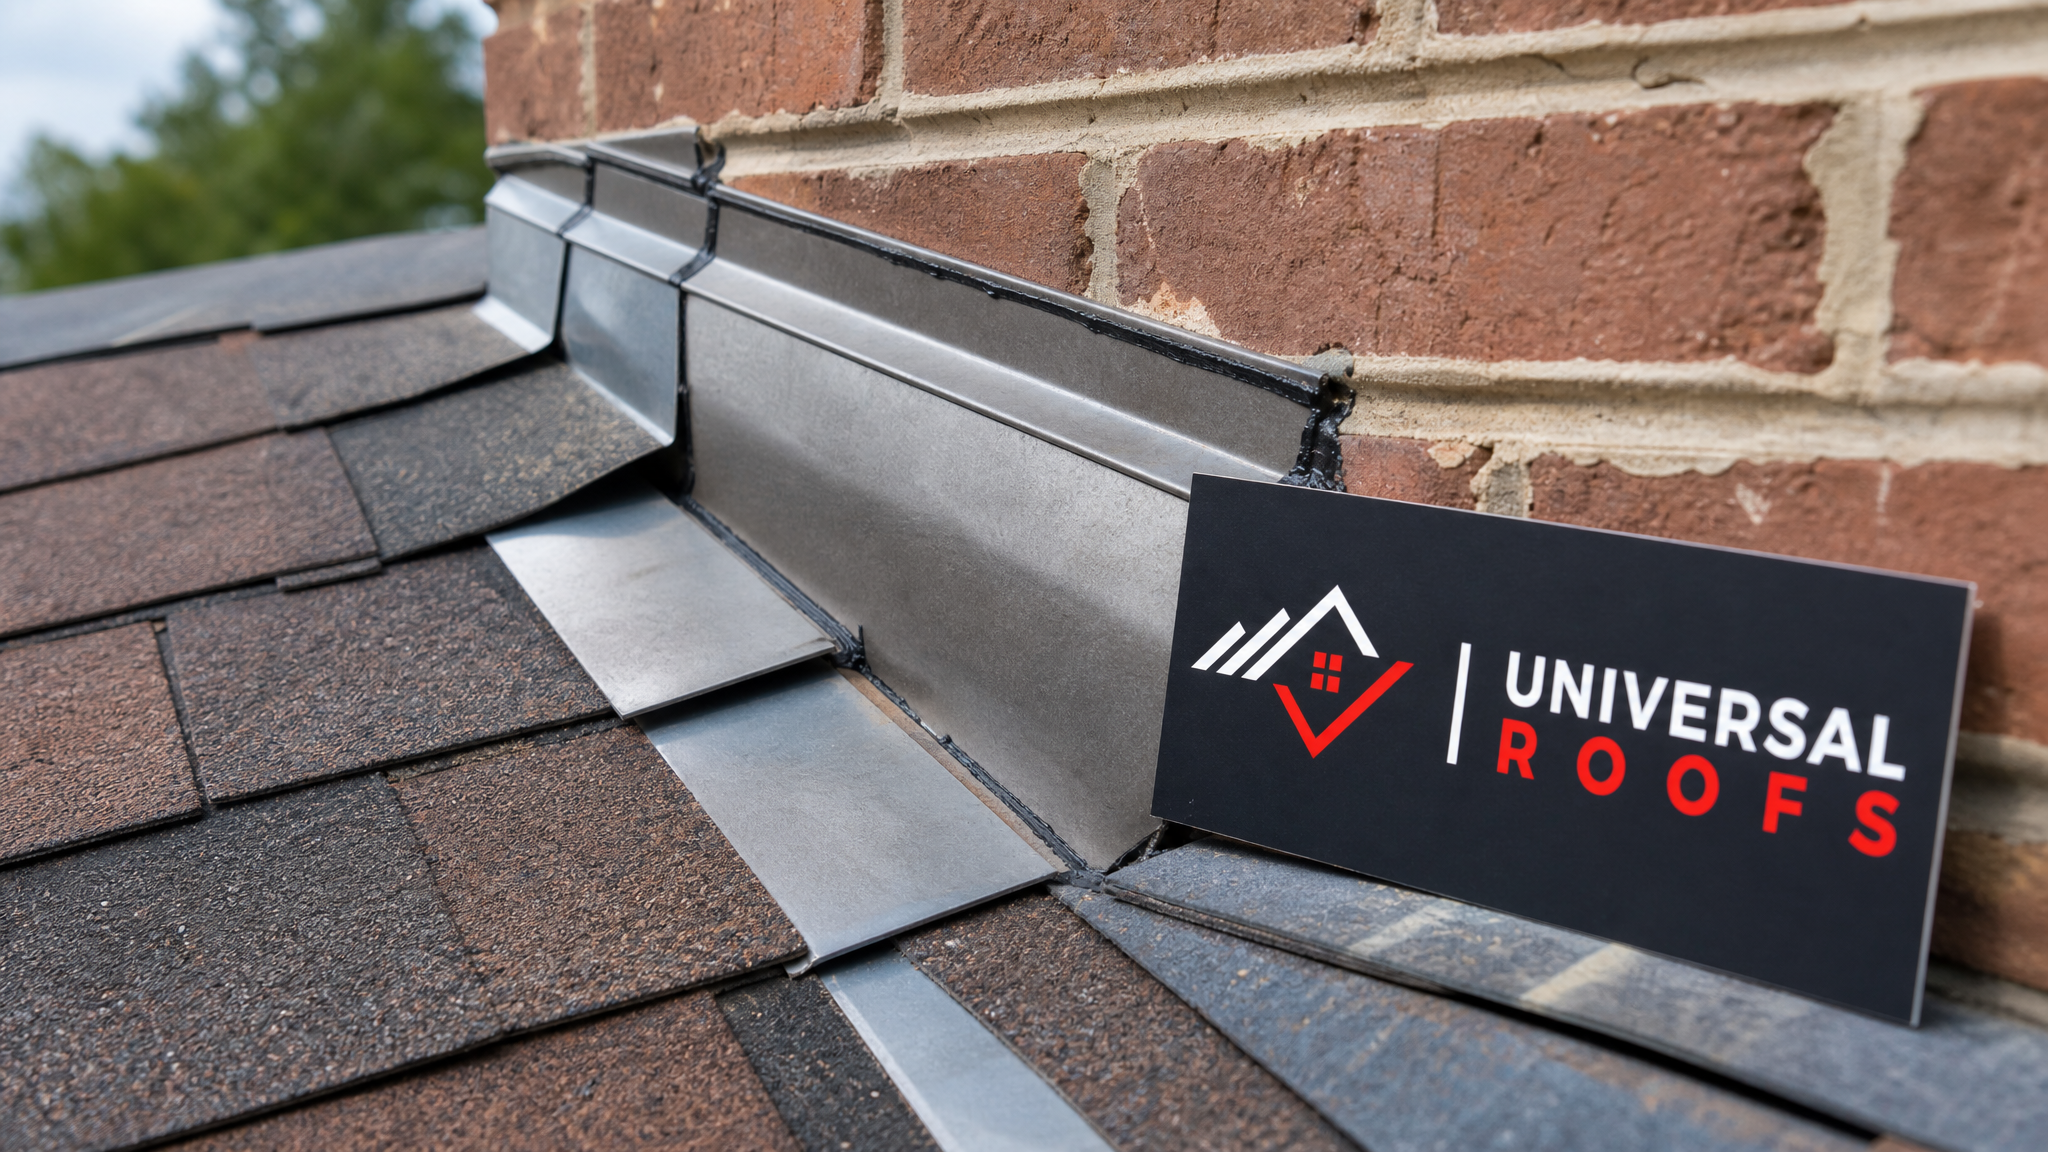
How Proper Flashing Installation Is Verified
Because flashing failures are often hidden until they cause visible damage, verifying correct installation matters as much as the material choice. A thorough flashing repair or replacement should include:
- Removing the affected shingles rather than working around them, so the flashing sits fully beneath the correct courses
- Cutting a clean reglet into mortar joints for counterflashing rather than surface-mounting it with sealant alone
- Using corrosion-resistant fasteners compatible with the flashing metal to avoid galvanic reactions
- Applying a compatible sealant only as a secondary defence, never as the primary waterproofing method
- Checking that overlaps run in the correct shingle-fashion direction relative to water flow
- Confirming the roof deck beneath the flashing is dry and sound before closing up the repair
This level of attention is exactly why flashing work is often the most labour-intensive part of an otherwise “simple” roof repair — the materials themselves are inexpensive, but the craftsmanship required to get every overlap and joint right takes time and experience. If you are unsure whether your existing flashing was installed to this standard, it is worth reviewing homeowner feedback on our reviews page or checking our FAQ for answers to related roofing questions before booking an inspection.
Flashing and Attic Health
Flashing failures do not just threaten ceilings and walls directly below the leak point — they also affect attic conditions over time. Persistent moisture intrusion around a chimney or vent stack raises humidity levels in the attic, which can lead to mould growth on the underside of the roof deck, reduced effectiveness of insulation, and accelerated wood rot in rafters and sheathing. Because of this connection, a proper roof inspection should always include a look at the attic from the inside, checking for staining, damp insulation, or daylight visible around penetrations — all of which point back to a flashing issue on the exterior.
What is the purpose of flashing in roof repair?
How do I know if my roof flashing needs repair?
Can flashing be repaired without replacing the whole roof?
What material is best for roof flashing in Toronto’s climate?
Why does flashing fail more often than the shingles around it?
How often should roof flashing be inspected?
Need Help With What Is the Purpose?
Understanding the purpose of flashing in roof repair is the first step toward protecting your home from slow, hidden water damage. If you have noticed staining, rust, or a musty smell in your attic, the team at Universal Roofs can pinpoint exactly which flashing detail is letting water in and fix it properly the first time.
Call us today at (416) 732-2421 or request a free inspection to get started.
Universal Roofs proudly serves Toronto, Mississauga, Brampton, Vaughan, Markham, Oakville and the GTA since 2005.