
Flashing is one of the smallest components on your roof, yet it causes some of the largest headaches for GTA homeowners. These thin strips of metal are installed at every joint, valley, and penetration to keep water from finding its way inside your house. When flashing fails, the damage is rarely obvious at first — it hides behind drywall, inside attic insulation, and along roof edges where nobody thinks to look.
At Universal Roofs, we have been inspecting and repairing flashing on Toronto-area homes since 2005, and the pattern is always the same: homeowners call us after a stain appears on the ceiling, but the flashing problem that caused it had usually been developing for a year or more. Catching the early signs saves thousands of dollars in repair costs and prevents the kind of structural damage that turns a simple roof repair into a much bigger project.
This guide walks through exactly what to look for, both inside and outside your home, so you can recognize failing flashing before it becomes an emergency. We will also cover the different types of flashing found on GTA roofs, how our freeze-thaw winters accelerate wear, and when a repair is enough versus when you should be planning for a full replacement.
What Roof Flashing Actually Does
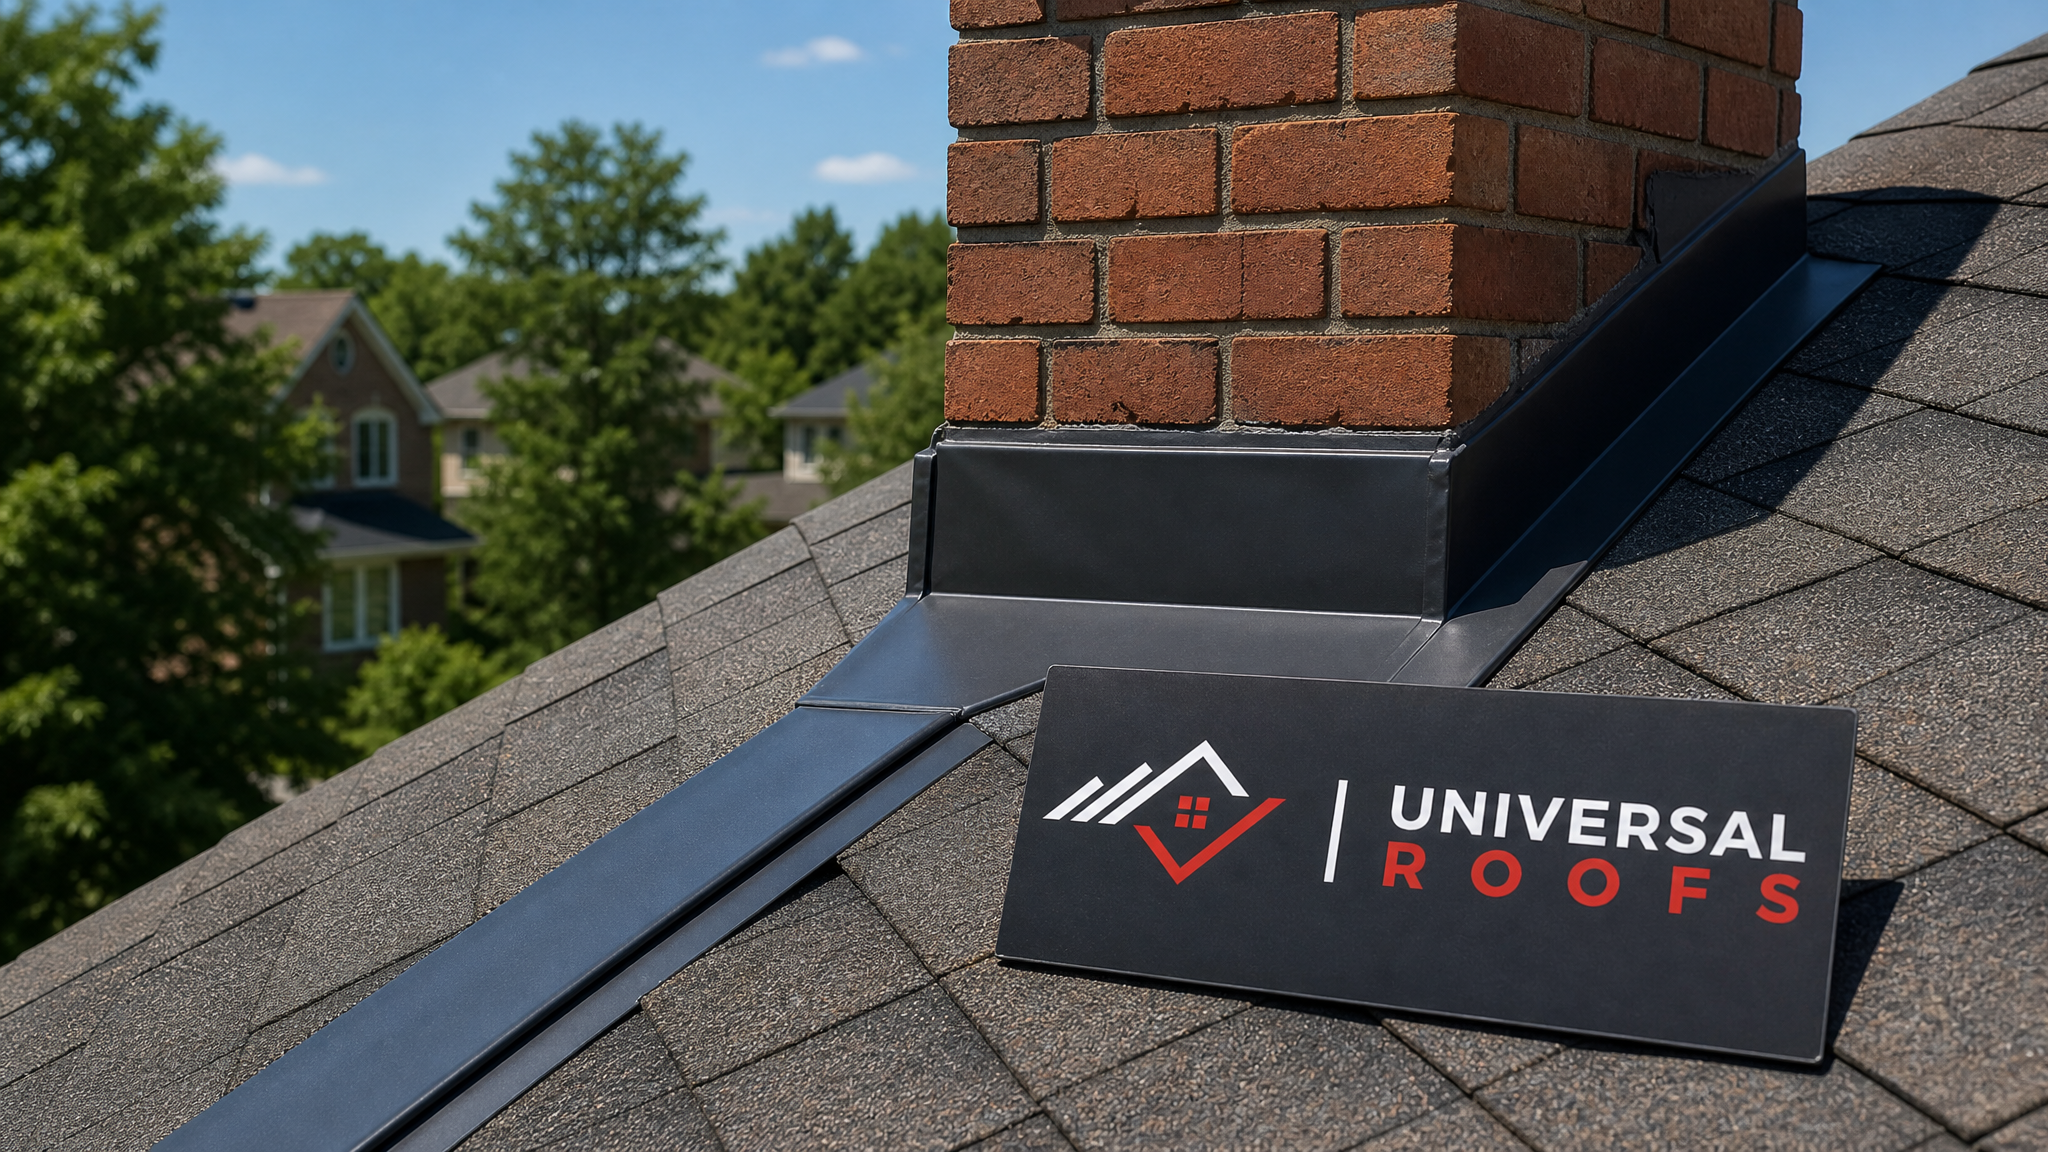
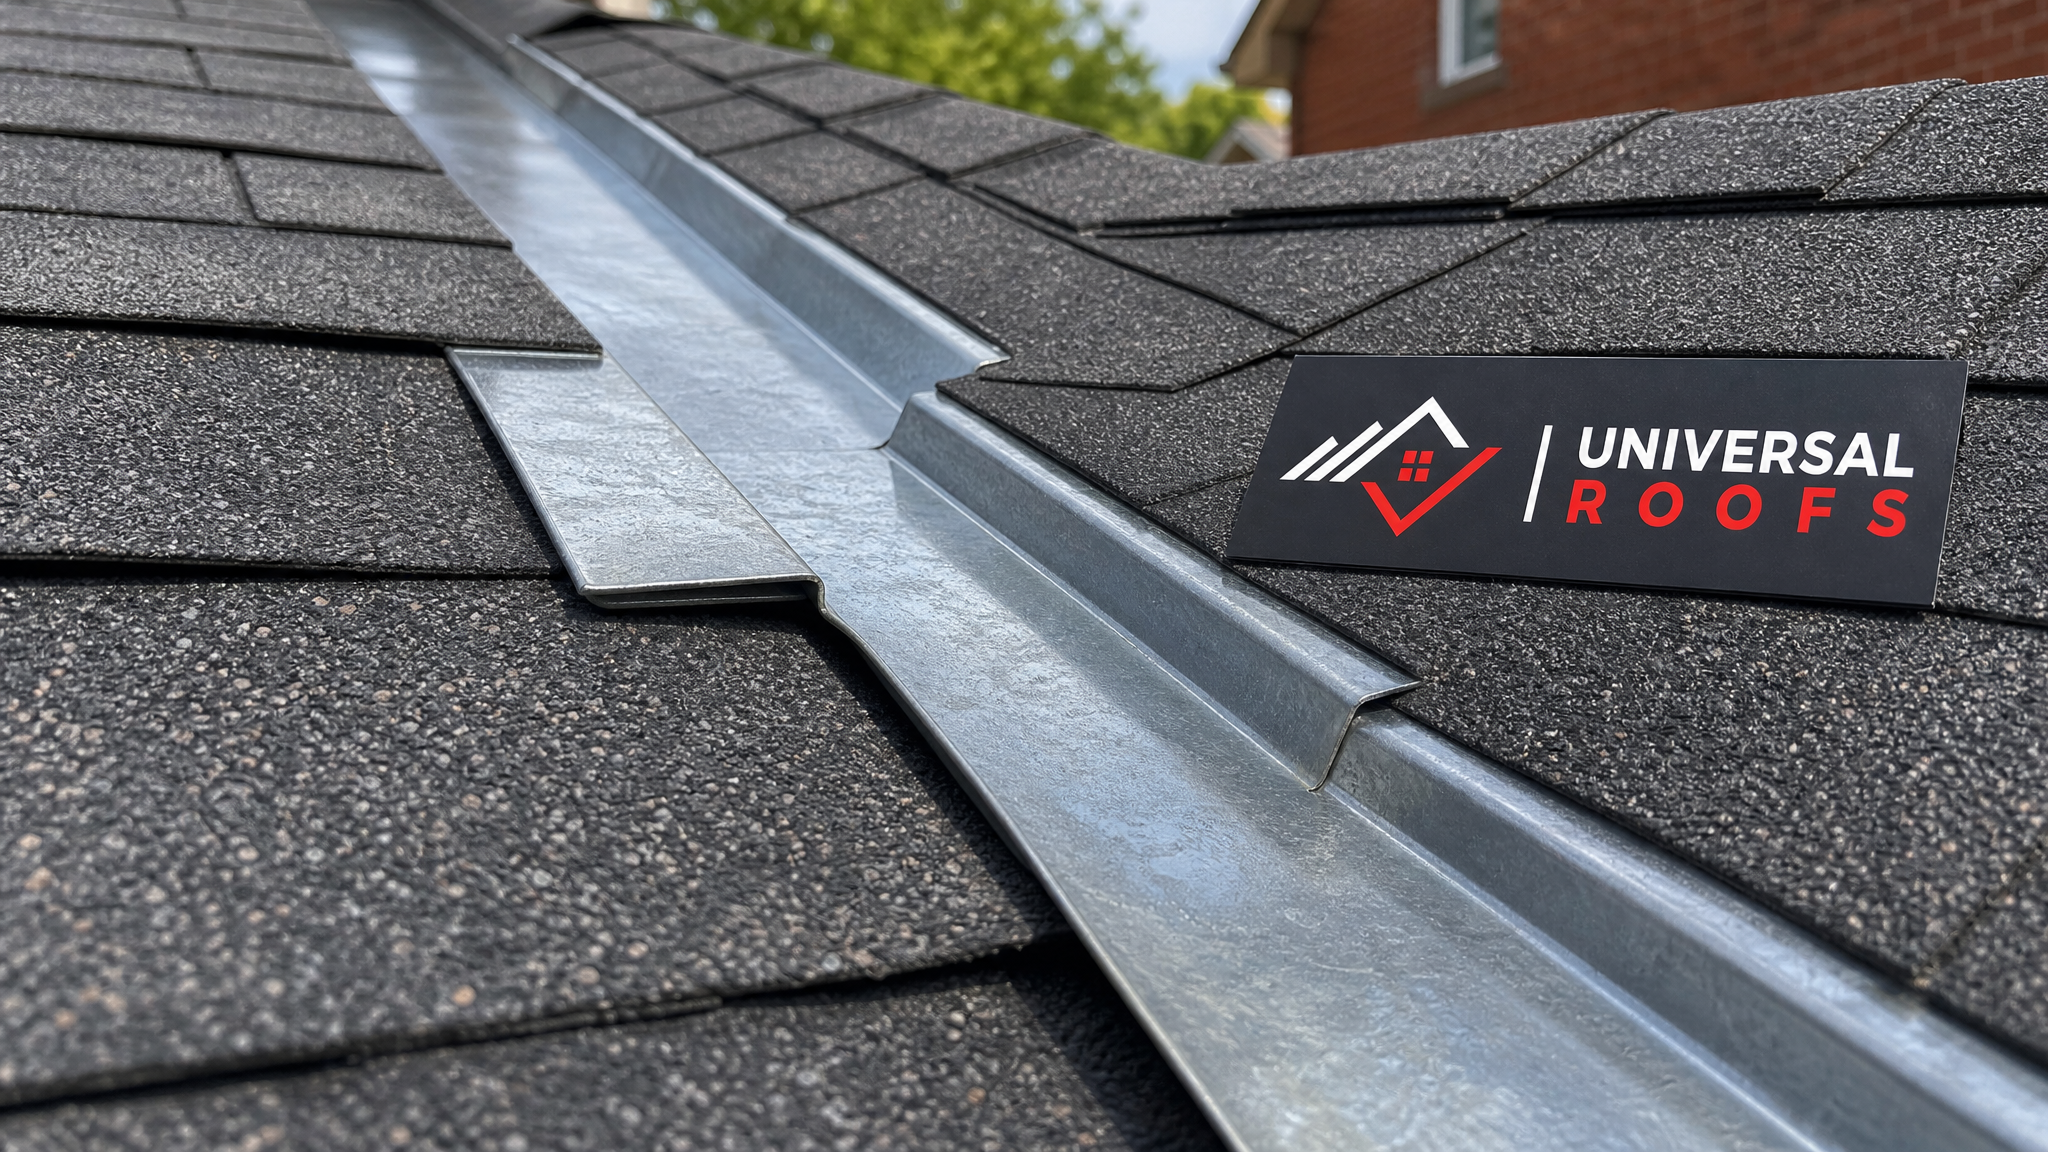
Flashing is the thin metal (usually aluminum, galvanized steel, or copper) installed at every place your roof changes plane or has a penetration through it. That includes chimneys, skylights, vent pipes, wall junctions, dormers, and valleys where two roof slopes meet. Shingles alone cannot seal these transitions — water would simply run underneath them at any joint or angle change. Flashing creates a continuous, overlapping barrier that directs water down and off the roof instead of into the building envelope.
Because flashing sits at the most vulnerable points on the roof, it also takes the most abuse. Valleys concentrate huge volumes of runoff during heavy rain. Chimney flashing endures constant expansion and contraction as brick and metal heat and cool at different rates. Vent pipe boots are made of rubber or plastic collars that degrade under UV exposure faster than the metal around them. Every one of these components has a different failure pattern, which is why a proper inspection checks each type separately rather than glancing at the roof as a whole.
Understanding this is the first step toward recognizing when something is wrong. If you already suspect an issue, our roof repair team can assess the specific flashing type involved and recommend the right fix rather than a generic patch.
The Interior Warning Signs Homeowners Miss
Most flashing failures are discovered from inside the house, not by looking at the roof. Water travels along the underside of the roof deck and rafters before it ever shows up as a visible stain, so by the time you see evidence indoors, the leak has typically been active for weeks or months.
Watch for these interior indicators:
- Ceiling stains that are yellow-brown, ring-shaped, or that grow slightly larger after every rainfall
- Peeling paint or bubbling drywall near the top of interior walls, especially where a chimney or dormer passes through the attic
- A musty smell in the attic or upper-floor closets, which signals moisture is being trapped somewhere in the insulation
- Visible daylight around a chimney chase or vent pipe when you look up into the attic during the day
- Damp or matted insulation directly below a roof penetration, which is one of the clearest signs water is entering at a specific flashing point
- Rust streaks running down the inside of a chimney chase, which usually means the counter-flashing has separated from the brick
If you notice any of these signs, it is worth checking your attic space with a flashlight before the next significant rain. A five-minute look can tell you whether the problem is isolated to one penetration or spread across multiple areas.
Exterior Signs of Failing Flashing
From the ground, failing flashing often looks like a cosmetic issue rather than a structural one, which is exactly why it gets ignored for so long. Here is what to look for from your yard, ideally with binoculars, or from a ladder if you are comfortable and safe doing so.
| Visual Sign | What It Usually Means | Urgency |
|---|---|---|
| Rust spots or orange streaking on metal flashing | Galvanized coating has worn through; corrosion is actively eating the metal | Moderate — schedule inspection within weeks |
| Flashing lifted or pulled away from the roof surface | Fasteners have failed or sealant has cracked; a direct water path now exists | High — address before next rainfall |
| Cracked or missing sealant/caulking along flashing edges | UV exposure and freeze-thaw cycling have broken down the seal | Moderate — resealing is a quick fix if caught early |
| Visible gaps between flashing and chimney brick | Mortar has eroded or counter-flashing was never embedded properly | High — active leak point |
| Granules from shingles collecting near flashing seams | Water is pooling and washing granules loose, accelerating shingle wear nearby | Moderate — monitor and plan repair |
| Bent, dented, or physically damaged flashing | Storm impact, ice damming, or fallen branches have compromised the seal | High — often needs immediate patching |
Valleys deserve special attention because they carry the most water of any part of the roof. If you notice shingles curling or lifting specifically along a valley line, that is often a flashing issue rather than a shingle problem, and it is easy to misdiagnose without a trained eye.
Flashing by Location: What Fails Where and Why
Not all flashing wears out the same way, because each location experiences different stresses. Knowing which type you have and how it typically fails helps you narrow down where to look on your own roof.
| Flashing Type | Common Failure Mode | Typical Lifespan (Toronto climate) | Warning Sign to Watch |
|---|---|---|---|
| Chimney step & counter-flashing | Mortar joint erosion, thermal expansion separation | 15–20 years | Gap between flashing and brick, rust streaks in chase |
| Valley flashing | Granule washout, metal fatigue from water volume | 20–25 years | Shingle wear concentrated along the valley centre |
| Vent pipe boots | Rubber collar UV degradation and cracking | 10–12 years | Cracked rubber collar, cone shape flattened or split |
| Skylight flashing | Sealant breakdown, frame settling | 15–20 years | Water stains on interior skylight well, condensation trapped in frame |
| Wall/dormer step flashing | Fastener backing out, siding overlap failure | 20–25 years | Staining on siding just above the roofline |
| Drip edge flashing | Fastener corrosion, wind uplift | 25–30 years | Edge peeling away from fascia, visible waviness |
Skylight-adjacent leaks are particularly easy to misattribute to the skylight unit itself when the actual failure is in the surrounding flashing. If you are dealing with a leak near a skylight, our skylights team can determine whether the unit, the flashing, or both need attention — and if the unit itself has reached the end of its service life, skylight replacement is often more cost-effective than repeated flashing patches around an aging frame.
How Toronto’s Freeze-Thaw Climate Accelerates Flashing Failure
The GTA’s climate is particularly hard on roof flashing because of the number of freeze-thaw cycles we experience every winter. Water that gets under a flashing seam expands by roughly nine percent when it freezes, which physically pries the seam wider with every cycle. By spring, a hairline gap from November can be a quarter-inch opening.
Ice damming compounds this. When heat escapes from an under-insulated attic, it melts snow on the upper roof while the eaves stay frozen. The meltwater refreezes at the edge, builds up, and backs water underneath shingles and flashing that were never designed to handle standing water. This is one of the most common causes of flashing failure we see across Toronto, Peel Region, York Region, and Halton Region homes every spring inspection season.
Summer brings its own stress in the form of UV degradation and thermal cycling. Metal flashing expands during hot afternoons and contracts overnight, which loosens fasteners and stresses sealant joints over time. If your roof gets full sun exposure, expect sealant around flashing to need attention every 5 to 7 years even without any storm damage. July and August, while dry, are actually the ideal months to have flashing inspected and resealed before autumn rain and the next freeze-thaw cycle begins.
DIY Inspection vs. Professional Assessment
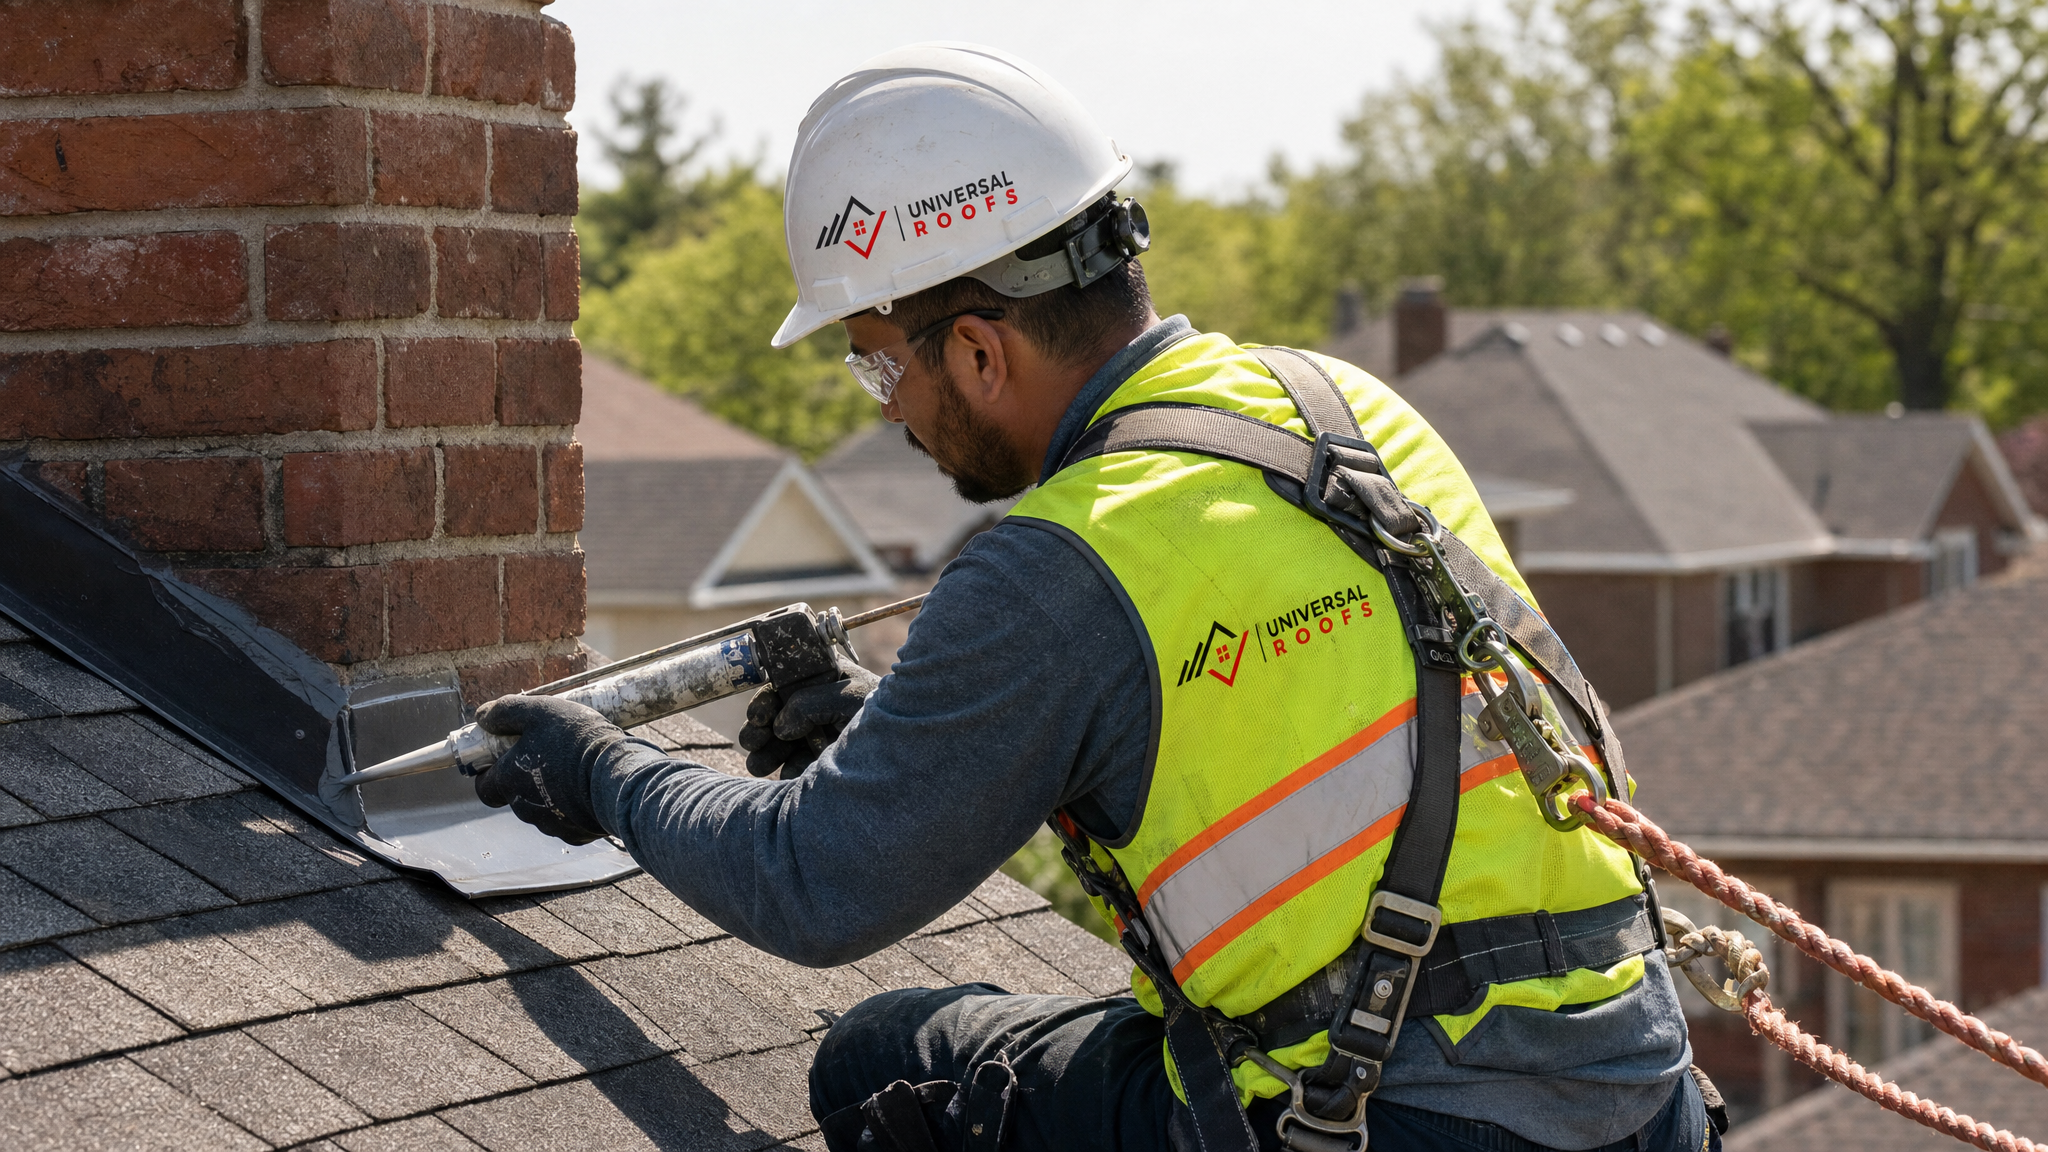
Homeowners can safely check for many of the interior warning signs listed above without ever getting on a ladder. But assessing the flashing itself from ground level has real limits, and climbing onto a sloped roof without proper fall protection is not something we recommend to anyone outside the trade.
| Inspection Method | What You Can Check | Limitations | Recommended Frequency |
|---|---|---|---|
| Interior attic walkthrough | Stains, damp insulation, daylight gaps, musty odour | Cannot assess exterior flashing condition directly | Twice yearly (spring and fall) |
| Ground-level binocular check | Obvious rust, lifted flashing, missing sections | Cannot detect hairline cracks or sealant failure | After major storms |
| Ladder-assisted eaves inspection | Drip edge condition, gutter debris, granule loss | Unsafe on steep slopes; no view of valleys or chimney flashing | Annually, with a helper present |
| Professional roof inspection | Full flashing assessment at every penetration, moisture meter readings, sealant integrity | None — comprehensive and safe | Every 2–3 years, or after any suspected leak |
A professional inspection is especially important before you list a house for sale, after any hailstorm or high-wind event, or if your roof is between 12 and 20 years old — the window when most original flashing sealant reaches the end of its service life even though the shingles themselves may still look fine.
Repair Options: Patching, Resealing, or Full Replacement
Once a problem is confirmed, the right fix depends on how far the deterioration has progressed and how old the surrounding roofing materials are. Small, isolated issues caught early are usually quick fixes. Widespread corrosion or repeated failures at the same spot are signs that patching will only buy a season or two.
- Resealing — appropriate when flashing metal is still sound but the sealant or caulking has cracked. This is the least expensive fix and, when done proactively, prevents almost all of the interior damage described earlier.
- Localized patching or section replacement — used when a specific piece of flashing is bent, rusted through, or has come loose, but the rest of the roof and flashing system is in good shape.
- Full flashing replacement — recommended when corrosion is widespread, when flashing is the original install on a roof older than 20 years, or when repeated leaks have occurred at the same location despite prior patch repairs.
- Roof section or full replacement — sometimes flashing failure is a symptom of a roof nearing the end of its overall lifespan. If deck damage, widespread shingle wear, and multiple flashing failures are happening together, roof replacement is often the more economical long-term choice over a series of repeated repairs.
Flat roof sections, common on additions, garages, and some GTA bungalows, use a different flashing approach entirely, typically involving membrane welding or torch-applied flashing collars rather than overlapping metal shingles. If your home has a flat-roofed section showing signs of trouble, our flat roofing specialists use techniques suited specifically to those membrane systems.
What Flashing Repair Costs in the GTA
Costs vary significantly depending on the scope of the work, the flashing material, and how accessible the affected area is. The figures below reflect typical ranges homeowners can expect across the Toronto area as of 2026, though every quote should be based on an actual on-site assessment.
| Repair Type | Typical Cost Range (CAD) | Typical Timeline |
|---|---|---|
| Resealing existing flashing (per penetration) | $150 – $350 | Same day |
| Vent pipe boot replacement | $200 – $400 | Same day |
| Chimney flashing repair (step + counter-flashing) | $500 – $1,200 | 1 day |
| Valley flashing replacement | $800 – $1,800 | 1–2 days |
| Skylight flashing repair | $400 – $900 | 1 day |
| Full flashing replacement (whole roof) | $2,000 – $5,000+ | 2–4 days |
These figures assume standard roof access and materials. Steep slopes, multi-storey heights, copper flashing, or extensive water damage behind the flashing will move costs toward the higher end of each range. A written, itemized quote after an on-site inspection is always the most reliable way to budget for the work.
Preventing Flashing Problems Before They Start
A handful of simple maintenance habits go a long way toward extending the life of your flashing and catching problems while they are still cheap to fix.
- Clean gutters and valleys at least twice a year so water can drain freely instead of pooling against flashing seams
- Trim overhanging branches that drop debris onto valleys and can physically scrape or dent flashing over time
- Check attic ventilation and insulation levels, since proper airflow reduces the ice damming that stresses flashing every winter
- Book a professional inspection after any hailstorm, windstorm, or heavy ice event, even if no interior leak has appeared yet
- Address small sealant cracks the season you notice them rather than waiting for a full leak to develop
- Keep a record of your roof’s age and last flashing service date, since most sealants only last 5 to 10 years even when the metal itself is fine
Homeowners who stay ahead of these small tasks rarely end up with the ceiling stains and attic damage that bring most of our calls. If you want an outside opinion on your maintenance routine, our FAQ page covers many of the questions we hear most often from GTA homeowners, and our reviews page reflects two decades of these routine inspections and repairs done right the first time.
When to Call a Professional Right Away
While many flashing issues can wait for a scheduled inspection, a few situations call for prompt attention rather than waiting:
- An active ceiling stain that is visibly spreading or dripping during rain
- Flashing that has visibly separated or is flapping in the wind
- Any leak that appears immediately after a hailstorm or major wind event
- Water intrusion near electrical fixtures or wiring in the attic
- A musty smell combined with visible mould growth on drywall or insulation
In these cases, a temporary tarp or emergency patch can prevent further damage until a full repair is scheduled. Our team has handled emergency flashing calls across the region for two decades and can usually get a technician out within a day or two of your call, particularly during the drier summer months when scheduling is more flexible.
What are the most common signs of needed flashing repair?
How do I know if a ceiling stain is caused by flashing rather than shingles?
Can I repair failing flashing myself?
How often should flashing be inspected in the Toronto area?
Does homeowners insurance cover flashing repair?
What is the difference between resealing and replacing flashing?
Need Help With What Are the Signs?
Recognizing the early signs of needed flashing repair is the difference between a same-day fix and a costly interior repair. For two decades, Universal Roofs has helped GTA homeowners catch these problems early and keep their roofs watertight through every freeze-thaw season.
Call us today at (416) 732-2421 or request a free inspection to get started.
Universal Roofs proudly serves Toronto, Mississauga, Brampton, Vaughan, Markham, Oakville and the GTA since 2005.