
Flashing is one of the most misunderstood components of a roofing system. It is not a shingle, it is not a membrane, and it does not shed water on its own the way a sloped roof surface does. Instead, flashing is the thin metal or composite material installed at every transition point on a roof — chimneys, walls, valleys, skylights, vents, parapets, and roof-to-wall joints — where two different surfaces meet and water is most likely to find a way in. When flashing fails, the leak rarely shows up where the flashing actually is; it shows up on a ceiling, a wall, or an attic joist metres away, which is why so many Toronto homeowners and commercial property managers are surprised to learn that a small strip of bent metal was the root cause of a very expensive interior repair.
What surprises most people, though, is how differently flashing repair is approached depending on whether the building is a house or a commercial property. The materials, the roof slopes, the code requirements, the equipment needed, and even the way a contractor diagnoses the failure all change once you move from a residential sloped roof to a low-slope commercial roof. Understanding the differences in residential and commercial flashing repair helps property owners ask the right questions, avoid paying for the wrong fix, and recognize when a problem needs a specialist rather than a general handyman.
At Universal Roofs, we have been repairing and replacing flashing on homes and commercial buildings across the Greater Toronto Area since 2005. This guide breaks down exactly how residential and commercial flashing repair differ, what to expect from each, and how our GTA climate — with its brutal freeze-thaw cycles — makes flashing maintenance a priority rather than an afterthought.
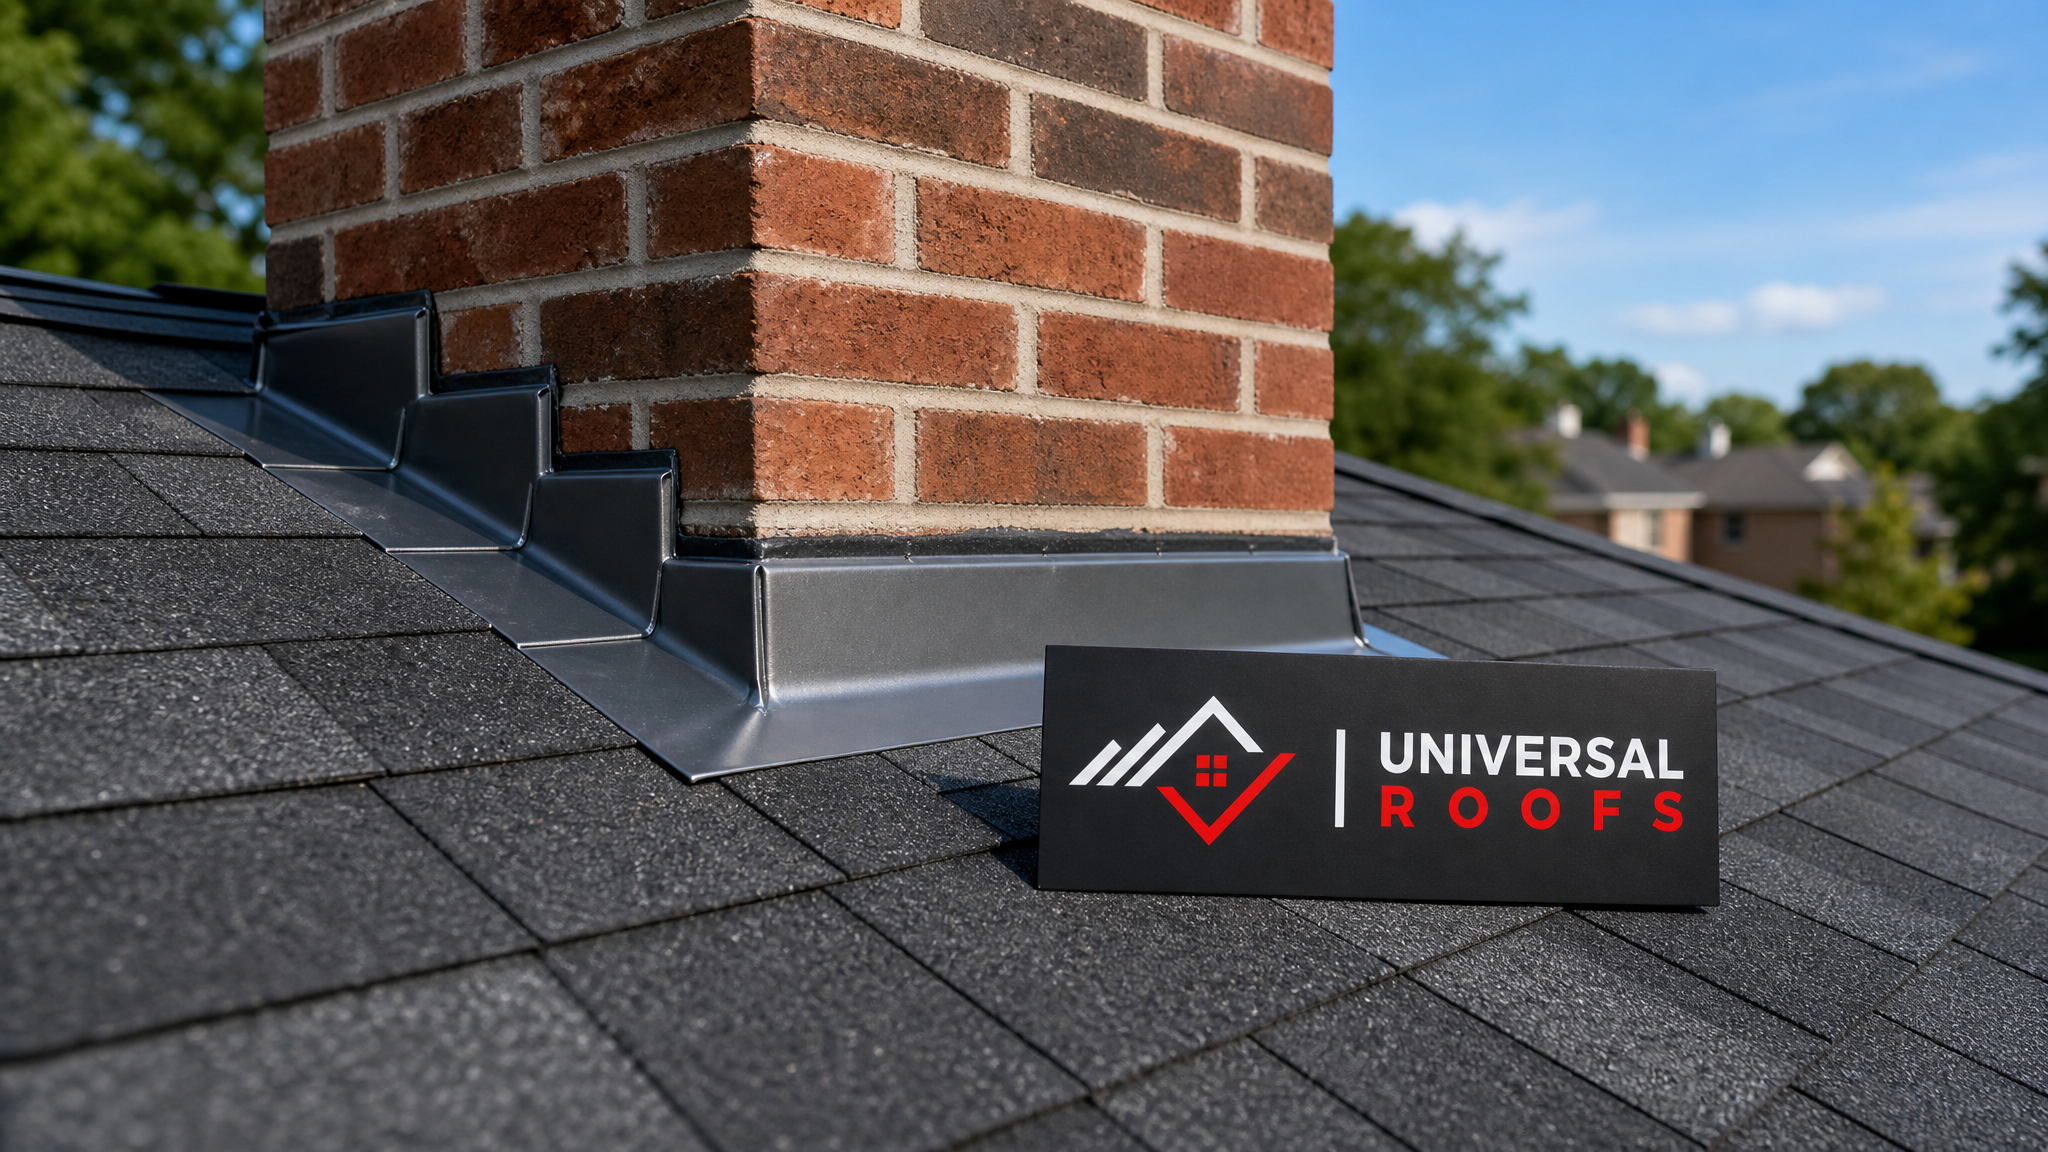
What Flashing Actually Does — and Why It Fails
Flashing works by redirecting water away from vulnerable seams rather than trying to seal them shut. On a residential roof, flashing is typically woven into shingle courses in overlapping layers, so water is guided downhill, shingle over flashing over shingle, all the way to the eaves. On a commercial low-slope roof, flashing performs a different job: it terminates and seals the edges of a waterproof membrane against verticals like parapet walls, curbs, and mechanical penetrations, since there is little to no slope to rely on for drainage.
Flashing fails for a handful of predictable reasons: thermal movement that works fasteners loose over years of expansion and contraction, sealant that dries out and cracks under UV exposure, corrosion where dissimilar metals touch, physical damage from ice, wind-driven debris, or foot traffic, and simple age. In Toronto’s climate, the freeze-thaw cycle from November through March is especially hard on flashing seams — water gets into a hairline gap, freezes, expands, and widens the gap a little more with every cycle. By the time a leak becomes visible indoors, the flashing has often been compromised for one or more full seasons.
Residential Flashing Repair: Materials, Access, and Technique
Residential flashing repair centres on a handful of well-defined components: step flashing along sloped sidewalls, counter-flashing embedded into brick or stucco above a chimney, valley flashing where two roof planes meet, apron and head-wall flashing above dormers and additions, and pipe boot flashing around plumbing vents. Most GTA homes use pre-finished aluminum or galvanized steel flashing, 24- to 26-gauge, formed to match the roof’s slope and profile.
Because residential roofs are sloped, repair work usually means removing several courses of shingles above and around the damaged flashing, replacing or re-forming the metal, re-sealing counter-flashing reglets with a polyurethane or butyl sealant, and re-installing the shingles in the original overlap pattern. Skylight curbs and skylight flashing kits are a common residential repair point too — improperly integrated flashing around a skylight is one of the most frequent causes of ceiling stains directly below a skylight opening, which is why our skylight replacement jobs always include a full flashing kit replacement rather than reusing old metal.
Access on a residential job is usually straightforward — an extension ladder and roof harness are typically sufficient, and the work area is small and localized. This keeps residential flashing repairs relatively fast, often completed in a single visit once the source of the leak is confirmed with a roof repair inspection.
Commercial Flashing Repair: Membranes, Parapets, and Code Compliance
Commercial flashing repair operates on an entirely different scale and logic. Most commercial and industrial buildings in the GTA have low-slope or flat roofs finished with a membrane system — TPO, EPDM, modified bitumen, or a built-up roof — and flashing here is less about shedding water downhill and more about creating a fully sealed, continuous waterproof termination at every vertical surface. That means parapet wall caps, base flashing where the membrane turns up a wall, curb flashing around rooftop mechanical units, expansion joint covers, and scupper or drain flashing all have to be evaluated together, because commercial roofs pool water rather than draining it instantly.
Materials differ too. Commercial flashing is frequently heavier-gauge sheet metal (often 24-gauge steel or aluminum, sometimes stainless in industrial settings) mechanically fastened and then sealed with a membrane-compatible adhesive or a torch-applied modified bitumen flashing strip, matched to whatever membrane system is already on the roof. Mixing incompatible materials — for example, applying an asphalt-based sealant to a TPO membrane — can actually accelerate failure, so commercial flashing repair requires knowing the existing roof assembly before any material is selected.
Commercial buildings also carry code and insurance obligations that rarely apply to a house: fire-rated assemblies, engineered drainage requirements, and in many cases a requirement that repairs be documented for warranty or insurance purposes. A commercial flashing repair is frequently paired with a broader flat roofing assessment, since flashing failures on a low-slope roof are a strong early indicator that the membrane itself is aging out.
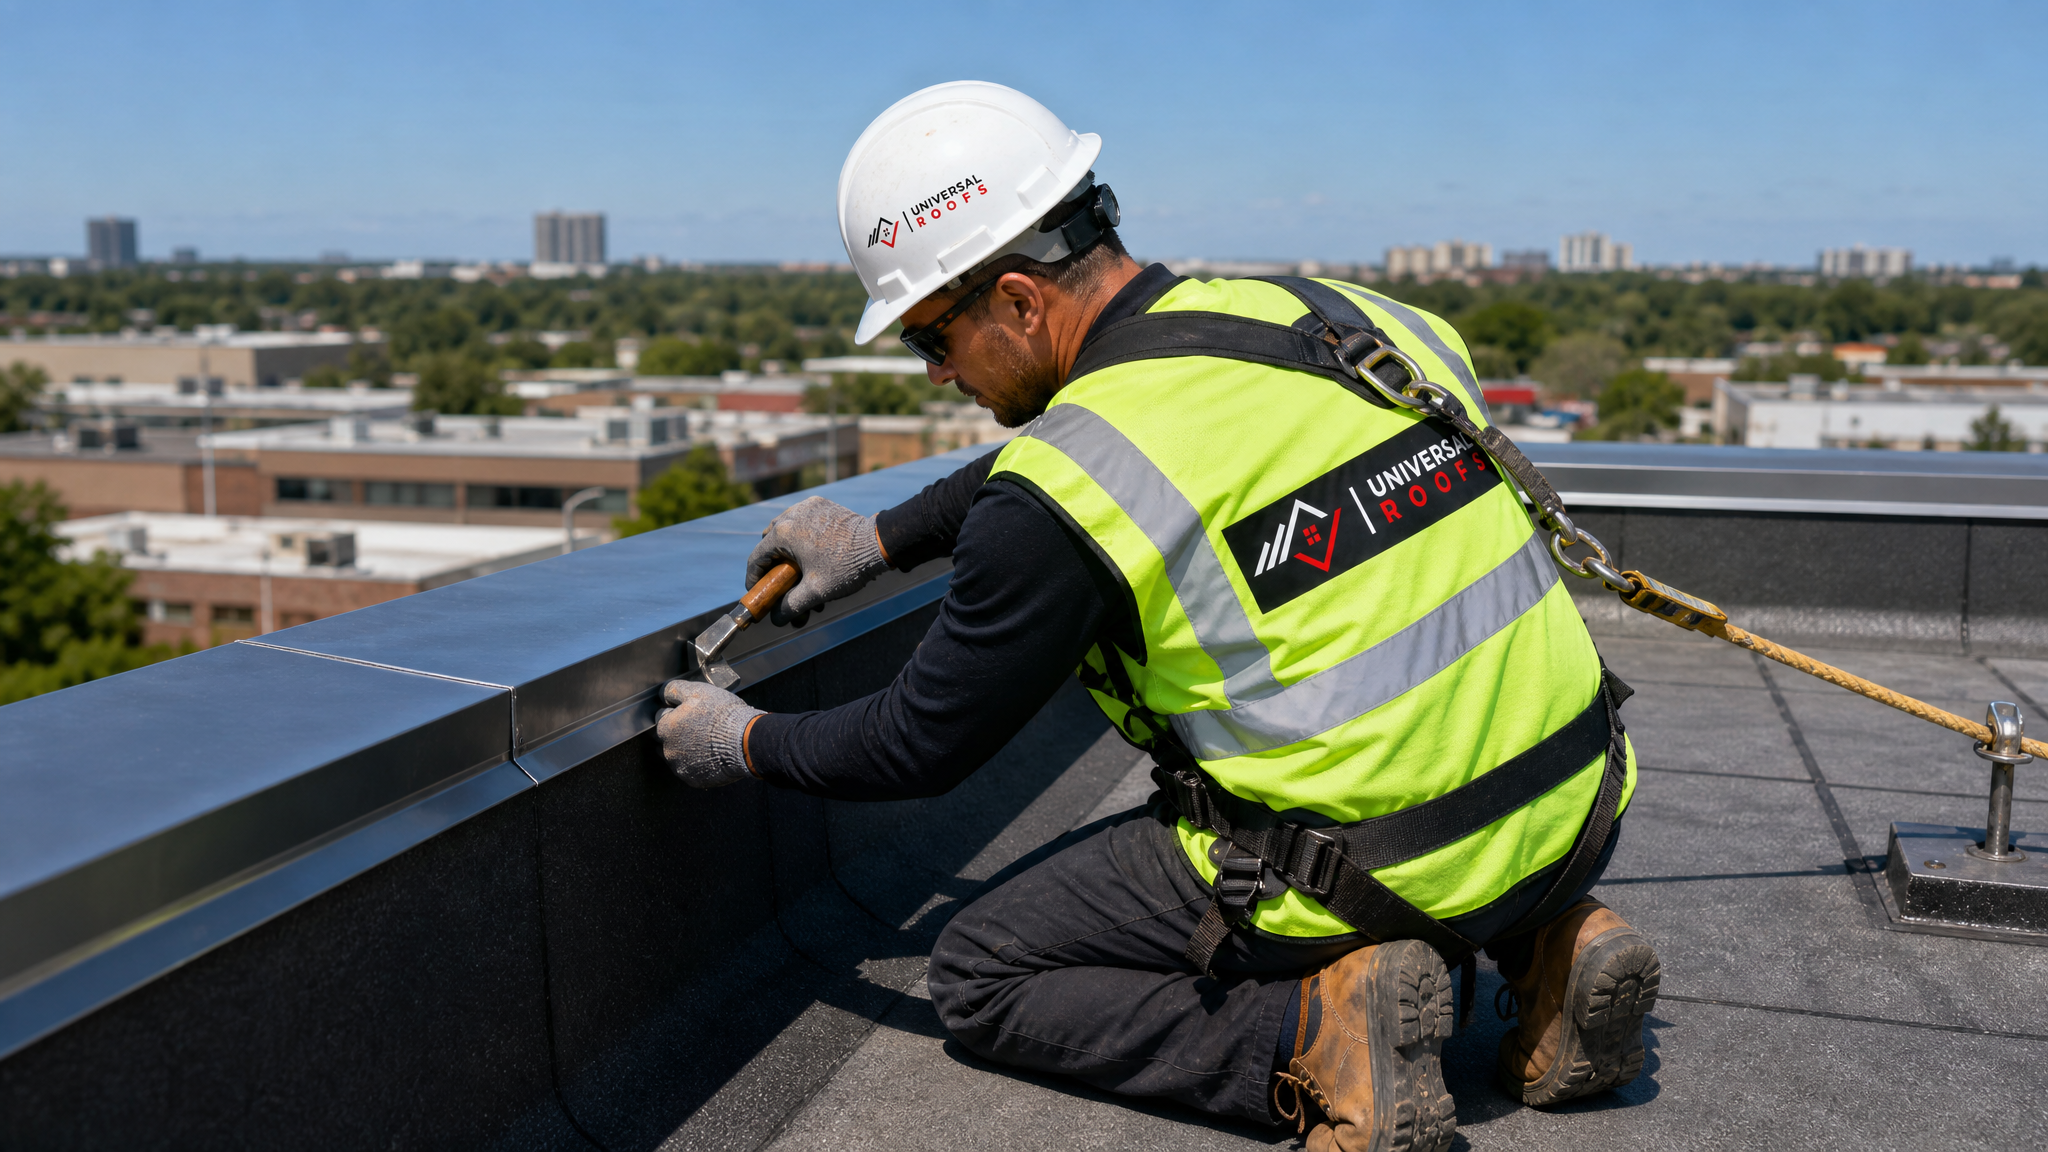
Side-by-Side Comparison: Residential vs. Commercial Flashing Repair
| Factor | Residential Flashing Repair | Commercial Flashing Repair |
|---|---|---|
| Roof type | Sloped, shingle or metal roofs | Low-slope or flat membrane roofs |
| Primary flashing locations | Chimneys, valleys, sidewalls, skylights, vents | Parapets, curbs, expansion joints, scuppers, drains |
| Typical material | Pre-finished aluminum, 24-26 gauge | Sheet metal, membrane-matched flashing strips |
| Sealing method | Sealant plus shingle overlap | Adhesive, torch-welded, or mechanically fastened seams |
| Access equipment | Extension ladder, roof harness | Ladder, harness, sometimes a lift or scaffold |
| Code/insurance factors | Minimal beyond building code | Fire rating, warranty documentation, engineering review |
| Typical repair timeline | Half a day to one day | One to several days depending on scope |
Cost Considerations for Both Repair Types
Flashing repair pricing depends on accessibility, the extent of surrounding damage, and material selection, but the ranges below reflect typical GTA pricing for straightforward repairs completed without major structural rebuilding.
| Repair Scope | Residential Estimate (CAD) | Commercial Estimate (CAD) |
|---|---|---|
| Single spot flashing repair (chimney, vent, valley) | $350 – $750 | $600 – $1,500 |
| Skylight flashing kit replacement | $500 – $1,200 | $900 – $2,200 |
| Parapet or curb flashing section | Not typically applicable | $1,200 – $4,000 |
| Full re-flash of a roof edge or wall run | $1,500 – $3,500 | $3,000 – $12,000+ |
| Emergency leak stop repair | $300 – $650 | $700 – $2,000 |
These figures are estimates only — the fastest way to get an accurate number for your property is a direct free inspection, since hidden deck damage or membrane deterioration under the flashing can change the scope significantly once a technician gets eyes on the actual roof.
How to Diagnose a Flashing Problem Before It Becomes a Bigger Leak
Homeowners and property managers alike can catch flashing problems early with a short seasonal checklist. Spring and early summer, right after freeze-thaw season ends, is the ideal window to look for the warning signs below before the next winter compounds the damage.
| Warning Sign | What It Usually Means | Recommended Next Step |
|---|---|---|
| Rust streaks below a chimney or vent | Corroded or separated flashing seam | Book a roof repair inspection |
| Ceiling stain directly under a skylight | Failed skylight flashing kit | Assess skylight for skylight replacement |
| Ponding water near a parapet wall | Membrane or drain flashing blockage/failure | Full flat roofing assessment |
| Visible gaps in counter-flashing at brick | Sealant failure or reglet pulling away | Localized flashing repair and re-sealing |
| Musty smell or damp insulation in the attic | Slow, longstanding leak above the attic space | Attic inspection paired with roof assessment |
Why Climate and Building Type Change the Repair Approach
Toronto and the surrounding GTA — Mississauga, Brampton, Vaughan, Markham, Oakville, and beyond — see wide seasonal temperature swings that stress flashing seams more than in milder climates. Metal flashing expands and contracts noticeably between a -15°C January morning and a +30°C July afternoon, and every expansion joint or sealant bead has to accommodate that movement without cracking. On sloped residential roofs, this movement is distributed across many small overlapping pieces, so failures tend to be localized. On commercial low-slope roofs, flashing runs are often longer and more continuous, so a single weak point can affect a much larger section of membrane before it is caught.
Building type also drives who is legally and practically responsible for the repair. On a house, the homeowner authorizes the work directly. On a commercial building, a property manager, condo board, or facilities team is usually coordinating around tenants, business hours, and sometimes multiple stakeholders — which is part of why commercial flashing repair projects tend to involve more scheduling, more documentation, and sometimes a phased approach so sections of the roof remain watertight throughout the work.
Materials and Fastening: A Closer Look
The metal itself is only part of the flashing system — the fastening and sealing method matters just as much for long-term performance. Exposed fasteners driven directly through flashing and sealed with caulking are common on lower-cost residential repairs but tend to fail first, since caulking degrades faster than the metal around it. Concealed fastening, where flashing is tucked under an overlapping course or reglet so no fastener penetrates the exposed face, lasts considerably longer and is the standard we use whenever the existing roof assembly allows for it.
On commercial membrane roofs, the fastening pattern is often governed by wind uplift ratings and manufacturer specifications for the specific membrane installed, which is another reason commercial flashing repair should always be matched to the original roofing system rather than treated as a generic metal patch job.
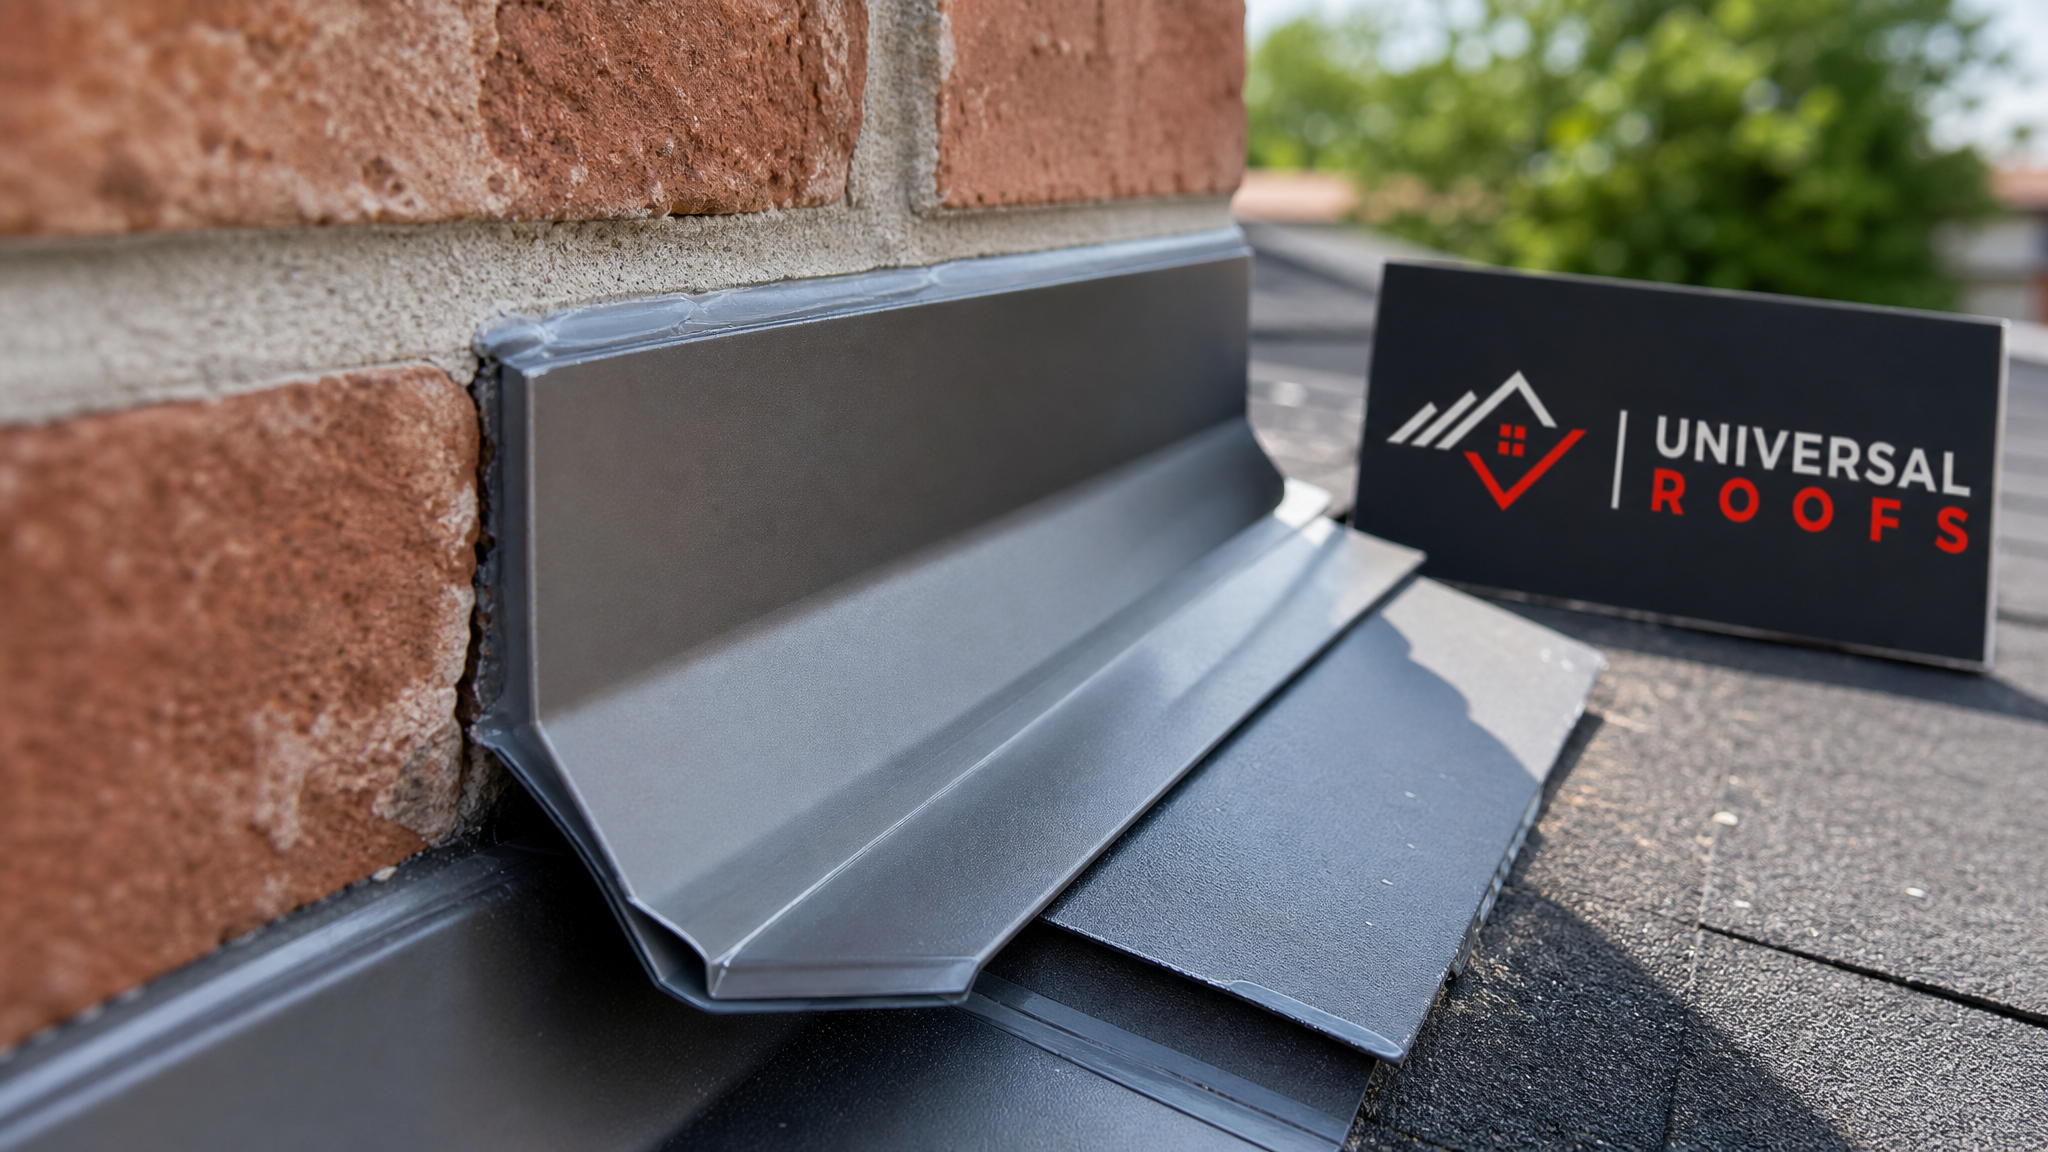
DIY vs. Professional Flashing Repair: What You Should and Shouldn’t Attempt
A homeowner comfortable on a ladder can sometimes re-caulk a small, accessible gap in counter-flashing as a temporary stopgap. But most flashing repair is not a do-it-yourself project, for three reasons. First, diagnosing the actual entry point of a leak is genuinely difficult — water travels along rafters and sheathing before it shows up as a stain, so the visible damage and the real failure point are often metres apart. Second, improperly re-installed flashing can trap water rather than shed it, turning a minor leak into a rotted deck or damaged insulation. Third, working at height on a sloped or low-slope roof carries real fall risk, which is exactly why our crews use full harness and fall-protection systems on every job, residential or commercial.
If you are dealing with a commercial roof, the stakes are higher again: a botched flashing patch on a membrane roof can void a manufacturer warranty, and incompatible sealants can cause faster membrane degradation than the original leak would have. When in doubt, a professional assessment costs far less than remediating water damage after a failed DIY attempt.
What a Professional Flashing Inspection and Repair Involves
When our team responds to a flashing concern, the process is consistent whether the building is a bungalow in Etobicoke or a commercial plaza in Markham. We start with a full roof walk to identify every transition point, not just the one causing the visible leak, since flashing problems are rarely isolated to a single spot. We check for correct overlap and slope direction, look for corrosion or dissimilar-metal contact, test sealant flexibility, and — on commercial roofs — check membrane condition around every flashing termination. From there we scope the repair using materials matched to the existing system, and on larger commercial jobs we document the work for insurance or warranty records.
This same process applies across our service areas in Toronto, Peel Region, York Region, Halton Region, and Durham Region, where local building stock ranges from century homes with brick chimneys to modern industrial parks with acres of flat roofing — each requiring its own flashing approach.
When Flashing Repair Isn’t Enough: Recognizing a Bigger Problem
Sometimes what looks like a flashing repair turns into a larger conversation about the roof itself. If flashing has failed in multiple locations, if the surrounding shingles or membrane are also past their service life, or if repeated repairs to the same spot keep recurring, that’s usually a sign the underlying roofing system needs a broader look — which might mean a full roof replacement rather than another patch. A good flashing inspection should always tell you honestly whether you’re looking at a $500 fix or a roof nearing the end of its lifespan, and we would rather give you that honest answer up front than sell you a series of short-term patches.
You can see how this plays out for real customers across the GTA on our reviews page, and if you have general questions about scope, warranty, or timelines before booking, our FAQ page covers the most common ones. You can also learn more about our crews and history on our about page.
What are the main differences in residential and commercial flashing repair?
Why does commercial flashing repair usually cost more than residential repair?
Can I repair flashing myself instead of hiring a professional?
How does Toronto’s climate affect flashing repair needs?
How do I know if a flashing leak means I need a full roof replacement?
Does flashing repair differ around skylights compared to chimneys or vents?
Need Help With What Are the Differences?
Whether you’re dealing with a single leaking vent stack on a house or a full parapet re-flash on a commercial plaza, the team at Universal Roofs has handled both sides of this job across the GTA for two decades.
Call us today at (416) 732-2421 or request a free inspection to get started.
Universal Roofs proudly serves Toronto, Mississauga, Brampton, Vaughan, Markham, Oakville and the GTA since 2005.