
Flashing is the unsung hero of every roofing system. It is the thin metal barrier tucked around chimneys, valleys, skylights, and roof-to-wall junctions that keeps water from finding its way into your attic, walls, and ceilings. Yet flashing failures are one of the most common causes of leaks we see across Toronto, Mississauga, Brampton, Vaughan, Markham, and Oakville. Understanding the ways to protect roofs from flashing damage can save homeowners thousands of dollars in water damage repairs, mould remediation, and premature roof replacement.
Unlike shingles, which cover broad, flat expanses of roof, flashing is installed at the trickiest transitions and penetrations. These are exactly the spots where wind-driven rain, freeze-thaw cycling, and thermal expansion put the most stress on a roofing system. In a climate like the GTA’s, where winters swing from deep freezes to sudden thaws and summers bring intense thunderstorms, flashing takes a beating year-round.
In this guide, we break down what causes flashing damage, the best materials and installation practices to prevent it, how to spot early warning signs, and when it makes more sense to repair versus fully replace a section of roof. Whether you are dealing with a leaking chimney, a rusting valley, or a skylight that has started weeping during summer storms, this article will walk you through practical, homeowner-friendly steps to protect your investment.
What Causes Flashing Damage on GTA Roofs
Before discussing the best ways to protect roofs from flashing damage, it helps to understand why flashing fails in the first place. Flashing is a thin, precisely bent piece of metal, and its entire job depends on staying properly seated, sealed, and unobstructed. When any one of those conditions breaks down, water finds a path inside.
The most common culprits we encounter on service calls across the Toronto area include:
- Freeze-thaw cycling. Toronto winters regularly swing above and below freezing multiple times per week. Water that gets trapped under flashing expands as it freezes, prying seams apart and loosening fasteners over several seasons.
- Sealant breakdown. Caulking and roofing cement degrade under UV exposure and temperature swings, typically needing renewal every 3-5 years. Once the sealant cracks, wind-driven rain gets underneath the flashing edge.
- Corrosion. Galvanized steel flashing can rust over time, especially where two dissimilar metals meet (a process called galvanic corrosion), or where debris holds moisture against the metal surface.
- Poor original installation. Flashing that was under-lapped, nailed incorrectly, or not properly integrated with the shingle courses will fail years before it should, regardless of material quality.
- Wind uplift and impact damage. Severe summer thunderstorms and microbursts can lift or bend flashing edges, particularly around chimneys and dormers, creating gaps that let water in during the next rainfall.
- Debris accumulation. Leaves and branches that collect in valleys and behind chimneys trap moisture against the flashing, accelerating corrosion and holding standing water during storms.
Because flashing sits at joints and penetrations rather than open field areas, even a small failure can allow significant water intrusion before it becomes visible inside the home. That is why proactive protection matters more here than almost anywhere else on the roof.
Choosing the Right Flashing Material
One of the most effective long-term ways to protect roofs from flashing damage is simply starting with the right material. Not all flashing is created equal, and the choice affects both lifespan and cost. Here is how the most common options compare for GTA homes.
| Material | Typical Lifespan | Corrosion Resistance | Relative Cost | Best Use |
|---|---|---|---|---|
| Aluminum | 20-25 years | Good, but reacts poorly with masonry mortar | Low-Moderate | General roof-to-wall and vent flashing |
| Galvanized Steel | 20-30 years | Moderate; can rust once coating wears | Moderate | Valleys, step flashing |
| Copper | 50+ years | Excellent, develops protective patina | High | Chimneys, high-end skylights, heritage homes |
| Stainless Steel | 40-50 years | Excellent | High | Coastal-style exposure, high-wind areas |
| PVC-Coated Metal | 25-30 years | Very good | Moderate-High | Areas near dissimilar metals or masonry |
For most residential projects in Toronto and the surrounding regions, aluminum and galvanized steel remain the practical, cost-effective standard, provided they are installed correctly and paired with compatible sealants. Copper is worth the added investment for chimneys on higher-end homes or heritage properties, since it will genuinely outlast the shingles around it. If your roof already has a mix of metals, ask your contractor whether isolation strips or coated flashing are needed to prevent galvanic corrosion between dissimilar materials.
Proper Installation Techniques That Prevent Failure
Material selection only gets you halfway there. The majority of premature flashing failures we diagnose during roof repair calls trace back to installation shortcuts rather than the metal itself. A handful of techniques separate flashing that lasts decades from flashing that fails in five years.
Step Flashing at Roof-to-Wall Junctions
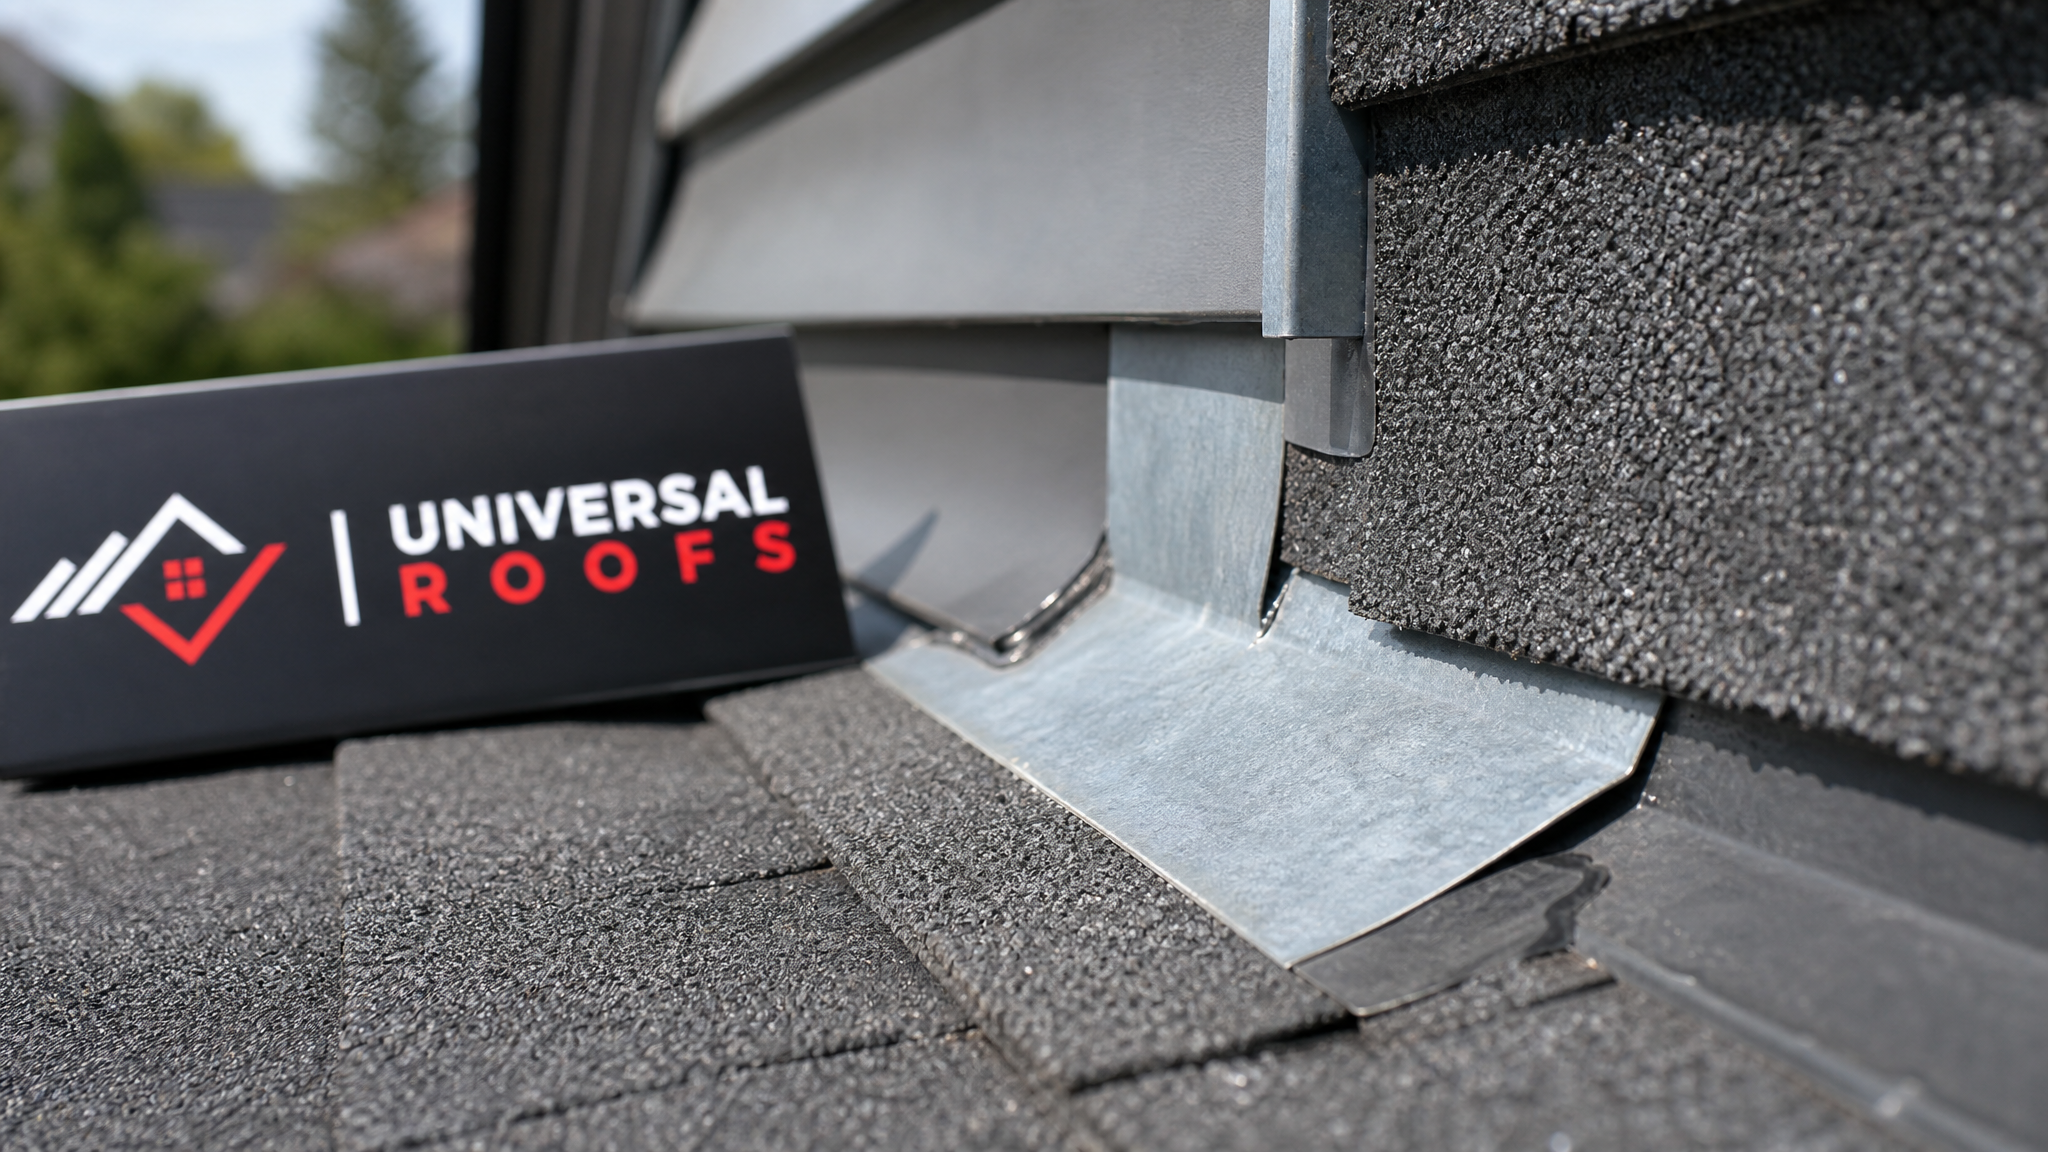
Step flashing consists of individual L-shaped metal pieces woven into each shingle course as it meets a vertical wall or chimney. Each piece should overlap the one below it by at least 50 millimetres, and every piece must be integrated with its corresponding shingle course rather than run as one continuous strip. Continuous flashing at these junctions is one of the most common shortcuts that leads to leaks within a few years.
Counter Flashing on Masonry
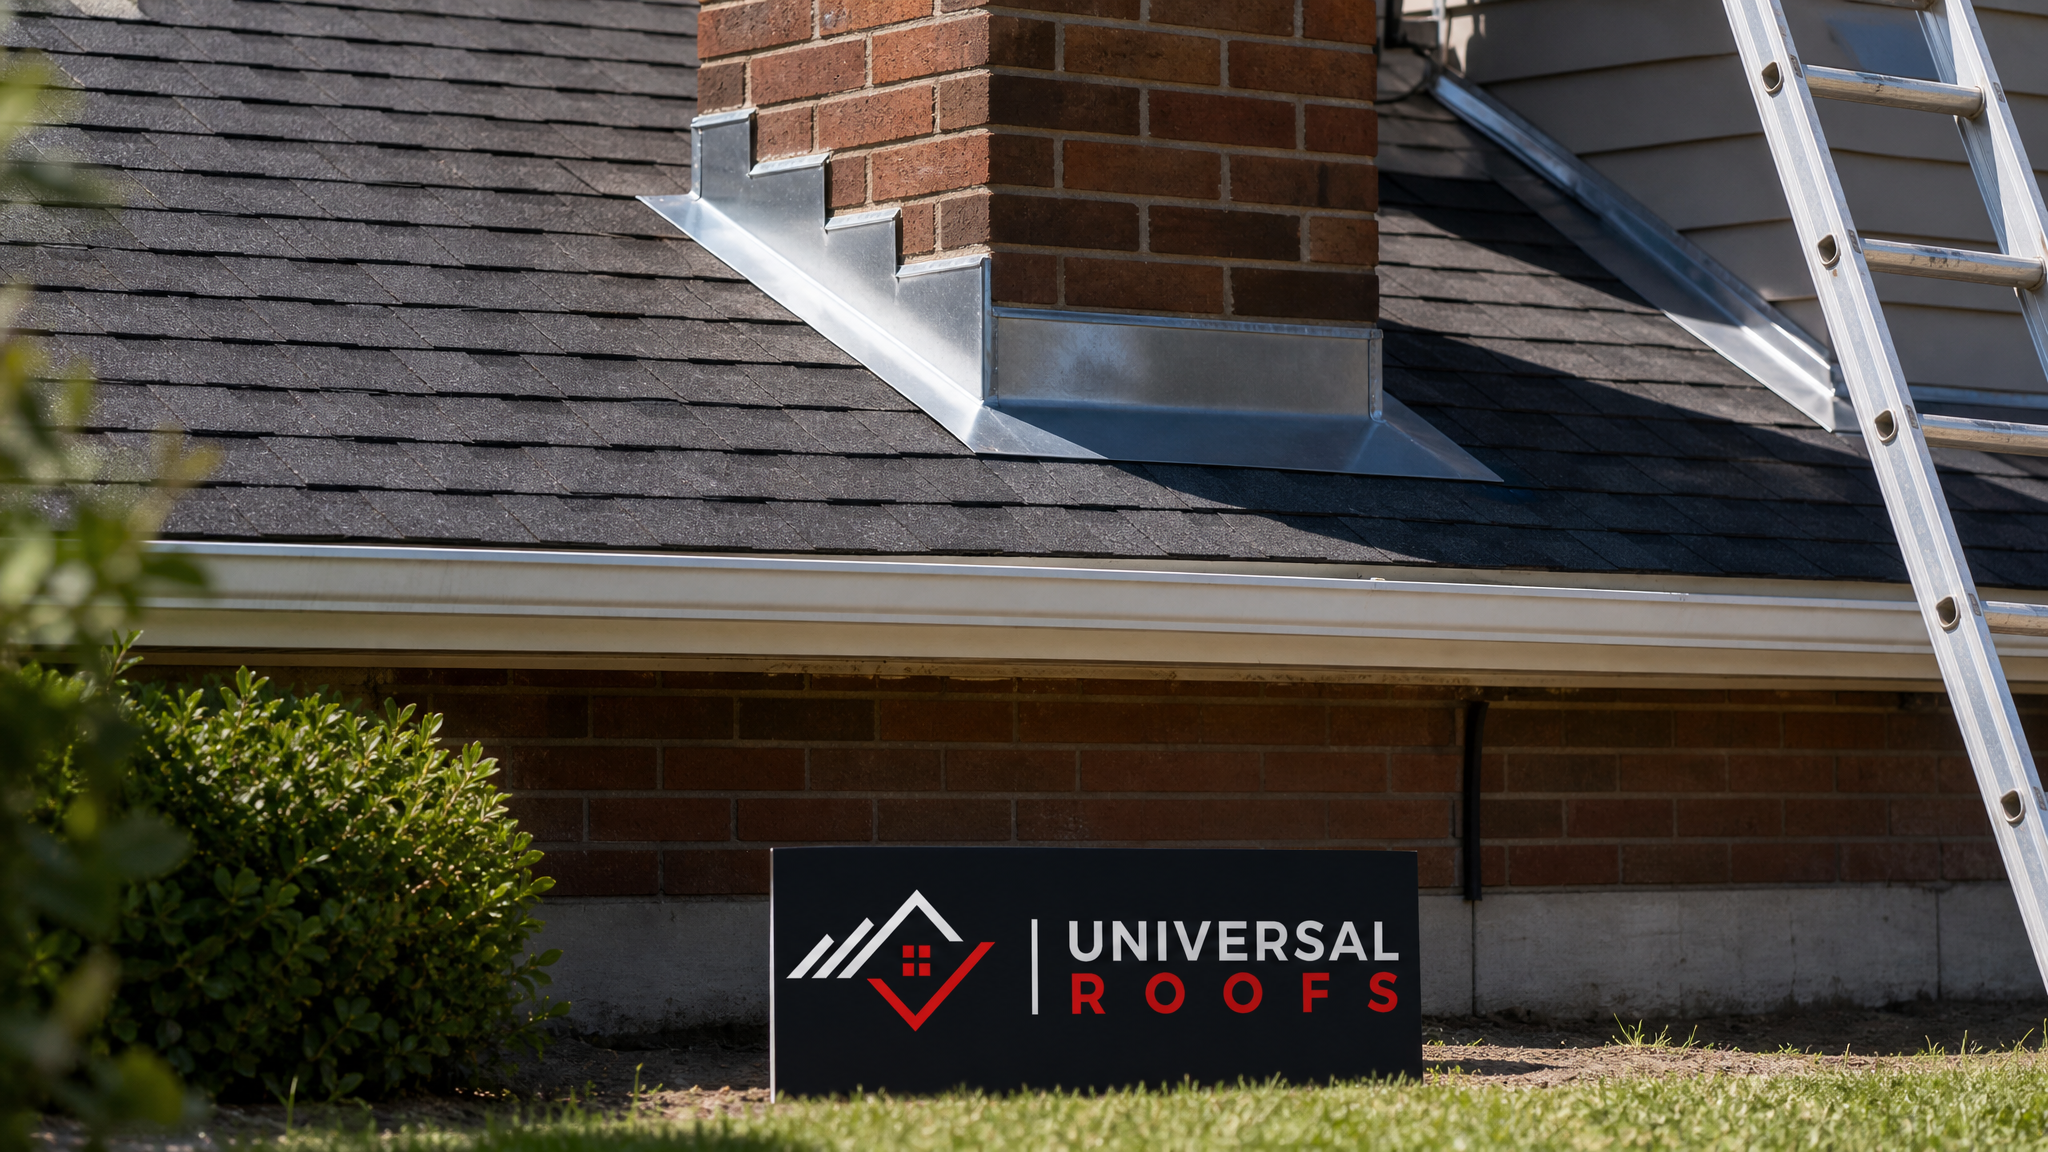
Where step flashing meets a brick chimney, counter flashing should be embedded into a cut reglet (a groove cut into the mortar joint) rather than simply caulked to the brick face. Surface-mounted counter flashing looks fine for a year or two, but the caulk bond to masonry breaks down quickly under freeze-thaw stress, especially through a Toronto winter.
Valley Flashing
Open metal valleys should be a minimum of 400-500 millimetres wide with hemmed edges to direct water flow and prevent shingle granules from damming the channel. Closed-cut or woven valleys need a high-quality ice and water membrane underneath, since they rely more heavily on the shingles themselves for waterproofing.
Skylight and Vent Pipe Flashing
Every skylight needs a dedicated flashing kit matched to its specific model, with a head flashing, side step flashing, and an apron flashing at the bottom edge. Generic or improvised flashing around skylights is a leading cause of interior water stains. If your skylight flashing has failed repeatedly, it may be more cost-effective to consider skylight replacement with a modern, properly flashed unit rather than continuing to patch an aging one.
Sealants, Underlayment, and Waterproofing Layers
Flashing rarely works alone. A self-adhering ice and water shield membrane installed beneath all flashing points, particularly at valleys, chimneys, and eaves, provides a critical secondary barrier if the metal or sealant ever fails. In the GTA, where ice damming is a genuine winter concern, this underlayment is not optional for anyone serious about long-term protection.
When it comes to sealants, use a high-quality polyurethane or butyl-based roofing sealant rather than standard silicone caulk, which does not bond well to shingles and degrades faster under UV exposure. Sealant should be viewed as a secondary defence, reinforcing the mechanical lap joints of the flashing rather than serving as the primary waterproofing method. Any roof where sealant is the only thing standing between the flashing and a leak is a roof that is going to fail sooner rather than later.
| Protection Layer | Purpose | Recommended Renewal | Priority Locations |
|---|---|---|---|
| Ice and water membrane | Secondary waterproofing barrier | Installed once, lasts life of roof | Valleys, chimneys, eaves, skylights |
| Polyurethane sealant | Seals flashing laps and fastener heads | Every 3-5 years | All flashing edges and seams |
| Drip edge flashing | Directs water off roof edge into gutters | Inspect annually | Eaves and rakes |
| Reglet counter flashing | Locks flashing into masonry | Installed once, re-caulk joint yearly | Chimneys, parapet walls |
| Isolation membrane | Prevents galvanic corrosion | Installed once | Junctions of dissimilar metals |
Seasonal Maintenance That Extends Flashing Life
Flashing protection is not a one-time job. It is an ongoing maintenance routine that fits naturally into the seasonal rhythm of GTA homeownership. Summer is actually one of the best times to get ahead of flashing issues, since dry weather makes it easier to inspect, re-seal, and repair without racing an incoming storm.
- Spring: Inspect for winter damage after the freeze-thaw season, checking for lifted shingles near flashing, cracked sealant, and any signs of ice damming along the eaves.
- Summer: Ideal window for re-caulking, replacing worn sealant, and completing any flashing repairs identified in spring, since warm, dry conditions allow sealants to cure properly.
- Fall: Clear leaves and debris from valleys and behind chimneys before winter, and confirm gutters are flowing freely so water is not backing up against low-slope flashing points.
- Winter: Monitor for ice dams, which force water backward under shingles and flashing; ensure attic ventilation and insulation are adequate to prevent the warm-roof conditions that cause ice damming in the first place.
Attic ventilation deserves special mention here. A poorly ventilated attic allows heat to escape upward through the roof deck in winter, melting snow that refreezes at the colder eaves and forces water back up under the shingles and flashing. If your home has recurring ice dams or flashing leaks near the eaves each spring, it is worth having your attic ventilation and insulation assessed as part of the solution, not just the flashing itself.
Warning Signs Your Flashing Needs Attention
Catching flashing problems early is far cheaper than dealing with the water damage that follows a full failure. Homeowners across Toronto, Peel Region, York Region, Halton Region, and Durham Region should watch for these signs at least twice a year.
| Warning Sign | Likely Cause | Urgency | Recommended Action |
|---|---|---|---|
| Water stains on ceiling near chimney | Failed counter flashing or reglet | High | Schedule an assessment promptly |
| Rust streaks on shingles below flashing | Corroding galvanized metal | Medium | Inspect and re-coat or replace |
| Visible gaps or lifted metal edges | Wind uplift or fastener failure | High | Re-secure and re-seal immediately |
| Cracked or missing caulk beads | UV and age-related sealant breakdown | Medium | Re-caulk with polyurethane sealant |
| Moss or algae growth near valleys | Trapped moisture and debris buildup | Low-Medium | Clear debris and monitor drainage |
| Interior musty odour in attic | Slow, ongoing leak through flashing | High | Full roof and attic inspection |
If you spot any of the higher-urgency signs above, do not wait for the next rainstorm to confirm the problem. A small, contained flashing repair today is almost always cheaper than the drywall, insulation, and mould remediation that follow a season of unaddressed leaking.
Repair Versus Replacement: Making the Right Call
Not every flashing issue requires tearing into the surrounding shingles. In many cases, a localized roof repair that re-seats and re-seals the affected flashing section resolves the problem for a fraction of the cost of larger work. However, there are situations where patching flashing repeatedly is a losing strategy.
Consider full flashing replacement, potentially alongside a broader roof replacement, when:
- The flashing has already been patched more than twice in the same location within a few years
- Rust has progressed to the point of visible thinning or perforation in the metal
- The surrounding shingles are also near the end of their service life, making it inefficient to disturb them twice
- The original flashing was installed incorrectly and needs to be redone properly rather than patched again
- You are dealing with a flat or low-slope section, where flat roofing membrane transitions require a different flashing approach entirely than sloped shingle roofs
A qualified roofer should be able to tell you within a single inspection whether you are looking at a simple resealing job or a more involved replacement. If you are ever unsure, it is worth getting a second opinion before committing to a large-scale repair, since flashing work is one of the areas where corner-cutting shows up again within a year or two.
DIY Inspection Versus Calling a Professional
Homeowners can safely handle a basic visual inspection from the ground, using binoculars to check for obvious gaps, rust, or lifted metal around chimneys, valleys, and vent stacks. Checking the attic for water stains, daylight gaps, or musty smells after a heavy rain is also a reasonable DIY step.
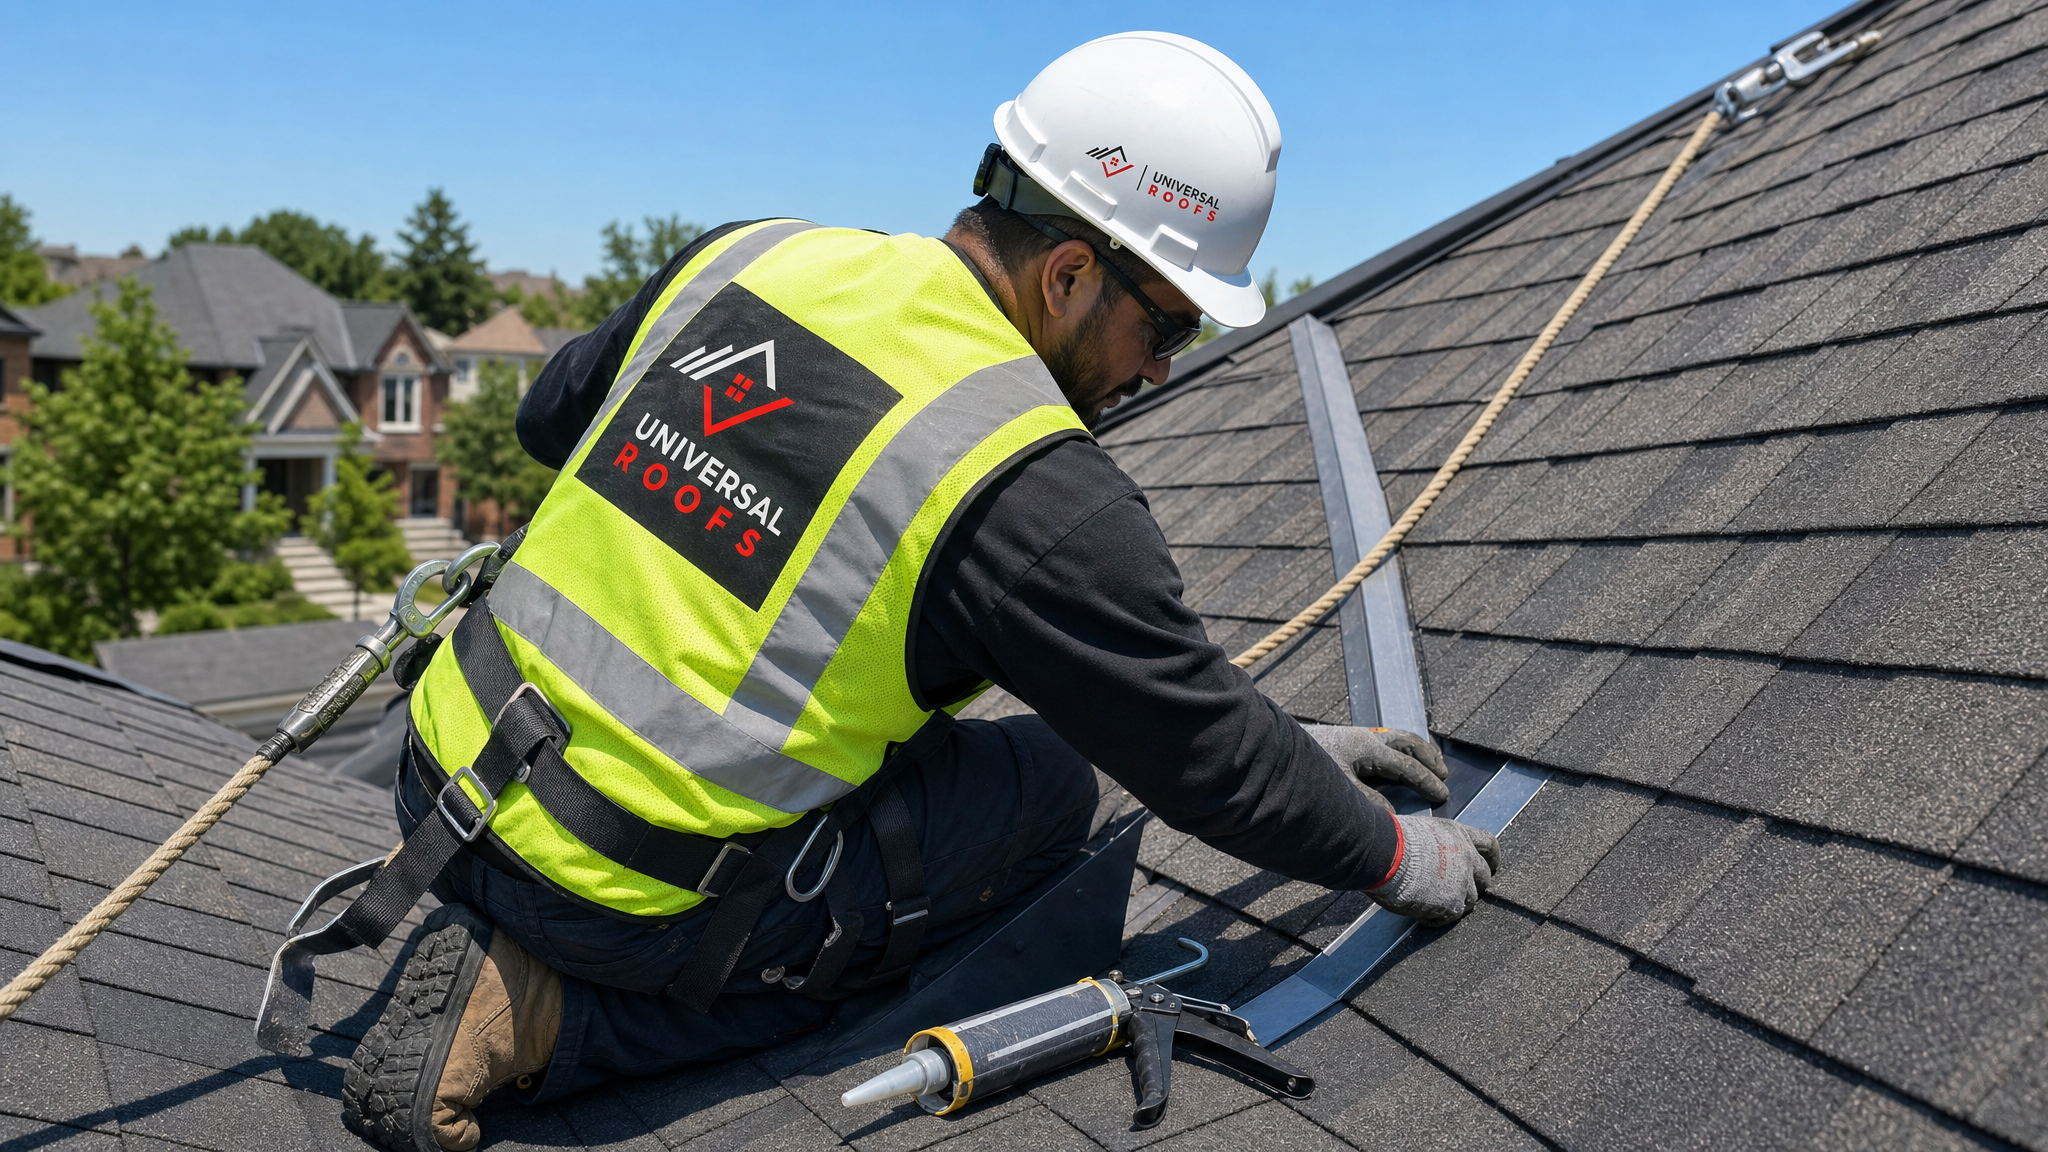
That said, actual flashing repair and replacement work should be left to professionals. Roofs are steep, often wet from morning dew even in summer, and working near chimneys and skylights carries real fall risk without proper harness equipment. Beyond the safety concerns, correctly integrating flashing with shingle courses, cutting a proper reglet into masonry, or matching a flashing kit to a specific skylight model all require tools and experience most homeowners do not have on hand.
If you are seeing any of the warning signs described earlier, or simply want peace of mind before the fall storm season arrives, it is worth having a professional walk the roof and confirm every flashing point is sound. You can read what other GTA homeowners have experienced on our reviews page, or check our FAQ page for answers to more common roofing questions.
Protecting Flashing Across Different Roof Types
The best approach to flashing protection also depends on the type of roof you have. Steep-slope asphalt shingle roofs, common across most GTA subdivisions, rely heavily on step and valley flashing integrated with shingle courses. Flat and low-slope roofs, more common on additions, garages, and commercial buildings, use an entirely different flashing strategy built around membrane-compatible metal edges and pitch pans rather than woven step flashing.
Skylights add another layer of complexity regardless of roof type, since they combine a vertical curb with a horizontal roof plane, creating four separate flashing transitions that all need to work together. Homes with older or non-original skylight units are especially prone to flashing failure, since flashing kits from decades past rarely matched modern waterproofing standards. If your skylight is original to a home built before the early 2000s, it is worth having it evaluated alongside its flashing.
Regardless of roof type, the underlying principle stays the same: flashing works by directing water in a controlled path via overlapping layers and gravity, never by relying purely on sealant to hold back standing water. Any flashing design that depends on caulk alone to keep water out is a design that will eventually fail.
What are the best ways to protect roofs from flashing damage?
How often should roof flashing be inspected in Toronto?
Why does flashing fail faster in Toronto’s climate?
Can I repair flashing myself instead of hiring a roofer?
What is the difference between step flashing and counter flashing?
How much does flashing repair typically cost compared to full roof replacement?
Need Help With What Are the Best?
Protecting your home from flashing damage starts with getting the details right the first time, and Universal Roofs has been handling exactly these details for homeowners across the GTA since 2005.
Call us today at (416) 732-2421 or request a free inspection to get started.
Universal Roofs proudly serves Toronto, Mississauga, Brampton, Vaughan, Markham, Oakville and the GTA since 2005.