
An aging roof rarely fails all at once. Instead, it tells you it needs attention through a slow accumulation of small signals: a curling shingle here, a musty smell in the attic, a stain spreading across a bedroom ceiling after a July thunderstorm. For homeowners across the GTA, where roofs endure everything from spring downpours to winter freeze-thaw cycles, knowing how to read those signals and respond to them in the right order is the difference between a manageable repair bill and a full premature replacement.
This guide walks through the practical, step-by-step process our crews use when reviving an aging roof — from the initial inspection through material selection, repair sequencing, and the decision point where repair no longer makes financial sense. Whether your roof is 12 years old and showing early wear or pushing 25 and starting to leak, the same disciplined approach applies.
At Universal Roofs, we have spent nearly two decades repairing and reviving roofs across the Toronto area, and the patterns are consistent: most aging roofs can gain another 5 to 10 years of service life with the right combination of targeted repairs, proper ventilation, and routine maintenance. The key is diagnosing the actual problem before reaching for a solution.
Signs Your Roof Is Aging and Needs Attention
Before any repair work begins, a homeowner needs to recognize the early warning signs. Roofs age unevenly — a south-facing slope that takes the brunt of the summer sun will typically show wear years before a shaded north slope. Walk your property line periodically (binoculars help) and look for these indicators:
- Curling or cupping shingles — edges lifting upward (cupping) or granule loss causing the shingle tab to fold over (curling) both signal the asphalt has dried out and lost flexibility.
- Granule loss in gutters — a layer of gritty, sand-like debris in your eavestroughs after a rainstorm means shingles are shedding their protective coating.
- Cracked or missing shingles — often caused by wind uplift, hail, or age-related brittleness.
- Dark streaking or algae growth — cosmetic in early stages but can indicate moisture retention if it appears alongside soft spots.
- Sagging rooflines — a visible dip along the ridge or between rafters points to structural decking issues, not a simple shingle problem.
- Interior water stains — brown rings on ceilings or damp patches near chimneys and vents are late-stage warning signs that water is already penetrating the deck.
- Daylight in the attic — visible light through the roof boards during a daytime attic inspection means there is an active gap in the roof plane.
Most Toronto-area asphalt shingle roofs are engineered for 20 to 25 years, but our real-world customer experience shows that ventilation quality, attic insulation, and installation workmanship swing that number by a decade in either direction. A well-ventilated roof installed correctly can comfortably outlast its rated lifespan; a poorly ventilated one can fail in half the time.
Step 1: A Proper Roof Inspection
Reviving an aging roof starts with an honest, methodical inspection — not a five-minute glance from the driveway. A thorough inspection covers three zones: the exterior roof plane, the attic interior, and the drainage system.
Exterior inspection. This means physically walking the roof (or using a drone/ladder for steep-slope homes) to check every shingle course, all flashing points (chimneys, skylights, sidewalls, valleys), and the ridge cap. Pay particular attention to penetrations — every pipe boot, vent stack, and skylight curb is a potential entry point for water, and flashing failures account for a disproportionate share of leaks relative to their surface area.
Attic inspection. From inside, check for daylight, moisture staining on the underside of the sheathing, rusted nail tips (a sign of condensation, not necessarily a leak), and insulation that is compressed, wet, or blocking soffit vents. Musty odours often mean trapped moisture from inadequate ventilation rather than an active roof leak.
Drainage inspection. Clogged or improperly pitched gutters force water to back up under the shingle edge, accelerating rot at the fascia and eaves. Check that downspouts direct water at least 1.8 metres away from the foundation.
| Inspection Zone | What to Check | Common Finding on Aging Roofs | Urgency if Found |
|---|---|---|---|
| Shingle field | Curling, cracking, granule loss | Uneven wear on south/west slopes | Moderate — plan repair within 1 season |
| Flashing (chimney, valleys) | Rust, lifted edges, failed sealant | Sealant dried and cracked at joints | High — leading cause of leaks |
| Attic sheathing | Staining, soft spots, daylight gaps | Dark rings around nail penetrations | High — indicates active moisture |
| Ventilation (soffit/ridge) | Blocked intake, insufficient exhaust | Insulation covering soffit vents | Moderate — shortens shingle life |
| Eavestroughs | Debris, pitch, fastener condition | Granule buildup and standing water | Low-Moderate — routine maintenance |
If your inspection turns up findings beyond simple maintenance, it’s worth having a professional assessment. Our roof repair team documents every finding with photos so homeowners can see exactly what we see and make an informed decision, rather than taking a verbal assessment on faith.
Step 2: Prioritizing Repairs — What to Fix First
Not every issue found during inspection needs the same urgency. A methodical approach prioritizes water intrusion risk over cosmetic concerns. In practice, we sequence repairs in this order:
- Active leaks and flashing failures — anything currently letting water into the structure gets addressed immediately, regardless of season.
- Structural sheathing damage — soft or rotted decking must be replaced before any new shingle work goes on top of it; shingling over compromised decking voids most manufacturer warranties.
- Ventilation corrections — fixing intake/exhaust balance now prevents future ice damming in winter and heat damage in summer.
- Shingle field repairs — replacing damaged, missing, or severely worn shingle sections.
- Cosmetic and preventative items — algae treatment, gutter cleaning, minor sealant touch-ups.
This order matters because fixing shingles on top of a ventilation problem, for example, just delays the next failure. Homeowners often want to address the most visible issue first (a discoloured patch of shingles), but the underlying cause — often trapped attic moisture — needs to be solved or the same symptom reappears within a year or two. This is where our attic assessment service pairs directly with roof repair: a roof cannot be properly revived without also checking what’s happening underneath it.
Step 3: Repairing Flashing and Vulnerable Joints
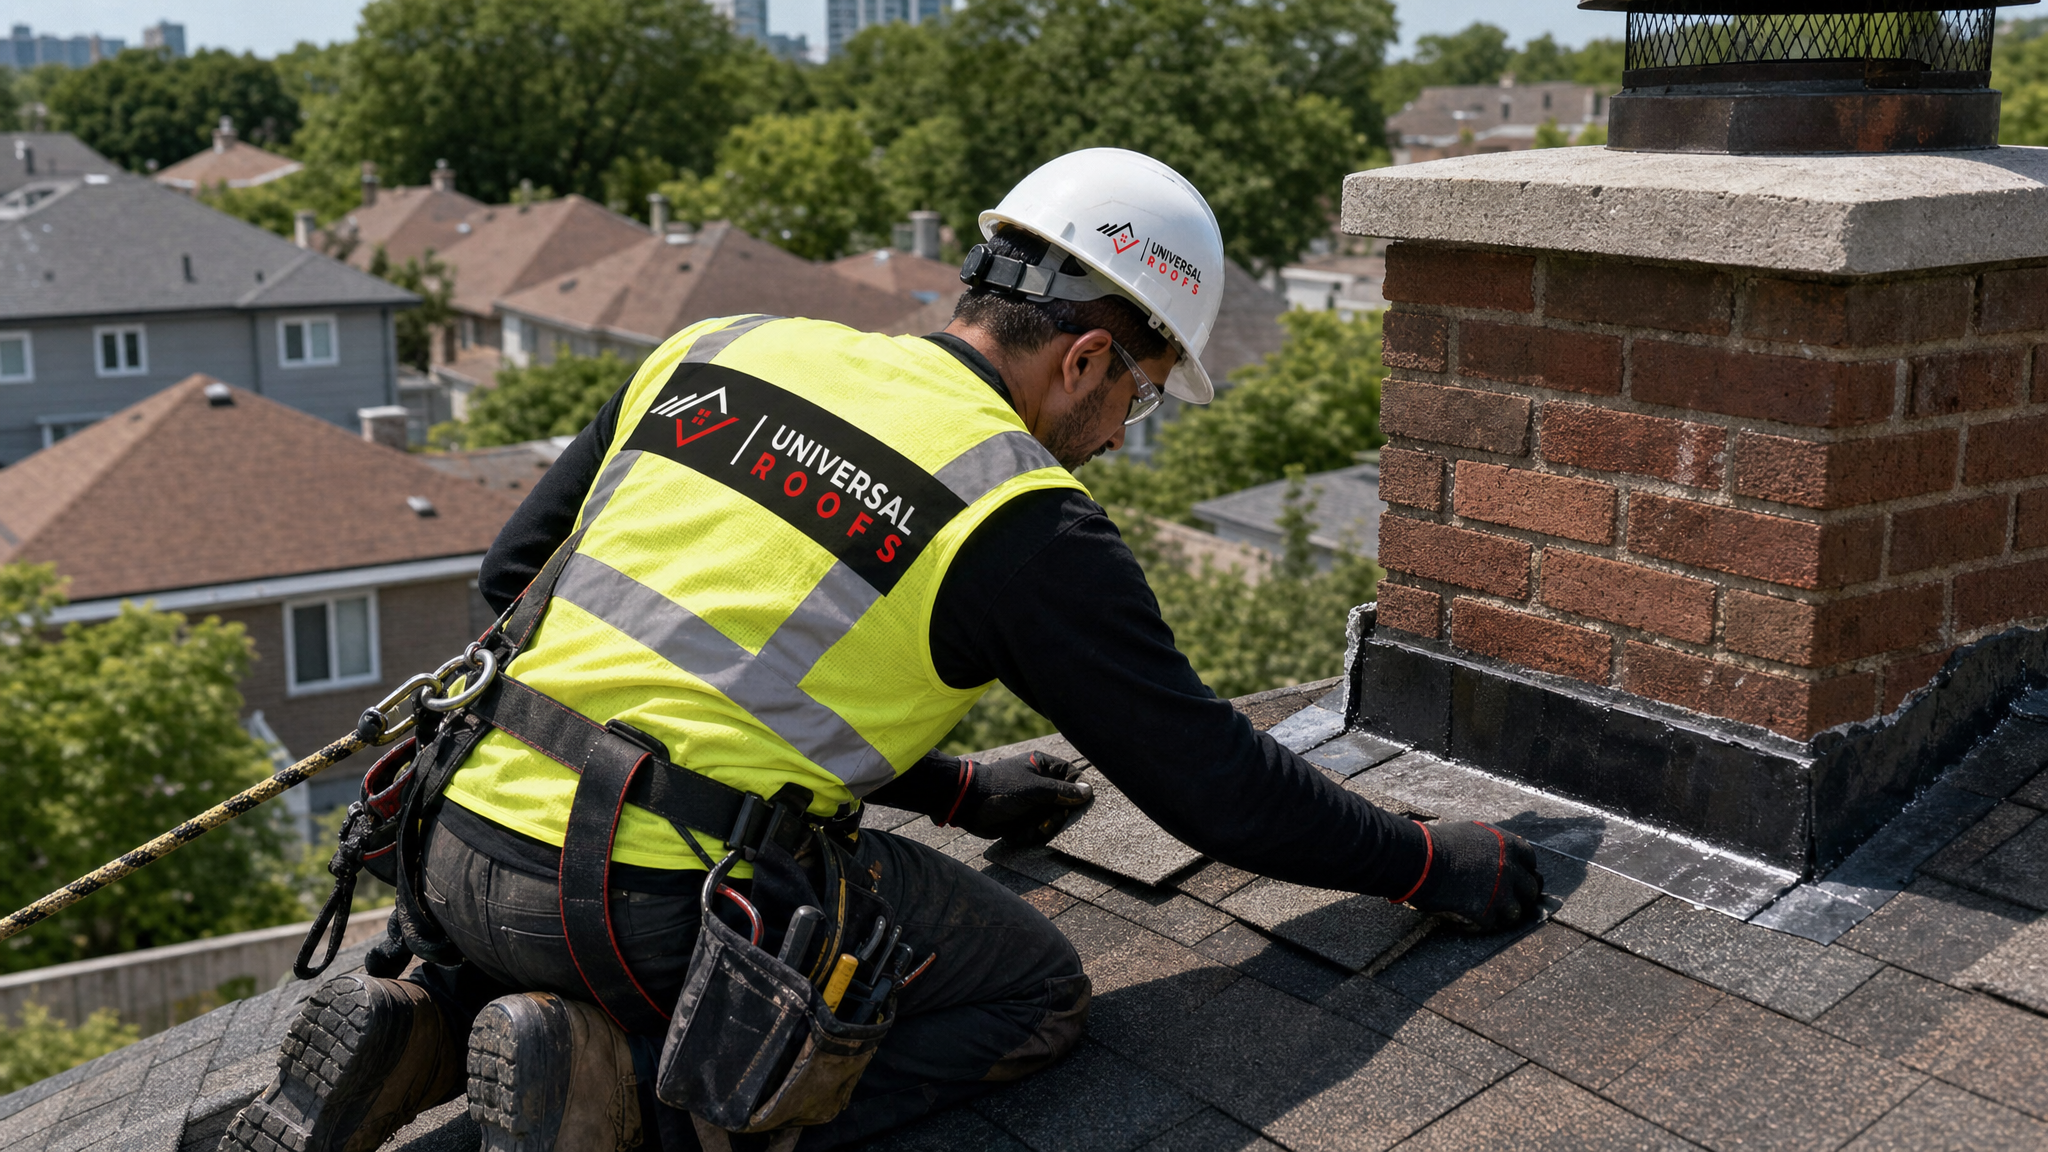
Flashing is the metal (or rubberized) material installed at every roof transition point — chimneys, valleys, sidewalls, skylights, and vent pipes — to redirect water away from seams. On an aging roof, flashing sealant dries and cracks years before the surrounding shingles fail, making it the single most common repair point.
Proper flashing repair involves removing the old, brittle material entirely rather than simply caulking over it. New step flashing is woven into the shingle courses at sidewalls; chimney flashing is rebuilt with a base flashing, counter-flashing, and cricket (a small diverter ridge) on the uphill side to shed water around the chimney rather than pooling behind it. Valley flashing, which handles the highest water volume on the entire roof, is inspected for rust-through and corrosion, especially on roofs installed before self-adhered valley membranes became standard practice.
Skylight flashing deserves particular attention on aging roofs, since skylight curbs see constant thermal expansion and contraction. If your skylight is original to a roof more than 15 years old, it’s worth having it inspected alongside the roofing work — our skylights team frequently finds that what looks like a roof leak near a skylight is actually failed skylight flashing, which is a separate (and often simpler) repair than re-flashing the whole roof plane.
Step 4: Replacing Damaged Shingles and Sections
Once flashing and structural issues are addressed, shingle-level repairs bring the roof surface back to a weathertight, uniform condition. This typically involves:
- Removing damaged or missing shingles course by course, working from the bottom up.
- Inspecting the exposed underlayment and decking for hidden rot before installing replacements.
- Matching replacement shingles as closely as possible in colour and profile — a perfect match is rarely possible on a roof more than 5 years old due to sun fading, so we discuss expectations with homeowners upfront.
- Re-nailing any shingles with exposed or missing fasteners, which are common failure points after wind events.
- Sealing all new shingle tabs to restore wind resistance.
For roofs with widespread wear across an entire slope rather than isolated damage, a full slope re-shingle sometimes makes more financial sense than patchwork repairs, since labour costs for scattered small repairs can approach the cost of a complete section replacement. This is a judgment call best made after seeing the actual extent of the wear, not from a curb estimate.
| Repair Type | Typical Toronto-Area Cost Range | Typical Timeline | Expected Life Extension |
|---|---|---|---|
| Flashing repair (chimney/valley) | $400 – $1,200 | Half day | 5-10 years |
| Localized shingle replacement | $350 – $900 | Half day | 3-7 years |
| Full slope re-shingle | $2,500 – $6,000 | 1-2 days | 15-20 years |
| Ventilation correction (soffit/ridge) | $600 – $1,800 | 1 day | Extends full roof life 3-5 years |
| Sheathing/decking replacement | $150 – $400 per sheet | Varies by extent | Prerequisite for shingle warranty |
These figures vary based on roof pitch, accessibility, and material grade, but they give homeowners a realistic starting point when comparing quotes. Be cautious of estimates that are dramatically lower than this range — they often signal shortcuts on underlayment or flashing that surface as callbacks within a year.
Step 5: Correcting Ventilation and Preventing Future Damage
Ventilation is the most overlooked factor in roof longevity, and it’s the one that determines whether your repair work lasts 5 years or 15. A balanced system draws cool air in through soffit vents and exhausts warm, moist air out through ridge or roof vents. When that balance is off, two things happen depending on the season:
In winter, trapped heat escaping from a poorly insulated attic melts snow on the roof surface, which then refreezes at the cold eaves, forming ice dams that force water back up under the shingles. In summer — the season we’re in as of this writing — trapped heat in an under-ventilated attic can push attic temperatures well above 60°C, which accelerates shingle aging from the underside and can shorten shingle life by years, even if the top surface looks fine.
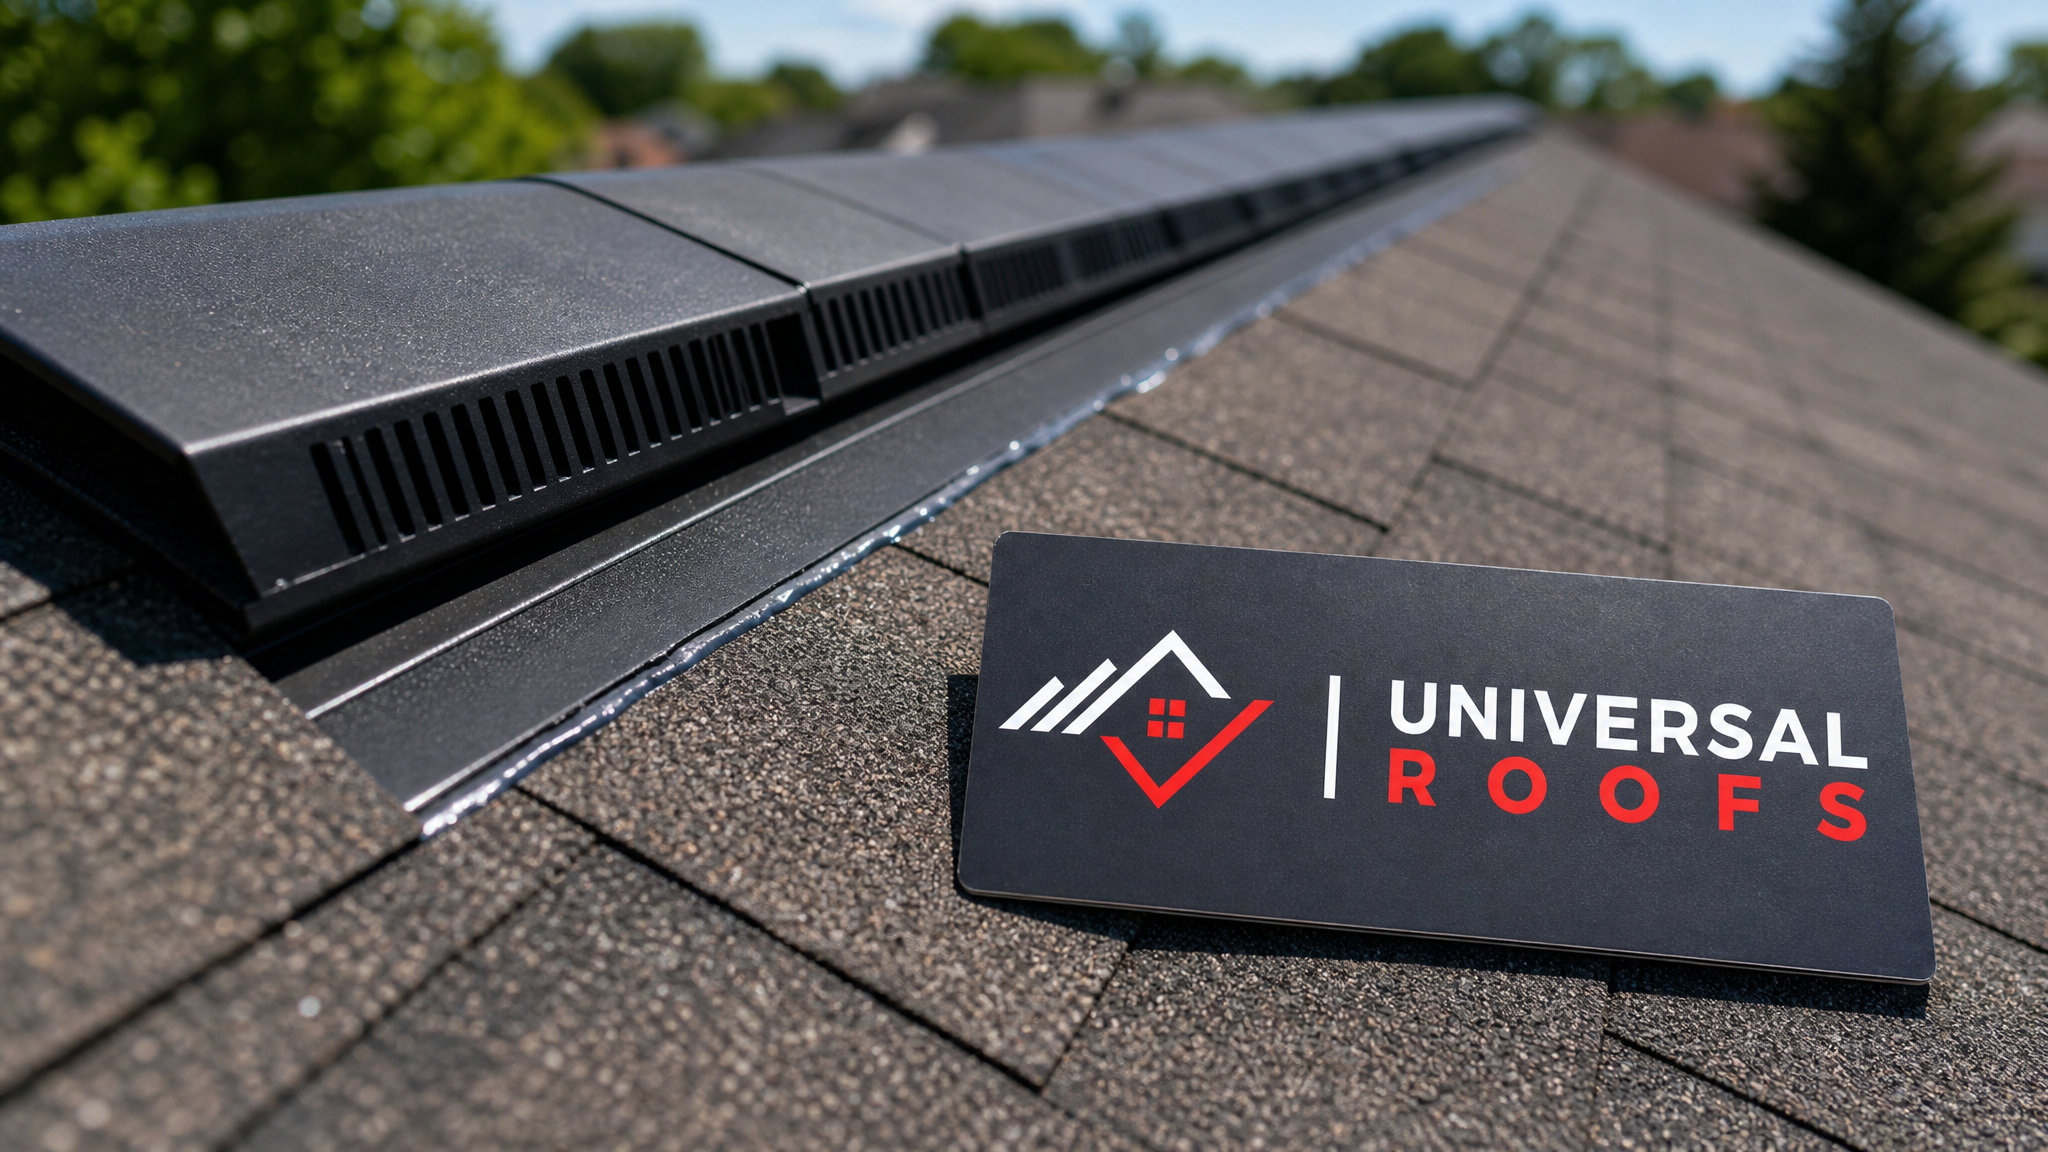
Common ventilation corrections on aging roofs include clearing insulation that’s blocking soffit intake vents, adding additional ridge venting where the existing exhaust capacity is insufficient for the attic’s square footage, and sealing bypasses (like gaps around bathroom exhaust fans or pot lights) that let conditioned household air leak directly into the attic. This work pairs naturally with a broader attic insulation and ventilation assessment, since roof performance and attic performance are inseparable.
When Repair Isn’t Enough: Recognizing the Replacement Threshold
Reviving an aging roof has a natural ceiling. There comes a point where continued patchwork repair costs more over time than a single replacement, and recognizing that threshold honestly is part of good roofing advice — not every roof should be repaired indefinitely.
General guidelines we use when advising homeowners:
| Roof Condition Indicator | Repair Likely Sufficient | Replacement Likely Needed |
|---|---|---|
| Age relative to material lifespan | Under 15 years (asphalt) | Over 20-25 years (asphalt) |
| Extent of damage | Isolated to one slope or feature | Widespread across multiple slopes |
| Sheathing condition | Solid, no rot found | Soft spots or rot in multiple areas |
| Number of prior repairs | First or second repair visit | Third+ repair for recurring leaks |
| Layers of shingles present | Single layer | Two or more existing layers |
If your roof is approaching or past its rated lifespan and repairs are becoming frequent, it’s worth getting a straightforward comparison of repair versus roof replacement costs before committing to another round of patchwork. For homes with a low-slope or flat section — common on additions, garages, and porch roofs across older Toronto homes — the calculation is different again, and our flat roofing team can advise on whether a membrane repair or full recover makes more sense for that specific section.
Seasonal Timing: Why Summer Is the Right Window for Roof Repair
Roofing work is temperature-dependent. Asphalt shingles need warmth to seal properly — the adhesive strip on modern shingles activates fully in temperatures above roughly 10°C, which makes late spring through early autumn the most reliable window for repair work in the GTA. Working in July gives crews long daylight hours, dry conditions, and fully pliable shingles that seal correctly on the first pass, rather than requiring hand-sealing that’s sometimes necessary in cooler shoulder-season work.
It’s also the ideal time to complete ventilation corrections, since attic heat buildup is at its most extreme in summer, making problems easy to diagnose and the benefit of a fix immediately noticeable in reduced attic temperatures. Scheduling repair work now, rather than waiting for autumn storms or winter ice dams to force the issue, is consistently the lower-stress and lower-cost path.
Maintaining Your Roof After Repairs Are Complete
Reviving an aging roof isn’t a one-time event — it resets the clock, but ongoing maintenance protects that investment. After repairs are complete, we recommend:
- An annual visual inspection each spring, checking for winter damage before summer storm season.
- Gutter cleaning at least twice a year (spring and late fall) to prevent water backup at the eaves.
- Trimming overhanging branches that drop debris or cause abrasion during wind.
- Checking attic insulation depth and ventilation clearance every few years, since insulation settles and shifts over time.
- Addressing minor issues (a lifted shingle tab, a small sealant crack) as soon as they’re noticed rather than waiting for the next scheduled inspection.
Homeowners across our service areas in Toronto, Peel Region, York Region, Halton Region, and Durham Region face slightly different exposure conditions depending on tree cover, wind patterns, and proximity to the lake, but the fundamentals of inspection, prioritized repair, and ongoing maintenance apply everywhere.
What is the first step in reviving aging roofs a step by step repair process?
How do I know if my roof needs repair or full replacement?
What are the most common repair points when reviving an aging roof?
Is summer a good time to repair an aging roof in Toronto?
How much does it typically cost to revive an aging roof?
Can poor attic ventilation shorten the life of an otherwise good roof?
Need Help With Reviving Aging Roofs a?
Reviving an aging roof takes an experienced eye and a disciplined process, from the first inspection through the final ventilation check. Universal Roofs has spent nearly two decades diagnosing and repairing roofs across the GTA, and we document every finding so you know exactly what’s happening on your roof before any work begins.
Call us today at (416) 732-2421 or request a free inspection to get started.
Universal Roofs proudly serves Toronto, Mississauga, Brampton, Vaughan, Markham, Oakville and the GTA since 2005.