
Flashing is the thin metal barrier tucked into every valley, chimney base, wall junction and skylight curb on your roof, and it is often the single most common source of leaks in homes across the GTA. Unlike shingles, which fail slowly and predictably, flashing tends to fail quietly at first, then dramatically during the next heavy rain or spring thaw. Learning to spot the early warning signs can save you thousands of dollars in interior water damage.
At Universal Roofs, our crews have been inspecting and repairing flashing failures across the Toronto area since 2005. We have seen just about every way flashing can go wrong, from rusted-through step flashing behind old chimneys to counter flashing that was never properly embedded into masonry. This guide walks you through exactly what faulty flashing looks like, where to check, and what your options are once you find a problem.
Toronto’s climate is particularly hard on flashing. Freeze-thaw cycles through winter and early spring cause metal to expand and contract, loosening fasteners and cracking sealant. Summer heat then bakes and dries out whatever caulking is left, so a flashing joint that seemed fine in April can be wide open by August. If you are doing a summer roof check, flashing deserves just as much attention as your shingles.
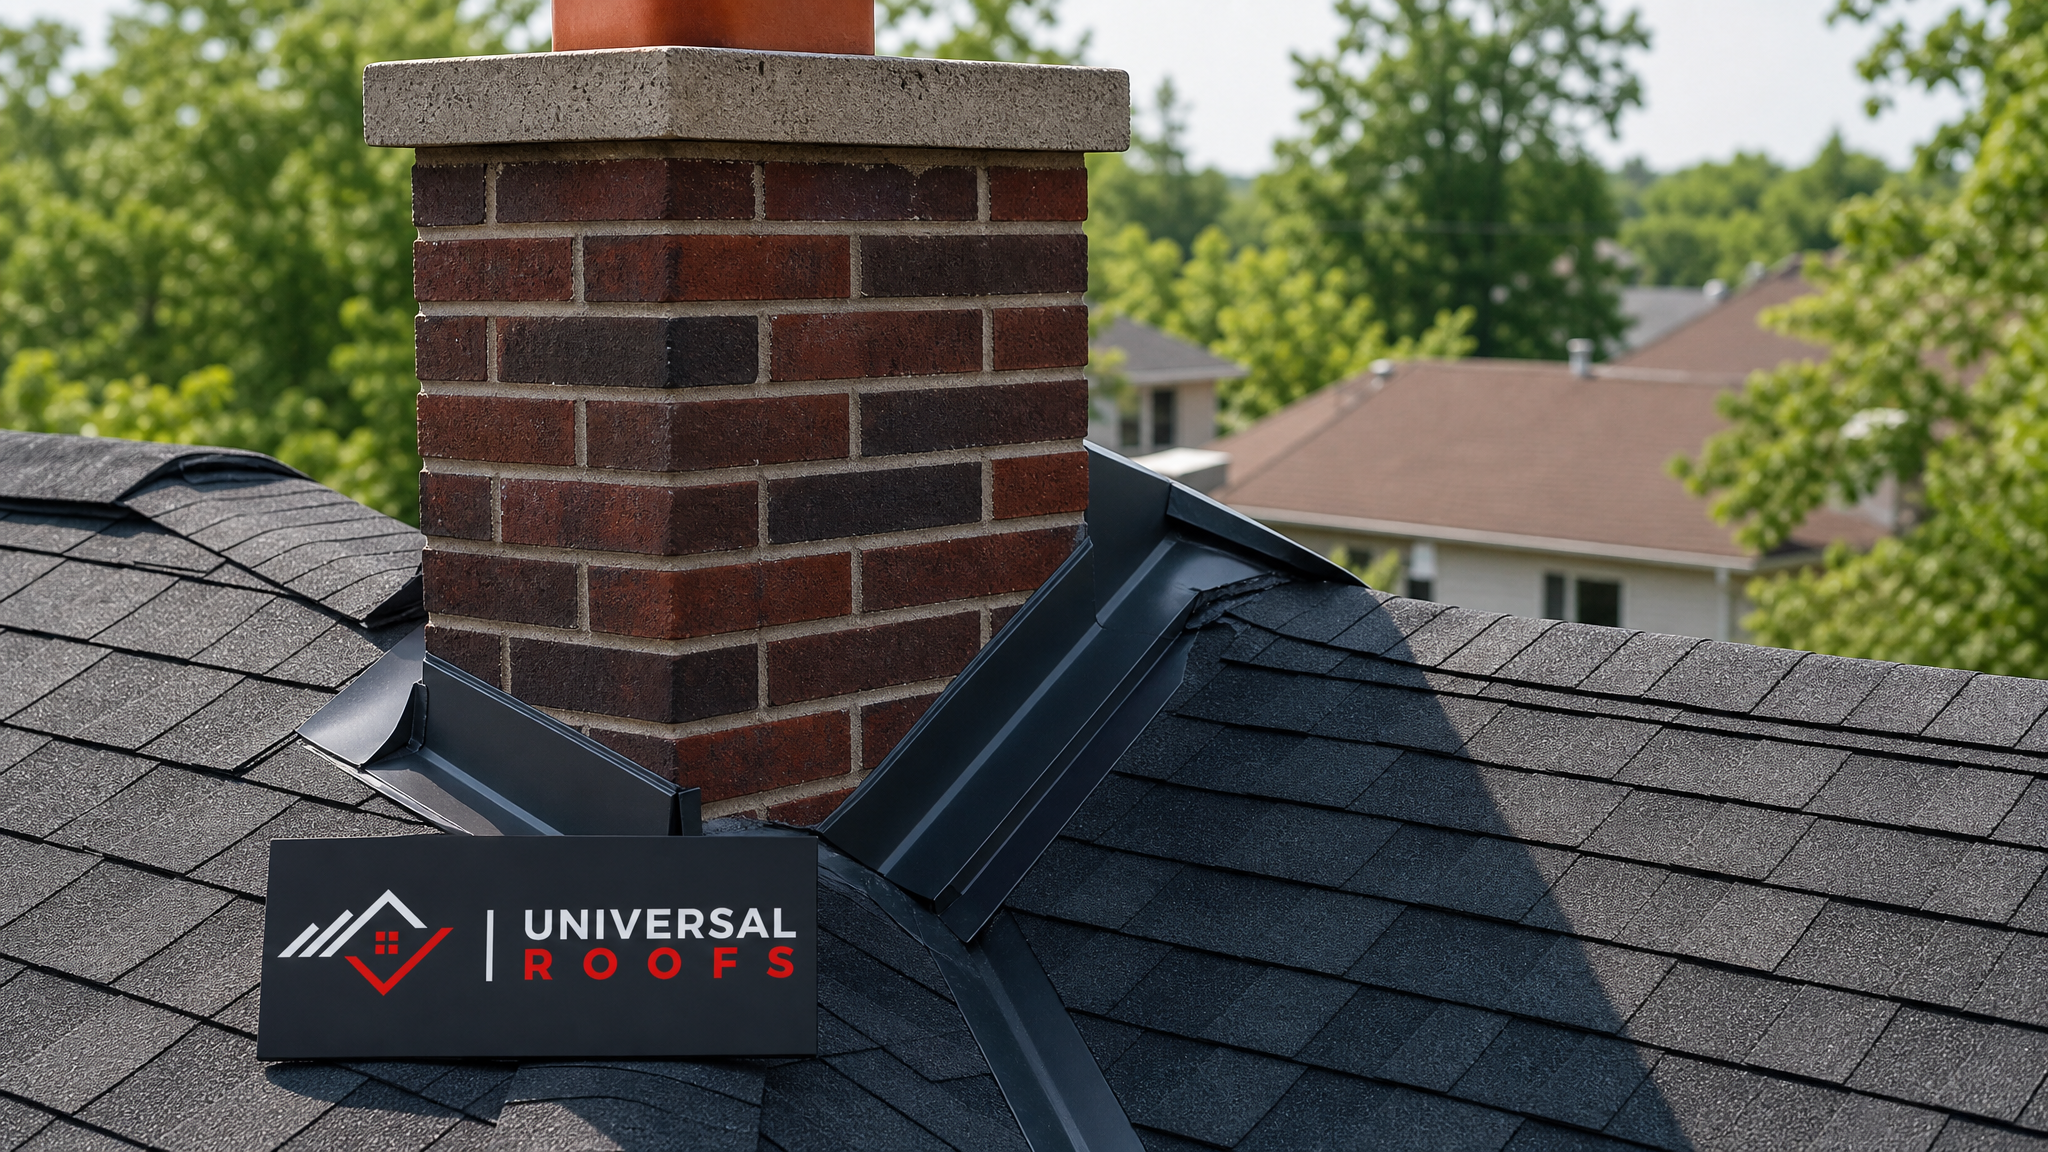
What Roof Flashing Actually Does
Flashing is a thin, formable metal (typically aluminum, galvanized steel, or copper) installed at any point where two roof planes meet, or where the roof meets a vertical surface like a wall, chimney, or skylight curb. Shingles alone cannot seal these transitions because water runs differently at joints, angles, and penetrations than it does across a flat plane. Flashing redirects that water back onto the shingle field and away from the building envelope.
There are several distinct types of flashing on a typical GTA roof, and each fails in slightly different ways:
- Step flashing — small L-shaped pieces woven between shingle courses along a wall or chimney
- Counter flashing — the top piece embedded into masonry or siding that overlaps step flashing
- Valley flashing — a continuous metal channel running down a roof valley where two slopes meet
- Drip edge flashing — installed along eaves and rakes to direct water into the gutter
- Vent and pipe boot flashing — collars sealing around plumbing stacks and exhaust vents
- Skylight flashing — a kit-specific flashing system surrounding a skylight curb
Because each type sits in a slightly different environment, a thorough inspection needs to check all of them individually rather than assuming that if one area looks fine, the rest does too. This matters especially around chimneys and skylights, where multiple flashing types meet at once and small installation errors compound over time. If your home has a skylight, our skylights team frequently finds that flashing, not the glazing unit itself, is the actual source of a reported leak.
Visual Signs of Faulty Flashing From the Ground
You do not need to climb a ladder to catch the first hints of a flashing problem. Binoculars and a walk around the property will reveal a surprising amount.
Look for these signs from the ground:
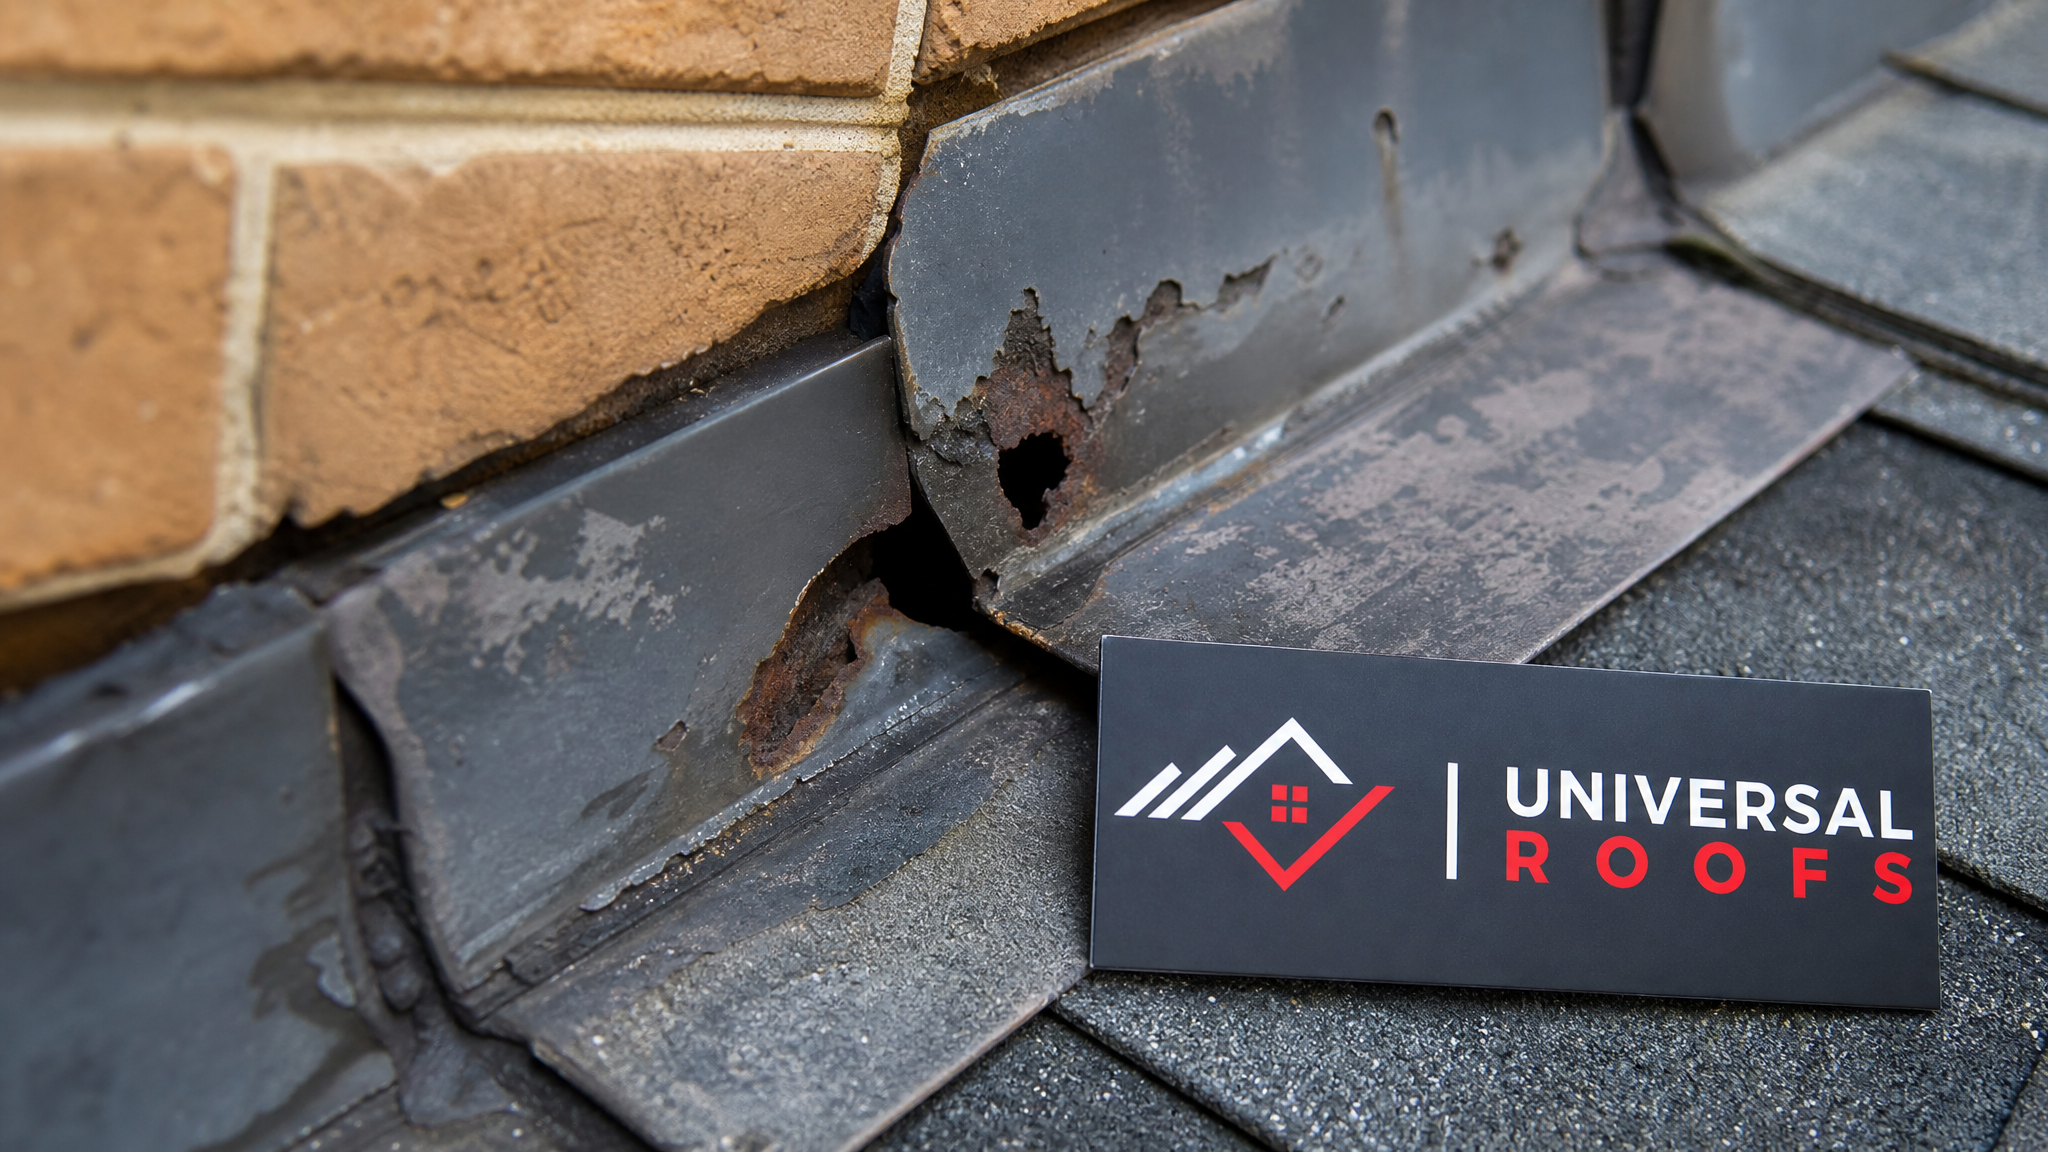
- Visible rust streaks or dark discoloration running down from a chimney, wall, or valley
- Flashing edges that appear lifted, curled, or separated from the roof surface
- Sagging or wavy metal instead of a straight, tight line
- Missing sections where you can see bare underlayment or sheathing
- Cracked, chalky, or missing sealant/caulking around chimneys and pipe boots
- Moss or algae growth concentrated specifically at flashing joints rather than the whole roof
Inside the house, faulty flashing usually shows up as water stains on ceilings near exterior walls, damp smells in the attic, or peeling paint below a chimney breast. Because flashing leaks are often intermittent, appearing only during wind-driven rain from a specific direction, homeowners sometimes dismiss a stain as a one-time event. It rarely is. If you notice any interior staining, it is worth a professional look through our roof repair service before the damage spreads into insulation and framing.
Where Flashing Fails Most Often on GTA Roofs
Not all flashing locations are equally vulnerable. Based on our repair calls across Toronto, Mississauga, Vaughan, and the surrounding regions, certain spots fail far more consistently than others.
| Location | Common Failure Mode | Typical Cause | Urgency if Found |
|---|---|---|---|
| Chimney base (step + counter flashing) | Separation, rust-through, caulking failure | Improper embedment into mortar joint, freeze-thaw movement | High — direct path into attic |
| Roof valleys | Cracking, granule wear-through, corrosion | Heavy water volume concentrates wear in valleys | High — largest water flow point |
| Skylight curbs | Sealant failure, corner gaps, kit misalignment | Aftermarket install not matched to skylight model | High — frequent interior leak source |
| Wall-to-roof junctions | Lifted edges, nail pops, sealant cracking | Thermal expansion of siding vs. roof plane | Medium — slow seepage over seasons |
| Vent and pipe boots | Rubber collar splitting, rusted metal base | UV exposure degrades rubber faster than metal | Medium — often the very first leak point on newer roofs |
| Drip edge at eaves | Bending, detachment, ice damage | Ice dams and debris buildup during winter | Low to Medium — cosmetic first, structural later |
How to Inspect Flashing Safely at Roof Level
If you are comfortable and safety-conscious, a closer inspection can be done from a stable extension ladder without walking on the roof itself. We strongly recommend against walking on a sloped roof without fall protection, training, and the right footwear, particularly on older asphalt shingles that can be slippery even when dry.
From the ladder, check for:
- Fastener condition — are nail heads exposed, rusted, or backed out of the metal?
- Overlap integrity — does step flashing still overlap the course below by at least the manufacturer’s minimum, usually around 50 millimetres?
- Sealant condition — is the caulk flexible, or has it cracked, shrunk, or pulled away from the surface?
- Metal condition — any pitting, rust perforation, or soft spots when gently pressed?
- Alignment — is the flashing still sitting flush, or has it been pushed out of place by ice, wind, or a fallen branch?
Binoculars from an upper-storey window can also reveal a great deal about valley and chimney flashing without any ladder work at all. If anything looks questionable, it is far safer and more accurate to have a professional roofer assess it in person, since flashing problems are frequently hidden under the shingle tabs that overlap them.
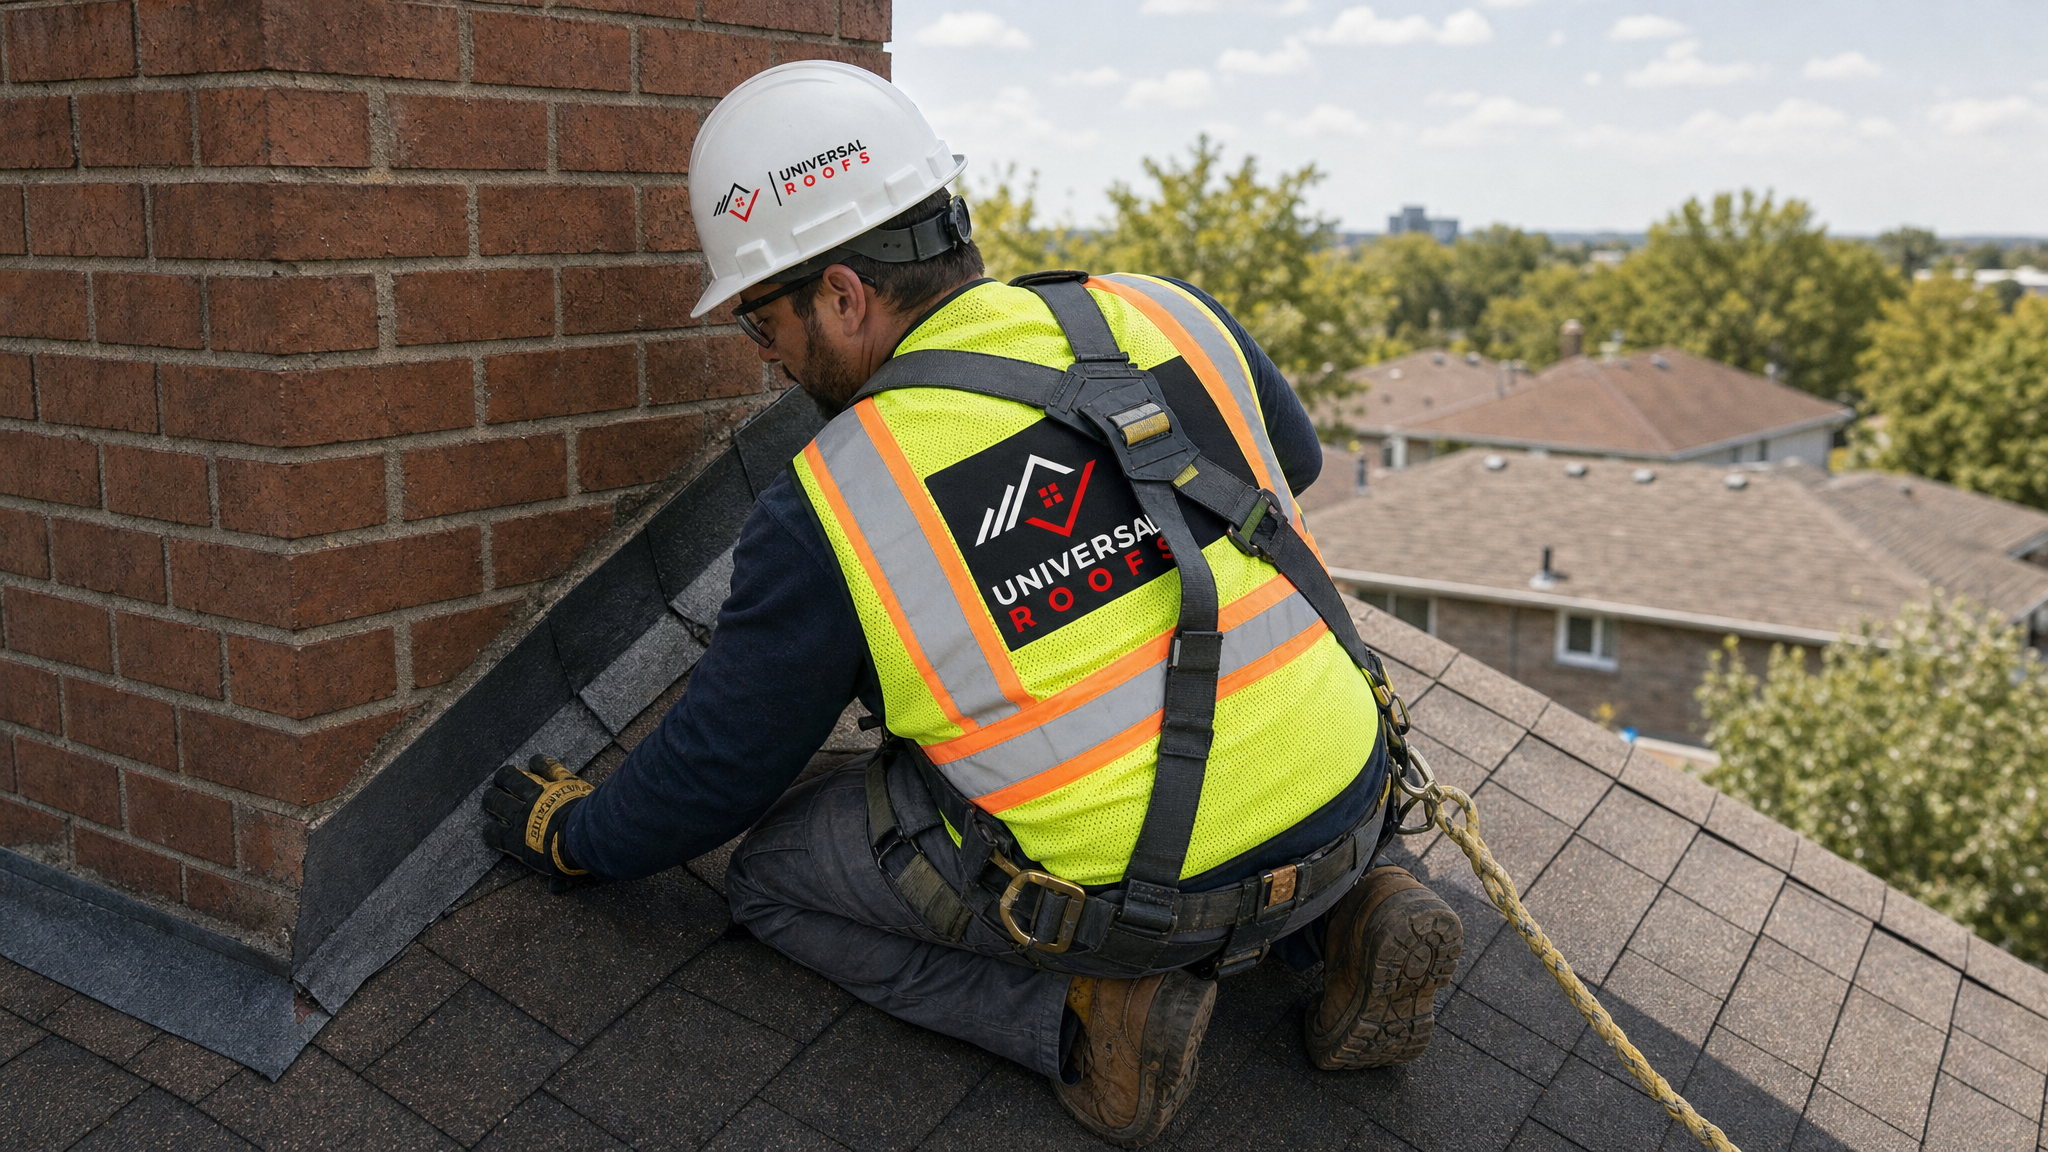
Flashing Material Comparison: What to Expect From Each Type
When flashing is being replaced rather than repaired, the material chosen has a major impact on how long it lasts under Toronto’s freeze-thaw cycles and seasonal temperature swings. Here is how the common options compare.
| Material | Typical Lifespan | Corrosion Resistance | Relative Cost | Best Suited For |
|---|---|---|---|---|
| Aluminum | 20–25 years | Good, but reacts poorly against masonry mortar without a barrier | Low to Moderate | Standard residential valleys and walls |
| Galvanized steel | 15–20 years | Moderate; zinc coating wears down over time | Low | Budget-conscious repairs, pipe boots |
| Copper | 50+ years | Excellent, develops protective patina | High | Chimneys, heritage homes, premium installs |
| Painted steel (Kynar/PVDF coated) | 25–30 years | Very good with intact coating | Moderate | Colour-matched valleys and drip edges |
| PVC/rubber pipe boots | 10–15 years | Poor once cracked; UV-sensitive | Low | Vent stacks (pair with metal base) |
Repair Versus Full Flashing Replacement
Not every flashing issue requires a full tear-off. In many cases, a section of step flashing or a single pipe boot can be replaced without disturbing the surrounding shingles, especially when caught early. In other cases, particularly widespread corrosion or flashing that was installed incorrectly from the start, a broader replacement tied to your next re-roof makes more sense.
Here is how we generally advise homeowners to think through the decision.
| Scenario | Recommended Approach | Estimated Timeline | Notes |
|---|---|---|---|
| Single cracked pipe boot, roof otherwise sound | Spot repair | Under 2 hours | Low cost, high value fix |
| Isolated chimney flashing separation | Chimney flashing repair/re-seal | Half day | Check mortar joint condition at the same time |
| Valley flashing showing rust-through in multiple spots | Full valley flashing replacement | 1 day | Often paired with adjacent shingle replacement |
| Roof nearing 18–20+ years old with widespread flashing wear | Full roof replacement including all new flashing | 2–4 days | Most cost-effective long-term option |
| Flat roof section with membrane and flashing separation | Flat roof system assessment | Varies | Requires membrane-specific approach |
If your roof is a flat or low-slope section, flashing details work differently than on a sloped asphalt roof, and membrane compatibility matters a great deal. Our flat roofing specialists handle these transitions regularly, since flat roof perimeter and penetration flashing tends to fail in ways that sloped-roof crews sometimes miss. And if your existing roof is simply near the end of its service life, it is often more economical to address flashing as part of a full roof replacement rather than repeatedly patching individual sections.
How Faulty Flashing Leads to Bigger Problems
A small flashing gap rarely stays small. Water that gets behind flashing travels along the path of least resistance, which is almost never a straight line down. It can run along roof sheathing, follow rafters, and emerge many feet from where it entered, which is why interior stains are often poor indicators of the actual leak location.
Left unaddressed, faulty flashing commonly leads to:
- Rotted roof decking that requires structural repair, not just a shingle patch
- Saturated attic insulation, which loses R-value and promotes mould growth
- Damaged drywall, trim, and paint on interior ceilings and walls
- Ice dam formation in winter, as leaking warm air melts snow unevenly
- Reduced attic ventilation efficiency if moisture accumulates around vents
Persistent moisture in an attic is also one of the more overlooked outcomes of flashing failure. If you notice condensation, musty odours, or visible staining on the underside of the roof deck, it is worth having your attic ventilation and insulation checked alongside the flashing itself, since the two issues frequently occur together and reinforce one another.
Flashing Around Skylights: A Special Case
Skylights deserve their own section because flashing failures here are among the most common leak calls we receive, and they are frequently misdiagnosed as a problem with the skylight unit itself rather than its surrounding flashing kit.
A skylight flashing kit typically has several components: a head flashing above the unit, step flashing along the sides that integrates with shingle courses, and a sill flashing or apron below. Each piece has to be installed in a specific sequence and overlap direction. When any one component is installed out of order, undersized, or substituted with generic flashing instead of a kit matched to the skylight model, leaks are almost inevitable, sometimes not appearing for a year or two after installation.
Signs that a skylight leak is a flashing issue rather than a glazing or seal issue include water tracking in from the corners of the frame rather than the centre of the glass, staining that follows the shape of the curb rather than the whole unit, and leaks that only occur during wind-driven rain from one particular direction. If you are experiencing any of these symptoms, our skylight replacement team can determine whether the fix is a flashing correction or a full unit replacement, since the two are often confused but require very different scopes of work.
Seasonal Timing: Why Summer Is the Right Time to Check
Late spring through summer is the ideal window to inspect and repair flashing in the GTA. The freeze-thaw cycles of winter and early spring are the primary stress event for flashing seams and sealant, so any damage from the past winter will typically be fully visible by July, while the weather is still warm and dry enough for sealants and coatings to cure properly.
Waiting until autumn or winter to address a known flashing issue is generally a mistake. Cold-weather sealant application is less reliable, and any water that gets behind flashing during a fall storm has months to cause damage before you would typically address it. If you have noticed any of the warning signs above, scheduling an inspection now, while conditions are favourable for a proper repair, avoids both the discomfort of a mid-winter leak and the higher cost of extensive water damage.
DIY Inspection Versus Professional Assessment
Homeowners can reasonably handle the ground-level and binocular-assisted portions of a flashing check. What is much harder to do safely and accurately without training is the close-up inspection of flashing that is partially hidden beneath shingle tabs, embedded in masonry joints, or located on a steep or high roof plane.
Professional roof inspections typically include infrared moisture scanning in the attic, a hands-on check of every flashing joint rather than a visual scan alone, and an assessment of how the flashing interacts with ventilation, ice and water shield placement, and shingle condition nearby. This comprehensive view is difficult to replicate from a ladder, which is why we recommend a professional assessment for anything beyond a basic visual check, particularly before a real estate transaction, after a severe wind or hail event, or when a roof is approaching the 15 to 20 year mark.
Universal Roofs has served homeowners throughout Toronto, the Peel Region, York Region, Halton Region, and Durham Region since 2005, and flashing diagnosis is one of the most common reasons homeowners across these areas first call us. You can read about other homeowners’ experiences on our reviews page, or browse our FAQ page for answers to other common roofing questions.
Preventing Future Flashing Failures
Once flashing has been repaired or replaced, a few maintenance habits go a long way toward extending its life:
| Maintenance Task | Recommended Frequency | Why It Matters | Who Should Do It |
|---|---|---|---|
| Visual inspection from ground/binoculars | 2x per year (spring and fall) | Catches early lifting, rust, or sealant cracking | Homeowner |
| Gutter and valley debris clearing | 2–3x per year | Prevents water pooling against flashing edges | Homeowner or professional |
| Sealant/caulk inspection at penetrations | Annually | Sealant degrades faster than metal itself | Homeowner or professional |
| Full hands-on flashing inspection | Every 2–3 years, or after major storms | Identifies hidden issues under shingle tabs | Professional roofer |
| Attic moisture/ventilation check | Annually | Confirms no hidden leaks behind visible flashing | Professional roofer |
Keeping to a schedule like this typically catches problems while they are still simple, inexpensive repairs rather than letting them progress into deck rot or interior damage. Our about page has more on how our team approaches long-term roof maintenance for GTA homeowners.
What are the first signs of identifying faulty flashing on a roof?
Can I inspect flashing myself, or do I need a professional?
How long does roof flashing typically last?
Is faulty flashing usually covered by home insurance?
Why does flashing fail more often around chimneys and skylights?
Should I repair flashing separately or wait for a full roof replacement?
Need Help With Identifying Faulty Flashing on?
Faulty flashing is one of the most common, and most preventable, causes of roof leaks we see across the GTA. Catching the warning signs early, whether it is a rusted chimney seam, a cracked pipe boot, or a skylight leaking from the corners, can be the difference between a simple repair and a costly interior restoration. If anything in this guide sounds familiar, Universal Roofs can help you get a clear answer.
Call us today at (416) 732-2421 or request a free inspection to get started.
Universal Roofs proudly serves Toronto, Mississauga, Brampton, Vaughan, Markham, Oakville and the GTA since 2005.