
If you have noticed a damp stain spreading across your ceiling near a chimney, skylight, or wall junction, flashing is very often the culprit. Flashing is the thin metal barrier installed at every seam and penetration on your roof, and it is the single most common point of failure on an otherwise healthy roof system. The trouble is, homeowners are frequently unsure whether the fix is a quick patch or a full teardown — and guessing wrong wastes money either way.
Choosing between flashing repair or replacement comes down to three practical tips: assess the age and material condition of the flashing, examine how widespread the damage actually is, and understand what is happening underneath the metal, not just on top of it. Get these three factors right and you will avoid both premature replacement costs and the false economy of patching flashing that is already failing.
In this guide we will walk through exactly how to evaluate your flashing, what separates a five-minute caulk fix from a job that needs full replacement, and why Toronto’s freeze-thaw winters make this decision more urgent here than in milder climates. We have based this on years of on-roof inspections across the GTA, and we will give you the same framework our crews use every day.
What Roof Flashing Actually Does (and Why It Fails First)
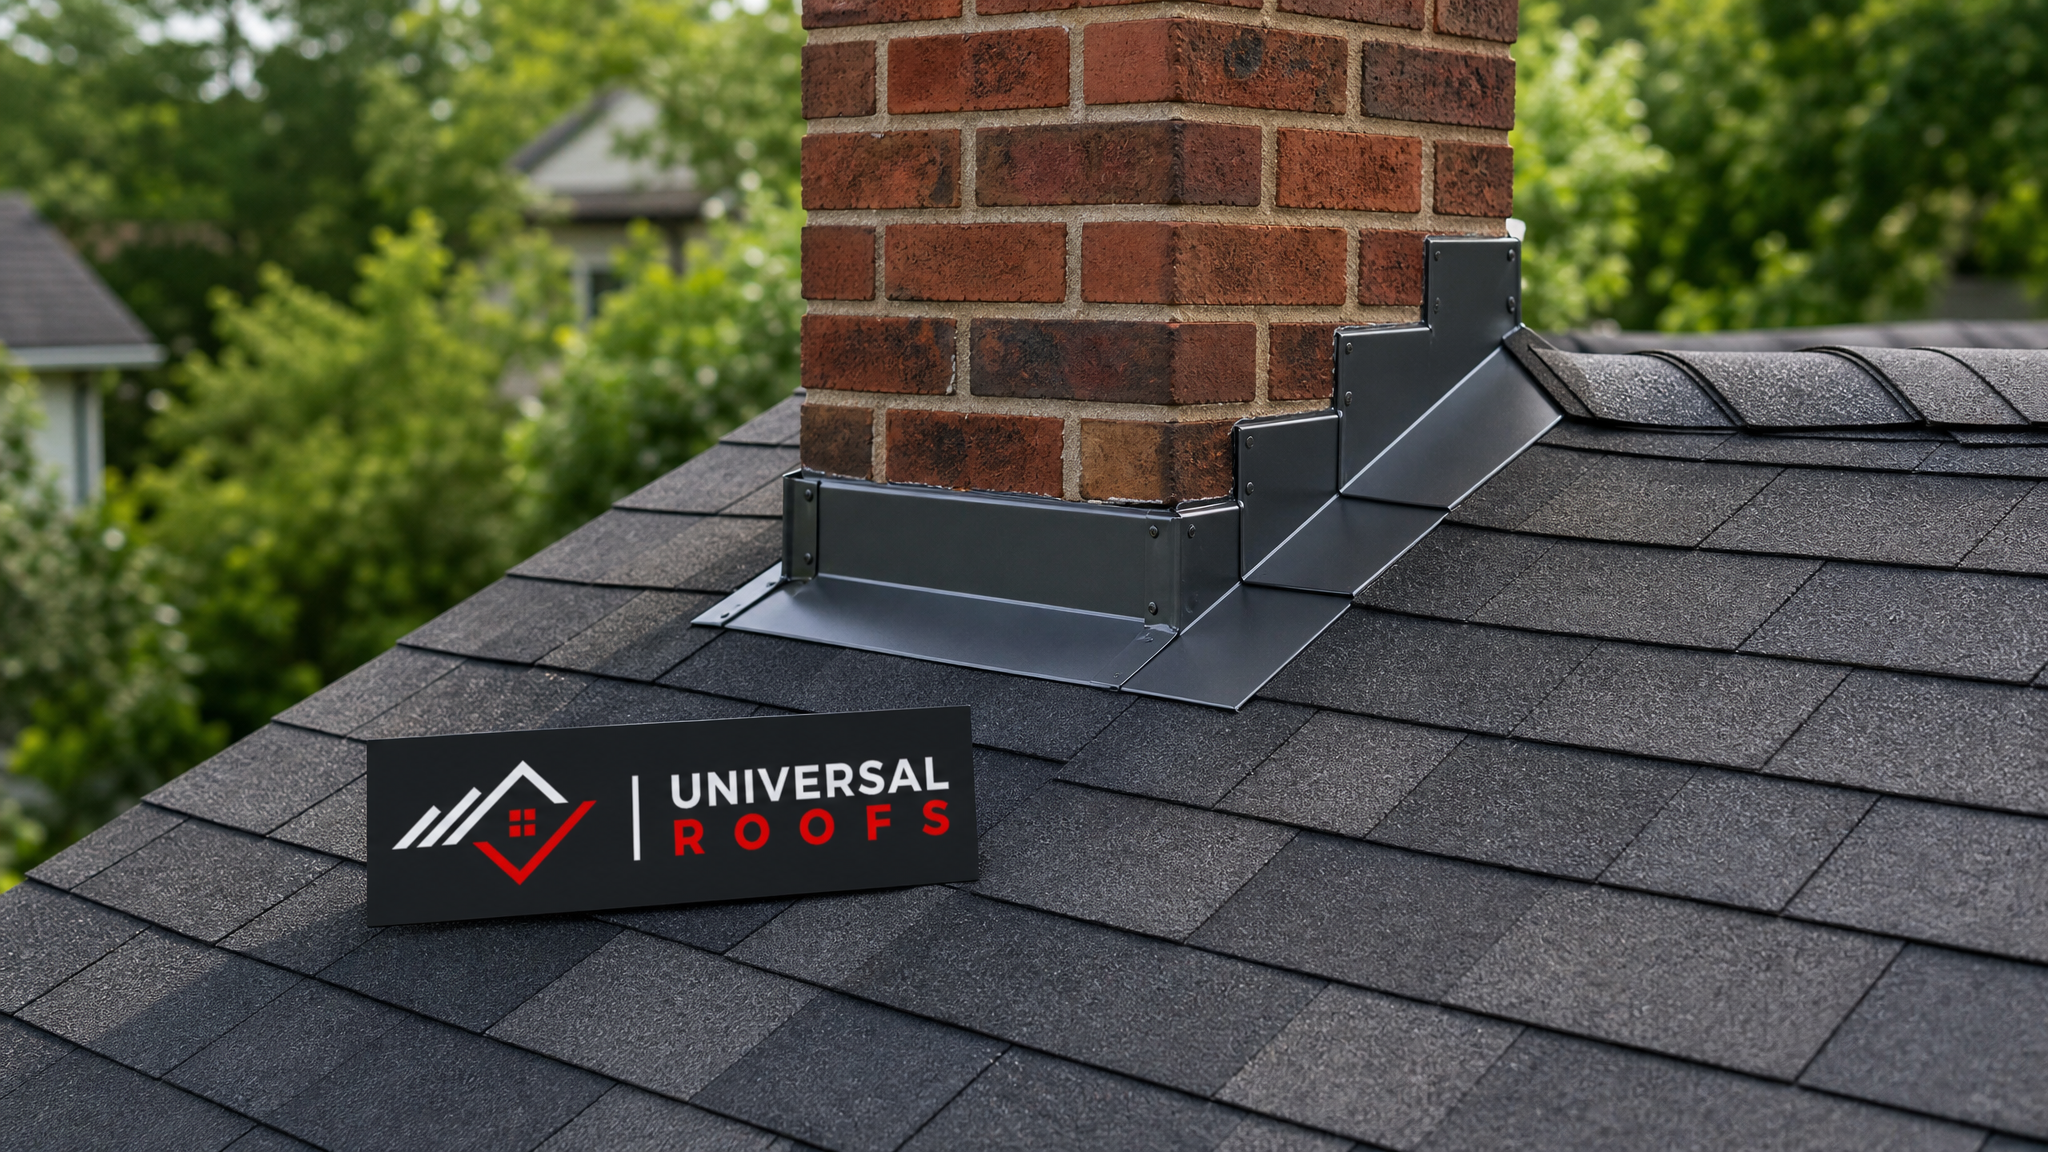
Flashing is installed anywhere two roof planes meet, or where the roof meets a vertical surface: chimneys, skylights, dormers, sidewalls, valleys, and roof-to-wall transitions. Its job is simple but critical — it directs water away from the seam so it never has a chance to pool or wick underneath your shingles. Because flashing is almost always metal (aluminum, galvanized steel, or copper) fastened to materials that expand and contract at different rates, it is engineered to move slightly with the building. That movement is also its Achilles heel.
In Toronto and the surrounding GTA, we cycle through freeze-thaw dozens of times each winter. Water gets into a hairline gap in the flashing sealant, freezes, expands, and widens the gap. By the time spring arrives, what was a pinhole has become a channel. This is why flashing fails years before the shingle field around it, and why a roof that is otherwise only ten or twelve years old can still develop a slow leak that starts at a flashing seam.
Understanding this failure pattern is the first step in choosing between flashing repair or replacement, because it tells you where to look and what kind of damage to expect. A well-installed roof repair addresses the specific seam that has failed; a full flashing replacement addresses every seam on the roof at once, which is sometimes the smarter long-term move even if only one spot is currently leaking.
Tip 1: Check the Age and Material Condition First
Before you even look at the leak itself, find out how old the flashing is and what it is made of. This single fact eliminates most of the guesswork.
- Galvanized steel flashing typically lasts 20 to 25 years before the zinc coating wears through and rust sets in. Once you see orange rust streaking down the shingles below a flashing joint, the metal itself is compromised, not just the sealant.
- Aluminum flashing does not rust, but it does oxidize and become brittle with age, and it can corrode quickly if it is in direct contact with pressure-treated wood or masonry mortar.
- Copper flashing, often used on higher-end homes and heritage properties, can last 50-plus years and rarely needs full replacement — most copper flashing “failures” are actually failed sealant or fasteners, not failed metal.
If your flashing is under 10 years old and made of aluminum or steel, a targeted repair is almost always the right call. If it is pushing 20-plus years, showing rust-through, or you can flex it and see daylight through pinholes, replacement is the more sensible long-term investment, because patching metal that has already lost structural integrity only buys you another season, not another decade.
| Flashing Material | Typical Lifespan | First Sign of Failure | Repair or Replace at This Age |
|---|---|---|---|
| Galvanized steel | 20–25 years | Rust streaking, pinholes | Replace after 18–20 years |
| Aluminum | 25–30 years | Brittleness, corrosion at contact points | Replace after 22–25 years |
| Copper | 50+ years | Failed sealant, loose fasteners (not the metal) | Repair almost always sufficient |
| Rubberized/EPDM boot flashing | 10–15 years | Cracking, UV degradation around collar | Replace after 10–12 years |
| Lead flashing (older homes) | 40+ years | Cracking at bend points | Repair if isolated; replace if widespread cracking |
Tip 2: Measure How Widespread the Damage Really Is
The second tip is to resist the urge to judge the whole roof by the one leak you can see from inside. Get up close — or have a professional get up close — to every flashing point on the roof, not just the one over the water stain. A single failed seal at a bathroom vent boot is a textbook repair. Rust and lifting nails at every valley, at the chimney, and around two skylights is a pattern, and patterns mean the flashing system as a whole has reached the end of its service life.
This is also where many homeowners get burned by a “repair” that was never going to hold. If a contractor patches one leaking valley with roofing cement but three other valleys on the same roof are showing the identical rust pattern, that patch is a temporary measure at best. You will very likely be calling about a leak in a different location within a year or two.
A proper inspection covers every transition point: chimney step and counter-flashing, all valleys, skylight curbs, sidewall flashing where the roof meets a second-storey wall, and any pipe boots or vent flashing. If you are unsure how to check safely, our FAQ page walks through what a full flashing inspection typically involves, and it is always safer to have a trained technician on the roof rather than a homeowner on a ladder.
Tip 3: Look Underneath — Not Just at the Metal
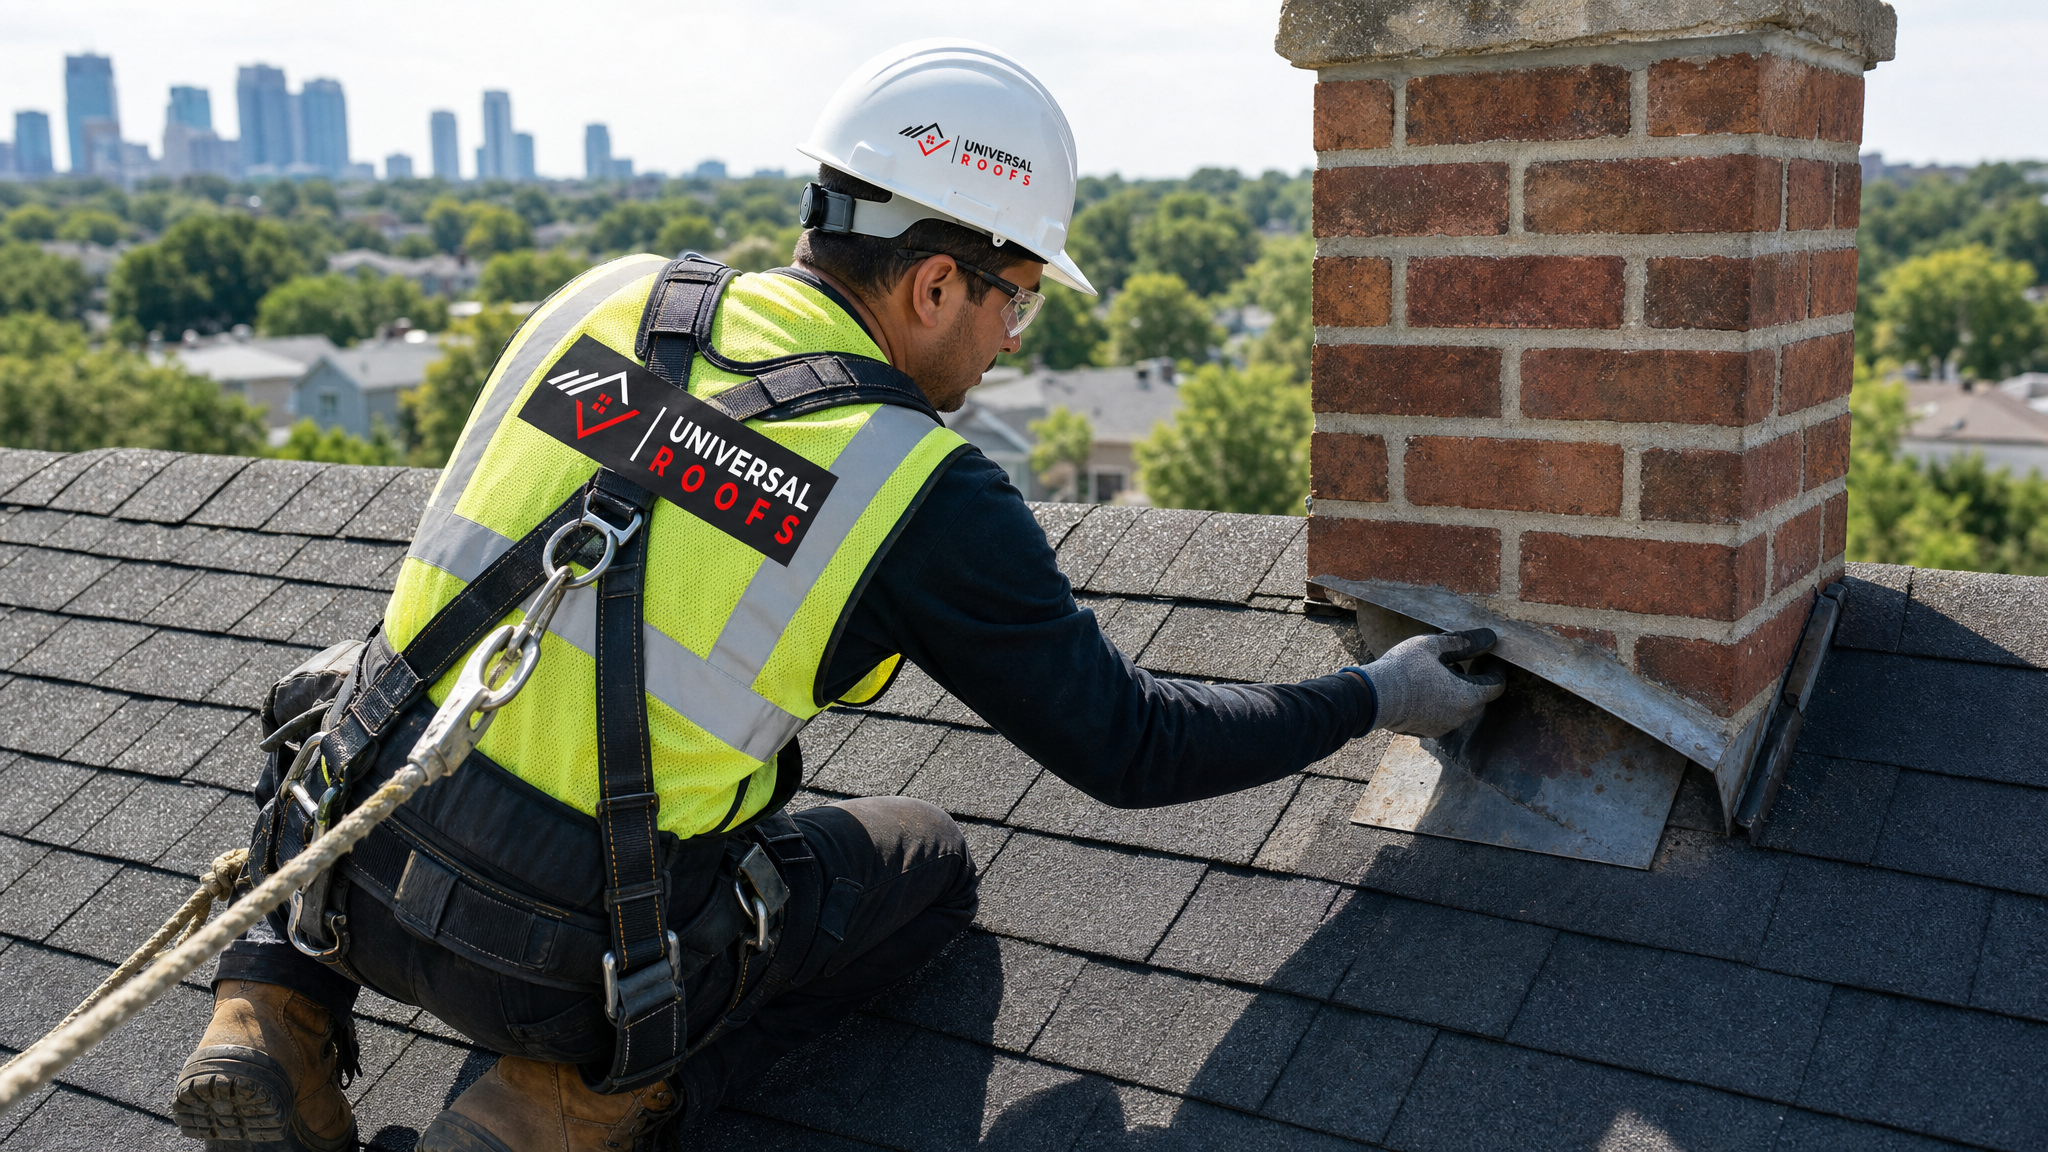
The third and most overlooked tip is that flashing failure is rarely just a flashing problem by the time you notice it. Water that has been finding its way past a seam for months or years has usually already reached the underlayment, the decking, or the framing below. Replacing the flashing without checking what is underneath it is like putting a new bandage over a wound that still needs cleaning.
When we pull back flashing during an inspection, we are checking for:
- Soft or delaminating plywood decking, which needs to be cut out and replaced before any new flashing goes down
- Saturated or missing underlayment beneath the flashing detail
- Mould or wood rot on rafters and trusses near chimneys and skylights
- Insulation damage in the attic directly below the leak, which is often the first place moisture becomes visible from inside the home
If the decking underneath is sound, a repair or a section replacement of the flashing is straightforward. If the decking is soft or the framing shows rot, you are looking at a repair job that also involves carpentry, which almost always tips the cost-benefit calculation toward a full roof replacement in that section, done properly, rather than a repeated cycle of patch jobs.
Repair vs. Replacement: A Side-by-Side Comparison
Once you have gathered the age, the extent of the damage, and the condition underneath, the decision usually becomes clear. Here is how the two options compare directly.
| Factor | Flashing Repair | Flashing Replacement |
|---|---|---|
| Typical cost (single point) | $250–$650 per location | $800–$2,500 per location, more if decking is involved |
| Timeline | Same day, often 1–3 hours | 1–2 days depending on scope |
| Best suited for | Isolated leak, flashing under 10–12 years old, sound decking | Rust-through, multiple failure points, roof over 15–20 years old |
| Expected lifespan of the fix | 3–7 years, shorter in harsh winters | 20–25 years with proper materials |
| Risk if the wrong choice is made | Recurring leaks, repeated service calls | Unnecessary cost if the roof did not actually need it |
Notice that neither option is automatically “better” — the right call depends entirely on the three tips above. A skilled estimator from a company like Universal Roofs will walk the whole roof, check the material and age, and check underneath the flashing before recommending either option, rather than defaulting to the more expensive fix.
How Toronto’s Climate Changes the Timeline
Homeowners in warmer climates can sometimes stretch flashing repairs for a decade or more. In the GTA, our freeze-thaw cycles compress that timeline considerably. A hairline gap that might sit dormant for years in a dry, temperate region becomes a genuine leak path here within one or two winters, because water gets into the gap, freezes overnight, expands, and pries the seam open a little further with every cycle.
This is especially relevant for flashing around skylights, since the corners of a skylight curb see some of the highest stress on the entire roof. If you are dealing with an older skylight and are weighing repair against a full unit swap, it is worth reading about the difference between a simple reseal and a proper skylight replacement, since flashing at the curb is very often the deciding factor. New installs and upgrades are covered on our skylights page if you are also considering adding natural light while the roof is already open.
Similarly, flat roof sections common on additions and garages across the GTA rely on a different flashing approach entirely — membrane-based rather than metal-lapped — and those systems have their own repair-versus-replace calculus, which our flat roofing team can assess separately from the sloped sections of your home.
Signs You Need a Professional Assessment Now, Not Later
Some signs move flashing decisions from “something to monitor” to “book an inspection this week.” Watch for these specifically:
| Warning Sign | What It Usually Means | Recommended Action |
|---|---|---|
| Rust-coloured streaks on shingles below flashing | Steel flashing is corroding through | Schedule inspection within 2–4 weeks |
| Water stain on ceiling directly below a chimney or skylight | Active leak already reaching interior finishes | Book inspection immediately |
| Visible daylight through flashing seams from the attic | Gaps large enough for direct water entry | Book inspection immediately |
| Loose or missing fasteners on counter-flashing | Flashing is at risk of lifting in high wind | Schedule repair before next storm season |
| Musty smell in the attic near a roof penetration | Possible hidden moisture or early mould growth | Book inspection immediately |
If you are seeing more than one of these signs at once, it is a strong indicator that you are past the point of a simple patch and should have a technician assess the full scope, including what is happening under the decking.
What a Proper Flashing Inspection Includes
A thorough assessment is what actually makes the repair-versus-replace decision easy, so it is worth knowing what should be included when you book one. A proper inspection covers the metal itself, the fasteners, the sealant, the underlayment beneath the flashing, and a check inside the attic for any signs of moisture intrusion. It should also include photos of every flashing point so you can see exactly what the technician saw, rather than taking a verbal assessment on faith.
We serve homeowners across the Toronto, Peel Region, York Region, Halton Region, and Durham Region areas, and the pattern is consistent across all of them: homes built in the same era, with the same original flashing materials, tend to show the same failure timelines. If your neighbours built in the same subdivision are having flashing issues, it is worth having your own roof checked even if you have not yet seen a stain indoors.
Cost Factors That Influence the Final Decision
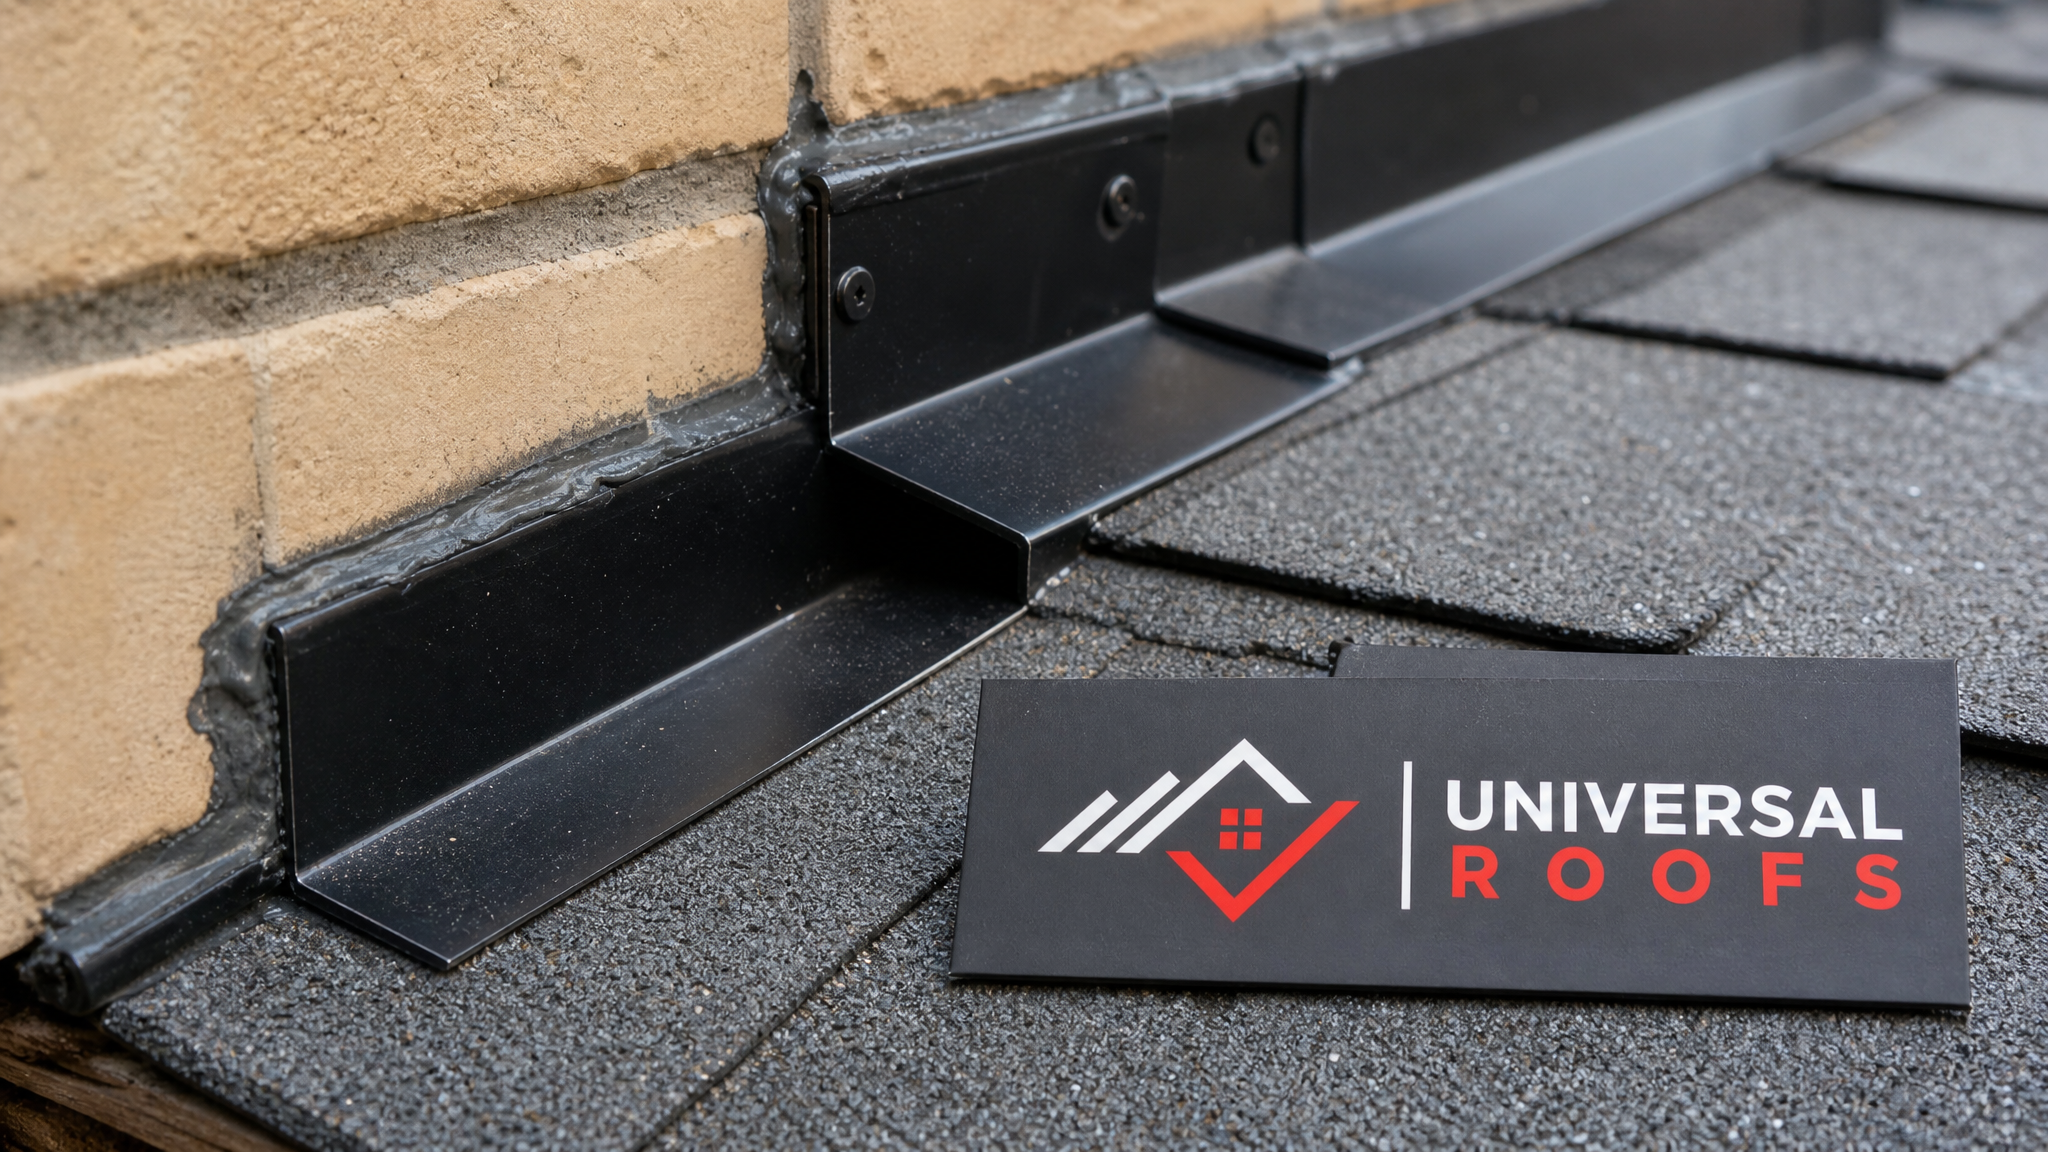
Beyond the three core tips, a few additional factors influence the true cost comparison between repair and replacement:
- Accessibility — steep slopes, multiple storeys, or flashing tucked behind chimneys require more labour time regardless of which option you choose.
- Material match — matching new flashing to existing brick, siding colour, or copper detailing on heritage homes can add cost to replacement.
- Number of penetrations — a roof with two skylights, a chimney, and three plumbing vents has far more flashing seams than a simple gable roof, which changes both repair and replacement pricing.
- Decking condition — as covered above, any rot found underneath adds carpentry costs to either option.
Getting an itemized, photo-documented estimate lets you see exactly which of these factors is driving your specific quote, rather than comparing a vague lump-sum number between contractors. You can also read what past customers experienced with similar repair-versus-replace decisions on our reviews page, and learn more about our approach on the about page.
Making the Final Call
To bring the three tips together: check the age and material of the flashing first, since that alone rules out a lot of guesswork. Then check how widespread the failure pattern is across the whole roof, not just the one spot causing the visible leak. Finally, always look underneath the flashing at the decking and underlayment before finalizing either decision, because hidden rot changes the entire cost equation. When all three checks point to isolated, recent damage on sound decking, repair is the responsible and cost-effective choice. When they point to aged materials, multiple failure points, or compromised decking, replacement protects you from paying for the same repair twice.
How do I know if I need flashing repair or full replacement?
How much does flashing repair typically cost in the GTA?
Can flashing be repaired more than once, or does it need to be replaced eventually?
Why does flashing fail before the rest of my roof?
Does a leaking chimney or skylight always mean the whole roof needs replacing?
Is it worth replacing all the flashing at once instead of one section at a time?
Need Help With Choosing Between Flashing Repair?
If you are still unsure which option is right for your roof, the safest path is a professional, photo-documented inspection rather than guesswork from the ground. Our team at Universal Roofs has spent years assessing exactly this decision on homes across the GTA, and we will always recommend the option that actually solves the problem rather than the one that costs more.
Call us today at (416) 732-2421 or request a free inspection to get started.
Universal Roofs proudly serves Toronto, Mississauga, Brampton, Vaughan, Markham, Oakville and the GTA since 2005.