
A cracked or lifted piece of flashing rarely announces itself with a dramatic leak on day one. Instead, homeowners across Toronto and the GTA usually notice a faint water stain near a chimney, a soft spot along a dormer wall, or a slow drip after a heavy spring rain. The good news is that budget friendly flashing repair solutions exist for almost every stage of flashing failure, and choosing the right one can save thousands of dollars compared to jumping straight to a full roof replacement.
At Universal Roofs, we have been repairing and replacing flashing on Toronto-area homes since 2005, and the question we hear most often is some version of “do I really need a whole new roof, or is there a cheaper fix?” In most cases, there is a more affordable option. This guide walks through the four best budget friendly flashing repair solutions available today, how much each one typically costs, when each makes sense, and when it is time to stop patching and consider roof replacement instead.
What Is Flashing and Why Budget Friendly Flashing Repair Solutions Matter
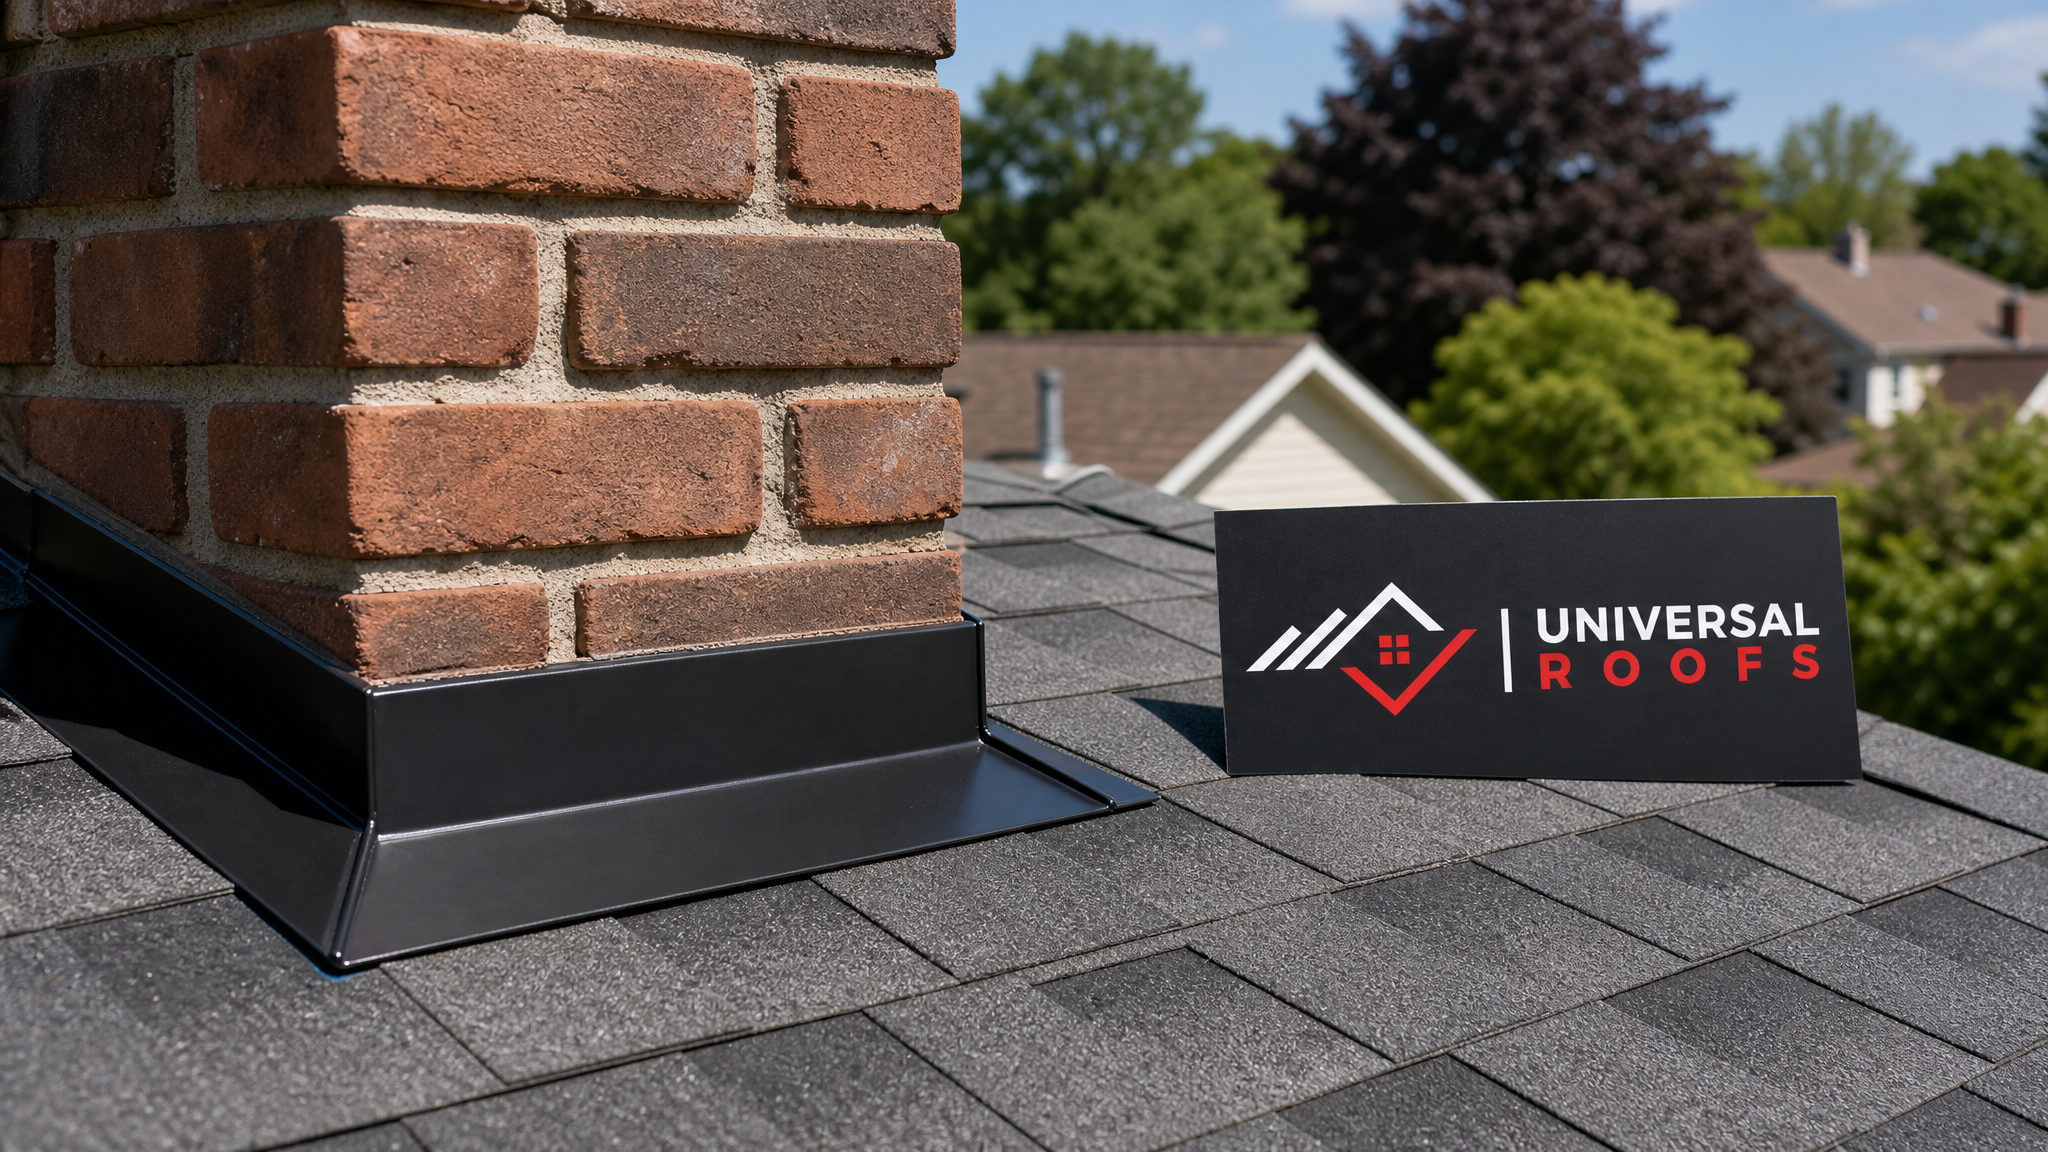
Flashing is the thin metal strip (usually aluminum, galvanized steel, or copper) installed at every point where your roof meets a vertical surface or penetration: chimneys, skylights, vent pipes, dormers, sidewalls, and roof valleys. Its job is simple but critical — it directs water away from these vulnerable seams before it can seep into the sheathing, insulation, or drywall below.
Because flashing sits at every joint and transition, it is exposed to more movement, more thermal expansion and contraction, and more direct water flow than the flat field of the roof. That is exactly why flashing tends to fail years before the shingles or membrane around it wear out. It is also why homeowners searching for budget friendly flashing repair solutions almost always have a repairable problem on their hands, not a roof-wide emergency.
Understanding this distinction matters financially. A shingle roof might be rated for 20-25 years, but the flashing details can start failing at year 10 or 12 if the original installation was sloppy, if a chimney was rebuilt without re-flashing, or if a previous contractor relied too heavily on caulking instead of proper metal work. Catching the problem early is what keeps the repair “budget friendly” rather than turning it into a full roof repair project.
Solution 1: Sealant and Caulking Touch-Ups
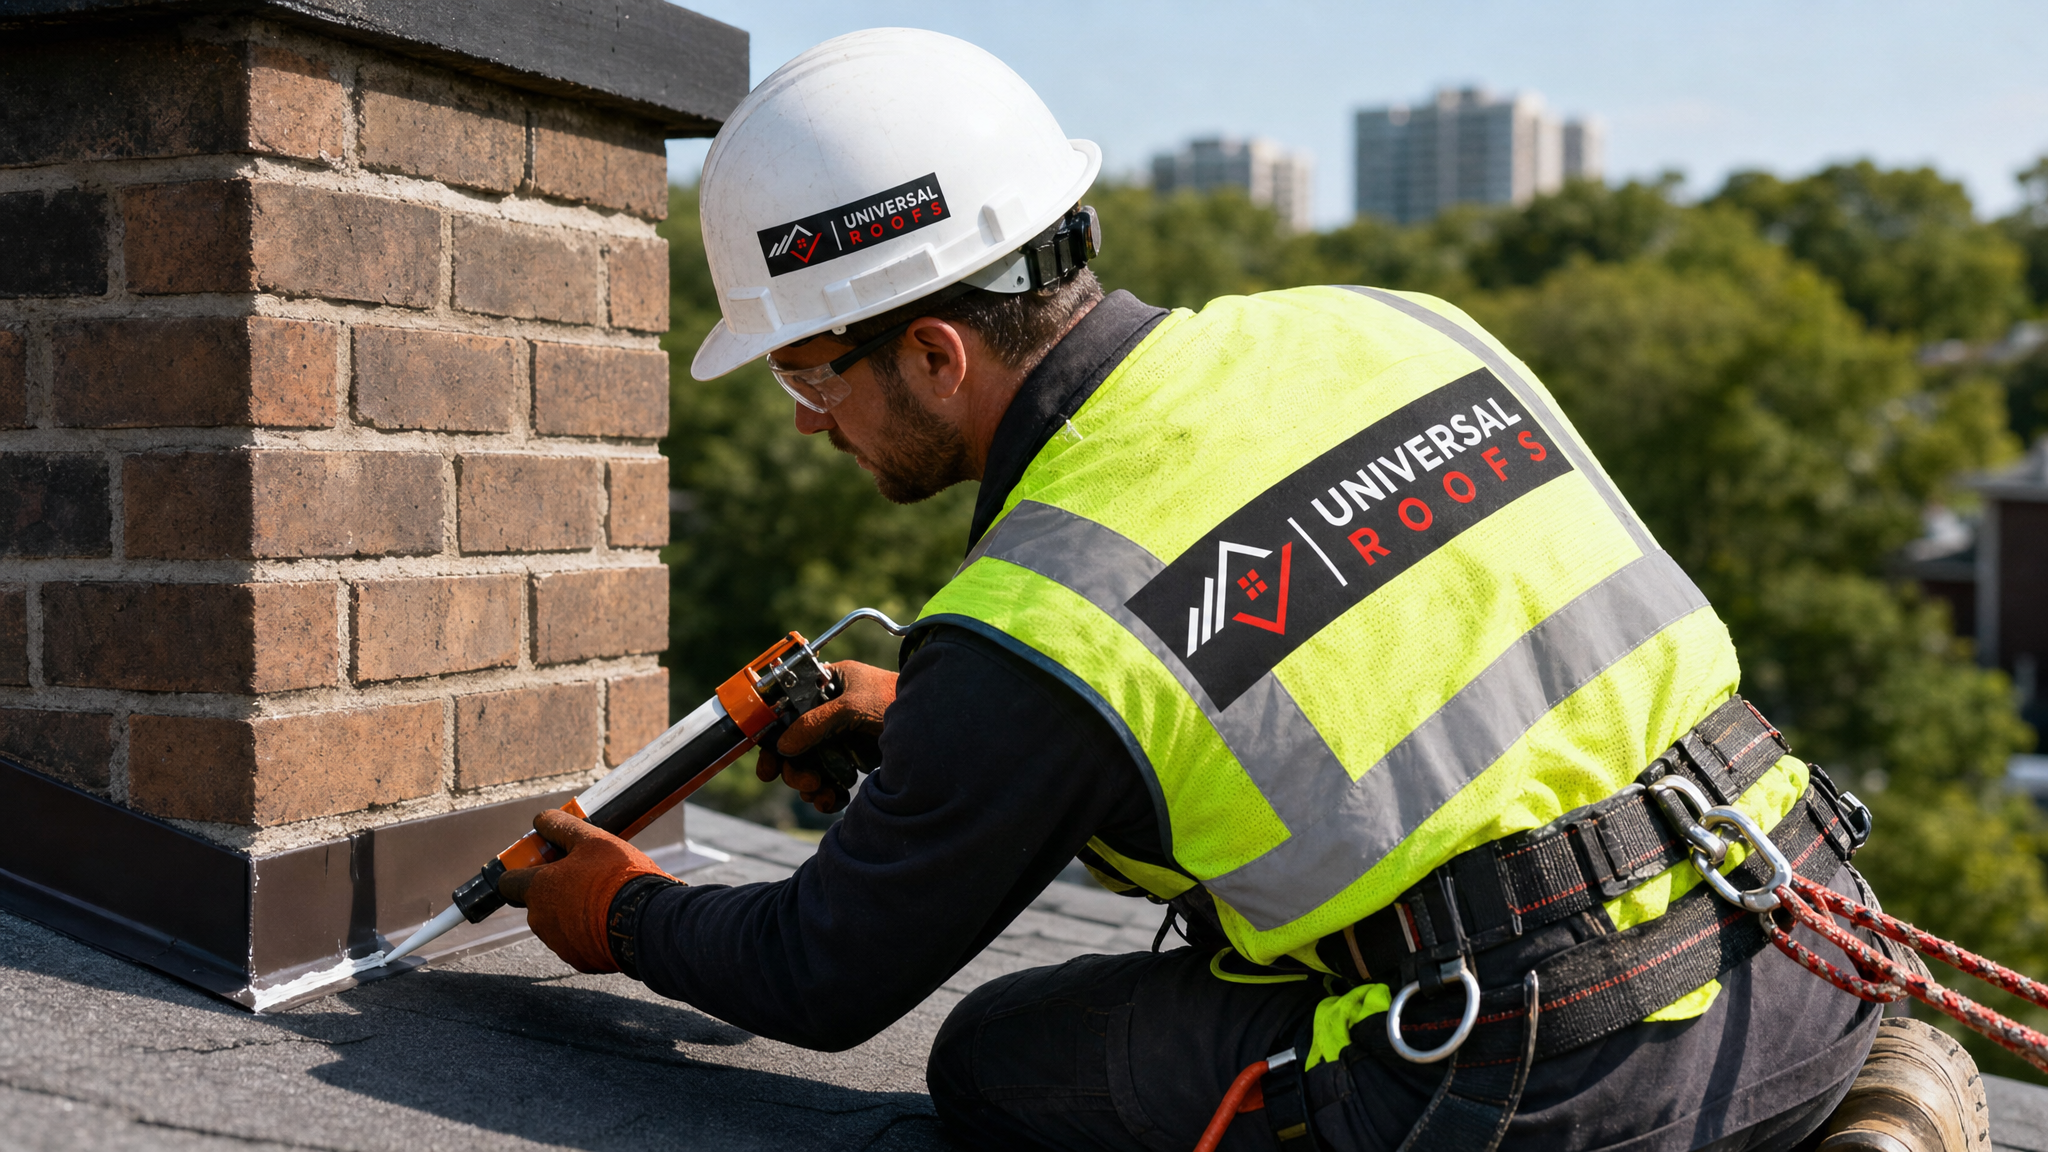
The most affordable of all budget friendly flashing repair solutions is a proper sealant application. This is the right call when the flashing metal itself is still straight, rust-free, and correctly positioned, but the seams, nail heads, or end laps have opened up slightly and are letting in water.
A quality sealant repair uses a polyurethane or butyl-based roofing sealant (never ordinary silicone caulk, which degrades quickly in UV and temperature swings) applied over cleaned, dry metal. Done correctly, this buys years of protection at a fraction of the cost of a patch or replacement.
The catch is that sealant is a maintenance item, not a permanent fix. It should be inspected annually and reapplied every 2-4 years depending on exposure and sun direction. Homeowners who choose this route need to be comfortable with ongoing, low-cost upkeep rather than a one-and-done repair. If you are unsure whether your flashing still qualifies for sealant-only work, our team can check during a routine visit — the same inspection we use before any skylight or chimney flashing job.
Solution 2: Flashing Patches for Localized Damage
When a section of flashing has a small tear, a rust hole, or a lifted corner but the surrounding metal is otherwise sound, a patch is usually the most cost-effective path. A patch involves cutting a new piece of matching flashing material, sliding or fastening it over the damaged section, and sealing the edges with compatible sealant and roofing cement.
Patches work best on step flashing along dormers and sidewalls, and on smaller sections of valley flashing where the damage is contained to a foot or two of material. They are among the more durable of the budget friendly flashing repair solutions because they replace the actual failed metal rather than just covering it.
The limitation is scope. Patching is not appropriate when corrosion has spread across a wide area, when the underlying decking has already absorbed water damage, or when the flashing was improperly installed in the first place (for example, missing counter-flashing at a chimney). In those situations, a patch may hold for a season or two before the surrounding metal fails as well, and homeowners end up paying twice. Our crews always check the condition of the decking and surrounding shingles before recommending a patch, the same due diligence we apply on every attic and roof assembly inspection.
Solution 3: Partial Flashing Replacement
Partial replacement sits in the middle of the cost spectrum and is often the smartest of all budget friendly flashing repair solutions for homes with one clearly failing area, such as a chimney, a single skylight curb, or one problematic valley, while the rest of the roof’s flashing remains in good shape.
This approach involves removing the damaged section entirely, including any compromised shingles or membrane around it, and installing new flashing tied properly into the surrounding roofing material. Unlike a patch, partial replacement addresses the root cause rather than covering a symptom, which is why it typically carries a longer service life.
Partial replacement is especially common around chimneys, where step flashing and counter-flashing wear out faster than the field roofing, and around older skylight installations where the original flashing kit has degraded. It is also the go-to solution when a previous owner or contractor used the wrong material (galvanized steel paired with copper, for instance, which causes galvanic corrosion) and that section needs to be corrected before it damages adjacent areas.
Solution 4: Full Flashing Replacement (When It Is Still the Budget-Smart Choice)
Full flashing replacement means removing and reinstalling all flashing across the roof: chimney, valleys, sidewalls, vent pipes, and skylight curbs. It sounds like the opposite of “budget friendly,” but in specific circumstances it is actually the more economical long-term choice among the four budget friendly flashing repair solutions covered here.
This makes sense when multiple areas are failing simultaneously, when the roof is being re-shingled anyway (flashing should always be replaced during a re-roof, not reused), or when a home has several generations of mismatched patch jobs that are each starting to fail on their own schedule. Paying for one coordinated flashing replacement is frequently cheaper than paying for three or four separate emergency patches over five years.
Full replacement is also the right call when there is evidence of water intrusion into the decking, since a patch or partial fix cannot address rot that has already spread. If our inspection turns up soft decking, staining on the attic side of the roof sheathing, or mould growth, we will always recommend addressing it properly rather than sealing over a bigger problem — even when that means a larger project than the homeowner originally called about.
Cost Comparison: Sealant vs. Patch vs. Partial vs. Full Replacement
The table below summarizes typical price ranges for Toronto-area homes. Actual costs vary based on roof pitch, accessibility, material (aluminum vs. copper vs. galvanized steel), and the extent of any hidden decking damage discovered once the old flashing is removed.
| Repair Method | Typical Cost (CAD) | Expected Lifespan | Best For |
|---|---|---|---|
| Sealant / caulking touch-up | $150 – $400 | 2 – 4 years | Minor seam gaps, sound metal |
| Flashing patch | $300 – $800 | 5 – 8 years | Localized tears or rust holes |
| Partial replacement | $700 – $2,200 | 15 – 20 years | One failing chimney, valley, or skylight |
| Full flashing replacement | $2,000 – $5,500 | 20 – 25+ years | Multiple failure points or re-roofing |
As the table shows, the cheapest option upfront is not always the cheapest option over time. A homeowner who applies sealant every two years for a decade may spend close to what a partial replacement would have cost, without ever solving the underlying issue. This is exactly why our estimators walk through all four budget friendly flashing repair solutions during an inspection rather than defaulting to the smallest possible invoice.
Signs You Need Flashing Repair Sooner Rather Than Later
Flashing problems are easiest to fix, and cheapest to fix, when they are caught early. The following signs suggest it is time to book an inspection rather than wait for the next rainstorm to reveal a bigger problem.
| Warning Sign | Likely Cause | Typical Fix Needed |
|---|---|---|
| Water stains on ceiling near chimney | Failed chimney step or counter-flashing | Partial or full replacement |
| Rust streaks on siding below flashing | Corroding galvanized flashing | Patch or partial replacement |
| Cracked caulk lines around vent pipes | Sealant reaching end of service life | Sealant touch-up |
| Lifted or curled metal edges | Wind damage or nail pop | Patch |
| Daylight visible around skylight curb | Deteriorated skylight flashing kit | Partial replacement |
| Musty smell in attic near roof edges | Ongoing hidden moisture intrusion | Full replacement, decking inspection |
If you notice any two or more of these signs at once, it usually means the issue has been developing for a while and a simple sealant application will not be enough. A quick inspection can confirm which of the budget friendly flashing repair solutions still applies before the damage spreads to the decking or interior finishes.
How Toronto’s Climate Affects Flashing Repair Choices
The GTA’s climate is uniquely hard on roof flashing. Winters bring repeated freeze-thaw cycles that expand and contract metal and sealant dozens of times per season, while ice damming along eaves and valleys pushes meltwater back under shingles and flashing laps. Summers bring intense UV exposure and sudden thunderstorms that test every seam at once.
This cycle is why sealant-only repairs in our market tend to need reapplication closer to the two-year mark rather than the four-year mark quoted in milder climates, and why we generally recommend aluminum or copper flashing over lower-grade galvanized steel for any partial or full replacement in the Toronto, Mississauga, Brampton, Vaughan, Markham, and Oakville area.
Homeowners in older neighbourhoods with mature tree cover should also budget for more frequent inspections, since falling branches and debris buildup around chimneys and valleys accelerate flashing wear well beyond what is typical for a newer subdivision roof.
Material Options and Their Effect on Repair Cost
The material used for a patch or replacement has a direct effect on both upfront cost and long-term durability. The comparison below outlines the three most common flashing materials used across the GTA.
| Material | Relative Cost | Durability | Best Use Case |
|---|---|---|---|
| Galvanized steel | Lowest | 10 – 15 years | Budget patches, temporary fixes |
| Aluminum | Moderate | 20 – 25 years | Most residential partial and full replacements |
| Copper | Highest | 40+ years | Heritage homes, premium chimneys |
| Rubberized membrane flashing | Moderate | 15 – 20 years | Flat roof transitions, low-slope details |
For flat roof transitions specifically, membrane-based flashing details are often paired with the broader flat roofing system rather than metal flashing alone, since the seams need to bond directly to the membrane surface.
DIY Flashing Repair: What Homeowners Can (and Cannot) Safely Do
Some homeowners ask whether sealant touch-ups can be a do-it-yourself project to save money. For a single-storey home with safe ladder access and a low roof pitch, a small sealant reapplication around an obviously accessible vent pipe boot is reasonable for a comfortable DIYer using the correct roofing-grade sealant.
Anything beyond that carries real risk. Working near a chimney, on a steep pitch, or near a roof edge without fall protection is dangerous, and improperly applied sealant can trap moisture rather than shed it, turning a small problem into a hidden one. Patches and replacements require matching metal profiles, proper fastening patterns, and correct layering with the surrounding shingles or membrane — mistakes here are a common reason homeowners call us after a previous DIY attempt failed within a single season.
Our general rule: if you can reach it safely from a stable ladder without stepping onto the roof, a small sealant check is low-risk. Anything involving cutting metal, walking the roof surface, or working around a chimney should go to a professional crew with harnesses, proper flashing brakes, and roofing-grade materials.
How Universal Roofs Approaches Budget Friendly Flashing Repair Solutions
Every flashing call starts with an honest inspection, not a sales pitch for the biggest possible job. Our crews check the condition of the metal itself, the state of the decking underneath, the surrounding shingles or membrane, and any history of previous repairs before recommending sealant, a patch, partial replacement, or full replacement.
We photograph problem areas so homeowners can see exactly what we see, and we explain why one of the four budget friendly flashing repair solutions makes more sense than another for their specific situation, rather than defaulting to whichever option is easiest for us to schedule. If a chimney or skylight flashing issue turns out to be connected to a bigger concern, such as compromised attic ventilation or decking rot, we will flag it clearly and give you options rather than surprise you mid-project.
You can see how this approach has worked out for other GTA homeowners on our reviews page, and browse answers to more common questions on our FAQ page. We have been doing this work across Toronto and the surrounding region since 2005, and flashing repair remains one of the most common — and most solvable — issues we see.
What are the most budget friendly flashing repair solutions available?
How much does flashing repair typically cost in the GTA?
Is sealant a permanent fix or just a temporary patch?
When should I choose a patch instead of full flashing replacement?
Can I repair flashing myself to save money?
How do I know if my flashing needs repair now versus later?
Need Help With Flashing Repair?
Whether you are dealing with a small seam leak or a chimney that has needed attention for a few seasons, Universal Roofs can help you choose the right fix for your budget and your roof’s actual condition.
Call us today at (416) 732-2421 or request a free inspection to get started.
Universal Roofs proudly serves Toronto, Mississauga, Brampton, Vaughan, Markham, Oakville and the GTA since 2005.