
Flashing failures are one of the most common causes of roof leaks in Toronto homes, yet flashing repair is also one of the most frequently botched jobs in residential roofing. The metal itself is inexpensive and the repair often takes only a few hours, so many homeowners assume any general contractor or handyman can handle it. In practice, flashing sits at the intersection of roofing, sheet metal work, and building science, and a poorly executed repair can cause more damage than the leak it was meant to fix.
Before you hire anyone to work around your chimney, skylight, dormer, or roof-to-wall junction, it helps to understand what separates a qualified flashing repair contractor from someone who will simply caulk over a problem and disappear. This guide walks through the three key factors that matter most when hiring a flashing repair contractor in the Greater Toronto Area, plus the background knowledge you need to evaluate quotes, ask the right questions, and avoid a callback next spring.
We have been repairing and replacing flashing across the GTA since 2005, and the patterns are consistent: the jobs that fail again within a year or two almost always trace back to a contractor who was missing one of these three things. Get these right and a properly installed flashing repair should outlast the shingles around it.
Why Flashing Repair Is Different From Ordinary Roof Repair
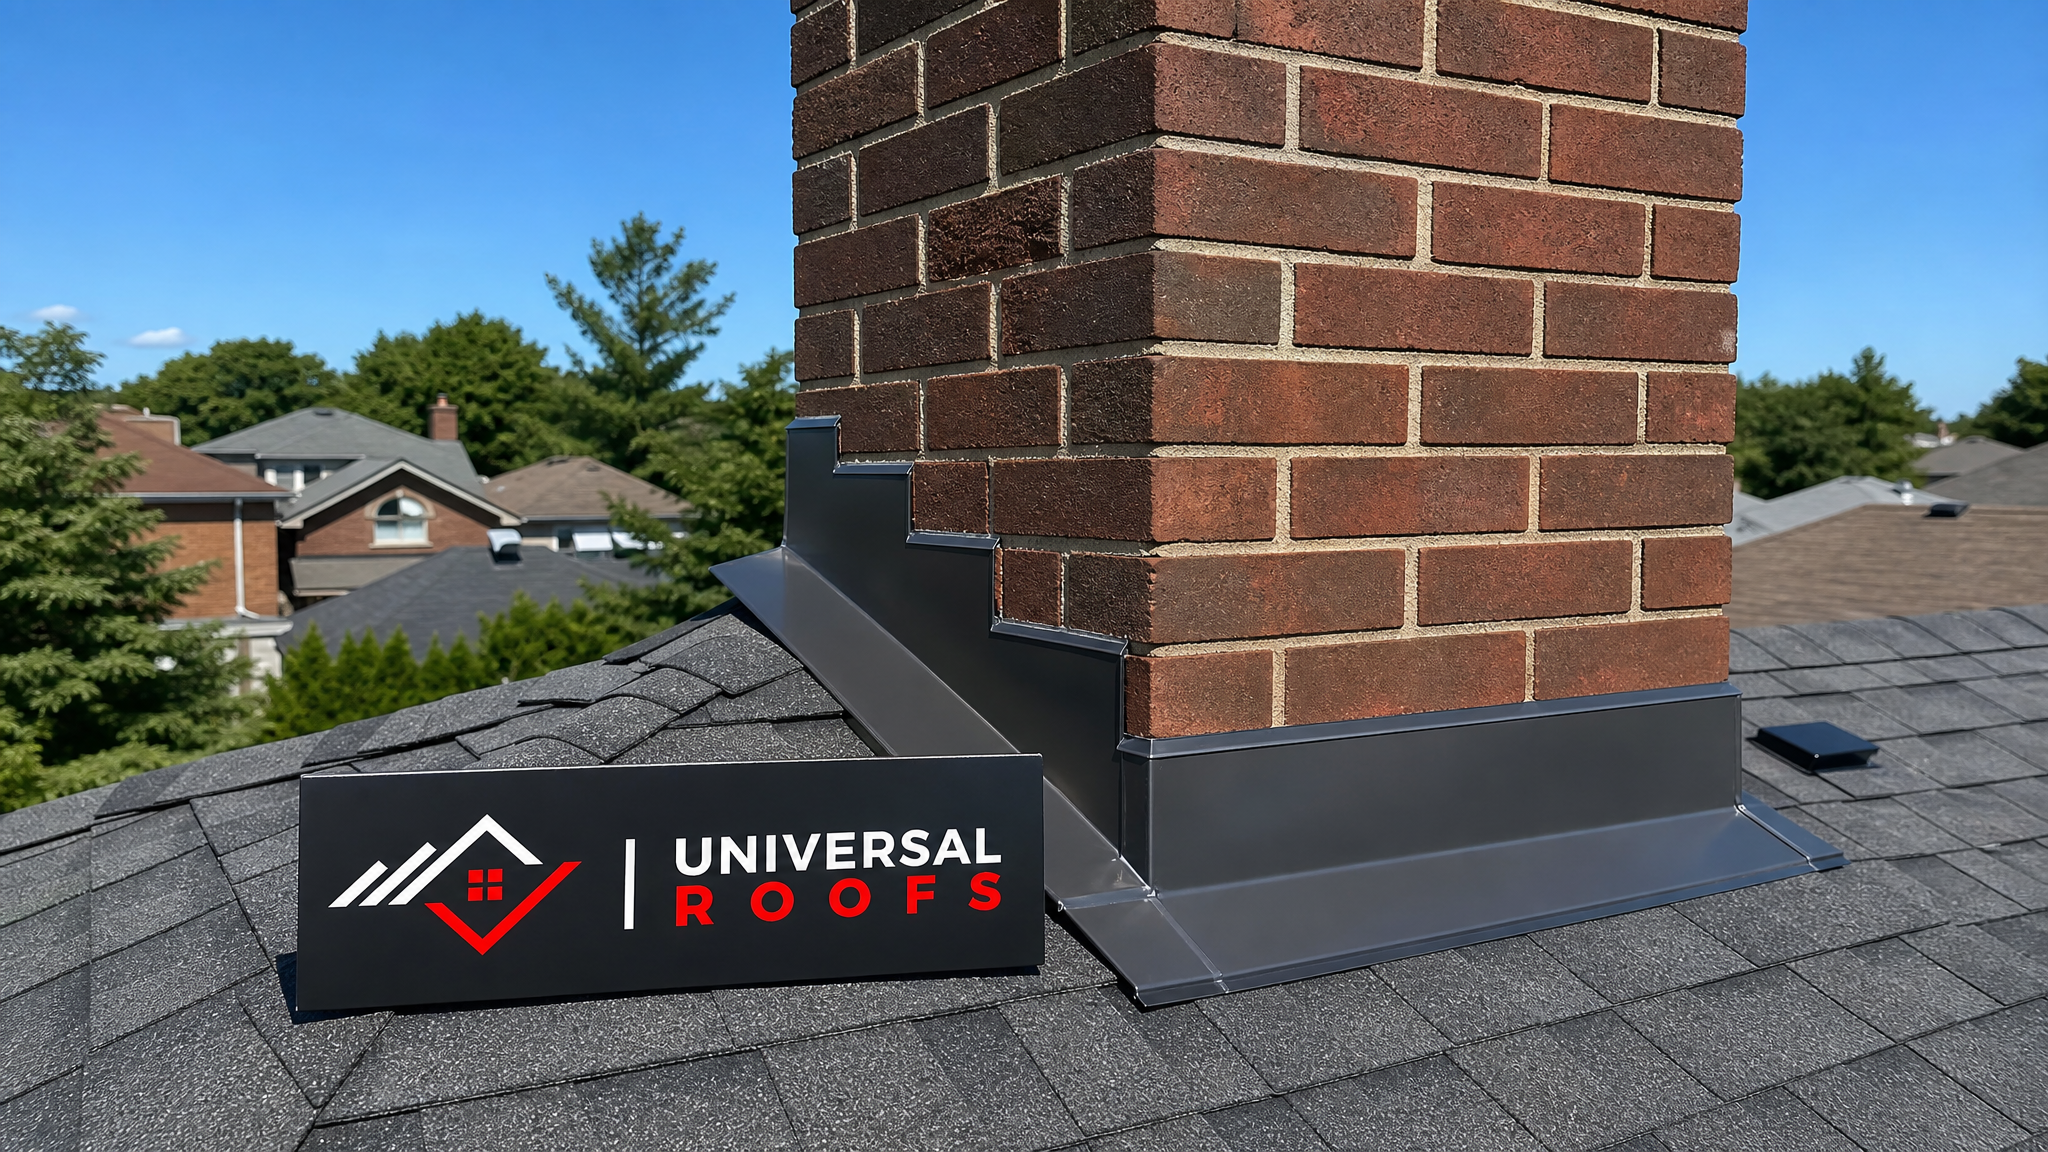
Flashing is the sheet metal (or, less commonly, rubber or plastic) that seals the joints where your roof plane meets something that interrupts it: a chimney, a skylight, a wall, a vent pipe, or a valley where two roof slopes meet. Shingles or membrane can shed water on a flat, uninterrupted plane on their own, but at every transition point, water needs a metal or membrane detail to keep it from working sideways or backward under the roofing material.
That is precisely why roof repair that focuses only on shingles can miss the actual source of a leak. A homeowner sees a stain on the ceiling near a chimney and assumes a few shingles need replacing, when the real culprit is corroded or improperly lapped counter-flashing that has been letting water behind the brick for two winters. Diagnosing this correctly requires someone who understands water behaviour, not just shingle installation.
In the GTA specifically, our freeze-thaw cycle makes flashing failures more common and more urgent than in milder climates. Water that gets behind flashing in November can freeze, expand, and pry the metal further away from the substrate before a January thaw sends it into your attic insulation. By the time a stain appears on a ceiling, the damage has often been building for one or two full seasons. This is also why summer, when the roof deck is dry and accessible, is the ideal time to have flashing inspected and corrected before the next freeze-thaw cycle begins.
Factor 1: Verified Roofing-Specific Experience and Licensing
The single biggest factor in hiring a flashing repair contractor is confirming that flashing work is something they do regularly, not something they occasionally attempt as part of a broader renovation or handyman scope. Flashing has its own vocabulary, tools, and failure modes, and a contractor who mainly frames additions or hangs eavestrough will not necessarily know the difference between step flashing, counter-flashing, and continuous flashing, let alone when each is appropriate.
Ask direct questions: How many flashing repairs has this contractor completed in the last year? Do they carry a valid business licence and liability insurance specific to roofing work? Are they willing to name a manufacturer whose flashing systems they are trained to install? A contractor who answers vaguely, or who cannot describe the difference between a chimney flashing kit and valley flashing, is not the right fit for this specialized work.
Licensing and insurance matter for more than paperwork. Flashing repair frequently involves working at height, on steep pitches, and near masonry that can be damaged if reglet cuts are made incorrectly into brick or stone. A contractor without proper Workplace Safety and Insurance Board (WSIB) coverage exposes you to liability if someone is injured on your property, and one without general liability insurance leaves you responsible for any damage caused during the repair.
| Credential to Verify | Why It Matters | How to Confirm | Red Flag |
|---|---|---|---|
| WSIB clearance certificate | Protects you from liability if a worker is injured on your roof | Request a clearance certificate number and verify it on the WSIB website | Contractor refuses or says insurance “isn’t needed” for small jobs |
| General liability insurance | Covers accidental damage to your home, chimney, or landscaping | Ask for a certificate of insurance naming your address | Provides only a business card with no documentation |
| Municipal business licence | Confirms the company is a registered, accountable entity | Search the municipal licence database or ask for the licence number | Operates under a personal name with no business registration |
| Manufacturer training or certification | Ensures correct installation methods for specific flashing systems | Ask which flashing or membrane brands they are certified to install | Cannot name any specific product line or installation standard |
| References from similar flashing jobs | Demonstrates a track record of durable, leak-free repairs | Request 2-3 references from jobs completed at least one year ago | Only offers references from jobs finished within the last month |
One useful shortcut is to check a contractor’s reviews page or third-party review profile for mentions of flashing specifically, rather than general roofing satisfaction. A company can have excellent reviews for shingle replacement while still lacking depth in flashing detailing, since the two skill sets, while related, are not identical.
Factor 2: A Clear, Written Diagnosis Before Any Repair Begins
The second factor separates contractors who diagnose a problem from those who simply react to a symptom. A homeowner calling about a leak near a skylight or chimney should receive a written explanation of what is actually failing, not just a quote to “reseal” or “recaulk” the area. Caulking and roofing cement are legitimate short-term tools in a professional’s kit, but when they are the entire proposed solution, that is a signal the contractor has not identified the underlying mechanical failure.
A thorough flashing assessment should identify: which specific flashing component has failed (step, counter, apron, valley, or vent boot flashing), why it failed (corrosion, improper original installation, movement, or age), and whether surrounding materials, like roof decking, sheathing, or attic insulation, have also been compromised by prior water intrusion. This is especially important around penetrations like skylights, where flashing failure is frequently mistaken for a defective skylight unit itself.
Ask the contractor to walk you through their findings in plain language and to put the scope of work in writing before any repair begins. A written proposal should specify the flashing material (typically aluminum, galvanized steel, or copper), the method of installation (mechanically fastened and lapped, versus adhesive-only), and whether any surrounding shingles, membrane, or decking will need to be removed and replaced to properly integrate the new flashing.
| Flashing Type | Common Location | Typical Material | Expected Lifespan |
|---|---|---|---|
| Step flashing | Where a sloped roof meets a vertical wall or chimney side | Aluminum or galvanized steel | 25-40 years if properly lapped |
| Counter-flashing | Set into masonry, overlapping step flashing at a chimney | Galvanized steel or copper | 30-50 years |
| Valley flashing | Where two roof slopes meet at an angle | Aluminum, steel, or self-adhered membrane | 20-30 years |
| Apron/head flashing | Top edge of a chimney or dormer facing upslope | Aluminum or galvanized steel | 25-35 years |
| Vent pipe boot flashing | Around plumbing stacks and roof vents | Rubber collar with metal base | 10-15 years (rubber degrades faster than metal) |
Understanding these categories helps you evaluate whether a quote actually matches the problem. If a contractor diagnoses a failed vent boot but proposes replacing valley flashing instead, or vice versa, that mismatch is worth questioning before you sign anything.
Factor 3: Materials and Workmanship That Match Your Roof’s Conditions
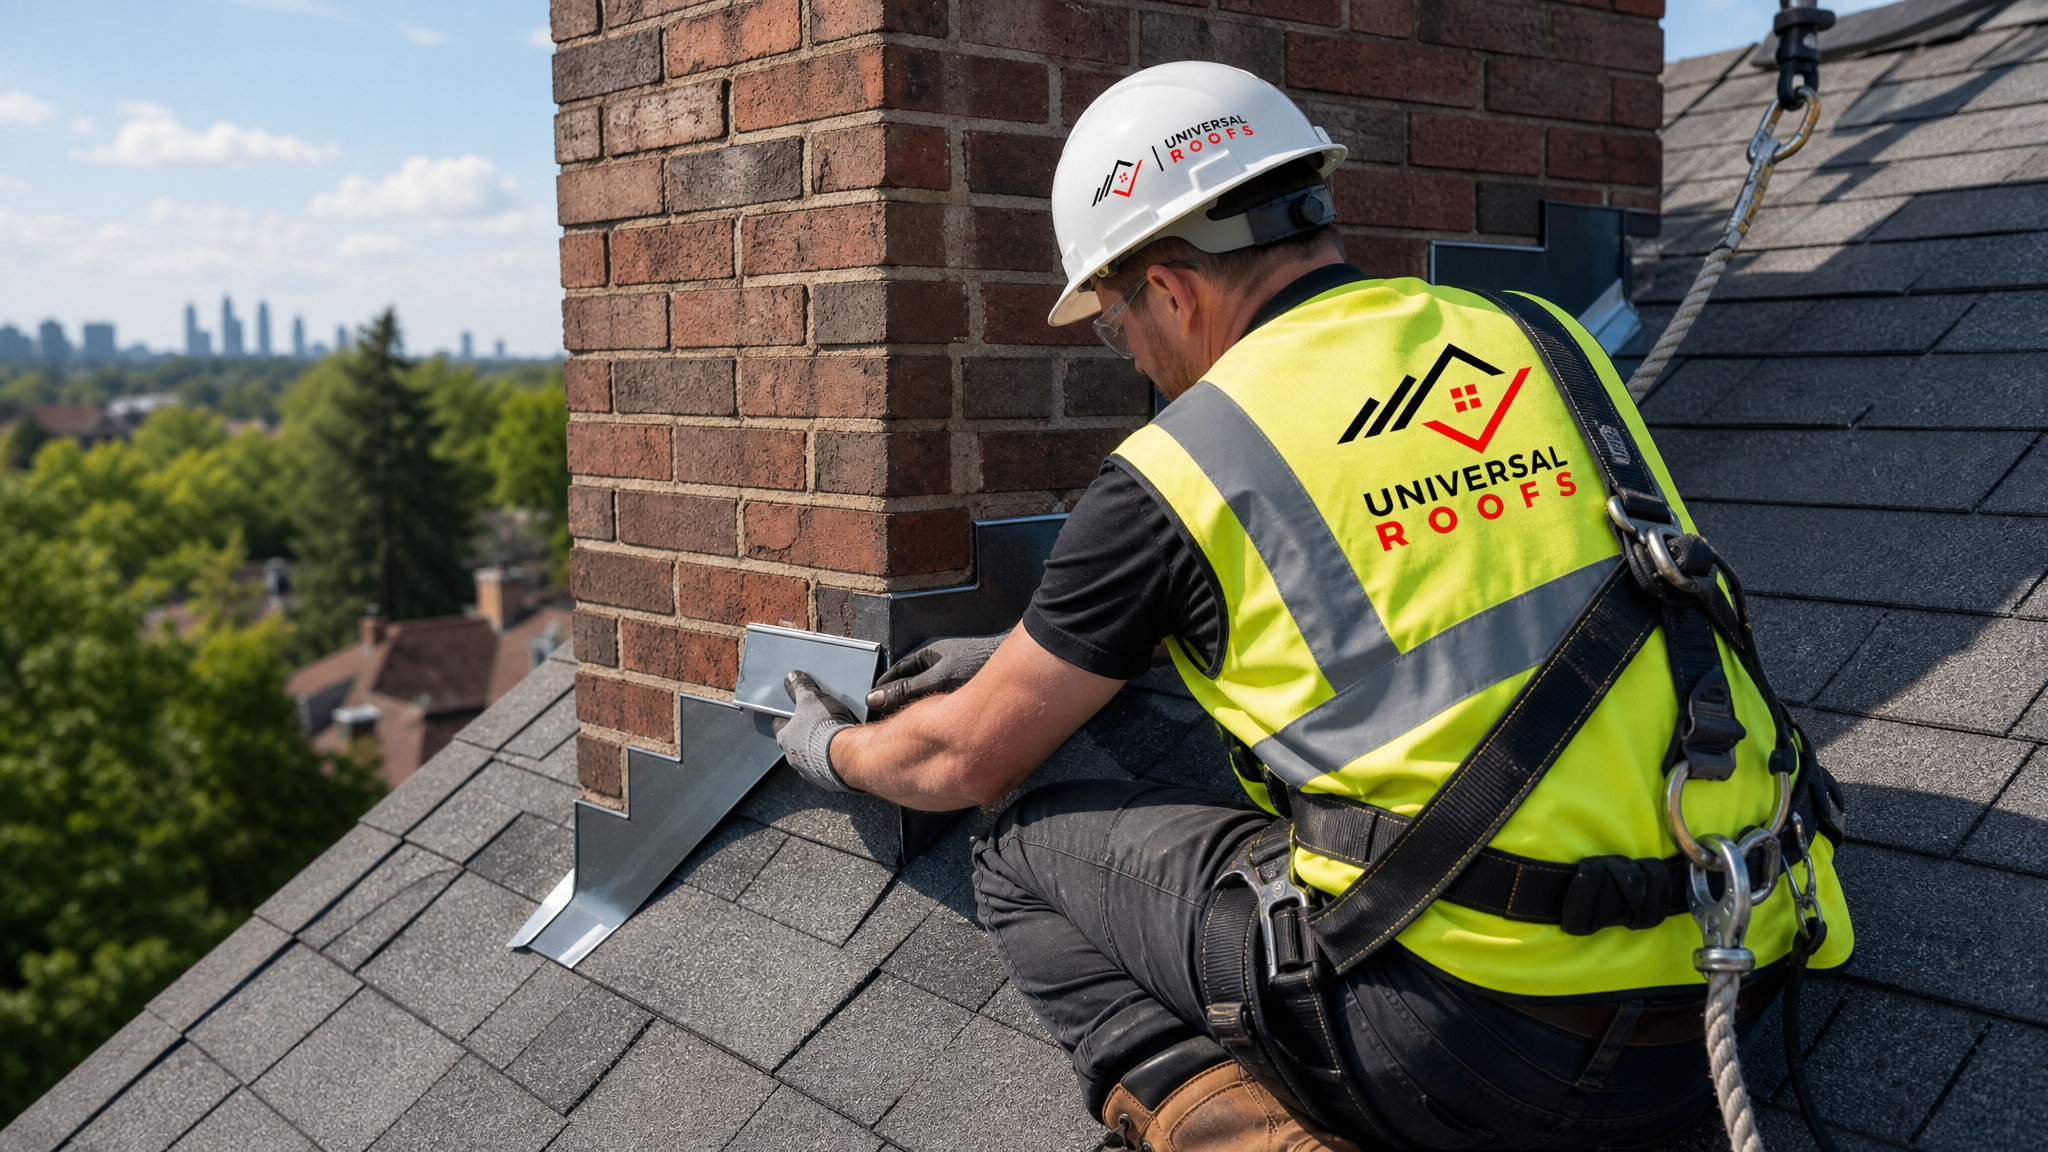
The third factor is whether the proposed materials and installation method are appropriate for your specific roof, rather than a one-size-fits-all default. Not every flashing repair calls for the same metal, gauge, or fastening approach, and using the wrong material can create a new failure point, sometimes faster than the original one.
Galvanic corrosion is a good example of a mistake that is invisible until it causes a second leak. If a contractor installs aluminum flashing directly against copper components, or uses the wrong fastener type against a dissimilar metal, an electrochemical reaction accelerates corrosion at the contact point. This is a common oversight when a repair contractor is not experienced with the full range of flashing materials used across different eras of GTA housing stock, from older copper detailing on heritage homes to modern aluminum and steel systems.
Material thickness (gauge) matters too. Flashing that is too thin will dent, oil-can, or fatigue-crack sooner, particularly in valleys where it experiences the most water volume and thermal movement. A qualified contractor will select gauge and material based on the specific location, roof pitch, and exposure, not simply grab whatever is on the truck.
| Issue | Likely Cause | Correct Fix | Risk If Ignored |
|---|---|---|---|
| Rust streaks below chimney flashing | Galvanized steel corroding due to age or galvanic reaction | Replace with correctly matched, non-reactive metal | Progressive metal failure and water intrusion into masonry |
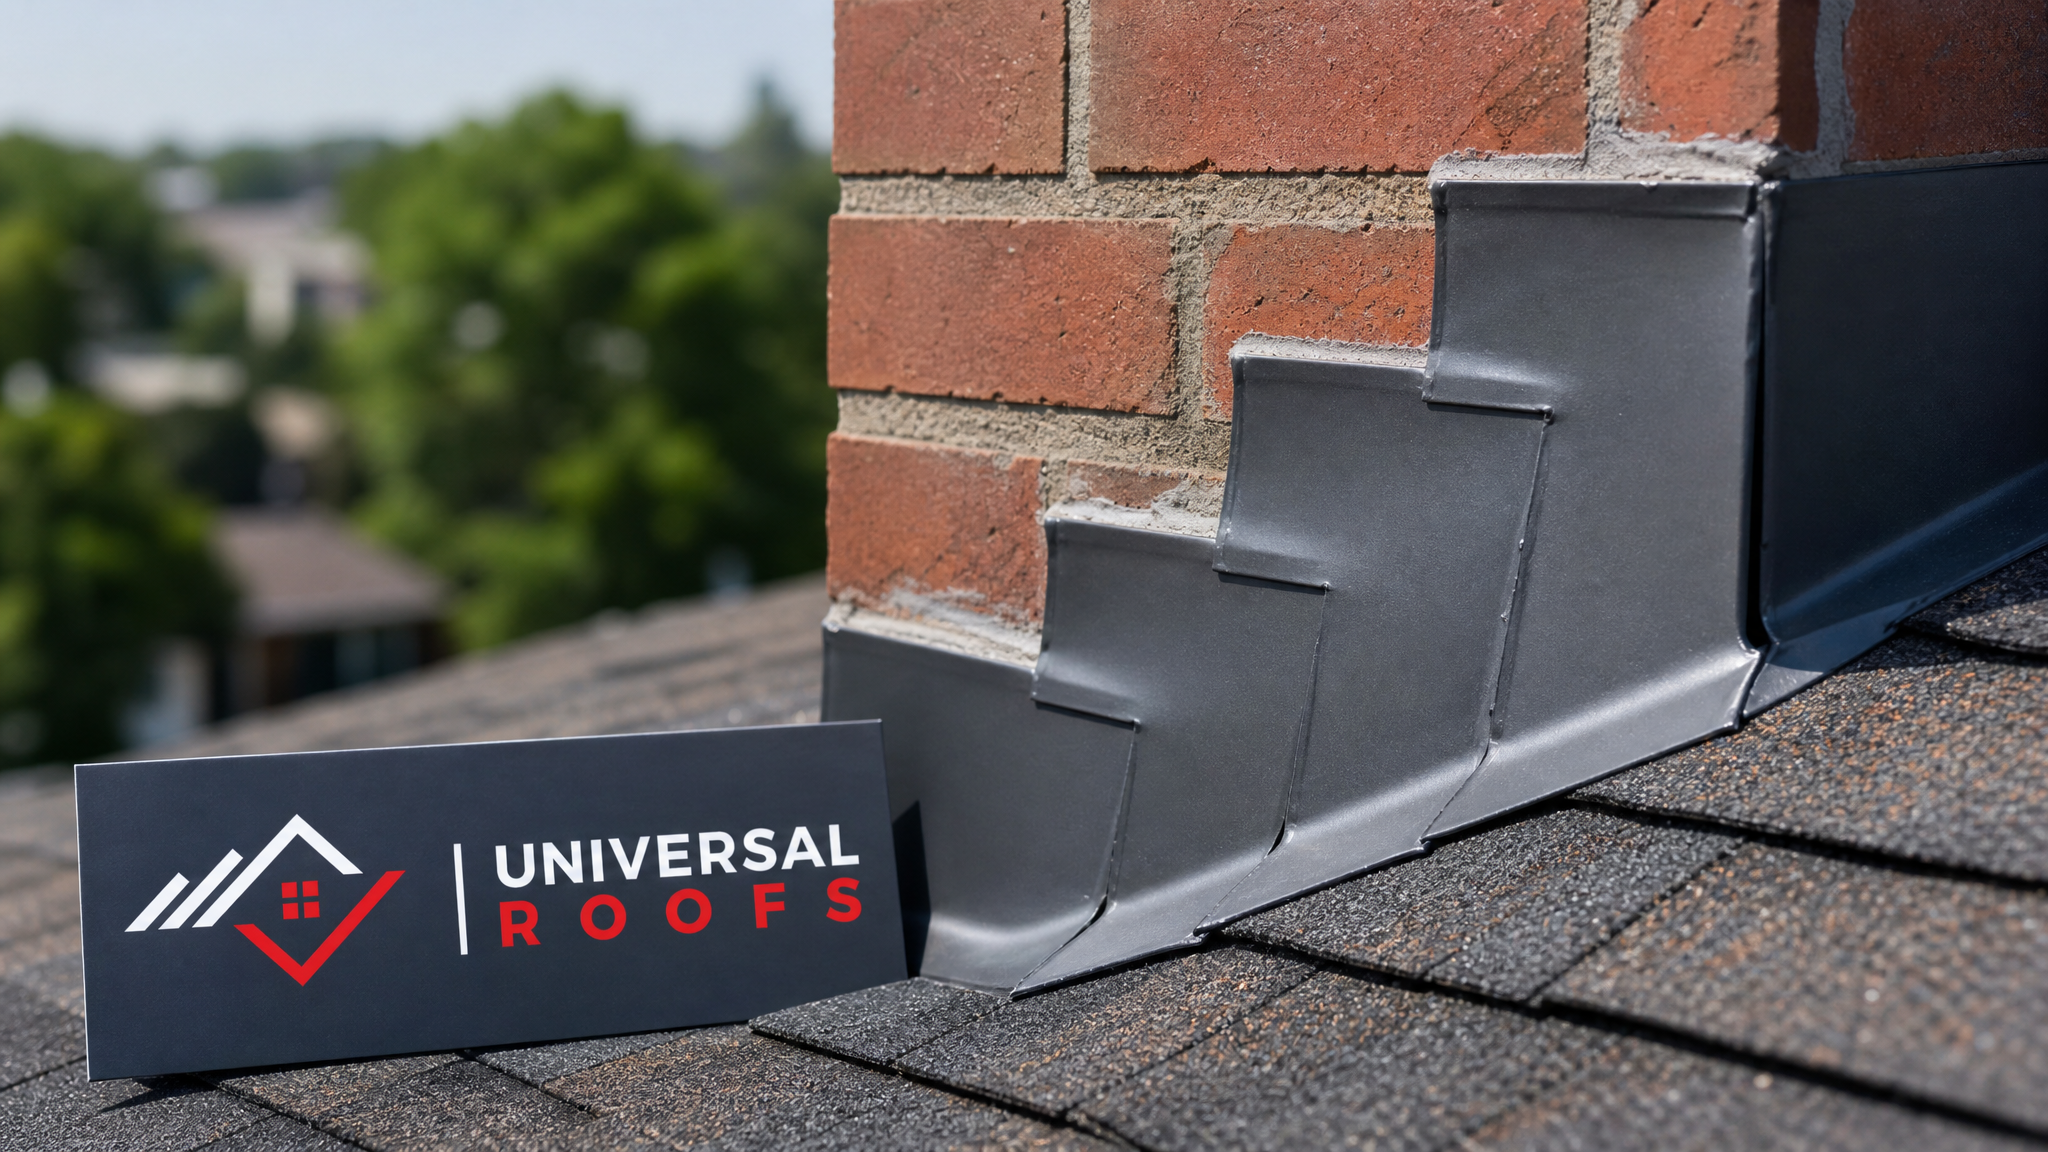
| Flashing pulling away from brick | Reglet cut too shallow or sealant-only original installation | Re-cut reglet joint and mechanically set counter-flashing | Wind-driven rain bypassing the flashing entirely |
| Ceiling stain near a skylight | Failed skylight perimeter flashing, not the skylight unit itself | Remove and reinstall flashing per manufacturer specification | Misdiagnosed as a skylight defect, leading to unnecessary replacement |
| Leak at roof valley after heavy rain | Undersized or improperly lapped valley flashing | Install correctly sized, properly overlapped valley metal | Water backing up under shingles during heavy rainfall events |
| Recurring leak after prior “repair” | Sealant-only patch instead of mechanical flashing correction | Remove sealant patch and install proper flashing detail | Repeated water damage and eventual deck rot |
Workmanship also shows up in details that are easy to overlook during a walkthrough but matter enormously over time: are laps oriented correctly so upper pieces overlap lower pieces (never the reverse), is fastener placement kept away from water paths, and is the flashing integrated with the surrounding roof replacement or existing shingle courses rather than simply layered on top. A contractor who understands these details will usually be willing to explain them without being asked, because it is simply how they were trained to work.
How Flashing Problems Show Up on Flat and Low-Slope Roofs
Flashing on flat or low-slope roofing behaves differently than on steep-slope shingle roofs, and this is a distinction worth raising with any contractor you are considering. On flat roofing systems, flashing typically integrates with a membrane (modified bitumen, TPO, or EPDM) rather than shingles, and the transition between membrane and metal flashing is a frequent failure point, especially at parapet walls, roof-mounted equipment curbs, and drain locations.
Because flat roofs pond water rather than shedding it quickly, any flashing weakness is exposed to standing water for longer periods than on a sloped roof. This makes proper membrane-to-flashing bonding even more critical. A contractor experienced only in shingle roofing may not understand how to properly heat-weld or adhere membrane flashing transitions, which can lead to a repair that looks finished but fails within a single season.
If your home or building has both a sloped section and a flat section, such as a rear addition with a low-slope roof, make sure the contractor you hire has genuine experience with both systems, or ask specifically how their team handles the transition between the two roofing types where flashing typically has to bridge them.
What a Proper Flashing Repair Quote Should Include
A detailed, professional quote should never be a single vague line item like “flashing repair, $X.” At minimum, it should specify the location(s) being repaired, the material and gauge of flashing being installed, whether any shingles, membrane, or masonry will need to be removed and reinstalled, an estimate of labour time, and a warranty term covering both materials and workmanship.
Warranty terms deserve particular attention. Many flashing repairs fail not because the metal itself degrades, but because of installation error, meaning a materials-only warranty is close to worthless if the contractor’s own workmanship caused the failure. Ask specifically whether the warranty covers labour to correct a failed repair, and for how long.
It is also reasonable to ask whether the quote includes an inspection of the surrounding attic space for pre-existing water damage. Chronic flashing leaks often cause hidden moisture problems in attic insulation and framing long before they become visible indoors, and a thorough contractor will want to check for this rather than simply sealing the exterior and leaving interior damage unaddressed.
| Quote Element | What to Look For | Why It Matters |
|---|---|---|
| Scope description | Specific locations and flashing types named, not a generic line item | Prevents scope disputes once work begins |
| Material specification | Metal type, gauge, and finish clearly stated | Ensures durability matched to your roof’s conditions |
| Labour and timeline | Estimated hours or days, and expected completion window | Sets realistic expectations and helps you plan around the work |
| Warranty terms | Separate coverage for materials and workmanship, with clear duration | Determines your recourse if the repair fails prematurely |
| Interior/attic inspection | Included as part of the assessment, not billed as an afterthought | Catches hidden damage before it becomes a bigger repair |
Timing Your Flashing Repair Around Toronto’s Seasons
Summer is genuinely the best window for flashing repair in the GTA. The roof deck is dry, temperatures allow sealants and adhesives to cure properly, and contractors have full daylight hours to complete detailed metal work without racing an incoming winter storm. Repairs completed in July and August also have months to be tested by regular rainfall before the freeze-thaw stress of late fall and winter arrives.
Waiting until late autumn or winter to address a known flashing issue is one of the more common mistakes homeowners make. Cold temperatures make sealants brittle and slower to cure, snow and ice limit safe access to steep sections, and any delay allows another freeze-thaw cycle to widen existing gaps. If you have noticed a stain, a draft, or visible flashing separation this summer, addressing it now, rather than waiting for a fall inspection rush, gives the repair the best chance of lasting.
This seasonal logic also applies across the different parts of the GTA we serve, including Toronto, Peel Region, York Region, Halton Region, and Durham Region, all of which experience similar freeze-thaw patterns each winter, even though microclimates and lake-effect weather can vary somewhat closer to the waterfront.
Questions to Ask Before You Sign a Contract
Beyond the three key factors above, a short list of direct questions can quickly separate a qualified flashing repair contractor from one you should avoid. Ask what specific flashing type they believe has failed and why. Ask what material and gauge they plan to install, and whether it matches or improves on what is currently there. Ask how they will protect surrounding shingles, membrane, or masonry during the repair. Ask for a written warranty covering both materials and labour. And ask for at least two references from flashing-specific repairs completed more than a year ago, since flashing problems that resurface tend to do so within twelve to twenty-four months.
It is also worth checking a contractor’s FAQ page or about page for information on how long they have operated in the region and what their typical process looks like. A company with a long, stable operating history in the GTA has a reputation to protect and a track record you can verify, which matters more with flashing repair than almost any other roofing task because failures are often slow to surface.
What are the key factors to consider when hiring a flashing repair contractor?
How much does a flashing repair typically cost in the GTA?
Can I repair flashing myself instead of hiring a contractor?
How long should a properly installed flashing repair last?
Is summer a good time to schedule flashing repair in Toronto?
How do I know if my leak is actually a flashing problem and not a shingle or skylight problem?
Need Help With 3 Key Factors to?
Choosing the right contractor for flashing repair protects everything else you have invested in your roof, and Universal Roofs has been diagnosing and correcting flashing failures across the GTA since 2005, using the same standards of verified experience, written diagnosis, and matched materials outlined above.
Call us today at (416) 732-2421 or request a free inspection to get started.
Universal Roofs proudly serves Toronto, Mississauga, Brampton, Vaughan, Markham, Oakville and the GTA since 2005.