
A leaking roof rarely waits for a convenient moment. It shows up as a brown ring spreading across a ceiling during a July thunderstorm, a steady drip landing in a bucket at 2 a.m., or a damp patch above a closet that keeps growing no matter how many towels you throw at it. Knowing what to do for leaking roofs emergency fixes in the first hour can be the difference between a $200 repair and a $12,000 insurance claim involving drywall, insulation, and mould remediation.
This guide walks Toronto and GTA homeowners through the exact sequence of steps to take the moment a leak is discovered: how to protect belongings and stop water from spreading, how to apply a temporary fix that survives until a licensed roofer arrives, and how to tell the difference between a nuisance drip and a structural emergency. We also cover the most common leak sources in our climate — ice damming, flashing failures, aged shingles, and skylight seals — because the right emergency fix depends entirely on where the water is actually coming from.
Whether the leak started during a summer downpour, a windstorm, or a slow winter thaw, the response steps below apply. Where the fix differs by season or by roof type (sloped shingle versus flat membrane), we call that out specifically so you’re not applying the wrong technique to your roof.
Immediate Steps the Moment You Spot a Leak
The first five minutes after you notice water inside your home matter more than anything you do afterward. Your goal is to contain the water, protect what you can, and document the damage — in that order.
- Contain the water. Place a bucket, bin, or large bowl directly under the drip. If water is pooling on the ceiling in a bulge (a classic sign the drywall is saturated), do not wait for it to drip naturally — puncture the centre of the bulge with a screwdriver over a bucket to release the trapped water in a controlled way. This prevents the ceiling from collapsing under the weight of accumulated water.
- Move belongings. Slide furniture, electronics, and boxes away from the affected area. Cover anything that can’t be moved with plastic sheeting or a tarp.
- Cut the power if needed. If water is dripping near light fixtures, outlets, or a breaker panel, shut off power to that circuit (or the main, if you’re unsure) before doing anything else. Water and electricity are a serious hazard, and this step takes priority over everything else on this list.
- Photograph everything. Take timestamped photos of the ceiling stain, the bucket catching water, and any damaged belongings. Insurance adjusters move faster with clear evidence, and photos establish exactly when the damage began.
- Locate the entry point if it’s safe to do so. Check the attic with a flashlight for damp insulation, dark streaks on the underside of the roof deck, or visible daylight. Never walk on a wet or icy roof surface to inspect from outside — that inspection should wait for a professional or happen from the ground with binoculars.
Once the immediate water is contained, the next question is whether this is a same-day emergency or something that can reasonably wait a day or two for a scheduled roof repair appointment.
Emergency Fix vs. Scheduled Repair: How to Decide
Not every leak requires a 2 a.m. tarp job. The table below breaks down the signals that separate a true emergency from a leak that can be safely monitored until a technician arrives during business hours.
| Situation | Urgency Level | Recommended Action | Typical Response Window |
|---|---|---|---|
| Active dripping during a storm, water pooling on ceiling | Emergency | Contain water, call for emergency tarping | Same day / within hours |
| Slow drip after rain has stopped, small stain not growing | Moderate | Contain and monitor, schedule inspection | 24-48 hours |
| Water near electrical fixtures or panel | Emergency | Shut off power, call roofer and electrician | Immediately |
| Missing shingles visible after a windstorm, no interior leak yet | Moderate-High | Cover exposed deck with tarp before next rain | Before next precipitation |
| Sagging or bulging ceiling section | Emergency | Puncture to relieve pressure, evacuate area, call immediately | Immediately |
| Musty smell with no visible new water | Low-Moderate | Investigate for hidden slow leak, schedule inspection | Within a week |
If your situation lands in the “Emergency” row, the next section covers the temporary measures that stabilize a roof until a crew can perform a permanent roof repair.
Temporary Emergency Fixes You Can Safely Do From Inside
The safest emergency fixes are the ones you can perform without climbing onto a wet, sloped, or icy roof. These interior and ground-level measures buy time and reduce damage while you wait for a professional.
- Interior tarp catch system: If the attic is accessible, staple heavy plastic sheeting or a tarp beneath the leak point in the attic, angled to channel water into a bucket or a length of PVC pipe leading outside a vent. This stops water from soaking insulation and drywall further.
- Ceiling drainage hole: As mentioned above, a controlled puncture in a bulging ceiling prevents a sudden, uncontrolled collapse. Always work from underneath with a bucket ready, and wear eye protection.
- Roofing tape and sealant from the interior: For a visible crack in a roof deck board accessible from the attic, a bead of roofing sealant or butyl tape can slow the leak from the inside, though it is not a substitute for an exterior fix.
- Divert water away from electrical and structural points: Reposition insulation or use plastic sheeting to guide water away from wiring, junction boxes, and load-bearing framing members toward a spot where it can be safely collected.
These interior measures are appropriate stopgaps, but they do not address the actual failure point on the roof surface. Someone still needs to get up there — safely — to apply an exterior fix or a temporary tarp.
Exterior Emergency Fixes (When It’s Safe to Access the Roof)
Exterior fixes should only be attempted by the homeowner in daylight, dry conditions, with a roof pitch under roughly 4:12, and with proper fall protection. If any of those conditions aren’t met, this is a job for a licensed roof repair technician with harness anchoring and ladder safety equipment — Toronto’s steep, ice-prone rooflines send more homeowners to the emergency room than most people realize.
| Leak Source | Temporary Fix | Materials Needed | Duration Before Permanent Repair Needed |
|---|---|---|---|
| Missing or lifted shingles | Tarp secured with battens over exposed deck | Poly tarp, wood battens, roofing nails | 1-2 weeks maximum |
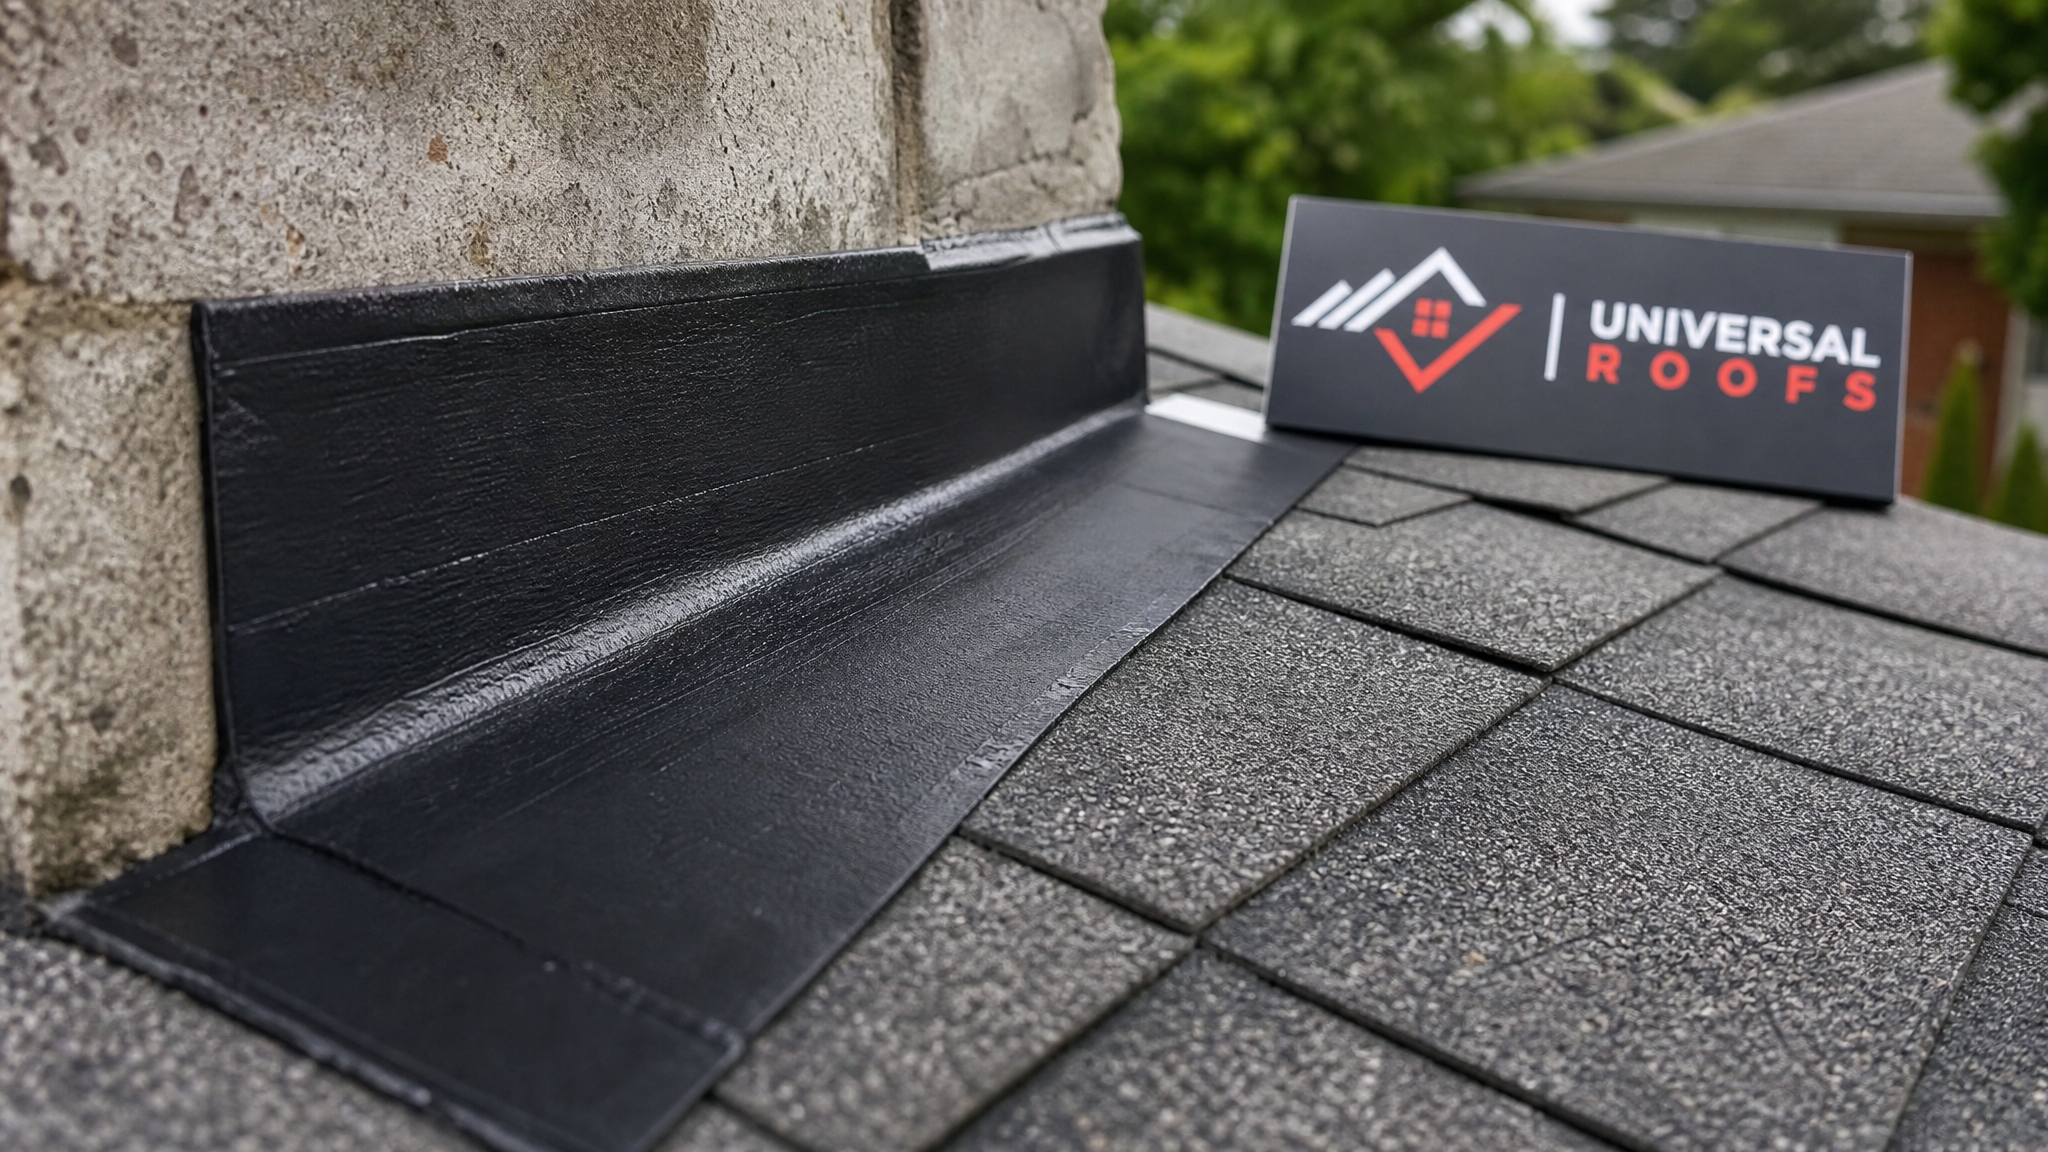
| Cracked flashing around a chimney or wall | Butyl or flashing tape over the seam | Self-adhering flashing tape, utility knife | 2-4 weeks |
| Punctured flat/membrane roof | Peel-and-stick membrane patch | EPDM/TPO patch kit, roller | 1-3 weeks |
| Failed skylight seal | Exterior-grade silicone bead around frame | Silicone sealant, caulking gun | 2-4 weeks |
| Clogged gutter causing overflow onto fascia | Manual debris removal and temporary diverter | Gloves, gutter scoop, garden hose | Ongoing maintenance, not a repair |
A properly weighted and battened tarp is the single most effective short-term fix for most sloped-roof emergencies. Cover at least two feet beyond the visible damage in every direction, since wind-driven rain travels sideways under an undersized tarp far more often than homeowners expect.
Common Causes of Roof Leaks in the Toronto and GTA Climate
The freeze-thaw cycle that defines a Toronto winter, combined with heavy summer thunderstorms and wind gusts off Lake Ontario, creates a specific set of failure points that homeowners across Mississauga, Brampton, Vaughan, Markham, Oakville, and the wider GTA see repeatedly.
- Ice damming: Warm attic air melts snow on the upper roof, which refreezes at the cold eaves, building a ridge of ice that forces meltwater back under the shingles.
- Flashing failure: The metal flashing around chimneys, vents, and roof-to-wall junctions is sealed with caulking that degrades under UV exposure and temperature swings, typically every 8-10 years.
- Nail pops and shingle wear: Asphalt shingles in this climate typically last 18-22 years, but wind uplift and hail can shorten that lifespan significantly on southwest-facing slopes.
- Aging or damaged skylights: Rubber gaskets and seals around older skylights harden and crack over time, especially on units installed before 2010.
- Clogged or damaged eavestrough systems: Falling leaves in October and heavy spring rain combine to overwhelm gutters that haven’t been cleaned, sending water directly against the fascia and soffit.
- Flat and low-slope roof membrane punctures: Foot traffic, fallen branches, and ponding water accelerate wear on flat roofing systems far more than on steep-slope shingle roofs.
Identifying which of these applies to your home tells you not just how to fix the immediate leak, but what kind of long-term repair or replacement conversation to have with a roofing contractor.
Attic and Insulation Damage: The Hidden Cost of a Delayed Fix
The visible ceiling stain is often the smallest part of the damage. Once water reaches the attic, it saturates insulation, which loses most of its R-value when wet and can take weeks to dry out fully — assuming mould growth doesn’t start first, which it frequently does within 24 to 48 hours in warm, humid conditions.
| Delay After Leak Discovered | Typical Insulation Condition | Mould Risk | Estimated Remediation Cost Range |
|---|---|---|---|
| Same day | Damp, salvageable if dried within 48 hours | Low | $0 – $300 (drying only) |
| 2-3 days | Saturated, compressed, losing R-value | Moderate | $300 – $1,200 |
| 1 week | Mouldy, requires replacement | High | $1,500 – $4,000 |
| 2+ weeks | Structural wood may show rot | Severe | $4,000 – $12,000+ |
This is the core argument for treating “what to do for leaking roofs emergency fixes” as a same-day priority rather than something to schedule around a busy week. A $150 emergency tarp call today routinely prevents a five-figure insulation and drywall remediation invoice two weeks later.
Skylight and Flat Roof Leaks: A Different Emergency Fix Approach
Not every leak comes from a sloped shingle roof. Skylights and flat or low-slope membrane roofs fail differently, and the emergency response differs accordingly.
For a leaking skylight, the water is almost always entering at the perimeter seal rather than through the glazing itself. A temporary bead of exterior-grade silicone around the visible seam, applied from a stable ladder or from inside if the skylight is accessible, can slow the leak until a technician can properly assess whether the unit needs a skylight replacement or simply a reseal. Older manual and fixed skylights, in particular, tend to need full seal replacement rather than a patch once they start leaking, since the original sealant has typically hardened throughout, not just at the visible crack.
For flat and low-slope membrane roofs common on additions, garages, and some commercial-style residential builds, the emergency fix is a peel-and-stick membrane patch applied directly over the puncture or seam failure, extending at least 10 centimetres beyond the damaged area in every direction. Ponding water — a common issue on flat roofing systems with inadequate slope — should be swept or squeegeed away before the patch is applied so the adhesive can bond to a dry surface.
What a Professional Roofer Does Differently on an Emergency Call
Homeowners can safely execute several of the fixes above, but licensed roofing technicians bring three things a DIY approach can’t replicate: safety equipment for working at height in wet conditions, moisture-mapping tools to find leaks that have travelled from the actual entry point, and materials rated for permanent (not temporary) repair.
A typical emergency service call from a company like Universal Roofs follows a consistent sequence: a phone assessment to gauge urgency and safety, an on-site inspection using an infrared moisture camera where needed (since water often enters several feet from where it appears on the ceiling), a temporary weatherproof tarp or patch application, and a follow-up scheduled visit for the permanent roof repair or, where the roof has reached the end of its service life, a conversation about full roof replacement.
| Step | What Happens | Typical Timeframe |
|---|---|---|
| 1. Initial call | Urgency triage, safety questions, dispatch scheduling | 5-15 minutes |
| 2. On-site arrival | Visual and infrared inspection, leak source mapping | Within hours for true emergencies |
| 3. Temporary stabilization | Tarp, patch, or sealant applied to stop active water intrusion | 30-90 minutes on site |
| 4. Damage documentation | Photos and notes provided for insurance purposes | Same visit |
| 5. Permanent repair scheduling | Quote provided, materials ordered if needed | Within 1-2 weeks |
This structured approach is why homeowners across Toronto, the Peel Region, York Region, Halton Region, and Durham Region call a licensed roofer rather than attempting a full repair themselves — the emergency fix is only step one of a process that ends with a roof that’s genuinely sealed, not just patched.
Preventing Repeat Emergencies: Maintenance That Actually Works
Once the immediate leak is resolved, the real goal is making sure you never need this guide again. A handful of maintenance habits catch small problems before they become 2 a.m. emergencies.
- Twice-yearly inspections: Spring (after freeze-thaw season) and fall (before snow load) are the two windows when small issues — lifted shingles, cracked caulking, debris in gutters — are easiest to spot and cheapest to fix.
- Gutter cleaning: Clear eavestroughs at least twice a year to prevent water backing up under the roof edge.
- Attic ventilation checks: Proper airflow through the attic reduces ice damming risk by keeping the roof deck temperature consistent through winter.
- Flashing and sealant review: Caulking around chimneys, vents, and skylights should be inspected annually and refreshed roughly every 5-8 years, well before it visibly cracks.
- Post-storm walkthroughs: After any significant wind event or hailstorm, a quick check from the ground (or a professional inspection) can catch damage before the next rain turns it into an active leak.
Homeowners who stay ahead of this maintenance schedule rarely need an emergency call at all — and when they do, the damage is almost always caught and contained early, since they know what a developing problem looks like before it becomes a crisis.
When to Call a Professional Immediately
Some situations don’t leave room for a wait-and-see approach. Call a licensed roofer immediately, day or night, if you notice any of the following: water dripping near an electrical panel or fixture, a visibly sagging or bulging ceiling, water entering in multiple rooms simultaneously (often a sign of a widespread deck or membrane failure rather than a single localized leak), or any leak occurring during an active storm when conditions make a DIY exterior fix genuinely dangerous.
In every one of these cases, the cost of an emergency service call is minor compared to the cost of a structural failure, an electrical fire, or a serious fall injury from attempting a roof-edge fix in the wrong conditions. A quick call to schedule an assessment gets a trained technician on-site with the right equipment far faster and more safely than most DIY attempts. You can also browse reviews from homeowners we’ve helped through similar emergencies, or check our FAQ page for more answers, and learn more about our team and the areas we serve.
What should I do first for leaking roofs emergency fixes at home?
Can I put a tarp on my roof myself during an emergency?
How long can a temporary emergency roof fix last before permanent repair?
Why does my roof leak only during heavy rain or wind?
Is a ceiling stain always a sign of an active leak?
How much does an emergency roof leak repair typically cost?
Need Help With What to Do for?
A leaking roof is stressful, but it’s also completely manageable with the right sequence of steps and the right team behind you. Universal Roofs has helped homeowners across the GTA stabilize emergencies fast and follow through with lasting repairs, not just temporary patches.
Call us today at (416) 732-2421 or request a free inspection to get started.
Universal Roofs proudly serves Toronto, Mississauga, Brampton, Vaughan, Markham, Oakville and the GTA since 2005.