
A roof emergency rarely announces itself politely. It shows up as a sudden downpour finding a gap in your shingles at 11 p.m., a summer microburst peeling back a section of flashing, or a fallen branch punching through your decking during a July thunderstorm. When it happens, the difference between a manageable repair bill and a five-figure interior renovation often comes down to what you do in the first few hours.
This guide walks Toronto and GTA homeowners through exactly what to do the moment a roof emergency starts, how to stop water from spreading through your attic and ceilings, which temporary fixes actually work versus which ones make things worse, and when it is time to stop improvising and call a professional. We have organized this around real decision points: what to check first, what tools and materials belong in an emergency kit, how to read the difference between a repairable leak and a sign of deeper structural damage, and how to work with your insurance company so a stressful night does not turn into a stressful year.
Whether the culprit is a summer hailstorm, wind-driven rain, or an aging roof finally giving out, the steps below apply to asphalt shingles, flat membranes, metal panels, and skylights alike, with notes on where the approach differs.
Recognizing a True Roof Emergency
Not every roof problem needs a midnight phone call. Understanding the difference helps you react with the right urgency instead of either panicking over a minor drip or ignoring a genuine hazard until it becomes catastrophic.
A true emergency involves active water intrusion into living space, a structural compromise you can see or feel (sagging, cracking, or a section that has visibly shifted), or a safety hazard such as loose material at risk of falling onto a walkway, driveway, or neighbouring property. If water is dripping through a light fixture, pooling on a ceiling, or running down an interior wall, treat it as urgent regardless of the hour. If you can see daylight through the roof deck from inside the attic, or hear cracking sounds during wind, that is also urgent.
Lower-urgency issues include a few missing shingles with no visible interior leak, minor granule loss in a gutter, or cosmetic damage from hail that has not compromised the waterproofing layer underneath. These still deserve prompt attention, but they generally do not require an after-hours emergency crew. Our roof repair team can usually schedule these within a day or two once the immediate weather event has passed.
| Situation | Urgency Level | Immediate Action | Typical Response Window |
|---|---|---|---|
| Water dripping through ceiling or light fixture | Emergency | Contain water, cut power to area, call for same-day service | Within hours |
| Visible daylight through attic decking | Emergency | Photograph, avoid attic access, call immediately | Within hours |
| Large section of shingles or membrane torn off | Urgent | Tarp exposed decking if safely accessible | Same day |
| Sagging roofline or cracking sounds | Emergency | Evacuate area beneath, do not enter attic, call immediately | Within hours |
| Missing shingles, no interior leak | Moderate | Document damage, schedule inspection | 1-3 days |
| Hail dents with no active leak | Low-moderate | Photograph for insurance, schedule inspection | Within a week |
What to Do in the First 30 Minutes
Once you have identified an active emergency, the first half hour is about containment and safety, not repair. Trying to fix the roof itself in the dark, in a storm, or on a wet and slippery surface is how minor emergencies turn into injuries.
Start indoors. Move furniture, electronics, and belongings away from the leak. Place a bucket, bin, or large pot under the drip, and if water is pooling on a ceiling rather than dripping freely, carefully puncture the centre of the bulge with a screwdriver so the water drains in a controlled stream instead of collapsing the drywall onto the floor. This feels counterintuitive but prevents a much larger mess and reduces the weight load on your ceiling.
If water is near an electrical fixture, an outlet, or a light switch, shut off power to that circuit at the breaker panel before doing anything else. Water and electricity are a genuine hazard, and this step should never be skipped, even if it means working in the dark with a flashlight for a few minutes.
Next, assess whether you can safely see the source from inside the attic without walking on wet insulation or exposed joists. A flashlight scan is usually sufficient. Do not attempt to access the roof exterior at night, during active rain or wind, or without a second person present and appropriate fall protection. Most weather-related roof damage cannot be safely diagnosed or treated from a ladder in a storm, and the risk of a fall far outweighs the benefit of an immediate look.
Emergency Roof Repair Kit: What Every GTA Homeowner Should Keep on Hand
A small kit stored in your garage or basement can be the difference between confidently managing the first hour of an emergency and standing in your driveway with nothing useful. This is especially relevant in the GTA, where summer thunderstorms and microbursts can develop with very little warning, and where a fast-moving line of storms can knock branches into a roof section before anyone is home to notice.
| Item | Purpose | Where to Store | Approx. Cost (CAD) |
|---|---|---|---|
| Heavy-duty poly tarp (6 mil or thicker) | Temporary cover for exposed decking | Garage, easily accessible | $25-60 |
| Roofing nails and wood strips (furring strips) | Securing tarp edges without damaging shingles further | Garage tool bin | $10-20 |
| Flashlight and spare batteries | Attic inspection during power outage | Kitchen drawer, basement | $15-30 |
| Buckets and absorbent towels | Interior water containment | Utility closet | $20-40 |
| Roofing sealant or emergency patch tape | Small hole or seam patching on flat roofs | Garage tool bin | $15-35 |
| Sturdy extension ladder rated for exterior work | Safe access if conditions allow | Garage, wall-mounted | $150-300 |
Keeping this kit stocked before storm season arrives, rather than scrambling to find supplies during a downpour, is one of the simplest ways to protect your home. It is also worth keeping our phone number and the number for a trusted roofing FAQ resource saved in your phone so you are not searching for information while water is actively coming through your ceiling.
Temporary Fixes That Actually Work (and Ones That Do Not)
Homeowners often reach for whatever is on hand during an emergency, but not every quick fix holds up, and some can make the eventual permanent repair more difficult or expensive.
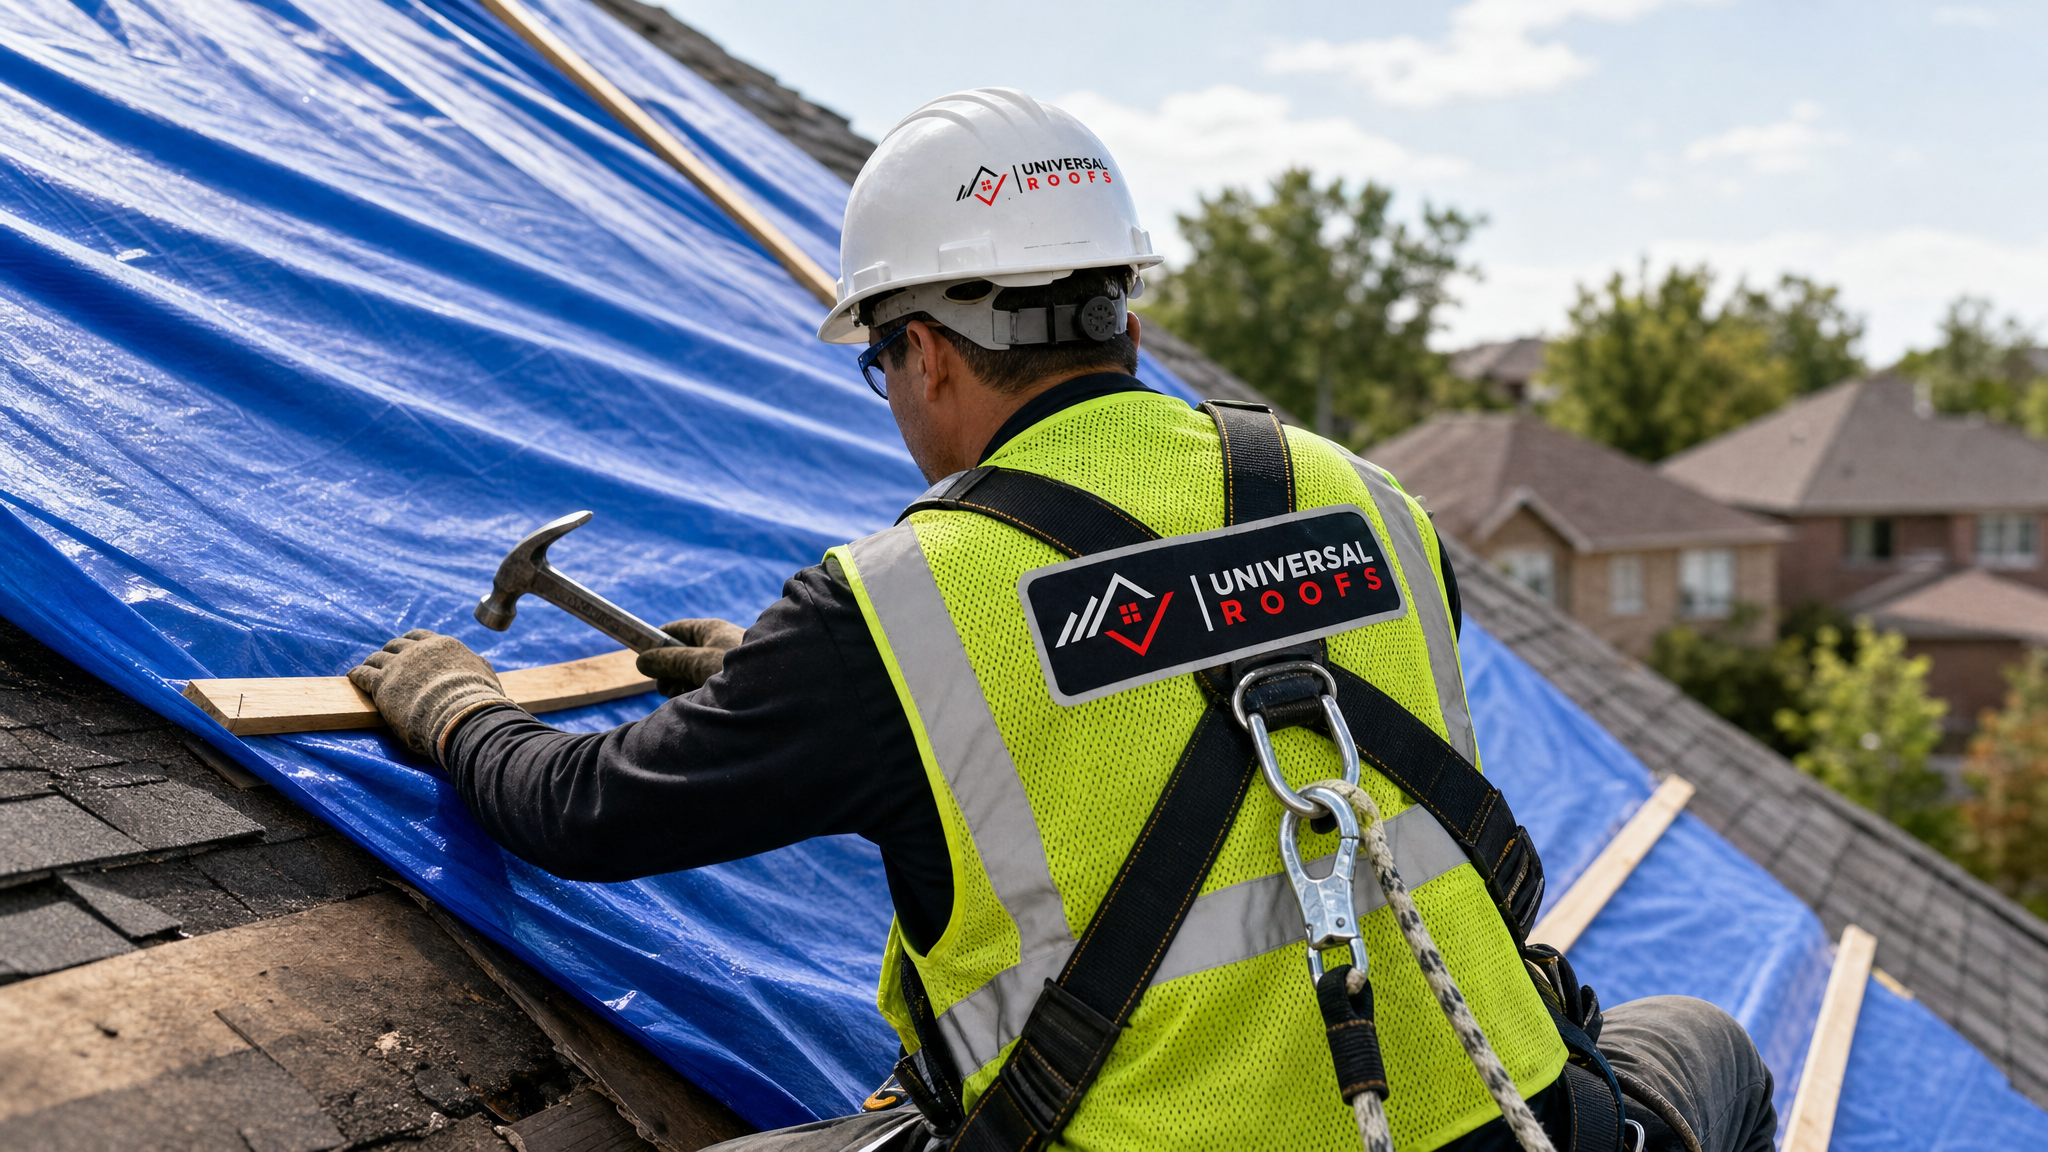
Tarping is the gold standard for temporary protection on a sloped roof. A properly installed tarp, secured with furring strips nailed through the tarp into the roof deck (never directly through unsupported shingle material) and extended well past the damaged area on all sides, can hold for days or even weeks if installed correctly. The key mistakes are using a tarp that is too small, failing to overlap the ridge line so wind cannot get underneath, and using excessive nails that create new puncture points a professional will later need to seal.
On flat or low-slope roofs, temporary membrane tape or a compatible sealant can bridge a small puncture or seam separation, but only as a short-term measure. These products are not a substitute for proper flat roofing repair, since most emergency sealants are not UV-stable or fully compatible with modified bitumen, TPO, or EPDM systems long-term.
What does not work: spray foam from a hardware store applied directly to shingles, duct tape as a waterproofing layer, or roofing cement smeared over an active leak without addressing the underlying cause. These approaches often trap moisture against the decking, accelerating rot, and they can void warranties on the surrounding roofing material. Similarly, climbing onto a roof during active precipitation to attempt any repair is never advisable, regardless of how tempting it is to “just fix it now.”
| Temporary Fix | Works Well For | Typical Duration | Professional Follow-Up Needed? |
|---|---|---|---|
| Properly secured poly tarp | Torn shingles, missing sections, storm damage | Days to a few weeks | Yes, always |
| Flashing tape / emergency patch | Small flat roof punctures, seam gaps | Days | Yes, always |
| Ceiling puncture drainage | Bulging, water-saturated drywall | Immediate relief only | Yes, drywall + roof both |
| Duct tape on shingles | Not recommended | Hours, often fails in rain | Yes, and repair source damage |
| Spray foam over active leak | Not recommended | Unreliable, traps moisture | Yes, remove and repair properly |
When Wind, Hail, or Falling Debris Cause the Damage
Summer in the GTA brings a specific set of roof emergency triggers: fast-moving thunderstorm cells with straight-line winds, occasional hail, and falling branches from mature trees stressed by drought or storm gusts. Each leaves a slightly different signature on your roof, which matters for both the repair approach and the insurance claim.
Wind damage typically shows up as shingles that are lifted, creased, or completely missing, often along roof edges and ridges where uplift forces concentrate. Hail tends to leave circular bruising or granule loss on shingles and dents on metal flashing, vents, and gutters, which is sometimes easy to miss from the ground. Falling debris usually causes a localized puncture or crushed section, often visible as a depression in the roofline from the street.
In all three cases, resist the urge to patch cosmetically and move on. A shingle that looks fine but has lost its seal strip in high wind may lift again in the next storm even though it appears intact today. This is why a full inspection after any significant wind or hail event matters more than a quick visual check, and why our roof repair crews always assess the surrounding field of shingles, not just the obviously damaged spot.
Skylights, Flashing, and Other Common Failure Points
A large share of emergency leak calls trace back not to the shingle field itself but to penetrations: skylights, chimneys, plumbing vents, and the flashing details around them. These are the seams where two different materials meet, and seams are always the first place a roof fails.
If your leak is tracking back to a skylight, check for cracked or yellowed glazing, gaps in the perimeter flashing, or a failed seal where the frame meets the roof deck. Older skylights, especially units installed more than 15 years ago, are far more prone to seal failure during a hard rain than newer units. If yours is original to the home and you are seeing recurring leaks, it may be more cost-effective to consider skylight replacement rather than repeated patch repairs, particularly if the unit is also fogging between panes, which indicates the seal has already failed.
For an active skylight leak during an emergency, avoid attempting exterior sealant application in the rain. Instead, contain the interior water, and if there is an interior trim or drywall surround, remove or protect anything water-sensitive nearby. Our skylights team handles both new installation and emergency repair for existing units across the GTA.
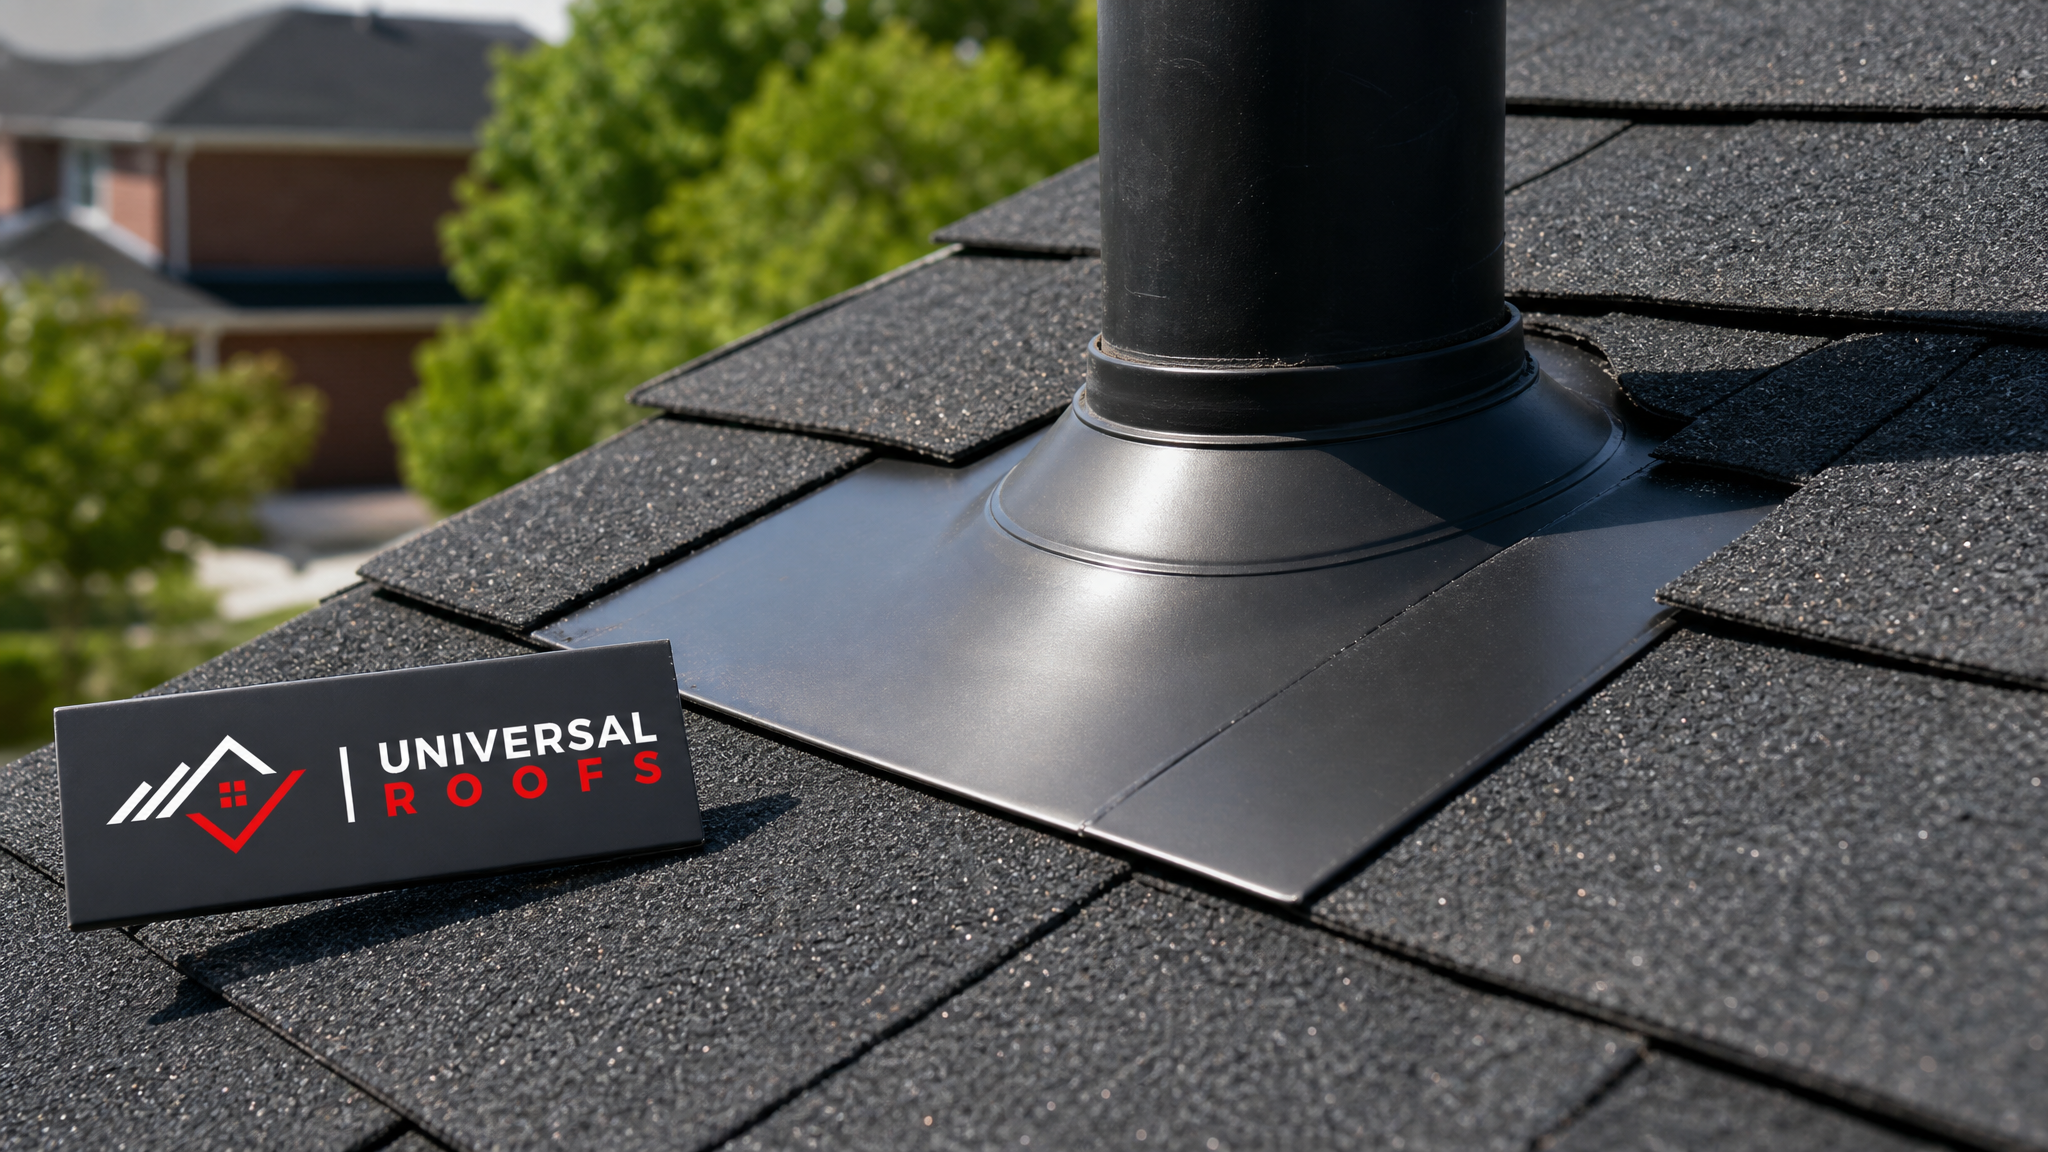
Chimney flashing failures often show up as a stain on the ceiling near an interior chimney chase, and vent pipe boots (the rubber collars around plumbing vents) are notorious for cracking after a decade of Toronto’s freeze-thaw cycles, which stress the rubber even though the failure often becomes apparent during a summer downpour.
Attic Signs That Point to a Bigger Problem
Sometimes what looks like a simple leak is actually a symptom of a larger issue in the attic space itself. Before assuming a small patch will solve everything, it is worth a quick visual check of your attic (safely, without walking on insulation-covered joists) for the following signs.
Dark staining on rafters or decking that extends well beyond the immediate leak point suggests the water has been travelling along the underside of the roof deck for some time before finding its way through, meaning the actual entry point may be several metres from where you see the interior stain. Compressed, damp, or mouldy insulation is both a health concern and a sign that moisture has been present longer than a single storm event. Visible mould or a persistent musty smell often indicates chronic, not acute, moisture intrusion, which points toward ventilation problems as much as a roofing leak. Poor attic ventilation can trap humidity that condenses on the underside of the roof deck, mimicking a leak even when the shingles themselves are intact.
If you see any of these signs, mention them specifically when you call for service, since they change the scope of the inspection from “find and patch a hole” to “assess ventilation, insulation, and structural condition together.”
Working With Your Insurance Company
How you document an emergency in the first 24 hours has a direct effect on how smoothly your insurance claim proceeds. Insurers want clear evidence of the timeline, the cause, and the extent of damage, and gaps in that record are where claims get delayed or reduced.
Photograph everything before you touch it, including wide shots of the affected roof area from the ground, close-ups of any interior damage, and, if safe to do so, photos of the debris or conditions that caused the damage (a broken branch, hailstones on the ground, and so on). Keep receipts for any emergency materials you purchase, such as tarps or buckets, since many policies reimburse reasonable costs incurred to prevent further damage. Note the date and approximate time the damage occurred, and if there was a specific weather event, jot down what you remember, since Environment Canada storm data can later corroborate your claim.
Most insurers require that homeowners take “reasonable steps to mitigate further damage,” which is exactly what temporary tarping and interior water containment accomplish. Failing to take these steps can sometimes affect a claim, so acting quickly is not just about protecting your home, it protects your claim too. A written repair estimate from a licensed contractor, along with photos, is typically the strongest supporting document you can provide.
| Documentation Step | Why It Matters | When to Do It |
|---|---|---|
| Wide and close-up photos of damage | Establishes extent and location for adjuster | Before any repairs or cleanup |
| Photos of causal debris/weather evidence | Supports claim of storm-related cause | Immediately, before debris is cleared |
| Receipts for tarps, buckets, temporary materials | Often reimbursable as mitigation costs | Keep from day one |
| Written contractor estimate | Provides scope and cost basis for claim | Within a few days of the event |
| Timeline notes (date, time, weather) | Corroborates cause and supports timeline | As soon as possible after the event |
DIY Versus Calling a Professional: Where the Line Is
There is a meaningful difference between what a capable homeowner can safely do and what genuinely requires a licensed roofer, and drawing that line correctly protects both your safety and your roof’s long-term performance.
Reasonable DIY actions include interior water containment, controlled ceiling drainage to relieve pressure, ground-level photo documentation, and clearing loose debris from gutters if it can be done safely from a stable ladder on dry, calm-weather ground. Tasks that should be left to a professional include any work at height during or immediately after a storm, structural assessment of sagging or cracking rooflines, full tarp installation on steep or multi-storey roofs, and any repair involving flashing, skylights, or roof penetrations, since these require both the right materials and an understanding of how water actually moves across a roof assembly.
A good rule of thumb: if the fix requires you to be on the roof itself, rather than in the attic or on the ground, and conditions are anything other than calm and dry, it is a job for a professional crew with proper fall protection and experience reading storm damage patterns. Beyond safety, an inexperienced repair can also mask a bigger problem, delaying the point at which it is caught and potentially turning what would have been a repair into a full roof replacement down the line.
Choosing an Emergency Roofing Contractor
Not every roofer offers genuine emergency response, and in the middle of a storm event across the GTA, response times can vary widely between companies as everyone’s phone lines light up at once. A few questions help separate a serious emergency service from a company that will simply add you to next week’s schedule.
Ask directly whether they offer same-day emergency tarping separate from the full repair appointment, since these are often two different visits. Ask whether the crew carries liability insurance and WSIB coverage, which protects you if a worker is injured on your property. Ask for references or check a reviews page to see how the company has handled emergency situations for other homeowners in your specific area, whether that is downtown Toronto, Peel Region, York Region, Halton Region, or Durham Region. Finally, ask whether they provide a written estimate before starting permanent repair work, and whether photo documentation is included as part of their service, since this can support your insurance claim.
| Question to Ask | What a Good Answer Sounds Like |
|---|---|
| Do you offer same-day tarping? | Yes, separate from scheduled permanent repair |
| Are you licensed and insured? | Yes, with WSIB coverage for all crew members |
| Can you provide local references? | Yes, with reviews specific to the GTA |
| Will I get a written estimate first? | Yes, before any permanent work begins |
| Do you document damage for insurance? | Yes, photos included with the assessment |
Preventing the Next Emergency
Once the immediate crisis is handled, the most useful thing a homeowner can do is reduce the odds of a repeat event. Most emergency calls trace back to a small, preventable issue that had months or years to develop before a storm exploited it.
Schedule an inspection at least once a year, ideally in late spring before summer storm season and again in fall before winter arrives, so small issues like a lifted shingle tab or a cracked vent boot are caught and fixed before they become a 2 a.m. phone call. Keep trees near the house trimmed back, since overhanging branches are one of the most common causes of storm-related roof punctures in the GTA’s mature, tree-lined neighbourhoods. Clean gutters regularly, since clogged gutters cause water to back up under the shingle edge, which can look identical to a roof leak but actually stems from a maintenance issue. Address minor repairs promptly rather than waiting, since a single missing shingle is a small fix today and a rotted deck section after a few more storms.
Homeowners who stay ahead of maintenance consistently report fewer emergency calls and lower lifetime roofing costs, simply because small problems get caught while they are still small. If it has been more than a year since your last inspection, now, in the middle of summer with dry, stable weather, is an ideal time to schedule one.
What is the first thing I should do when following a quick roof repair guide for emergencies in Toronto?
Can I tarp my own roof during a storm emergency?
How much does emergency roof repair typically cost in the GTA?
How do I know if my roof damage is bad enough for an emergency call versus a scheduled repair?
Will my home insurance cover emergency roof repair?
How can I prevent needing this quick roof repair guide for emergencies again in the future?
Need Help With Quick Roof Repair Guide?
Roof emergencies are stressful, but you do not have to manage them alone. Universal Roofs has been responding to storm damage, sudden leaks, and structural roofing concerns across the GTA since 2005, with crews who know exactly how to stabilize a roof quickly and repair it properly.
Call us today at (416) 732-2421 or request a free inspection to get started.
Universal Roofs proudly serves Toronto, Mississauga, Brampton, Vaughan, Markham, Oakville and the GTA since 2005.