
A blistering roof rarely announces itself with a bang. Instead, homeowners notice a soft, bubbled patch on the shingles, a raised blister on flat roofing membrane, or a strange spongy feel underfoot on a low-slope section. By the time these bubbles are visible from the ground, the underlying material has usually already trapped moisture or gas, and the clock is ticking before that blister splits, tears, or lets water into the deck below.
Blistering is one of the most common warm-weather roofing emergencies we respond to across the Greater Toronto Area, and July’s combination of intense UV exposure, high humidity, and afternoon thunderstorms creates the exact conditions that cause blisters to form and then fail. This guide walks through why roof blistering happens, how to tell a cosmetic blister from a genuine emergency, and the effective, tested solutions we use to stop the damage before it spreads.
Whether you have asphalt shingles, a flat membrane roof, or a roof with an ageing skylight seal contributing to the problem, the steps below will help you assess the situation, respond safely, and understand what a proper repair actually involves.
What Causes Roof Blistering in the First Place
Roof blisters form when gas or moisture becomes trapped between roofing layers and then expands under heat until the surface material bubbles upward. On asphalt shingles, this usually happens when moisture gets sealed into the shingle during manufacturing, or when trapped attic humidity migrates up through the deck and condenses beneath the shingle mat. On flat and low-slope membrane roofs, blistering is almost always tied to moisture or air pockets caught between the membrane and the substrate during installation, or to inadequate adhesion that leaves small voids where vapour can collect.
Toronto’s climate makes the problem worse than it would be in a drier region. Our summers bring stretches of high humidity followed by intense direct sun, and that combination is exactly what blisters need to grow: moisture gets absorbed or trapped during humid, overcast days, then rapidly expands as roof surface temperatures climb past 60°C on a sunny July afternoon. Poor attic ventilation compounds this, since warm moist air pushed up from living spaces has nowhere to escape and instead condenses against the underside of the roof deck.
A few other contributing factors we see regularly on GTA roofing calls:
- Improper installation, including nailing patterns that puncture the membrane or shingle mat and create an entry point for moisture
- Low-quality or incompatible adhesives used on flat roofing systems
- Inadequate substrate drying before membrane installation, trapping construction moisture
- Blocked or insufficient soffit and ridge ventilation
- Ageing materials that have lost flexibility and can no longer accommodate normal thermal movement
Understanding the root cause matters because a blister that keeps recurring after a patch repair almost always points to a ventilation or moisture-source problem, not a defect in the patch itself.
Recognizing a Blistering Roof Emergency Versus a Minor Issue
Not every blister requires an emergency call, but some absolutely do. Learning to tell the difference protects your home and your budget.
A blister is a genuine emergency when any of the following apply:
- The blister has already split open, exposing the felt, membrane substrate, or deck underneath
- You can see water staining on an interior ceiling or wall below the blistered area
- The blister is large (larger than a dinner plate on a flat roof, or spanning multiple shingle tabs) and located near a roof valley, drain, or penetration
- Heavy rain or a summer storm is forecast within 24 to 48 hours
- The blister is soft or spongy to the touch, suggesting the deck itself has begun absorbing moisture
By contrast, a small, unbroken blister on a section of roof with no interior signs of leaking is usually a “monitor and schedule” situation rather than a same-day emergency. That said, blisters do not heal themselves, and even a stable-looking blister today can split during the next hailstorm, wind event, or thermal cycle. If you are unsure which category your situation falls into, our roof repair team can assess photos or perform an on-site inspection to make that call for you.
Immediate Steps to Take When You Discover a Blister
If you spot a blistering roof problem, especially one that has split or is actively letting water in, a few immediate actions can limit the damage while a professional repair is arranged.
1. Document the damage. Take clear photos of the blister from the ground and, if safely accessible, from a ladder without stepping onto the roof surface. This documentation helps with insurance claims and gives your roofer a head start on diagnosis.
2. Check the interior directly below. Look in the attic and on ceilings beneath the blistered area for staining, dampness, or a musty smell. Catching interior moisture early can prevent mould growth and insulation damage.
3. Avoid walking on the blistered section. Foot traffic on a blister, particularly on flat membrane roofing, can rupture it and turn a contained problem into an active leak. Stay off the roof and keep others away from the area as well.
4. Do not attempt a DIY puncture-and-patch on membrane roofing. Cutting into a blister without understanding what is trapped beneath it, and without the correct compatible patching materials, frequently makes the problem worse and can void manufacturer warranties on the membrane.
5. Place a container to catch any active interior drip and move furniture or belongings out of the drip path if water has already breached the ceiling.
6. Call a licensed roofing contractor promptly. Emergency blister repairs are time-sensitive, particularly ahead of forecast rain. Our team offers rapid response across the GTA and can typically assess and stabilize a blistering roof within the same day.
Effective Repair Solutions by Roof Type
The right fix for a blistering roof depends heavily on what material you have. Below is an overview of the solutions we use most often, organized by roofing system.
| Roof Type | Common Blister Cause | Effective Solution | Typical Repair Timeline |
|---|---|---|---|
| Asphalt shingles | Trapped manufacturing moisture or attic humidity | Remove and replace affected shingles; improve attic ventilation | Same day to 1 day |
| Flat / low-slope membrane (TPO, EPDM, modified bitumen) | Trapped air or moisture beneath membrane | Cut, dry substrate, patch with compatible membrane and adhesive | 1 to 2 days |
| Built-up roofing (BUR) | Moisture between felt plies | Cut out blister, dry deck, install new ply layers and cap sheet | 1 to 3 days |
| Metal roofing with coating | Coating adhesion failure or trapped condensation | Strip failed coating section, treat surface, recoat | 2 to 3 days |
| Roofing near skylights | Flashing or seal failure feeding moisture into adjacent membrane | Replace flashing/seal, then repair adjacent blistered membrane | 1 to 2 days |
For asphalt shingle roofs, the standard fix is straightforward: the blistered shingles are removed, the deck beneath is checked and dried if needed, and new shingles matched to the existing roof are installed. If the blistering is widespread rather than isolated to one section, it usually signals that the whole roofing system is nearing the end of its service life, in which case a roof replacement is a more sensible long-term investment than repeated patch repairs.
On flat and low-slope roofing systems, which we service extensively through our flat roofing division, the repair process is more involved. Our crews cut open the blister to assess how much moisture or trapped air is present, allow the substrate to dry fully (sometimes using controlled heat), and then install a patch using membrane and adhesive that is fully compatible with the existing system. Mixing incompatible membrane types is one of the most common DIY and even contractor mistakes we see, and it frequently leads to a second, worse failure within a year.
Preventing Future Blistering: Ventilation, Materials, and Maintenance
Repairing an existing blister is only half the job. Preventing new blisters from forming requires addressing the underlying moisture and ventilation issues that caused the first one.
| Prevention Strategy | What It Addresses | Recommended Frequency |
|---|---|---|
| Attic ventilation upgrade (soffit and ridge venting) | Trapped warm, moist air condensing under the deck | One-time assessment, then annual check |
| Professional roof inspection | Early detection of small blisters, cracked seals, and flashing wear | Twice per year (spring and fall) |
| Attic insulation review | Heat loss that raises deck temperature and moisture load | Every 3 to 5 years |
| Skylight and flashing seal check | Water intrusion points that migrate into adjacent roofing | Annually |
| Membrane recoating or resealing | UV degradation that weakens adhesion over time | Every 5 to 10 years, material-dependent |
Ventilation is the single biggest factor we see homeowners overlook. If your attic does not have a clear intake (soffit vents) and exhaust (ridge or roof vents) path, warm moist air from the living space below has nowhere to go and instead condenses directly against the underside of your roof deck. Over time, this repeatedly wets the deck and shingle mat from below, which is a leading cause of recurring blisters even after a proper patch repair. Our attic assessment service specifically checks intake and exhaust balance, insulation levels, and any signs of existing moisture damage.
Skylights are another frequent, and frequently overlooked, contributor to nearby blistering. A failed skylight seal or aged flashing lets water track sideways under the roofing material, sometimes surfacing as a blister several feet away from the skylight itself. If you have an older skylight installation, our skylight replacement team can determine whether the unit itself, or simply its flashing, is the source of the moisture feeding a blister nearby.
DIY Temporary Fixes Versus Professional Repair
We understand the appeal of a quick DIY fix, especially when rain is in the forecast and a professional crew cannot arrive for a day or two. It is worth being clear about what a homeowner can safely and effectively do, and what genuinely requires a licensed roofer.
| Action | Safe for Homeowner DIY? | Why |
|---|---|---|
| Photographing and monitoring a small, unbroken blister | Yes | No roof access or specialized material required |
| Placing a tarp over a split blister ahead of rain | Caution advised | Requires safe roof access; better handled by a professional with fall protection |
| Cutting open and patching a membrane blister | No | Requires matched, compatible membrane and adhesive plus proper drying technique |
| Replacing blistered shingles | No | Requires matching shingle type, correct nailing pattern, and safe roof access |
| Diagnosing the root moisture source (ventilation, flashing, skylight) | No | Requires attic inspection experience and knowledge of ventilation code requirements |
A temporary tarp can be a reasonable stopgap if a storm is imminent and no professional crew is available same-day, but it is not a repair. Tarps shift in wind, pool water if not tensioned correctly, and can themselves cause additional wear if left in place too long. The safest and most cost-effective path in almost every case is a prompt call to a licensed roofer who can assess, stabilize, and properly repair the blistered area in one visit.
What a Professional Blistering Roof Repair Involves
When our crews respond to a blistering roof emergency, the process generally follows a consistent sequence, regardless of roofing material:
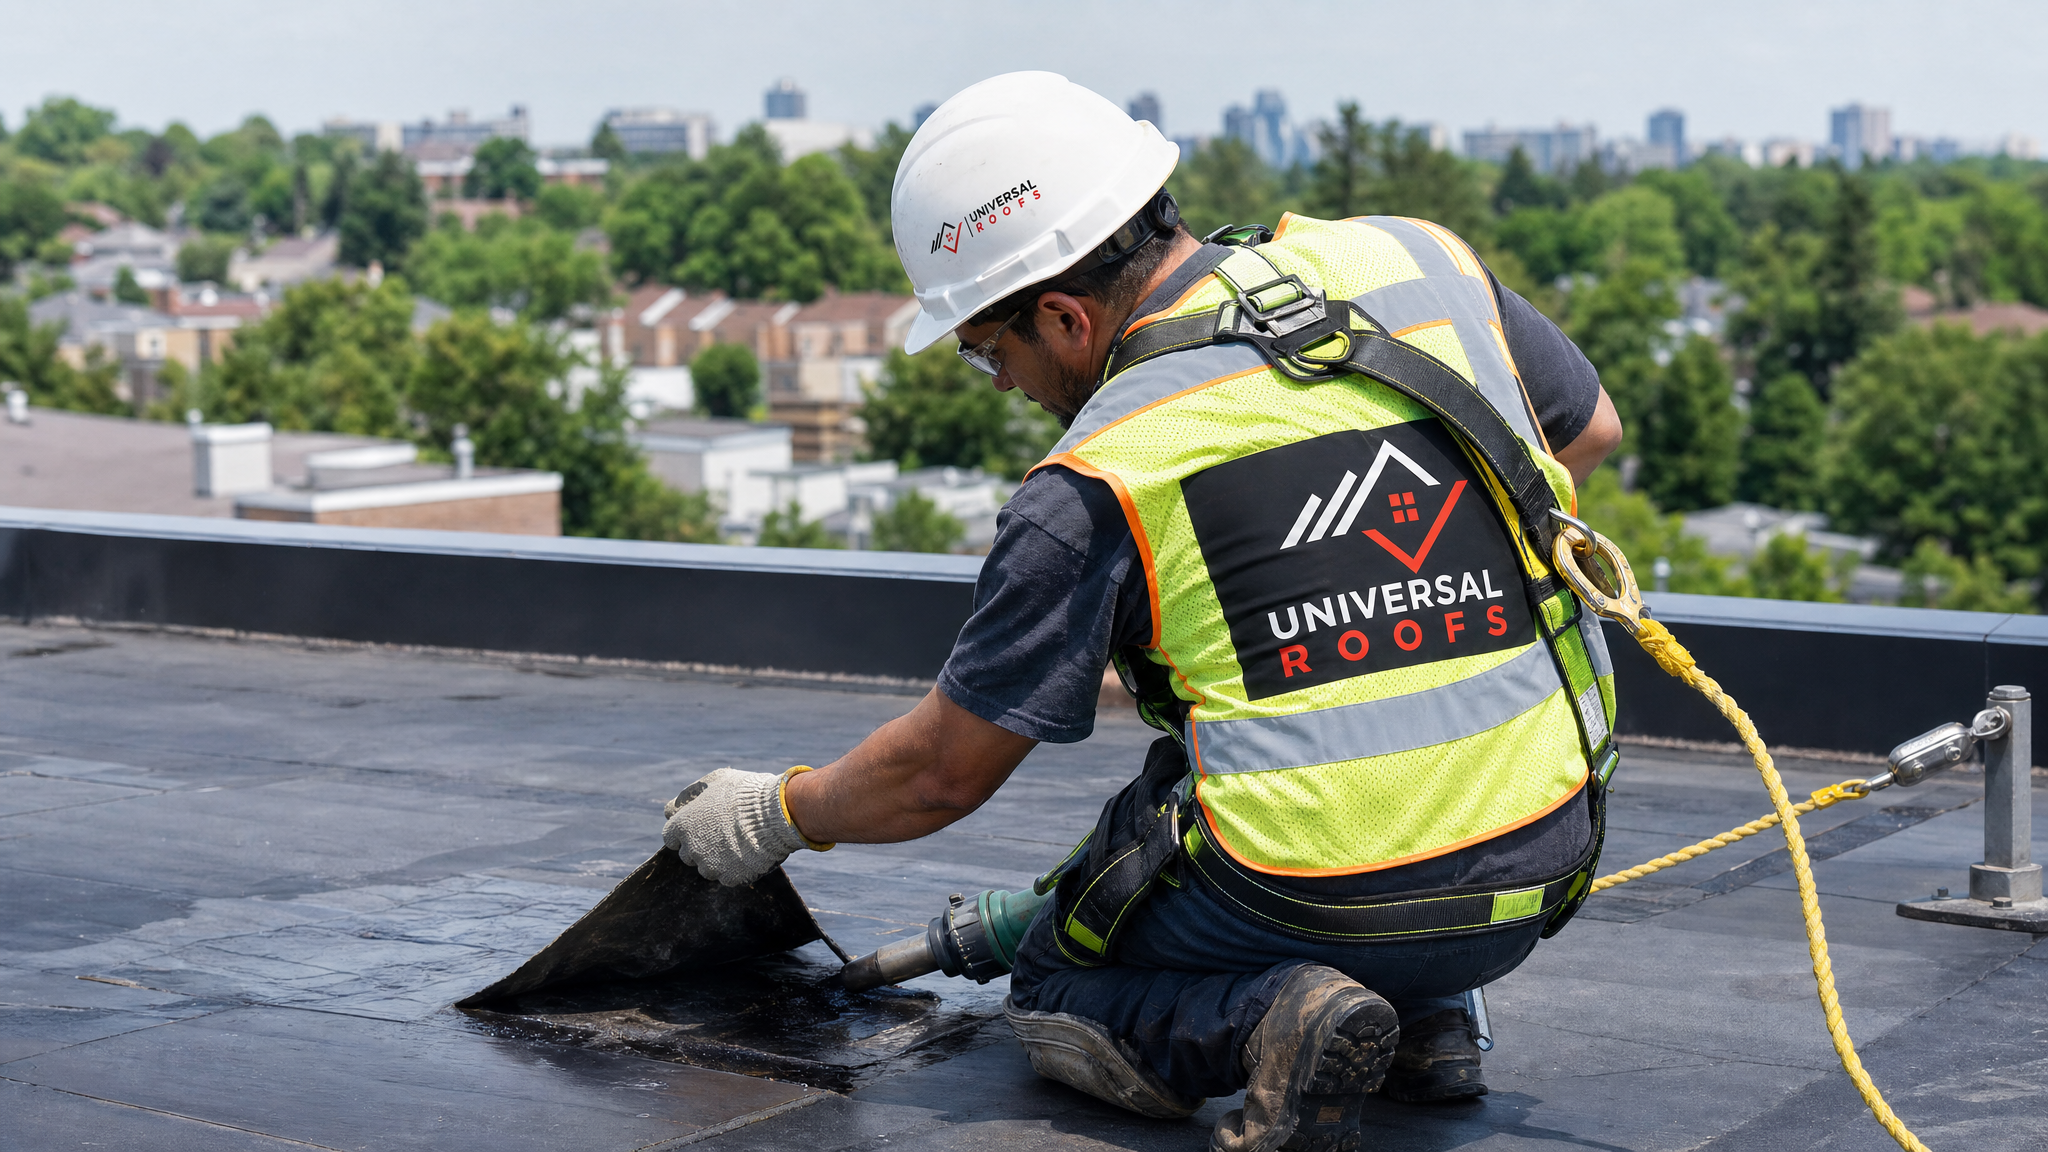
Step 1: Assessment. We inspect the blistered area along with the surrounding roof surface, checking for related issues such as failed flashing, clogged drains, or additional blisters not yet visible from the ground.
Step 2: Moisture check. Using moisture meters and visual inspection, we determine how much water or trapped air is present and whether the deck itself has absorbed moisture that needs to dry before a permanent repair can be installed.
Step 3: Removal. The blistered shingle, membrane section, or coating is carefully cut away or removed, exposing the substrate beneath.
Step 4: Drying. If moisture is present in the deck or substrate, it is dried thoroughly, sometimes with controlled heat application, before any new material is installed. Skipping this step is the most common reason patch repairs fail within months.
Step 5: Repair and reseal. New, compatible material is installed, whether that is matching shingles, a membrane patch fully bonded with compatible adhesive, or a new coating layer. Edges are sealed to manufacturer specification to prevent water intrusion at the repair boundary.
Step 6: Root-cause correction. If the blistering was caused by poor ventilation, a failed skylight seal, or damaged flashing, we address that underlying issue as part of the same visit whenever possible, since a patch alone will not prevent recurrence.
Step 7: Final inspection and documentation. We photograph the completed repair and provide homeowners with a summary of what was found and fixed, which is useful both for your records and for any insurance claim.
Cost Considerations for Blistering Roof Repairs
Repair costs vary depending on the extent of the blistering, the roofing material involved, and whether the underlying cause (such as ventilation or flashing) needs correction alongside the visible patch. As a general guide for GTA homeowners:
- Isolated shingle blister repair (one to a few shingles): typically the most affordable emergency repair category
- Localized flat roof membrane patch: moderate cost, dependent on membrane type and accessibility
- Blistering tied to a ventilation problem: additional cost for soffit/ridge vent upgrades, but this investment prevents repeat callouts
- Widespread blistering across an ageing roof: often more cost-effective to plan a full roof replacement than to keep patching a system near the end of its lifespan
Because every roof and every blistering situation is different, the most reliable way to understand your specific cost is a direct, no-obligation assessment. You can review examples of completed repairs and homeowner feedback on our reviews page, and browse common cost and process questions on our FAQ page before booking a visit.
Why Toronto and GTA Homes Are Especially Prone to Blistering
Roofing blister emergencies are not evenly distributed across Canada. Our region’s specific mix of climate and housing stock makes blistering a recurring seasonal issue across Toronto, the Peel Region, York Region, Halton Region, and Durham Region.
Freeze-thaw cycling through the winter months stresses roofing materials and can create micro-cracks or adhesion weaknesses that do not fully show themselves until the following summer, when heat causes any trapped moisture to expand. Add in the humid, muggy stretches typical of a GTA July and August, followed by intense direct sun, and you have close to ideal conditions for blister formation and failure. Many of the older housing stock across the region, particularly homes built before more current ventilation code requirements, also have undersized or blocked attic ventilation systems that quietly contribute to blistering year after year.
This is one of the reasons we recommend a spring and a late-summer inspection for GTA homeowners rather than waiting for a visible problem. Catching a small, unbroken blister in June is far less costly and disruptive than dealing with a split blister and an active ceiling leak in the middle of a July thunderstorm.
How to Choose the Right Roofing Contractor for Emergency Blister Repair
Not all roofing repairs are created equal, and blistering emergencies in particular reward experience. When evaluating a contractor for this type of work, homeowners should look for:
- Demonstrated experience with your specific roofing material, since a shingle specialist and a flat membrane specialist use very different repair techniques
- Willingness to explain the root cause of the blister, not just patch the visible symptom
- Proper safety equipment and fall-protection practices for roof access, particularly on steep-slope or high roofs
- Clear, itemized quotes before work begins
- A track record you can verify, such as our reviews from homeowners across the GTA
- Straightforward answers to common questions, which you can review on our FAQ page, or learn more about our background on our about page
Universal Roofs has been serving homeowners across the GTA since 2005, and blistering repairs, both emergency and preventative, are among the most common calls our crews handle every summer. We carry the moisture-diagnostic equipment, compatible repair materials for a wide range of roofing systems, and the safety training needed to get onto a roof and fix the problem correctly the first time.
What are the most effective solutions for blistering roof emergencies?
Is a blistering roof always an emergency?
Can I repair a blistering roof myself?
Why does my flat roof keep blistering after repairs?
How much does it cost to fix a blistering roof emergency in Toronto?
Why do roofs blister more often in the summer in the GTA?
Need Help With Effective Solutions for Blistering?
If you have discovered a blister on your roof and are not sure whether it is an emergency, the team at Universal Roofs can help you assess it quickly and safely, whether it affects asphalt shingles, flat membrane roofing, or an area near a skylight.
Call us today at (416) 732-2421 or request a free inspection to get started.
Universal Roofs proudly serves Toronto, Mississauga, Brampton, Vaughan, Markham, Oakville and the GTA since 2005.