
A sudden leak during a July thunderstorm, a branch that punches through your shingles overnight, or a wind-lifted section flapping in the breeze at 2 a.m. — emergency roof damage never waits for a convenient time. When water is actively entering your home, the difference between a manageable repair and a five-figure insurance claim often comes down to what you do in the first few hours. Homeowners across the GTA ask us the same question every storm season: what are the best emergency roof repair solutions for residential properties, and which one actually fits my situation?
This guide breaks down the four most effective emergency repair methods used by professional roofers today, when each one applies, what it costs, and how to tell the difference between a genuine emergency and a repair that can safely wait for a scheduled appointment. We also cover the practical steps you can take before help arrives, the materials contractors rely on for temporary and permanent fixes, and how Toronto’s freeze-thaw climate changes the calculus on timing and material choice.
Whether you’re dealing with a wind-torn shingle field, a punctured flat roof membrane, a skylight leak, or storm-driven ice damming, understanding these emergency roof repair solutions for residential properties will help you make faster, better decisions when it matters most. If you need help right now, request a free inspection and our team will walk you through next steps immediately.
What Counts as a Roofing Emergency?
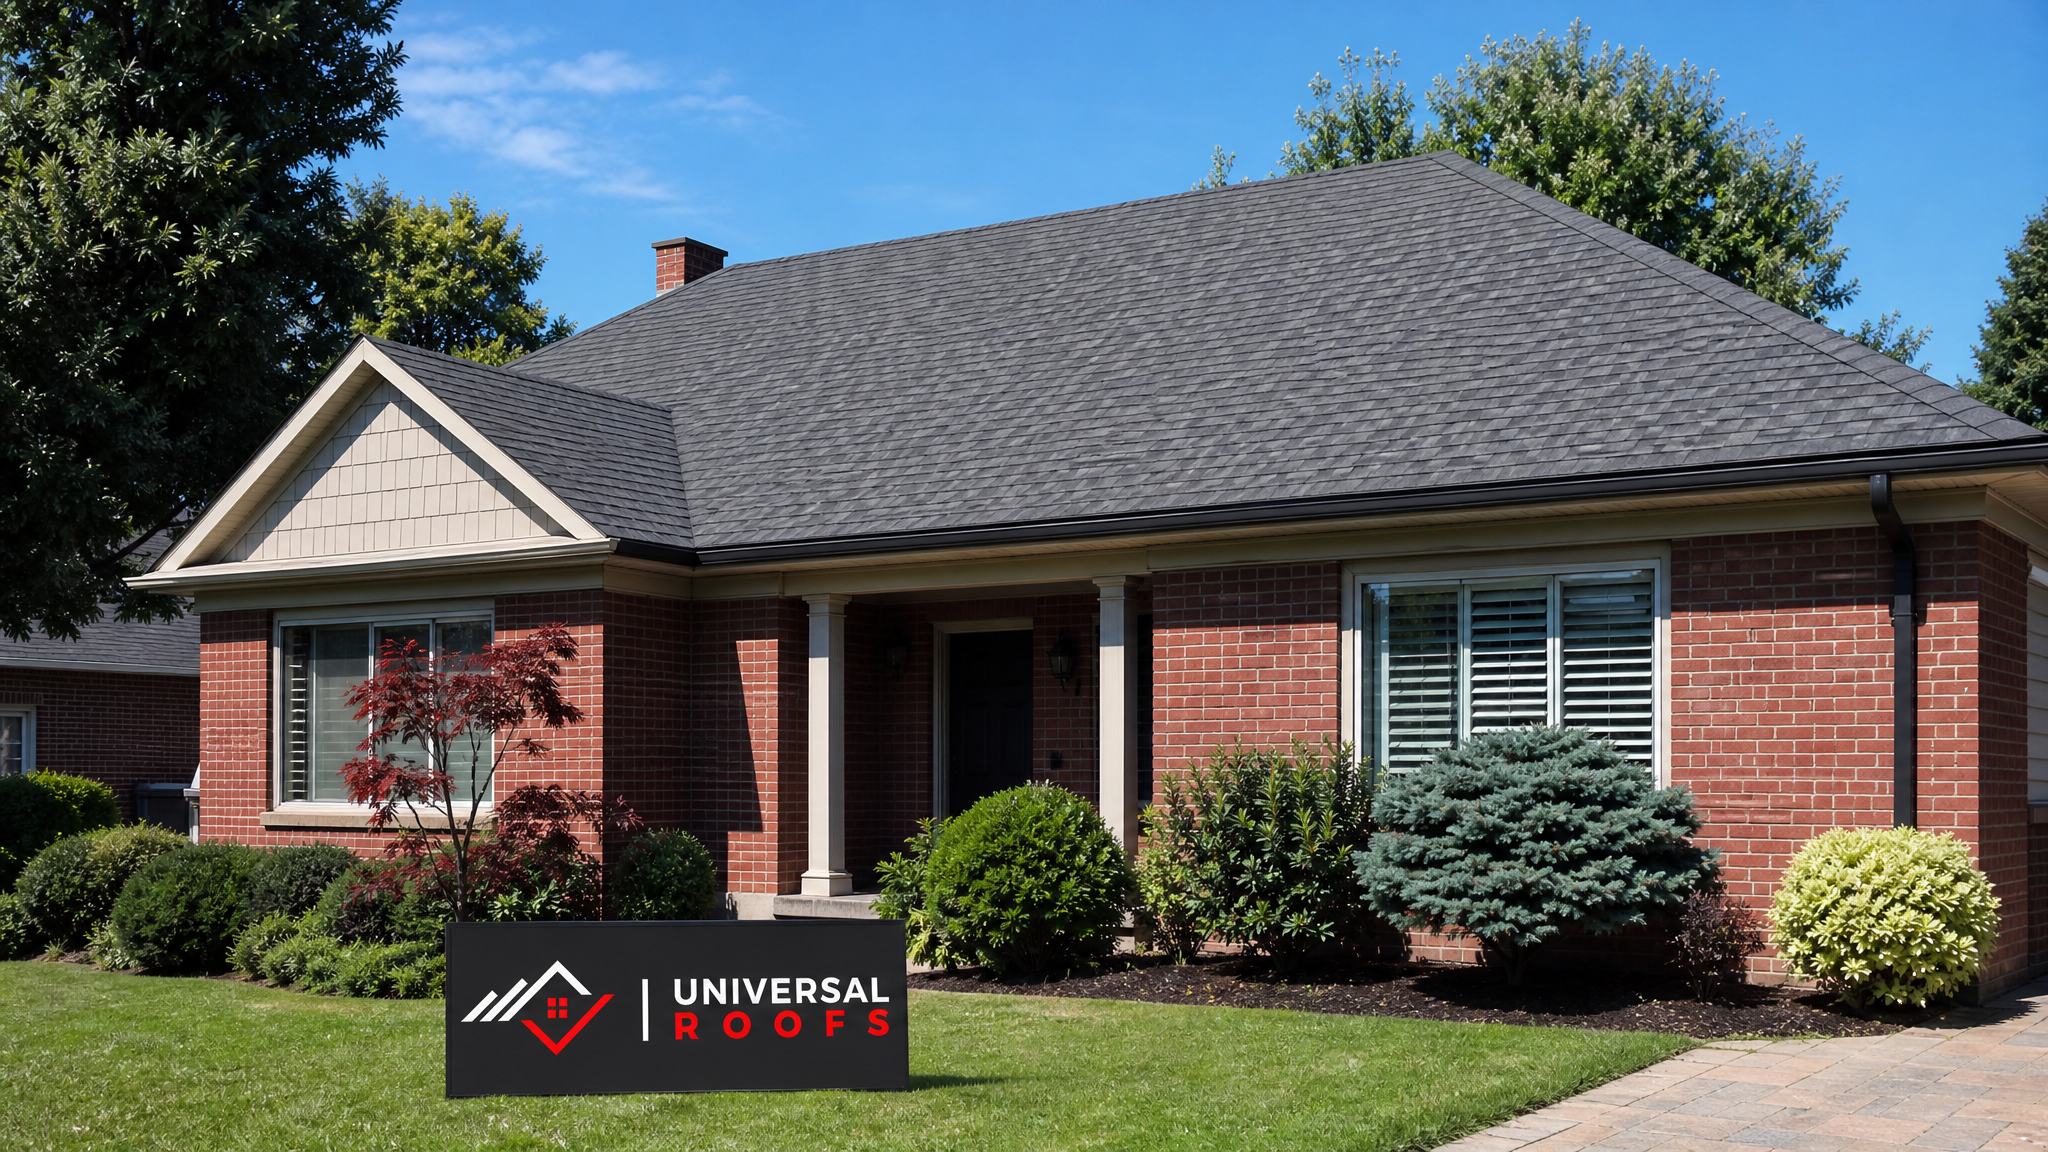
Not every roof problem needs a same-day response, and knowing the difference saves homeowners money and stress. A true roofing emergency is any situation where water is actively entering the building envelope, structural elements are compromised, or the damage is worsening by the hour. A missing shingle on a dry, calm day is a repair to schedule this week. A missing shingle during an active rainstorm, with water tracking down your attic joists, is an emergency.
Common triggers we see across Toronto, Mississauga, Brampton, Vaughan, Markham, and Oakville include summer microbursts and downburst winds, hail impact damage, fallen tree limbs, ice dam back-ups in shoulder-season freeze-thaw cycles, and sudden flashing failures around chimneys and skylights. Because our climate swings from -20°C winters to +30°C summers, roofing materials expand and contract constantly, which accelerates wear on seams, fasteners, and sealants — exactly the failure points that trigger emergency calls.
The table below helps homeowners quickly triage a situation before calling for help.
| Situation | Urgency Level | Recommended Action | Typical Response Window |
|---|---|---|---|
| Active interior water dripping or staining spreading | Emergency | Call immediately, place containment buckets, move belongings | Same day |
| Visible hole or puncture from a fallen branch | Emergency | Photograph, tarp if safely accessible, call a roofer | Same day |
| Shingles lifted or missing after a windstorm, no leak yet | Urgent | Document damage, schedule inspection within 48 hours | 1-2 days |
| Small ice dam with minor eavestrough backup | Urgent | Clear gutters if safe, monitor, book seasonal service | 2-5 days |
| Granule loss or minor curling on aging shingles | Routine | Schedule a maintenance inspection | Within a month |
| Cosmetic flashing discolouration, no moisture present | Routine | Note for next scheduled roof review | Next seasonal check |
Solution 1: Emergency Tarping and Weatherproofing
Tarping is the fastest, most universally applicable emergency roof repair solution for residential properties, and it’s usually the first thing a professional crew does on arrival regardless of what caused the damage. The goal isn’t a permanent fix — it’s stopping active water intrusion within minutes so the interior of the home stops absorbing damage while a proper repair is scheduled.
Professional tarping involves heavy-duty reinforced polyethylene sheeting, secured with wood furring strips screwed through the tarp into the roof deck (never just weighted with bricks, which fail in wind), and sealed at the edges to direct water away from the breach rather than trapping it underneath. A well-installed emergency tarp can hold for several weeks if needed, though most homeowners move to permanent repair within days once materials or scheduling allow it.
Where tarping falls short: it’s a stopgap, not a cure. Left in place too long through repeated rain cycles, tarps can develop pinhole leaks at fastener points, and prolonged UV exposure degrades the material within a season. That’s why our crews always pair tarping with a firm follow-up date for the permanent roof repair work.
Solution 2: Localized Shingle and Flashing Replacement
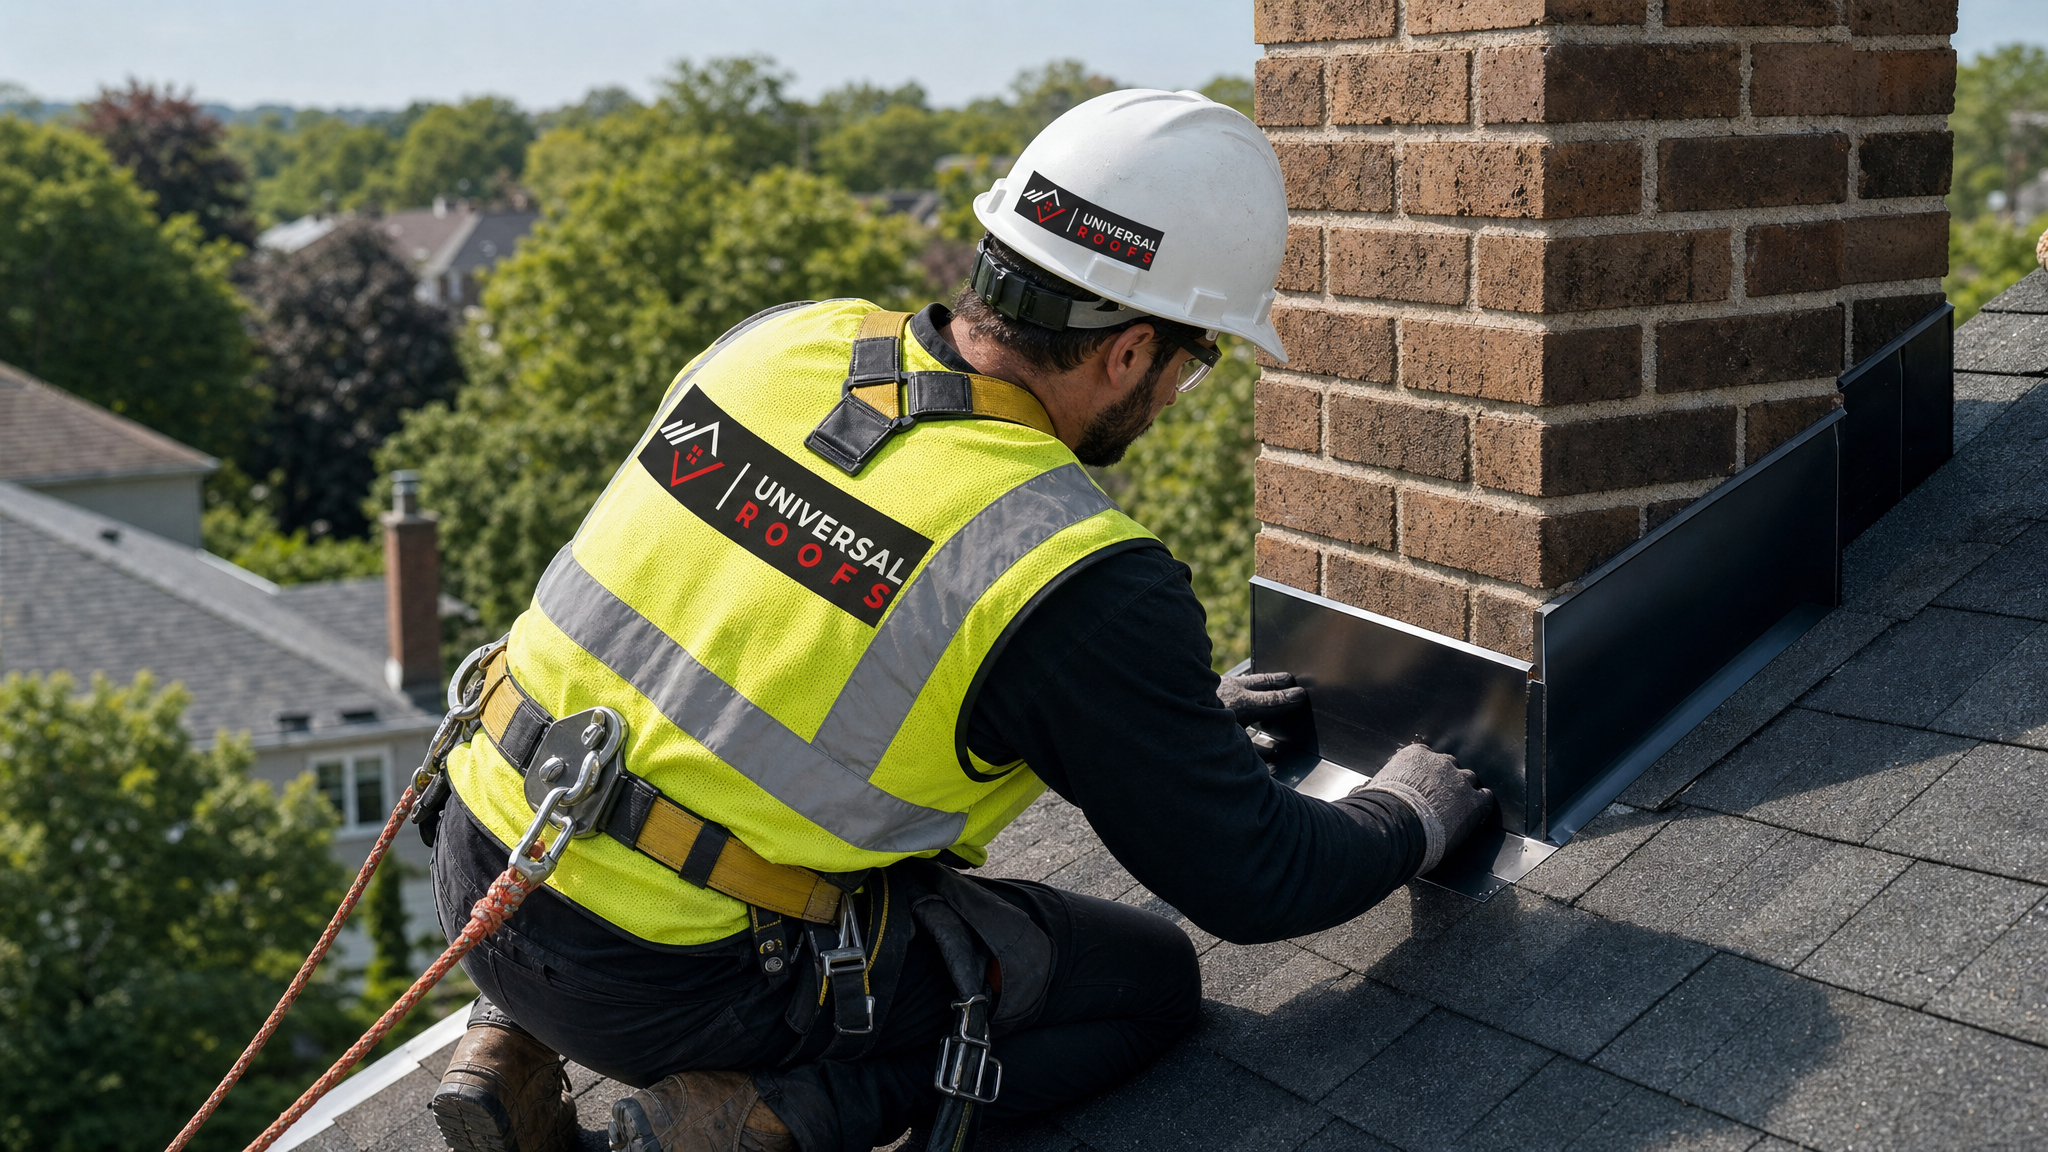
For wind damage, hail impact, or a single failed flashing joint, targeted shingle and flashing replacement is often the most cost-effective permanent emergency solution. Rather than replacing an entire roof section, a trained roofer removes only the damaged shingles and underlying felt or synthetic underlayment, inspects the deck for rot or soft spots, and installs matching replacement shingles with fresh step flashing or counter-flashing where needed around penetrations like chimneys, vents, and skylights.
This approach works best when the surrounding roof is still within its serviceable lifespan — generally under 15 years old for asphalt shingles in our climate — and the damage is isolated to a specific area rather than distributed across the whole field. If storm damage has scattered dozens of lifted or missing shingles across multiple slopes, that’s often a signal the whole roof surface is failing simultaneously, and a full roof replacement becomes the more sensible long-term investment.
Flashing failures deserve particular attention because they’re one of the most common sources of “mystery leaks” — water that appears inside the home nowhere near the obvious point of entry. Ice and water shield membrane, properly lapped step flashing, and correctly sealed counter-flashing at chimneys and skylights prevent the capillary action that lets water travel sideways under shingles before it drips through the deck.
Solution 3: Flat Roof and Membrane Emergency Patching
Flat and low-slope roofs — common on additions, garages, and older GTA bungalows — fail differently than pitched shingle roofs, so they need a different emergency response. Membrane systems like modified bitumen, TPO, and EPDM rubber typically fail at seams, around drains, or where standing water has pooled long enough to degrade the surface. Punctures from foot traffic, falling debris, or age-related blistering are the most common emergency triggers we respond to on flat sections.
Emergency flat roof patching uses a compatible membrane patch — matched to the existing material type, since mixing incompatible membrane chemistries can actually accelerate failure — heat-welded or adhered with a compatible primer and sealant, extending several centimetres beyond the visible damage in every direction. Standing water is squeegeed away first, and the surrounding membrane is dried completely before the patch is applied, since trapped moisture under a patch will blister and fail within one freeze-thaw cycle.
Flat roofs demand faster attention than pitched roofs because water doesn’t run off — it pools directly over the damaged area, increasing hydrostatic pressure and pushing water through even small punctures. If your home has a flat roofing section, we recommend an annual drain and seam inspection specifically to catch these failure points before they become emergencies.
| Roof Type | Common Emergency Cause | Typical Repair Cost Range | Average Timeline |
|---|---|---|---|
| Asphalt shingle (pitched) | Wind uplift, hail, fallen branches | $350 – $1,200 | Same day to 2 days |
| Flat / low-slope membrane | Membrane puncture, seam failure, ponding | $400 – $1,500 | 1 – 3 days |
| Skylight or roof window | Seal failure, cracked glazing, flashing leak | $300 – $1,800 | 1 – 4 days |
| Chimney or vent flashing | Corroded or lifted flashing, mortar cracking | $250 – $900 | 1 – 2 days |
| Full ice dam remediation | Attic heat loss combined with snow melt cycles | $500 – $2,000 | 1 – 5 days |
Solution 4: Skylight and Attic Ventilation Emergency Repair
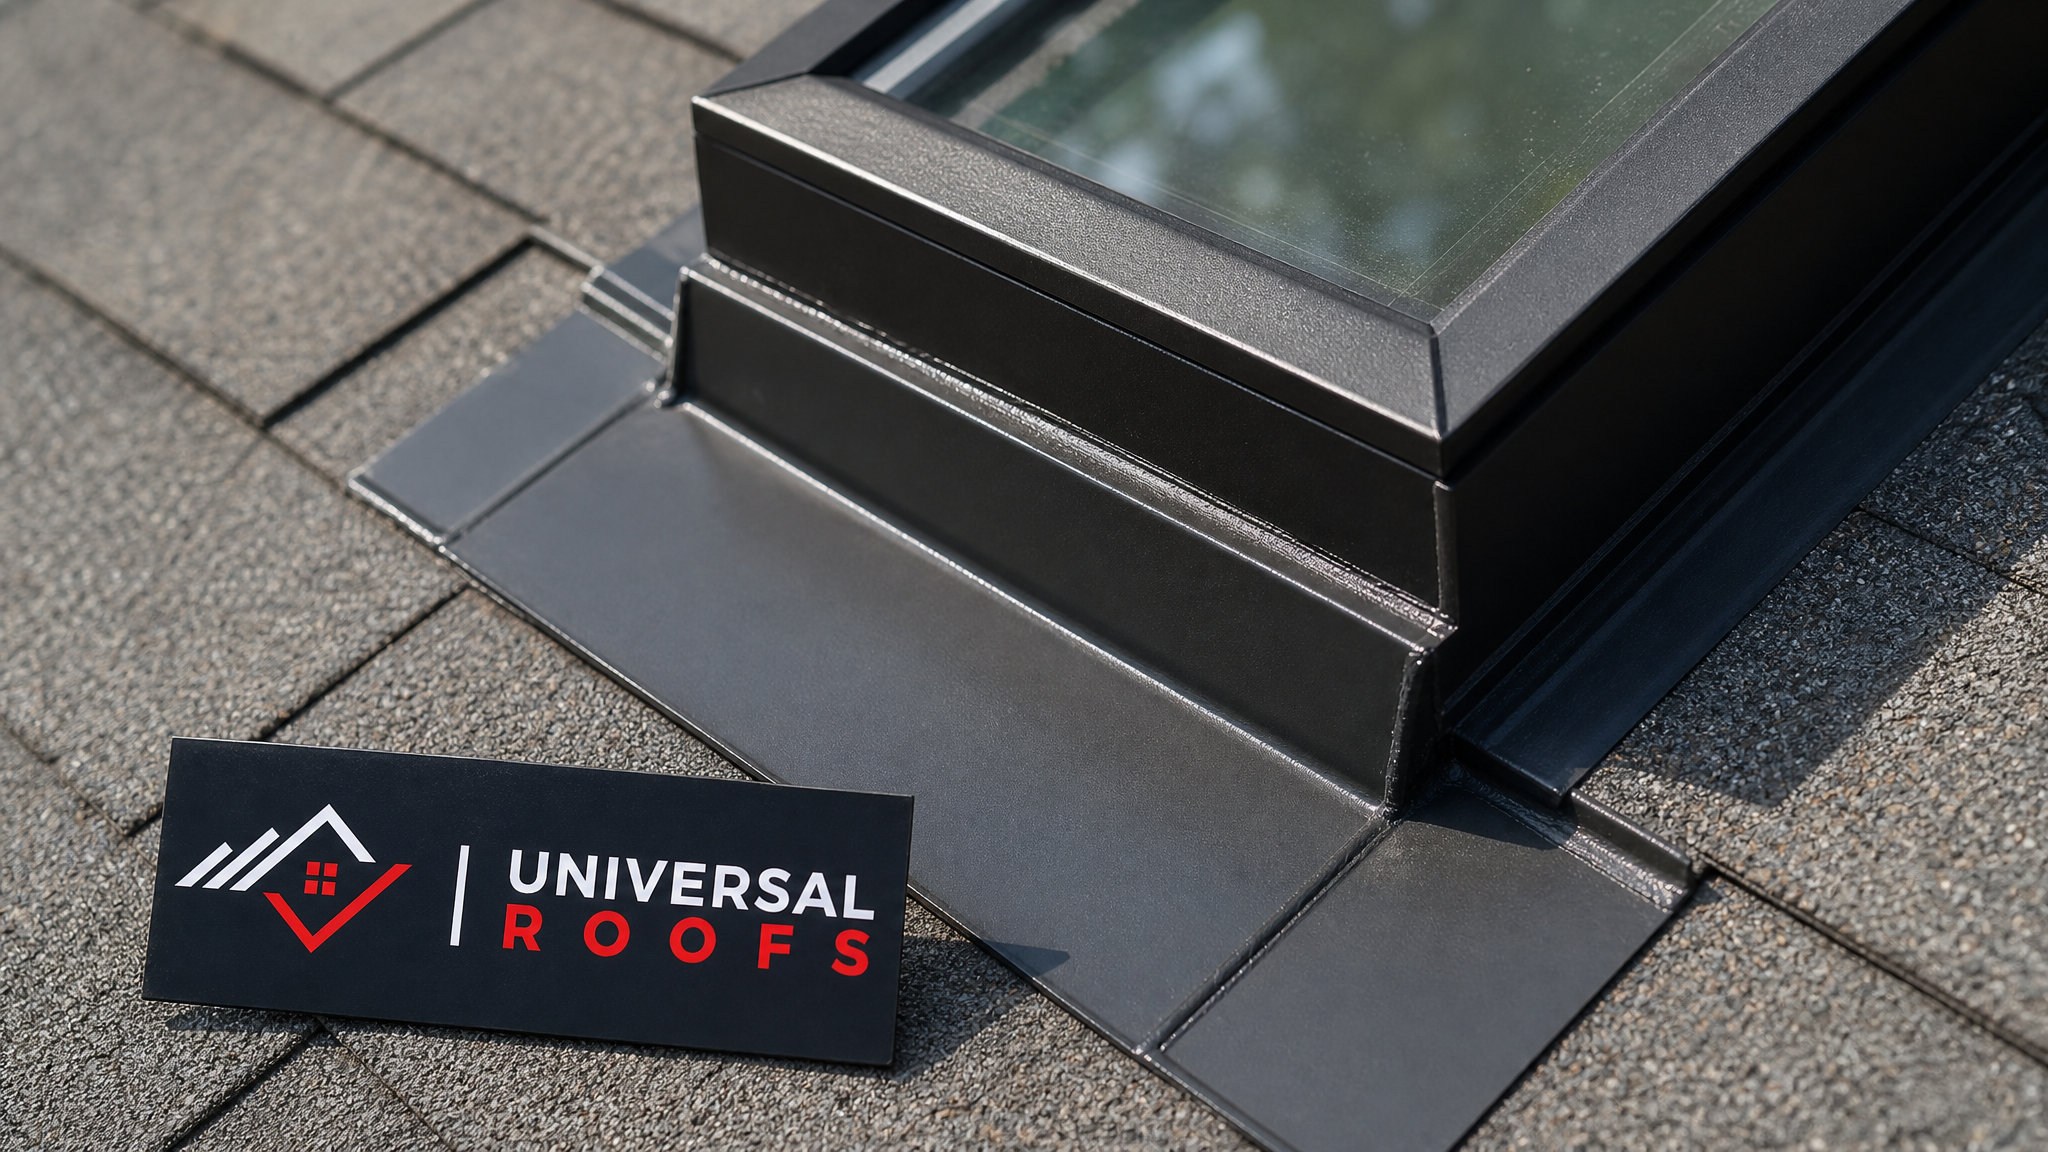
Skylights and attic ventilation issues are among the most misdiagnosed sources of emergency leaks because the water often travels a fair distance from the actual point of failure before it becomes visible on a ceiling. A cracked skylight seal, a failed gasket, or corroded flashing around the curb can let water in during even moderate rain, and homeowners frequently assume the leak is coming from the shingles nearby rather than the skylight itself.
Emergency skylight repair typically involves resealing the perimeter flashing, replacing failed rubber gaskets, or in more serious cases, temporary weatherproofing of the glazing unit itself while a full skylight replacement is scheduled. Older skylight units — particularly those installed before improved flashing kits became standard — are especially prone to seal failure after 15-20 years of thermal cycling. If you’re dealing with recurring leaks around an existing unit, it’s often more economical to replace it outright than to keep patching an aging seal. Our skylights team can advise on whether repair or replacement makes more sense for your specific unit.
Attic ventilation problems compound emergency situations in less obvious ways. Poor airflow traps humidity, which condenses on the underside of the roof deck and mimics or worsens an active leak, and in winter it accelerates ice dam formation by unevenly melting snow on the roof surface. If your emergency call reveals damp insulation or mould near the leak site but the actual penetration point is hard to pinpoint, an attic ventilation assessment is usually part of the fix, not just the shingle or flashing repair.
What to Do Before the Roofer Arrives
The actions you take in the first 30 minutes after discovering a leak can meaningfully reduce total damage. Move furniture, electronics, and belongings away from the affected area first. Place a bucket or bin under any active drip, and if the ceiling is bulging with trapped water, carefully puncture the lowest point with a screwdriver into the bucket below — this controlled release prevents a much larger, uncontrolled ceiling collapse. Photograph everything: the interior damage, any visible exterior damage from the ground, and the date and time, since this documentation is invaluable for insurance claims.
Never climb onto a wet or storm-damaged roof yourself. Every year we respond to secondary injuries from homeowners attempting their own emergency repairs on slippery, damaged, or structurally compromised surfaces. Leave roof-level work — even a “quick look” — to a professional crew with proper fall protection and harness anchoring.
If you smell an electrical burning odour, see sagging drywall, or notice the ceiling actively bowing downward, treat this as a structural emergency and evacuate the room. Call your roofer immediately and mention these specific signs so the crew arrives prepared for a more serious structural assessment.
| Immediate Action | Why It Matters | Do This Yourself? | Leave to Professionals |
|---|---|---|---|
| Move belongings and furniture away from the leak | Prevents secondary water damage to contents | Yes | — |
| Place buckets and towels under active drips | Contains water, protects flooring | Yes | — |
| Photograph interior and visible exterior damage | Supports insurance claim documentation | Yes | — |
| Puncture a bulging, water-filled ceiling | Prevents uncontrolled ceiling collapse | Yes, carefully | — |
| Climbing onto the roof to inspect or tarp | Risk of falls on wet, damaged, or unstable surfaces | No | Yes |
| Removing damaged shingles or flashing | Requires proper tools, harness, and material matching | No | Yes |
Insurance, Documentation, and Long-Term Prevention
Most home insurance policies in Ontario cover sudden and accidental roof damage from wind, hail, and falling debris, though coverage details vary and gradual wear-and-tear is typically excluded. Keeping dated photos, a written timeline of events, and itemized repair invoices makes the claims process considerably smoother. Reputable roofing contractors will provide detailed written estimates and can often work directly with your insurance adjuster to confirm scope and pricing.
Beyond the immediate emergency, the best long-term protection is a proactive inspection schedule. Twice-yearly roof checks — ideally in spring after the freeze-thaw season and again in fall before winter loading — catch small issues like lifting shingle tabs, deteriorating sealant, and clogged eavestroughs before they become emergencies. Homeowners who maintain this rhythm consistently report fewer surprise leaks and lower lifetime roofing costs, since minor repairs caught early are dramatically cheaper than emergency callouts and water damage remediation combined.
It’s also worth reviewing your roof’s age against typical material lifespans. Asphalt shingles generally perform well for 20-25 years in the GTA climate, while flat membrane systems often need attention or replacement in the 15-20 year range depending on material and installation quality. If your roof is approaching the end of its expected service life, recurring “emergency” repairs are often a signal that full replacement is the more economical path forward rather than continuing to patch an aging system.
You can read what other GTA homeowners experienced with our emergency response times and repair quality on our reviews page, and our FAQ page answers many of the common cost and process questions we hear before a first appointment.
Choosing the Right Solution for Your Situation
With four viable emergency repair paths available, the right choice depends on roof type, the nature of the damage, and how long the fix needs to hold. Tarping is universal and immediate but always temporary. Localized shingle and flashing replacement suits isolated damage on a roof that’s otherwise in good condition. Flat roof membrane patching is specific to low-slope systems and needs fast attention because of standing water risk. Skylight and ventilation repair addresses a category of leaks that’s frequently misdiagnosed as a shingle problem.
A qualified roofer’s first job on any emergency call is correctly diagnosing which category the damage falls into — because applying the wrong solution, like patching shingles when the real problem is a failed skylight seal three metres away, wastes time and money while the leak continues. This is why professional diagnosis matters even on a “simple” emergency call. Our teams serve homeowners across Toronto, the Peel Region, York Region, Halton Region, and Durham Region, and we’ve built our emergency response process around fast, accurate diagnosis first, repair second.
Learn more about how Universal Roofs approaches residential roofing overall on our about page, where you can see our history serving the GTA since 2005.
What are the best emergency roof repair solutions for residential properties?
How quickly should I call a roofer during an active leak?
Is a roof tarp a permanent fix?
Does home insurance cover emergency roof repairs?
Can I tarp or inspect roof damage myself?
How do I know if my roof needs emergency repair or full replacement?
Need Help With 4 Best Emergency Roof?
When water is coming through your ceiling, you need a team that diagnoses the real problem fast and fixes it right the first time. Universal Roofs has been responding to emergency calls across the GTA since 2005, with crews trained on every repair method covered in this guide, from tarping to full membrane and skylight replacement.
Call us today at (416) 732-2421 or request a free inspection to get started.
Universal Roofs proudly serves Toronto, Mississauga, Brampton, Vaughan, Markham, Oakville and the GTA since 2005.