
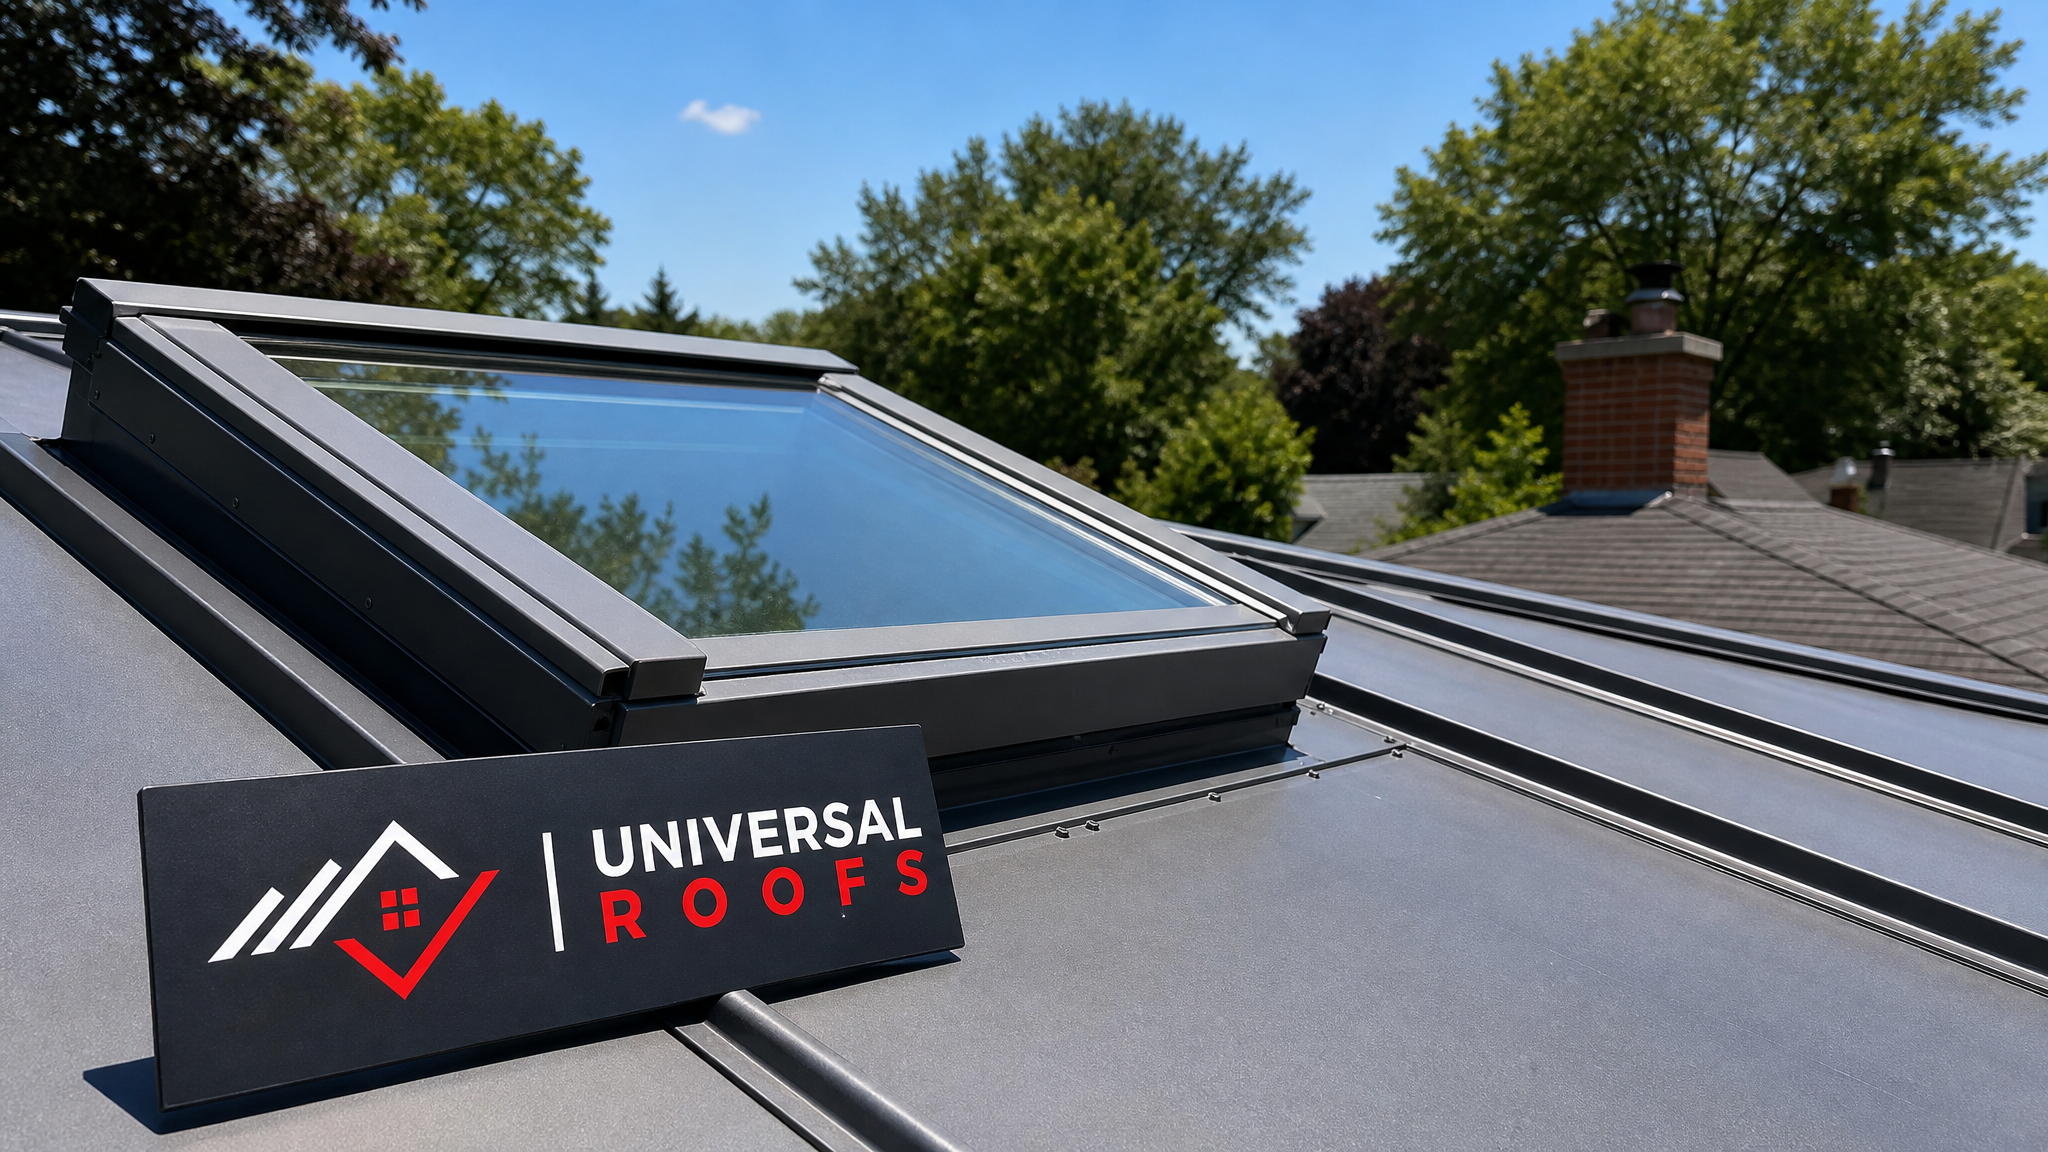
A skylight on a metal roof brings in beautiful natural light, but the junction where glass meets standing seam or corrugated panel is also one of the most leak-prone spots on any Toronto home. When that seam fails, water does not always drip straight down — it can travel along a purlin or rafter and show up as a stain metres away from the actual skylight, which is exactly why so many homeowners chase the wrong culprit for months. If you have noticed a brown ring on your ceiling drywall, a musty smell in the room below your skylight, or drips during a spring downpour, this guide walks through repairing skylight leaks on metal roofs the right way, from diagnosis to a lasting fix.
Metal roofing is popular across the GTA because it shrugs off hail, sheds snow quickly, and can outlast asphalt shingles by decades. But metal roofs expand and contract with temperature swings far more than shingles do, and that constant movement is hard on any penetration — vents, chimneys, and especially skylights. A properly flashed and sealed skylight can go 15-20 years without issue, but the wrong sealant, a poorly formed flashing detail, or simple age can turn that same skylight into a chronic leak point. We will cover what actually causes these leaks, which repairs a confident homeowner can safely attempt, the tools and materials involved, and when it is time to bring in a professional roofer instead of climbing back up the ladder for a third attempt.
Before touching any tools, it helps to understand that repairing skylight leaks on metal roofs is fundamentally different from patching an asphalt shingle roof. Metal panels rely on mechanical seams, butyl tape, and purpose-built flashing kits rather than layered shingles and tar. Using the wrong product — ordinary roofing tar, for example — on a metal panel can trap moisture, accelerate corrosion, and make the eventual professional fix more expensive. Getting the diagnosis right the first time saves both money and repeated trips up the ladder.
Why Skylights on Metal Roofs Leak
Understanding the root cause is the first step in any lasting repair. Metal roofs move. A 6-metre run of steel or aluminum panel can expand and contract by several millimetres between a cold January night and a hot July afternoon, and that movement concentrates stress exactly where a rigid skylight curb meets the flexible metal panel around it. Over years, that repeated flexing works fasteners loose, cracks sealant beads, and slowly opens gaps that were watertight when installed.
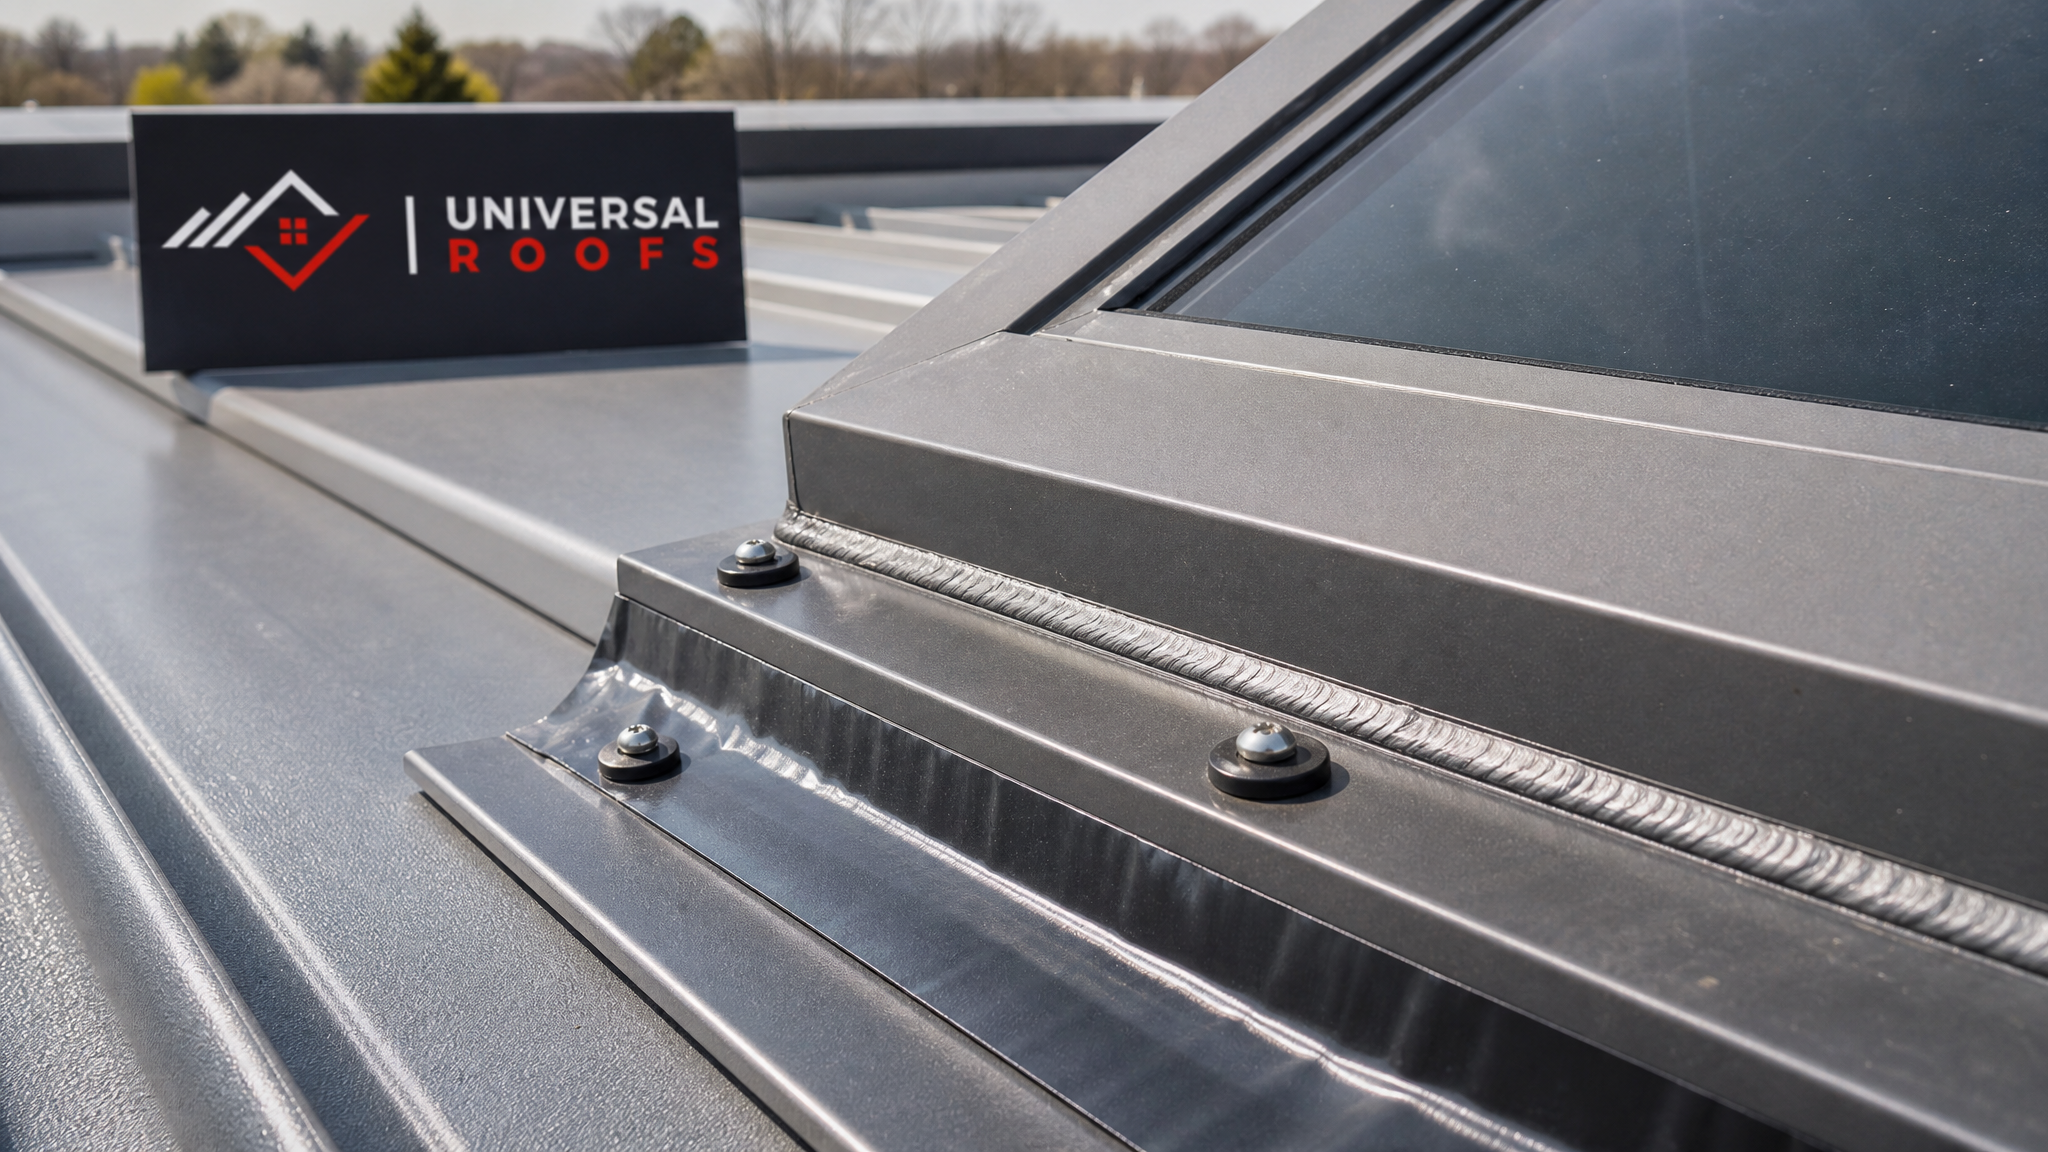
The most common failure points on a metal-roof skylight are the step flashing and counter-flashing where the curb meets the panel seams, the butyl tape or sealant bead along the top and side flashing, the fasteners holding the flashing to the curb (which can back out or corrode), and the skylight’s own glazing seal between the glass unit and its frame. Condensation is a frequent red herring too — moisture that forms on the inside of the glass during a cold snap can drip and mimic an exterior leak, so it is worth ruling that out before you assume the flashing has failed.
Toronto’s climate makes all of this worse. Freeze-thaw cycles push water into any hairline gap, freeze it overnight, and expand that gap by a fraction of a millimetre — repeated dozens of times each winter, that adds up. Ice damming along the eaves can also back water up under flashing that was never designed to handle standing water. Add summer thunderstorms with wind-driven rain and you have a climate that tests every seam on a roof twice a year, in opposite directions.
| Leak Symptom | Likely Cause | Typical Location | Urgency |
|---|---|---|---|
| Drip only during heavy wind-driven rain | Failed sealant bead or lifted flashing edge | Top or side flashing seam | Moderate — monitor and repair soon |
| Water staining that appears in winter only | Ice damming backing water under flashing | Lower flashing, eave-side of curb | High — can worsen with each freeze-thaw cycle |
| Constant light dripping regardless of weather | Condensation on interior glass surface | Inside frame, not the roof itself | Low — ventilation fix, not a roof repair |
| Sudden active leak during a storm | Cracked glazing seal or torn membrane | Glass-to-frame junction or curb membrane | Urgent — tarp and repair immediately |
| Rusty streaks running down the metal panel | Corroded fasteners or flashing metal | Fastener heads along flashing edge | Moderate to high — replace fasteners before failure |
DIY vs Professional Repair: Know Your Limits
Not every skylight leak needs a licensed roofer, but plenty do. A confident, moderately handy homeowner with the right safety gear can often reseal a failed sealant bead, replace a handful of corroded fasteners, or apply a butyl flashing tape to a small gap. What a DIY approach usually cannot fix safely is a torn or improperly lapped flashing system, a cracked glazing seal on a sealed glass unit, structural rot in the curb or deck beneath the skylight, or any repair that requires cutting and re-forming metal flashing to match a standing seam profile.
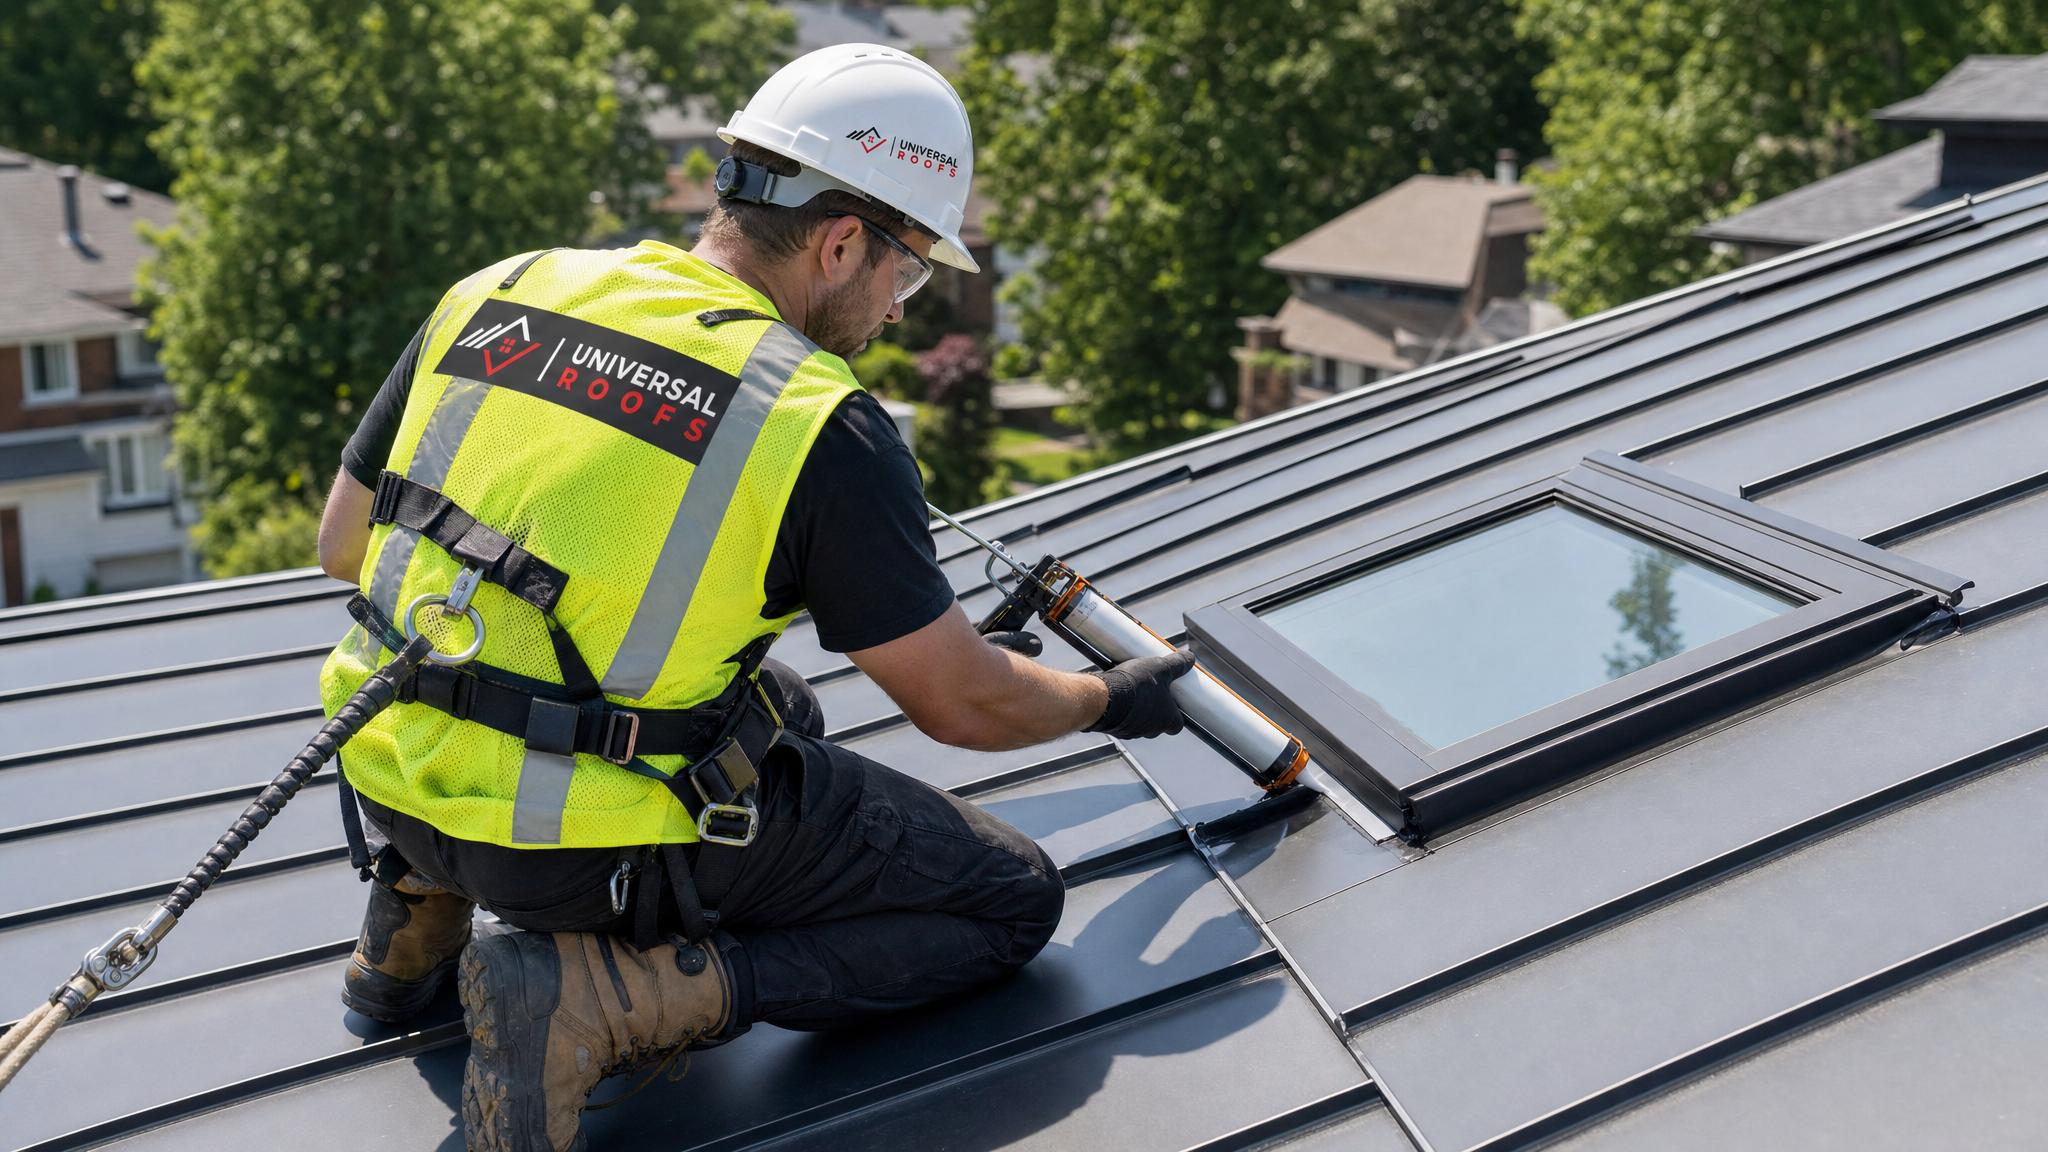
The biggest risk in DIY skylight repair on a metal roof is not the sealant work itself — it is the roof access. Metal panels are slippery even when dry, and wet or frosted metal is genuinely dangerous to walk on. If your roof pitch is steeper than about 4-in-12, if the skylight sits more than a single storey up, or if you are not confident using fall protection, this is a job worth handing to a professional roof repair team rather than risking a fall.
There is also a financial argument for calling in help sooner rather than later. A DIY sealant job that fails after one season because the old sealant was not properly removed first often costs more in the long run than a single professional visit that diagnoses and fixes the actual root cause. If you are on your second or third attempt at the same leak, that is usually the clearest signal that it is time to stop guessing.
| Repair Task | DIY Feasible? | Skill Level Needed | Recommended Approach |
|---|---|---|---|
| Resealing a cracked sealant bead | Yes | Beginner to intermediate | Clean, prime, and reapply purpose-made sealant |
| Replacing a handful of backed-out fasteners | Yes | Intermediate | Remove, treat hole, install oversized fastener with washer |
| Applying butyl tape over a small flashing gap | Yes, if access is safe | Intermediate | Clean surface thoroughly before applying tape |
| Re-forming or replacing step flashing | Not recommended | Professional | Requires metal-forming tools and seam-matching skill |
| Replacing a cracked glazing seal or IGU | No | Professional | Manufacturer-specific parts and warranty considerations |
| Repairing rot in the curb or deck | No | Professional | Structural work, often paired with skylight replacement |
Tools and Materials You Will Need
For the DIY-appropriate repairs described in this guide, gather your materials before you climb up so you are not making trips up and down the ladder. You will want a stable extension ladder rated for your weight plus tools, non-slip footwear with good grip (never work a metal roof in running shoes), a safety harness and anchor point if your roof pitch or height calls for it, and a helper on the ground whenever possible.
On the materials side, use a sealant genuinely rated for metal roofing — typically a high-grade polyurethane or a butyl-based sealant, never ordinary silicone caulk or asphalt roofing tar, both of which fail quickly on metal and can trap moisture against the panel. You will also want isopropyl alcohol or a dedicated metal-roof cleaner to strip old sealant residue, a plastic scraper (metal scrapers can scratch the panel coating and start corrosion), stainless steel or roofing-grade fasteners with EPDM washers to match what is already on the roof, and butyl flashing tape as a backup or supplemental seal.
A few tools are easy to overlook but genuinely useful: a moisture meter to confirm whether the deck beneath the skylight has already absorbed water, a garden hose for a controlled leak test once repairs are complete, and a flashlight to inspect the underside of the skylight curb from inside the attic before you commit to a repair plan.
Step-by-Step: Diagnosing the Leak Before You Repair Anything
Skipping diagnosis is the single most common mistake in DIY skylight repair. Homeowners see water and immediately reach for a caulking gun, often sealing the wrong spot while the actual gap keeps leaking. Start inside the house: on a dry day, go into the attic or the room below the skylight with a flashlight and look for staining, mould, or damp insulation. Trace any staining back toward its highest point, since water frequently travels along a rafter or purlin before dripping down.
Next, do a visual inspection from the roof, or with binoculars from the ground if you are not comfortable climbing yet. Look specifically at the flashing seams for gaps or lifted edges, the sealant bead for cracking, chalking, or shrinkage, the fasteners for rust streaks or backed-out heads, and the skylight curb itself for any sign of rot or separation from the roof deck.
If the source still is not obvious, a controlled hose test is the most reliable DIY diagnostic. With a helper watching inside, run water gently over one section of the flashing at a time — starting at the bottom and working up — for two to three minutes per section before moving on. This isolates exactly which seam is failing rather than guessing. Never spray water at the skylight from above the ridge or with a pressure washer, since that can force water under intact flashing and create a leak that was not there before.
| Repair Method | Typical Cost Range (CAD) | Time Required | Expected Lifespan |
|---|---|---|---|
| DIY sealant resealing | $40 – $120 in materials | 2 – 4 hours | 2 – 5 years if done correctly |
| DIY fastener replacement | $25 – $75 in materials | 1 – 3 hours | 5 – 10 years |
| Professional flashing repair | $350 – $900 | Half day | 10 – 15 years |
| Professional skylight reseal and inspection | $250 – $600 | 2 – 4 hours | 8 – 12 years |
| Full skylight replacement | $1,200 – $3,500+ | 1 – 2 days | 15 – 20+ years |
Step-by-Step: Resealing Flashing and Sealant Failures
Once you have confirmed the leak is coming from a sealant bead or a small flashing gap rather than a structural issue, the repair itself is straightforward if you take your time on prep. Begin by removing every trace of the old, cracked sealant with a plastic scraper — leaving old sealant behind is the number one reason DIY reseals fail within a single season, since new sealant will not bond properly over old residue.
Clean the exposed metal and glazing surfaces thoroughly with isopropyl alcohol and let the area dry completely; sealant applied over even slightly damp metal will not cure properly and can trap moisture underneath. Check the weather forecast before starting, since most metal-roof sealants need a dry window of at least 24 hours to cure, and many will not adhere properly below about 10 degrees Celsius, which is worth noting even outside the winter months on a cool spring or fall morning.
Apply the new sealant in a continuous, even bead along the entire flashing seam, not just the section that was visibly cracked — if one section failed from age and movement, the adjacent sections are usually close behind. Tool the bead smooth with a wet finger or purpose-made tool so it fully contacts both surfaces, and press butyl flashing tape over any wider gap before sealing over it for extra insurance. Finally, replace any fasteners that showed rust or looked loose using stainless fasteners with EPDM washers, snugging them firmly without overtightening, which can dimple the metal and create a new low point where water pools.
Let the repair cure fully before testing it, then run a gentle, section-by-section hose test as described above to confirm the leak is resolved. If water still appears anywhere, mark the spot immediately with tape while it is fresh in your memory, since a dry roof the next day makes it surprisingly easy to lose track of exactly where the water was coming from.
When a DIY Fix Is Not Enough
Some signs mean it is time to stop troubleshooting on your own and call in a professional roofer. If the leak recurs after a proper reseal, that usually points to a deeper flashing or curb problem rather than a simple sealant failure. If you find soft, spongy, or discoloured wood when you press on the curb or surrounding deck, that is active rot and a structural concern that needs to be addressed before any cosmetic sealant work will hold. Cracked or fogged glass between the panes of a sealed glazing unit cannot be repaired with sealant at all — that indicates a failed seal inside the glass itself and typically means the glazing unit or the whole skylight needs replacement.
Persistent leaks specifically during winter freeze-thaw cycles, even after a summer reseal, often mean ice damming is forcing water under flashing that is otherwise sound, which may call for improved attic insulation and ventilation via your attic rather than more sealant on the roof. And if your skylight is original to a roof that is now 20 years or older, repeated small repairs may be a sign that a full skylight replacement is the more cost-effective long-term choice compared to chasing leaks year after year.
If you are working through a checklist and more than two of these apply to your situation, it is time to have a professional assess the roof rather than keep climbing back up. Universal Roofs has been diagnosing and repairing skylight leaks on metal roofs across the GTA since 2005, and catching a structural issue early is almost always cheaper than waiting for it to spread into the deck or interior finishes below.
Preventing Future Skylight Leaks on a Metal Roof
The best repair is the one you never have to make twice. A short annual maintenance routine goes a long way toward keeping a metal-roof skylight watertight for its full lifespan. Every spring and fall, visually inspect the flashing and sealant bead for early cracking before it becomes an active leak, clear any leaves or debris that collect against the uphill side of the curb, and check that gutters and downspouts near the skylight are flowing freely, since backed-up water at the eaves is a major contributor to ice damming.
Inside the house, keep an eye on attic ventilation and insulation levels, since a poorly ventilated attic lets warm air escape through the roof deck, melts snow unevenly, and creates the exact conditions that cause ice damming around penetrations like skylights. If you notice condensation on the inside of the skylight glass regularly, that is often a sign of excess indoor humidity or inadequate ventilation rather than a roof leak, and addressing it can prevent confusion during your next inspection.
Consider having a professional inspection every three to five years even if you have not noticed any symptoms, since sealant and flashing have a working lifespan regardless of whether a leak has shown up yet, and catching the early stages of wear during a routine roof repair visit is far less disruptive than an emergency call during a thunderstorm. Homeowners in older neighbourhoods across the Toronto, Peel Region, and York Region areas, where many homes are approaching the 20-year mark on their original skylight installations, benefit especially from getting ahead of wear rather than reacting to it.
| Maintenance Task | Frequency | Who Should Do It | Why It Matters |
|---|---|---|---|
| Visual flashing and sealant check | Spring and fall | Homeowner | Catches cracking before it becomes an active leak |
| Clear debris from curb and gutters | Spring and fall | Homeowner | Prevents water pooling against flashing |
| Attic insulation and ventilation check | Annually | Homeowner or professional | Reduces ice damming risk in winter |
| Full professional inspection | Every 3 – 5 years | Licensed roofer | Identifies wear before it becomes a leak |
| Fastener and sealant refresh | Every 5 – 8 years | Homeowner or professional | Sealant has a finite working lifespan regardless of leaks |
Choosing the Right Materials for a Metal Roof Skylight Repair
Material choice matters more on a metal roof than almost anywhere else on a house, because metal expands and contracts so much more than the materials around it. Ordinary asphalt roofing cement or silicone caulk, both common go-to fixes for shingle roofs, tend to fail quickly on metal — asphalt-based products do not bond well to painted metal and can actually trap moisture against the panel, accelerating corrosion rather than stopping it.
Look instead for sealants specifically labelled for metal roofing, typically a high-grade polyurethane, a butyl-based sealant, or a specialty metal-roof sealant sold at roofing supply stores rather than general hardware stores. These products are formulated to flex with the panel’s thermal movement without cracking, and many carry a genuine multi-year warranty when applied correctly. Butyl flashing tape is another reliable option for smaller gaps, offering a self-adhering, flexible seal that moves with the metal rather than fighting against it.
When replacing fasteners, always match what is already on the roof — typically stainless steel screws with a bonded EPDM rubber washer designed for metal panel installation. Mixing metals, such as installing a plain steel screw into an aluminum panel, can trigger galvanic corrosion that eats away at the panel around the fastener over a period of years, creating a new leak point exactly where you tried to fix the old one.
For homeowners weighing repair against replacement, it is worth remembering that skylight technology has improved considerably over the past two decades. If your existing unit is single-glazed, poorly flashed from the original installation, or simply old enough that parts are hard to source, a conversation about skylights and modern replacement options may save you from repeating this same repair every few years. And if the leak has already led to water damage on the roof deck itself, that is often paired with a broader look at roof replacement needs rather than an isolated skylight fix.
What is the most common cause of repairing skylight leaks on metal roofs?
Can I do repairing skylight leaks on metal roofs myself, or do I need a professional?
What sealant should I use when repairing skylight leaks on metal roofs?
How much does it cost to fix a leaking skylight on a metal roof?
Why does my metal roof skylight only leak in winter?
How do I know if my skylight leak needs flashing repair or a full replacement?
Need Help With DIY Guide: Repairing Skylight?
Chasing a stubborn skylight leak on your own can burn an entire weekend, and a repair that is not quite right often means doing it all again next season. Universal Roofs has the metal-roof experience and the safety equipment to diagnose the real cause the first time, whether that means a straightforward reseal or a full flashing rebuild.
Call us today at (416) 732-2421 or request a free inspection to get started.
Universal Roofs proudly serves Toronto, Mississauga, Brampton, Vaughan, Markham, Oakville and the GTA since 2005.