
If you have ever noticed a musty smell near your fireplace, a brownish stain creeping across the ceiling, or crumbling mortar at the base of your chimney, you have already met the problem this article is about. Water infiltration a concern for chimneys is one of the most common — and most expensive — issues Toronto homeowners deal with, yet it is rarely caused by a single dramatic failure. Instead, it is usually the slow accumulation of small gaps, worn flashing, and porous masonry that lets moisture creep in over months or years.
Chimneys are uniquely exposed structures. They stand taller than the surrounding roofline, take the full brunt of wind-driven rain, and in the GTA they also endure dozens of freeze-thaw cycles every winter. That combination makes them one of the first places a roof starts to fail, even when the rest of the shingles look perfectly fine. Understanding why water infiltration is such a serious concern for chimneys — and catching it early — can save you from a five-figure repair bill down the road.
In this guide we will walk through exactly how water gets into a chimney system, why it causes so much damage, the warning signs to watch for, and the repair options available, from simple re-pointing to a full roof replacement around the chimney base. We will also cover when a licenced professional needs to get involved versus when a homeowner can reasonably monitor the situation.
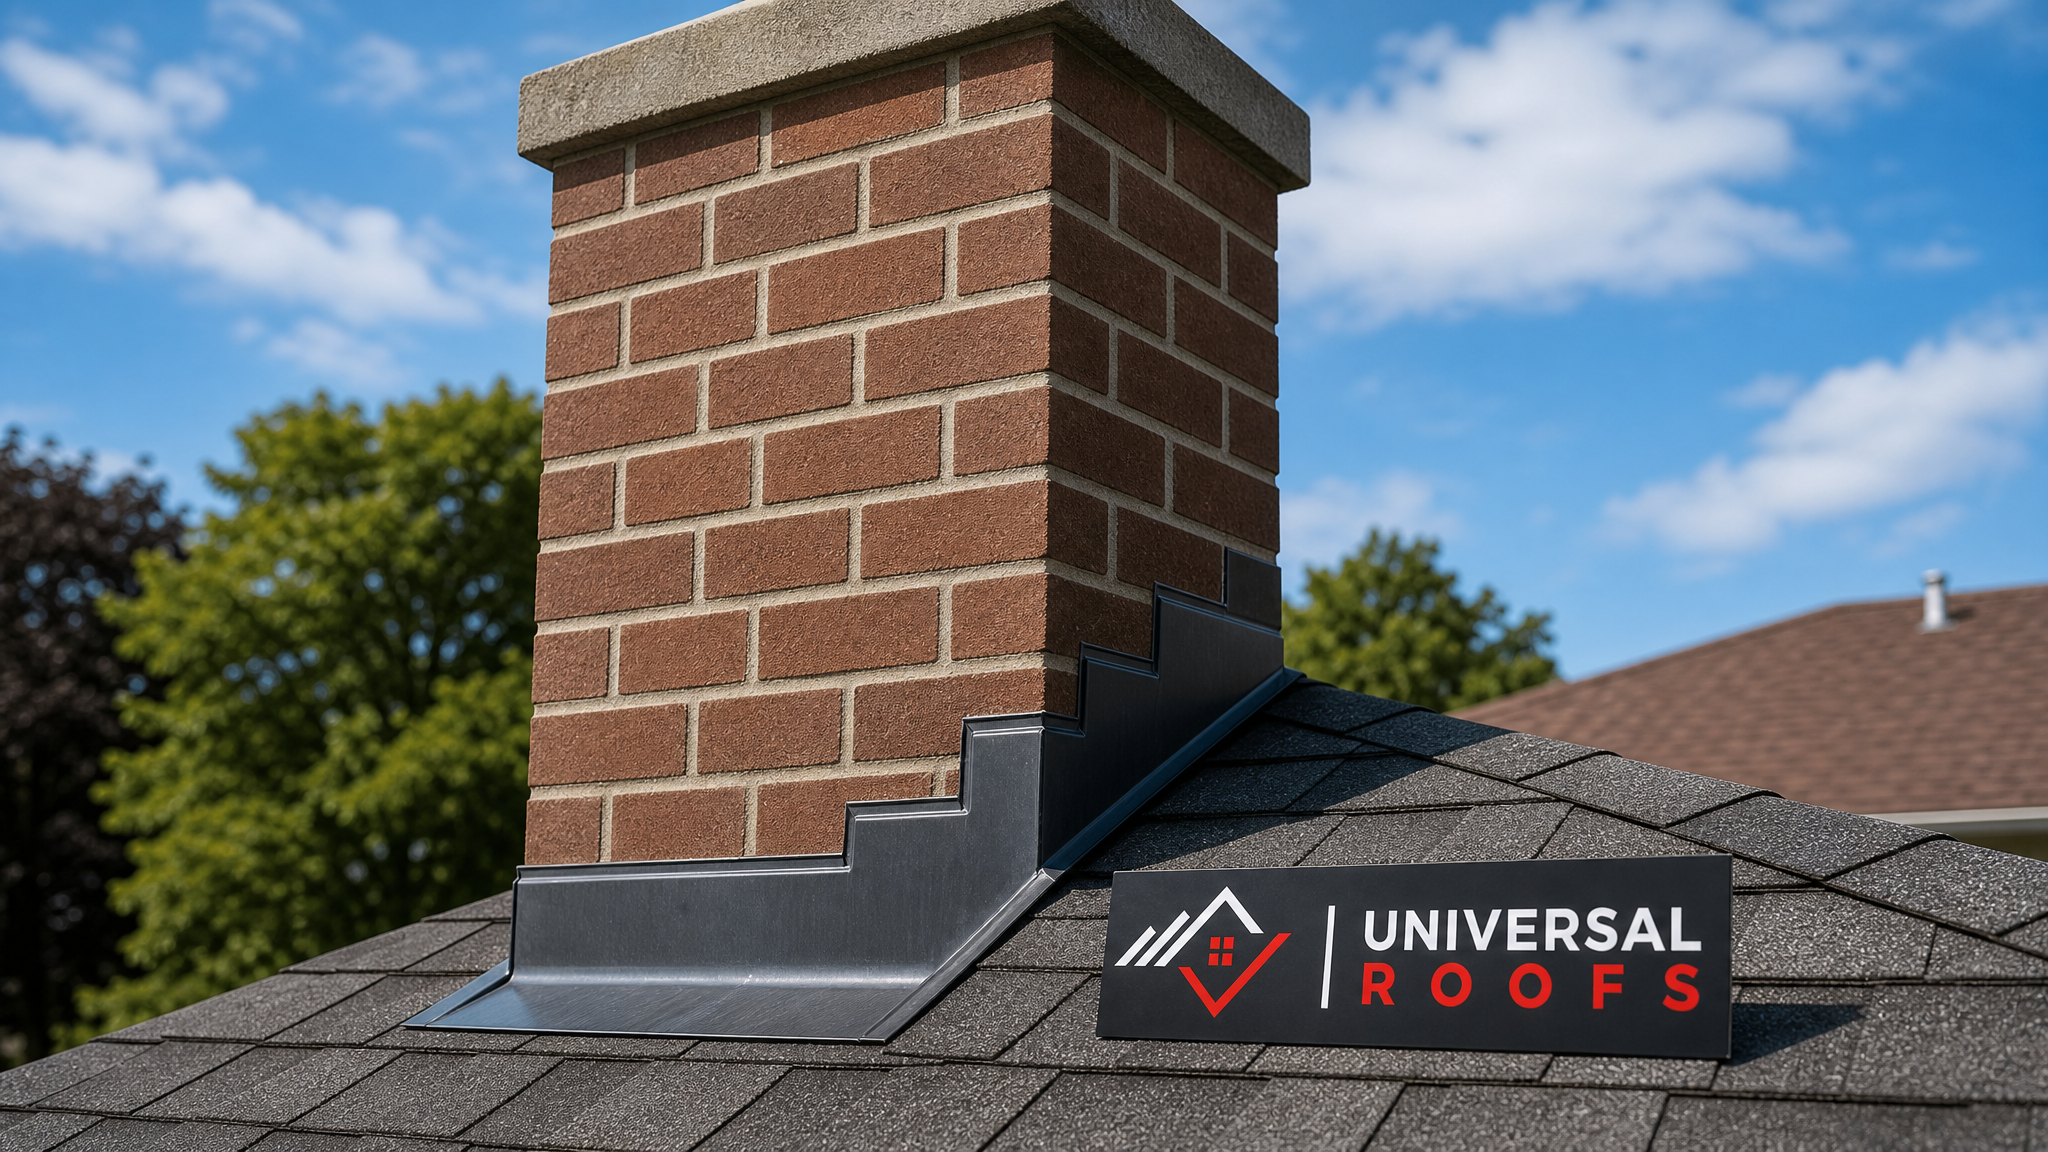
How Water Infiltration Actually Enters a Chimney System
Most homeowners assume a chimney is a solid, sealed column of brick, but in reality it is a system of several separate components, each with its own failure points. Water rarely pours in through one obvious hole — it works its way in through several small openings that compound over time.
The most common entry points include the flashing where the chimney meets the roof, the crown (the concrete cap on top), the mortar joints between bricks, the chimney cap or spark arrestor, and any cracks in the masonry itself. Because these components are made of different materials — metal flashing, concrete, clay brick, mortar — they expand and contract at different rates with temperature changes, which naturally creates small gaps over the years.
| Entry Point | Typical Cause | Common Symptom | Urgency |
|---|---|---|---|
| Flashing seams | Corrosion, poor original installation, sealant failure | Water stain on ceiling near chimney | High |
| Chimney crown | Hairline cracks from freeze-thaw expansion | Efflorescence (white staining) on brick | High |
| Mortar joints | Age, weathering, freeze-thaw spalling | Crumbling or missing mortar | Medium-High |
| Missing or damaged cap | Storm damage, rust-through, animal entry | Water pooling inside flue | High |
| Brick face (spalling) | Water absorption and freeze expansion | Flaking or popping brick surface | Medium |
Once water penetrates any one of these points, gravity and capillary action take over, pulling moisture down through the masonry, along the flashing, and eventually into the attic space or interior ceiling. This is why a leak that appears in your living room may actually originate several metres away at the chimney crown.
Why Freeze-Thaw Cycles Make Toronto Chimneys Especially Vulnerable
Water infiltration is a concern for chimneys everywhere, but the GTA’s climate makes it a particularly aggressive problem. Brick and mortar are porous by nature — they are designed to absorb some moisture and release it as vapour. The trouble starts when that absorbed water freezes.
Water expands roughly nine percent in volume when it turns to ice. When moisture inside a brick or mortar joint freezes overnight and thaws the next afternoon, it exerts enormous internal pressure on the material. Repeat that cycle forty or fifty times over a Toronto winter, and even small existing cracks widen dramatically. This process, known as spalling, is the single biggest driver of masonry chimney failure in our region.
Because Toronto winters swing between well below freezing and above zero degrees within the same week — sometimes within the same day — local chimneys experience more freeze-thaw cycles per season than chimneys in climates that stay consistently cold or consistently mild. That is one reason our Toronto, Peel Region, York Region, Halton Region, and Durham Region service teams see chimney flashing and crown failures so consistently every spring.
The Structural and Financial Damage Water Infiltration Causes
It is tempting to think of a chimney leak as a cosmetic nuisance, but the reality is that unaddressed water infiltration can compromise the structural integrity of the chimney and the surrounding roof deck. Left unresolved long enough, the repair costs can escalate from a minor maintenance item into a major capital expense.
Here is how the damage typically progresses if the source is not identified and repaired:
- Mortar deterioration — water dissolves the lime binder in mortar over repeated cycles, eventually causing joints to crumble and bricks to loosen.
- Rusted firebox components — moisture reaching the damper, smoke shelf, or metal liner causes corrosion that can affect safe operation of a wood-burning or gas fireplace.
- Rotted roof decking — water that tracks along chimney flashing onto the roof sheathing softens the plywood or board sheathing, weakening the structure.
- Attic insulation damage — wet insulation loses its R-value and can promote mould growth; this is a common reason we get called out to inspect the attic alongside the chimney.
- Interior drywall and paint damage — the most visible symptom, but often the last one to appear, meaning real damage has usually been happening for a while already.
| Stage of Damage | Typical Timeline | Estimated Repair Cost Range (CAD) |
|---|---|---|
| Minor flashing gap or hairline crown crack | Caught within 1 year | $300 – $800 |
| Deteriorated mortar joints (re-pointing needed) | 2 – 5 years untreated | $800 – $2,500 |
| Damaged flashing plus rotted roof decking | 3 – 7 years untreated | $2,500 – $6,000 |
| Structural masonry rebuild plus interior remediation | 7+ years untreated | $6,000 – $15,000+ |
These figures are general ranges based on typical GTA labour and material costs; every chimney is different, which is why an in-person assessment is the only reliable way to scope a repair accurately.
Warning Signs You Should Never Ignore
Because chimney leaks develop slowly, homeowners often miss the early warning signs until the damage is already significant. Here is what to look for during a seasonal walk-around of your property, ideally each spring and fall.
From the ground, looking up: discoloured or streaked brick, white chalky residue (efflorescence) on the masonry, visibly cracked or missing mortar, a leaning or tilted chimney cap, and rust stains running down the brick face from the flashing line.
Inside the attic: water stains on the underside of the roof deck near the chimney chase, damp or matted insulation, a musty odour, and daylight visible around the chimney penetration.
Inside the living space: a persistent damp or smoky smell even when the fireplace is not in use, brownish ceiling stains on the wall or ceiling nearest the chimney, and peeling paint or bubbling drywall.
If you notice any combination of these signs, it is worth scheduling a professional roof repair assessment rather than waiting for the next rainy season to see if it gets worse. Chimney leaks essentially never resolve themselves — the pathway water has found will only widen with time.
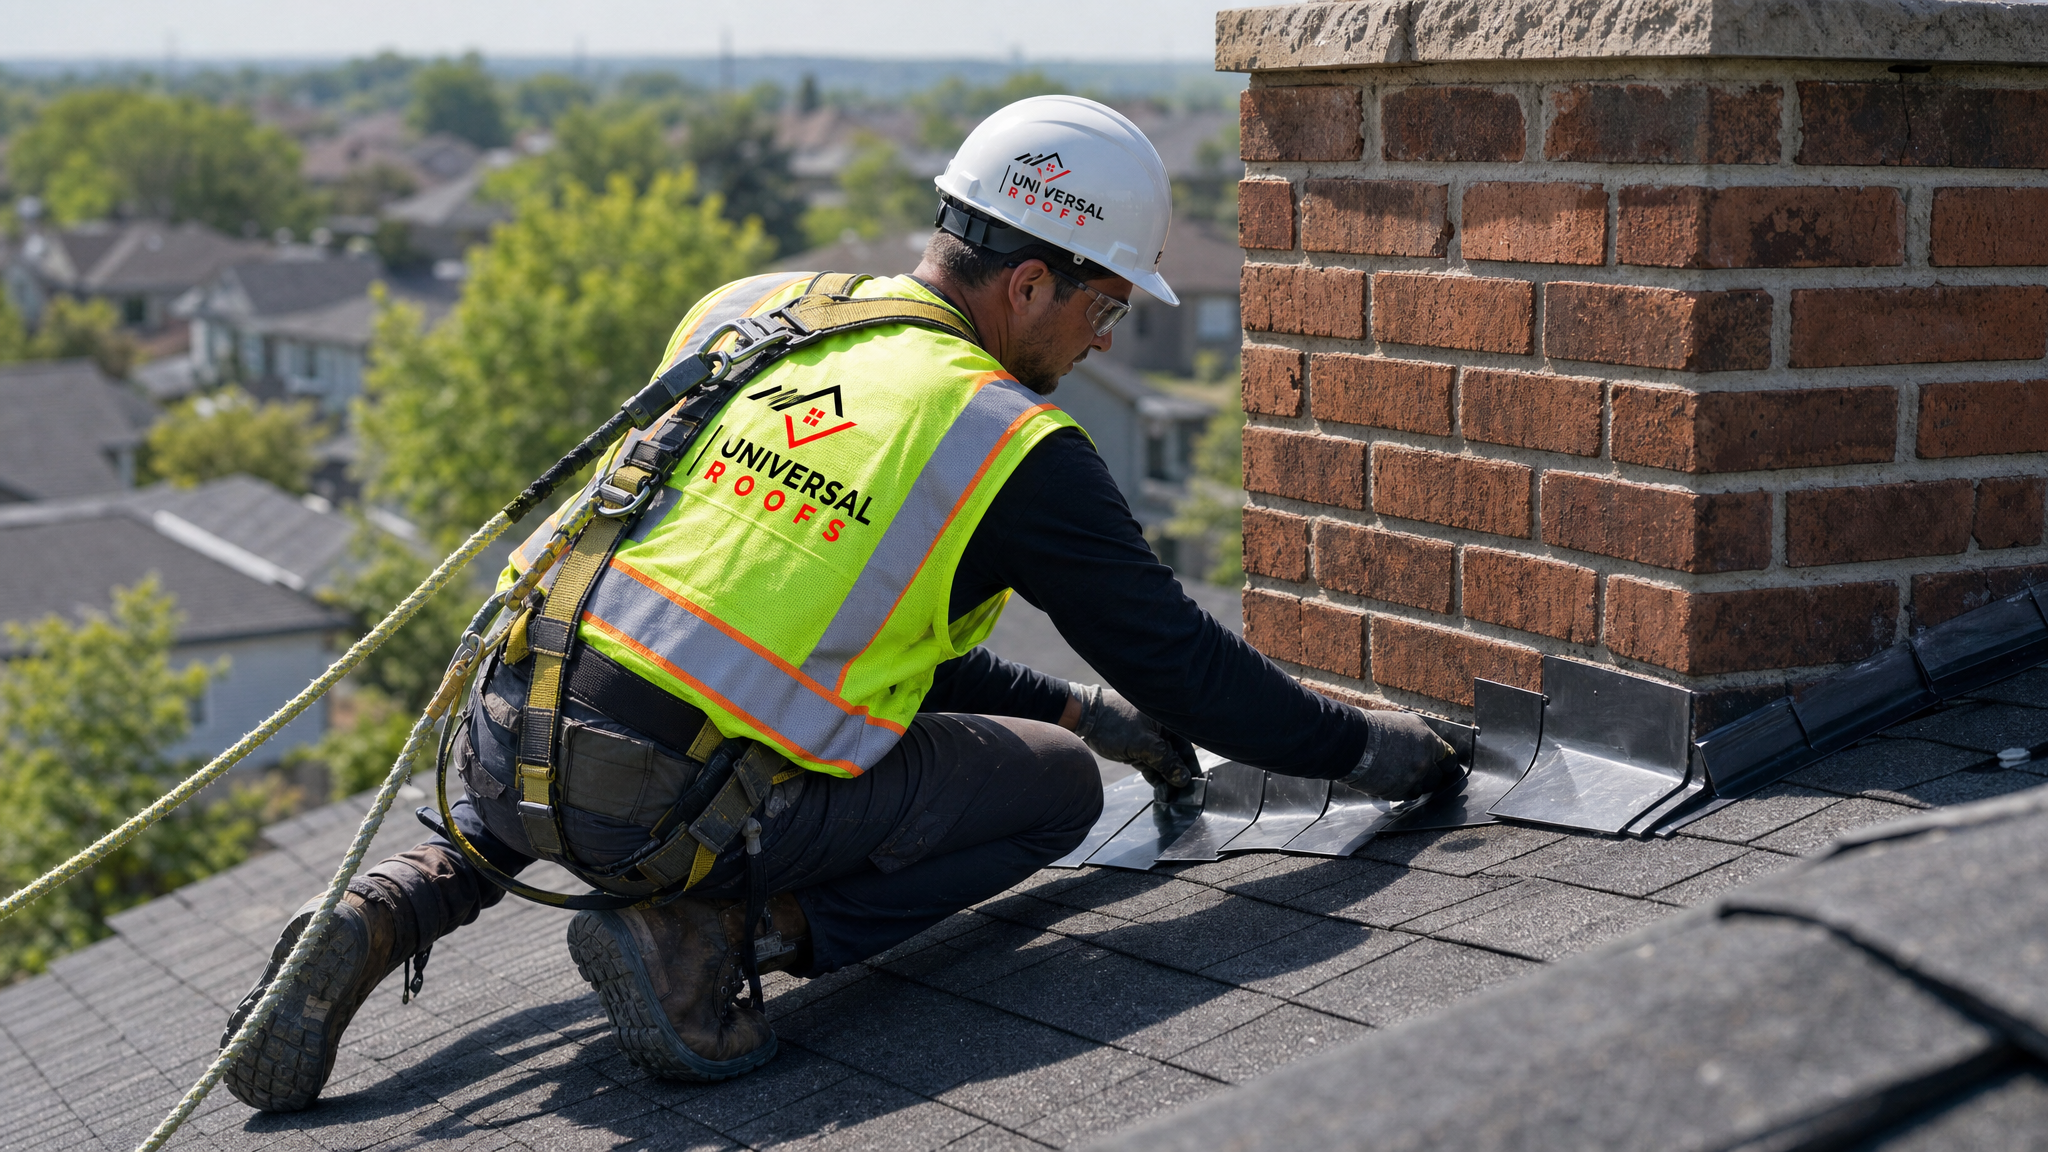
Repair Methods: Matching the Fix to the Failure Point
Not every chimney leak requires the same solution. An accurate diagnosis of exactly where water is entering determines whether the fix is a quick sealant job or a more involved masonry rebuild. Below is a comparison of the most common repair approaches.
| Repair Method | Best For | Typical Lifespan | Relative Cost |
|---|---|---|---|
| Flashing replacement (step + counter-flashing) | Leaks originating at the roof-to-chimney junction | 20 – 25 years | Moderate |
| Crown repair or crown coating | Cracked concrete cap allowing water into the flue chase | 10 – 15 years | Low-Moderate |
| Re-pointing (tuckpointing) mortar joints | Crumbling or missing mortar between bricks | 20 – 30 years | Moderate |
| Masonry waterproofing sealant (vapour-permeable) | Preventive maintenance on sound masonry | 5 – 10 years | Low |
| Full chimney rebuild above the roofline | Severe structural spalling or leaning chimneys | 40+ years | High |
Flashing failure is by far the most common culprit we find during inspections, and it is also one of the more affordable repairs when caught early — largely because it does not require any masonry work, just careful removal and reinstallation of the metal flashing with correctly lapped seams and fresh sealant. A crown repair is similarly contained, though it does require the mason to properly slope the new crown away from the flue to shed water correctly.
Re-pointing becomes necessary once mortar has visibly crumbled or is missing between bricks. It is important that any new mortar mix matches the compressive strength and permeability of the original — mortar that is too hard for older brick can actually accelerate spalling by forcing moisture to escape through the brick face instead of the joint.
Why a Full Roof Assessment Matters, Not Just a Chimney Patch
One mistake we see often is treating the chimney as an isolated repair when the underlying issue is actually tied to the broader roof system. Because chimney flashing integrates directly with the surrounding shingles or membrane, a leak at that junction can be a symptom of aging roofing material nearby rather than a standalone chimney defect.
This is especially true on homes with a flat roofing section adjacent to the chimney, where pooling water and membrane seams require a different flashing detail than a sloped asphalt shingle roof. It is also common on homes with a skylight near the chimney chase, since two separate roof penetrations in close proximity multiply the number of seams that can fail. If your skylight is original to the home and showing its own signs of wear, it is often worth having it evaluated for skylight replacement at the same time as chimney work, since the crew and equipment are already on the roof.
A proper inspection looks at the chimney, the flashing, the surrounding shingles or membrane, and the attic deck as one connected system. That is the only way to be confident the actual entry point has been sealed rather than just the most visible symptom.
DIY Maintenance Versus When to Call a Professional
Some chimney maintenance is well within reach for a comfortable homeowner, while other tasks genuinely require training, proper fall protection, and experience reading masonry deterioration correctly.
Reasonable for most homeowners: visually inspecting the chimney from the ground with binoculars each season, checking the attic for stains after heavy rain, clearing debris from around the base of the chimney, and applying a breathable masonry water repellent to sound brick as preventive maintenance (never a non-breathable sealant, which traps moisture inside the brick).
Best left to a licenced professional: any work at height on the roof itself, flashing removal and replacement, crown repair or rebuilding, re-pointing mortar joints, diagnosing the exact source of an active leak, and any structural assessment of a leaning or cracked chimney.
Working on a roof around a chimney involves genuine fall risk, and diagnosing the true source of a leak often requires probing behind flashing and testing mortar joints in ways that are not safe or advisable without proper harness anchoring and training. If in doubt, it is always worth requesting a free inspection rather than guessing.
Preventive Maintenance That Actually Extends Chimney Life
The single best way to deal with water infiltration a concern for chimneys is to prevent it from becoming a major repair in the first place. A modest annual maintenance routine dramatically extends the service life of both the chimney and the surrounding roof.
| Maintenance Task | Recommended Frequency | Who Should Do It | Why It Matters |
|---|---|---|---|
| Visual exterior inspection | Twice yearly (spring, fall) | Homeowner or professional | Catches new cracks or staining early |
| Attic deck and insulation check | After major storms | Homeowner | Reveals leaks before ceiling stains appear |
| Professional flashing and crown inspection | Every 2 – 3 years | Licenced roofer | Confirms seals are intact before failure |
| Chimney cap inspection and cleaning | Annually | Homeowner or chimney sweep | Prevents animal entry and blocked drainage |
| Masonry water-repellent reapplication | Every 5 – 10 years | Licenced masonry contractor | Reduces water absorption without trapping vapour |
Consistency matters more than intensity here. A five-minute look with binoculars twice a year, paired with a professional flashing check every couple of years, catches nearly every serious chimney issue while it is still an inexpensive fix.
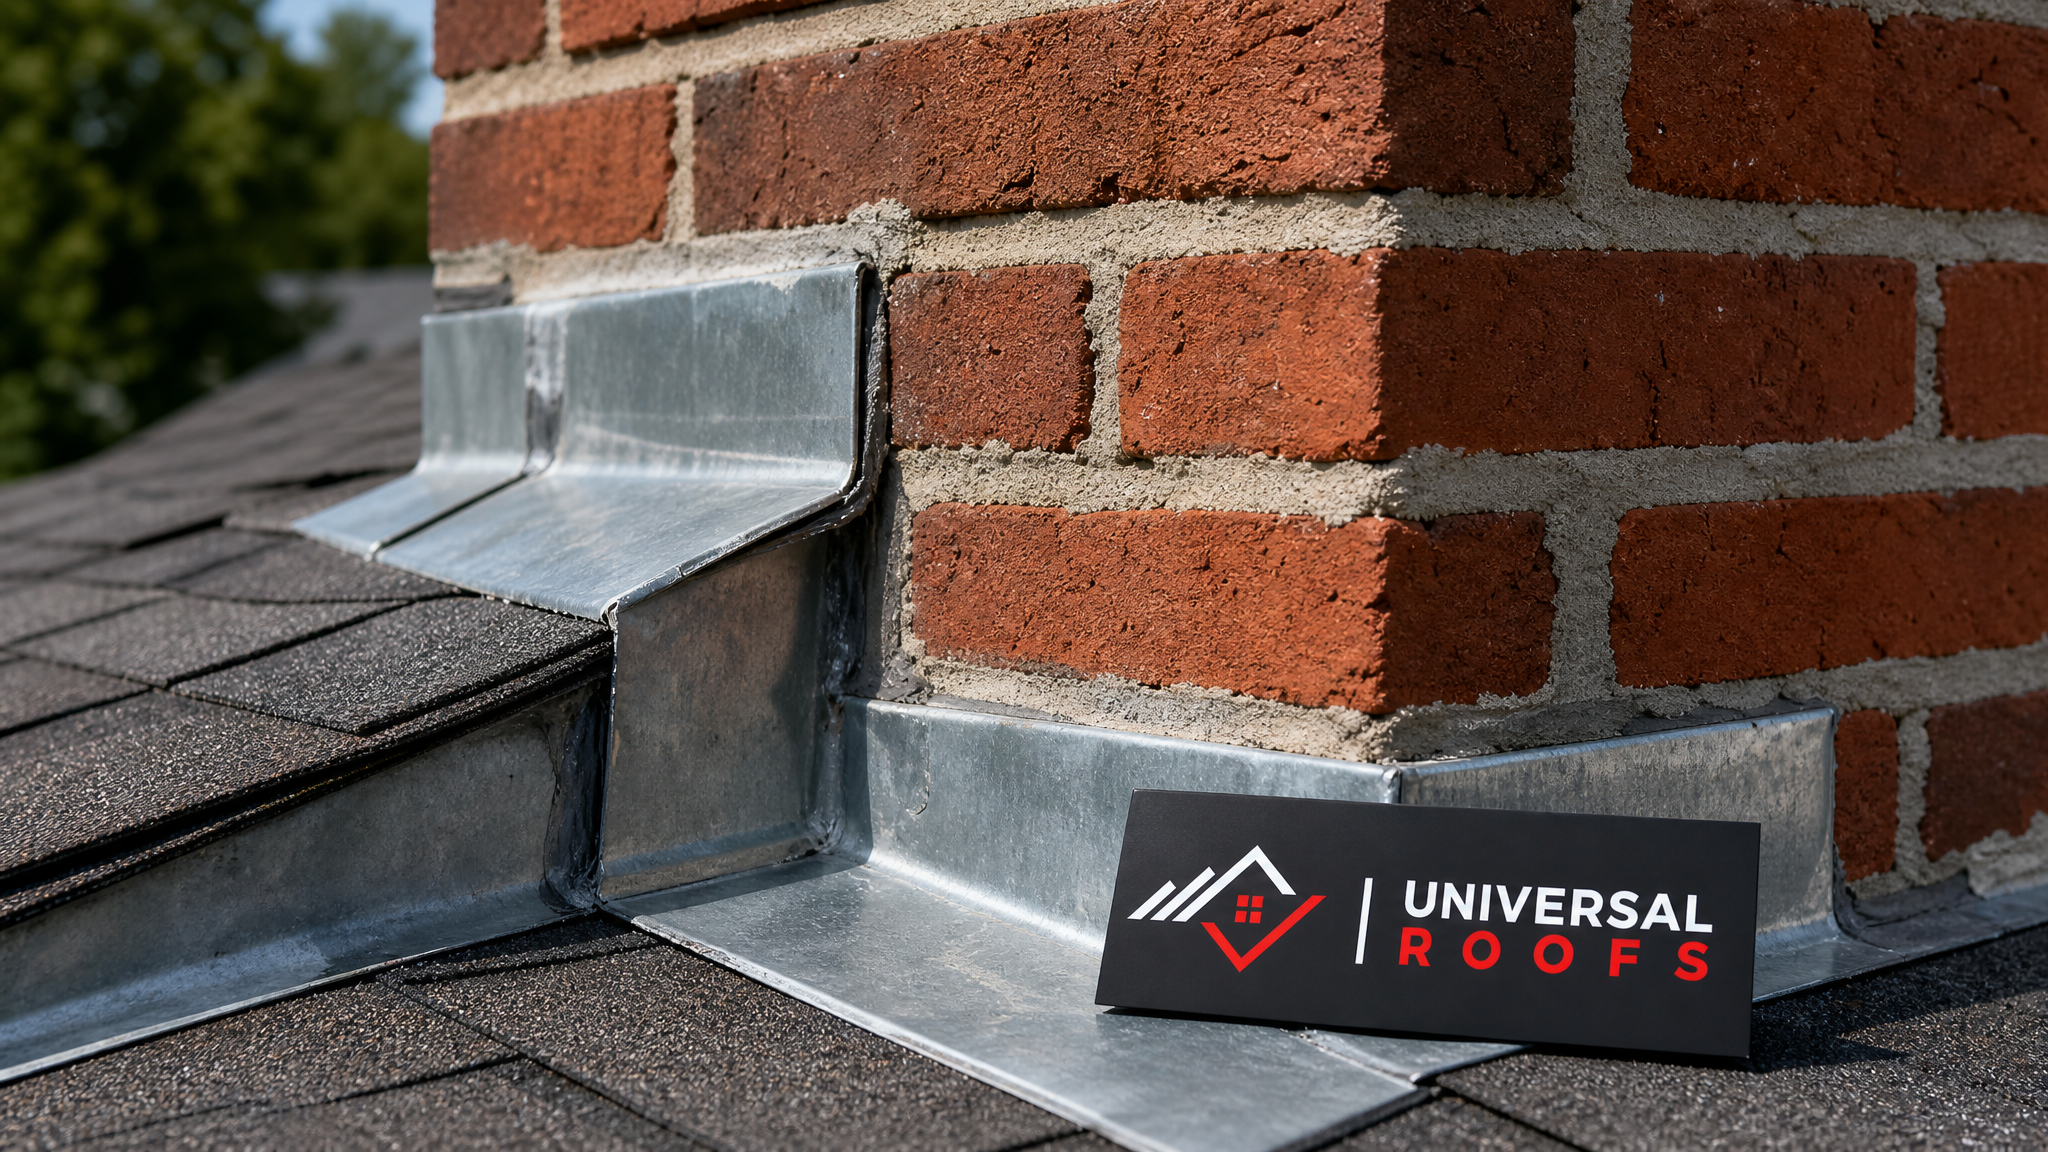
Choosing the Right Contractor for Chimney and Roof Work
Because chimney leaks sit at the intersection of masonry work and roofing work, it is worth choosing a contractor who understands both trades rather than hiring a mason and a roofer separately and hoping their work lines up. A single, properly licenced and insured crew that handles flashing, shingles, and masonry coordination together reduces the risk of finger-pointing if a leak recurs.
Since 2005, Universal Roofs has handled chimney flashing repairs, crown work, and full roof assessments across the GTA, and our reviews reflect the kind of thorough, honest diagnostic approach homeowners expect when there is water getting into their home. If you are unsure whether your situation calls for a simple flashing fix or something more involved, our FAQ page covers many of the most common questions we hear, and our about page has more on our background and licencing.
Frequently Asked Questions
Why is water infiltration a concern for chimneys specifically, compared to the rest of the roof?
What are the first signs of water infiltration around a chimney?
Can I repair chimney flashing myself instead of hiring a professional?
How much does it cost to fix water infiltration in a chimney?
Does freeze-thaw weather make water infiltration worse for GTA chimneys?
Should I have my whole roof inspected if my chimney is leaking?
Need Help With Why Is Water Infiltration a Concern for Your Chimney?
Chimney leaks rarely stay small on their own, and every season they go unaddressed adds to the eventual repair cost. The team at Universal Roofs has been diagnosing and fixing exactly this kind of water infiltration across the GTA since 2005, from a simple flashing reseal to a full masonry rebuild.
Call us today at (416) 732-2421 or request a free inspection to get started.
Universal Roofs proudly serves Toronto, Mississauga, Brampton, Vaughan, Markham, Oakville and the GTA since 2005.