
A cracked or corroded chimney liner is one of those problems homeowners rarely notice until something goes wrong — a smoky fireplace, a strange smell after rain, or a chimney sweep pulling out a piece of broken tile and asking, “Have you had a fire in the house lately?” Knowing what to do about damaged chimney liners early can mean the difference between a straightforward repair and a full masonry rebuild.
A chimney liner is not decorative. It is the barrier between the extreme heat and corrosive byproducts of combustion and the combustible wood framing, insulation, and drywall that make up the rest of your house. When that liner cracks, gaps open, or corrodes through, heat and flue gases can migrate directly into the chimney chase or attic space. In the Greater Toronto Area, where freeze-thaw cycles run from late October through April, liner damage tends to accelerate faster than homeowners expect — water gets into hairline cracks, freezes, expands, and turns a small problem into a structural one within a season or two.
This guide walks through how to recognize a failing liner, what causes the damage in the first place, which repair option actually fits your situation, and how much you should expect to budget. We will also cover when a liner problem is serious enough to stop using the fireplace immediately, and when it is a “get it scheduled” situation rather than an emergency.
How to Tell If Your Chimney Liner Is Damaged
Most liner damage is invisible from the ground, which is exactly why so many homeowners only discover it after a chimney fire, a carbon monoxide scare, or a routine sweep. Here are the warning signs worth taking seriously.
- Debris in the firebox or on the damper. Small pieces of broken clay tile (“flue tile shards”) collecting on the smoke shelf are one of the clearest signs of a cracking terracotta liner.
- Smoky odour when the fireplace is not in use. A damaged liner allows creosote and combustion smells to seep into the chase and travel into living space, especially on humid summer days when air pressure pulls chimney odours downward.
- Discoloured or scorched drywall near the chimney chase. Heat transferring through gaps in a compromised liner can scorch nearby framing long before flames are visible.
- Rusted or buckling metal liner sections. If you have a metal liner, visible corrosion, pinholes, or a liner that looks “rippled” is a strong indicator that it has lost structural integrity.
- Poor draft or excessive smoke backing into the room. Gaps and misaligned tiles disrupt the draft that pulls smoke upward, and can point to sections of liner that have shifted or collapsed.
- Visible cracking during a video-scan inspection. The only truly reliable diagnostic is a camera inspection performed by a WETT-certified technician or licensed chimney professional, since most damage sits well above eye level inside the flue.
If you notice any combination of these signs, stop using the fireplace or appliance venting through that chimney until it has been inspected. This is not overly cautious advice — a compromised liner is one of the leading contributors to house fires that start in or around the chimney chase.
What Causes Chimney Liners to Fail
Understanding the cause matters because it determines whether a repair will actually hold or simply mask the problem for a season.
Chimney Fires
Even a small, contained chimney fire generates temperatures well above what clay tile liners are rated to withstand repeatedly. The thermal shock causes tiles to crack, and mortar joints between tile sections to separate. A single flash fire from built-up creosote can compromise an entire flue run in seconds, even if the homeowner never saw flames.
Freeze-Thaw Cycling
Toronto’s climate is particularly hard on masonry chimneys. Moisture gets into hairline cracks or porous mortar joints, freezes overnight, expands roughly nine percent in volume, and widens the crack. Repeat that cycle dozens of times each winter and even a well-built clay liner degrades within 10 to 15 years without proper protection at the top of the flue.
Corrosive Flue Gas Condensation
Gas appliances and high-efficiency furnaces produce acidic condensate that eats through unlined or improperly sized metal liners over time. This is one of the most common — and most avoidable — causes of liner failure, since it typically stems from a liner that was never properly matched to the appliance venting into it.
Age and Original Construction Quality
Many homes built before the 1980s used clay tile liners installed with minimal mortar bonding, or in some older Toronto-area homes, no liner at all. These systems were adequate for their era but do not meet current standards and are more prone to gradual mortar joint failure as the house settles.
Animal Intrusion and Debris
Raccoons, squirrels, and birds nesting in an uncapped flue can physically dislodge tile sections or introduce nesting material that traps moisture against the liner surface, accelerating corrosion and cracking.
Chimney Liner Repair Methods Compared
Once damage is confirmed, there are four realistic paths forward. Which one applies depends on the extent of the damage, the liner material, and what is venting through the chimney (wood fireplace, gas furnace, oil appliance, etc.).
| Repair Method | Best For | Typical Lifespan | Relative Cost |
|---|---|---|---|
| Cast-in-place (poured) liner | Cracked clay tile, irregular flue shape, masonry reinforcement needed | 25-50 years | Highest |
| Stainless steel liner insert | Wood-burning fireplaces, full liner replacement, chimney fire damage | 15-25 years | Moderate-High |
| Aluminum liner insert | Mid-efficiency gas appliances only | 10-15 years | Lower |
| Localized tile/mortar repair | Isolated cracks in an otherwise sound clay liner | 5-10 years (temporary) | Lowest |
Cast-in-Place Liners
A cast-in-place liner involves inserting an inflatable bladder or form down the flue, then pouring a lightweight, insulating cementitious mixture around it that cures into a smooth, seamless liner. This method is particularly effective when the existing clay tiles are cracked but the surrounding masonry is structurally sound, because the poured material actually reinforces the chimney’s masonry walls as it cures. It is the most expensive option but also the longest-lasting, and it can correct minor misalignment or irregular flue dimensions that a rigid metal liner cannot accommodate.
Stainless Steel Liner Inserts
For wood-burning fireplaces and stoves, a rigid or flexible stainless steel liner is usually the standard recommendation, especially after any liner has been compromised by a chimney fire. Stainless steel resists the highest sustained temperatures and holds up well against creosote byproducts. Flexible liners snake through chimney bends more easily, while rigid sections offer a smoother interior surface that improves draft in straight flues.
Aluminum Liner Inserts
Aluminum is lighter and less expensive, but it is only rated for the lower flue-gas temperatures produced by mid-efficiency gas furnaces and water heaters. Aluminum liners installed on wood-burning appliances or high-efficiency gas equipment will corrode prematurely and are not code-compliant for those applications in most Ontario municipalities.
Localized Tile and Mortar Repair
If damage is confined to one or two tile sections near the top of the flue, a technician may be able to remove and replace individual tiles or reseal mortar joints without relining the entire chimney. This is the least expensive fix, but it should be treated as a stopgap rather than a permanent solution unless a full camera inspection confirms the rest of the liner is in excellent condition.
What a Professional Liner Repair or Replacement Involves
A proper liner repair is not a same-day handyman job. Here is the general sequence a licensed chimney or roofing contractor follows:
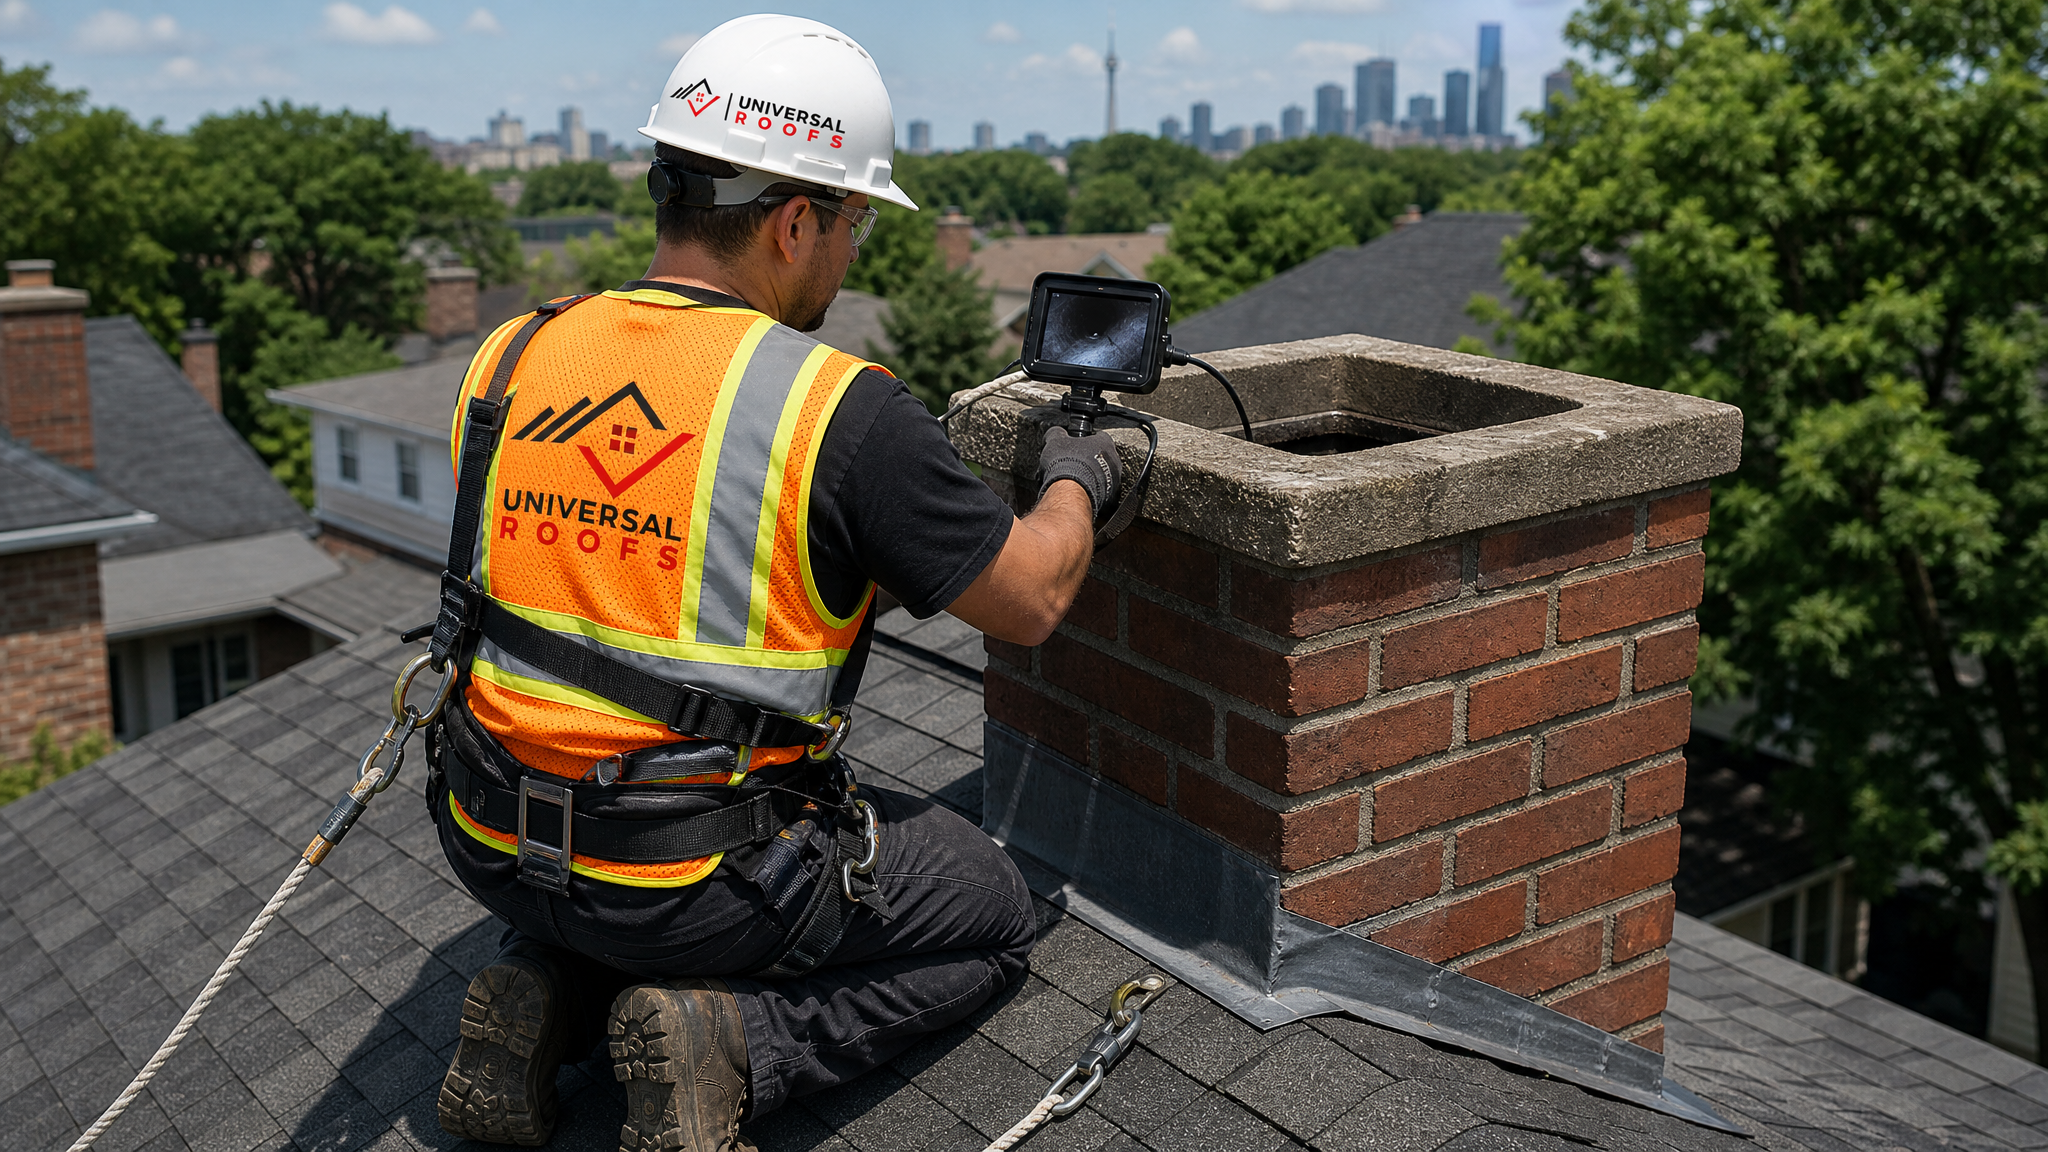
- Camera inspection. A Level 2 chimney inspection using a video scanning camera identifies the exact location, extent, and type of damage along the full length of the flue.
- Damage assessment and method selection. Based on the inspection, the contractor recommends cast-in-place, insert relining, or localized repair, and confirms the appliance venting requirements against Ontario Building Code and CSA B365 standards.
- Chimney cleaning. Creosote and debris are swept from the flue before any repair work, since residual buildup interferes with liner adhesion and insulation.
- Liner installation. Depending on the method chosen, this involves pouring the insulating mixture around a form, or feeding a flexible or rigid metal liner from the top down and securing it at both the crown and the appliance connection.
- Crown and cap inspection. Since the chimney crown and cap are the first line of defence against the water infiltration that damages liners in the first place, most reputable contractors inspect and often recommend restoring these at the same time.
- Final draft and safety test. The completed liner is tested for proper draft and clearance to combustibles before the job is signed off.
If your inspection turns up related issues with flashing or roof-to-chimney sealing, it is worth having those addressed in the same visit — a solid roof repair around the chimney base prevents the exact water intrusion that damages liners over time.
Chimney Liner Repair Costs in the GTA
Costs vary significantly based on flue height, liner material, chimney condition, and whether crown or flashing work is bundled into the same visit. The figures below reflect typical ranges for single-flue residential chimneys in the Toronto area as of 2026.
| Service | Typical Cost Range (CAD) | Notes |
|---|---|---|
| Level 2 camera inspection | $200 – $450 | Recommended before any liner work; often waived if repair is booked |
| Localized tile/mortar repair | $350 – $900 | Per section repaired; not a full fix |
| Aluminum liner insert | $1,200 – $2,500 | Gas appliances only |
| Stainless steel liner insert | $2,500 – $5,500 | Wood fireplaces, most common full relining option |
| Cast-in-place liner | $4,000 – $8,000+ | Best for structurally compromised masonry |
| Chimney crown repair (bundled) | $500 – $1,800 | Often recommended alongside relining |
These ranges assume a standard single-storey to two-storey flue height. Taller chimneys, multiple flues, or difficult roof access can push costs toward the higher end of each range. Always request a written quote after an in-person or video inspection rather than relying on a phone estimate.
DIY Versus Professional Chimney Liner Repair
It is tempting to treat a cracked liner as a caulk-and-patch job, but this is one area where DIY carries real safety risk rather than just a cosmetic downside.
| Factor | DIY Approach | Professional Approach |
|---|---|---|
| Diagnosis accuracy | Limited to what is visible from the firebox or ground | Full-length camera scan identifies hidden cracks and gaps |
| Material compliance | Risk of using undersized or incompatible liner material | Liner sized and rated to match appliance and CSA B365 code |
| Fire and carbon monoxide risk | High if damage is misjudged or repair is incomplete | Verified with draft testing and clearance checks |
| Insurance and resale implications | Undocumented work may not satisfy insurer or buyer inspections | Provides documentation and often a workmanship warranty |
Sealants and patch kits sold at hardware stores can be appropriate for very minor, cosmetic mortar joint touch-ups on the exterior crown, but they should never be used as a substitute for a proper liner repair inside the flue itself. If you are unsure whether your situation calls for a full roof replacement-level project or a more contained repair, a professional assessment is the only reliable way to know.
Preventing Future Liner Damage
Once a liner has been repaired or replaced, a few maintenance habits go a long way toward protecting that investment.
- Schedule annual inspections. An annual check, ideally in late summer before heating season ramps up, catches small cracks before winter freeze-thaw cycles widen them.
- Install or maintain a chimney cap. A properly fitted cap keeps out rain, snowmelt, and animals — the three biggest contributors to liner deterioration.
- Address chimney crown cracks quickly. The crown sheds water away from the flue tiles; a cracked crown sends water directly down into the liner.
- Have creosote swept regularly. Reducing creosote buildup lowers the risk and severity of chimney fires, the single biggest cause of sudden liner failure.
- Match liner material to the appliance. If you upgrade to a high-efficiency furnace or convert a fireplace insert, confirm the existing liner is still rated for the new appliance’s flue gas temperature and condensation profile.
- Check attic-level chimney chases. Since heat and moisture from a struggling liner often show up first near the attic, it is worth keeping an eye on that space during routine attic checks.
How Liner Damage Connects to the Rest of Your Roof
Chimney liners rarely fail in isolation. Because the chimney passes through your roofline, water intrusion at the flashing, crown, or cap often shows up as liner deterioration before it shows up as a visible roof leak. If a technician flags liner damage, it is worth also checking:
- Flashing at the chimney base, since gaps here are one of the most common paths for the water that eventually reaches and damages the liner.
- Nearby flat roof sections, if your chimney passes through or sits adjacent to a flat roofing area, since ponding water near the chimney base accelerates masonry and liner deterioration.
- Skylights or roof penetrations in the same plane as the chimney, since a technician already on the roof for liner-related work can often inspect a nearby skylight or recommend skylight replacement in the same visit if needed.
- Overall roof age and condition, since a chimney relining project is a reasonable time to evaluate whether the surrounding shingles or membrane are due for attention as well.
Homeowners across Toronto, the Peel Region, York Region, Halton Region, and Durham Region often discover chimney liner problems during a routine roof inspection rather than through the fireplace itself, which is one more reason to have chimney and roof components assessed together rather than as separate projects.
When to Treat Chimney Liner Damage as an Emergency
Most liner repairs can be scheduled within a week or two, but certain signs mean you should stop using the appliance immediately and call a professional the same day:
- You experienced a confirmed or suspected chimney fire, even a small one that self-extinguished.
- A carbon monoxide detector near the chimney or appliance has triggered.
- You can see daylight through gaps in the flue during a flashlight check from the firebox.
- Large pieces of tile (rather than small flakes) have fallen into the firebox or onto the smoke shelf.
- Scorch marks or heat damage are visible on framing or drywall near the chimney chase.
In any of these situations, do not attempt to use the fireplace, wood stove, or gas appliance venting through that chimney until a professional has cleared it. The cost of a delayed inspection is far lower than the cost of a house fire or carbon monoxide exposure.
Frequently Asked Questions About Damaged Chimney Liners
What should I do about damaged chimney liners before winter?
Can a damaged chimney liner cause a house fire?
How much does it cost to reline a chimney in Toronto?
Is it safe to use a fireplace with a cracked chimney liner?
How long does a chimney liner replacement last?
Can I repair only part of a damaged chimney liner instead of replacing the whole thing?
Need Help With What to Do About Damaged Chimney Liners?
A damaged chimney liner is not a problem to guess your way through. The team at Universal Roofs combines chimney and full roof system expertise, so a liner inspection also covers the flashing, crown, and surrounding roof areas that contribute to the damage in the first place.
Call us today at (416) 732-2421 or request a free inspection to get started.
Universal Roofs proudly serves Toronto, Mississauga, Brampton, Vaughan, Markham, Oakville and the GTA since 2005.