
A damaged chimney rarely announces itself all at once. It starts with a hairline crack in the mortar, a loose brick that shifts half an inch, or a grey streak of efflorescence creeping down the brickwork after a wet spring. By the time a homeowner notices water staining on the ceiling near the fireplace, the underlying damage has usually been building for one or more Toronto winters. Knowing the essential tips for repairing damaged chimneys before that happens – or as soon as you spot the first warning sign – is what separates a $400 repointing job from a $12,000 rebuild.
Chimneys take more structural abuse than almost any other part of a GTA home. They sit exposed above the roofline, absorbing direct sun, driving rain, and the freeze-thaw cycles that define our climate. Water gets into a hairline crack in October, freezes in November, expands, and by March the crack has doubled in size. Repeat that cycle for a decade without maintenance and you get spalling brick, a leaning crown, or a full masonry collapse.
This guide walks through how to identify chimney damage early, which repairs actually work for each type of problem, what they cost in the Toronto area, and when a repair stops making sense and a rebuild takes over. We also cover the flashing and roof-deck issues that so often get blamed on “chimney leaks” when the real culprit is next door. Whether you’re dealing with a century home in the Beaches or a 1980s build in Mississauga, the fundamentals are the same.
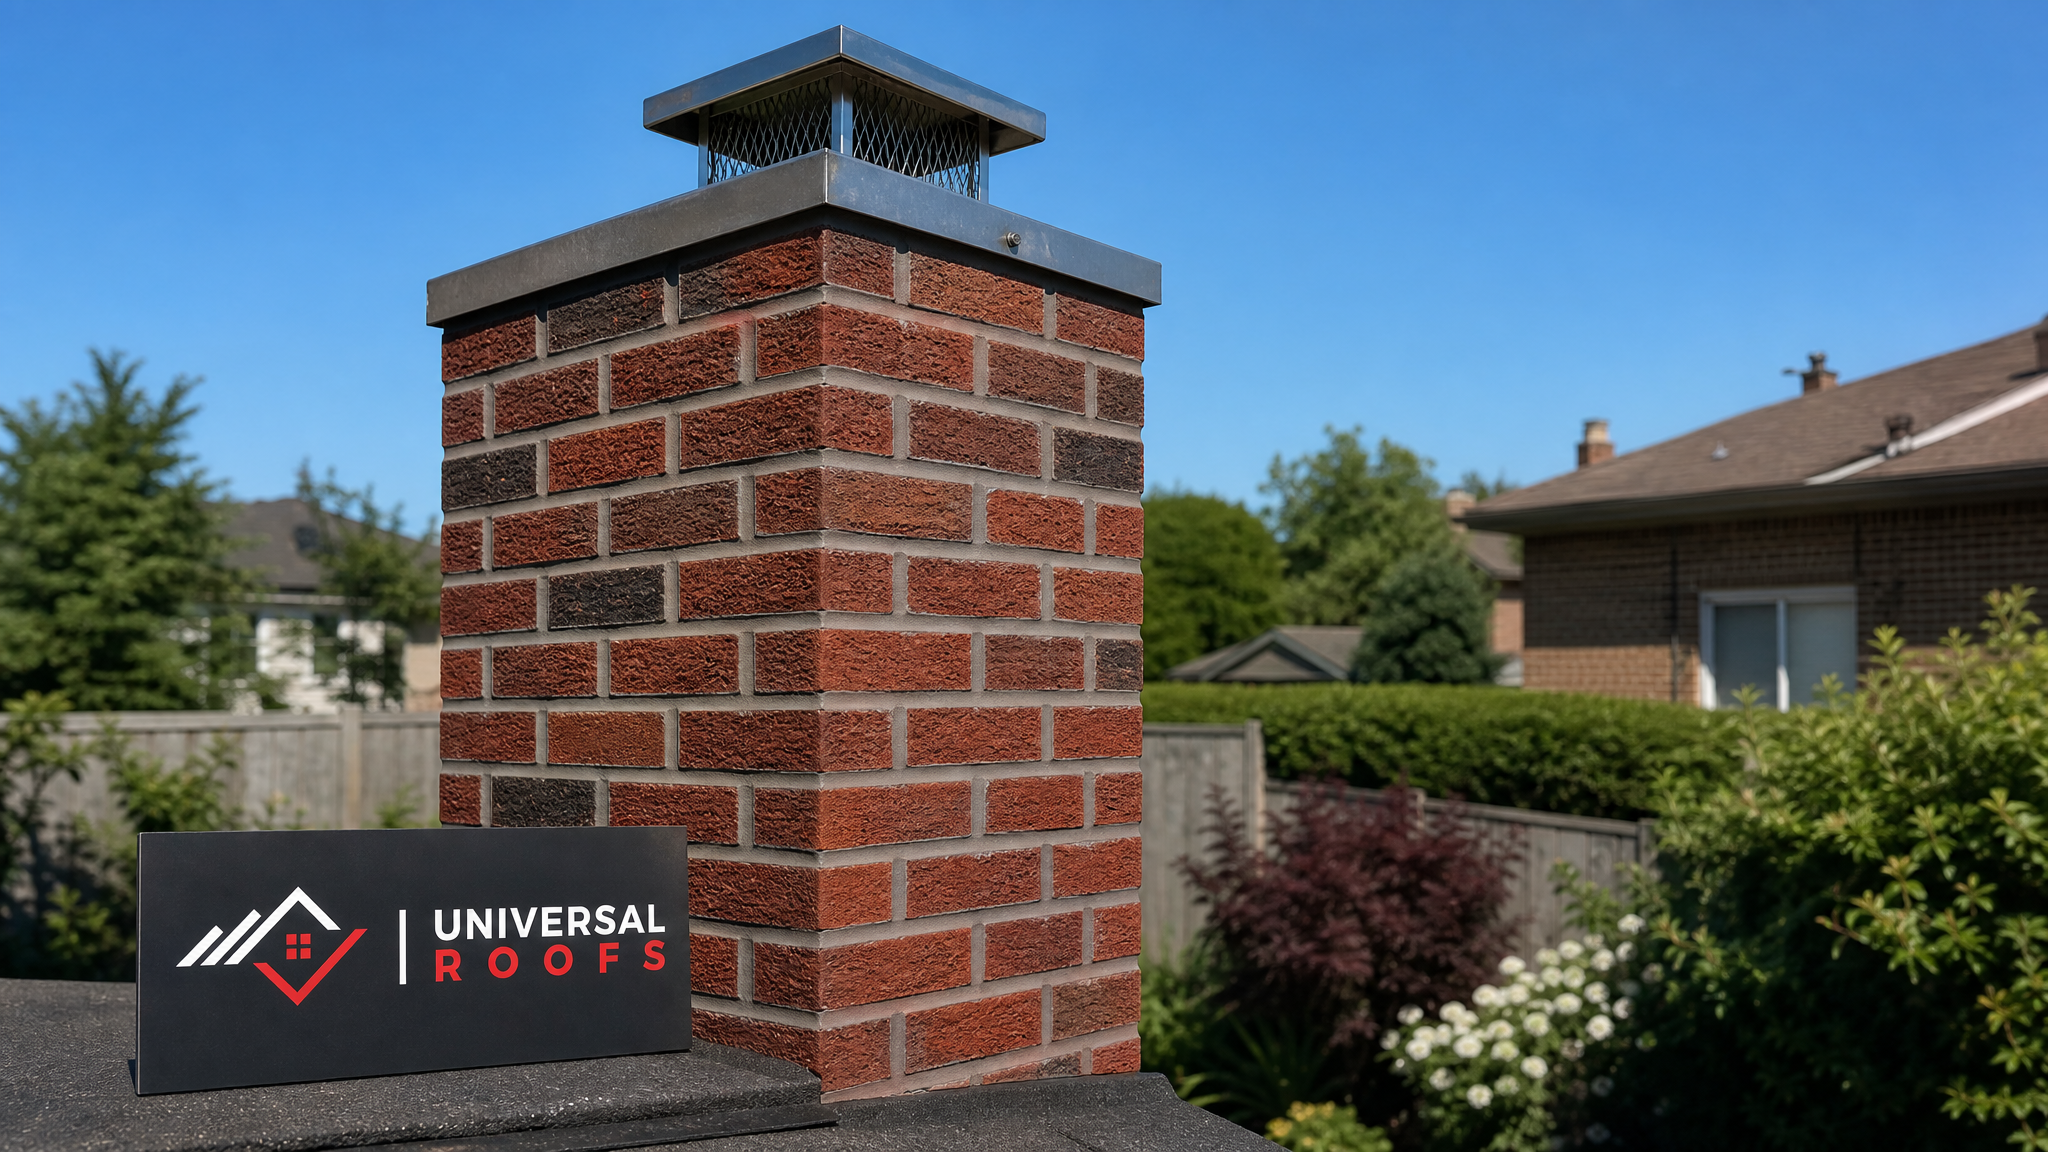
How to Spot Chimney Damage Before It Becomes an Emergency
Most chimney failures are visible long before they become dangerous, but only if you know where to look. A twice-yearly visual inspection – once in spring after the frost has left the ground, once in fall before the heating season – catches almost everything early.
Start at ground level with binoculars rather than climbing onto the roof yourself; a surprising amount of damage is visible from the yard. Look for:
- Spalling brick – flaking, crumbling, or pitted brick faces where moisture has forced its way in and pushed the surface off through freeze-thaw pressure.
- Missing or crumbling mortar – deep gaps between bricks (deteriorated mortar joints deeper than 6mm need attention) that let water penetrate the wall assembly.
- A leaning or tilting stack – often a sign the footing has shifted or internal deterioration has compromised structural integrity.
- Cracked or missing crown – the concrete cap at the very top is the single most important line of defence against water intrusion, and it’s also the most commonly ignored.
- Rust stains or gaps around the flashing – the metal strips where the chimney meets the roof are a top source of “chimney leaks” that are really roof leaks.
- Efflorescence – the white, chalky mineral deposit that forms when water is moving through masonry and evaporating at the surface, leaving salts behind.
- Interior water stains – discolouration on the ceiling or wall near the fireplace, or a musty smell in the attic close to the chimney chase.
If you’re not comfortable getting closer for a hands-on look, a professional roof repair inspection will typically include the chimney as standard practice, since the two systems interact directly at the roofline.
Common Types of Chimney Damage and What Causes Them
Not all chimney problems come from the same root cause, and treating the wrong one wastes money without solving the leak. The table below breaks down the most frequent issues we see across Toronto, Mississauga, and the wider GTA.
| Damage Type | Typical Cause | Warning Signs | Urgency Level |
|---|---|---|---|
| Spalling brick | Freeze-thaw cycles forcing trapped moisture out of the brick face | Flaking, crumbling, or pitted brick surface; debris in the eavestrough | Moderate – progresses over seasons |
| Deteriorated mortar joints | Age, poor original mix, or repeated water penetration | Gaps deeper than 6mm, loose bricks, crumbling to the touch | Moderate to high – accelerates once started |
| Cracked chimney crown | Shrinkage cracking, poor original installation, or ice expansion | Visible cracks in the concrete cap, water pooling on top | High – direct water entry point |
| Damaged flashing | Corrosion, improper installation, or shingle work disturbing the seal | Rust streaks, gaps at the roofline, interior ceiling stains | High – most common leak source |
| Leaning or separating stack | Foundation settlement, structural decay, or seismic-style stress from freeze-thaw | Visible tilt, widening gap between chimney and house wall | Severe – structural safety concern |
| Damaged chimney liner | Age, chimney fires, or acidic flue gas corrosion | Debris in the firebox, visible cracks during a camera inspection | High – fire and carbon monoxide risk |
Notice that flashing issues sit near the top of that urgency list. It’s worth repeating: a large share of “chimney leaks” reported to us turn out to be flashing or roof-deck problems rather than masonry failure. If you’re seeing water intrusion but the brick and crown both look sound, a full roof repair assessment of the surrounding shingles and underlayment is the right next step before assuming the worst about the chimney itself.
Repairing Mortar Joints: Tuckpointing and Repointing
Repointing (also called tuckpointing) is the most common chimney repair, and for good reason – it addresses the root cause of most water intrusion problems at a fraction of rebuild cost. The process involves grinding out deteriorated mortar to a depth of roughly 20-25mm and replacing it with fresh mortar matched to the original in both strength and colour.
A few essentials matter here that DIY attempts frequently get wrong:
- Mortar strength must match the brick. Older Toronto homes, particularly those built before the 1950s, often used softer lime-based mortar. Repointing with modern high-strength Portland cement mortar creates a mismatch that traps moisture in the brick instead of the joint, accelerating spalling rather than preventing it.
- Full depth removal is non-negotiable. A common shortcut is to simply smear new mortar over the old, failing joint. This looks fine for a season and then fails completely, because the old deteriorated mortar underneath continues to crumble.
- Weather matters. Mortar needs to cure above 4°C and out of direct rain for at least 48 hours. This is why repointing work in the GTA is best scheduled for late spring through early fall, not the depths of winter.
- Colour matching keeps it invisible. Reputable contractors will test mortar dye samples against your existing brick before starting the full job.
For a chimney with scattered, isolated mortar failure, repointing alone can add 15-25 years of service life. If more than 25% of the joints are failing, it’s often more cost-effective to repoint the entire stack in one visit rather than returning repeatedly for spot repairs.
Chimney Crown and Cap Repairs
The crown is the sloped concrete or mortar wash at the very top of the chimney, and the cap (or “rain cap”) is the metal cover over the flue opening itself. Together they’re the single most cost-effective piece of chimney protection available, and also the most neglected.
A cracked crown lets water travel directly down through the masonry core, bypassing the brick face entirely. This is why homeowners are sometimes baffled to see interior staining despite brick that “looks fine” – the water never touched the visible face at all.
| Crown/Cap Condition | Recommended Fix | Typical GTA Cost Range | Expected Lifespan |
|---|---|---|---|
| Minor hairline cracking | Elastomeric crown sealant application | $150 – $350 | 5 – 8 years |
| Moderate cracking, no structural loss | Crown repair coating or resurfacing | $300 – $700 | 8 – 12 years |
| Severely cracked or crumbling crown | Full crown replacement (cast concrete) | $700 – $1,800 | 20+ years |
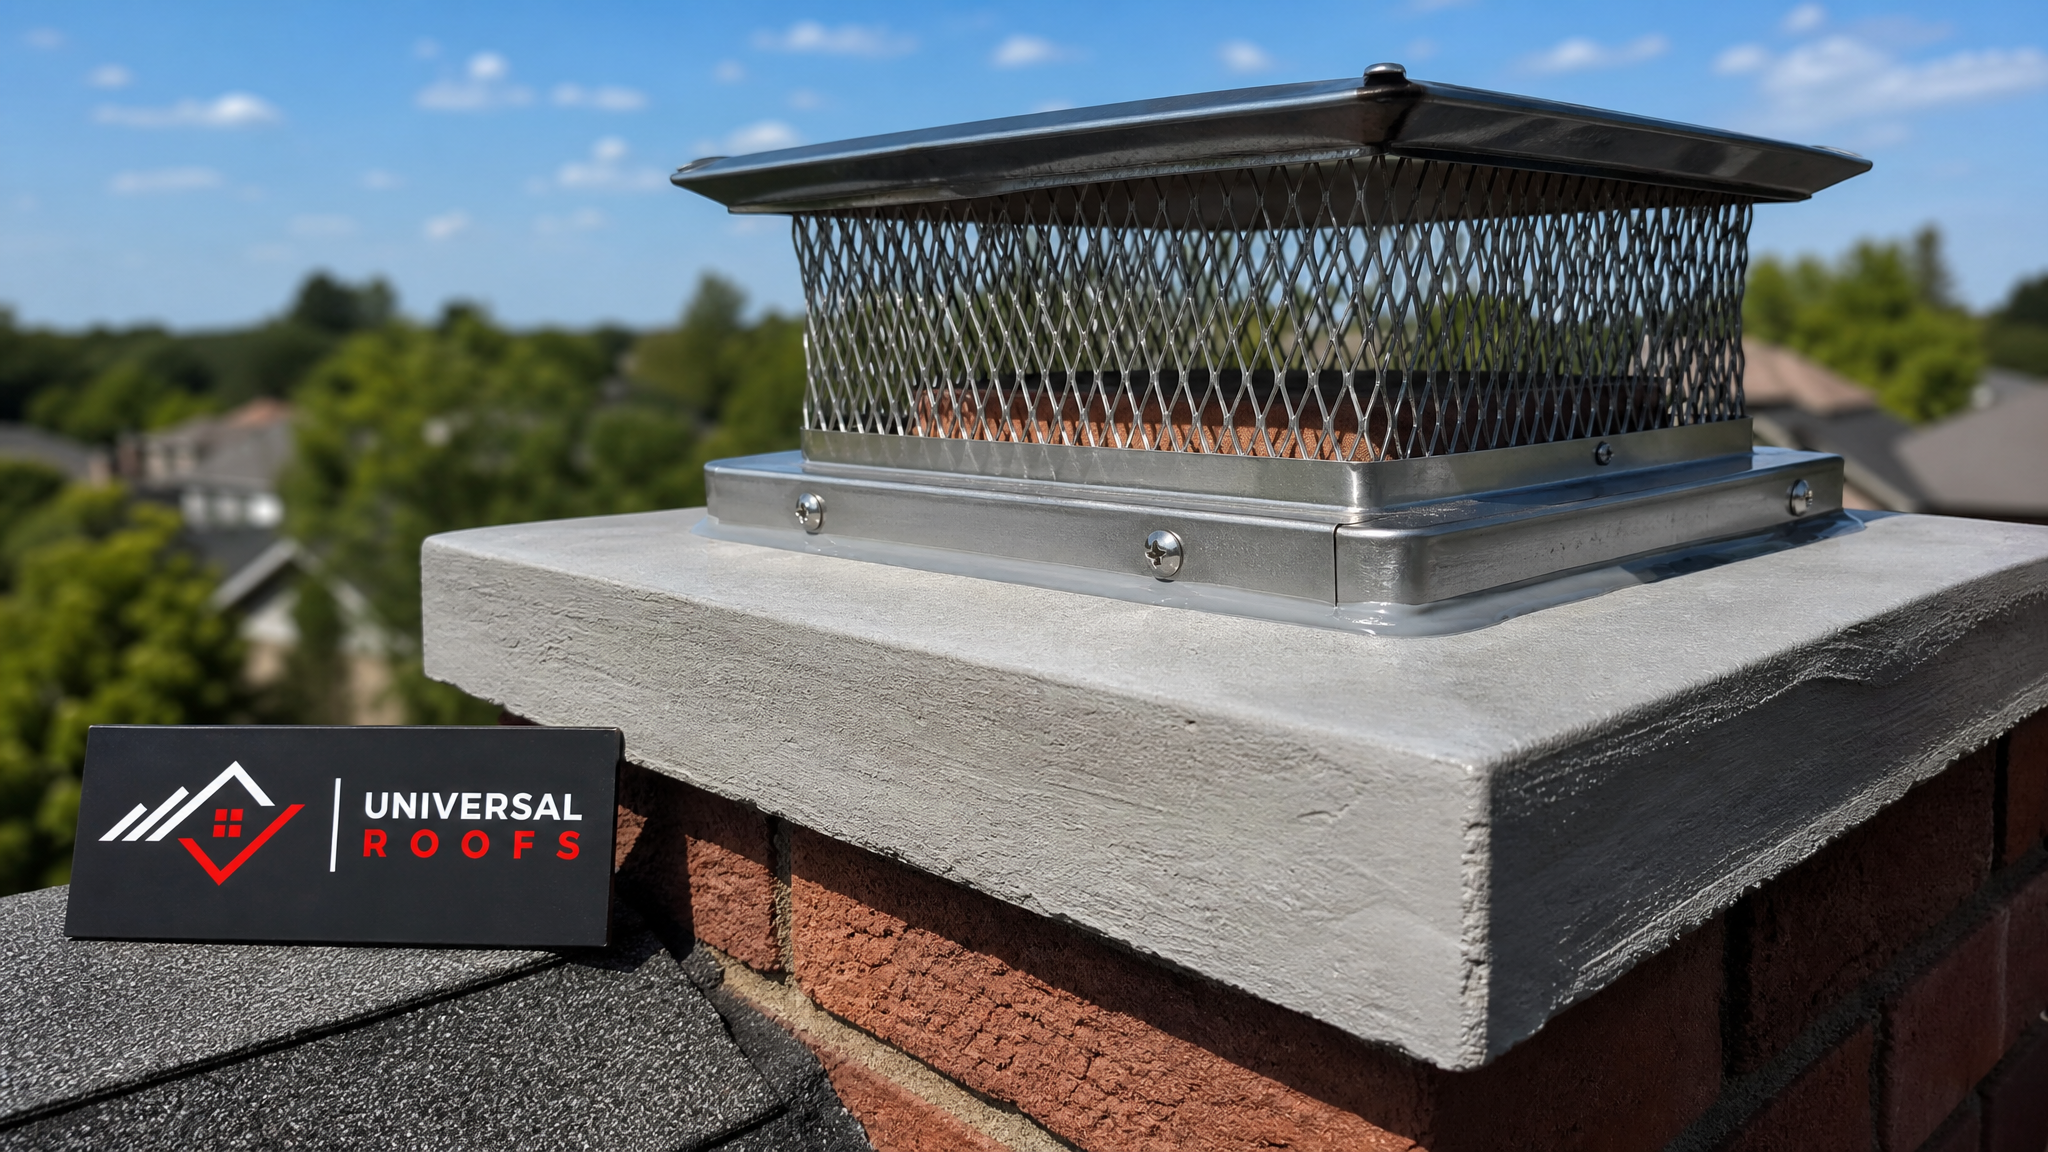
| Missing or damaged rain cap | New stainless steel cap with mesh spark arrestor | $150 – $450 | 15 – 20 years |
A stainless steel cap does double duty: it keeps rain and snow melt out of the flue, and it stops birds, squirrels, and raccoons from turning your chimney into a nesting site – a genuinely common call we get every spring across the GTA.
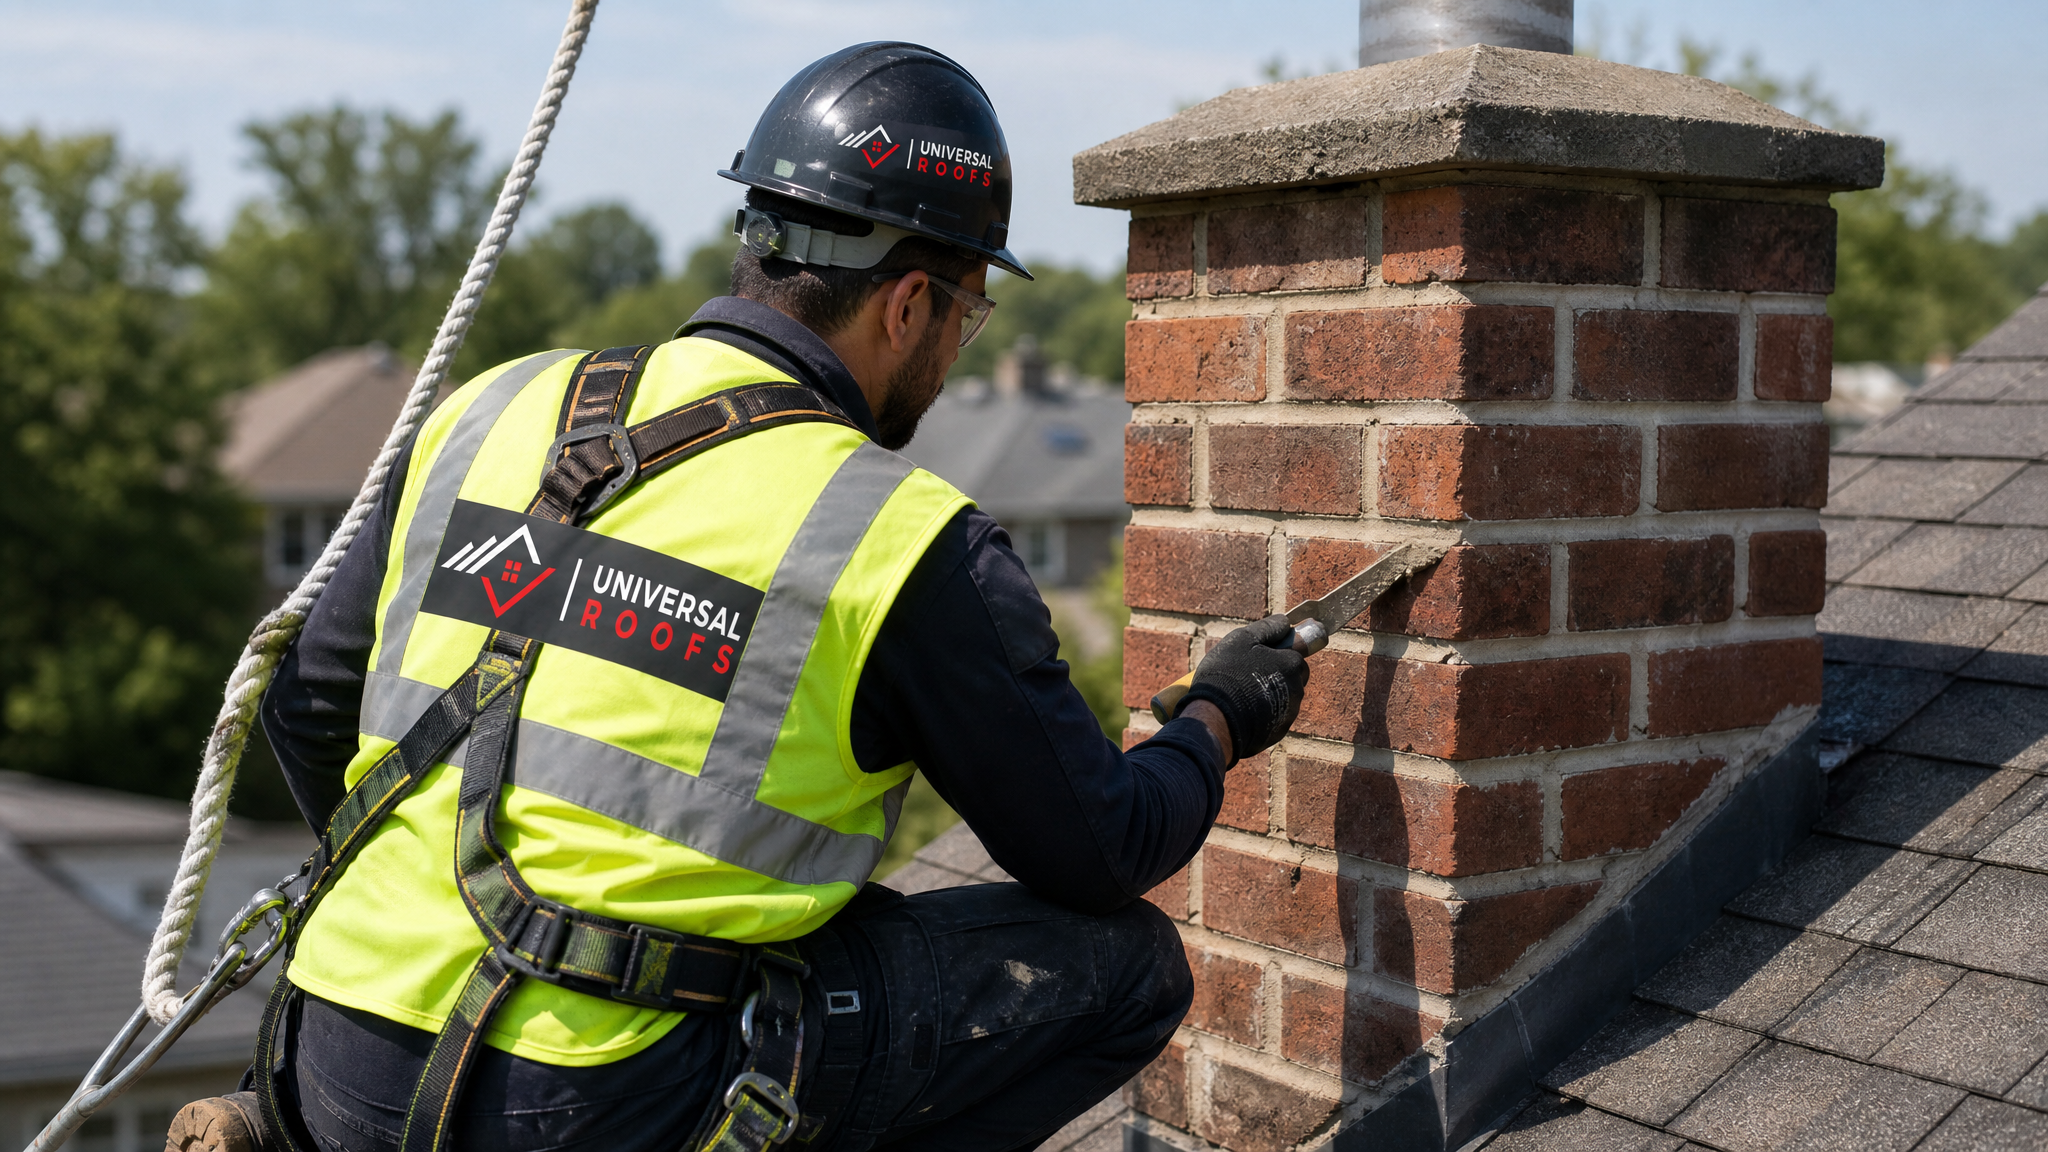
Flashing Repair: The Most Overlooked Chimney Fix
Flashing is the metal barrier – typically aluminum, galvanized steel, or copper – installed where the chimney meets the roof deck. It’s designed in two layers: step flashing woven into the shingle courses, and counter-flashing embedded into the mortar joints above it, overlapping the step flashing to shed water outward.
When flashing fails, it’s almost always one of these situations:
- Sealant-only installation. Some installers skip proper step flashing and instead just caulk the joint between chimney and shingles. Sealant degrades in UV and cold within a few years, and the leak returns.
- Corrosion. Cheaper galvanized flashing can rust through in 10-15 years in our climate, especially where salt-laden runoff or standing snow sits against it through winter.
- Disturbed during roofing work. Flashing that wasn’t properly re-set during a previous shingle replacement is one of the most common causes of a “new roof, same old leak” complaint.
- Ice damming. Ice forming at the chimney-roof junction can lift and separate flashing that was otherwise sound, particularly on north-facing roof slopes that hold snow longest.
Because flashing repair sits right at the intersection of masonry and roofing, it should always be handled as part of a coordinated roof repair visit rather than treated purely as a chimney trade issue. If your roof is approaching the end of its service life anyway, it’s often worth evaluating whether a full roof replacement makes more financial sense than repeatedly patching flashing around an aging chimney.
DIY Chimney Repair vs. Hiring a Professional
Some chimney maintenance is genuinely within reach for a handy homeowner. Others carry real safety and structural risk that isn’t worth taking on personally.
| Task | DIY Feasible? | Why |
|---|---|---|
| Visual inspection from ground level | Yes | No height exposure; binoculars and a flashlight are all that’s needed |
| Applying crown sealant to hairline cracks | Sometimes | Doable if roof access is safe and low-pitched, but most homes require ladder work at height |
| Repointing mortar joints | Not recommended | Requires mortar mix expertise, proper tools, and safe rooftop access; poor colour or strength matching causes recurring failure |
| Flashing replacement | No | Requires removing shingle courses and mortar work simultaneously; improper installation guarantees a leak |
| Crown or cap replacement | No | Structural work at height; incorrect slope or anchoring fails within a season |
| Leaning stack or structural cracking | No | Safety hazard; requires structural assessment and often permits |
The general rule: anything involving working at height on a sloped roof, handling mortar mix ratios, or tying new work into existing flashing should go to a licenced professional. A technician’s fall-protection harness, proper scaffolding or roof anchors, and experience matching mortar and materials are what actually make a repair last – not just the materials themselves.
What Chimney Repairs Typically Cost in the Toronto Area
Costs vary with chimney height, brick condition, and access difficulty (a steep roof pitch or a chimney tucked behind a second-storey addition both add labour time). As a general planning guide for the GTA:
| Repair Type | Typical Cost Range (CAD) | Notes |
|---|---|---|
| Spot repointing (small area) | $400 – $900 | Isolated joint failure, single face of the stack |
| Full repointing (entire chimney) | $1,200 – $3,000 | Recommended once failure exceeds roughly a quarter of the joints |
| Crown repair or resurfacing | $300 – $1,800 | Depends on crack severity, see crown table above |
| Flashing replacement | $500 – $1,500 | Often bundled with a broader roof repair visit |
| Chimney liner repair or replacement | $1,500 – $4,500 | Varies with flue diameter and liner material (clay, metal, or cast-in-place) |
| Partial rebuild (top few courses) | $2,000 – $5,000 | Common when spalling or leaning is limited to the upper section |
| Full chimney rebuild | $6,000 – $15,000+ | Required when structural decay extends below the roofline |
These figures reflect the current Toronto-area market and can shift with brick availability, chimney height, and site access. A written, itemized quote after an in-person inspection is always more reliable than a phone estimate for anything beyond a simple crown sealant application.
Chimney Damage That Signals a Wider Roof Problem
Because a chimney penetrates directly through the roof deck, damage there rarely stays isolated. A few situations that should prompt a broader inspection rather than a chimney-only fix:
- Water staining that appears in more than one room. This usually points to a flashing or underlayment failure spreading along the roof deck, not a contained masonry issue.
- Soft or sagging roof deck near the chimney chase. This indicates prolonged moisture intrusion into the plywood sheathing, which needs to be addressed before any new flashing is installed on top of it.
- Poor attic ventilation combined with chimney condensation. An improperly ventilated attic traps warm, moist air that condenses against a cold flue liner, accelerating both liner corrosion and mould risk.
- A skylight or roof penetration near the chimney also showing leaks. Multiple penetration points failing around the same time often means the whole roof section is due for attention – worth having your skylights and flashing details reviewed together rather than one at a time.
Treating the chimney as one component of the whole roof system – rather than a standalone structure that happens to poke through it – is the difference between a repair that lasts and one you’re redoing again in three years.
Seasonal Timing for Chimney Repairs in the GTA
Summer is genuinely the best window for chimney masonry work in this region, and it’s worth understanding why. Mortar needs consistent temperatures above 4°C to cure properly, and dry conditions to set without washing out. That gives contractors a reliable working window from roughly May through early October.
Booking repairs now, in the warmer months, also means the work is fully cured and weathertight well before the first hard freeze – rather than rushing a late-fall repair that hasn’t had time to properly set before winter tests it. If you noticed water staining last winter, this summer is the time to act on it rather than waiting for the problem to reappear at the first thaw.
Maintaining a Chimney After Repair
A repaired chimney still benefits from ongoing attention. A few habits extend the life of any repair significantly:
- Schedule a visual check every spring and fall, ideally alongside a broader roof inspection.
- Keep gutters and eavestroughs clear so runoff doesn’t pool near the chimney base or saturate the roof deck around it.
- Have the flue swept and inspected annually if the fireplace or wood stove sees regular use, since creosote buildup and liner wear both accelerate future damage.
- Watch for new efflorescence or staining after any major storm – it’s the earliest visible sign that water is finding a new path in.
- Re-seal the crown every 5-8 years even if it looks intact; sealant fails before cracking becomes visible.
Whether your home is in central Toronto, out toward Peel Region, north into York Region, west along Halton Region, or east through Durham Region, the same freeze-thaw cycle applies to every chimney in the GTA, and the same maintenance principles hold regardless of neighbourhood or house age.
Frequently Asked Questions About Chimney Repair
What are the essential tips for repairing damaged chimneys before winter arrives?
How do I know if my chimney needs repointing or a full rebuild?
Can I repair a damaged chimney myself, or should I hire a professional?
Why does my chimney leak even though the brick looks fine?
How much does chimney repair typically cost in Toronto?
How often should a chimney be inspected for damage?
Need Help With Essential Tips for Repairing?
Reading about mortar mixes and flashing details is useful, but nothing replaces a hands-on inspection from someone who works on GTA chimneys and roofs every week. Universal Roofs has been assessing and repairing chimney damage across the region since 2005, and we treat every chimney as part of the roof system it’s built into – not an isolated repair.
Call us today at (416) 732-2421 or request a free inspection to get started.
Universal Roofs proudly serves Toronto, Mississauga, Brampton, Vaughan, Markham, Oakville and the GTA since 2005.