
If you have ever stood in your backyard and noticed a hairline crack running across the concrete slab sitting atop your chimney, you were looking at one of the most overlooked components of a Toronto roof. This chimney crown restoration expert tips and solutions guide exists because that slab, often smaller than a kitchen table, is quietly responsible for keeping water out of your entire chimney system. When it fails, the damage rarely stays put. It travels downward through the masonry, into the flue liner, and eventually into the attic and ceiling below.
At Universal Roofs, we have been repairing and restoring chimney crowns across the Greater Toronto Area since 2005. Our crews see the same pattern every summer: homeowners who assumed a crack in the crown was cosmetic, only to discover that a full winter of freeze-thaw cycling had turned a hairline fracture into a structural problem. This article walks through what a chimney crown actually does, how to diagnose damage accurately, which restoration methods make sense for different levels of deterioration, what each option costs, and how to keep a newly restored crown performing for decades.
Whether you are dealing with a first-time crack, a crown that was rebuilt poorly by a previous contractor, or you simply want to understand the maintenance schedule before problems start, this guide is built around real GTA climate conditions and the materials that hold up best here.
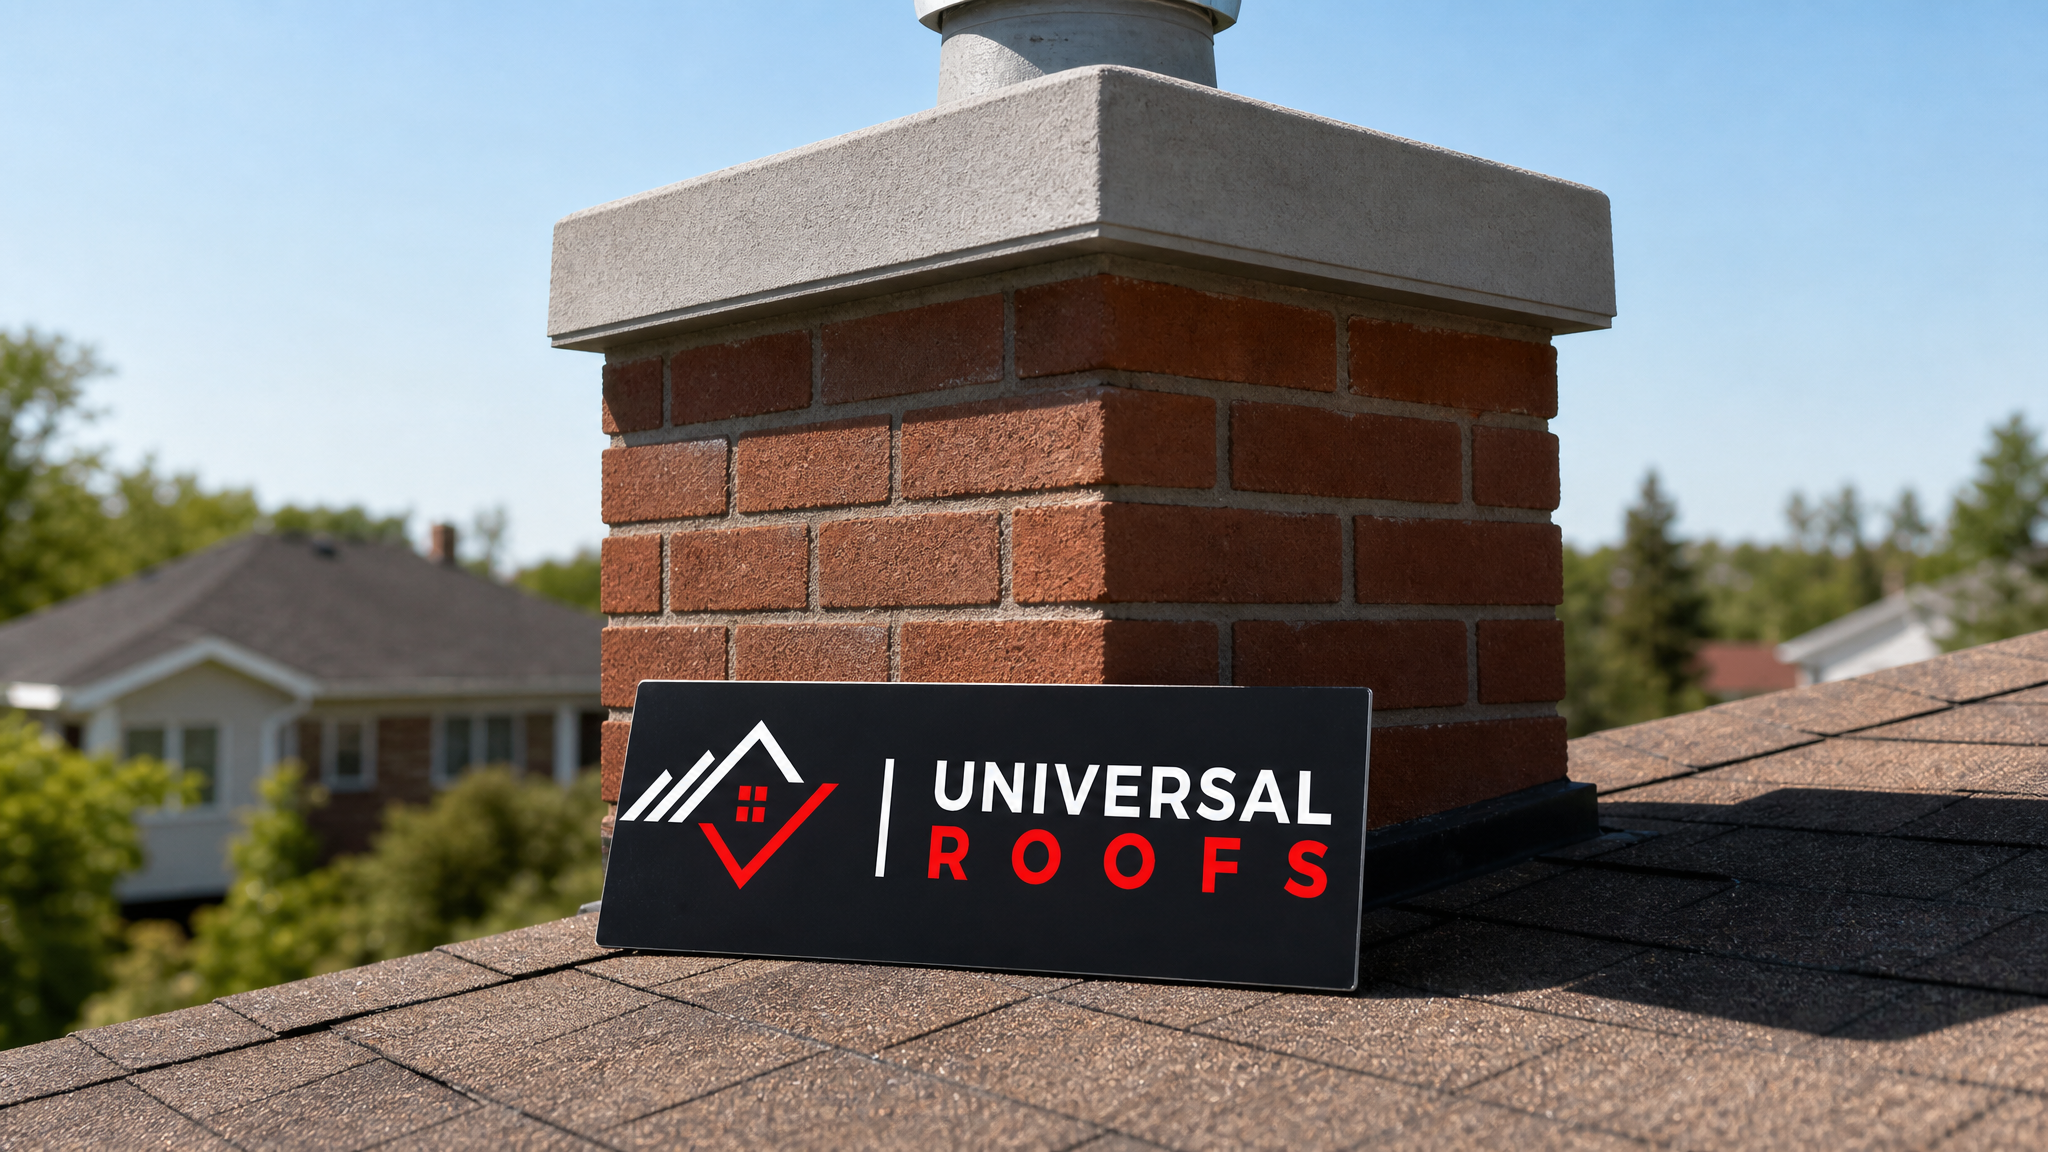
What a Chimney Crown Is and Why It Fails So Often in Toronto
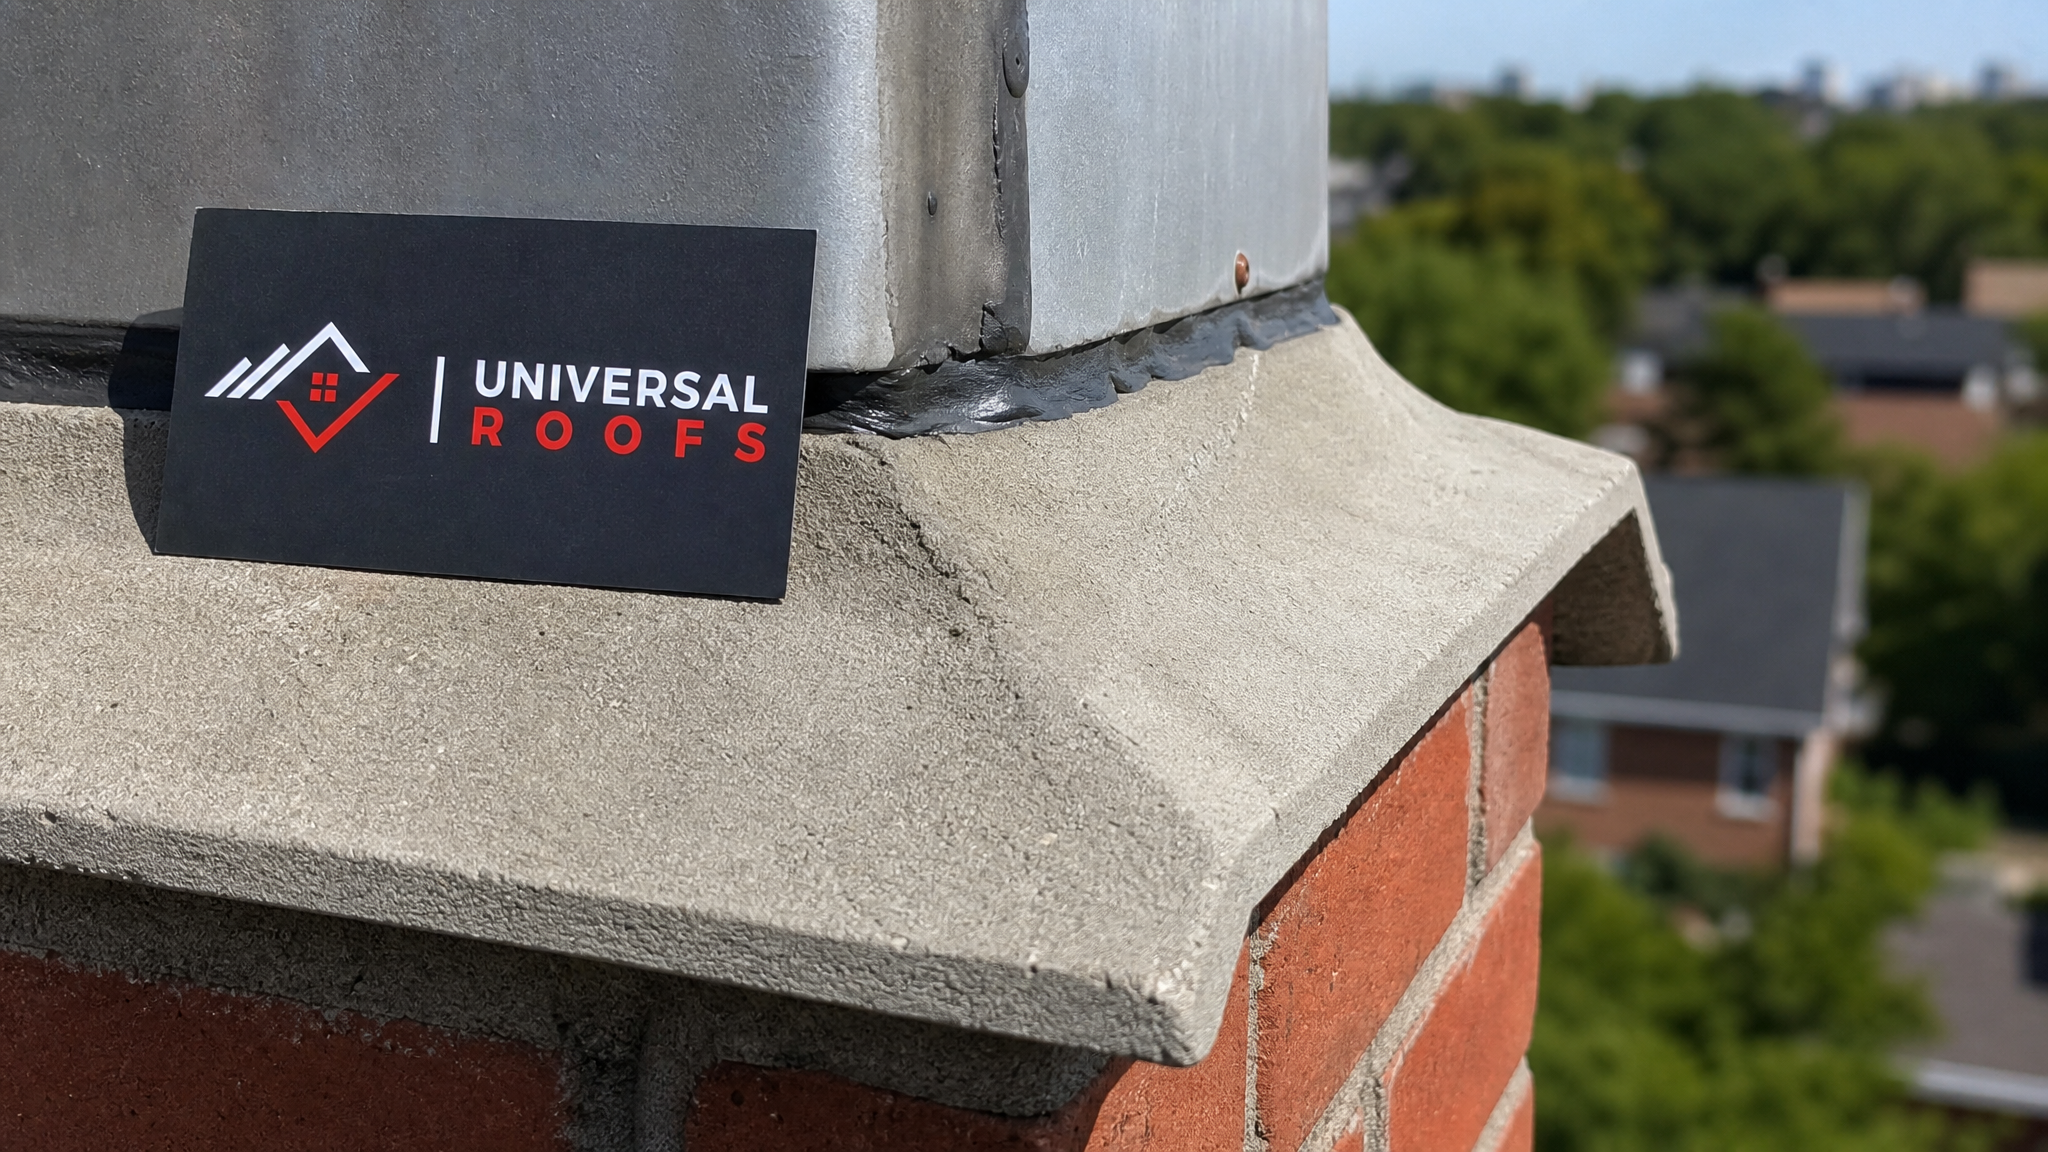
The chimney crown (sometimes called a chimney cap wash, though that term technically refers to the sloped shape rather than the material) is the top surface of the chimney structure, poured to cover the masonry below and shed water away from the flue opening. A properly built crown overhangs the brick by at least 5 centimetres on all sides, slopes away from the flue at a slight angle, and includes a drip edge so water never runs back down the face of the chimney into the mortar joints.
The problem is that most crowns built in Ontario over the past several decades were never engineered for the job. Many were poured using standard mortar mix rather than a true structural concrete mix, with no reinforcement, no expansion joint around the flue, and a flat rather than sloped profile. That combination is almost guaranteed to fail eventually in our climate.
Toronto sees dozens of freeze-thaw cycles every winter. Water seeps into any hairline crack during a thaw, then expands by roughly nine percent as it refreezes overnight. That expansion widens the crack a fraction of a millimetre at a time. Repeat that process for a few winters and a crown that looked fine in October can be riddled with spalling and structural cracking by spring. Add in de-icing salt runoff, UV exposure through our humid summers, and the thermal movement of the flue liner itself expanding and contracting as the fireplace or furnace vents heat through it, and you have a component under constant mechanical stress.
This is also why crown failure is rarely an isolated issue. Water that gets past a cracked crown travels down the inside of the flue liner and the outside of the brick simultaneously, which is why homeowners often notice rust staining on a metal firebox insert, damp brick in the attic near the chimney chase, or efflorescence (that white, chalky mineral deposit) on interior chimney breasts long before they ever look up at the roof itself. If you are already seeing water intrusion signs indoors, it is worth having our team look at your attic insulation and ventilation at the same time, since chimney leaks and attic moisture problems often compound each other.
Signs You Need Chimney Crown Restoration, Not Just a Patch
Not every crown issue calls for a full restoration. Some genuinely just need a sealant refresh. The trick is telling the difference before you spend money on the wrong fix. Here is what our inspectors look for during a roof repair assessment that includes the chimney.
| Symptom Observed | Likely Cause | Recommended Action | Urgency |
|---|---|---|---|
| Single hairline crack, no displacement | Shrinkage crack from original mortar mix, early-stage weathering | Elastomeric crown sealant application | Moderate — address within a season |
| Network of interconnected cracks (map cracking) | Freeze-thaw cycling over several winters, poor original mix | Crown coating or resurfacing overlay | High — before next winter |
| Chunks of concrete missing, aggregate exposed | Advanced spalling, water penetration reaching rebar or lath | Full crown demolition and rebuild | Urgent — schedule immediately |
| Crown separating from brick at the edges | Missing or failed expansion joint, thermal movement | Full rebuild with proper reinforcement and joint | Urgent — water actively entering |
| Efflorescence or rust stains inside on firebox/liner | Long-term water infiltration already reaching interior components | Full inspection of crown, flashing, and flue liner | Urgent — combined issue likely |
| Flat crown with no visible slope or overhang | Original design flaw, standing water pooling | Rebuild with proper sloped, overhanging profile | High — design defect, will keep recurring |
If your inspection lands anywhere in the “urgent” rows, resist the temptation to have someone simply caulk over the problem. A sealant applied over active spalling or a separated joint will fail within a single season because it cannot bridge structural movement or hold back water that already has a path underneath it.
Chimney Crown Restoration Methods Compared
There are three broad categories of chimney crown restoration, and choosing the right one comes down to how far the deterioration has progressed, the age and construction of the original crown, and your budget. We walk every homeowner through these options with photos from their own inspection so the decision is based on evidence, not guesswork.
| Method | Best For | Typical Lifespan | Approximate GTA Cost |
|---|---|---|---|
| Elastomeric sealant coating | Hairline cracks, otherwise sound crown | 5 to 10 years | $300 to $600 |
| Resurfacing overlay (bonding agent + skim coat) | Map cracking, minor spalling, structure still solid | 10 to 15 years | $600 to $1,400 |
| Full crown demolition and rebuild | Severe spalling, separation, structural cracking, flat/undersized original design | 25+ years | $1,200 to $3,000+ |
| Rebuild with added chimney cap and flashing replacement | Crown rebuild combined with failed cap or flashing | 25+ years for crown, 15-20 for cap/flashing | $1,800 to $4,000+ |
Costs vary with chimney size, roof pitch, and accessibility, and a final quote always follows an in-person inspection. Chimneys on steep roofs or those requiring scaffolding rather than a straightforward extension ladder will run toward the higher end of each range.
The Elastomeric Sealant Approach: When It Works
For a crown that shows only surface-level cracking and no signs of spalling, separation, or displacement, an elastomeric crown coating is a legitimate and cost-effective solution. These are specialized rubberized compounds engineered to expand and contract with the concrete rather than staying rigid like standard masonry caulk. That flexibility is what allows the material to survive our freeze-thaw cycles rather than cracking again the following winter.
The process starts with pressure washing the crown to remove loose debris, moss, and surface contamination, followed by a wire brush pass over any crack to open it slightly so the sealant can penetrate rather than just bridge the surface. The crack is then filled and the entire crown surface is coated in two layers, typically applied a few hours apart, extending slightly down over the top course of brick to create a continuous water barrier.
The limitation is honesty about scope. A sealant coating does not add structural strength. If the underlying concrete has already begun to break down internally, even the best coating on the market will eventually crack again as the substrate beneath it continues to deteriorate. This is why our technicians will always tell you directly if your crown has moved past the point where a coating makes sense, rather than selling a temporary fix that will need to be redone in a year or two.
Resurfacing and Full Rebuild: What Actually Happens on the Roof
When a crown shows map cracking across a wider area, or has lost a small amount of surface material to spalling but the core structure remains sound, a resurfacing overlay is often the right middle-ground solution. This involves grinding back any loose or friable material, applying a bonding agent formulated for concrete-to-concrete adhesion, and then troweling on a new reinforced skim coat that restores both the slope and the protective surface. Done correctly, a resurfaced crown can look and perform close to new for well over a decade.
Full demolition and rebuild becomes necessary once spalling has progressed to the point where large sections of aggregate are exposed, where cracks have widened enough to see daylight or feel movement when pressed, or where the crown was clearly built without an expansion joint around the flue liner in the first place — a very common defect in homes built before the early 2000s. In these cases, patching anything over the existing crown is wasted money because the failure will simply propagate upward through the new material.
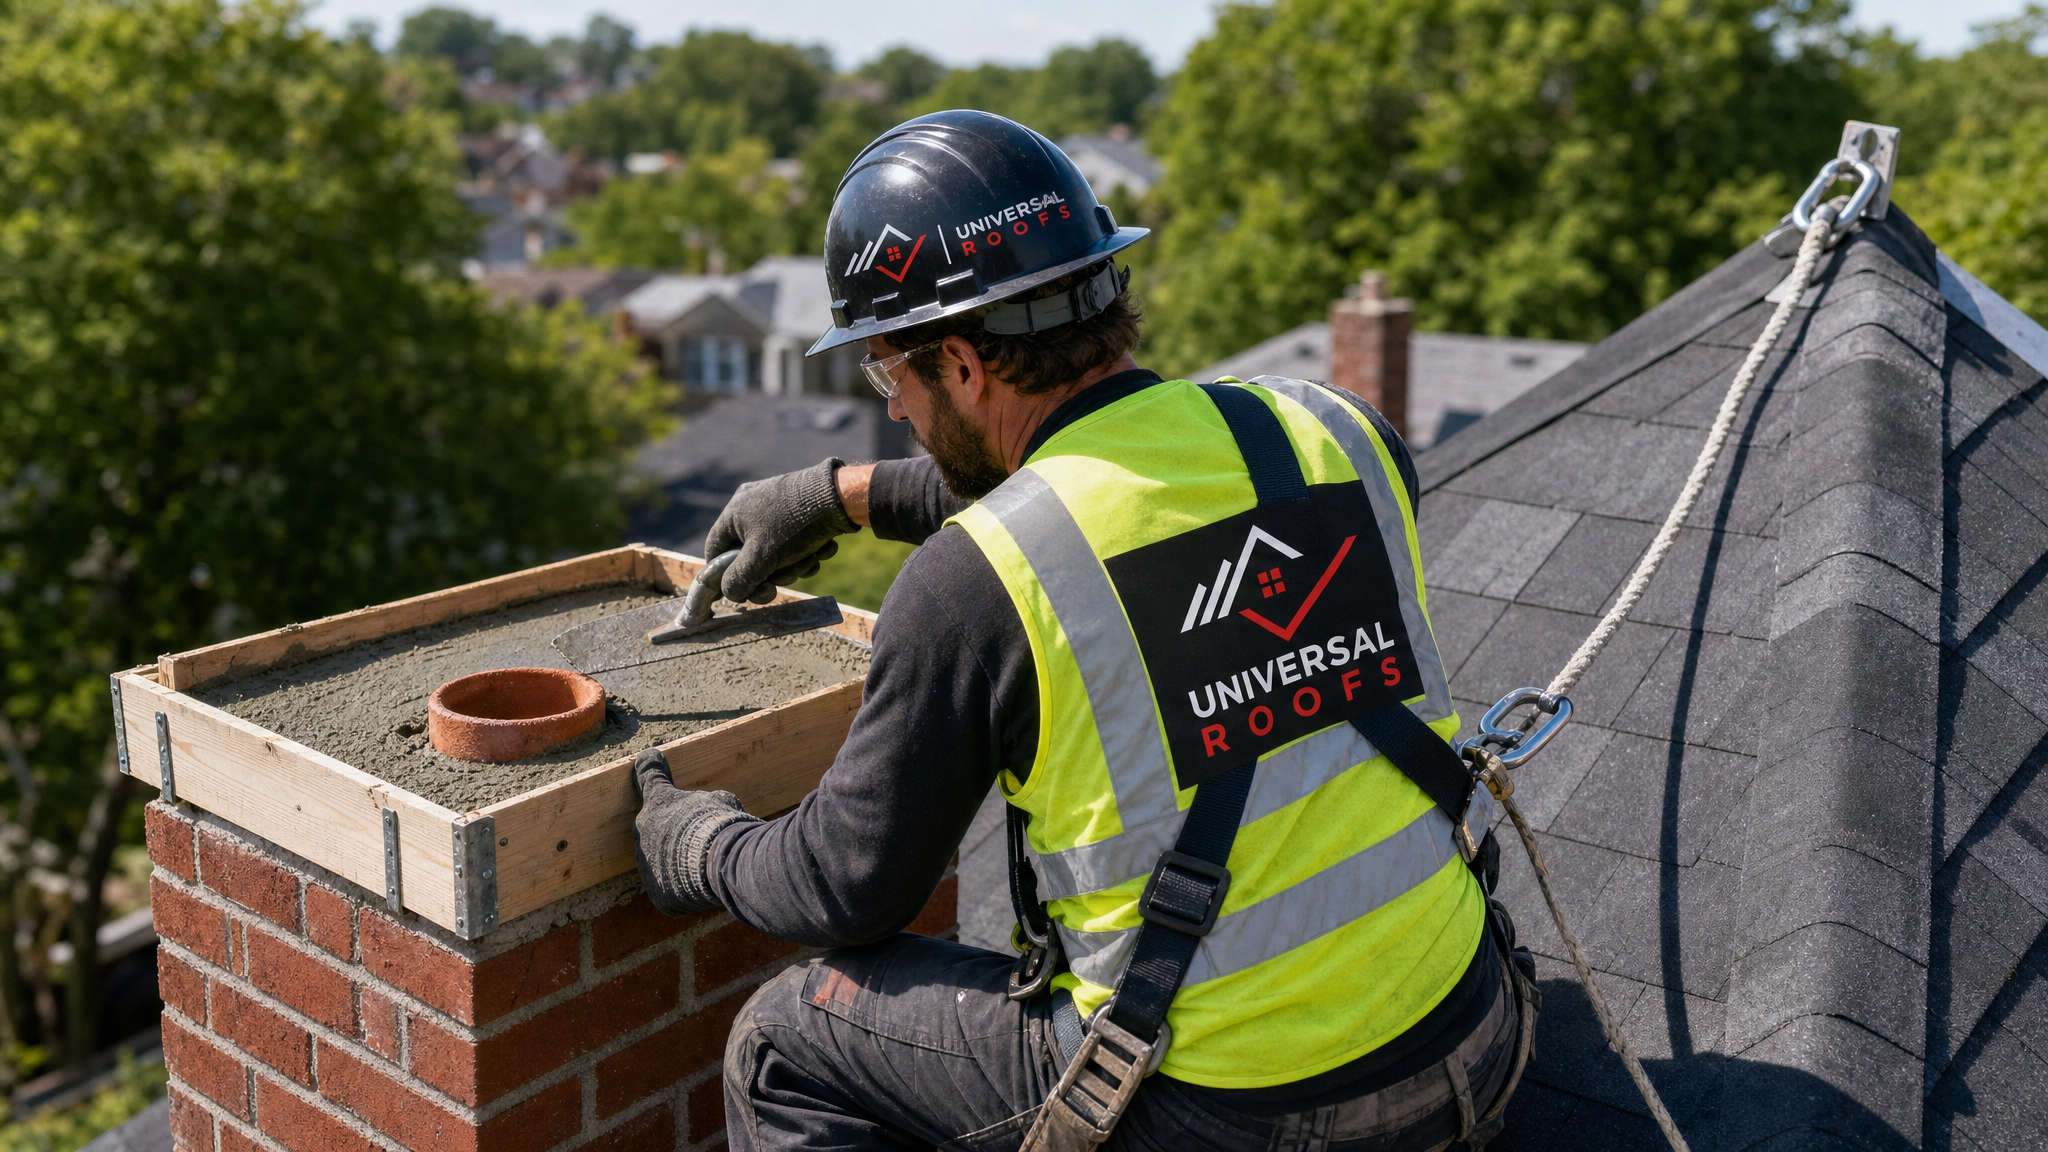
A proper rebuild starts with careful removal of the failed crown using hand tools rather than heavy demolition equipment, to avoid cracking the brick below. Our crews then install a form that creates the correct overhang (minimum 5 cm past the brick face on all sides) and slope (roughly a 15-degree pitch away from the flue), place galvanized wire mesh or rebar for tensile reinforcement, and pour a high-strength, low-shrinkage concrete mix rather than standard mortar. Critically, a flexible expansion joint or backer rod is installed around the base of the flue liner before the pour, since the liner expands and contracts independently of the masonry as it heats and cools. Skipping that joint is the single most common reason crowns crack again within just a few years of being rebuilt.
Why the Flashing and Cap Matter Just as Much as the Crown
A restored crown will not solve a leak on its own if the step flashing or counter-flashing where the chimney meets the roof deck has also failed. These two components work together: the crown keeps water from entering through the top of the chimney, while the flashing keeps water from entering where the vertical brick meets the sloped roof plane. We frequently find both issues on the same inspection, particularly on chimneys that have not been serviced in ten or more years.
Similarly, a missing or damaged chimney cap (the mesh-covered cover over the flue opening itself, distinct from the crown) allows rain to fall directly down the flue, animals to nest inside, and downdrafts to affect draft performance. If your chimney lacks a cap entirely, we always recommend adding one during a crown rebuild since the scaffolding and access are already in place.
| Component | Function | Failure Sign | Typical Service Life |
|---|---|---|---|
| Chimney crown | Sheds water off the top slab, away from flue and brick | Cracking, spalling, pooling water | 20-30 years if built correctly |
| Chimney cap | Blocks rain, debris, and animals from entering the flue | Missing mesh, rusted frame, animal noises | 15-20 years |
| Step flashing / counter-flashing | Seals the joint between roof deck and chimney brick | Rust streaks, visible gaps, interior ceiling stains near chimney | 20-25 years (metal-dependent) |
| Mortar joints (repointing) | Binds brick courses, prevents lateral water entry | Crumbling mortar, loose brick, visible gaps | 25-30 years before repointing needed |
If you are unsure whether your issue is the crown, the flashing, or both, a full inspection is the only reliable way to know. Our team routinely finds that homeowners searching for a crown fix actually need a combination of services, and we always present the full picture rather than quoting piecemeal work that will leave a gap.
Choosing the Right Contractor and Avoiding Common Mistakes
Chimney crown work is a small enough job that it attracts a lot of one-off contractors and handyman services, but the details matter enormously to long-term performance. A few mistakes we see repeatedly from previous, poorly executed repairs across the GTA:
- Using regular mortar mix instead of a proper concrete mix rated for exterior slabs subject to freeze-thaw cycling
- Pouring a flat crown with no slope, which allows water to pool and accelerates future cracking
- Skipping the overhang past the brick face, so water runs directly down the mortar joints below
- Omitting the expansion joint around the flue liner entirely
- Applying caulk or roofing cement as a “quick fix” over active spalling instead of addressing the root cause
- Working without proper fall protection on steep or high roofs, which compromises workmanship quality as much as safety
When you are vetting a contractor for this kind of work, ask specifically what concrete mix they use, whether they install an expansion joint at the flue, and whether they will provide photos of the substrate before and after. A contractor confident in their work will have no issue answering these questions in detail. You can see examples of completed chimney and roofing work, along with feedback from GTA homeowners, on our reviews page.
Maintaining a Restored Crown for Maximum Lifespan
Once a crown has been properly rebuilt or resurfaced, a modest maintenance routine will help it reach or exceed its expected lifespan. Summer is the ideal season for this kind of check, since a dry, mild inspection lets you (or a professional) spot developing issues before the next winter’s freeze-thaw cycle has a chance to work on them.
| Maintenance Task | Frequency | Why It Matters | Who Should Do It |
|---|---|---|---|
| Visual inspection from ground level with binoculars | Twice yearly (spring and fall) | Catches early cracking before winter damage compounds | Homeowner |
| Professional close-up inspection | Every 2-3 years, or after severe storms | Identifies issues not visible from the ground | Licensed roofing/chimney contractor |
| Reapply sealant on coated (non-rebuilt) crowns | Every 5-7 years | Elastomeric coatings degrade under UV and weather exposure | Professional |
| Clear debris (leaves, branches) off the crown surface | Annually, ideally in fall | Trapped organic debris holds moisture against the surface | Homeowner or contractor |
| Check and clean chimney cap mesh | Annually | Prevents blockages that force water and debris toward the crown | Professional |
A rebuilt crown using proper concrete, reinforcement, slope, and an expansion joint should not need major intervention again for two to three decades. That is a meaningful return on a modest upfront investment, especially compared to the cost of repairing water damage to a flue liner, attic insulation, or ceiling drywall after a slow leak goes unnoticed for a season or two.
How Chimney Crowns Fit Into the Bigger Picture of Roof Health
A chimney is one of the most common sources of roof leaks precisely because it is a penetration through an otherwise continuous roofing surface, and every penetration is a potential weak point. If you are already having chimney work done, it is worth a broader look at the roof as a whole, particularly if your shingles or membrane are approaching the end of their service life. Our teams handle everything from full roof replacement to targeted repairs, and for homes with a low-slope section near the chimney, our flat roofing specialists can address ponding water issues that often make their way toward chimney flashing over time.
Homes with skylights near the chimney chase face similar water-management challenges, and if you are noticing condensation or leaks around a skylight at the same time as chimney issues, it is worth having both inspected together. We handle everything from skylights maintenance to full skylight replacement, and addressing multiple roof penetrations in a single service visit is usually more cost-effective than scheduling separate appointments.
We serve homeowners across Toronto, Peel Region, York Region, Halton Region, and Durham Region, and chimney crown restoration is one of our most requested services heading into every summer, as homeowners get ahead of repairs before the next winter’s freeze-thaw season begins in earnest.
Questions to Ask Before You Approve a Chimney Crown Quote
Before signing off on any chimney crown restoration expert tips and solutions plan from a contractor, it helps to walk through a short list of questions so you know exactly what you are paying for and why. Ask what specific material will be used and whether it is rated for exterior freeze-thaw exposure, not just standard mortar. Ask whether the quote includes an expansion joint around the flue liner, since this single detail determines whether a rebuild lasts three years or thirty. Ask whether the crown will be poured with a slope and an overhang past the brick face, and request that this be specified in writing rather than assumed. Ask whether flashing and the chimney cap were inspected as part of the same visit, since a beautifully rebuilt crown will not stop a leak coming from a failed flashing joint a few centimetres away. Finally, ask to see photos of similar completed projects, ideally from homes in the GTA facing the same climate conditions as yours.
A contractor who answers these questions clearly and without hesitation is far more likely to deliver a crown that performs for decades rather than one that needs revisiting within a few short winters. You can review our full answers to common roofing and chimney questions on our FAQ page, or learn more about our history and approach on our about page.
What is the average cost of chimney crown restoration expert tips and solutions in Toronto?
Can a cracked chimney crown be repaired without a full rebuild?
How long does a properly restored chimney crown last?
What causes chimney crowns to crack in the first place?
Is chimney crown damage a sign of a bigger roofing problem?
When is the best time of year for chimney crown restoration?
Need Help With Chimney Crown Restoration Expert?
A cracked or failing chimney crown will not repair itself, and every freeze-thaw cycle it goes through makes the eventual fix more involved. The team at Universal Roofs has spent nearly two decades diagnosing and restoring chimney crowns across the GTA, and we will always give you an honest read on whether your crown needs a simple sealant or a full rebuild.
Call us today at (416) 732-2421 or request a free inspection to get started.
Universal Roofs proudly serves Toronto, Mississauga, Brampton, Vaughan, Markham, Oakville and the GTA since 2005.