
A chimney is one of the most leak-prone features on any roof, and the flashing wrapped around its base is almost always where the trouble starts. If you have noticed a water stain creeping across the ceiling near your fireplace, rust streaks running down the brick, or daylight peeking through the attic where the chimney meets the roof deck, damaged chimney flashing is very likely the culprit. In the Greater Toronto Area, where freeze-thaw cycles, ice damming, and heavy spring rain all put extra stress on this detail, chimney flashing failures are one of the most common calls our crews respond to.
This guide walks through the nine best solutions for damaged flashing on chimneys, from simple sealant touch-ups that buy you time to a full flashing rebuild that solves the problem permanently. We will cover how to recognize the different types of flashing failure, what each repair option actually involves, realistic costs and timelines, and how to decide which solution fits your situation. Whether you are dealing with a small drip during summer storms or a chimney that has been leaking for years, there is a fix on this list that matches your budget and the severity of the damage.
Chimney flashing is not a single piece of metal — it is a system of several interlocking components, and understanding how they work together is the first step to choosing the right repair. Get this detail wrong, and even a brand new roof can leak. Get it right, and the chimney becomes one of the most watertight parts of the entire structure.
Understanding Why Chimney Flashing Fails in the First Place
Before choosing a solution for damaged flashing on chimneys, it helps to understand why this detail fails more often than almost any other part of the roof. A chimney is a rigid masonry or metal structure poking straight through a roof plane that is otherwise designed to shed water in one continuous direction. Wherever a roof meets a vertical surface like this, flashing has to do the work of bridging two materials that expand, contract, and settle at completely different rates.
In the GTA, that mismatch is made worse by our climate. Winter freeze-thaw cycles cause repeated expansion and contraction in both the metal flashing and the mortar joints of the chimney, gradually working sealant loose and pulling nails free. Heavy spring rain and summer thunderstorms then test every one of those loosened seams under real hydraulic pressure. Add decades of sun exposure that dries out rubber and asphalt-based sealants, and it becomes clear why flashing is usually the first thing to go on an otherwise sound roof.
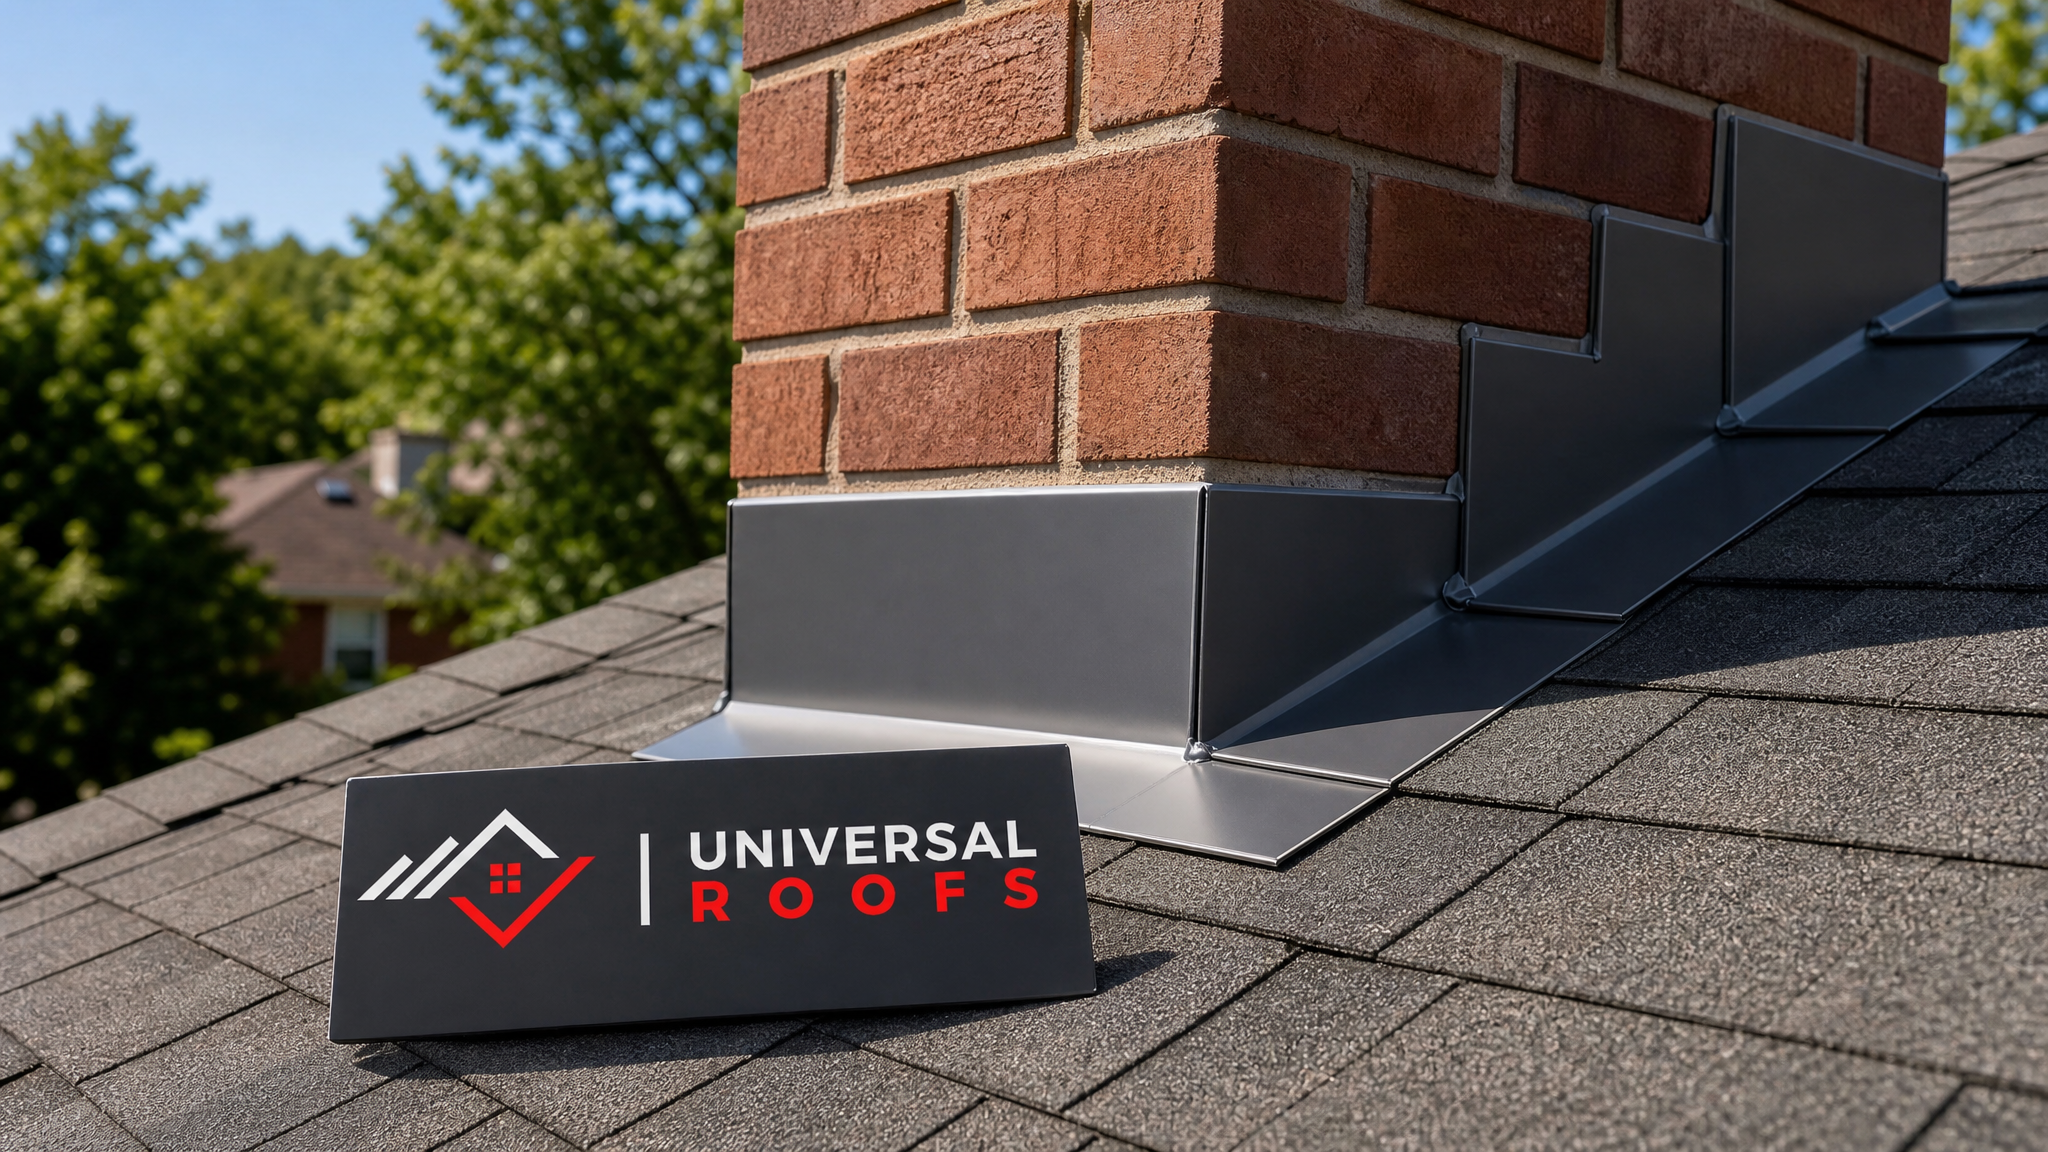
Most chimney flashing systems are made up of three parts working together: base flashing (sometimes called apron flashing) that sits under the shingles at the front of the chimney, step flashing woven between shingle courses along the sides, and counter flashing that is embedded into the mortar joints and folds down over the step flashing to shed water away from the masonry. When any one of these three fails, water finds a way in, which is why a proper repair almost always needs to address the whole system rather than a single spot. Our roof repair teams see this exact pattern on homes across Toronto, Mississauga, and Vaughan every year, especially heading into the spring melt.
Solution 1: Reseal Existing Flashing With Professional-Grade Sealant
The fastest and least invasive of the nine best solutions for damaged flashing on chimneys is resealing. If the metal flashing itself is still in good physical condition — no rust-through, no cracks, no missing sections — but the sealant along the counter flashing or step flashing joints has dried out and pulled away, a proper reseal can stop the leak for a reasonable price.
This is not a job for ordinary caulking tube from the hardware store. A durable reseal uses a polyurethane or high-grade butyl-based roofing sealant rated for exterior masonry and metal bonding, applied after the old, cracked sealant has been fully scraped and cleaned away. Skipping the cleanup step is the single biggest reason DIY resealing jobs fail within a season — new sealant will not bond properly over old, degraded material.
Resealing is best treated as a maintenance solution rather than a permanent fix. It typically buys three to five years of protection when done correctly, which makes it a smart option if you are planning a full roof replacement in the near future and just need to stop an active leak in the meantime.
Solution 2: Replace Damaged Step Flashing Pieces Individually
When only a few sections of step flashing have rusted through, come loose, or been damaged by falling branches or ice, spot-replacing those individual pieces is often more cost-effective than a full flashing overhaul. Step flashing consists of small L-shaped metal pieces, one per shingle course, that overlap each other along the sloped sides of the chimney.
Because each piece is woven under and over the adjacent shingles, this repair does require carefully lifting the shingle courses above the damaged section, sliding out the old flashing, and installing new pieces in the same overlapping pattern. It is precise work, and rushing it is what leads to the leaks that bring homeowners back to us a year later.
Solution 3: Install New Counter Flashing Cut Into the Mortar Joints
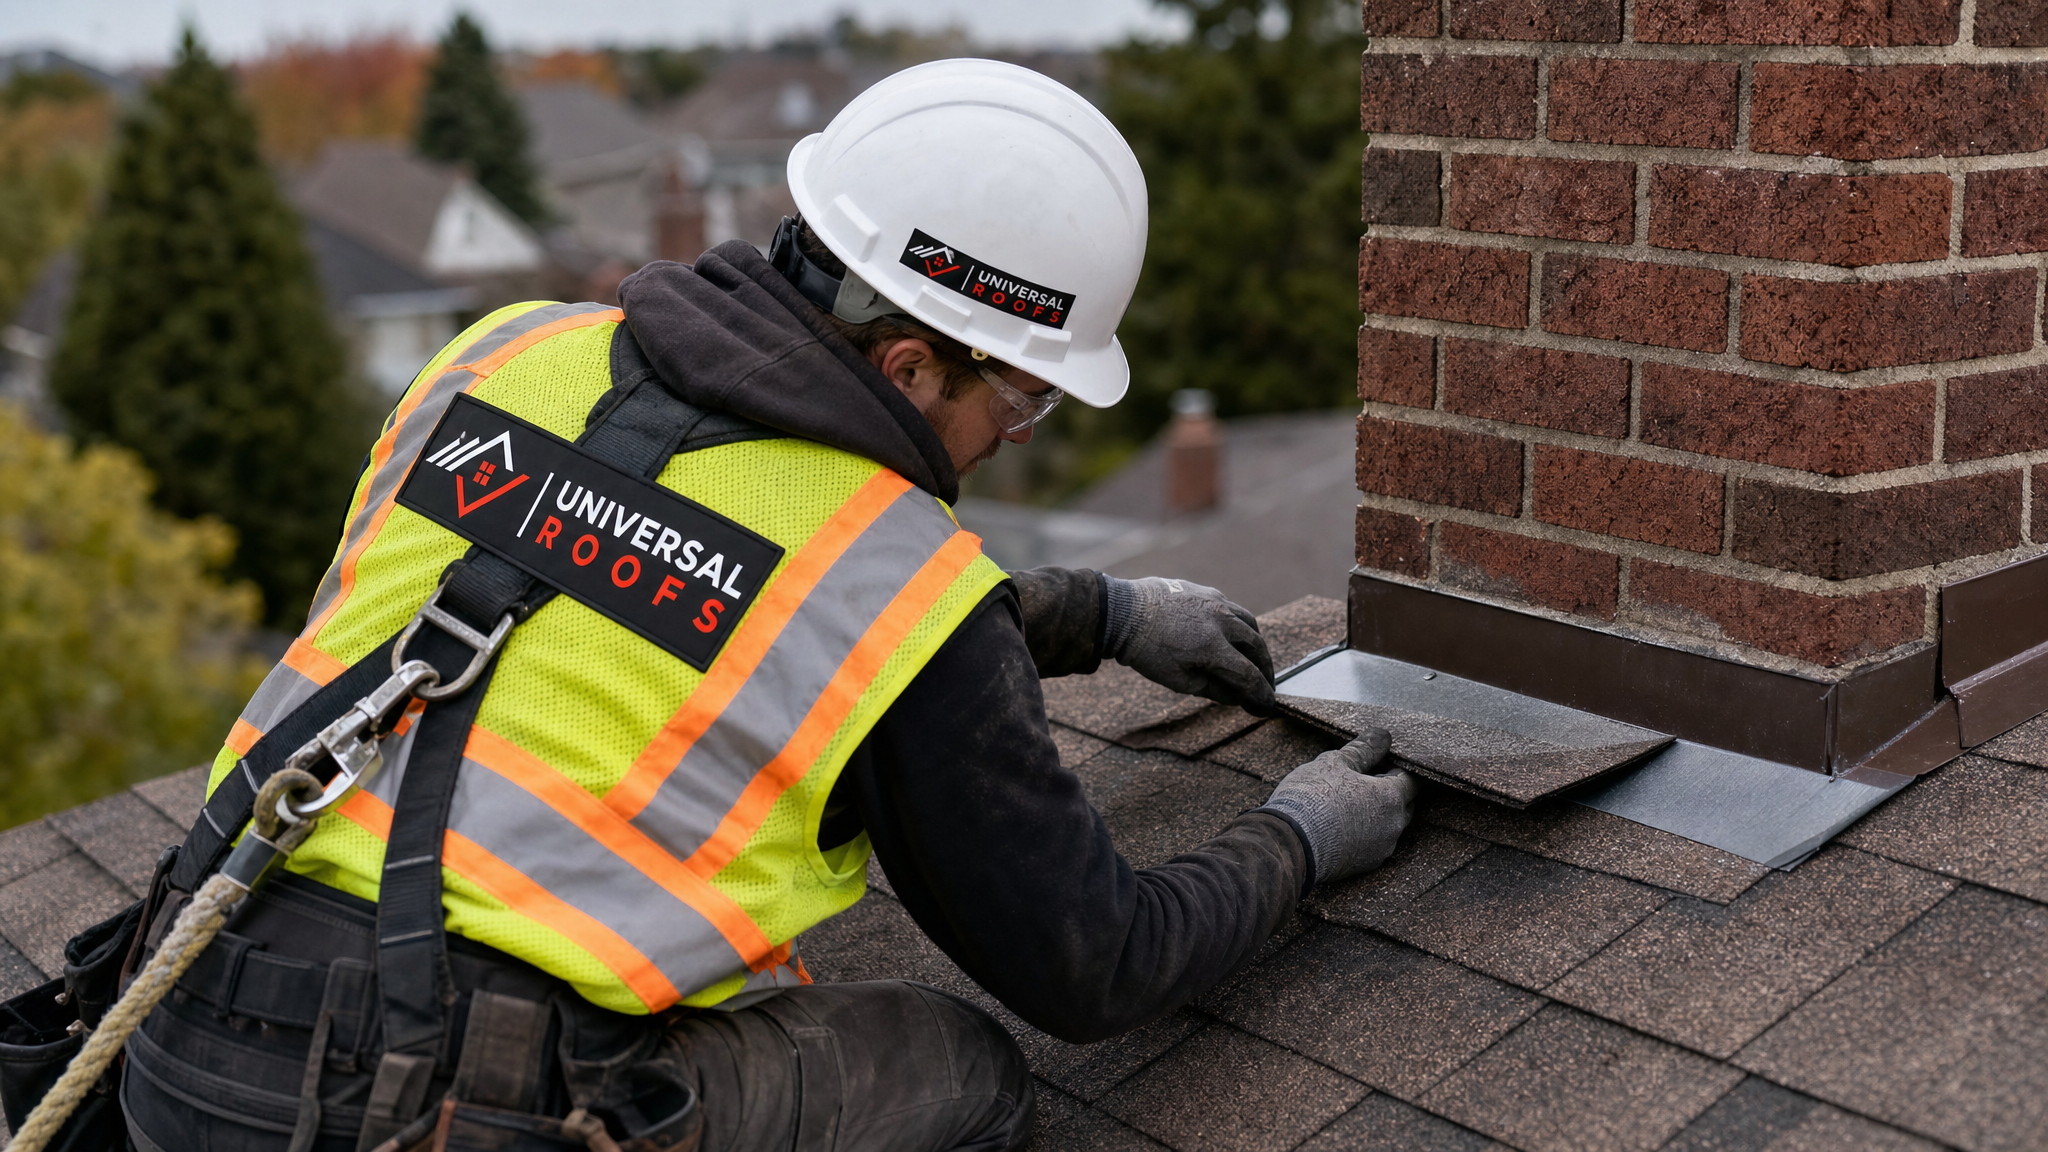
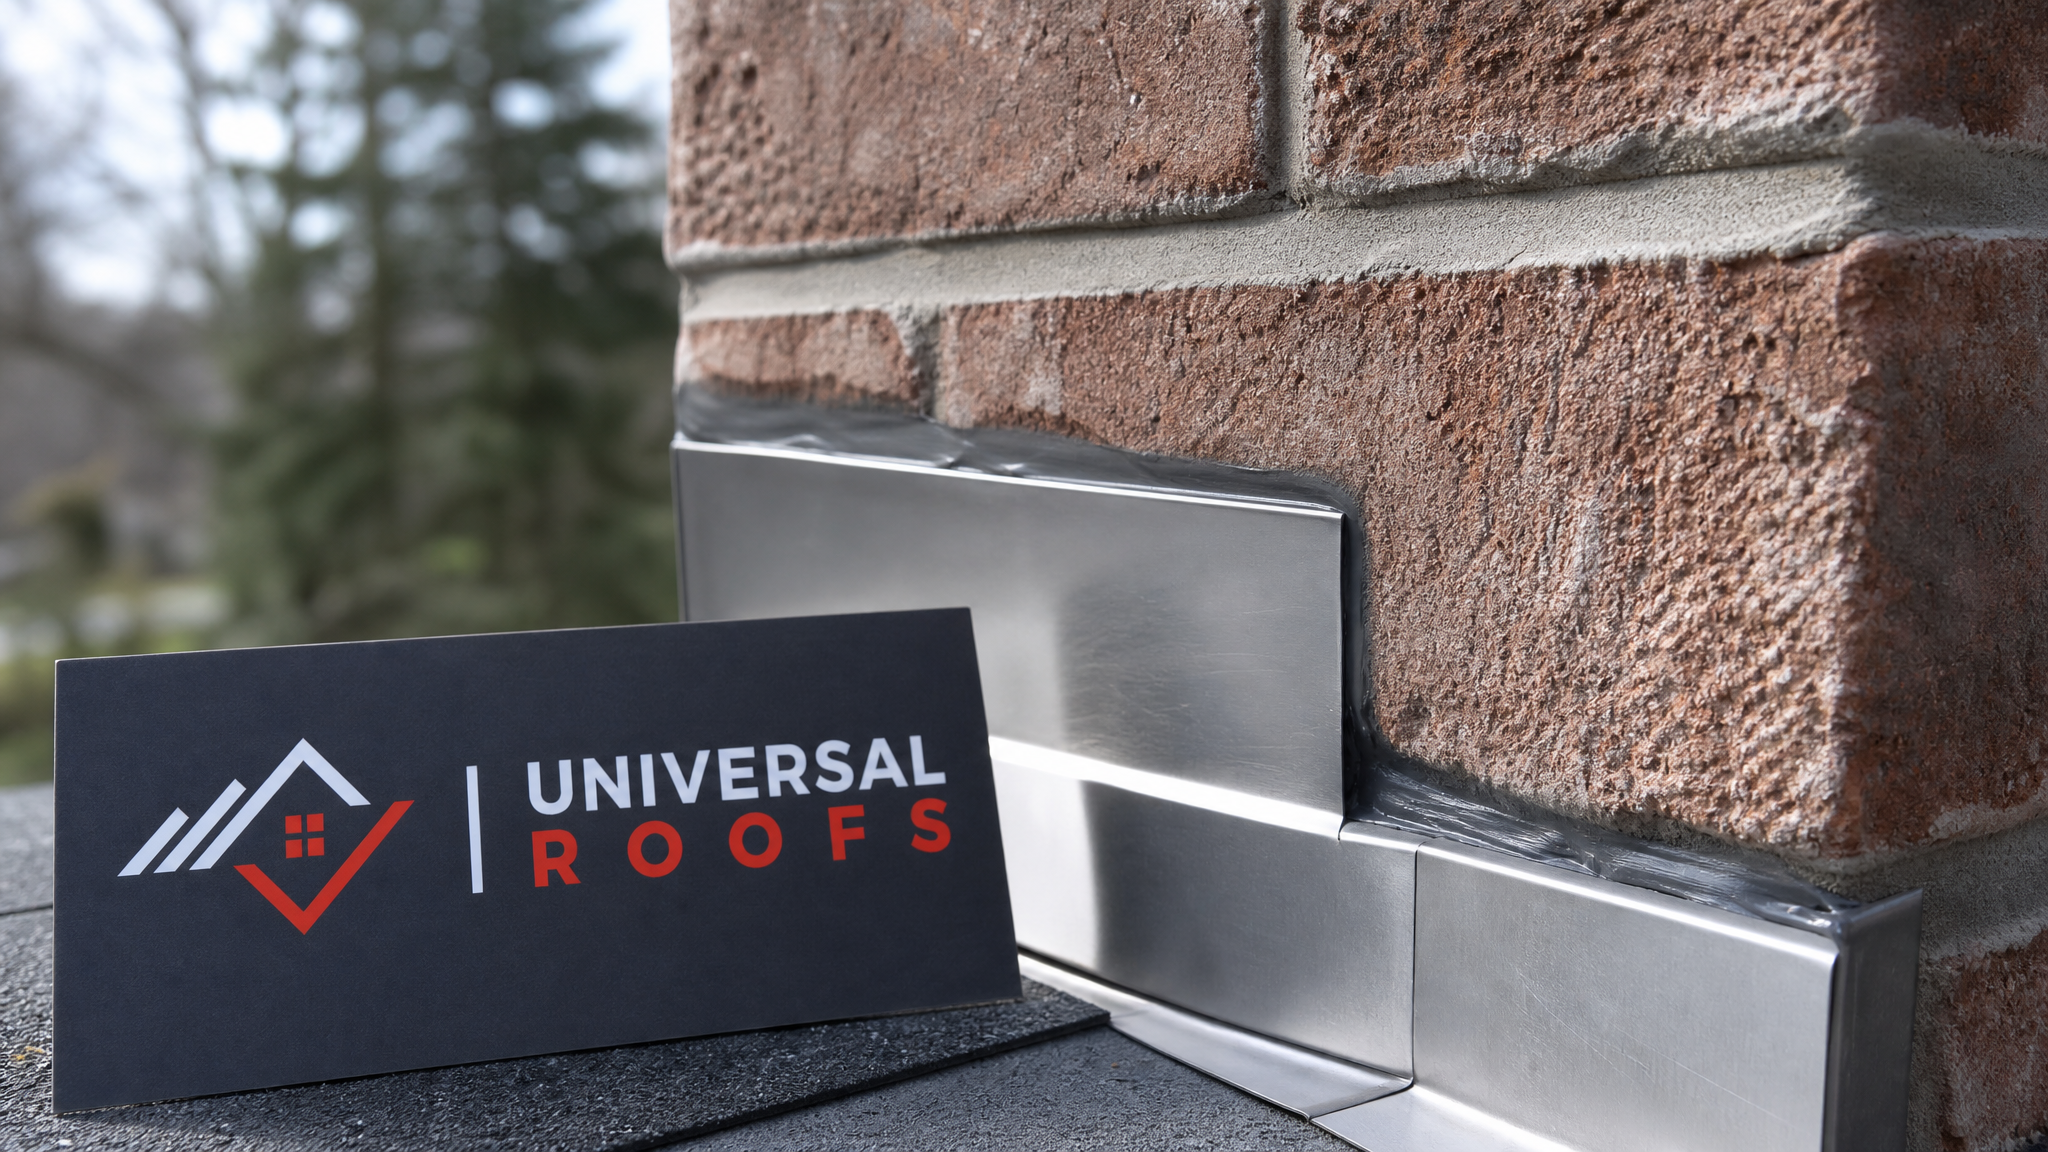
Counter flashing damage is one of the most common causes of chimney leaks we diagnose, particularly on older homes where the original flashing was surface-mounted with caulking instead of properly embedded into the brick. When counter flashing has rusted, pulled away from the masonry, or was never installed correctly in the first place, cutting a new reglet (a groove) into the mortar joint and embedding fresh counter flashing is the correct long-term solution.
This method involves grinding a clean channel roughly 2.5 to 4 centimetres deep into the mortar joint, inserting the top edge of the new counter flashing into that channel, and sealing it with mortar or a masonry-grade sealant. The result sheds water away from the brick face permanently, rather than relying on a bead of caulking sitting on top of the mortar, which is the weak point that fails first on cheaper installations.
Solution 4: Rebuild the Entire Flashing System From Scratch
When damage has spread across multiple components — base flashing, step flashing, and counter flashing all showing signs of failure — patchwork repairs stop making financial sense. A full flashing rebuild removes every piece around the chimney and replaces it with a fresh, properly integrated system, typically using 24-gauge galvanized steel or aluminum formed specifically to the chimney’s dimensions.
This is the solution we recommend most often for chimneys on roofs that are otherwise structurally sound but have had flashing problems for several years. It addresses the root cause rather than the symptoms, and because everything is replaced at once, there are no old, mismatched sealant joints left to fail later. If the surrounding shingles are also nearing the end of their service life, this is often the point where a broader conversation about roof replacement makes more sense than continuing to invest in an aging roof.
| Solution | Best For | Typical Cost Range (CAD) | Estimated Lifespan |
|---|---|---|---|
| Professional resealing | Minor sealant failure, sound metal | $250 – $600 | 3-5 years |
| Spot step flashing replacement | 1-3 damaged pieces | $400 – $900 | 10-15 years |
| New counter flashing (cut-in) | Surface-mounted or rusted counter flashing | $700 – $1,400 | 20-25 years |
| Full flashing system rebuild | Multiple failure points, older systems | $1,200 – $2,800 | 25-30 years |
| Flexible flashing membrane retrofit | Irregular chimney shapes, quick upgrades | $600 – $1,300 | 15-20 years |
Solution 5: Retrofit With Self-Adhering Flexible Flashing Membrane
For chimneys with irregular shapes, tight corners, or unusual roof-to-masonry angles, a self-adhering flexible flashing membrane can be an excellent solution layered in alongside traditional metal. These modern membranes, similar in composition to ice-and-water shield products, bond directly to both the roof deck and the chimney’s masonry surface, filling gaps that rigid metal flashing struggles to conform to.
This approach works especially well as a supplementary layer beneath conventional step and counter flashing, adding a redundant waterproof barrier at the exact spots where leaks tend to originate. It is not typically used as a total replacement for metal flashing on its own, but as an added layer of protection, it significantly extends the life of the whole assembly and is a smart addition during any flashing repair project.
Solution 6: Address the Chimney Cricket (Saddle) Behind Wide Chimneys
Chimneys wider than about 76 centimetres (30 inches) measured across the roof slope are required by most building codes, including those referenced in Ontario, to have a cricket — a small peaked structure built into the roof directly behind the chimney that diverts water and snow around it rather than letting it pool against the uphill side. A missing, undersized, or poorly flashed cricket is one of the most overlooked causes of chronic chimney leaks, and no amount of resealing the flashing will fix it if the underlying water diversion is inadequate.
If your chimney is on the wider side and you are seeing consistent leaking at the top edge (the uphill side) despite flashing repairs, it is worth having a technician evaluate whether a cricket needs to be built or rebuilt. This is more involved carpentry and flashing work than a typical repair, but it solves a problem that would otherwise keep recurring no matter how many times the flashing itself is patched.
Solution 7: Correct Improper Flashing Installation From a Previous Job
Not every flashing failure is due to age or weather. A significant share of the chimney leaks we investigate trace back to flashing that was installed incorrectly during a previous roofing or chimney repair — counter flashing surface-mounted with caulk instead of cut into the mortar, step flashing pieces stacked instead of properly interwoven with each shingle course, or base flashing that was never extended far enough up the chimney face.
The solution here is a full inspection and correction rather than a simple patch, since the original workmanship needs to be undone before it can be done properly. This is more common than most homeowners expect, particularly on chimneys where the roof and the flashing were installed by different trades at different times. A thorough inspection during an attic and roof assessment can usually confirm whether this is the root cause behind a recurring leak.
| Warning Sign | Likely Flashing Issue | Recommended Solution |
|---|---|---|
| Water stain on ceiling near fireplace after rain | Failed counter flashing seal or base flashing gap | Reseal or new counter flashing cut-in |
| Rust streaks down brick face | Corroding galvanized flashing reaching end of life | Full flashing rebuild |
| Daylight visible around chimney in attic | Gap or missing section in base/step flashing | Spot replacement or full rebuild |
| Recurring leak on uphill side of wide chimney | Missing or undersized cricket | Cricket construction with new flashing |
| Leak appeared shortly after a repair or new roof | Improper original flashing installation | Inspection and correction |
Solution 8: Add Rust-Resistant Metal and Upgrade Fastener Choices
If your existing flashing is galvanized steel that has started to rust after fifteen or twenty years, upgrading to a more corrosion-resistant material during the repair is a smart long-term investment. Aluminum flashing resists rust entirely, though it can corrode if it comes into direct contact with certain masonry mortars over time, while copper flashing is the premium option, developing a protective patina and often outlasting the roof itself.
Fastener choice matters just as much as the flashing material. Standard zinc-coated nails can corrode and stain the surrounding shingles or brick within a decade, especially in the humid summers and salty winter road spray common across the GTA. Stainless steel or copper fasteners, matched to the flashing metal to avoid galvanic corrosion between dissimilar metals, cost more upfront but eliminate one of the quieter causes of premature flashing failure.
Solution 9: Schedule Annual Chimney Flashing Inspections Before Problems Start
The ninth and arguably most valuable solution is prevention. Catching flashing wear before it becomes an active leak is dramatically cheaper and less disruptive than any repair on this list. An annual inspection, ideally in spring after the freeze-thaw season and again before winter, checks for lifted or cracked sealant, early rust spots, loose fasteners, and any shingle damage directly around the chimney base.
This is especially important for homes in the GTA given how hard our seasonal swings are on roofing materials. A ten-minute visual check from a professional, sometimes bundled with a broader roof inspection, routinely catches problems while they still cost a few hundred dollars to fix rather than a few thousand. It is also the ideal time to check nearby penetrations like skylights or vent stacks, since flashing around those components wears out on a similar timeline.
| Task | DIY Feasibility | Professional Recommended? | Risk if Done Incorrectly |
|---|---|---|---|
| Applying fresh sealant over sound flashing | Moderate — accessible with proper roof safety gear | Optional for minor touch-ups | Low — short-term fix if it fails |
| Replacing individual step flashing pieces | Difficult — requires lifting shingles without damaging them | Yes | High — improperly woven flashing causes hidden leaks |
| Cutting a mortar reglet for counter flashing | Not recommended for most homeowners | Yes | High — damaged masonry or a poor seal against the brick |
| Full flashing system rebuild | Not recommended | Yes | Severe — a mis-sequenced install can leak worse than before |
| Building or repairing a chimney cricket | Not recommended | Yes | Severe — structural and waterproofing implications |
How to Choose the Right Solution for Your Chimney
With nine potential solutions, deciding where to start can feel overwhelming. The good news is that the choice usually comes down to three questions: how extensive is the visible damage, how old is the existing flashing, and how long do you plan to stay in the home or keep the current roof. A minor sealant failure on flashing installed within the last decade almost always points toward resealing or a spot repair. Rust-through, multiple failure points, or flashing older than twenty years point toward a full rebuild.
It is also worth having an experienced roofer physically inspect the chimney rather than guessing from ground level or photos. Flashing problems are frequently hidden under shingle courses or behind the chimney where they cannot be seen without lifting materials, and a proper diagnosis prevents paying for the wrong fix twice. Homeowners across Toronto, Peel Region, York Region, Halton Region, and Durham Region can book an on-site assessment where every component of the flashing system gets checked, not just the visible sealant lines.
Cost is naturally part of the decision too. As a general rule, spending a little more now on a proper cut-in counter flashing repair or full rebuild almost always costs less over a ten-year span than repeated resealing jobs on flashing that is fundamentally past its service life. You can read how past clients weighed these same trade-offs on our reviews page, and our FAQ page covers several more specific chimney and flashing questions we get asked regularly.
What are the best solutions for damaged flashing on chimneys?
How do I know if my chimney flashing is damaged?
Can I reseal chimney flashing myself instead of replacing it?
How much does it cost to fix damaged flashing on a chimney?
Why does chimney flashing fail more often in Toronto and the GTA?
Does a wide chimney need special flashing solutions?
Need Help With 9 Best Solutions for?
Damaged chimney flashing rarely gets better on its own, and the longer it sits, the more expensive the eventual repair becomes. Universal Roofs has been diagnosing and solving exactly this kind of problem for GTA homeowners since 2005, with crews who know the difference between a quick reseal and a chimney that genuinely needs a full flashing rebuild.
Call us today at (416) 732-2421 or request a free inspection to get started.
Universal Roofs proudly serves Toronto, Mississauga, Brampton, Vaughan, Markham, Oakville and the GTA since 2005.