
A chimney is one of the hardest-working, least-inspected features on a Toronto roof. It punches straight through your shingles, membrane, or metal panels and takes the brunt of freeze-thaw cycles, wind-driven rain, and summer UV exposure all at once. When something goes wrong at the chimney, the fix that works perfectly on an asphalt shingle roof can be the wrong choice entirely for a flat membrane roof or a standing-seam metal roof. Choosing the correct chimney repair options for different roof materials is what separates a repair that lasts fifteen years from one that leaks again by next spring.
This guide walks through the ten most effective chimney repair approaches, matched to the roofing material each one performs best on, along with realistic costs, timelines, and the warning signs that tell you which repair you actually need. We wrote this from decades of field experience across Toronto, Mississauga, Brampton, Vaughan, Markham, and Oakville, where chimneys sit on everything from 1960s asphalt-shingle bungalows to modern flat-roofed additions.
Why Chimney Repair Method Has to Match Roof Material
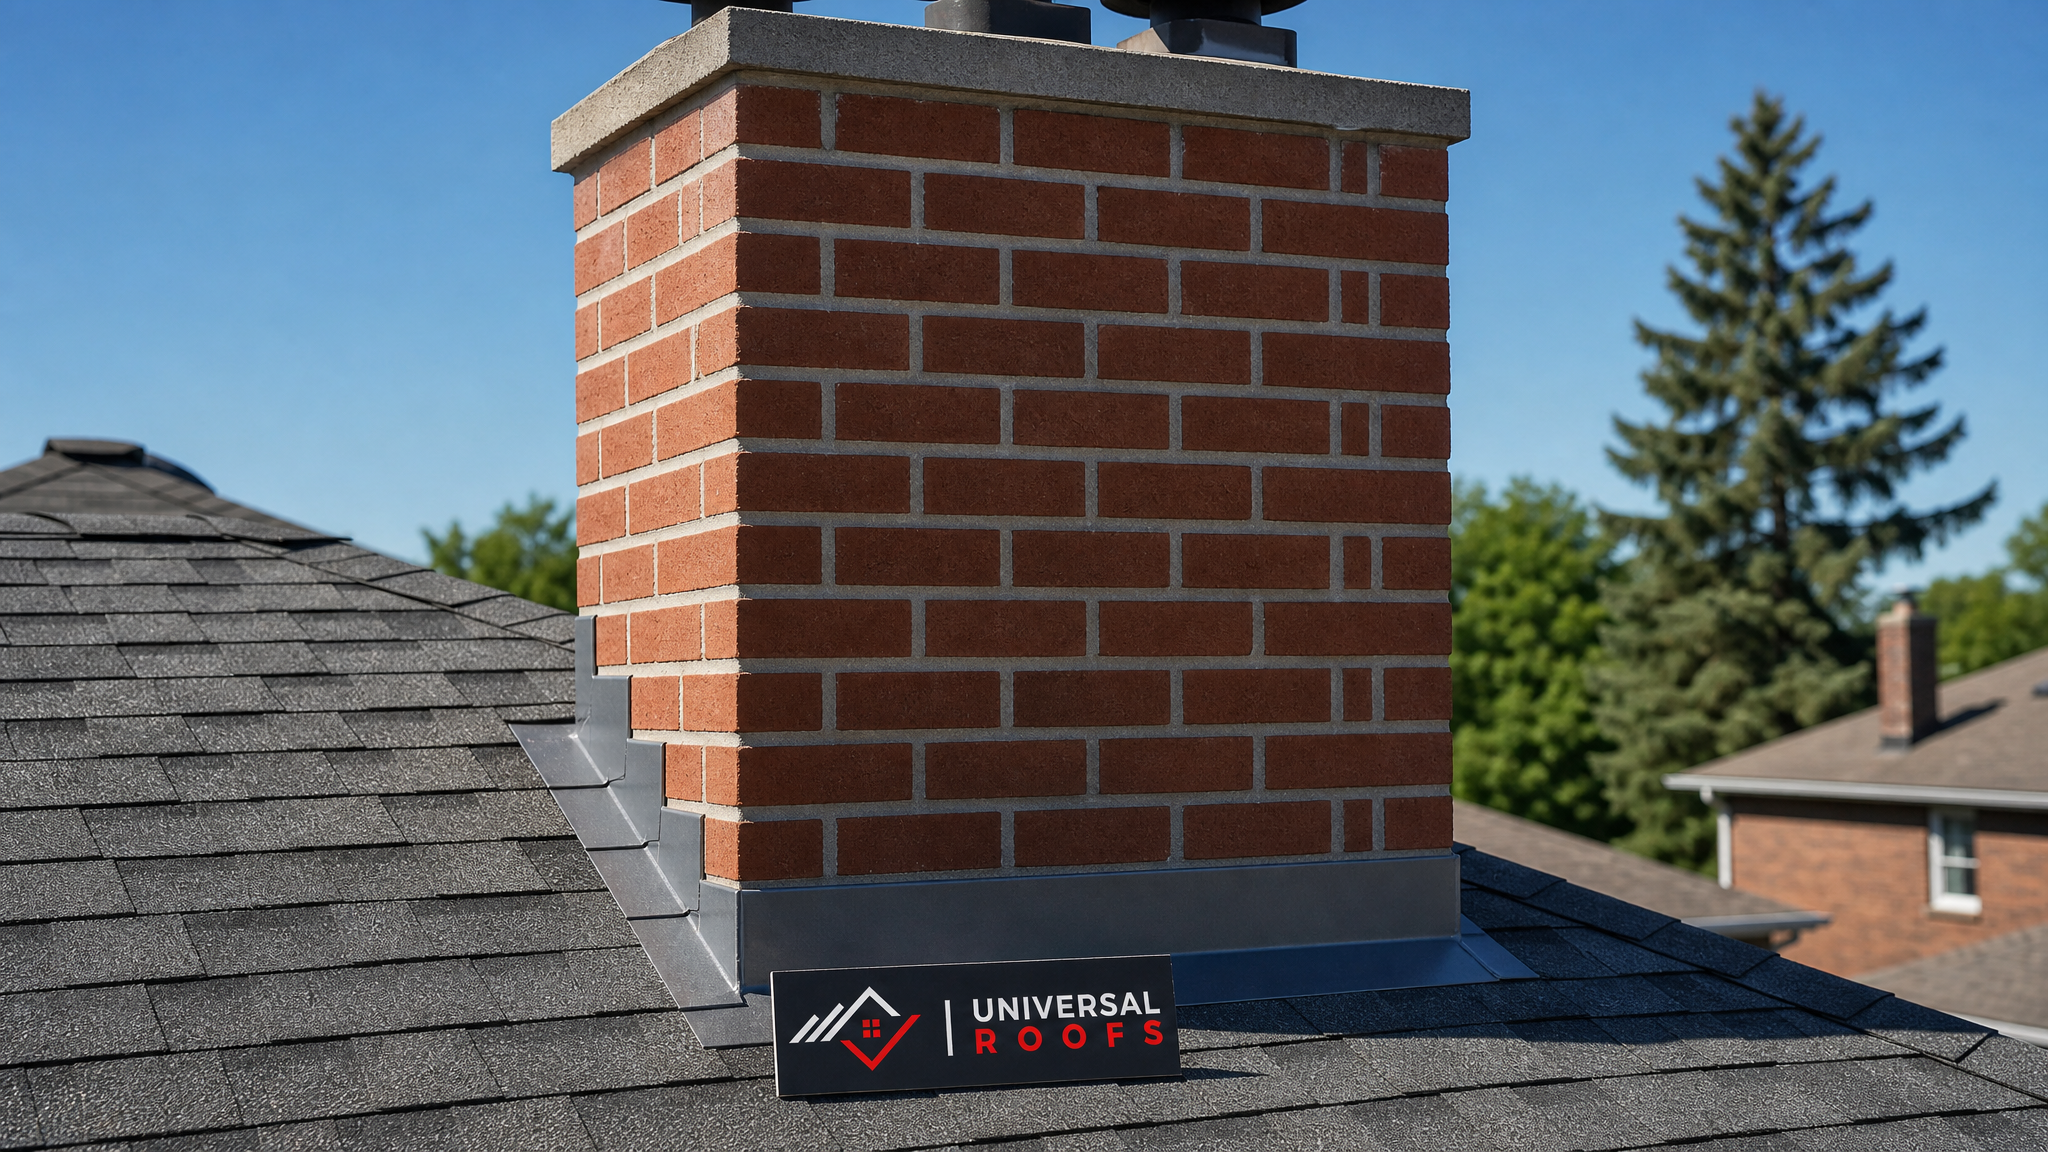
Every roofing material sheds water, expands and contracts, and accepts fasteners differently. A step-flashing detail that seals beautifully against asphalt shingles will not seal against a fully-adhered flat roof membrane, and a counterflashing reglet cut into brick works differently than a flashing collar mechanically fastened to a metal panel. Contractors who apply a single generic chimney fix to every roof type are the number one reason chimney leaks reappear within a year or two.
The compatibility issue comes down to three things: how the flashing ties into the field material, how much thermal movement the roof surface experiences, and how the two materials are sealed together. Asphalt shingles rely on layered, woven step flashing. Flat membranes rely on heat-welded or adhered flashing boots. Metal roofing relies on flexible, mechanically-fastened collars that accommodate expansion. Get this wrong and water finds the seam within a season.
Before diving into the ten specific options, it helps to understand how a professional roof repair assessment identifies which category your chimney problem falls into: flashing failure, masonry deterioration, crown/cap damage, or a structural issue with the chimney chase itself.
1. Step Flashing Replacement for Asphalt Shingle Roofs
Step flashing is the layered metal pieces woven between each course of shingles along the sides of the chimney. On asphalt shingle roofs, this is by far the most common point of failure, usually because the original flashing was reused during a re-roof rather than replaced, or because it was installed with roofing cement instead of proper counterflashing.
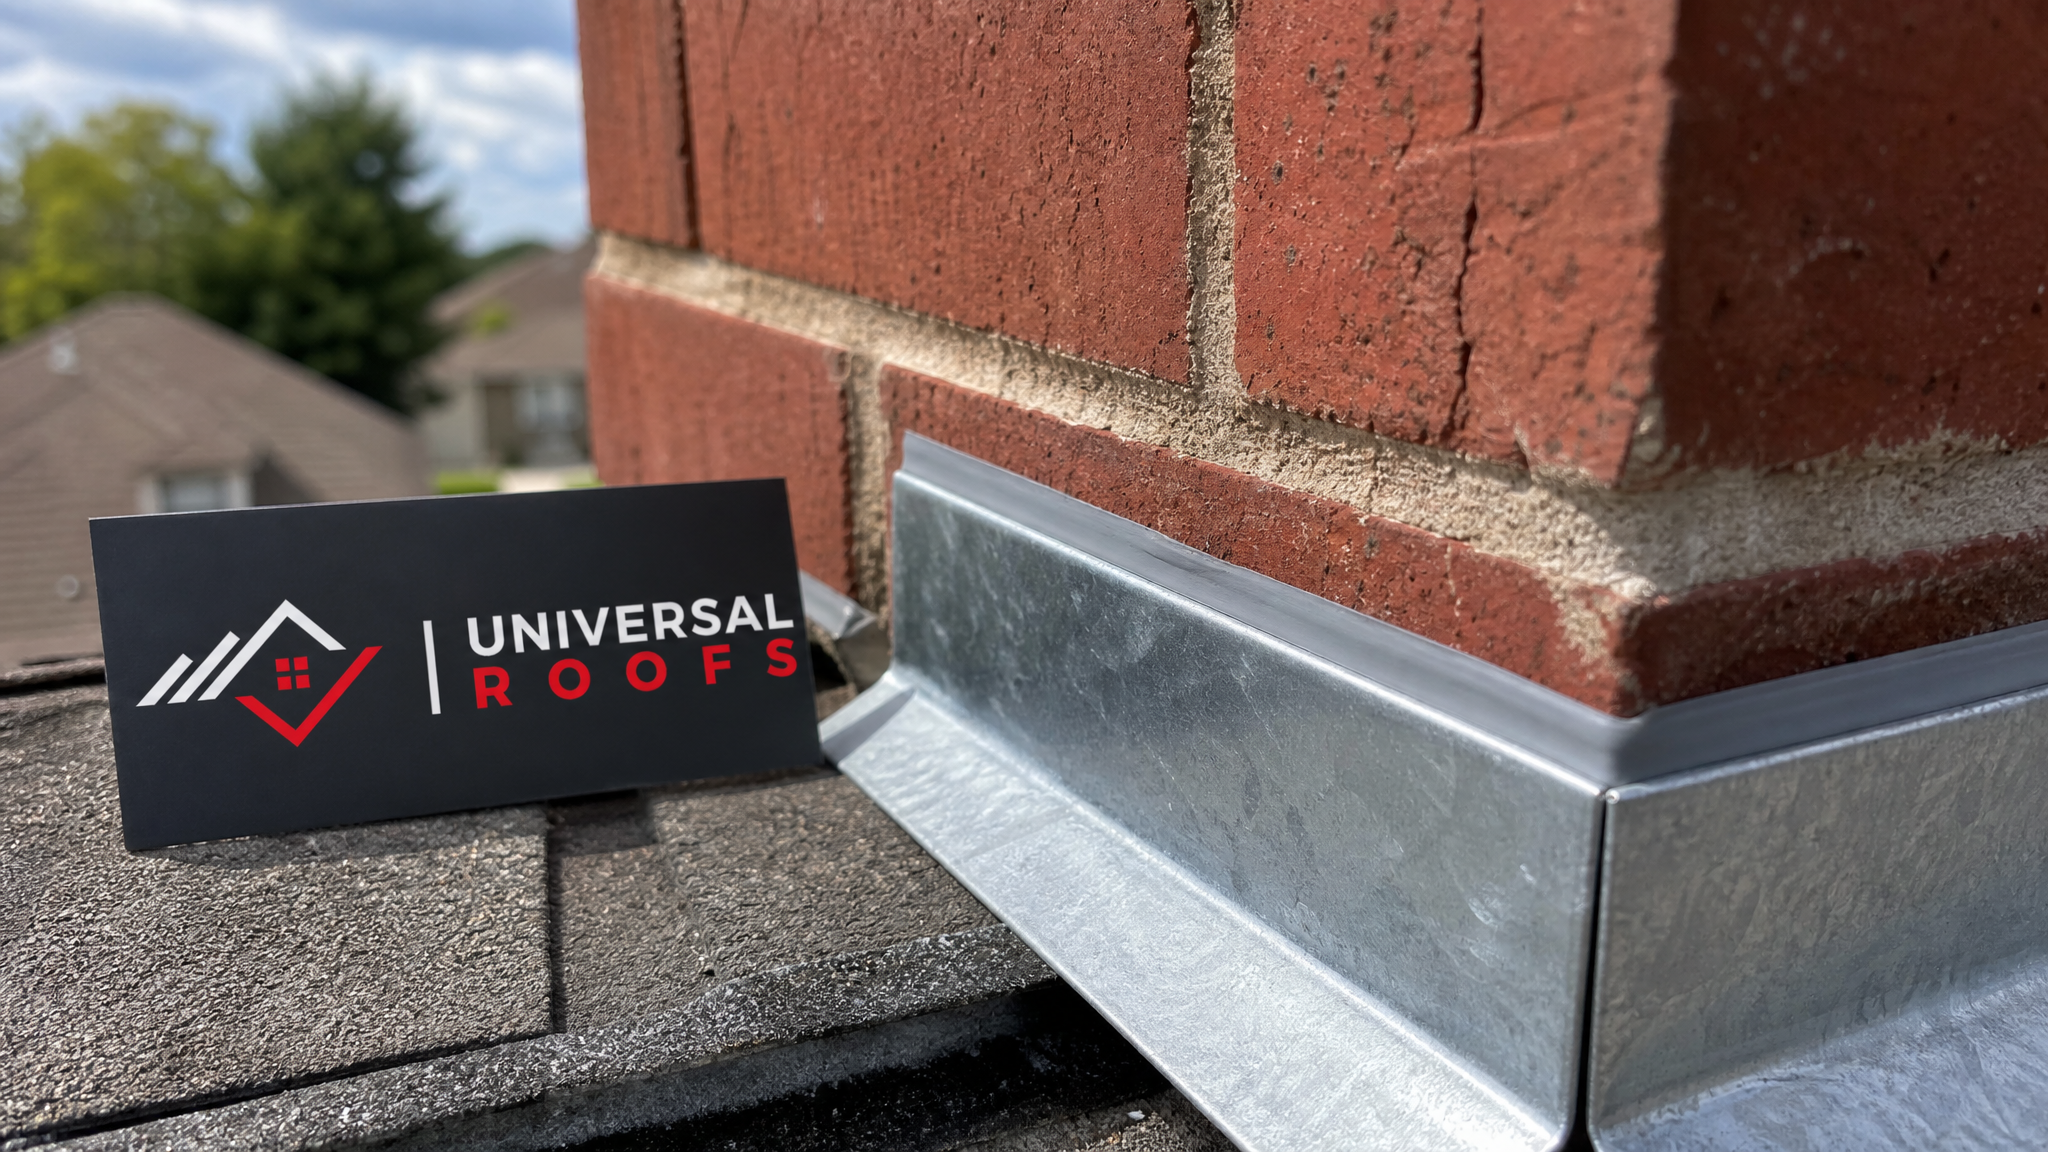
The correct repair involves removing shingles back several courses, pulling the old step flashing, and installing new galvanized steel or aluminum step flashing pieces woven one at a time with fresh shingle courses. This should always be paired with counterflashing set into a mortar reglet on the brick, not surface-mounted with caulking alone, which fails within two or three Toronto winters.
| Flashing Type | Best Roof Material | Typical Lifespan | Average GTA Cost |
|---|---|---|---|
| Step flashing (woven) | Asphalt shingles | 20-25 years | $650-$1,400 |
| Counterflashing (reglet-cut) | Brick or stone chimneys | 25-30 years | $500-$1,100 |
| Apron flashing | Asphalt or metal, downslope side | 20-25 years | $300-$600 |
| Saddle/cricket flashing | Wide chimneys on any material | 25+ years | $700-$1,800 |
2. Heat-Welded Flashing Boots for Flat and Membrane Roofs
Flat roofs and low-slope membrane systems (TPO, EPDM, or modified bitumen) need an entirely different approach than shingle roofs. Instead of woven step flashing, the chimney base is wrapped with a pre-formed or field-fabricated flashing boot that is heat-welded (for TPO/PVC) or torch-applied (for modified bitumen) directly to the membrane, creating a continuous, monolithic seal with no shingle laps to fail.
This is one of the most reliable chimney repair options for different roof materials because a properly welded membrane boot essentially becomes part of the roof surface rather than a separate component sitting on top of it. If your home has a flat-roofed addition or a fully flat roof, this is the method our flat roofing crews use almost exclusively around chimney penetrations, since standard shingle-style flashing has no way to bond to a rubber or thermoplastic membrane.
Expect this repair to run $800 to $2,200 depending on chimney size and membrane type, with a lifespan of 15 to 20 years when properly welded and inspected annually.
3. Mechanically-Fastened Collars for Metal Roofs
Standing-seam and metal shingle roofs move more with temperature swings than asphalt or membrane systems, which means chimney flashing on a metal roof needs built-in flexibility. The best solution is a mechanically-fastened flashing collar with a compressible EPDM or silicone gasket, paired with a sliding clip system that lets the metal panels expand and contract without tearing the flashing seal.
Rigid, fully-caulked flashing on a metal roof is a common mistake that cracks within a year or two as the panels move. A properly detailed metal roof chimney flashing should combine a storm collar, a base flashing plate matched to the panel profile, and high-temperature sealant only at the top collar, never as the primary waterproofing layer.
4. Tuckpointing and Repointing for Brick and Stone Chimneys
Mortar joints are the first thing to fail on a masonry chimney, especially in Toronto’s freeze-thaw climate where water gets into hairline cracks, freezes, expands, and widens the crack every winter. Repointing (also called tuckpointing) means grinding out deteriorated mortar to a depth of at least 20mm and repacking the joints with fresh mortar matched to the original in colour, texture, and hardness.
This repair is specific to brick and stone chimneys and does not apply to metal or fibreglass chimney chases. Using mortar that is too hard for the existing brick is a frequent contractor error in older GTA homes; overly hard modern mortar doesn’t flex with the brick and accelerates spalling (the brick face flaking off) instead of preventing it.
| Masonry Condition | Recommended Fix | Urgency |
|---|---|---|
| Hairline mortar cracks | Spot repointing | Moderate — address within a season |
| Crumbling joints over 30% of chimney | Full repointing | High — schedule this year |
| Spalling/flaking brick faces | Brick replacement + repointing | High — moisture is already inside |
| Leaning or separating chimney | Structural rebuild | Urgent — safety concern |
5. Chimney Crown Repair and Replacement
The crown is the concrete or mortar cap covering the very top of a masonry chimney, and it is the single most common source of water intrusion after flashing. A cracked or poorly sloped crown lets water pool and seep directly down into the chimney structure, often showing up as staining or dampness at the ceiling near the fireplace long before anyone notices the crown itself is damaged.
For minor cracking, a flexible crown sealant coating can add 5 to 10 years of protection. For crowns with significant deterioration, a full crown rebuild using a properly sloped, reinforced concrete pour with a drip edge overhang is the durable fix. This applies to virtually any roof material below, since the crown problem is independent of the field roofing — it’s purely about the top of the masonry structure itself.
6. Chimney Cap and Cover Installation
A chimney cap sits above the crown and covers the flue opening, keeping out rain, snowmelt, birds, squirrels, and downdrafts. Homes without one, or with a rusted-out cap from the 1980s or 90s, are far more likely to develop internal moisture damage regardless of what the roof material is.
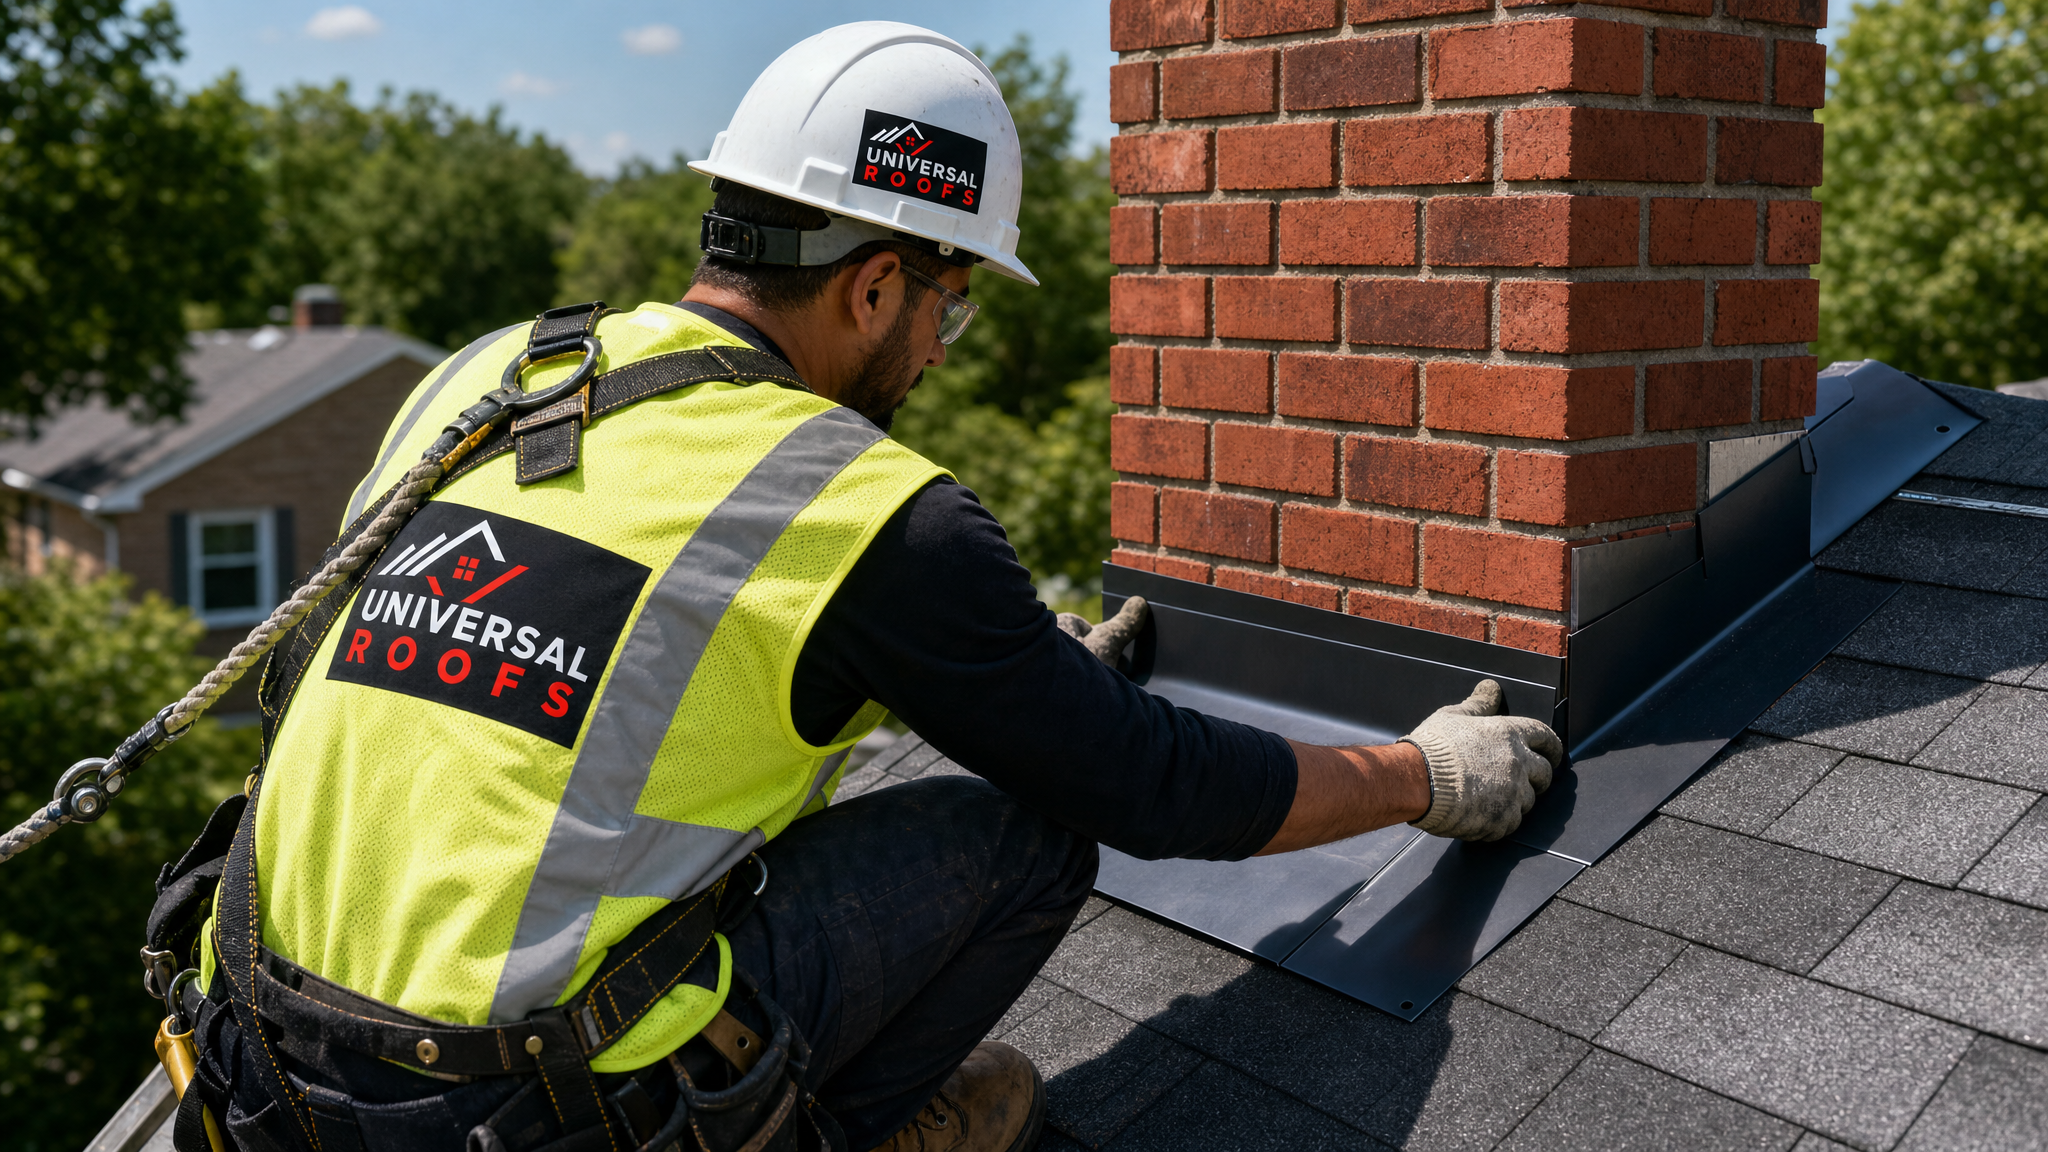
Stainless steel caps with a mesh screen are the standard recommendation across every roof type we service, from asphalt shingle to flat membrane, because the cap protects the flue independent of the roofing material below. Installation typically costs $250 to $600 and is one of the best value-for-money repairs on this list, often preventing far more expensive interior damage.
7. Chimney Chase Cover Replacement (Prefabricated Chimneys)
Not every chimney is brick. Many newer GTA homes, especially those built since the 1990s, have prefabricated metal fireboxes housed inside a wood-framed chase wrapped in siding or stucco, topped with a sheet-metal chase cover. These covers are notorious for rusting through, especially where seams were sealed with caulking instead of soldered or properly lapped joints.
The best repair here is a full chase cover replacement in 24-gauge or heavier galvanized or stainless steel, with soldered corner seams rather than caulked ones, and a drip edge that extends past the chase siding. This is a completely different repair category from masonry crown work, and applying masonry techniques to a prefab chase (or vice versa) is a common and costly mismatch.
8. Flue Liner Repair and Relining
While flue liner issues are more of a venting and safety concern than a roof-leak concern, they often get discovered during a chimney repair inspection and are worth addressing together since the top of the chimney has to be opened up regardless. Cracked clay tile liners or a liner with only bare masonry (no liner at all, common in homes built before the 1960s) should be relined with a stainless steel liner sized to the appliance or fireplace it serves.
This matters for roof material choice indirectly: if your chimney needs a full liner replacement, that’s often the ideal moment to also rebuild the crown, replace the cap, and redo flashing all in one mobilization rather than paying for a separate roof visit later.
| Chimney Repair | Typical Timeline | Best Season in GTA | Cost Range |
|---|---|---|---|
| Flashing replacement | 1 day | Spring through fall | $500-$1,400 |
| Crown repair/rebuild | 1-2 days | Late spring through early fall | $600-$2,000 |
| Full repointing | 2-4 days | Warm, dry weeks only | $1,200-$3,500 |
| Cap/chase cover install | Half day to 1 day | Year-round, weather permitting | $250-$1,200 |
| Flue relining | 1-2 days | Spring through fall | $1,800-$4,500 |
9. Waterproof Sealant Coatings (Short-Term and Supplementary)
Breathable, vapour-permeable masonry sealants can extend the life of sound brick or stone by reducing water absorption without trapping moisture inside the wall, which is critical since non-breathable sealants actually accelerate freeze-thaw damage by locking moisture in. This is a supplementary repair, not a replacement for repointing or flashing work, and it should only ever be applied to masonry that’s structurally sound.
Sealant coatings don’t apply meaningfully to metal chase covers or membrane flashing boots, which rely on their own material integrity rather than a surface coating. Treat this as a maintenance step for brick and stone chimneys specifically, ideally reapplied every 5 to 7 years, with summer being the best application window since the masonry needs to be fully dry and temperatures need to stay above roughly 10°C during cure.
10. Full Chimney Rebuild for Structural Failure
When a chimney has significant leaning, separation from the house, extensive spalling below the roofline, or a deteriorated foundation, patch repairs stop being cost-effective or safe. A full rebuild — removing the structure down to a sound base and reconstructing it with matching brick, a new liner, proper flashing, crown, and cap — is the only durable option at that stage.
This is also the point where roof material below the chimney matters most for sequencing: a rebuild on a flat membrane roof requires temporary membrane protection and a fresh heat-welded flashing boot at the end, while a rebuild on an asphalt shingle roof needs new step flashing woven back into replaced shingle courses. Coordinating this properly is also a good opportunity to evaluate whether the surrounding roof replacement timeline should move up, particularly if the shingles or membrane near the chimney are already near end of life.
Matching the Right Chimney Repair to Your Roof Material: A Summary Table
| Roof Material | Primary Flashing Solution | Common Failure Point | Recommended Inspection Frequency |
|---|---|---|---|
| Asphalt shingles | Woven step flashing + counterflashing | Reused old flashing during re-roof | Annually |
| Flat/membrane roof | Heat-welded flashing boot | Unwelded seams, ponding water | Twice yearly |
| Standing-seam metal | Mechanically-fastened flexible collar | Rigid caulk cracking from panel movement | Annually |
| Prefab chase (siding-wrapped) | Soldered chase cover | Caulked seams rusting through | Annually |
| Cedar shake or slate | Custom step flashing, larger overlap | Improper overlap during original install | Annually |
Toronto Climate Factors That Influence Chimney Repair Choices
The GTA’s climate is uniquely hard on chimneys. Winter freeze-thaw cycling is the dominant force behind masonry cracking and flashing failure, but summer conditions matter too. UV exposure degrades rubber gaskets and membrane flashing boots over time, and the urban heat island effect across Toronto, Mississauga, and Brampton pushes rooftop surface temperatures well above ambient air temperature on hot July and August days, accelerating the breakdown of lower-quality sealants.
Summer is genuinely the best window for most chimney repair work in this region. Mortar needs stable, warm, dry conditions to cure properly, membrane welding performs best above 15°C, and dry weeks are more reliable between June and September than in the shoulder seasons. If you’ve noticed water staining near a fireplace or attic space this spring, scheduling the repair now — before autumn rain and winter freeze-thaw arrive — is the difference between a controlled repair and an emergency one.
Chimney issues also frequently surface alongside attic ventilation problems, since poor airflow can trap moisture that migrates toward the chimney chase. If your inspection turns up condensation or insulation staining near the chimney, it’s worth having your attic ventilation checked at the same time. And if your chimney sits near a skylight — common on additions and dormered roofs — both penetrations should be inspected together, since a skylight flashing failure can sometimes be mistaken for a chimney leak or vice versa when water travels along roof sheathing before showing up inside.
How to Diagnose Which Chimney Repair You Actually Need
Most homeowners don’t need to identify the exact repair themselves, but knowing the signs helps you have a more informed conversation with your contractor and avoid being sold a bigger job than necessary. Water stains on a ceiling near the chimney almost always point to flashing failure first, since flashing is the most common leak source by a wide margin. Rust streaks running down brick point to a failing cap or damaged flue liner. White, chalky staining on brick (efflorescence) signals water is moving through the masonry and repointing is likely needed. Visible daylight or drafts around the chimney chase in an attic point to a prefab chase cover with failed seams.
A thorough inspection should check flashing, crown, cap, mortar joints, and the flue together, since these components interact — a failing crown, for instance, sends water down into joints that then freeze and crack, so treating only the surface symptom without checking the source rarely holds up. Homeowners in Toronto, Mississauga, Brampton, Vaughan, Markham, Oakville, and across the Toronto, Peel Region, York Region, Halton Region, and Durham Region can request a full chimney and roof assessment that checks all of these points in a single visit.
What Chimney Repairs Typically Cost Across the GTA
Pricing varies with chimney size, accessibility, roof pitch, and material condition, but the ranges below reflect what’s typical across the region for straightforward single-chimney jobs on a standard two-storey home. Steep roofs, multiple flues, or chimneys requiring scaffolding rather than ladder access will trend toward the higher end of each range.
| Repair Type | Low End | High End | Notes |
|---|---|---|---|
| Flashing repair (any material) | $300 | $1,400 | Varies by roof material and access |
| Crown repair | $400 | $2,000 | Sealant coat vs. full rebuild |
| Cap replacement | $250 | $1,200 | Stainless mesh recommended |
| Repointing (partial to full) | $800 | $3,500 | Depends on percentage of chimney affected |
| Full rebuild | $4,000 | $12,000+ | Structural failure, matched brick |
Given the range in both repair type and cost, an on-site assessment is always more accurate than an estimate based on a phone description. Reviewing recent reviews from other GTA homeowners can also give a sense of how a contractor handles chimney-specific work versus general roofing, since not every roofing crew specializes in the masonry and flashing detail work chimneys require.
Frequently Asked Questions
What are the best chimney repair options for different roof materials?
How do I know if my chimney flashing has failed?
Can I use the same flashing repair on a flat roof and a shingle roof chimney?
Is summer a good time to do chimney repair in Toronto?
How much does chimney repair cost in the GTA?
Do all chimneys need repointing eventually?
Need Help With 10 Best Chimney Repair?
Whether your chimney sits on an asphalt shingle roof, a flat membrane roof, or a metal panel system, getting the flashing method and masonry work right the first time is what keeps water out for good. The team at Universal Roofs has been diagnosing and repairing chimneys across the GTA since 2005, matching the right repair to your specific roof material rather than a one-size-fits-all fix.
Call us today at (416) 732-2421 or request a free inspection to get started.
Universal Roofs proudly serves Toronto, Mississauga, Brampton, Vaughan, Markham, Oakville and the GTA since 2005.