
Vinyl siding repair is usually a small job, but the damage behind it is not always small. A cracked panel near the driveway, a course that flapped loose in an autumn windstorm, or a hole left by a stray stone from the lawn mower can often be fixed in an hour or two. The tricky parts are matching colour on siding that has faded for fifteen years, and knowing what to do when the panel comes off and the sheathing behind it is wet.
A clean repair depends on understanding how the panels hang and lock together, because almost every bad patch we see fought that system with face nails, caulk or glue. With cooler nights arriving, it is also worth fixing damage now, before vinyl turns more brittle in the cold.
Why Vinyl Siding Repair Is Needed In The First Place
Vinyl siding is a thin PVC shell that hangs on the wall rather than being fixed rigidly to it. Each panel is nailed loosely through slotted nailing hems so it can slide sideways as it expands in warm weather and shrinks in the cold. Most damage comes from three things: impacts, wind and movement that has been restricted.
Cold-weather cracking
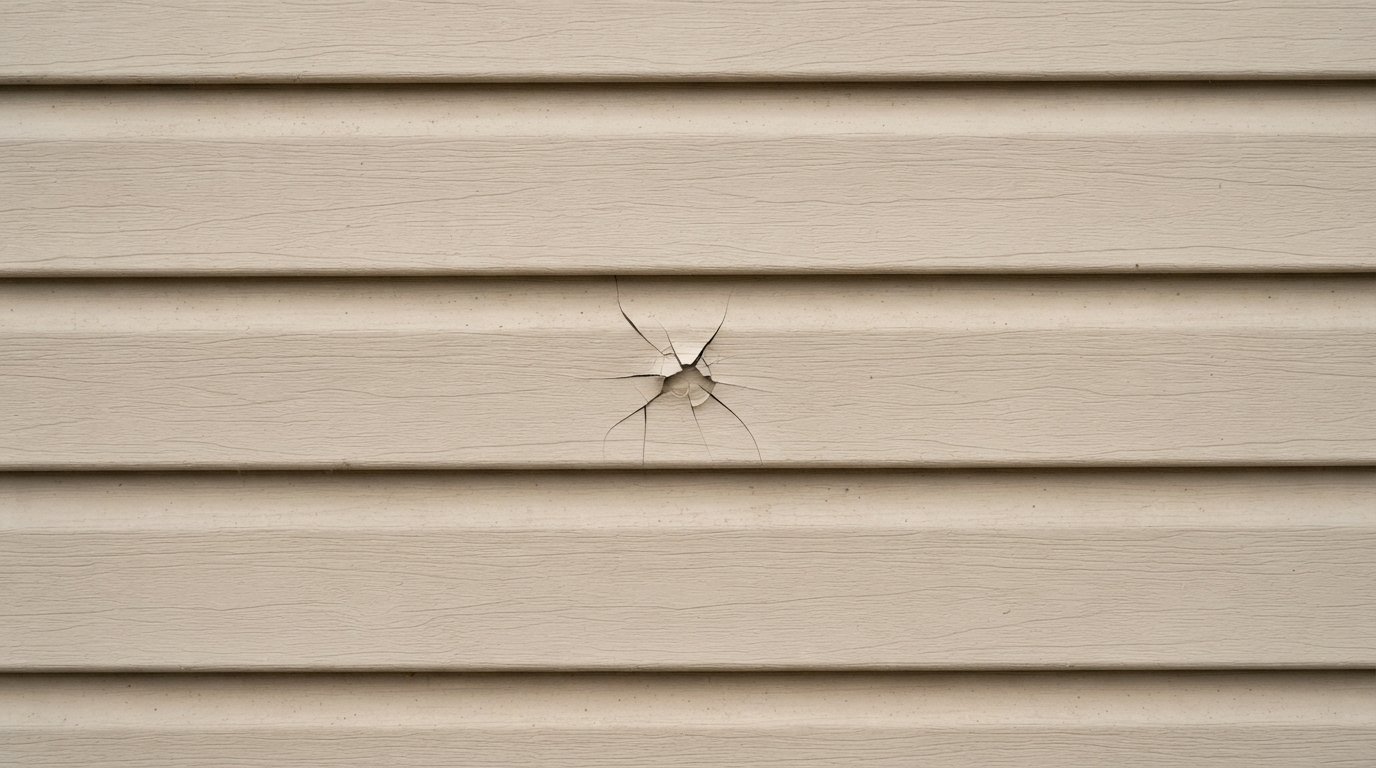
Vinyl becomes stiffer and more brittle as temperatures drop. The same panel that flexes when a ball hits it in July can crack cleanly from a similar impact on a frosty November morning. Hockey pucks, snowblower stones thrown against the wall, a dropped ladder or a shovel handle are typical culprits. Cracks are most common on the lower metre or so of wall and around driveways, decks and side yards where people and equipment move.
Wind-blown panels
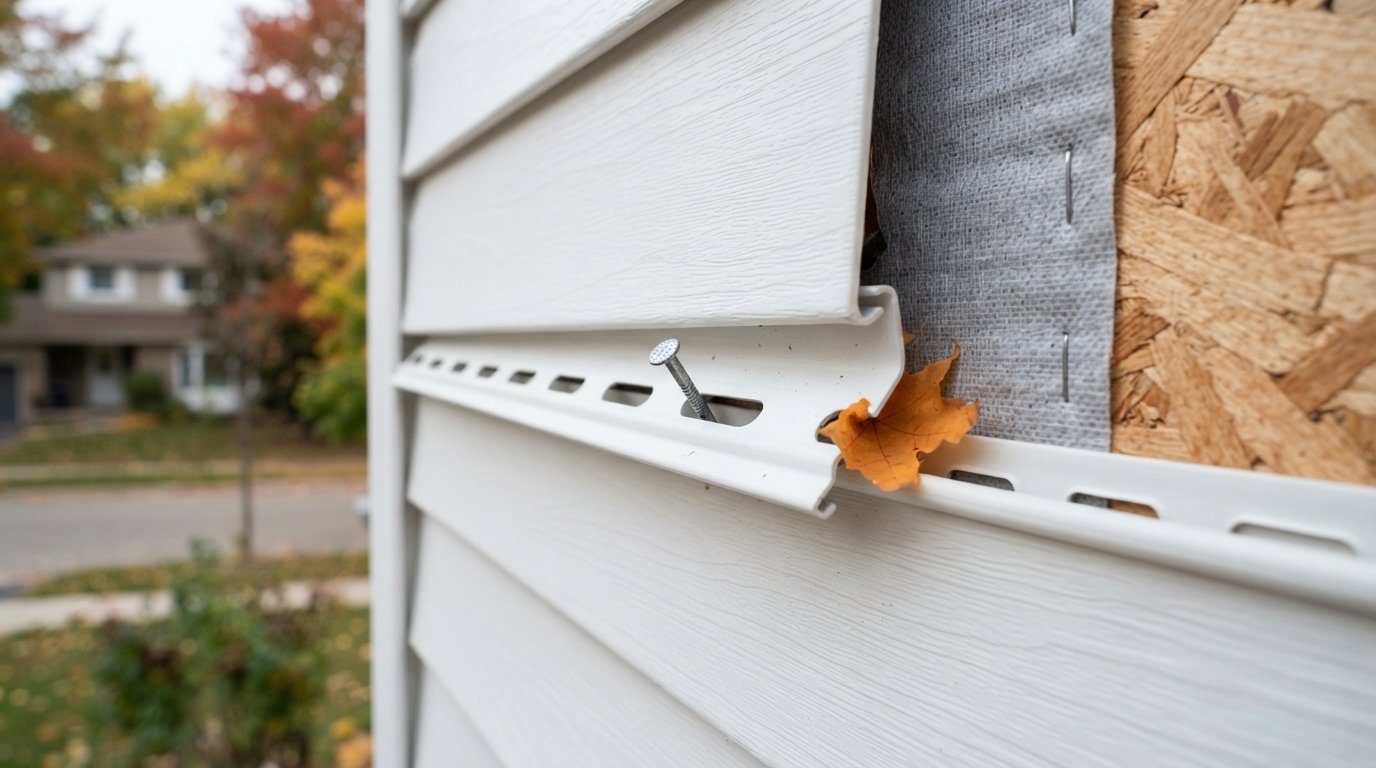
Each course locks into the one below. When wind gets under a loose edge, it can unlock a panel and peel it off, sometimes taking several courses with it. This tends to happen where the original installation was weak: panels nailed too far apart, nails missed into the sheathing only, lock edges not fully engaged, or gables and corners exposed to strong gusts. Older, thinner panels lose some of their grip over time, so a house that never had trouble can start losing pieces as the siding ages.
Restricted movement
Panels nailed tight against the wall cannot move, so they buckle in heat and pull at the nails in cold. Panels butted hard into J-channel at windows and corners, without room to expand, ripple and pop out. When you see waves running across a wall, the cause is usually fastening, not the vinyl itself.
For a second opinion on the walls and the roofline above them, our siding, soffit and fascia repair and replacement crews look at the whole exterior envelope, not just the damaged panel.
| What you see | Likely cause | Typical fix |
|---|---|---|
| Clean crack or hole in a lower panel | Impact, often in cold weather | Replace the damaged panel section |
| Panels missing after a storm | Unlocked courses, weak or missing nails | Reinstall or replace and refasten correctly |
| Waves or ripples across a wall | Panels nailed too tight or jammed into trim | Refasten with proper gaps |
| Warped or melted patch | Heat from a barbecue or reflected sunlight from a nearby window | Replace panels, address the heat source |
| Bottom course hanging out from the wall | Starter strip loose or missing | Re-secure starter and relock the first course |
| Staining or streaks below windows | Water running behind trim and J-channel | Remove panels to check flashing and sheathing |
How A Proper Vinyl Siding Repair Is Done
Good vinyl siding repair is mostly about working with the way panels interlock. Done properly, the wall looks as if it had never been touched. Done carelessly, with face nails, silicone or a slice of panel glued over a crack, it looks patched and often fails within a season.
Unlocking and lifting the course above
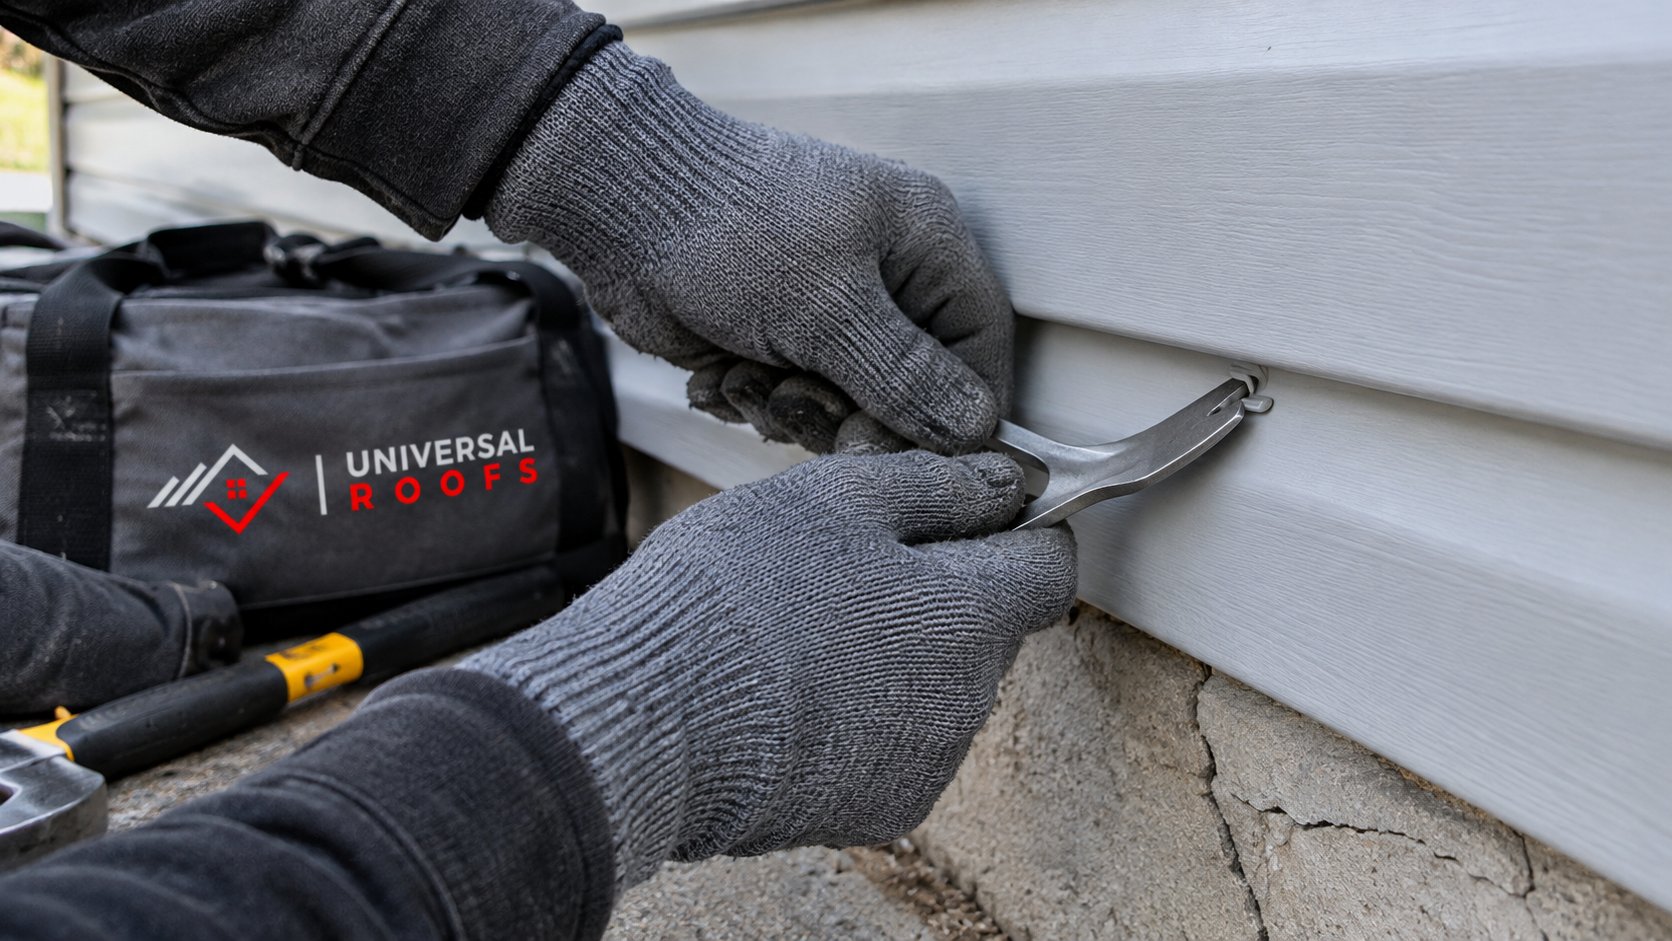
The key tool is a siding unlocking tool, sometimes called a zip tool. It hooks the bottom lock of the panel above the damaged one and slides along to release it. With the upper panel lifted, the nails holding the damaged panel are exposed along its top hem. On a cool day, vinyl is less flexible, so the panel above has to be lifted gently to avoid creating a second crack.
Removing the damaged piece
The nails are pulled from the damaged panel’s hem, and the panel is unlocked from the course below. If the whole length is damaged, the full panel comes out. If only one end is affected, the damaged section can be cut out at a point where the new piece will overlap the old in the same direction as the existing laps, so joints are hidden from the usual viewing angle.
Installing the replacement
- The new piece is locked into the course below, overlapping adjacent panels by the manufacturer’s recommended amount.
- Nails go in the centre of the nailing slots, not at the ends, so the panel can slide.
- Nails are not driven tight. A small gap under the nail head lets the panel move; many installers use the thickness of a coin as a guide.
- Nails go into solid sheathing or framing at the spacing the manufacturer requires.
- Ends stop short of J-channel and corner posts to leave room for expansion, with a larger gap when installing in cold weather, per the manufacturer’s instructions.
- The panel above is pressed back down and relocked with the zip tool.
What not to do
- Do not face-nail or screw through the panel. It locks the panel in place, causing buckling and new cracks.
- Do not rely on caulk. Sealing laps and panel ends traps water and stops movement. Vinyl is designed to shed water through its laps, with the barrier behind doing the real waterproofing.
- Do not glue a piece over a crack. Overlay patches rarely match, collect dirt along their edges and often blow off.
Colour Matching Faded Vinyl Siding
This is often the hardest part of vinyl siding repair. Even if you know the original manufacturer, profile and colour name, a new panel will rarely match a wall that has been in the sun for years. South and west walls fade the most, so a panel that matches the north side may still stand out on the front.
Finding the right profile
Before colour, the profile has to fit. Exposure, lap style (double four, double five, Dutch lap, board and batten), the shape of the lock and the depth of the butt all vary between brands and product lines. A piece of the damaged panel helps a supplier identify a match. Some profiles have been discontinued, which limits options.
Practical approaches
- Swap with a wall nobody looks at. A weathered panel from the back of the garage or a side wall a metre from the fence matches the front far better than anything new, and the new panel goes where a difference will not be noticed.
- Replace a full section to a natural break. Ending the new siding at a corner, a window line or a change of plane makes a mismatch far less obvious than a single odd panel in the middle of a wall.
- Use a close current colour and accept a small difference. On some colours, especially whites and very light neutrals, a new panel will blend over time as it weathers.
- Paint, cautiously. Vinyl can be painted with products made for it, but darker paint colours can absorb enough heat to warp the panels. Paint makers offer lists of colours rated as safe on vinyl. Painting also turns vinyl into something that needs repainting.
| Approach | Best for | Trade-offs |
|---|---|---|
| New panel in a close current colour | Light colours, low-visibility spots | May stand out at first, improves slightly with weathering |
| Salvaged panel from a hidden wall | Repairs on the front or highly visible walls | Requires recladding the hidden spot |
| Full section to a corner or window line | Several damaged pieces on one elevation | Larger job, but cleaner appearance |
| Painting with vinyl-rated colours | Badly faded walls that otherwise work | Ongoing repainting, colour limits to avoid warping |
| Full recladding | Widespread damage, brittle panels, discontinued profile | Highest cost, but chance to fix the wall behind |
When A Repair Reveals Wet Sheathing
Any vinyl siding repair gives you a rare look at the wall behind the panels. Most of the time, the house wrap or sheathing membrane is intact and the wood is dry. Sometimes it is not, and that changes the job.
What to look for behind the panel
- Darkened or soft sheathing. Plywood or OSB that is stained, swollen or soft when pressed indicates long-term moisture.
- Torn or missing house wrap. Some older installations have patchy wrap or none at all.
- Water tracks below windows and doors. These point to missing or reversed flashing at the head or failed sill details.
- Mould or a musty smell. A sign that the wall has been staying damp.
- Insect activity. Carpenter ants and other insects favour damp wood.
Common sources
Water usually comes from above: overflowing eavestroughs clogged with autumn leaves, missing kickout flashing where a roof meets a wall, unflashed windows, or gaps around vents and hose bibs. Fixing the panel without fixing the source simply hides the problem again. When the source is at the roofline, the repair may also involve roof repair at the wall intersection.
What a proper fix involves
The contractor removes enough siding to find the edges of the damage, cuts out and replaces soft sheathing, lets the area dry, installs new sheathing membrane lapped correctly over the existing wrap, flashes the openings and only then reinstalls the siding. If the damage is extensive, it may be time to discuss replacing the cladding on that elevation. Any structural concerns, such as soft framing, should be assessed before closing the wall.
Repair Or Replace: Deciding What Makes Sense
A few cracked panels on a wall that is otherwise in good shape are a clear case for vinyl siding repair. The decision becomes harder when damage keeps recurring, the panels are visibly brittle or chalky, the profile is discontinued, or several walls show moisture problems. In those cases, the money spent on repeated vinyl siding repair may be better put toward recladding at least the worst elevation.
Consider replacement more seriously when:
- Panels crack from minor contact, a sign the vinyl has become brittle with age.
- Colour differences between walls are already obvious.
- Wind keeps unlocking courses even after refastening.
- Removing panels repeatedly reveals wet sheathing or missing house wrap.
- You plan other exterior work, such as windows, eavestroughs or a reroof, where coordinating the trim and flashing saves effort.
| Scope | Estimated range in CAD | What changes the price |
|---|---|---|
| One or two cracked panels at ground level | Often $250 to $600 | Material match, salvage needed, travel |
| Reinstalling wind-blown courses on one wall | Often $400 to $1,200 | Height, number of courses, new material required |
| Upper-wall or gable repairs needing ladders or staging | Often $600 to $1,800 | Height, access, safety setup |
| Repairing wet sheathing behind a section | Often $1,000 to $3,500 per area | Size of damage, flashing work, framing condition |
| Recladding one full elevation | Often $4,000 to $12,000 | Wall size, trim, windows, material grade |
These are rough estimates only. The actual price of a vinyl siding repair depends on your house, access, material availability and what is found once panels come off.
Preventing The Next Round Of Damage
Some damage is unavoidable, but a few habits reduce it, especially as the weather cools:
- Clean eavestroughs after the leaves drop. Overflow streaming down the wall is a common cause of wet sheathing.
- Keep impacts away from the wall. Move hockey nets and ball games away from siding, and be careful with snow equipment near walls once winter arrives.
- Use ladder standoffs. Leaning a ladder directly on vinyl can crack it, particularly in cold weather.
- Watch heat sources. Keep barbecues well away from the siding, and be aware that strongly reflective windows nearby can distort vinyl.
- Check after storms. A quick walk around after high winds catches loose courses before they blow off entirely.
Since so many wall problems begin at the roofline, a vinyl siding repair visit from our Durham Region roofing, eavestroughs and attic work team includes a look at the eavestroughs and roof edge above the damaged section.
Common Questions About Fixing Vinyl Siding
Can a single cracked vinyl panel be replaced?
Why does vinyl siding crack in cold weather?
Why did my siding blow off in the wind?
How do you match the colour of faded siding?
What if the wall behind the siding is wet?
Should I caulk the seams in my siding?
Book A Vinyl Siding Repair Visit
Whether you have one cracked panel or a wall that keeps losing courses in the wind, a careful repair keeps water out and avoids a patchwork look. Universal Roofs repairs siding, soffits, fascia and eavestroughs together, and tells you plainly when repair is no longer the better value.
Call us today at (416) 732-2421 or request a free estimate.
Siding repairs, big and small, for Durham Region and the wider GTA.