
LP SmartSide is an engineered wood siding and trim system made by LP Building Solutions. It looks and cuts like wood, weighs less than fibre cement, and comes in lap boards, vertical panels, shakes, trim, fascia and soffit, either primed for painting or with a factory finish. For Ontario homeowners comparing it with vinyl and fibre cement, the important questions are less about the brochure and more about the details: how the boards are gapped and fastened, how far they sit above the ground and the roof, and whether every cut edge has been sealed. Those details decide whether the siding performs for decades or starts swelling at the joints within a few winters.
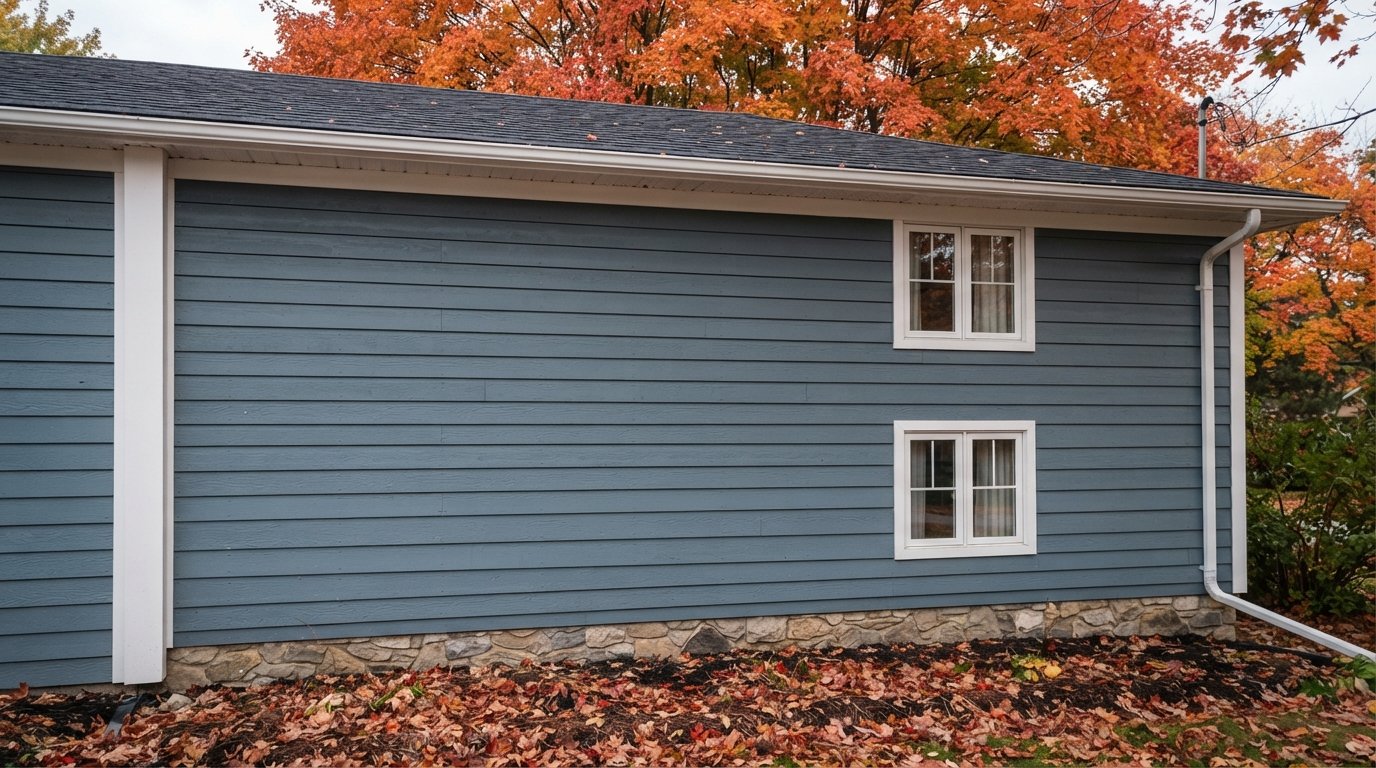
From the installer’s side, the boards themselves are rarely the problem. Swollen joints and flaking edges almost always trace back to material stored on wet ground, nails driven too deep, boards butted tight to trim or cut ends left raw, which is why most of this overview is about those details.
What LP SmartSide Is Made Of
LP SmartSide products are made from wood strands or fibres bonded with resins under heat and pressure, then finished with a resin-saturated overlay that carries the wood-grain or smooth texture. LP describes a proprietary treatment it calls the SmartGuard process, in which the product is treated through its full thickness with waxes, adhesive resins and zinc borate. According to LP, this helps the siding resist termites and fungal decay, and the resins contribute to impact resistance, including from hail.
In practical terms, that makes it a manufactured wood product rather than solid lumber. It is more dimensionally consistent than natural wood, with no knots or splits, and it comes in long lengths that reduce the number of joints on a wall. Like any wood-based product, it still has to be kept away from standing water, its edges must be sealed, and its finish has to be maintained.
Engineered wood siding sits between vinyl and fibre cement on most comparisons. It costs more than vinyl but usually less than fibre cement, is lighter and easier to cut than fibre cement, and has more depth and texture than most vinyl. If you are looking at it as part of a larger exterior project, our siding, soffit and fascia crews treat the cladding, trim and roof edge as one system, which is how this product needs to be installed.
Product Lines And Where Each One Fits
LP’s siding and trim range includes several product types. Not every colour or texture is available in every market, so confirm what your supplier can get before finalizing a design.
| Product | What it is | Typical use | Installation note |
|---|---|---|---|
| Lap siding | Horizontal boards in several widths, cedar-texture or smooth | Full walls, the most common choice | Fastened through the top of each board into framing; butt joints gapped and sealed |
| Panel and vertical siding | Large sheets, sometimes grooved | Gables, board and batten looks, accent walls | Horizontal joints supported, gapped and flashed |
| Shake siding | Strips that imitate cedar shakes | Gables, dormers, decorative bands | Face nailed; overlaps and gaps per the instructions |
| Nickel gap siding | Boards with a small reveal between courses | Modern and coastal styles | Profile-specific fastening rules |
| Trim and fascia | Boards for corners, windows, doors and roof edges | Framing openings, corner boards, fascia | Fascia needs suitable backing; drip edge required at the roof edge |
| Soffit | Solid or vented panels | Under eaves | Edge and end joints gapped and sealed |
Mixing products on one house is common: lap siding on the main walls, shakes or panels with battens on the gables, and LP SmartSide trim around everything. Using trim and siding from the same system keeps the finish and texture consistent, and it simplifies maintenance later.
Prefinished Or Primed And Field-Painted
LP SmartSide comes in two finish options. Primed boards are ready to paint any colour after installation. ExpertFinish is LP’s factory-applied finish, offered in a range of prefinished colours that LP updates periodically.
| Consideration | Factory-finished boards | Primed boards painted on site |
|---|---|---|
| Colour range | Manufacturer’s palette only | Any exterior paint colour |
| Consistency | Very even, applied in a factory | Depends on painter, weather and prep |
| Timing | Finished when it arrives; touch-ups only | LP’s guides call for the finish coat as soon as possible, within 180 days |
| Cut edges | Sealed with manufacturer-matched touch-up | Primed and painted with the topcoat |
| Autumn installs | Unaffected by cold painting weather | Painting may need to wait for suitable temperatures |
| Finish warranty | Separate limited finish warranty from LP | Covered by the paint manufacturer’s terms |
For an autumn project, prefinished boards remove a big scheduling risk. Primed boards installed in October may not be painted properly until spring if the weather turns cold and wet, and the 180-day window can get tight. Field painting does give you unlimited colour choice, and some homeowners prefer that flexibility.
Gaps, Fastening And Joints
Engineered wood moves with moisture. The installation rules exist to give it room to move and to keep water out of joints and fastener holes. LP’s instructions are detailed and product-specific; these are the principles a good installer follows.
Gaps at trim and butt joints
LP’s guides call for a gap of about 3/16 inch where lap siding meets trim and at butt joints in long runs, with the gaps sealed with a high-quality, non-hardening, paintable sealant. Running boards tight to trim or tight end to end leaves no room for movement and no space for sealant to bond properly. Panels have their own requirements, including gapping and flashing at horizontal joints.
Fastening
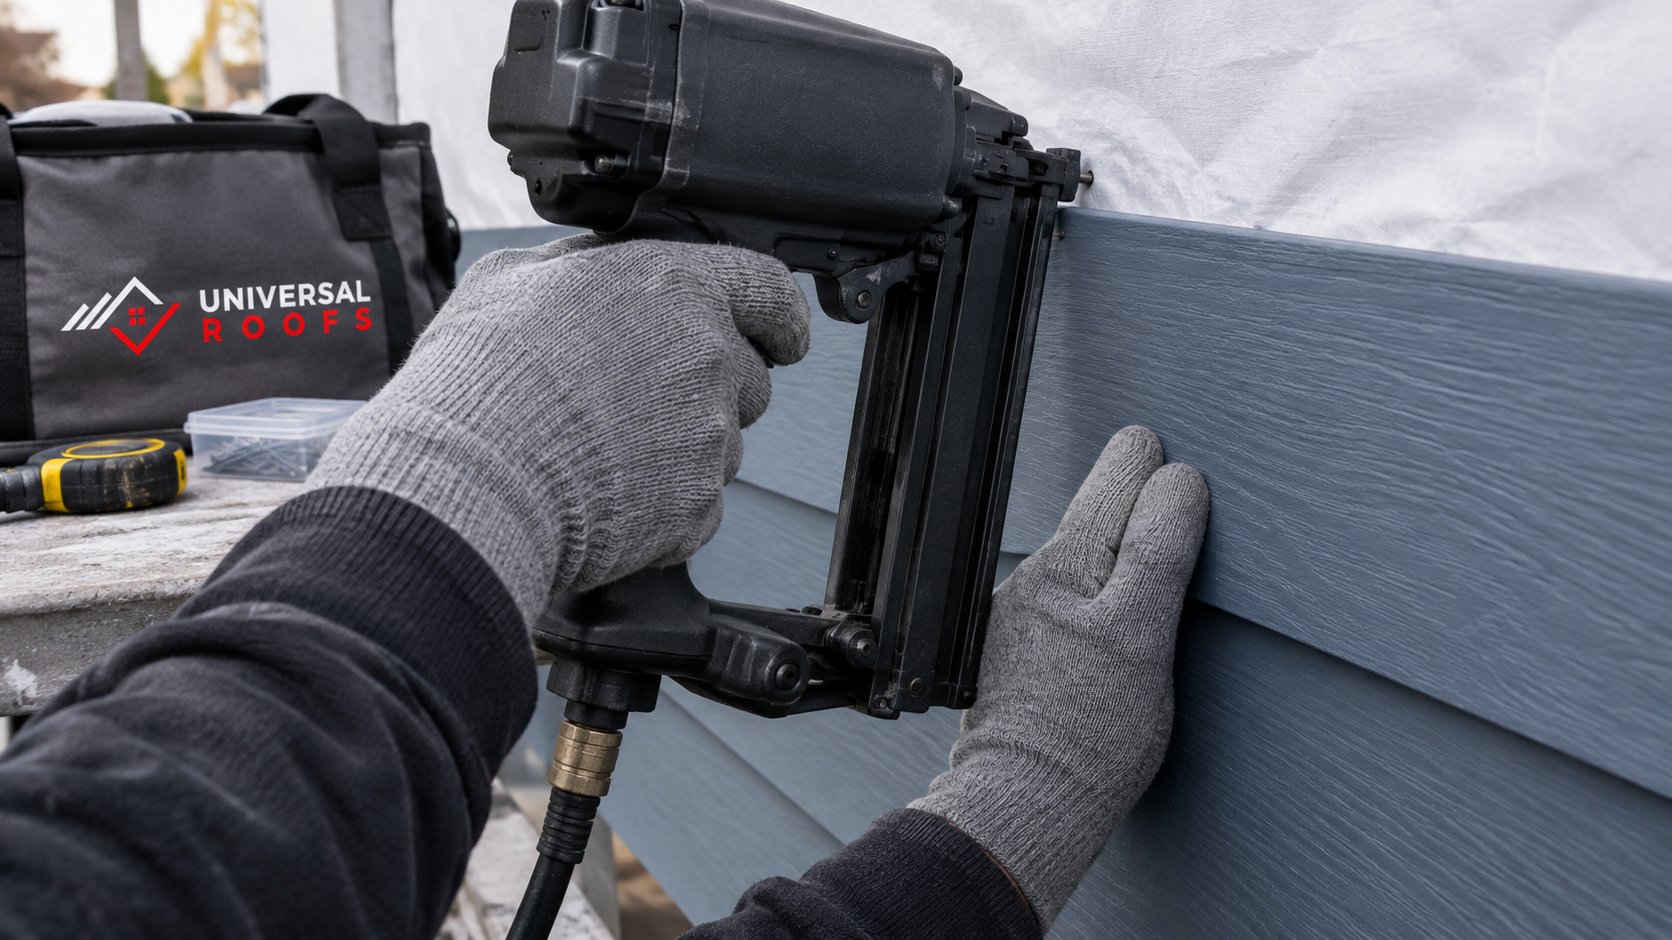
Lap boards are fastened near the top edge into framing, with the next board overlapping and hiding the fasteners. LP’s guides set out nail type and size, penetration into framing, distance from board ends and edges, and a minimum overlap between courses. Nails must be driven snug, not overdriven. LP’s instructions say that if a nail is overdriven, it should be sealed and another nail added. Overdriven nails crush the surface overlay and create a path for water into the board.
Pneumatic nailers need careful depth adjustment, especially in cold weather when the boards and air pressure behave differently. A crew that sets the nailer once in the morning and never checks it again tends to leave a wall full of countersunk nails.
Storage on site
The work starts before the first board goes on the wall. LP’s guides call for the material to be stored off the ground on a flat surface, under a roof or a separate waterproof cover. In a rainy autumn that matters: bundles left on wet grass or under a loose tarp can absorb moisture at the edges before they are ever installed, and boards installed wet are more likely to shrink and open their joints as they dry. Ask where the material will be stored on your property and how it will be covered overnight.
Trim, fascia and the roof edge
LP SmartSide trim and fascia follow their own rules. LP’s trim guides say fascia must generally be backed by solid wood subfascia, with exceptions for some heavier products, and that a metal drip edge is required at the edge of the roofing where it meets the fascia. Trim joints are gapped and sealed like siding joints, and nailing patterns at butt joints are specified by trim width. Because the fascia sits directly behind the eavestrough, it is worth replacing or rehanging the eavestrough at the same time so the drip edge, fascia and trough work together.
Water-resistive barrier and flashing
Like any cladding, LP SmartSide needs a properly lapped water-resistive barrier behind it and flashing at windows, doors, horizontal joints and roof-to-wall junctions. LP’s guides specifically call for kick-out flashing at roof eave-to-wall intersections, directing water into the eavestrough, with siding and trim kept out of the kick-out flashing and the gutter.
Ground, Roof And Deck Clearances
Clearances are the most important single factor in how long engineered wood siding lasts. Boards that sit in soil, on a deck, against a roof or in piled snow absorb water at their bottom edges, and that is where failures start.
LP’s installation guides show minimum clearances between the siding and soil, and smaller clearances above paved surfaces, porch floors and roof lines. In Canada, building codes set their own requirements for the clearance between finished ground and wood-based cladding, and LP’s Canadian literature points to those code requirements. The code clearance can be larger than what U.S. product guides show, so confirm the requirement with your municipality and follow whichever is stricter.
On real houses, clearances often conflict with what is already there:
- Gardens and soil built up against the foundation over the years may need to be lowered or regraded.
- Decks attached tight to the wall need a flashed ledger and a gap between the deck surface and the bottom of the siding.
- Lower roofs meeting a wall need step flashing, counter flashing and a clearance between the roofing and the bottom of the siding and trim.
- Steps and walkways poured tight to the house need the siding to stop above them, with flashing below.
Snow piled against the house in winter keeps the bottom of the wall wet for weeks. Where the clearance is tight, avoiding snow drifts against the siding, and keeping downspouts discharging away from the wall, make a real difference.
Cutting Edges And Sealing
Every field cut exposes the core of the board. LP’s instructions require all exposed or cut edges of siding and trim to be primed and painted, or sealed with the appropriate touch-up on prefinished products. That includes the ends at butt joints, the cuts around windows and doors, and the bottom edges of boards where they are trimmed to fit.
The bottom edge of the lowest course and the drip edges of each board deserve particular care, because water runs off them all winter. LP’s guides note that ripping or routing trim leaves edges unprotected, so any trim that is ripped to width needs every exposed surface primed, painted and sealed.
Engineered wood can be cut with ordinary woodworking saws, and it does not produce the silica dust that fibre cement does. That makes cutting faster and cleaner, but it does not reduce the importance of sealing every cut.
Warranty In General Terms
LP offers a limited warranty on LP SmartSide products, with fuller coverage in the early years and longer-term limited coverage after that, plus a separate limited finish warranty for its factory-finished products. Coverage depends on the product being installed according to LP’s instructions in effect at the time of installation. Terms, durations and conditions can differ by product, finish and country, so read the current warranty documents published by LP for the specific product being installed, and keep a copy with your project records.
Ask your contractor which instructions they are following and keep the invoice, product details and installation date. Workmanship coverage from the contractor is separate from the manufacturer’s warranty, so ask how it is written.
What LP SmartSide Typically Costs
Engineered wood usually lands between vinyl and fibre cement on price. Within that band, trim detail, the finish you choose and how much of the old wall needs repair account for most of the spread. The ranges below are broad estimates for GTA homes and are not quotes:
| Scope | Typical estimate range | Main cost drivers |
|---|---|---|
| LP SmartSide lap siding, installed per square foot of wall | Often around $10 to $18 | Prefinished vs primed, trim complexity, wall height |
| Gable or accent wall in panels or shakes | Roughly $2,500 to $8,000 | Size, scaffolding or lift access, trim detail |
| Full two-storey house | Commonly from the mid twenty thousands upward | Wall area, windows, removal and sheathing repairs |
| Field painting of primed boards | Often an added cost of a few dollars per square foot | Number of coats, colours, trim work |
| Tear-off and any sheathing replacement | Best agreed as a unit rate before the wall is opened | Rot, layers of old siding, disposal |
Two bids on the same house often differ mainly in what they leave out, so ask each contractor to state in writing whether trim, flashing, house wrap, soffit, fascia, painting and disposal are in the price.
How it compares with fibre cement and vinyl
Against fibre cement, LP SmartSide is lighter, faster to cut and generally less expensive to install, while fibre cement is more rigid, described by its manufacturer as non-combustible and less sensitive to moisture at the edges. Against vinyl, engineered wood siding has deeper shadow lines and a more substantial feel, at a higher cost and with a paint finish to maintain. If you are torn between two of them, ask for both to be priced on the same walls; we do that as a matter of course when roofing, eavestroughs and attic work across Durham Region includes new cladding.
Maintenance Over The Years
The walls that need watching are the wet ones. Each spring, walk the house and look hardest at the bottom course, the boards beside downspouts, decks and lower roofs, and the butt joints on the north side, where siding dries slowest. Swelling at a joint, a soft spot or paint lifting off a board edge is the early warning; reseal or touch it up that season rather than waiting. A gentle rinse keeps mildew down, clean eavestroughs stop overflow from soaking the face, and shrubs cut back from the wall let it dry between rains.
LP Siding Questions Homeowners Ask
Does it hold up to Ontario winters?
Does LP SmartSide need painting?
Why do some engineered wood boards swell at the edges?
Is it cheaper than fibre cement?
What does the warranty cover?
Is there a vertical or board and batten version?
Planning An LP SmartSide Project
If you are considering LP SmartSide for your home, Universal Roofs can check your ground, deck and roof clearances, hold prefinished samples against your brick and write a scope that names the product, the finish and every trim detail.
Call us today at (416) 732-2421 or request a free estimate.
Engineered wood, fibre cement and vinyl siding for Durham Region and the GTA.