
Most people only think about eavestrough size when a September downpour sends a sheet of water over the front edge of the trough and straight onto the flower bed, the walkway or the basement window well. The truth is that eavestrough size is a design decision, not a default, and on a lot of GTA homes it was never actually decided: the original builder installed 5-inch troughs and 2×3 downspouts everywhere because that was the cheapest standard, whether the roof above it was a small bungalow slope or a steep, valley-fed second storey.
Here is how an experienced installer sizes a system run by run, and the warning signs to watch for during autumn rain while there is still time to fix things before the colder months.
What Eavestrough Size Actually Means
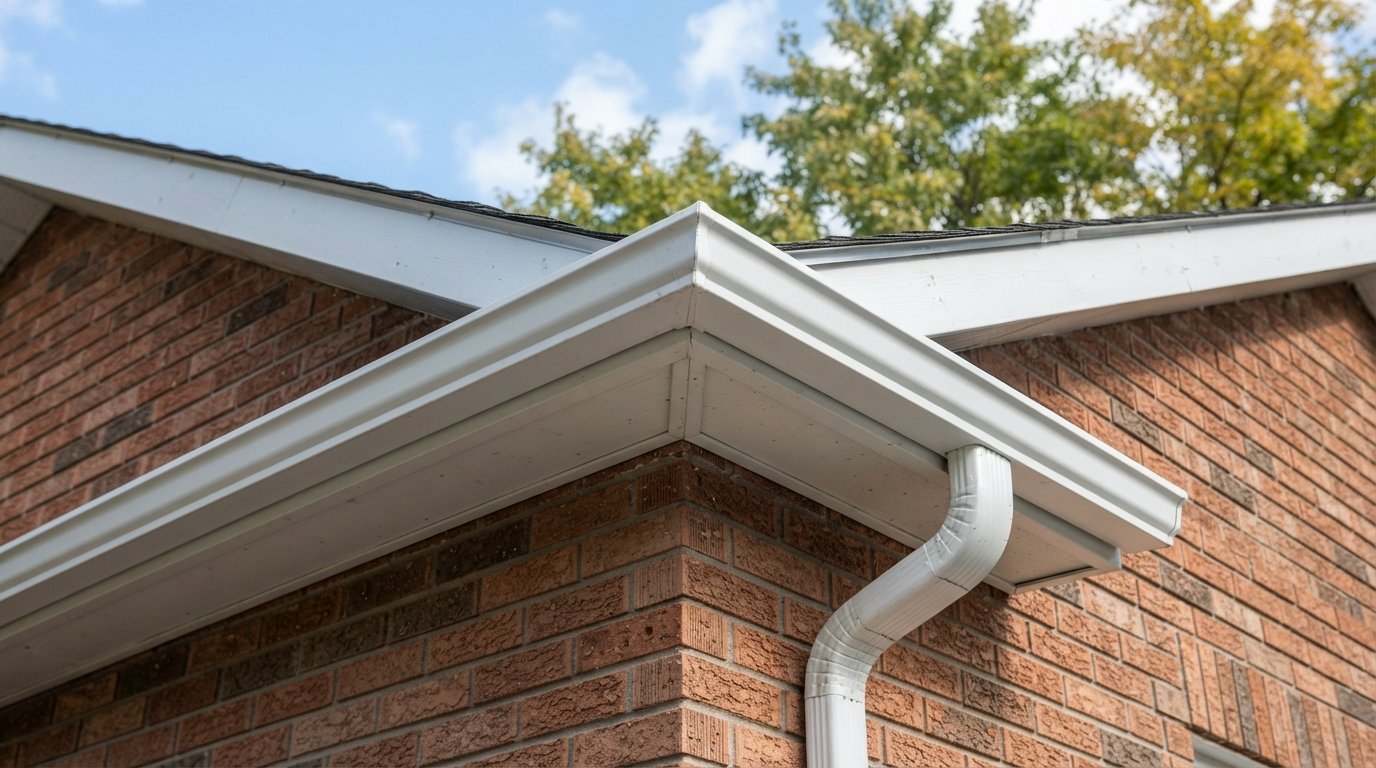
When a contractor talks about eavestrough size, they mean the width across the top opening of the trough. The two residential sizes you will see across Ontario are 5-inch and 6-inch, almost always in the K-style profile, which has a flat back that fastens tight to the fascia and a decorative front that resembles crown moulding. Half-round troughs are mostly a heritage choice and a separate conversation.
Width alone undersells the difference. A 6-inch K-style trough is also deeper, and because the cross-section grows in two directions, it holds and moves considerably more water per metre of run than a 5-inch trough. That extra volume is what lets it keep up when a short, heavy burst of rain dumps water on the roof faster than a smaller trough can pass it to the downspout.
The downspout is the other half of the system. Residential downspouts come in two common rectangular sizes:
- 2×3 inch: the traditional pairing with 5-inch troughs, adequate for small to moderate roof sections.
- 3×4 inch: typically paired with 6-inch troughs, though it can also be fitted to 5-inch troughs with a larger outlet to relieve a congested run.
The Three Things That Decide Trough And Downspout Size
An installer does not size troughs by the look of the house. Three characteristics of the roof above each run drive the decision, and each run can come out differently on the same house.
1. Roof area draining to that run
Measure the plan area of the roof section that sheds water into the trough, meaning its footprint as seen from above, not the sloped surface. A 40-foot-long eave with a 15-foot horizontal depth of roof above it drains roughly 600 square feet. A rear slope on a large two-storey home might be 50 feet long and 20 feet deep, or about 1,000 square feet, feeding a single run. The bigger that number, the more water arrives at the same moment in a heavy shower.
2. Roof pitch
Steeper roofs deliver water faster and catch more wind-driven rain on their face, so they behave like a larger roof. A low 4/12 slope lets water arrive at the eave gently; a 10/12 or 12/12 slope sends it off the shingles with momentum, and in hard rain it can shoot straight over the front lip of a small trough. Installers commonly add an allowance for pitch when sizing, effectively treating a steep section as if it had more area than the tape measure shows.
3. Valleys and upper roofs
Valleys are the part homeowners underestimate. Where two roof planes meet in a valley, water from both planes funnels into a narrow channel and hits the trough at one concentrated point. On many GTA homes, a valley empties onto a lower eave that also collects water from a second-storey roof via a downspout draining onto the lower shingles. That one spot can see several times the flow of the rest of the run. Even a correctly sized trough can overshoot at a valley unless it gets a splash guard, a larger trough section, or a downspout placed close by.
How much roof, how steep, and is anything concentrating water onto it? Those three answers set the eavestrough size and downspout plan more reliably than any single rule.
5-Inch vs 6-Inch: Choosing The Right Eavestrough Size
For a typical detached or semi-detached home with moderate pitch and a simple roof, 5-inch K-style troughs with enough properly placed downspouts do the job well. The upgrade to 6-inch earns its place in specific situations rather than everywhere. The table below summarizes how we weigh the choice on a run-by-run basis.
| Situation on the run | 5-inch K-style | 6-inch K-style |
|---|---|---|
| Small to moderate roof section, low or medium pitch | Usually adequate with correct downspout spacing | Works, but often more than needed |
| Large roof section feeding one run | Can overflow in heavy bursts unless extra downspouts are added | Better choice; more capacity and a larger outlet |
| Steep pitch (roughly 8/12 and up) | Water may overshoot the front lip in hard rain | Wider opening catches fast-moving water more reliably |
| Valley emptying into the run | Needs a splash guard and a nearby downspout | Handles the concentrated flow more comfortably |
| Heavy tree cover nearby | Clogs sooner; outlet is smaller | Larger outlet and downspout pass leaf debris more easily |
| Matching existing troughs on the rest of the house | Consistent look with original work | Visibly larger face; some owners switch the whole house for uniformity |
Mixing sizes is acceptable. There is nothing wrong with 6-inch troughs on the big rear slope and 5-inch on the small front porch roof. What matters is that each run is matched to its load. Some homeowners prefer one size throughout for appearance, which is a reasonable choice, but it is not a technical requirement.
Fascia depth matters. A 6-inch trough has a taller back. On older homes with shallow fascia boards, the installer has to confirm there is enough solid board behind the trough for the hangers and that the trough will sit low enough under the drip edge to catch water. If the fascia is soft or rotted, it needs repair or replacement before any new trough goes up; our roof repair and roof edge repair work often starts right there.
Downspouts: The Part That Usually Fails First
If you only take one thing from this article, take this: most overflowing systems we look at are short of downspout capacity, not trough capacity. A trough fills from the roof along its whole length but can only empty through its outlets. Add outlets, or make them bigger, and the same trough suddenly keeps up.
2×3 vs 3×4 downspouts
A 3×4 downspout has roughly twice the cross-sectional area of a 2×3, so it moves a lot more water and is far less likely to plug with maple keys, oak leaves or shingle granules. A commonly used rule of thumb in the trade is that a 2×3 downspout serves somewhere around 600 square feet of roof and a 3×4 serves roughly double that, with steep pitch and valleys pulling those numbers down. Treat those as starting points for a conversation with your installer, not as a code requirement.
How many downspouts does a run need?
Rather than a single formula, installers work through a short sequence for each run:
- Measure the run length and the roof area above it.
- Adjust for pitch and valleys. A steep section or a valley outlet effectively counts as more roof.
- Set a maximum distance water should travel before it reaches an outlet. Many installers aim to keep that travel to roughly 20 feet, which in practice means one downspout per 30 to 40 feet of trough on a simple roof.
- Split long runs. A run longer than about 40 feet is usually pitched from the middle down to a downspout at each end, or from each end down to a centre outlet, so no water has to travel the full length.
- Check where each downspout can discharge. A downspout is only useful if it can empty somewhere safe, away from the foundation, walkways and the neighbour’s lot line.
The last step often changes the plan. Sometimes the ideal outlet position lands above a patio door or a basement window well, and the installer shifts it or adds a second outlet elsewhere instead.
| Run characteristics | Typical downspout plan | Notes |
|---|---|---|
| Short run under 30 feet, simple roof | One downspout at the low end | 2×3 often fine on 5-inch troughs |
| Run of 30 to 40 feet, moderate roof area | One downspout, or two if pitch is steep | Consider a 3×4 outlet if leaves are heavy |
| Run over 40 feet | Split pitch with a downspout at each end, or a centre outlet | Keeps water travel to roughly 20 feet each way |
| Run with a valley emptying into it | Downspout placed close to the valley | Add a splash guard at the valley corner |
| Lower roof receiving an upper downspout | Extra capacity on the lower run, often a 3×4 outlet | Better still, route the upper downspout past the lower roof where practical |
Signs Your Eavestrough Size Is Too Small
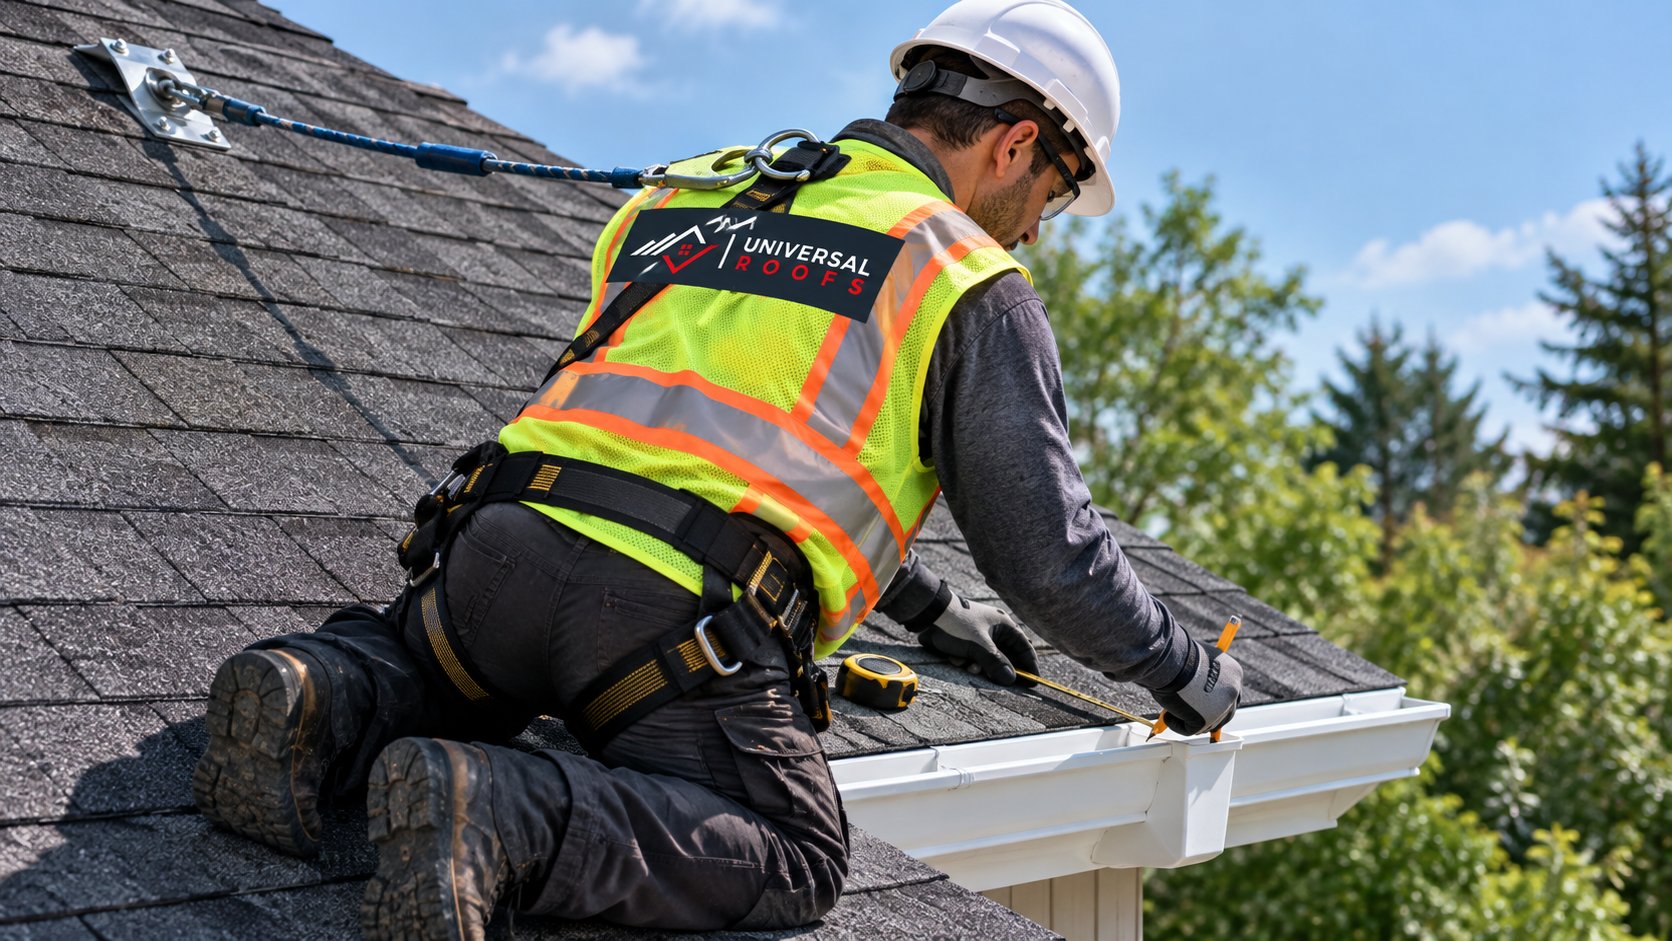
Early autumn is the best time to watch your system work. The rain is heavy enough to test capacity, the leaves have not fully dropped yet, and there is still time to make changes before freeze-up. Put on a jacket during the next real downpour and walk around the house. Here is what to look for, and what it usually means.
| What you see in heavy rain | Likely cause | Usual fix |
|---|---|---|
| Water sheeting over the front lip along much of the run | Trough undersized for the roof area, or too few outlets | Add a downspout or upsize to 6-inch on that run |
| Overflow only at an inside corner | Valley concentrating flow | Splash guard plus a downspout near the valley |
| Overflow at the far end away from the downspout | Poor slope or water travelling too far | Re-pitch and split the run |
| Downspout gurgling, trough filling quickly, spill near outlet | 2×3 downspout at capacity or partly blocked | Clear it, or change to a 3×4 outlet and downspout |
| Water running down the fascia behind the trough | Trough hung too low or missing gutter apron | Rehang and add a gutter apron or drip edge extension |
| Eroded soil or mulch in a line under the eave | Repeated overshoot over months | Resize or add outlets, then regrade soil away from wall |
Other clues are quieter. Streaks of dirt on the outside face of the trough (sometimes called tiger striping) show where water has been spilling over the lip. Peeling paint or dark staining on the fascia or soffit can mean water getting behind the trough. Damp patches on the basement wall or efflorescence on the foundation, especially directly under a corner or a short run, often trace back to overflow that has been soaking the soil beside the house for years.
Before blaming eavestrough size, rule out the simple things. A trough packed with needles and maple keys will overflow whatever its width. A downspout with a crushed elbow or a tennis ball stuck in it will back up the whole run. Clean everything first, then watch again in the next heavy rain. If the overflow persists with clear troughs and downspouts, you are looking at a capacity or layout problem.
Installation Details That Make Size Work
Correct eavestrough size is necessary, but not sufficient. The best-sized trough still overflows if the details are wrong.
Slope toward each outlet
Troughs need a gentle, steady fall toward each outlet so water does not sit, and the details are covered in our guide to gutter slope.
Hanger type and spacing
Hidden hangers screwed through the back into solid fascia are the standard on seamless aluminum troughs. Spacing is commonly in the range of 24 inches apart, closer on 6-inch troughs, under valleys, and anywhere snow and ice will load the trough.
Outlet size and position
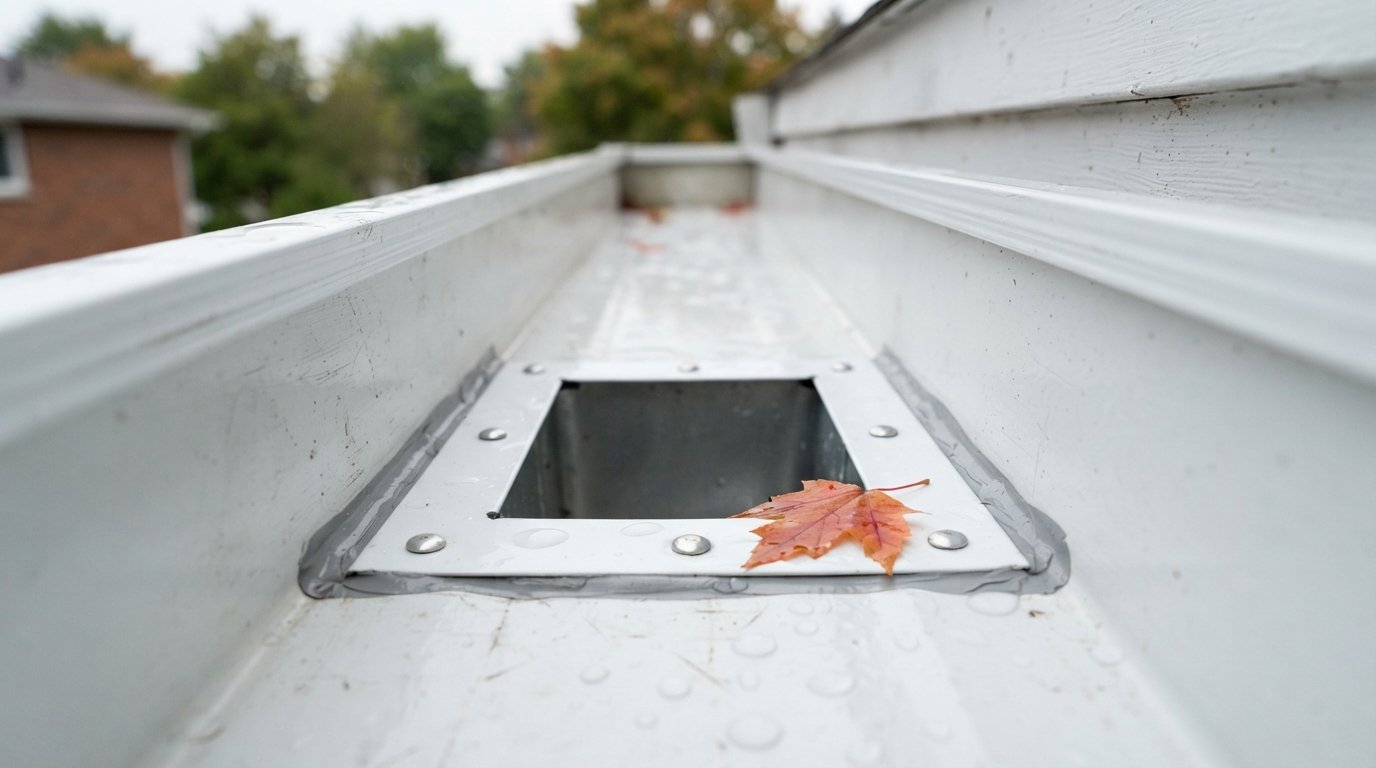
The outlet cut in the bottom of the trough should match the downspout size, and it should sit at the true low point. A 3×4 downspout fed through an undersized hole gains you nothing.
Roof edge flashing
A gutter apron or a drip edge that extends into the trough stops water running behind it onto the fascia. Without it, even an oversized trough can leave water staining the fascia and soaking the soffit.
Downspout discharge
Every downspout should empty onto a splash pad or extension that carries water away from the foundation, onto ground that slopes away from the house. Check your municipality’s current rules on where downspouts may discharge.
What it tends to cost
As a rough guide only, adding a downspout and outlet to a sound run is often a small job in the low hundreds of dollars, while full-house seamless replacement on a detached two-storey home commonly runs into the low thousands, more with fascia repair or complex rooflines. Labour, access and the number of corners and outlets usually move the price more than the eavestrough size does. A written quote after a site visit is the only reliable number.
Questions To Ask Your Eavestrough Contractor
A good sizing visit covers the roof plan, pitch, valleys, fascia condition, tree cover and where every downspout can safely discharge. If you would like a second set of eyes on your layout, our York Region roofing, eavestroughs and attic work team and crews across the rest of the GTA do this kind of assessment regularly. Either way, these questions separate a considered proposal from a price per foot:
- Which runs are you recommending at 5-inch and which at 6-inch, and why?
- How many downspouts on each run, what size, and where will each discharge?
- Are any long runs being split, and where is the high point?
- How will you deal with the valleys and any upper downspouts draining onto lower roofs?
- What condition is my fascia in, and is any repair included?
- What aluminum thickness and finish are you using, and who backs the finish warranty?
A contractor who can answer those clearly has thought about how water actually moves off your roof, which is the whole point of choosing an eavestrough size in the first place.
Frequently Asked Questions
Is 5-inch or 6-inch better for a typical GTA house?
Can I just add downspouts instead of replacing my troughs?
How far apart should downspouts be?
Will bigger troughs stop my basement from leaking?
Do 6-inch eavestroughs look too big on a small house?
When is the best time to upgrade eavestroughs?
Get The Right Eavestrough Size For Your Roof
Choosing an eavestrough size is really about matching each run to the roof above it: area, pitch, valleys and where the water can safely go. Universal Roofs assesses each run on its own, repairs the fascia and roof edge where needed, and installs seamless troughs and downspouts sized for the water your roof actually sheds.
Call us today at (416) 732-2421 or request a free estimate.
Proudly serving homeowners in York Region and across the wider GTA.