
Wood shake roofs bring a warm, textured character to homes across the Greater Toronto Area that few other roofing materials can match. But that natural cedar beauty comes with a maintenance responsibility that many homeowners underestimate. Between our humid summers, freeze-thaw winters, and the occasional wind storm rolling off the lake, cedar shakes take a beating year after year. The good news is that a surprising number of common wood shake problems can be tackled affordably, whether you handle small repairs yourself or bring in a professional for the trickier parts.
This DIY guide to affordable wood shake roof repair walks through exactly what you can safely fix on your own, what materials and tools you need, realistic cost expectations, and the clear warning signs that mean it’s time to stop climbing the ladder and call a licenced contractor instead. Our goal is to help GTA homeowners save money without compromising the integrity of their roof or their safety.
Wood shake repair is a bit different from asphalt shingle work. The material behaves differently, the fastening methods are unique, and mistakes are often more expensive to correct later. We’ll cover everything from spotting early damage to replacing individual shakes, and we’ll be upfront about the limits of DIY work so you can make an informed decision for your home.
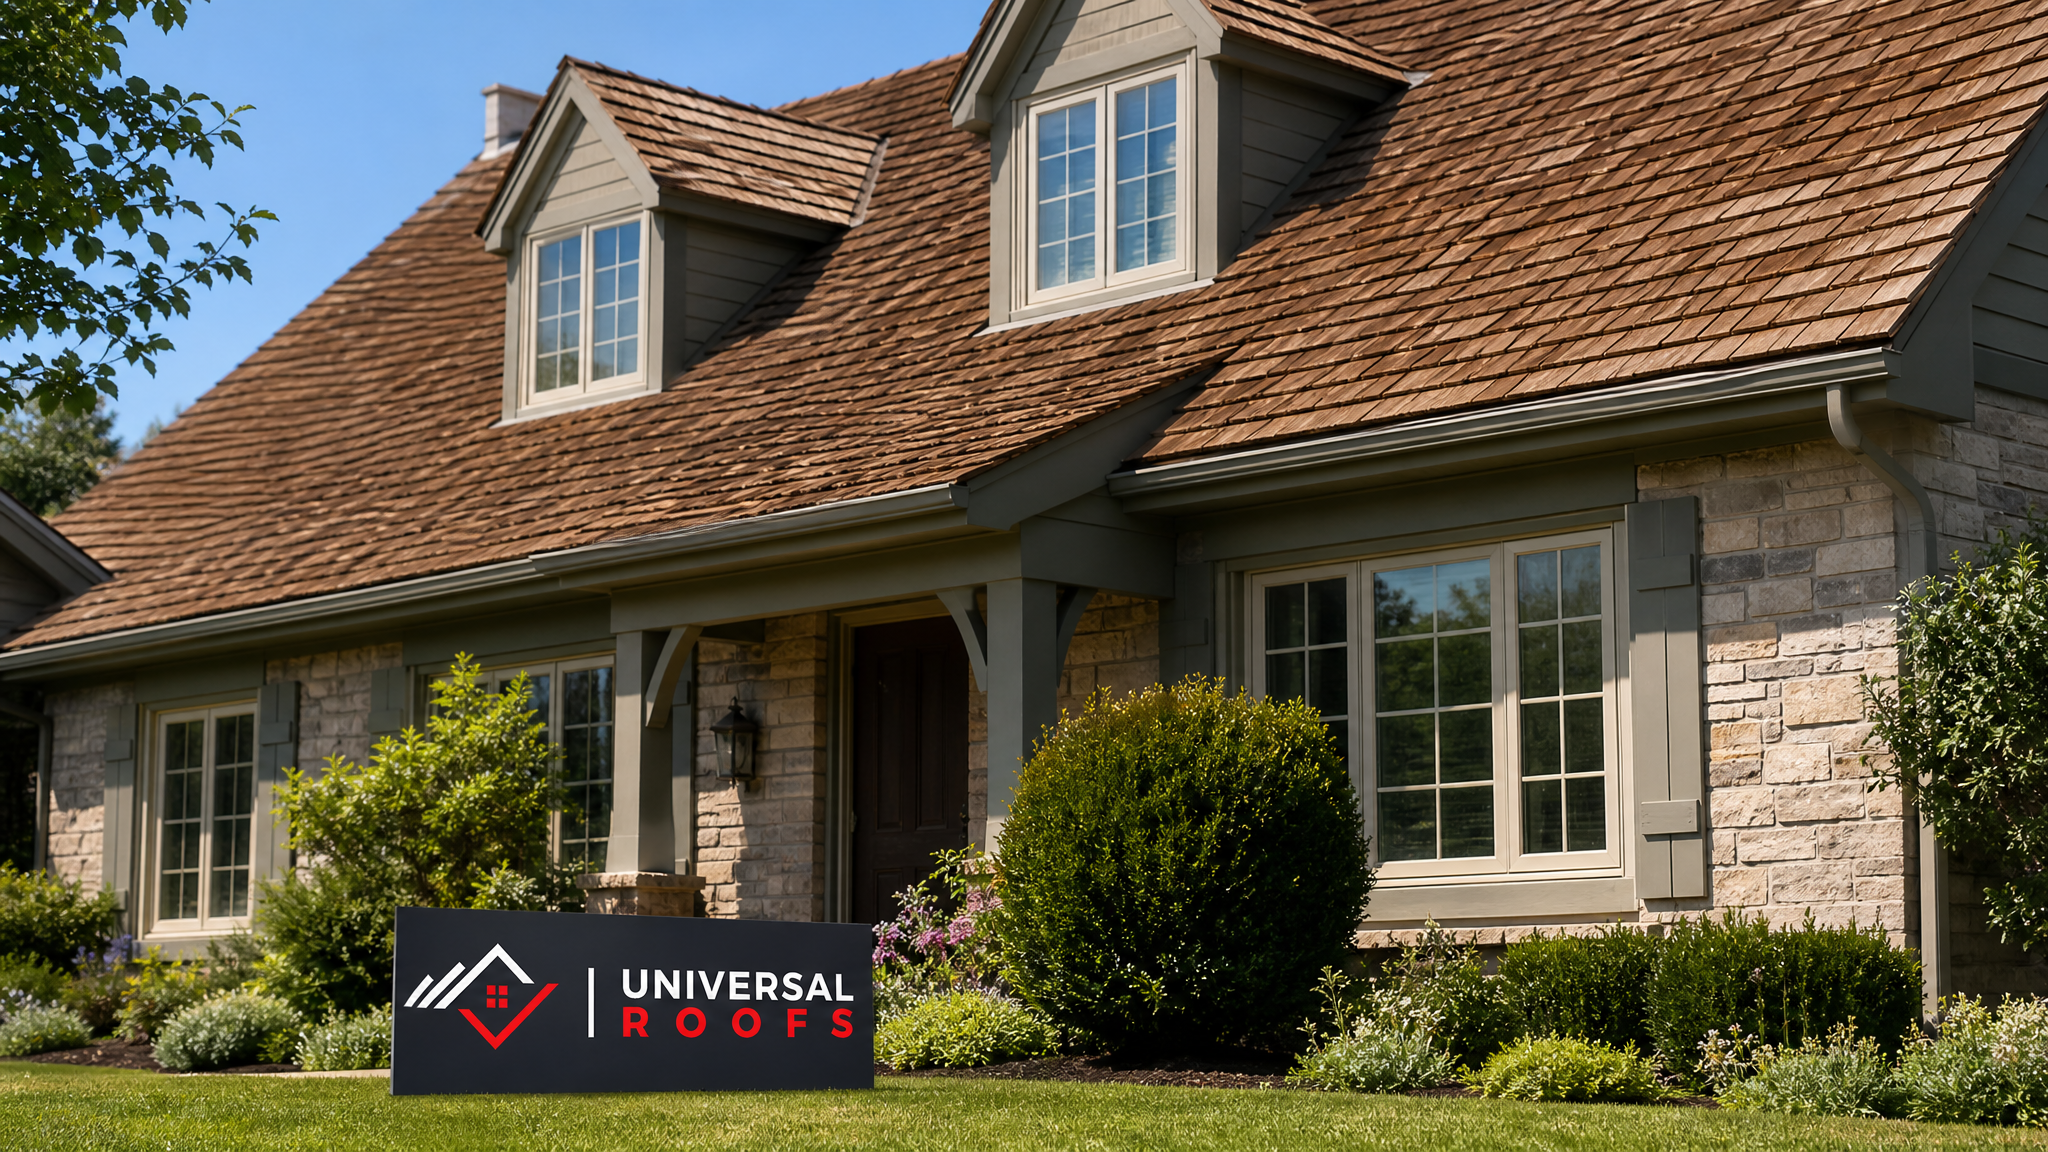
Understanding Wood Shake Roof Damage in the GTA Climate
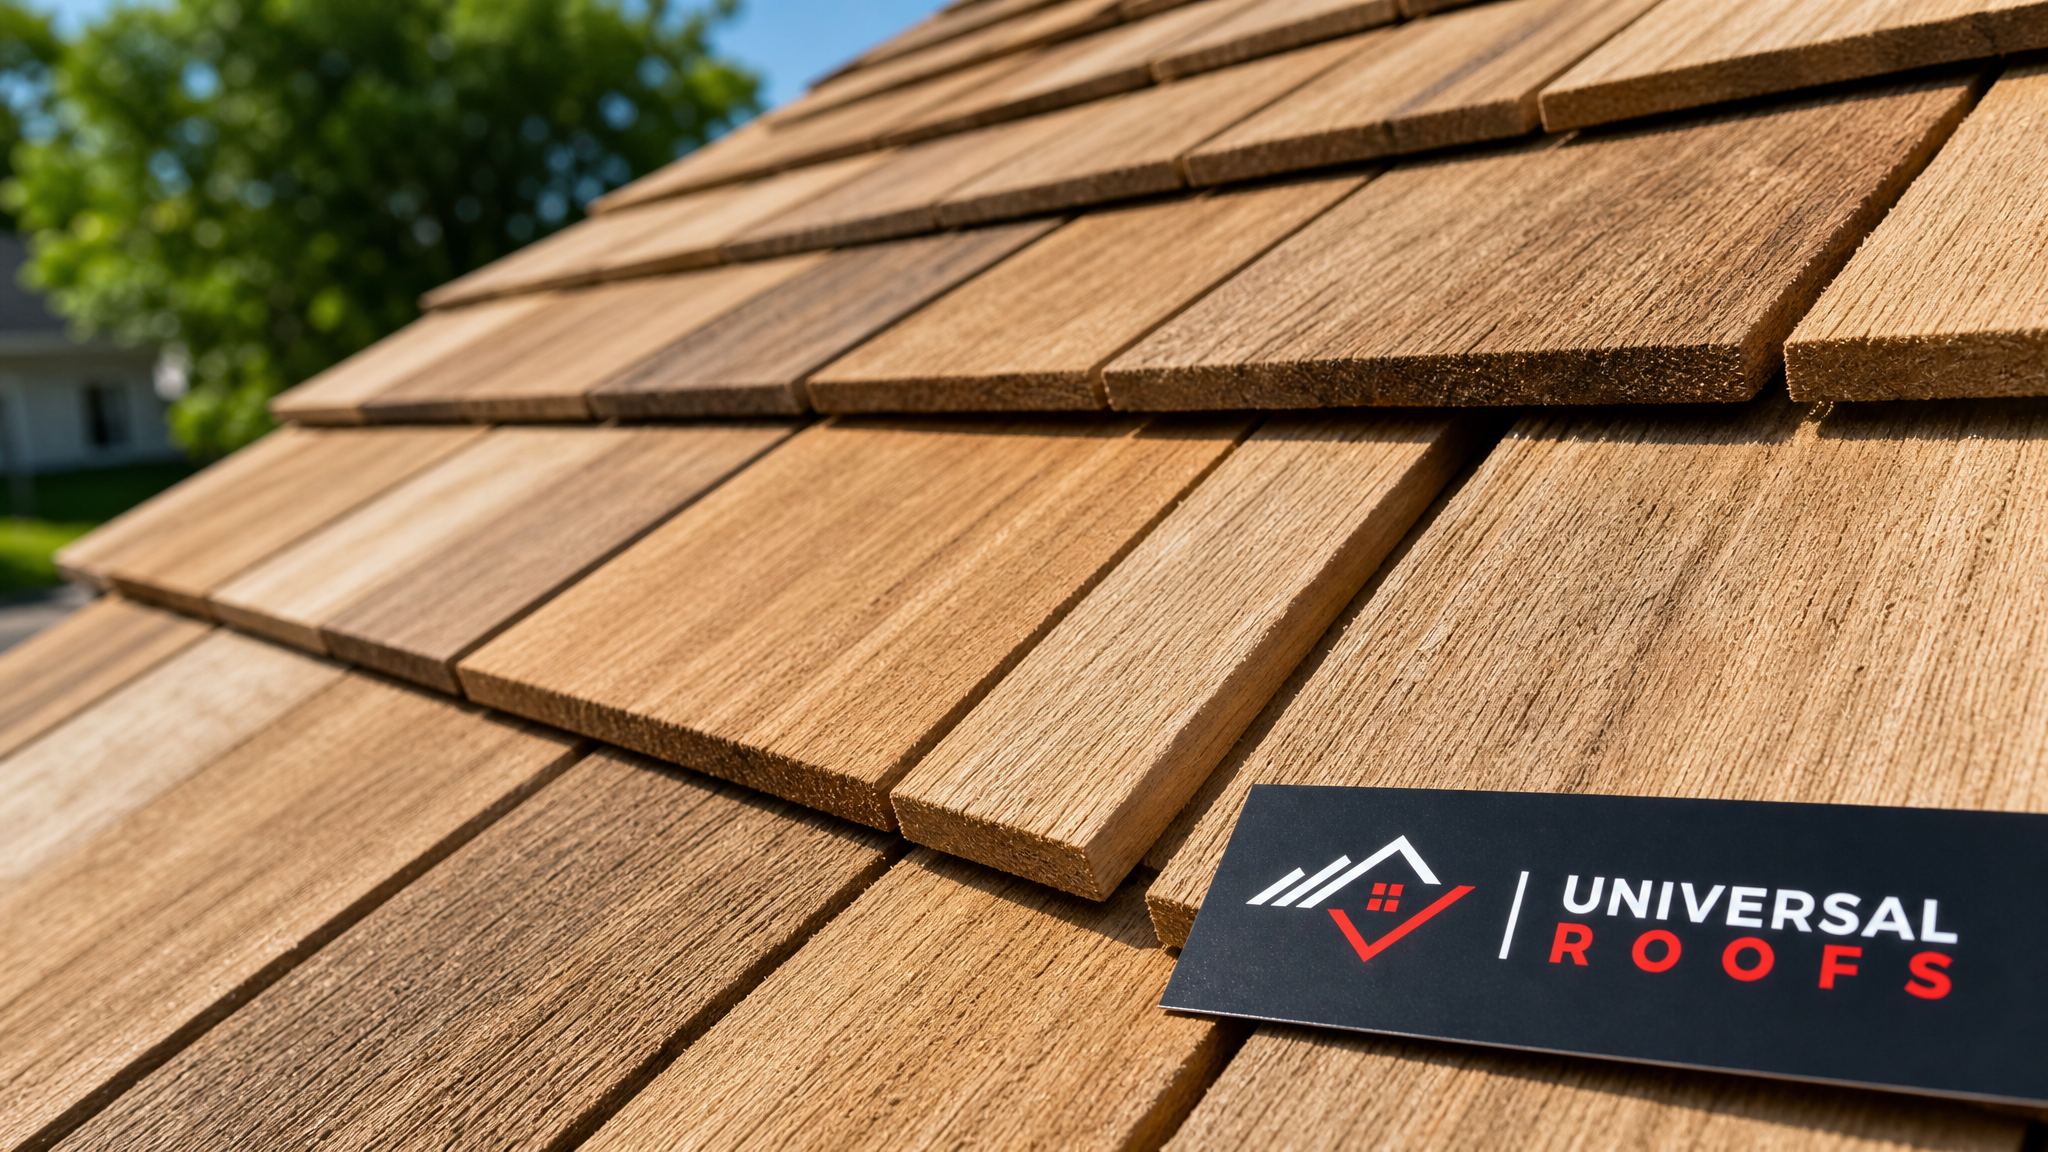
Before picking up a hammer, it helps to understand why wood shake roofs deteriorate the way they do in our region. Toronto and the surrounding areas see wide temperature swings, heavy spring rain, humid summers, and freeze-thaw cycles that repeat dozens of times each winter. Cedar shakes are a natural, organic material, and they expand and contract with moisture and temperature far more than synthetic products. Over time this movement causes splitting, cupping, and curling.
Freeze-thaw damage is one of the biggest culprits. Water gets absorbed into the wood grain during a thaw, then freezes and expands when temperatures drop overnight, forcing tiny cracks to widen. Repeat that cycle enough winters in a row and you end up with shakes that split cleanly down the grain or curl up at the edges, allowing wind-driven rain to get underneath.
Sun exposure is another factor unique to certain roof slopes. South- and west-facing sections of a roof dry out and become brittle faster than north-facing sections, which tend to hold moisture longer and are more prone to moss and algae growth. If you notice your roof aging unevenly from one side to the other, that’s a completely normal pattern for wood shakes in this climate, not a sign of a manufacturing defect.
Finally, organic growth (moss, lichen, and algae) is extremely common on GTA wood shake roofs, especially on shaded, north-facing slopes near mature trees. Left unaddressed, organic growth holds moisture against the wood and accelerates rot. Managing that growth is actually one of the most affordable and effective preventative repairs available, and we cover it in detail further down.
Assessing Damage: What You Can Diagnose From the Ground and Ladder
Before committing to a repair plan, do a proper visual inspection. You don’t need to walk the entire roof surface to get useful information; a lot can be assessed safely from a ladder at the eaves, from an upstairs window, or with a good pair of binoculars from the ground.
Look for these specific signs: shakes that are visibly split down the grain, shakes that have curled or cupped so the edges lift away from the roof deck, missing or blown-off shakes leaving bare patches, dark staining that suggests water is tracking underneath the shake layer, moss or algae carpeting a section of roof, and any soft or spongy feeling when you press gently on a shake (a strong indicator of rot underneath).
It’s worth noting the difference between cosmetic weathering and structural damage. Cedar naturally greys as it ages and develops a silvery patina — that’s normal and doesn’t need repair. What does need attention is any shake that has lost its structural integrity: splits that go all the way through, sections that flex or feel soft, or any spot where you can see daylight through the roof deck from the attic.
A quick trip into the attic on a sunny day is one of the most useful (and free) diagnostic tools available. Turn off the lights and look for pinpricks of daylight coming through the roof deck — each one marks a gap in the shake layer that needs attention. Bring a flashlight to check for water staining on the underside of the sheathing and rafters, which tells you where leaks have already been active.
| Damage Type | Typical Cause | DIY Suitable? | Urgency Level |
|---|---|---|---|
| Single split shake | Freeze-thaw cycling | Yes | Moderate — repair within a season |
| Curled/cupped shakes | Uneven moisture exposure | Yes, if isolated | Moderate |
| Missing shakes (small area) | Wind uplift | Yes | High — exposed deck |
| Moss/algae growth | Shade, poor drainage | Yes | Low to moderate |
| Soft, spongy sheathing | Long-term water infiltration | No — call a professional | Urgent |
| Widespread splitting (30%+ of slope) | Roof reaching end of service life | No — needs assessment | Urgent |
Tools and Materials for Affordable DIY Wood Shake Repair
One advantage of wood shake repair is that the tool list is short and most homeowners already own several of these items. Here’s what you’ll need for a basic repair kit:
A flat pry bar or shingle ripper for lifting nails and sliding out damaged shakes without disturbing the surrounding courses. A rubber mallet for gently seating new shakes without splitting them. Galvanized or stainless steel roofing nails — always corrosion-resistant, since standard nails will rust and stain the cedar within a couple of seasons. Replacement cedar shakes matched as closely as possible to your existing roof’s exposure length and grade. A utility knife for trimming shakes to width. A caulking gun with a roofing-grade sealant compatible with wood. A stiff-bristled brush and a zinc or copper-based moss treatment for organic growth removal. And, critically, proper fall protection: a roof harness, anchor point, and safety rope rated for the job, plus a stable extension ladder secured at the base.
On the materials cost side, individual cedar shakes are inexpensive — typically a few dollars each — which is exactly why isolated repairs are one of the most affordable maintenance tasks a homeowner can do. The expense comes in if you need scaffolding, specialty tools you don’t already own, or if the damage turns out to be more extensive than it first appeared once you’re up there.
If your roof was installed within roughly the last 20-25 years, replacement shakes should be reasonably easy to source through a local building supply yard. Older roofs may require a bit more searching to match the exposure and taper, and mismatched replacement shakes will stand out visually even if they perform fine functionally.
Step-by-Step: Replacing a Single Damaged Shake
Replacing an individual split, curled, or missing shake is the single most common — and most DIY-friendly — wood shake repair. Here is the process most professional roofers use, scaled down for a homeowner working on one or two shakes:
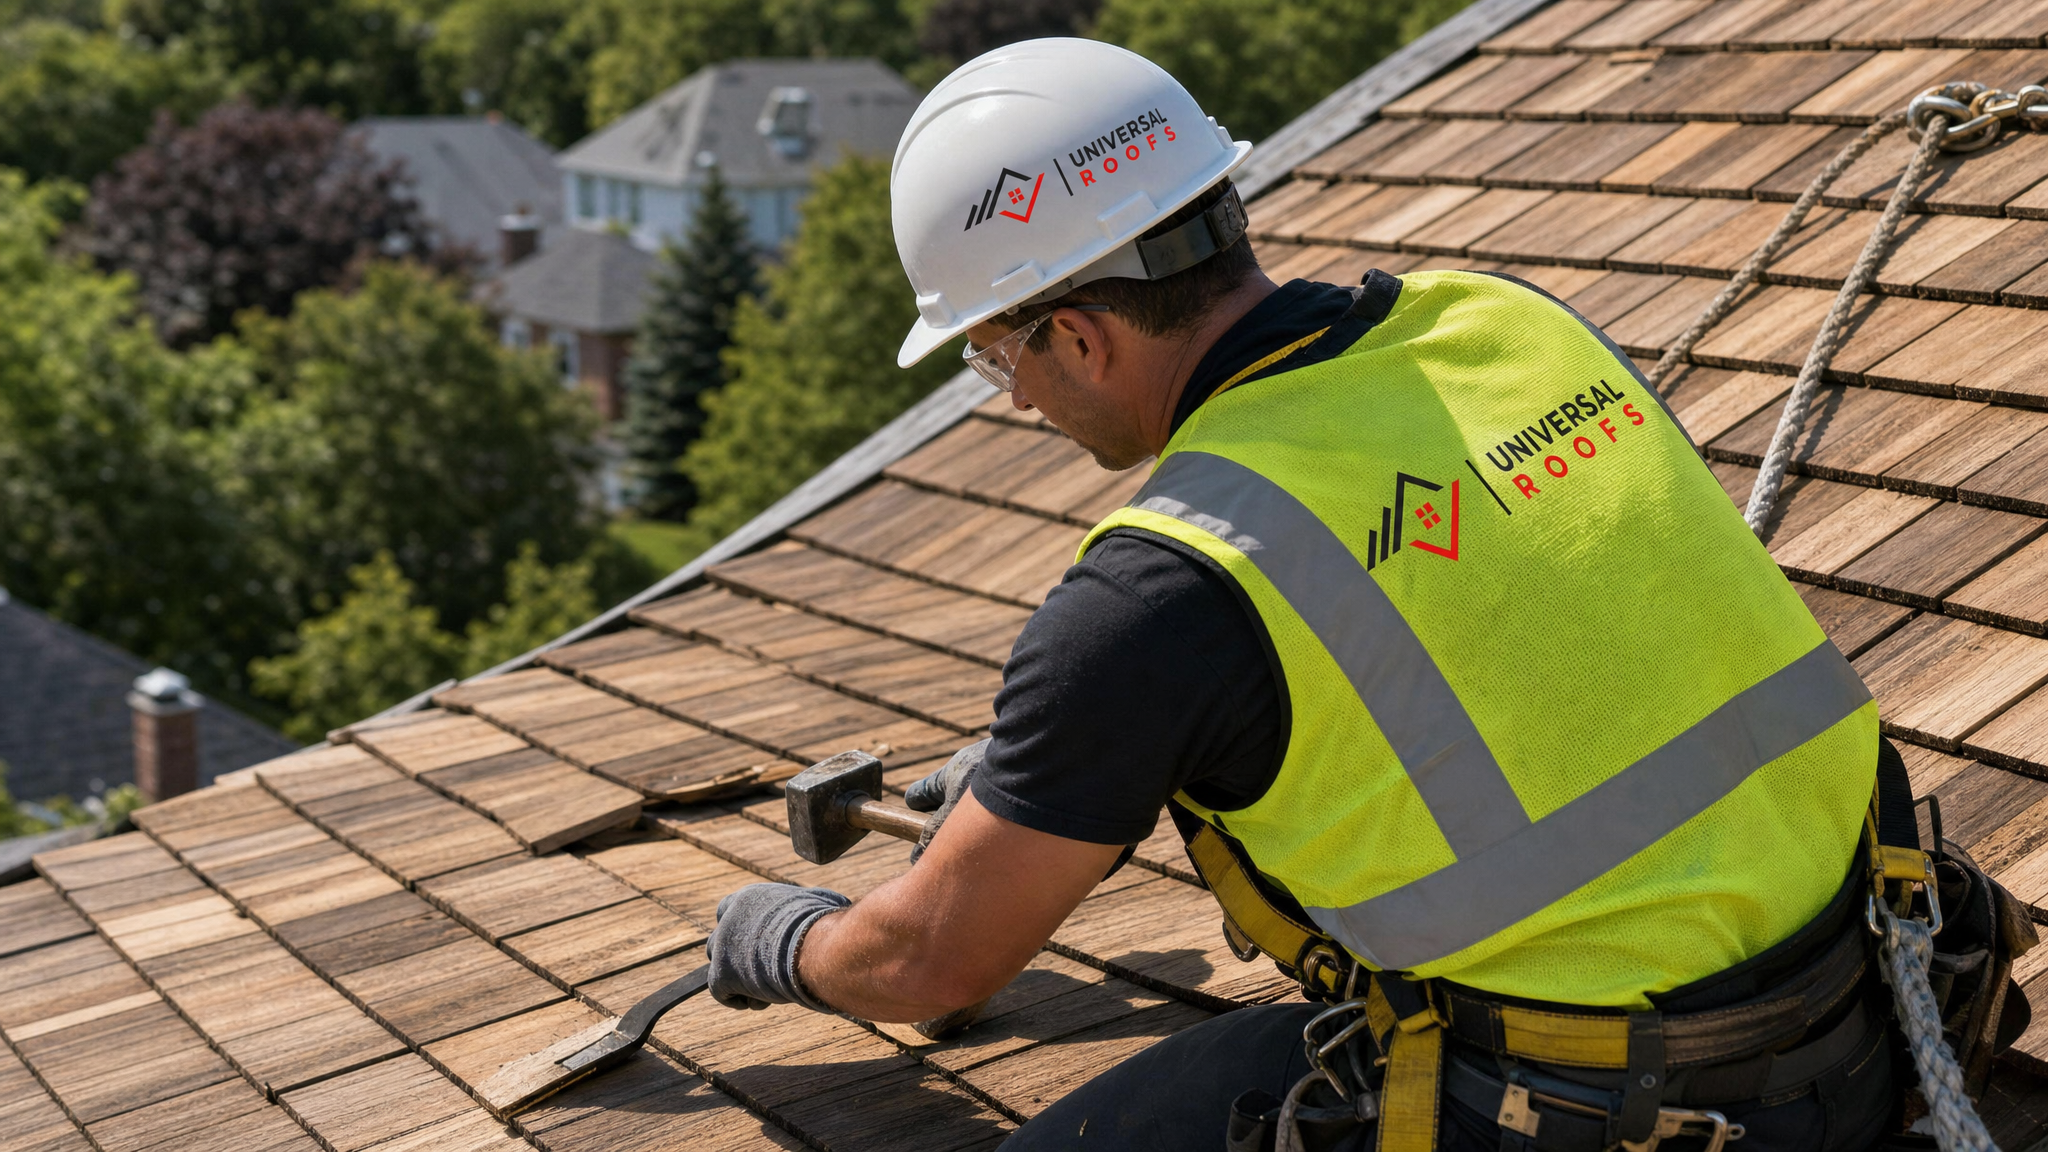
First, remove the damaged shake. Use your flat pry bar or shingle ripper to slide underneath the shake above the damaged one and carefully cut or pull the nails holding the damaged piece in place. Wood shakes are typically secured with two nails per shake, positioned so the course above conceals them, so you’ll need to work the ripper up and under to reach them.
Second, clear the opening. Once the nails are cut and the old shake is out, clean out any debris, old sealant, or splinters from the gap. Check the felt underlayment and decking underneath for any signs of rot or moisture damage before installing anything new — if you find soft wood at this stage, stop and treat that as a signal to call a professional rather than proceeding with a cosmetic patch.
Third, size and trim the replacement shake. Cedar shakes vary slightly in width, so trim the new piece with a utility knife or fine-tooth saw to fit the gap, leaving a small gap of roughly six to ten millimetres on each side for natural expansion. Never install a shake edge-to-edge tight against its neighbours.
Fourth, slide the new shake into place, positioning it so the exposure matches the surrounding courses exactly. Fasten it with two galvanized or stainless roofing nails, angled slightly and placed high enough on the shake that they’ll be covered by the course above once everything settles.
Fifth, seal and inspect. Apply a small amount of roofing-grade sealant under the butt edge if the manufacturer or your roof’s original installation specifications call for it, then step back and check that the new shake sits flush with its neighbours, with no visible lift or gap.
This entire process typically takes fifteen to thirty minutes per shake once you’re set up and working safely, which is why single-shake replacement remains the most cost-effective repair a homeowner can realistically do themselves.
Treating Moss, Algae, and Organic Growth Affordably
Moss and algae are among the most preventable causes of premature wood shake failure, and treating them is one of the most budget-friendly maintenance tasks available to homeowners. Left unchecked, moss holds moisture directly against the wood fibres, keeping shakes damp long after a rainstorm has passed and accelerating rot from the inside out.
Start with gentle mechanical removal. Use a stiff (but not wire) brush to loosen moss and debris, working from the ridge down toward the eaves to avoid lifting shake edges the wrong way. Never use a pressure washer on a wood shake roof — the force can drive water up under the shakes and strip the wood’s natural weathering, doing more harm than the moss itself.
Once loose debris is cleared, apply a zinc or copper-sulphate based moss treatment formulated specifically for wood roofing. These products are applied by sprayer, left to work over several weeks as rain washes them down the roof slope, and are far gentler on cedar than bleach-based alternatives, which can dry out and damage the wood fibres. Reapply according to the product’s label, typically once or twice per season during the growing months.
For long-term prevention, consider whether nearby tree branches are keeping a section of roof shaded and damp longer than necessary. Trimming overhanging branches to improve airflow and sun exposure is a simple, free step that meaningfully reduces future moss growth. Zinc or copper strips installed near the ridge are another low-cost preventative option — as rain washes over them, trace metal ions inhibit new moss and algae growth on the courses below.
| Method | Approx. Cost | Best For | Frequency Needed |
|---|---|---|---|
| Manual brush removal | Low (tools only) | Light surface moss | 1-2 times per year |
| Zinc/copper spray treatment | Low to moderate | Recurring moss/algae | 1-2 times per season |
| Zinc/copper strip installation | Moderate, one-time | Long-term prevention | Once, lasts years |
| Tree trimming for airflow | Low to moderate | Shaded, damp roof slopes | Every 1-2 years |
| Professional treatment | Higher, but thorough | Heavy, established growth | As needed |
When Splits, Curling, and Cupping Need More Than a Patch
Not every damaged shake is a candidate for simple replacement. Splits and curling can be localized cosmetic issues, or they can be early symptoms of a roof that’s approaching the end of its usable life. Knowing the difference saves homeowners from either overspending on premature full replacement or underspending on a roof that genuinely needs more attention.
A good rule of thumb: if damaged or curling shakes make up less than roughly ten to fifteen percent of a given roof slope, scattered replacement is usually a sound, affordable approach. If damage is concentrated in a cluster rather than spread evenly, that often points to a localized issue such as poor ventilation or a valley that’s channeling extra water, which is worth investigating rather than just patching.
If curling and splitting are spread across twenty-five percent or more of the roof, or if you’re finding new damage every season despite regular maintenance, that’s usually a sign the shakes themselves have reached the end of their service life — most wood shake roofs in the GTA last in the range of 25 to 30 years depending on grade, installation quality, and maintenance history. At that point, continuing to patch individual shakes becomes a losing economic proposition, since you’re spending money and time on repairs that don’t meaningfully extend the roof’s remaining life.
This is exactly the point where getting a professional roof assessment pays for itself. A trained eye can tell the difference between a roof with another decade of life left and one where DIY patching is just delaying an inevitable, and potentially more costly, emergency replacement. If you’re seeing this pattern, it’s worth reviewing our roof repair services or discussing a broader roof replacement if the roof is genuinely near end of life.
Safety Considerations Every DIY Roofer Must Follow
Wood shake roofs present some specific safety challenges that differ from asphalt shingle work, and they deserve serious attention before any homeowner heads up a ladder.
Cedar shakes can be genuinely slippery, especially when they’re damp, covered in morning dew, or have any moss or algae growth. Never work a wood shake roof after rain, and always test your footing carefully before committing your full weight to any section. Wood shakes also don’t offer the same grip underfoot as asphalt shingles, particularly on steeper pitches common on older GTA homes.
Fall protection is not optional for any roof work above a single storey. At minimum, use a properly rated roof anchor, harness, and rope system, and never work alone on a roof — have someone aware of what you’re doing and checking in periodically. A stable, properly secured extension ladder that extends at least one metre above the roofline is essential, and it should be tied off or held by a second person during setup and takedown.
Weather matters enormously with wood shake repair. Only work in dry conditions with no rain in the recent forecast, avoid windy days that make ladder work and shake handling hazardous, and be mindful of summer heat — cedar shakes exposed to direct July and August sun can get hot enough to be uncomfortable to handle bare-handed, and working in extreme heat for extended periods raises real risks of heat exhaustion.
If at any point a repair feels beyond your comfort level, whether that’s the height, the pitch, the extent of damage, or simply not having the right equipment, that is the moment to call in a licenced professional rather than pushing forward. No repair savings are worth a fall injury.
Cost Comparison: DIY vs. Professional Wood Shake Repair
One of the most common questions homeowners ask is simply: is DIY actually cheaper once you account for time, tools, and the risk of mistakes? The honest answer is that it depends heavily on the scope of the repair.
For small, isolated jobs — a handful of split or missing shakes, a moss treatment, minor sealant touch-ups — DIY is genuinely the most affordable route, provided you already have basic tools and are comfortable working safely at height. The material cost for a few replacement shakes is minimal, and the time investment is measured in an afternoon rather than days.
Where the math shifts is with larger-scope repairs. Extensive splitting across multiple slopes, valley or flashing issues, or any damage that involves the roof deck itself require specialized tools, staging, and experience to do correctly and safely. Attempting these as DIY projects often leads to callbacks, wasted materials, or — worse — a repair that looks fine but fails to actually stop water infiltration, leading to hidden rot that costs far more to fix later.
| Repair Scope | DIY Cost Range | Professional Cost Range | Recommended Approach |
|---|---|---|---|
| 1-5 individual shakes | Low (materials only) | Moderate (includes labour, callout) | DIY is reasonable if comfortable at height |
| Moss/algae treatment | Low | Moderate | DIY-friendly for most homeowners |
| 6-20 shakes across one slope | Moderate, more time-intensive | Moderate to higher | Consider a professional quote first |
| Valley or flashing repair | Not recommended | Moderate to higher | Professional strongly recommended |
| Widespread splitting/curling | Not cost-effective | Higher (approaching replacement) | Full assessment needed |
Preventative Maintenance to Extend Your Wood Shake Roof’s Life
The most affordable repair is the one you never need to make. A modest annual maintenance routine dramatically reduces how often you’ll be up on the roof dealing with splits, curling, or moss.
Twice a year, ideally in spring and again in fall, walk the perimeter of your home and inspect the roof from the ground with binoculars, checking for obvious gaps, curling, or staining. Clear debris such as leaves and branches from valleys and gutters regularly, since trapped organic matter holds moisture directly against the shakes and accelerates decay in exactly the spots that are hardest to inspect. Keep overhanging branches trimmed back to improve airflow and reduce shade-driven moss growth. Check your attic ventilation periodically — poor attic ventilation traps heat and moisture that pushes up through the roof deck and shortens shake lifespan from underneath, a problem our attic ventilation services are specifically designed to address. And apply moss or algae treatment proactively on shaded, north-facing slopes before growth becomes established rather than after.
If your home also has a flat roof section, such as over a garage extension or rear addition, that surface has entirely different maintenance needs and failure points than the sloped wood shake sections — our flat roofing guide covers that separately. Similarly, if your roof has a skylight, the flashing around it is one of the most common leak points on any pitched roof and deserves its own inspection; see our skylight services or skylight replacement pages if you notice staining specifically around a skylight opening.
Consistent, modest maintenance is genuinely the most cost-effective wood shake strategy available. Homeowners who inspect twice yearly and address small issues immediately spend a fraction of what’s required to fix neglected damage that’s been allowed to spread across multiple courses or compromise the deck underneath.
Signs You Need a Professional Instead of a DIY Fix
Knowing when to stop is just as important as knowing how to start. Call a licenced roofing professional if you notice any soft, spongy, or discoloured roof decking when you press on it or view it from the attic; active leaking inside the home, especially staining on ceilings or walls; damage concentrated around valleys, flashing, chimneys, or skylights, since these areas require specialized techniques; damage covering more than roughly fifteen to twenty percent of any single roof slope; a roof older than 25 years showing widespread wear rather than isolated spots; or any uncertainty about your own safety working at the height or pitch involved.
There’s no shame in bringing in a professional at this stage — in fact, doing so is often the more affordable long-term choice, since a professional inspection can catch developing problems before they become expensive emergencies. Homeowners across Toronto, Peel Region, York Region, Halton Region, and Durham Region regularly reach out for assessments after starting a repair themselves and discovering more extensive damage than expected — that’s a completely normal part of the process, not a failure on the homeowner’s part.
You can also read what past clients have said about our repair work on our reviews page, or check our FAQ page and about page for more on how we approach wood shake and other roofing projects across the GTA.
What is the most affordable DIY guide approach for wood shake roof repair?
Can I really repair a wood shake roof myself, or should I always call a professional?
How much does DIY wood shake roof repair typically cost compared to hiring a contractor?
What tools do I need to follow a DIY guide for affordable wood shake roof repair?
How do I know if my wood shake roof damage is too extensive for a DIY fix?
How often should wood shake roofs be inspected to catch problems early and keep repairs affordable?
Need Help With DIY Guide Affordable Wood?
Whether you’re tackling a straightforward shake replacement yourself or you’ve discovered damage that goes beyond a weekend project, Universal Roofs is here to help GTA homeowners make the right call for their roof and their budget.
Call us today at (416) 732-2421 or request a free inspection to get started.
Universal Roofs proudly serves Toronto, Mississauga, Brampton, Vaughan, Markham, Oakville and the GTA since 2005.