
A flat roof lives or dies by what happens underneath it. Homeowners across Toronto and the wider GTA tend to focus on membranes, flashing, and drainage when they think about flat roof performance, but the single most overlooked factor is airflow. Without proper attic and roof deck ventilation, moisture becomes trapped between the insulation and the membrane, condensation forms on the underside of the roof deck, and the entire assembly begins to deteriorate from the inside out long before the membrane itself would normally fail.
Flat roof ventilation works differently than the ridge-and-soffit systems used on sloped roofs, and that difference trips up a lot of contractors who are more comfortable with pitched-roof assemblies. Because flat and low-slope roofs have little or no attic cavity in the traditional sense, moisture management depends on a combination of vapour barriers, insulation strategy, and mechanical or passive venting built directly into the roof assembly. Get it wrong and you end up with blistering membranes, rotted decking, mould growth, and ice damming in winter. Get it right and a well-installed flat roof system can comfortably outlast its rated lifespan.
This guide walks through five essential tips for flat roof ventilation that every GTA homeowner should understand before their next roof replacement, repair, or seasonal inspection. We will cover the science behind moisture movement, the practical venting methods available, how Toronto’s freeze-thaw climate changes the calculus, and the warning signs that indicate a ventilation problem is already underway.
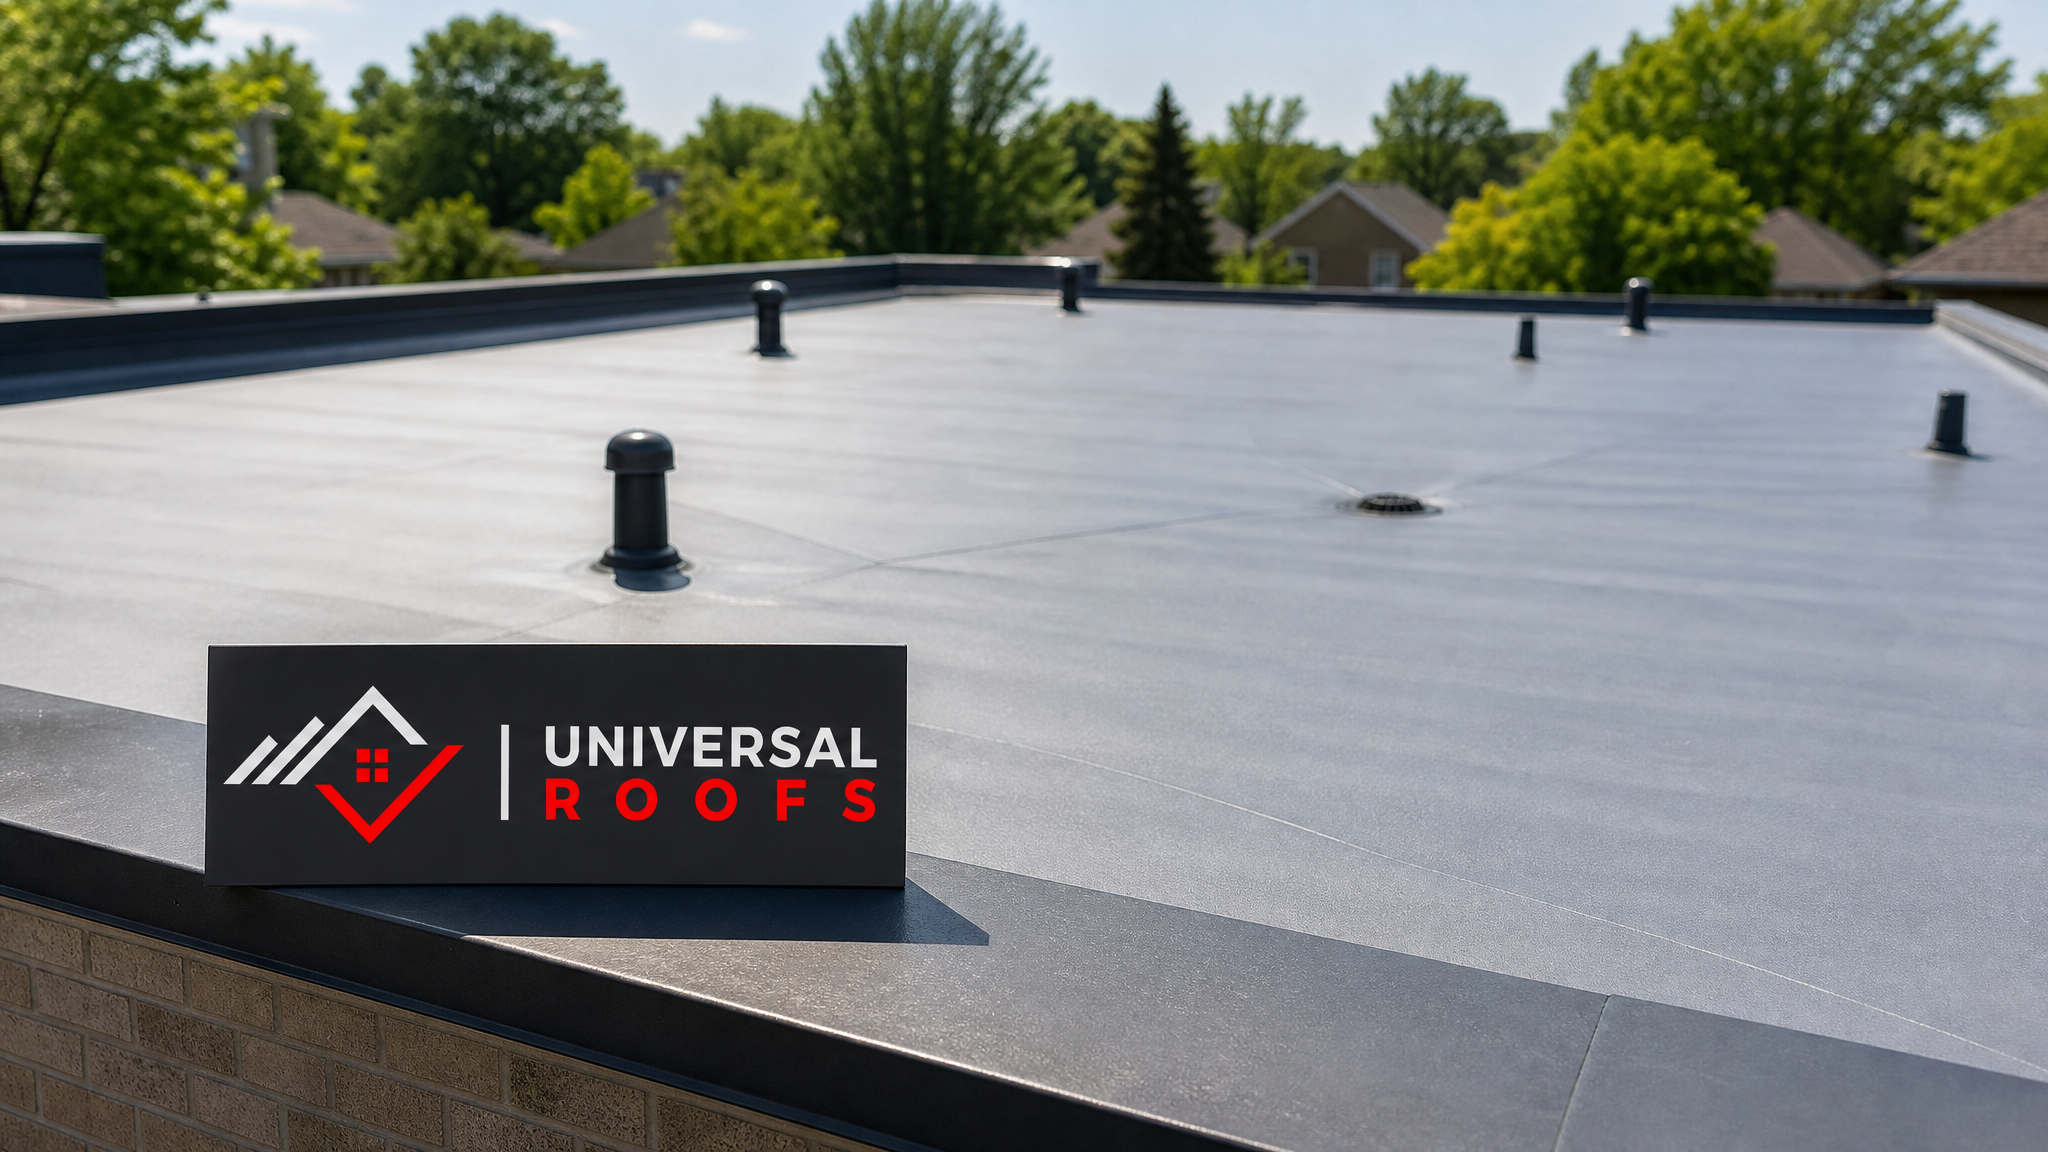
Why Flat Roof Ventilation Is Different From Sloped Roof Ventilation
On a typical sloped roof, ventilation is straightforward: cool, dry air enters through soffit vents at the eaves, rises through the attic space, and exits through a ridge vent or roof-mounted exhaust vents at the peak. That continuous airflow carries moisture vapour out of the attic before it can condense on the underside of the sheathing.
Flat roofs do not have that luxury. Many flat roof assemblies in Toronto are “hot roofs” or “warm roofs,” meaning the insulation sits directly above the roof deck with little or no ventilated air space at all. In these systems, ventilation is less about moving air through a cavity and more about controlling vapour drive: stopping moisture from migrating up out of the living space and into the insulation and membrane layers in the first place. Where a ventilated air space does exist, such as in a “cold roof” assembly with a vented gap between insulation and deck, that space needs continuous, unobstructed airflow from intake to exhaust, or it becomes a trap for humid air rather than a pathway to remove it.
Understanding which category your roof falls into is the first step before deciding what tips for flat roof ventilation actually apply to your building. A cottage-style addition, a commercial flat roof over a retail unit, and a modern flat-roofed infill home in Toronto may all need very different ventilation strategies even though they look similar from the street.
Tip One: Choose the Right Assembly Type Before You Vent Anything
The most essential of all the tips for flat roof ventilation is getting the assembly type right at the design stage, because you cannot retrofit good ventilation onto a poorly conceived roof system. There are three broad categories used across the GTA, and each treats airflow completely differently.
A cold roof assembly leaves an air gap, typically 50 to 75 millimetres, between the top of the insulation and the underside of the roof deck. Intake vents at the perimeter and exhaust vents near the centre or high point of the roof allow air to flow continuously through that gap, carrying away any moisture vapour that makes it past the vapour barrier. This approach works well on renovations where adding external insulation above the deck is impractical.
A warm roof assembly places rigid insulation above the structural deck and below the membrane, with no ventilated air space at all. Because there is no cavity to vent, moisture control depends entirely on an airtight vapour barrier below the insulation and correctly detailed insulation thickness to keep the dew point out of the assembly. Most new flat roof construction and full roof replacement projects in the GTA now favour this approach because it performs more predictably.
An inverted roof assembly (sometimes called a protected membrane roof) flips the order again, placing the waterproof membrane directly on the deck and the insulation on top, protected by ballast or pavers. Ventilation is largely irrelevant here because the membrane sits below the insulation and is never exposed to condensation risk from vapour drive.
| Assembly Type | Ventilated Air Space? | Best Suited For | Key Moisture Control Method |
|---|---|---|---|
| Cold roof | Yes, continuous gap | Renovations, additions, older homes | Airflow through intake/exhaust vents |
| Warm roof | No cavity | New construction, full replacements | Airtight vapour barrier + insulation thickness |
| Inverted (protected membrane) | No cavity needed | Roofs with ballast, patios, green roofs | Membrane below insulation, drainage layer |
| Hybrid (partial vent) | Partial, code-dependent | Additions tying into existing structure | Combination of venting and vapour control |
Mixing these strategies on the same roof plane, which we see fairly often on additions that tie into an existing structure, is one of the fastest ways to trap moisture. If your contractor cannot clearly tell you which of these three assemblies your roof uses, that is a red flag worth pursuing before any work begins.
Tip Two: Balance Intake and Exhaust Venting Precisely
Where a ventilated cold roof assembly is used, the ratio and placement of intake to exhaust vents matters as much as having vents at all. An unbalanced system, where exhaust capacity exceeds intake, will pull conditioned air from the living space through gaps in the ceiling and vapour barrier rather than drawing fresh air from outside, which actually makes moisture problems worse.
The general guideline used across Ontario roofing practice is a minimum of 1 square metre of net free ventilation area for every 150 square metres of roof area, split roughly evenly between intake and exhaust, though local building code and manufacturer specifications should always take precedence. On a flat roof, intake typically comes from continuous soffit or perimeter vents, while exhaust is provided by roof-mounted vents, powered exhaust fans, or a ventilated parapet detail.
Positioning matters just as much as quantity. Exhaust vents placed too close to intake vents create short-circuiting, where air enters and exits without ever travelling across the full roof deck to pick up moisture. Spacing exhaust points near the high side of a roof with slight slope (nearly all flat roofs have some engineered slope for drainage) and intake at the low side encourages air to travel the full width of the cavity.
| Roof Area (m²) | Minimum Net Free Vent Area (m²) | Suggested Intake Vents | Suggested Exhaust Vents |
|---|---|---|---|
| 75 | 0.50 | 2 continuous soffit runs | 2 low-profile roof vents |
| 150 | 1.00 | 3-4 continuous soffit runs | 3-4 roof vents or 1 powered fan |
| 300 | 2.00 | Perimeter venting + gable vents | 2 powered exhaust fans |
| 450+ | 3.00+ | Full perimeter intake system | Multiple powered fans, zoned |
Homeowners considering a flat roofing project should ask their contractor to show the vent calculation for their specific roof area, not just point to a few vent caps and call it done. Under-venting is common because installers want to minimize roof penetrations, but every penetration that is skipped for the sake of a cleaner-looking roof increases the moisture load the rest of the system has to handle.
Tip Three: Manage the Vapour Barrier Before You Manage the Air
Ventilation is only half the equation. The other half is stopping moist, warm air from the living space below from reaching the roof assembly in the first place. Toronto’s climate makes this particularly important: winters push a strong vapour drive from the warm interior toward the cold roof deck, and summers can reverse that drive when humid outdoor air meets an air-conditioned interior.
A continuous, properly sealed vapour barrier on the warm side of the insulation (the interior side, in our climate) is what keeps that moisture from ever entering the cavity or insulation layer. Common failure points include poorly sealed penetrations for pot lights, bath fans, plumbing stacks, and the perimeter where the ceiling meets exterior walls. Even a small gap can allow enough moist air through to saturate insulation over a single winter.
Bathroom and kitchen exhaust fans deserve special mention here. They must vent completely outside the building envelope, never into the attic or roof cavity. This sounds obvious, but it is one of the most common defects found during inspections of older Toronto homes, particularly ones that have had additions or renovations completed without a full permit review. A single mis-vented bath fan can introduce more moisture into a roof assembly over a year than a poorly balanced vent system ever would.
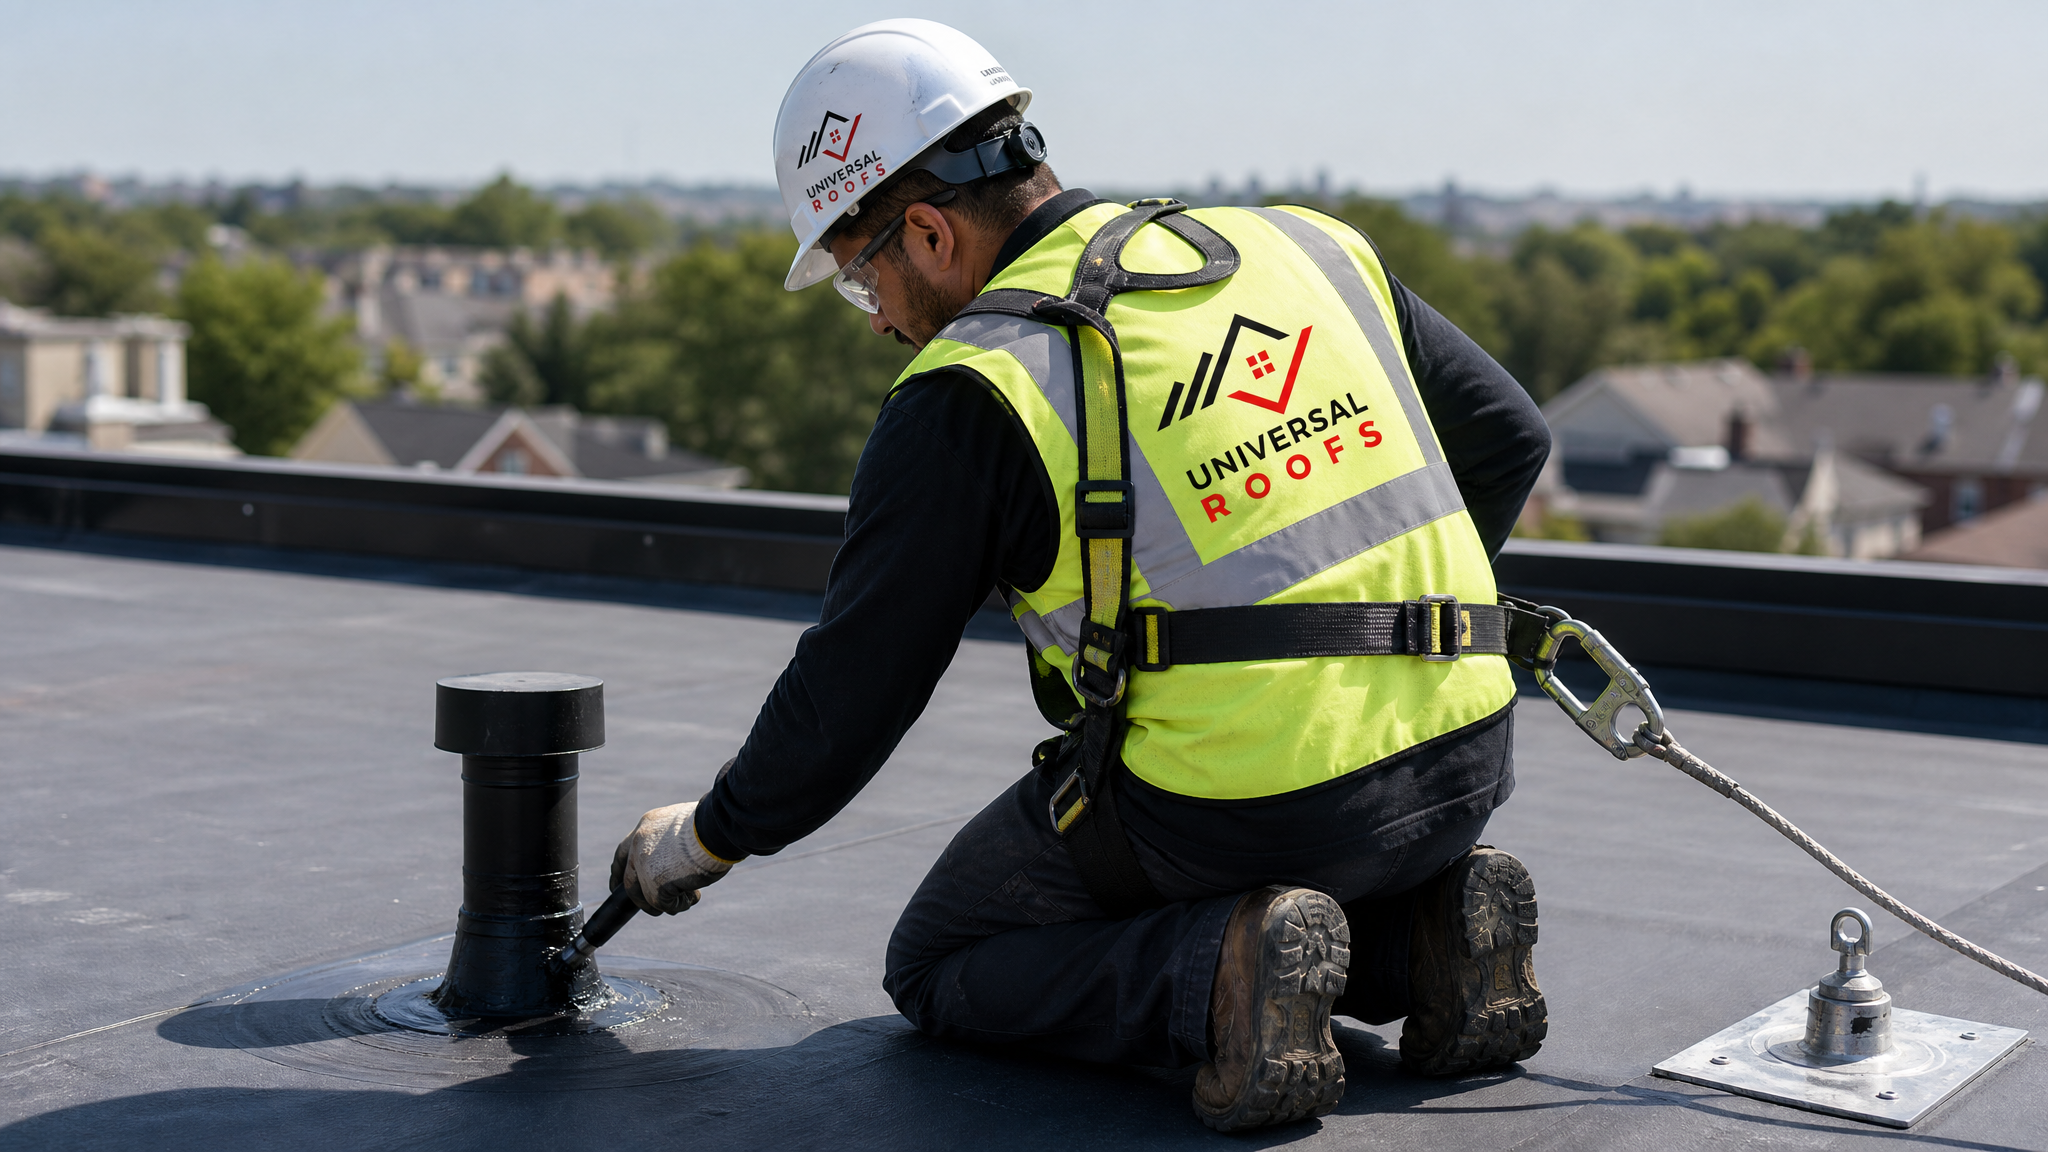
Tip Four: Match Insulation Levels to Your Ventilation Strategy
Insulation and ventilation are inseparable on a flat roof. Too little insulation in a warm roof assembly pushes the dew point into the membrane layer, causing condensation to form right where you cannot see it. Too much insulation crammed into a cold roof’s air gap chokes off the ventilation channel entirely, defeating the purpose of venting in the first place.
Current Ontario Building Code guidance calls for significantly higher insulation values in flat roof assemblies than older homes were built with, which is one reason many 1960s through 1980s Toronto homes with flat-roofed additions run into chronic ventilation and condensation issues. When these roofs are due for a roof replacement, upgrading insulation thickness at the same time is almost always worthwhile, both for moisture control and for the energy savings.
For homes with skylights integrated into the flat roof deck, insulation and vapour barrier continuity around the skylight curb is a frequent weak point. Poorly insulated curbs create a thermal bridge that generates condensation on the inside of the skylight well, which homeowners often mistake for a leaking skylight when it is actually a ventilation and insulation problem. If you notice persistent condensation around a skylight rather than active water intrusion, it’s worth having both the skylight and the surrounding roof assembly inspected together, since the two systems interact more than most homeowners expect. If replacement is needed, our skylight replacement team can coordinate curb insulation upgrades at the same time.
| Warning Sign | Likely Cause | Ventilation-Related? | Recommended Action |
|---|---|---|---|
| Membrane blistering or bubbling | Trapped moisture vapour under membrane | Yes | Inspect vapour barrier and vent balance |
| Musty odour in top-floor rooms | Mould growth in roof cavity | Yes | Full roof deck inspection, remediate insulation |
| Condensation on skylight interior | Thermal bridging at curb, poor insulation | Yes | Re-insulate curb, check vapour seal |
| Ice damming at roof edge | Heat loss melting snow unevenly | Yes | Improve insulation, verify intake venting |
| Sagging or soft roof deck areas | Rotted decking from prolonged moisture | Yes | Deck replacement, correct ventilation before re-roofing |
Tip Five: Inspect and Maintain Vents on a Seasonal Schedule
Even a perfectly designed ventilation system fails if the vents themselves become blocked. Leaves, wind-blown debris, nesting insects, birds, and even paint overspray from previous maintenance work can clog intake and exhaust vents over time, and because flat roof vents are low-profile by design, blockages are easy to miss from the ground.
Summer is actually the ideal time for this kind of inspection in the GTA. The roof surface is dry, safe to walk on, and any winter debris has had a chance to settle and become visible before autumn leaf-fall adds another layer. A seasonal check should confirm that every vent cap is clear, that soffit vents have not been painted over or insulated shut from inside the attic, and that powered exhaust fans (if present) are still running and not seized from disuse.
Homeowners who have had recent roof repair work done should also confirm that any patched areas did not inadvertently cover or block an existing vent. It happens more often than you would expect: a patch is applied to stop a visible leak, and the crew doesn’t realize a low-profile vent cap sat just beneath the repair area.
| Season | Recommended Ventilation Task | Why It Matters in the GTA | Frequency |
|---|---|---|---|
| Spring | Clear winter debris from vent caps | Snow load and ice can pack debris into vents | Once, after final thaw |
| Summer | Full roof walk and vent inspection | Dry, safe conditions for thorough checks | Once, mid-season |
| Fall | Clear leaves before first snow | Prevents blocked intake before winter | Once, after leaf-fall |
| Winter | Check for ice damming and vent frosting | Freeze-thaw cycles reveal ventilation gaps | After major snow events |
A quick seasonal check takes far less time and money than repairing rotted decking or replacing a membrane that failed years ahead of schedule because trapped moisture degraded it from below. If you are unsure whether your roof’s vents are clear or correctly balanced, a professional inspection is a small investment against a very large one.
How Toronto’s Climate Shapes Flat Roof Ventilation Decisions
Freeze-thaw cycling is the defining climate stress on GTA roofs, and it interacts directly with ventilation. Every time trapped moisture in a roof assembly freezes, it expands, working membrane seams loose and stressing insulation boards. When it thaws, that same moisture can migrate further into the assembly rather than escaping, especially in a system where ventilation is blocked or under-designed. Over several winters, this cycle alone can shave years off a membrane’s expected lifespan.
Humidity swings between Toronto’s humid summers and dry winters also stress vapour barriers more than a stable climate would. A vapour barrier that performs adequately in a milder, more consistent climate may not hold up to the seasonal reversal in vapour drive direction that the GTA sees every year. This is part of why using local, climate-appropriate ventilation design, rather than a generic specification pulled from a manufacturer’s national guidelines, produces better long-term results.
Homes across the wider region, from Toronto proper through Peel Region, York Region, Halton Region, and Durham Region, share this same freeze-thaw exposure, though microclimate differences (lake-effect humidity near the waterfront versus drier inland conditions further north) mean ventilation strategy can shift somewhat from neighbourhood to neighbourhood.
Common Ventilation Mistakes We See on GTA Flat Roofs
A recurring issue is homeowners or previous contractors adding insulation to an existing cold roof assembly without accounting for the ventilation gap, effectively choking off airflow that the roof was originally designed around. Another frequent mistake is capping or removing vents during a re-roofing project purely for aesthetic reasons, since low-profile vents can look untidy from a rooftop patio or terrace, without replacing that ventilation capacity elsewhere in the assembly.
Powered attic fans are sometimes installed as a quick fix for a musty smell or visible condensation, but a fan alone cannot compensate for a fundamentally unbalanced or blocked passive system, and in some cases a powered fan can actually depressurize a roof cavity enough to pull conditioned indoor air through gaps it would not otherwise reach. Ventilation problems are almost always best solved by correcting the underlying intake, exhaust, and vapour barrier balance rather than adding mechanical devices on top of a flawed system.
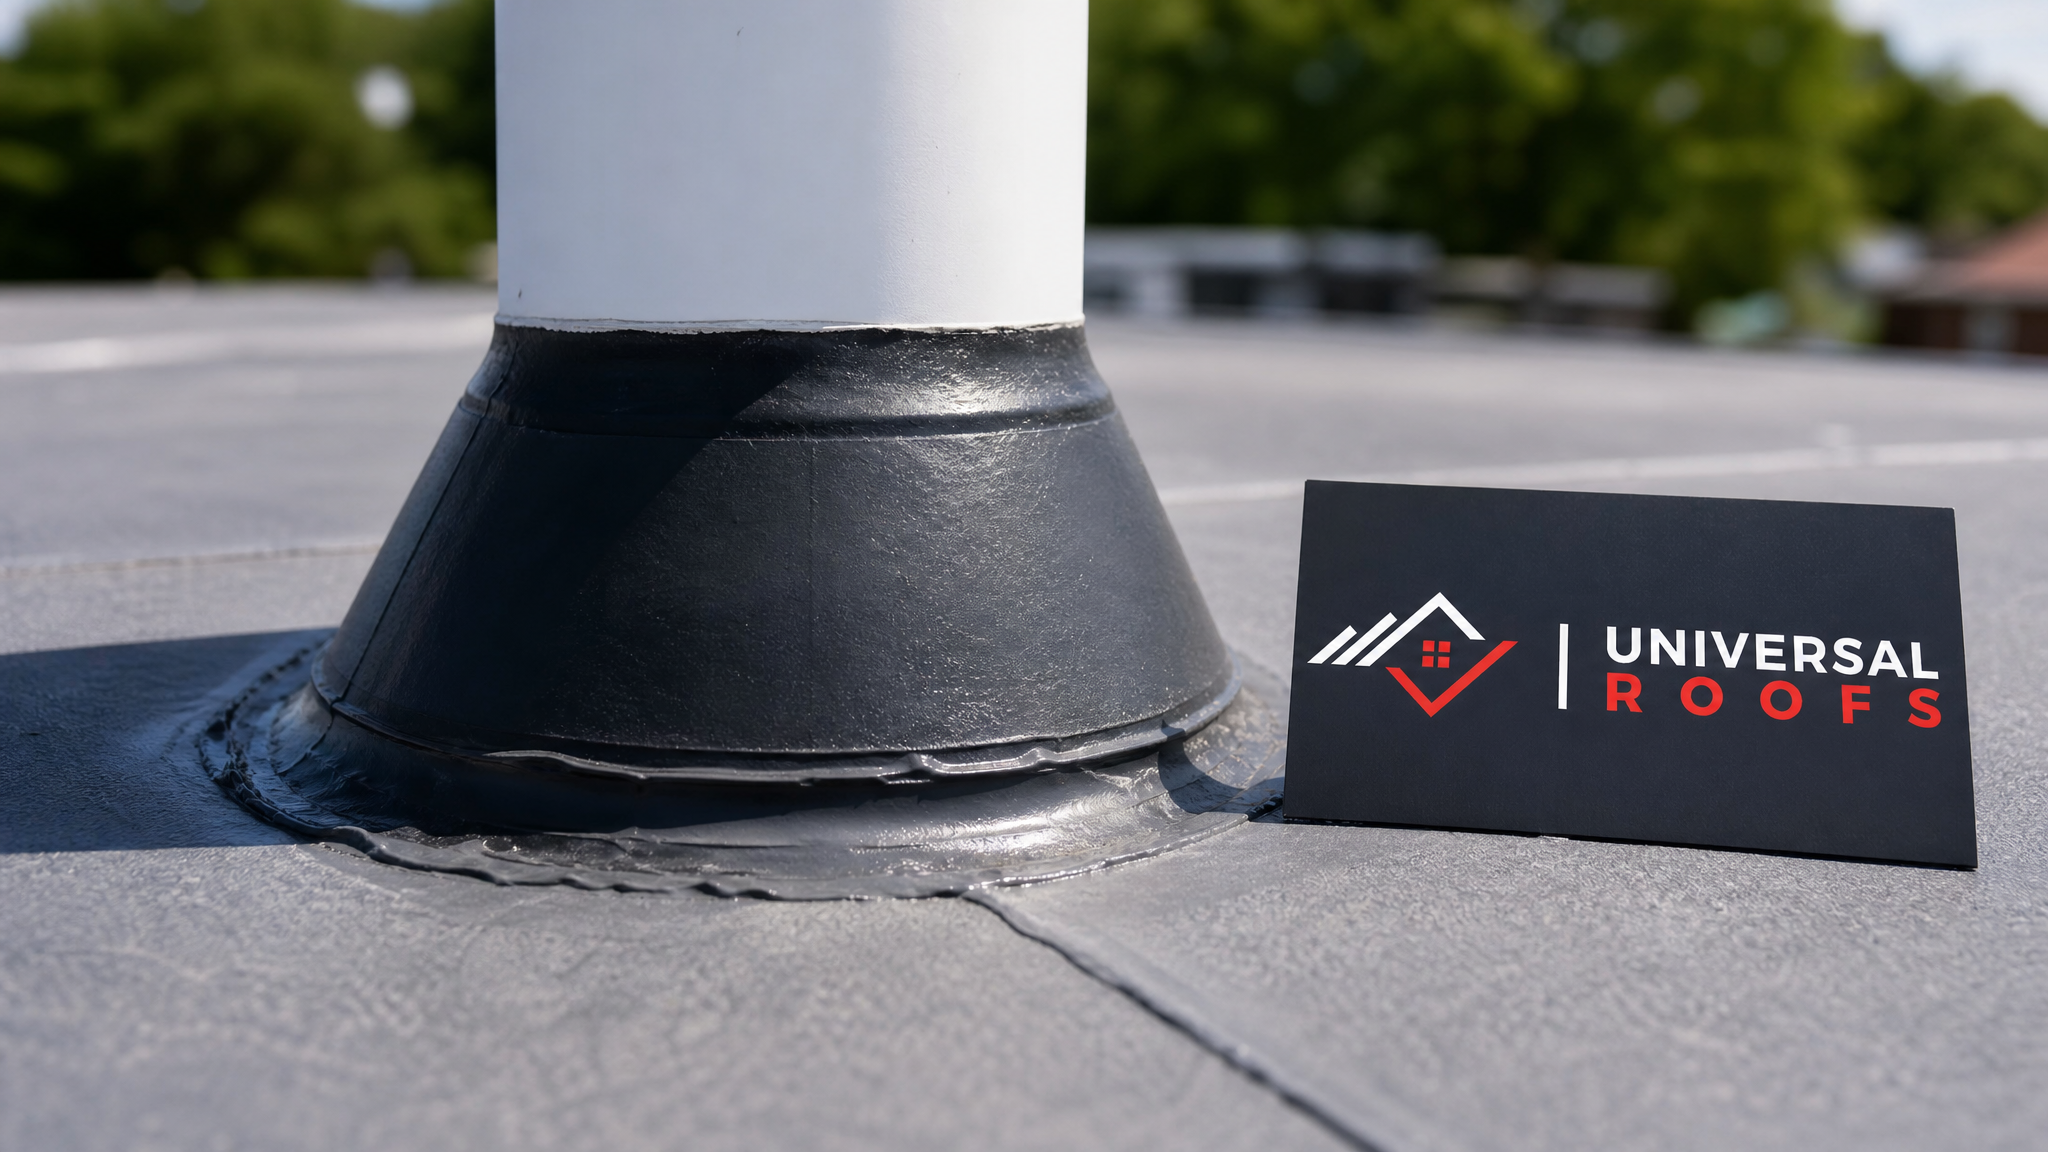
Finally, DIY vent installation without addressing flashing details properly is a common source of new leaks. A vent that is functionally well-placed but poorly flashed simply trades a moisture problem for a direct water intrusion problem, which is often worse. Any vent penetration through a membrane roof should be treated with the same care and expertise as a skylight or plumbing stack penetration, because the flashing detail is what actually keeps water out, not the vent itself.
When to Call a Professional Roofer
Some ventilation issues are visible and simple enough for a homeowner to identify, such as a vent cap clearly blocked by debris. Others, like an unbalanced intake-to-exhaust ratio or a vapour barrier breach hidden inside the assembly, require a trained eye and sometimes a moisture meter or infrared camera to properly diagnose.
If you notice recurring musty odours, visible staining on ceilings below a flat roof section, membrane blistering, or condensation that keeps returning after cleaning, these are strong signals that the ventilation system, not just the membrane, needs professional attention. A qualified roofing contractor can assess whether your roof is a cold, warm, or inverted assembly, calculate whether your current vent area meets the recommended ratio for your roof size, and identify any vapour barrier gaps contributing to the problem.
Universal Roofs has been diagnosing and correcting flat roof ventilation issues across the GTA since 2005, and we’re happy to walk you through what we find and why, not just hand you an estimate. You can read about other homeowners’ experiences on our reviews page, check common questions on our FAQ page, or learn more about our team on the about page.
What are the most essential tips for flat roof ventilation on an older Toronto home?
How do I know if my flat roof has enough ventilation?
Can I add ventilation to a flat roof without a full roof replacement?
Does Toronto’s climate make flat roof ventilation more important than in other regions?
Why is there condensation around my skylight if the roof isn’t leaking?
How often should flat roof vents be inspected and cleaned?
Need Help With 5 Essential Tips for?
Getting flat roof ventilation right protects everything above and below the membrane, from insulation and decking to the ceilings inside your home. If your roof is showing signs of trapped moisture, or if you simply want a professional opinion before a small issue becomes a costly one, Universal Roofs can help you sort it out.
Call us today at (416) 732-2421 or request a free inspection to get started.
Universal Roofs proudly serves Toronto, Mississauga, Brampton, Vaughan, Markham, Oakville and the GTA since 2005.