
If you have ever noticed a damp stain creeping across a ceiling near a dormer, a chimney, or the point where a lower roofline meets a second-storey wall, the culprit is almost always the same: missing, corroded, or improperly installed sidewall flashing. Understanding the purpose of roof flashing for sidewalls is one of the most important things a Toronto homeowner can learn, because this small strip of metal quietly does the heavy lifting of keeping water out of your attic, walls, and framing at one of the most leak-prone junctions on the entire roof.
Sidewall flashing is installed anywhere a sloped roof plane runs into a vertical wall — think of a single-storey addition tucked against a two-storey house, a dormer window, or a garage that abuts the main structure. Without proper flashing, rainwater and melting snow run straight down the wall and pool at the seam, working their way behind the siding and into the sheathing. In the Toronto climate, where freeze-thaw cycles are constant from November through March and summer thunderstorms can drop heavy rain in short bursts, this seam is under near-constant stress.
In this guide, we will break down exactly how sidewall flashing works, the different types used on GTA homes, how it is installed correctly, the warning signs of failure, and what it costs to repair or replace. Whether you are dealing with a leak right now or simply want to understand what is happening behind your siding, this article covers everything you need to know.
What Sidewall Flashing Actually Does
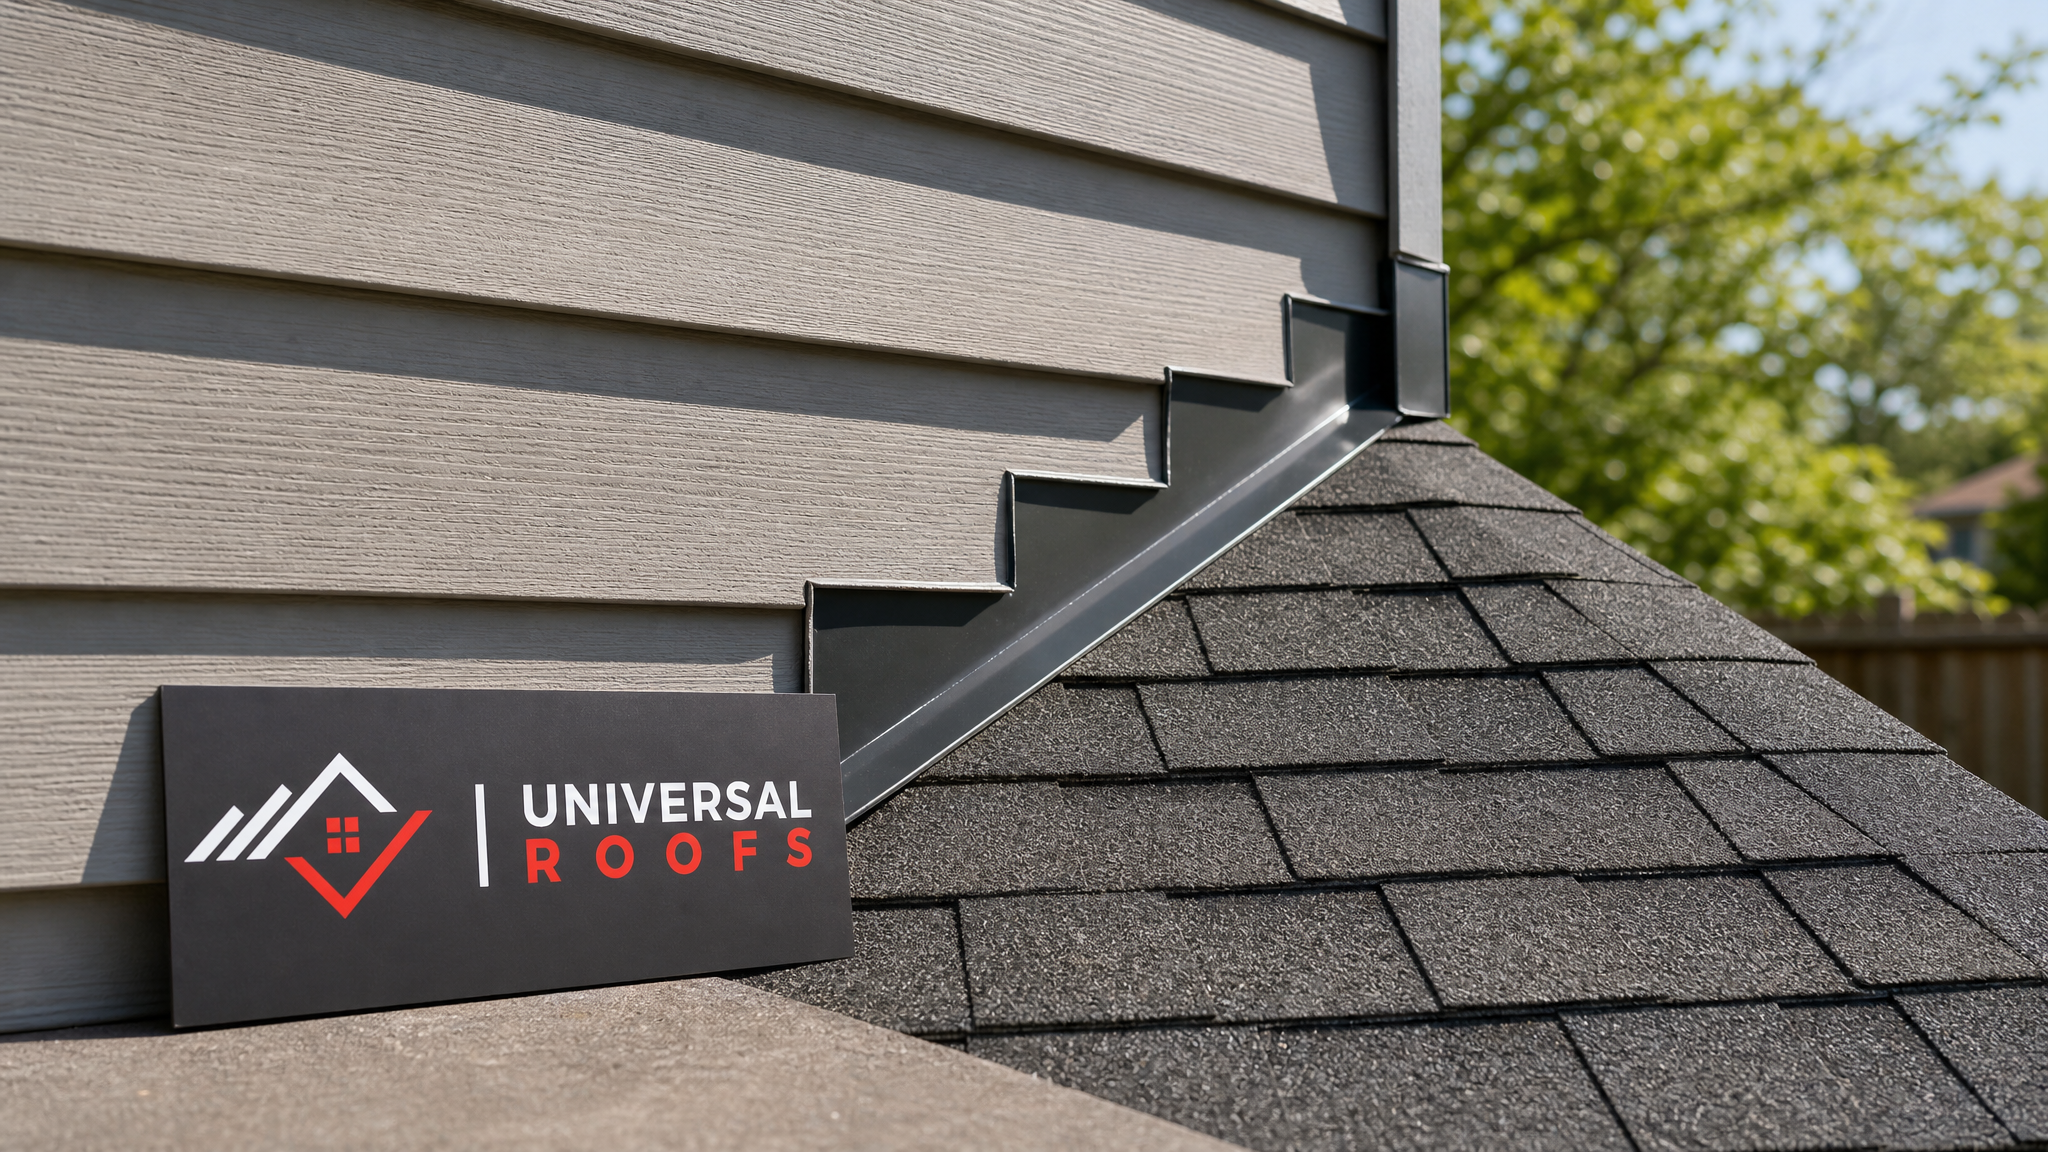
At its core, sidewall flashing is a waterproofing barrier made of metal (or, less commonly, high-grade rubberized membrane) that bridges the gap between a roof deck and an adjoining vertical wall. The purpose of roof flashing for sidewalls is straightforward on paper but critical in practice: it redirects water that would otherwise run down the wall cladding and seep into the seam, sending it instead over the top of the roofing material and away from the structure.
Without this flashing, water finds the path of least resistance. Siding is designed to shed rain running down its face, not to handle water pouring directly onto a horizontal seam at its base. Roof shingles, similarly, are designed to shed water downhill, not to resist water pushed sideways by wind or funnelled off a wall above them. Sidewall flashing solves this by creating an overlapping, layered system: each piece of flashing tucks under the piece above it and over the piece below it, and it laps under the siding on the wall side while sitting on top of the roofing membrane or shingles on the roof side.
The result is a shingled, cascading path that keeps water moving downward and outward no matter which direction it approaches from. This is why professional roof repair at this junction always focuses on the flashing system first — the shingles themselves are rarely the actual point of failure.
The Different Types of Sidewall Flashing
Not all sidewall flashing looks the same, and choosing the right type — or combination of types — matters for long-term performance. Here is how the main varieties compare.
| Flashing Type | Where It’s Used | Material | Typical Lifespan |
|---|---|---|---|
| Step flashing | Along the full length of a sloped roof-to-wall seam | Galvanized steel, aluminum, or copper | 25-50 years |
| Continuous (base) flashing | Short, straight wall sections; sometimes paired with step flashing | Aluminum or steel, formed in long runs | 20-30 years |
| Counter-flashing | Set into the wall cladding, overlapping step flashing | Aluminum, copper, or embedded membrane | 25-50 years |
| Kick-out flashing | Where a sidewall run meets a gutter or eave | Formed aluminum or copper | 20-30 years |
| Peel-and-stick membrane underlayment | Beneath all metal flashing types, as a secondary barrier | Rubberized asphalt membrane | 30+ years (under metal) |
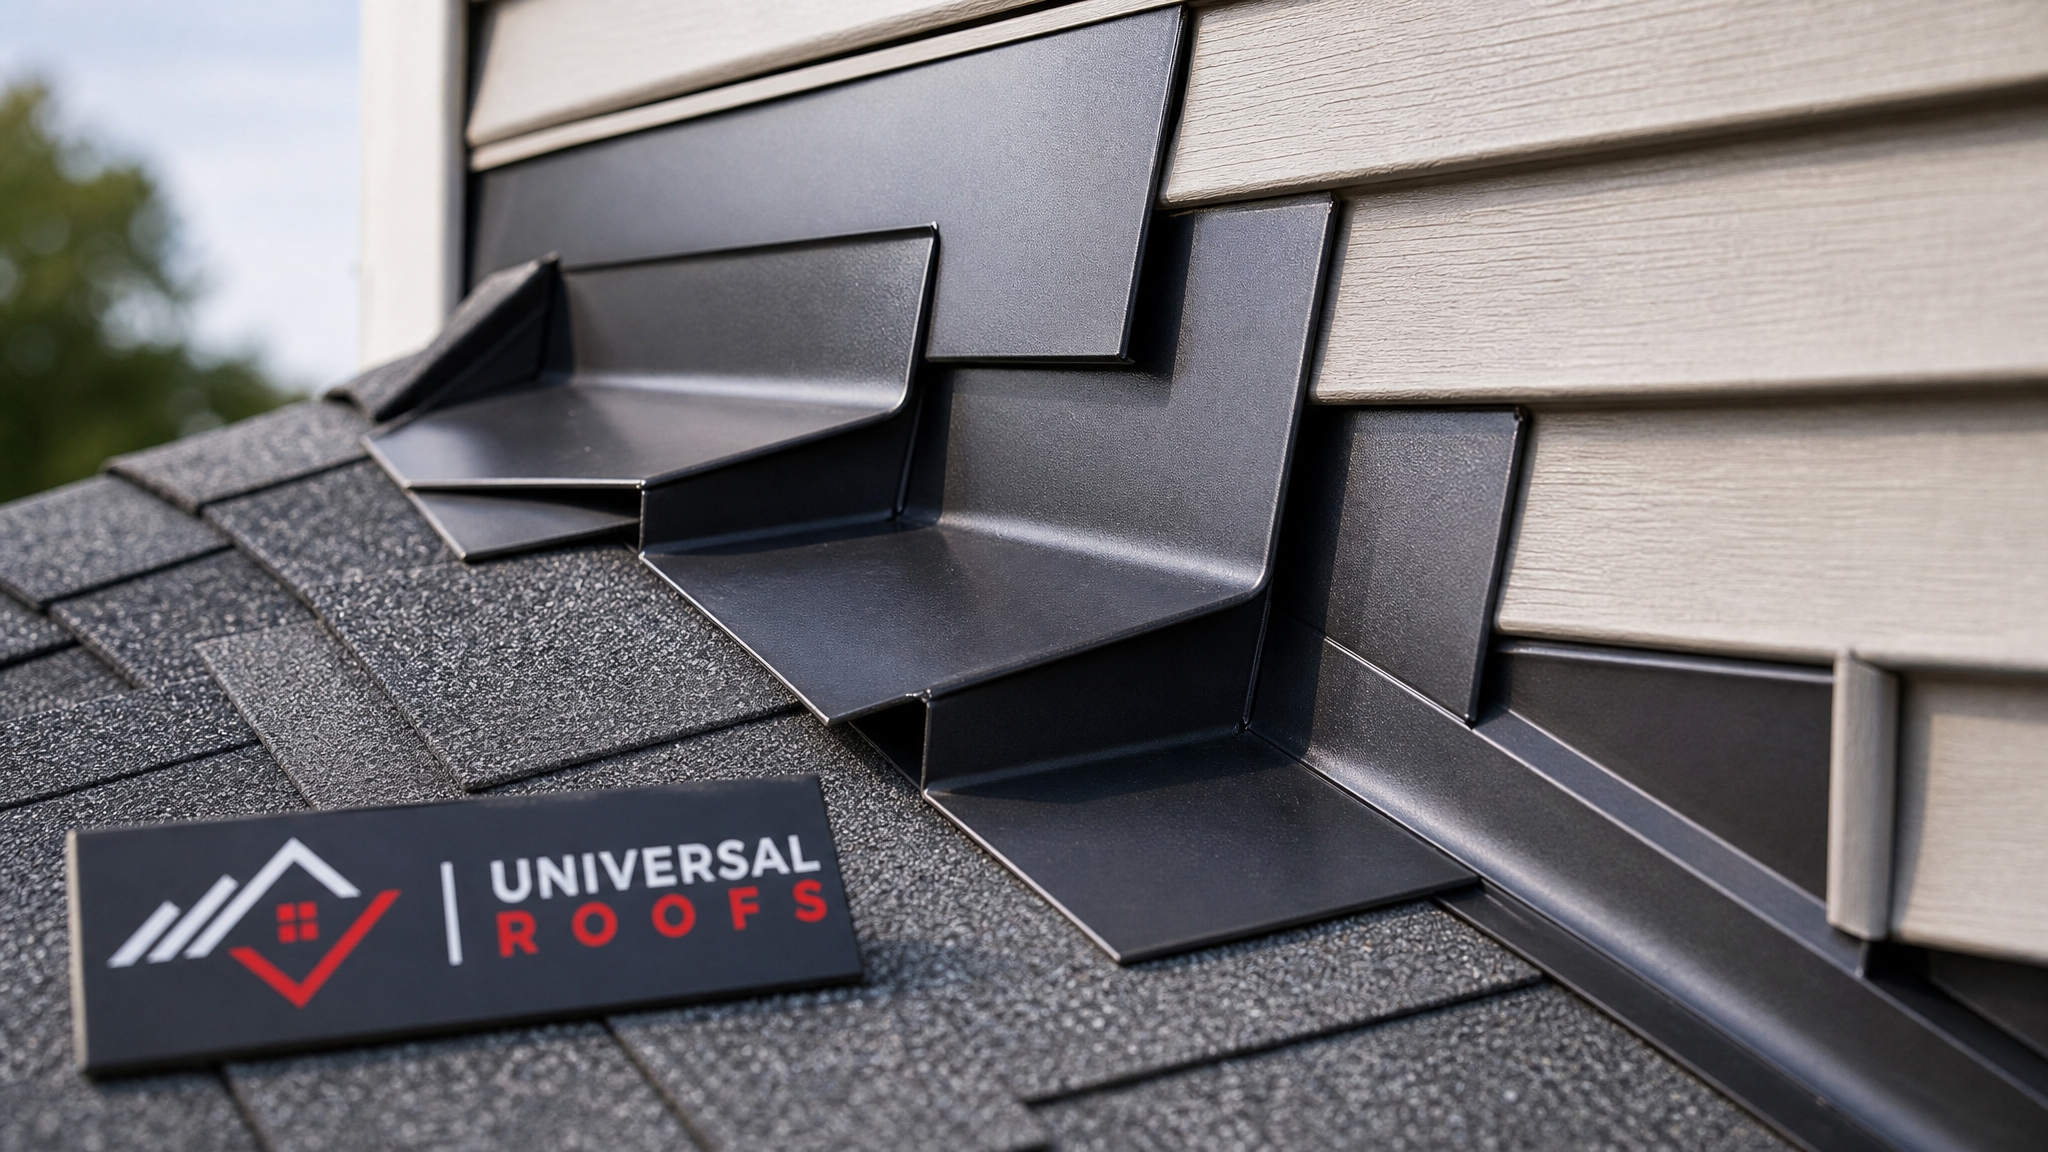
Step flashing is the workhorse of sidewall protection. Individual L-shaped pieces of metal, typically measuring around 5 by 7 inches, are woven into the roofing courses one at a time as the shingles go up, so each piece overlaps the one below it by at least 2 inches. This shingled approach is what allows water to run over every joint rather than into it.
Counter-flashing works as a partner to step flashing rather than a replacement for it. It is cut into a reglet (a small groove) in masonry, or tucked behind siding, and folds down over the top edge of the step flashing. This second layer prevents wind-driven rain from getting behind the step flashing at the wall side, which is one of the most common leak points on older Toronto homes with brick or stucco walls.
Kick-out flashing deserves special mention because it is the piece most often skipped by inexperienced installers — and its absence is one of the single biggest causes of hidden wall rot we see on service calls across the GTA. Where a sidewall flashing run ends at the eave, the kick-out diverts water away from the wall and into the gutter, rather than letting it pour down the fascia and into the wall cavity behind the siding.
Why Sidewall Flashing Fails in the GTA Climate
Toronto’s climate is particularly hard on flashing systems. The freeze-thaw cycle that runs through most of the winter causes metal to expand and contract repeatedly, which can loosen fasteners, crack sealant, and eventually pull flashing away from the wall or roof deck. Add in heavy spring rain, summer thunderstorms, and the ice-damming that forms along eaves and sidewalls when attic heat escapes unevenly, and you have a recipe for gradual failure even on flashing that was installed correctly to begin with.
Poor attic ventilation makes this worse. When warm air escapes into the attic and melts snow on the roof, that meltwater refreezes at the colder eaves and sidewalls, forming ice dams that back water up under the flashing and shingles. This is one of the most common reasons homeowners in Toronto and across the Peel Region see leaks specifically at sidewall junctions during a January thaw, even though the flashing looked fine the previous autumn.
Warning Signs of Sidewall Flashing Failure
Because sidewall flashing sits behind siding and under shingles, it is rarely visible from the ground, which means most homeowners only discover a problem once water has already made its way inside. Here are the signs worth watching for.
| Warning Sign | What It Usually Means | Urgency |
|---|---|---|
| Water stains on interior wall or ceiling near a roofline | Active leak at the sidewall junction, likely behind flashing | High — inspect within days |
| Peeling paint or bubbling drywall on an interior wall below a sidewall | Prolonged moisture intrusion, possible framing damage | High — schedule an assessment |
| Visible gaps or rust at the base of a dormer or addition wall | Corroded or separated step flashing | Medium — repair before next rain |
| Musty smell in a room adjacent to an exterior wall | Hidden moisture and possible mould growth in the wall cavity | High — needs investigation |
| Discoloured or curling siding just above roof level | Water wicking up behind siding due to missing kick-out flashing | Medium — repair proactively |
If you spot any of these signs, it is worth having a professional take a look before the next significant rainfall or freeze-thaw cycle. Small flashing repairs are inexpensive compared to the cost of replacing rotted sheathing, insulation, or drywall once water intrusion has been ongoing for a season or more.
How Sidewall Flashing Is Installed Correctly
A properly executed sidewall flashing installation follows a specific sequence, and skipping steps is exactly how leaks happen years down the road.
- Underlayment first. A self-adhering rubberized membrane goes down along the entire roof-to-wall seam before any metal is installed, providing a secondary waterproof layer in case the primary flashing is ever compromised.
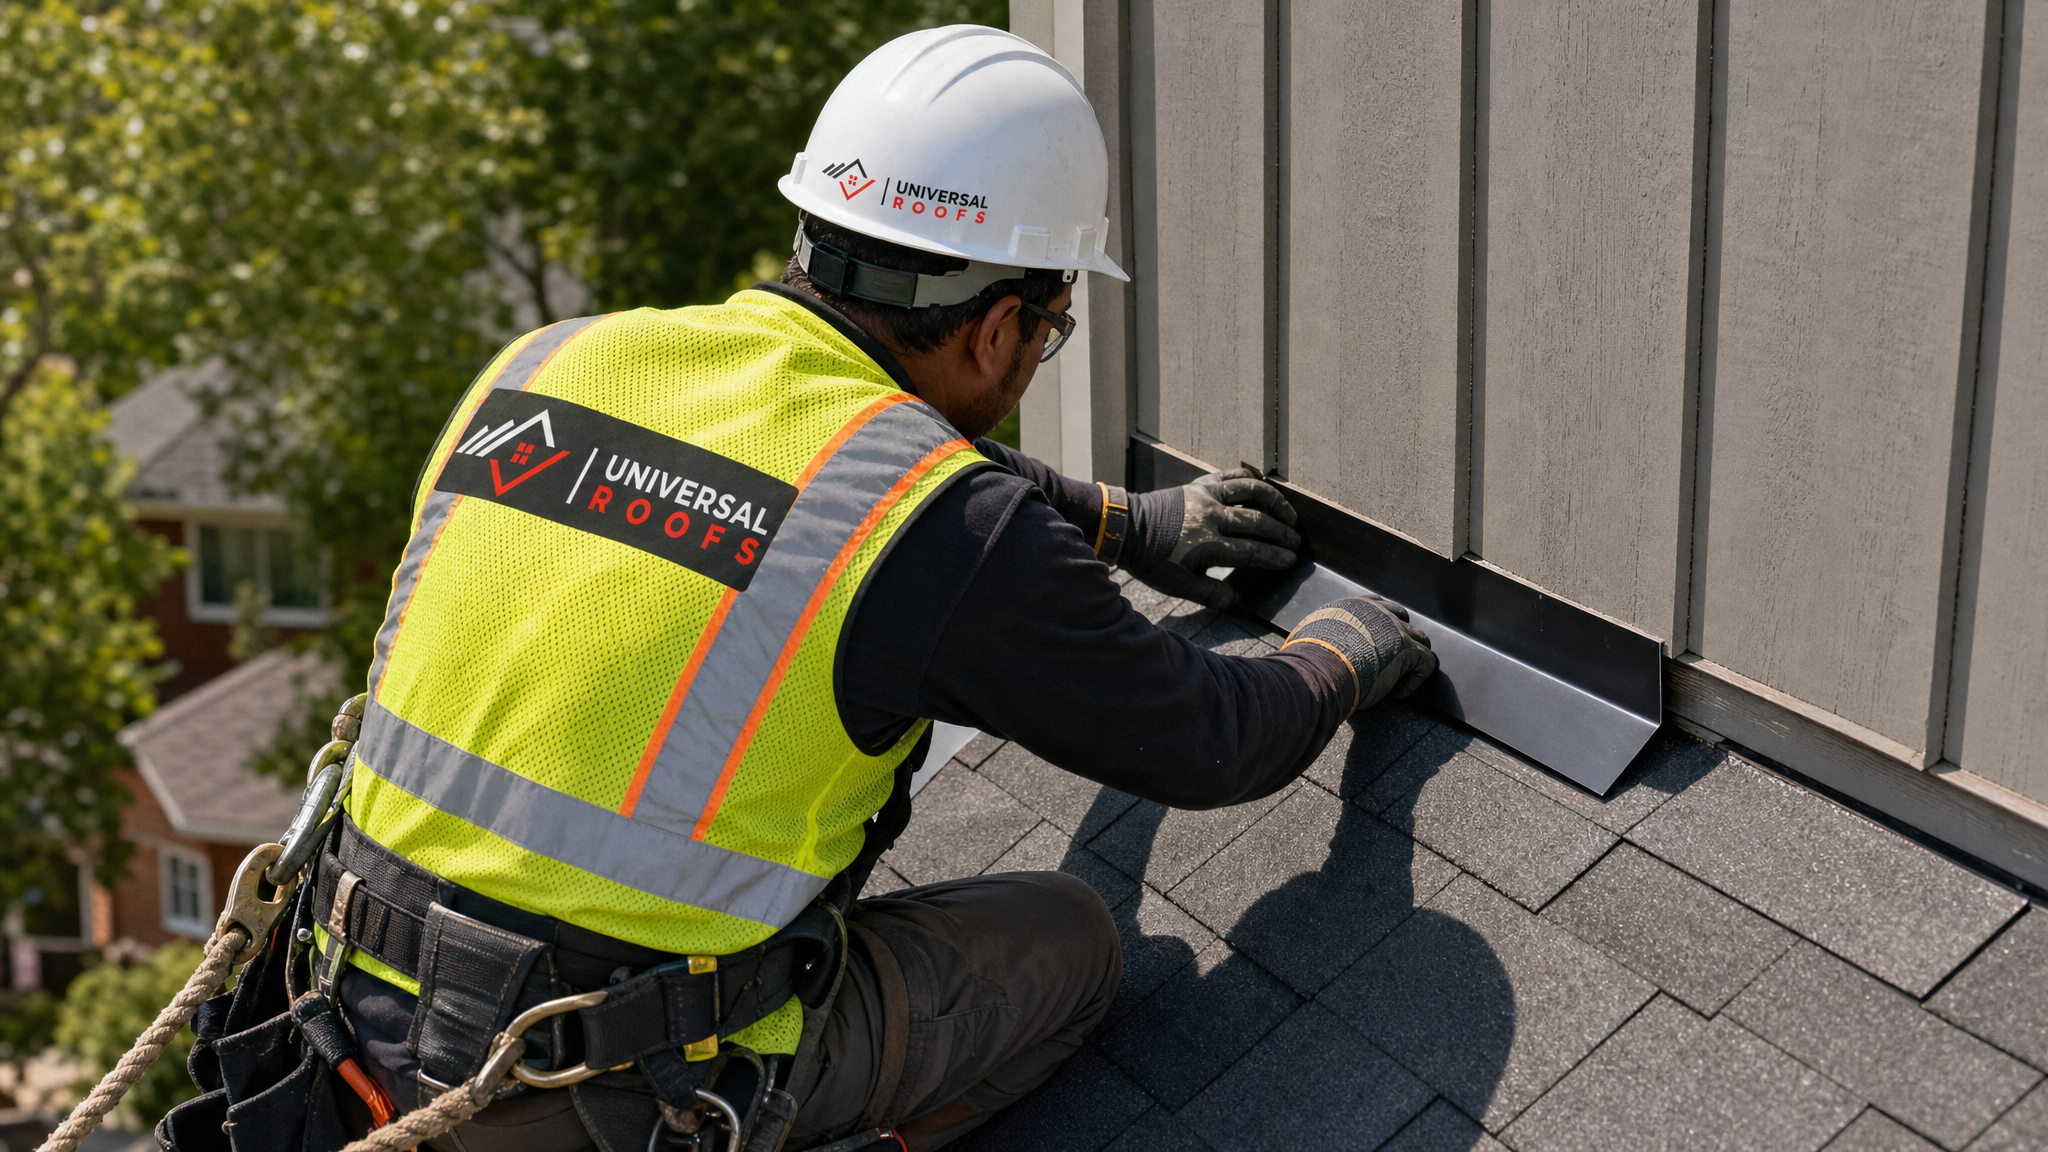
- Step flashing woven with each shingle course. Rather than nailing a single long strip of flashing to the roof, installers place individual step flashing pieces one at a time as each shingle course is laid, so the shingle-flashing-shingle pattern overlaps correctly.
- Fastening only through the roof deck. Step flashing should be nailed only on the roof side, never through the wall side, so the metal can move slightly with thermal expansion without tearing loose.
- Counter-flashing installed last. Once the step flashing is in place, counter-flashing (or the wall cladding itself) is installed over the top edge, locking out wind-driven rain.
- Kick-out flashing at the eave. Where the sidewall run terminates at the gutter line, a kick-out is formed and sealed to direct water away from the wall and into the gutter system.
This process takes longer than simply caulking a strip of metal to the wall, which is unfortunately a shortcut some lower-cost contractors take. Caulk alone is never a substitute for properly lapped flashing — sealants degrade in UV light and cold within a few years, while a correctly shingled metal system is designed to work without relying on adhesive at all.
Repair vs. Full Sidewall Flashing Replacement
Not every flashing issue requires tearing into the roof. In many cases, especially where the surrounding shingles and underlayment are still in good condition, a targeted repair is enough. In other cases — particularly on older homes where flashing was never installed to today’s standards, or where corrosion has spread along the entire run — full replacement is the more sensible long-term investment.
| Scenario | Recommended Approach | Estimated Cost Range (CAD) | Typical Timeline |
|---|---|---|---|
| Isolated gap or one loose section of step flashing | Localized repair and re-sealing | $300 – $700 | Half a day |
| Missing kick-out flashing at eave | Fabricate and install kick-out piece | $250 – $500 | Half a day |
| Corroded flashing along an entire dormer or addition wall | Full sidewall flashing replacement | $800 – $2,200 | 1 day |
| Flashing failure with water-damaged sheathing | Flashing replacement plus deck repair | $1,500 – $4,000+ | 1-2 days |
| Full roof replacement with new flashing system throughout | Included in roof replacement scope | Varies by roof size | 2-4 days |
These figures reflect typical Toronto-area pricing and will vary based on wall height, roof pitch, material choice, and accessibility. If your roof is already approaching the end of its service life, it often makes more financial sense to address sidewall flashing as part of a broader roof replacement rather than patching an aging system piece by piece.
Sidewall Flashing on Flat Roofs and Additions
Flat and low-slope roof sections — common on additions, garages, and rear extensions across Toronto and the surrounding regions — require a different flashing approach than steep-slope shingle roofs. Instead of woven step flashing, these systems typically use a continuous termination bar and membrane flashing that is mechanically fastened and sealed against the wall, then covered with counter-flashing or siding.
Because flat roofs rely on membrane systems rather than shingles to shed water, the sidewall junction is arguably even more critical, since there is no secondary shingle layer to catch water that slips past a failed seal. If you have a flat roofing section adjoining a wall, it is worth having that transition inspected any time the membrane itself is serviced or replaced, since the two systems age together and often need attention at the same time.
Sidewall Flashing Around Skylights and Dormers
Dormers and similar vertical wall projections that interrupt a roof slope create sidewall conditions on three sides at once — two sloped sides and, in some designs, a small flat cricket at the back to divert water around the structure entirely. These tight, multi-directional junctions are some of the most technically demanding flashing details on a residential roof, and mistakes here are a leading cause of leaks that show up as ceiling stains in upstairs bedrooms.
Skylights present a related but distinct challenge, since they combine a flashing kit with a curb that sits above the roof deck. While skylight flashing is not technically sidewall flashing, both rely on the same shingled, overlapping principle, and a poorly flashed skylight can cause water to travel and show up as damage near an adjacent sidewall. If you are dealing with leaks near a skylight, our skylight replacement team can determine whether the issue originates at the skylight curb, the surrounding flashing, or a nearby sidewall junction.
Seasonal Timing for Sidewall Flashing Work
Summer is one of the best times of year to have sidewall flashing inspected or repaired in the GTA. Warm, dry conditions allow sealants and adhesive membrane to cure properly, shingles are pliable enough to lift and re-lay without cracking, and there is no snow load obscuring problem areas. Getting this work done now, well ahead of the fall rains and winter freeze-thaw cycle, is far easier — and often cheaper — than an emergency winter repair.
If your home has a history of leaks near a sidewall junction, mid-summer is the ideal window to schedule a roof repair assessment before autumn storms arrive. Waiting until water is already visible on an interior ceiling means the damage has typically been progressing, unseen, for weeks or months.
Choosing a Professional for Sidewall Flashing Work
Sidewall flashing looks simple from the ground, but the installation sequence, material choices, and integration with siding or masonry require real expertise. When evaluating a contractor for this kind of work, ask specifically whether they use woven step flashing (rather than a single continuous strip caulked in place), whether they install kick-out flashing at eave terminations, and whether they inspect the underlying roof deck for hidden rot before closing everything back up.
You can read what past clients have said about our approach to flashing and leak repairs on our reviews page, and browse answers to more common roofing questions on our FAQ page. We have been diagnosing and repairing sidewall flashing failures across Toronto, the Peel Region, York Region, Halton Region, and the Durham Region since 2005, and sidewall junctions remain one of the most frequent — and most preventable — sources of the leak calls we receive each year.
What is the purpose of roof flashing for sidewalls?
How do I know if my sidewall flashing has failed?
Can I caulk sidewall flashing instead of replacing it?
What is kick-out flashing and why does it matter for sidewalls?
How long does sidewall flashing last?
Does homeowner’s insurance cover sidewall flashing repairs?
Need Help With What Is the Purpose?
Understanding the purpose of roof flashing for sidewalls is the first step — having it installed and maintained correctly is what actually protects your home. Universal Roofs has been solving these exact problems for GTA homeowners for two decades.
Call us today at (416) 732-2421 or request a free inspection to get started.
Universal Roofs proudly serves Toronto, Mississauga, Brampton, Vaughan, Markham, Oakville and the GTA since 2005.