
When a July thunderstorm rolls off Lake Ontario and drops golf-ball hail on your shingles, or when a January polar vortex cracks a flashing seal overnight, the difference between a small repair bill and a five-figure interior renovation often comes down to how the patch was done. Extreme weather does not just cause roof damage — it actively works against a poor patch, prying at edges, driving water sideways, and cycling materials through freeze-thaw stress that ordinary repairs are not built to survive.
At Universal Roofs, we have been patching, repairing, and replacing roofs across the Greater Toronto Area since 2005, and the calls we get after a severe storm follow a predictable pattern: a homeowner tried a quick fix, and it failed within weeks because it was not designed for the conditions that caused the damage in the first place. Toronto’s climate is uniquely punishing on roof repairs. We get summer heat that softens asphalt and expands metal flashing, sudden hailstorms and high-wind events, autumn rain that never seems to stop, and winter freeze-thaw cycles that can happen a dozen times between November and March. A patch that would hold up fine in a milder climate can fail here in a single season.
This guide covers the three best roof patching tips for extreme weather that we rely on for every emergency call, plus the material choices, application techniques, and troubleshooting knowledge that separate a patch that lasts five years from one that fails in five weeks. Whether you are dealing with hail damage, wind-lifted shingles, ice dam cracking, or a sudden active leak during a storm, this article will walk you through what actually works.
Why Extreme Weather Makes Roof Patching Different
Roof patching in mild, stable weather is relatively forgiving. Materials cure at a predictable rate, adhesives bond as expected, and you have time to get the details right. Extreme weather removes nearly all of that margin for error, which is exactly why so many DIY and rushed repairs fail within a single GTA weather cycle.
Three environmental factors do most of the damage to a poorly executed patch:
Thermal cycling. Toronto roofs can swing from -20°C overnight lows in January to surface temperatures over 60°C on a black asphalt shingle in July sun. Every material used in a patch — sealant, flashing, shingle, membrane — expands and contracts at a different rate. A patch that is not installed with expansion room, or that uses incompatible materials with mismatched expansion rates, will eventually crack at the seams.
Wind-driven water. During high-wind storms, rain does not simply fall and run off — it gets driven sideways and even upward under shingle tabs and flashing edges. A patch that only blocks water coming straight down will fail the first time wind pushes rain uphill into a seam.
Freeze-thaw cycling. Water that gets under a patch and then freezes expands by roughly nine percent in volume. That expansion physically pries the patch apart from the inside, widening the gap slightly with each cycle. Toronto typically sees 30 to 40 freeze-thaw cycles per winter, which means a marginal patch does not just risk failing once — it gets structurally attacked dozens of times before spring.
Understanding these three forces is the foundation for everything else in this article. Every tip below exists specifically to counter one or more of them.
Tip 1: Match the Patching Material to the Damage and the Season
The single most common mistake we see in failed patches is using the wrong material for the situation. Not every roofing problem calls for the same fix, and extreme weather punishes mismatched materials faster than calm weather does.
Asphalt Shingle Roofs
For asphalt shingles, the correct patch depends on whether the damage is a torn tab, a missing shingle, cracked sealant strips, or hail bruising. A torn or lifted tab from wind should be re-adhered with a roofing-grade polyurethane or butyl-rubber sealant applied underneath the tab — never just caulked over the top, which traps water rather than shedding it. Missing shingles need a full replacement shingle slid into the coursing pattern and nailed correctly above the seal line, then hand-sealed with compatible adhesive since the factory sealant strip will not activate mid-season.
Hail bruising is trickier because the damage is often not visible from the ground. If you suspect hail impact after a summer storm, a professional inspection through our roof repair service can identify soft spots and granule loss before they become active leaks.
Flat and Low-Slope Roofs
Flat roofs need an entirely different approach. EPDM, TPO, and modified bitumen systems each require their own compatible patch material — using a generic asphalt-based sealant on an EPDM membrane can actually break down the rubber over time. For flat roof patches, we typically use a seam-compatible patch membrane heat-welded or solvent-welded into place, reinforced at the corners where wind uplift concentrates stress. If your flat roof has taken storm damage, our flat roofing team can match the exact membrane type already on your roof, since mixing systems is one of the fastest ways to void a warranty and create a new leak point.
Flashing and Penetrations
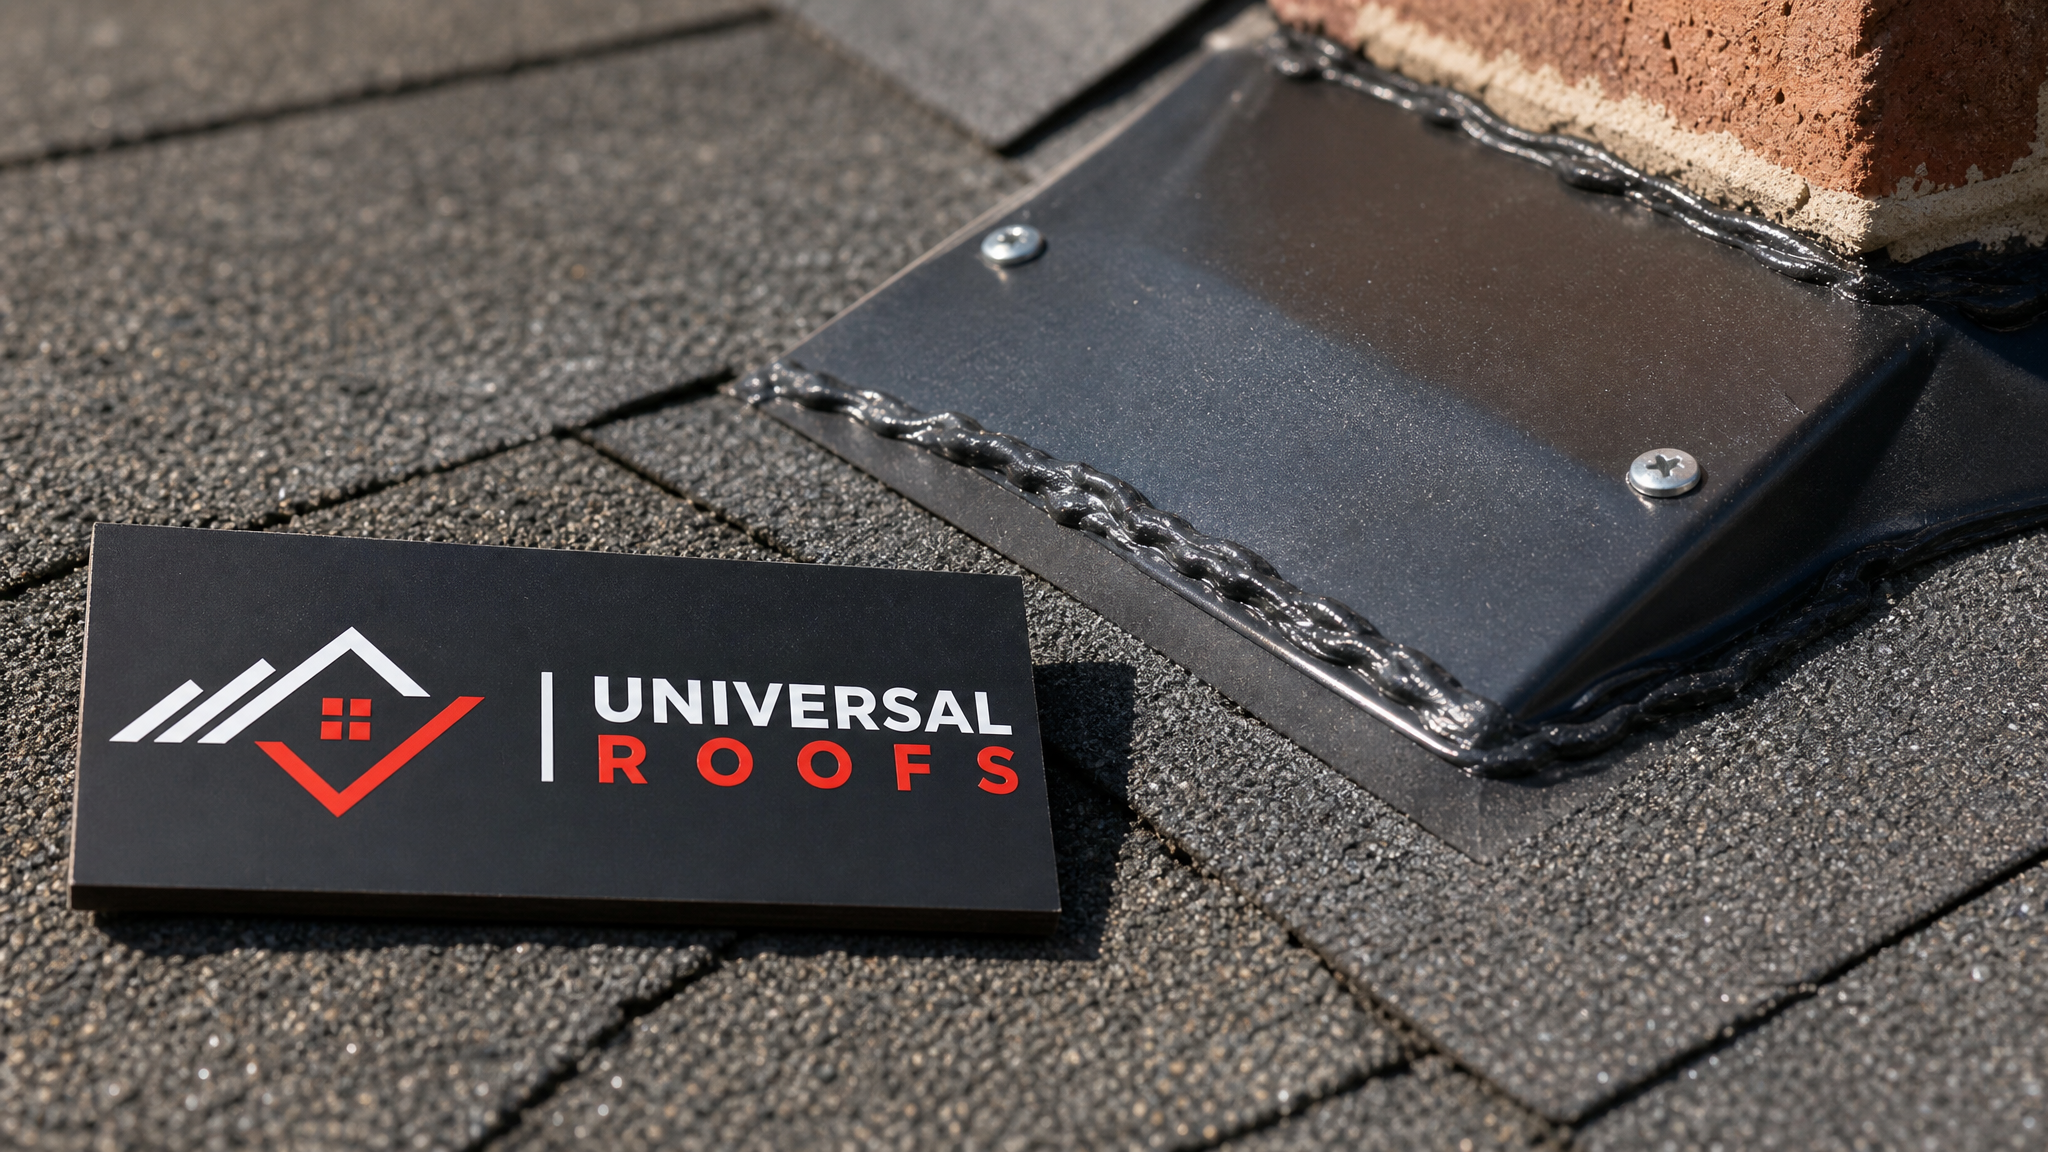
Flashing around chimneys, vents, and skylights fails more often from thermal cycling than from age alone. A patch that just adds sealant over a cracked flashing joint is a temporary band-aid at best. The correct fix re-beds the flashing, replaces the counterflashing where corroded, and uses a butyl tape or high-grade sealant rated for continuous UV and freeze-thaw exposure. Skylight flashing in particular sees concentrated stress because the frame material often expands at a different rate than the surrounding roof deck; our skylights and skylight replacement teams see this exact failure pattern every spring after a hard winter.
| Roof Damage Type | Best Patch Material | Why It Withstands Extreme Weather | Typical Lifespan of Patch |
|---|---|---|---|
| Lifted/torn shingle tab | Polyurethane or butyl-rubber roofing sealant under the tab | Flexes with thermal cycling, sheds wind-driven rain | 3-5 years |
| Missing shingle | Matching replacement shingle, hand-sealed | Restores full coursing and water-shedding overlap | 10+ years (matches roof life) |
| Hail bruising/granule loss | Shingle replacement (not surface sealant) | Sealant cannot restore lost impact resistance | 10+ years after replacement |
| Flat roof membrane tear | Heat-welded or solvent-welded compatible patch | Fuses into original membrane, no separate bond line to fail | 8-12 years |
| Cracked flashing seal | Butyl tape plus re-bedded flashing | Rated for continuous UV and freeze-thaw exposure | 5-8 years |
| Skylight frame gap | Manufacturer-specific flashing kit and sealant | Matched expansion rate to frame material | 10-15 years |
Tip 2: Prepare and Apply the Patch to Handle Wind, Rain, and Temperature Swings
Choosing the right material only gets you halfway there. Application technique is where most emergency and DIY patches actually fail, because extreme weather adds constraints that do not exist on a calm, mild day.
Surface Preparation Matters More in Bad Weather
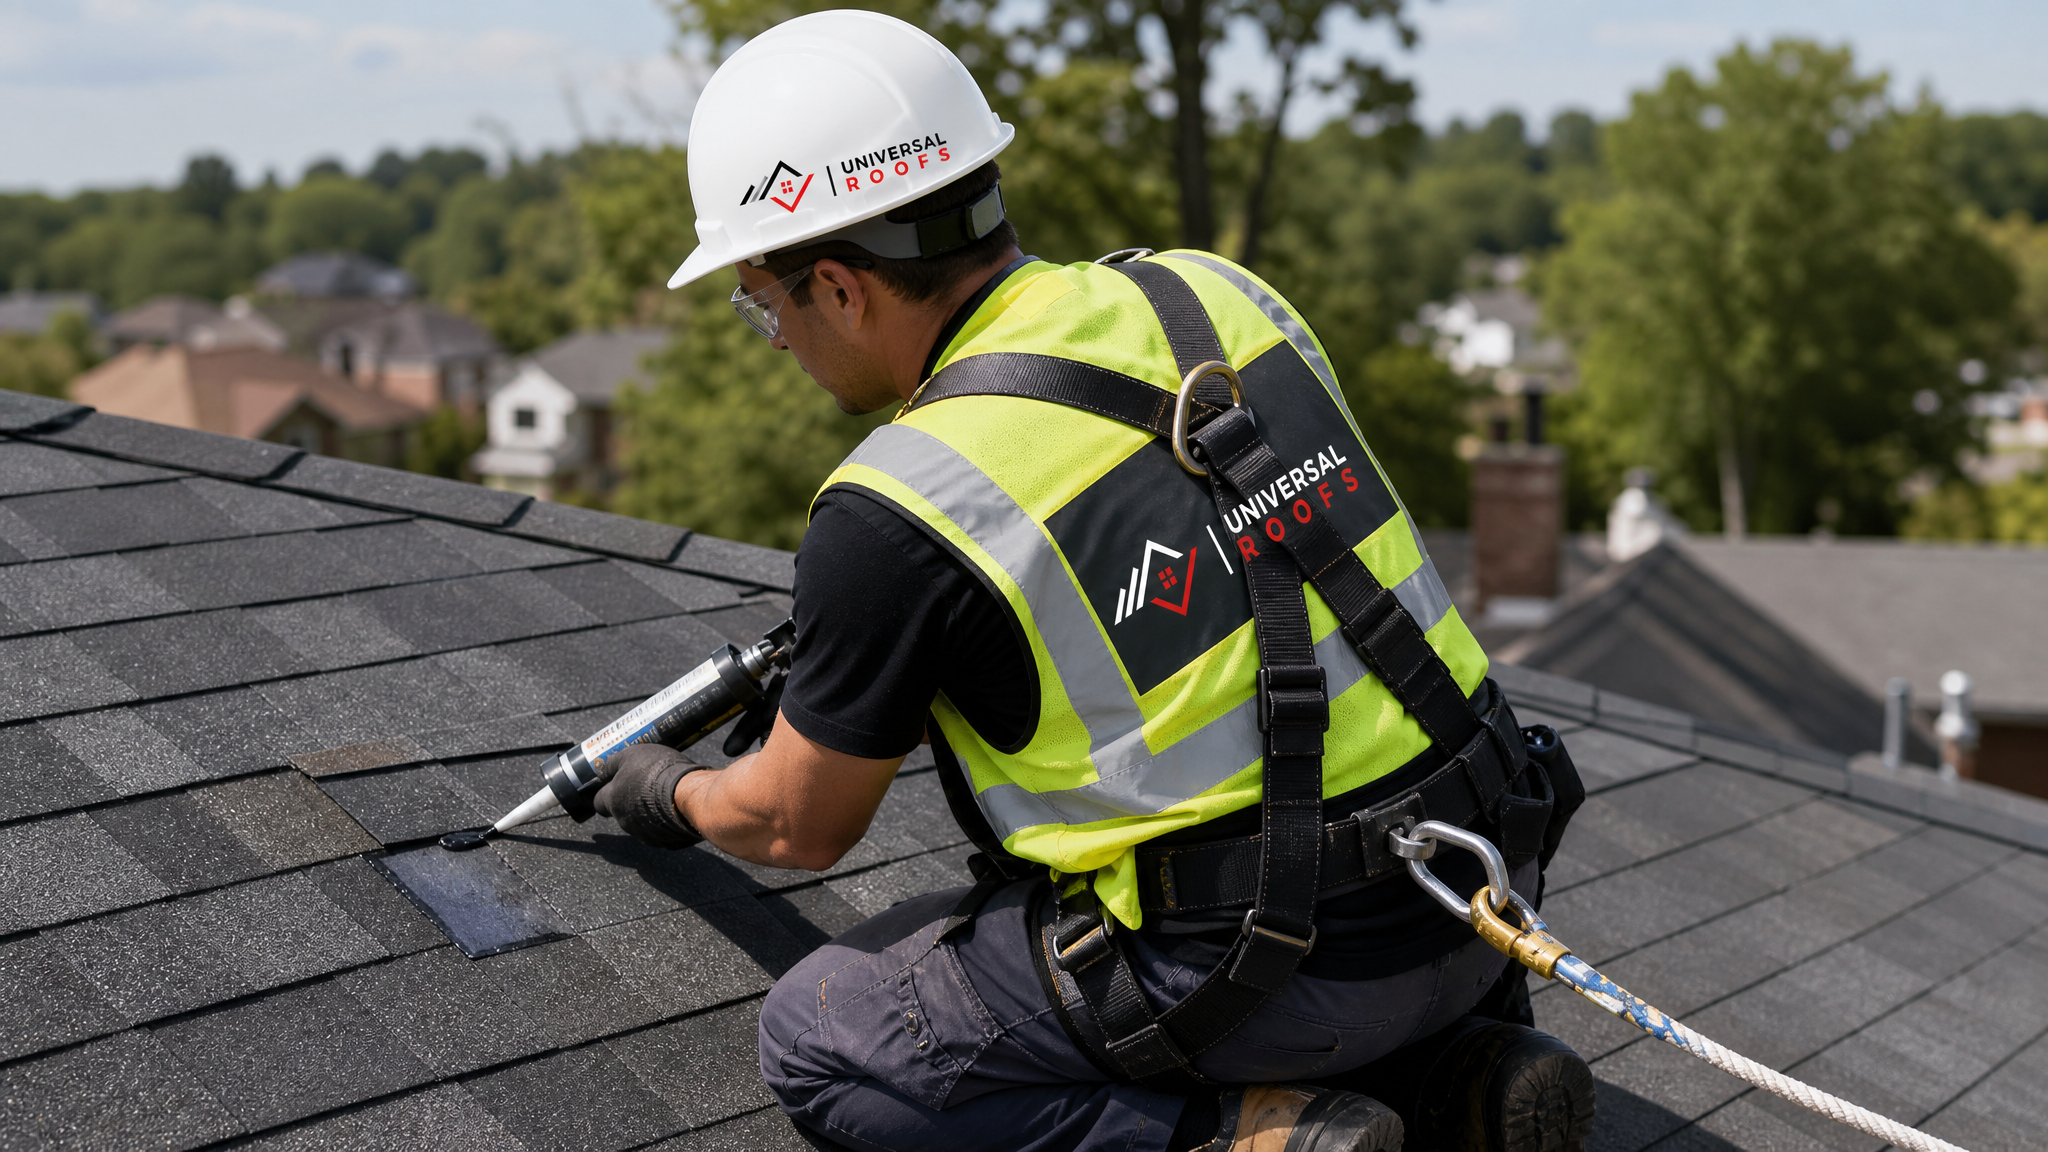
Sealants and adhesives need a clean, dry surface to bond properly. After a storm, roofs are often still wet, covered in debris, or coated in a fine layer of grit from wind-blown dust and grime. Applying sealant over a damp or dirty surface is one of the fastest ways to guarantee an early failure, because the adhesive bonds to the debris layer instead of the roof material itself. Whenever it is safe to do so, we towel-dry the repair area and use a wire brush or scraper to remove loose granules, old sealant, and debris before applying anything new.
Working With, Not Against, Temperature
Most roofing sealants and adhesives have a minimum application temperature, typically around 4°C to 5°C, below which they will not cure properly and can remain tacky or brittle. In a Toronto winter, this means emergency patches sometimes need a cold-weather-rated sealant formulation, or a temporary tarping solution until temperatures allow a permanent repair. In summer heat, the opposite problem occurs: sealants can skin over too quickly in direct sun, trapping solvents underneath and weakening the cured bond. Working in early morning or late afternoon during a heatwave, or shading the repair area temporarily, produces a stronger result.
Building in Expansion Room
A patch applied bone-dry and rigid across a joint will crack the first time thermal cycling stretches the surrounding material. Proper technique leaves a slight bead profile rather than a flat, feathered-thin layer, and uses a sealant rated for the expected joint movement (measured in percentage elongation on the product label). For larger flashing repairs, we also install backer rod in wide gaps before sealing, which supports the sealant bead and prevents it from sagging into the joint during hot weather.
Securing the Patch Against Wind Uplift
In high-wind events, the edges of a patch are under constant pressure to lift. Mechanical fastening — proper nailing patterns, additional fasteners at patch corners, or termination bars on flat roof patches — should always back up adhesive alone in a wind-prone repair. Adhesive-only patches on ridge caps, hip lines, and roof edges are the single most common repeat-failure point we see after GTA windstorms.
| Condition | Risk to a Standard Patch | Correct Adjustment | Result |
|---|---|---|---|
| Below 5°C | Sealant will not cure, stays tacky or brittle | Use cold-weather-rated formulation or temporary tarp | Patch cures properly once conditions allow |
| Direct summer sun/heat | Sealant skins over, trapping solvents | Work in early morning/late afternoon or shade area | Full-depth cure, stronger bond |
| Wet or debris-covered surface | Adhesive bonds to debris, not roof material | Towel-dry and wire-brush surface first | Direct bond to substrate |
| High wind forecast | Adhesive-only patch lifts at edges | Add mechanical fasteners at corners/edges | Patch resists uplift pressure |
| Wide flashing gap | Sealant sags into joint in heat | Install backer rod before sealing | Consistent bead profile, no sagging |
Tip 3: Know When a Patch Is Enough — and When It Is Not
The best patching tip we can give homeowners is knowing the limits of a patch in the first place. Extreme weather has a way of exposing roofs that were already near the end of their service life, and a patch on a roof with widespread wear is often just delaying an inevitable, larger repair while water quietly gets into the deck and attic underneath.
Signs a Patch Is the Right Call
A patch makes sense when the damage is isolated — a single lifted shingle, one cracked flashing joint, a localized puncture on a flat roof membrane that is otherwise in good condition. If the surrounding roofing material is still structurally sound and the patch can be properly bonded and mechanically secured, it can realistically last several years, particularly on roofs under 15 years old.
Signs You Need More Than a Patch
If a storm reveals granule loss across multiple shingle courses, widespread curling or blistering, more than one flashing failure point, or if your attic inspection shows staining, mould, or insulation damage from a leak that has clearly been ongoing for a while, patching becomes a short-term stopgap rather than a real solution. In these cases, a full or partial roof replacement is the more cost-effective path, since repeated patch calls on a failing roof often add up to more than the cost of replacement within a few years.
Attic condition is one of the most overlooked clues here. Poor attic ventilation and insulation accelerate ice dam formation in winter, which is one of the leading causes of the flashing and eave damage that brings homeowners to us every spring. If ice dams are a recurring problem on your home, patching the resulting leaks without addressing attic ventilation means you will likely be back on the roof again next winter.
The Cost of Getting This Wrong
We regularly inspect roofs where a homeowner has paid for three or four patch repairs over two years on a roof that needed replacement from the start. Each patch cost was reasonable on its own, but the cumulative total, combined with the interior water damage that occurred between repairs, often exceeds what a planned replacement would have cost. An honest assessment upfront saves money in the long run.
| Roof Condition Indicator | Patch Appropriate? | Estimated Cost Range | Recommended Action |
|---|---|---|---|
| Isolated tear/puncture, roof under 15 years | Yes | $250-$750 | Targeted patch repair |
| Single flashing failure, otherwise sound roof | Yes | $300-$900 | Flashing repair/replacement |
| Multiple leak points, roof 15-20 years old | Partial | $1,500-$4,000 | Section replacement or full assessment |
| Widespread granule loss/curling, roof 20+ years | No | $8,000-$18,000+ | Full roof replacement |
| Recurring ice dam leaks with attic staining | No | Varies with scope | Attic ventilation upgrade plus repair |
Seasonal Timing: Patching Through Toronto’s Weather Calendar
Since this guide addresses extreme weather specifically, it is worth walking through how the GTA’s seasonal patterns should shape your patching decisions and timing throughout the year.
Summer, including right now in July, brings thunderstorms, hail, and occasional high-wind microbursts, along with intense UV exposure and heat that can soften asphalt shingles enough to make them vulnerable to scuffing during any repair work. Summer is actually one of the best times to have a patch professionally done, since materials cure quickly and there is no risk of frozen surfaces, but it also means working around thunderstorm forecasts and avoiding repairs in the hottest part of the afternoon.
Fall brings the heaviest sustained rain of the year in many GTA seasons, which is the real stress test for any patch done earlier in the summer. This is when marginal patches usually reveal themselves through slow leaks.
Winter is when emergency patching becomes most urgent and most difficult, since ice damming, snow load, and freeze-thaw cycling all peak between December and March, while cold temperatures limit which materials can be properly applied.
Spring is thaw season, when the freeze-thaw damage from winter becomes visible, and when we see the highest volume of patch and repair calls as homeowners discover the cracks, lifted shingles, and flashing failures that accumulated over the previous months.
Tools and Materials for a Weather-Resistant Patch
For homeowners who want to understand what a proper patch repair actually involves, here is a rundown of the core materials and tools that hold up under GTA weather conditions, versus the shortcuts that tend to fail.
- Sealants: Polyurethane and butyl-rubber formulations outperform standard silicone or acrylic caulk on roofing applications, since they retain flexibility across a wider temperature range and bond better to asphalt and metal.
- Flashing material: Aluminum and galvanized steel remain the standard for durability, though the flashing profile and fastening pattern matter as much as the material itself.
- Underlayment: Ice-and-water shield membrane at eaves and valleys is one of the most effective preventive measures against the ice damming that causes many “patch-worthy” leaks in the first place.
- Fasteners: Corrosion-resistant roofing nails or screws, placed at the correct pattern and spacing, prevent the wind-uplift failures common with adhesive-only repairs.
- Backer rod: Used in wider joints to support sealant beads and prevent sagging during hot weather.
DIY Patching vs. Professional Repair: What Homeowners Should Know
Many homeowners can safely handle very minor repairs, like re-sealing a small gap around a vent boot on a single-storey garage roof, provided they follow proper ladder safety and never work in wet or windy conditions. However, several factors push a repair firmly into professional territory: any repair requiring access to a steep slope, any repair above the first storey, any flashing work around chimneys or skylights, and any situation following a major storm where hidden structural damage is possible.
Professional roofers also carry the fall-protection equipment, safe access methods, and material knowledge to diagnose damage that is not visible from the ground or from an attic inspection alone. A patch applied without understanding the underlying cause of the damage — whether that is a ventilation problem, a design flaw in the original flashing, or accumulated wear from age — often just delays the same failure by a season or two.
If you are ever unsure whether a repair is DIY-appropriate, our team can walk you through what we are seeing during a free inspection, with no obligation to book further work. You can read about real experiences from homeowners across the GTA on our reviews page, and browse common questions on our FAQ page.
Serving Homeowners Across the GTA
Extreme weather does not affect every part of the Greater Toronto Area equally. Lakeside neighbourhoods in Toronto see more wind-driven rain off Lake Ontario, while inland communities across Peel Region, York Region, Halton Region, and Durham Region tend to see more severe temperature swings and heavier snow load in winter. Local microclimates matter when diagnosing why a patch failed and what will actually hold up on your specific property, which is part of why we favour an in-person assessment over a one-size-fits-all recommendation. You can learn more about our approach and history on our about page.
What are the best roof patching tips for extreme weather in Toronto?
Can you patch a roof in extreme cold or during a storm?
How long does a roof patch typically last in the GTA climate?
How do I know if hail damage needs a patch or a full roof replacement?
Why do roof patches fail after wind storms specifically?
Should I patch my roof myself or call a professional after storm damage?
Need Help With 3 Best Roof Patching?
Extreme weather does not wait for a convenient time to damage your roof, and neither should your response to it. Universal Roofs has spent two decades handling emergency patches, storm damage assessments, and full replacements across every corner of the GTA, so you can trust that the repair holds up through the next freeze-thaw cycle, windstorm, or heatwave.
Call us today at (416) 732-2421 or request a free inspection to get started.
Universal Roofs proudly serves Toronto, Mississauga, Brampton, Vaughan, Markham, Oakville and the GTA since 2005.