
A single dark stain spreading across a ceiling tile can mean a lot of different things, and that uncertainty is exactly why so many Toronto homeowners put off calling for help. Understanding roof leak causes and repairs what to know before you climb a ladder or dial a contractor can save you thousands of dollars and weeks of frustration. Roof leaks rarely start where the water actually appears indoors, and the freeze-thaw cycles, heavy spring rain, and summer thunderstorms typical of the Greater Toronto Area all create their own unique failure points.
This guide walks through the most common causes of roof leaks, how professionals diagnose them, what repairs typically cost, and how to tell the difference between a quick patch and a sign that your entire roofing system needs replacing. Whether you have asphalt shingles, a flat commercial membrane, or a skylight that has started weeping during every rainstorm, the fundamentals of leak detection and repair are the same: find the true entry point, understand the material involved, and fix it properly the first time.
At Universal Roofs, we have been repairing and replacing roofs across the GTA since 2005, and water intrusion calls are consistently among the most common service requests we receive, especially after the spring melt and during summer storm season. Below is everything our crews wish every homeowner knew before a leak becomes a bigger problem.
Why Roof Leaks Happen: The Most Common Causes
Most roof leaks are not caused by a single dramatic failure. They are the result of small, ordinary wear points that go unnoticed until enough water has built up to show a stain, a drip, or a soft spot on the ceiling below. Identifying the actual cause is the single most important step in any repair, because patching the wrong spot means the leak will simply return during the next rainfall.
The most frequent culprits we see on service calls across Toronto, Mississauga, Brampton, and the surrounding regions include:
- Damaged or missing shingles — cracked, curled, or blown-off shingles expose the underlayment directly to rain and snowmelt.
- Failed flashing — the thin metal strips around chimneys, vents, skylights, and roof valleys are the single most common leak source on any roof type.
- Ice damming — a distinctly Canadian problem where melting snow refreezes at the eaves, forcing water back up under the shingles.
- Deteriorated pipe boots and vent seals — the rubber collars around plumbing stacks crack with age and UV exposure.
- Clogged gutters and downspouts — water backs up and pools against the roof edge instead of draining away.
- Cracked or improperly sealed skylights — original installation gaps or aging seals let water track along the frame.
- Nail pops and improper fastening — shingles secured with the wrong nail pattern loosen over time and create tiny gaps.
- Age and material fatigue — every roofing material has a service life, and leaks become more frequent as that lifespan is reached.
Because so many of these issues start small, an annual inspection is the cheapest insurance a homeowner can buy. Catching a lifted shingle or a hairline flashing gap before a storm season is far less expensive than repairing water-damaged drywall, insulation, and framing after the fact.
How Toronto’s Climate Makes Roof Leaks Worse
The GTA’s weather pattern is uniquely hard on roofing systems. Winters bring repeated freeze-thaw cycles that expand and contract roofing materials, fasteners, and sealants dozens of times per season. Ice damming is common on homes with inadequate attic insulation or ventilation, since escaping heat melts snow on the upper roof while the eaves stay frozen, creating a dam that traps water under the shingles.
Spring brings heavy, sustained rainfall exactly when winter damage is at its worst, which is why April and May are consistently our busiest months for emergency leak calls. Summer thunderstorms, meanwhile, deliver intense, short bursts of rain that quickly expose any weak point in flashing, sealant, or membrane seams. By late summer, UV exposure has also had months to dry out and crack rubber boots, sealants, and shingle granules, which is a good reason to book an inspection before autumn leaves start clogging gutters and drains.
Homeowners in Peel Region, York Region, Halton Region, and Durham Region all deal with slightly different microclimates, lake-effect humidity near the shoreline, more open exposure to wind further inland, but the underlying causes of leaks are consistent across the region.
Reading the Signs: How to Spot a Roof Leak Before It Spreads
Not every leak announces itself with an obvious drip. Many go undetected for months, quietly damaging insulation, framing, and drywall. Homeowners should periodically check for:
- Water stains or discoloured patches on ceilings or upper walls, especially in circular or map-like shapes
- Peeling paint or bubbling drywall near the roofline
- A musty smell in the attic or top-floor closets, which often indicates trapped moisture
- Visible daylight through the attic roof deck
- Sagging or soft spots when walking on the roof (never do this without proper fall protection)
- Granules collecting in gutters, a sign that shingles are aging and losing their protective coating
- Mould spots on the underside of the roof deck or on insulation
- Ice buildup along the eaves in winter
If you notice any of these signs, the smartest next step is a professional inspection rather than a DIY patch. Many leaks travel along the roof deck or rafters before dripping through the ceiling, so the visible water stain indoors is often several feet away from the actual point of entry on the roof.
How Professionals Diagnose a Roof Leak
Proper diagnosis is what separates a lasting repair from a temporary fix. A qualified roofer typically follows a structured process:
- Interior assessment — inspecting the attic and ceiling for staining patterns, moisture readings, and daylight gaps to narrow down the likely leak zone.
- Exterior visual inspection — examining shingles, flashing, vents, skylights, and valleys from the roof surface for cracks, gaps, or missing material.
- Water testing — in stubborn cases, technicians simulate rainfall with a controlled hose test, working section by section from the lowest point upward until the leak reproduces.
- Moisture mapping — infrared cameras or moisture meters can detect trapped water in insulation or decking that is not yet visible as a stain.
- Confirming the fix — after the repair, a second water test or a follow-up visit after the next rainfall confirms the leak is fully resolved.
This structured approach matters because roughly a third of leaks we investigate are not where the homeowner assumed. A stain near a bathroom ceiling, for example, is often blamed on the vent fan when the actual source is a failed pipe boot several feet up the slope, with water tracking down the underlayment before dripping through drywall seams.
Common Roof Leak Locations and Their Typical Repairs
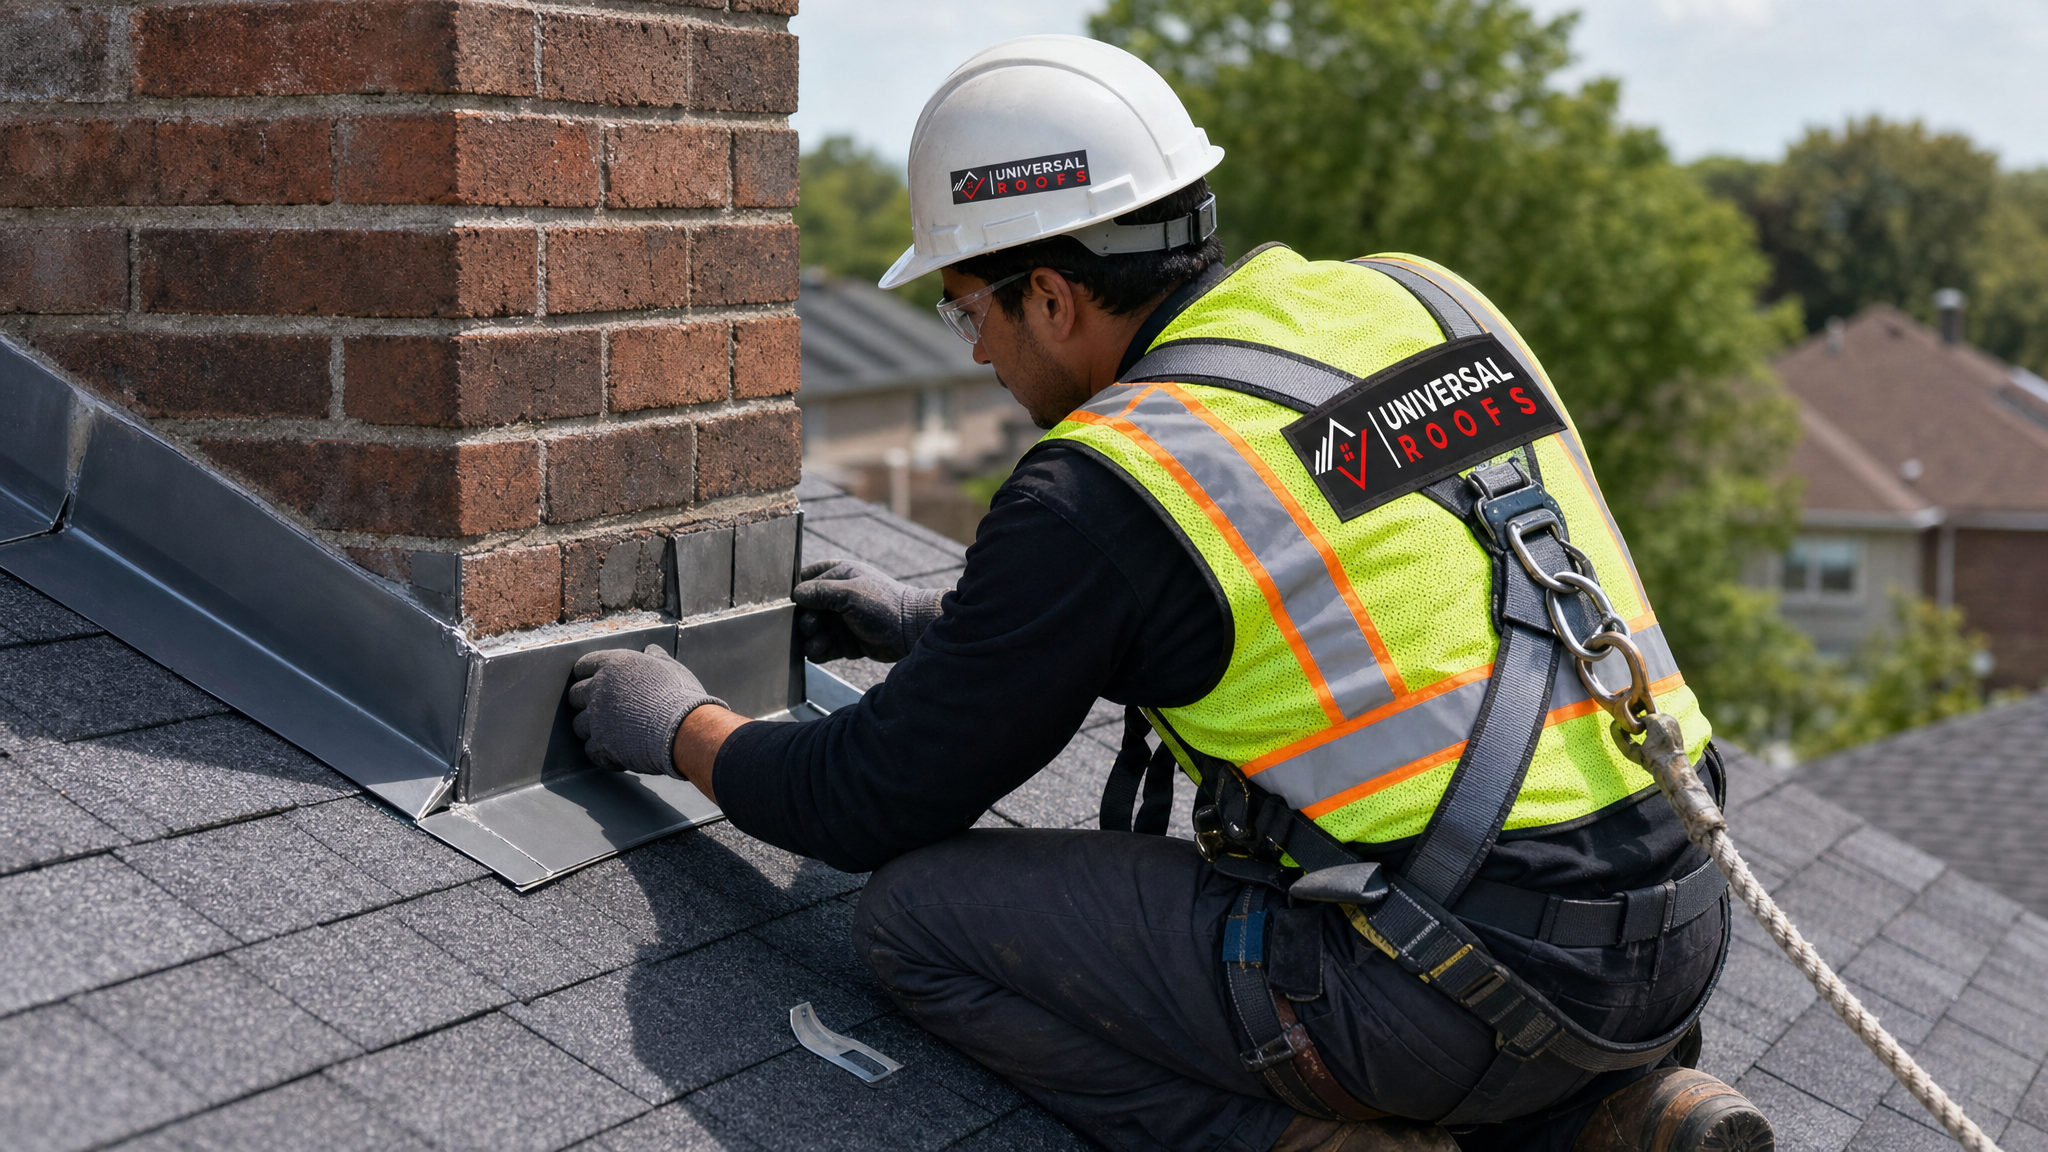
Different parts of a roof fail in different ways, and the repair method depends heavily on where the water is entering and what material surrounds it. The table below summarizes the most frequent leak points our technicians encounter and the standard fix for each.
| Leak Location | Typical Cause | Standard Repair | Average Repair Time |
|---|---|---|---|
| Chimney flashing | Rusted or lifted step flashing, cracked mortar joint | Remove and re-flash with new counter and step flashing, reseal mortar | 2-4 hours |
| Roof valley | Worn valley membrane, granule loss, debris buildup | Replace valley liner and surrounding shingles | 3-5 hours |
| Skylight perimeter | Cracked seal, degraded flashing kit | Reseal or replace flashing kit; full unit swap if frame is compromised | 2-6 hours |
| Plumbing vent boot | Cracked rubber collar from UV exposure | Replace boot and surrounding shingles | 1-2 hours |
| Eave / ice dam area | Poor attic ventilation, inadequate insulation | Improve ventilation, add ice-and-water shield, address insulation | 4-8 hours |
| Roof-to-wall junction | Missing or corroded kick-out flashing | Install proper kick-out flashing and reseal junction | 2-3 hours |
Whenever the underlying material has multiple points of failure, or the shingles surrounding a repair are already brittle, patching one spot without addressing the surrounding wear can mean another leak nearby within a season or two. This is why a thorough roof repair assessment always looks at adjacent material condition, not just the immediate leak point.
Repair Costs: What Toronto Homeowners Should Expect
Roof leak repair costs vary widely depending on the cause, the roofing material, accessibility, and whether interior damage also needs remediation. The following ranges reflect typical GTA pricing for straightforward repairs performed by a licenced contractor, not emergency or after-hours rates.
| Repair Type | Typical Cost Range (CAD) | Notes |
|---|---|---|
| Single shingle or small section replacement | $250 – $600 | Depends on roof pitch and accessibility |
| Flashing repair or replacement (chimney, valley, wall) | $350 – $900 | Higher end for complex chimney or multi-plane junctions |
| Pipe boot / vent seal replacement | $200 – $450 | Usually a same-day repair |
| Skylight reseal or flashing kit replacement | $400 – $1,200 | Full unit replacement runs higher; see below |
| Ice dam damage repair | $500 – $2,000+ | Cost rises significantly if attic insulation or ventilation is also addressed |
| Interior drywall and insulation repair | $300 – $1,500 | Separate from roofing cost; varies with damage extent |
These figures are general guidance rather than a quote. Every roof is different, and the only way to get an accurate number is a proper on-site assessment. A written estimate should always outline material costs, labour, and warranty terms before any work begins.
When to Repair vs. When to Replace
One of the most common questions we hear is whether a leak means the whole roof needs replacing, or whether a targeted repair will hold. The honest answer depends on a few factors: the age of the roofing system, how widespread the wear is, and how many previous repairs the roof has already had.
As a general guide, a roof under fifteen years old with an isolated leak is almost always a good candidate for repair. A roof approaching or past twenty years old with multiple curling, cracking, or granule-bare shingles across large sections is usually a better candidate for full replacement, since further repairs become a losing game of chasing new leaks as more material fails. If you’re on the fence, our team can walk you through a roof replacement comparison alongside a repair estimate so you can weigh the real costs of each path over a five- and ten-year horizon.
Flat roofs deserve special mention here. Because flat roofing systems rely on membrane seams and drainage slope rather than shingle overlap, a leak often indicates a seam failure or ponding water issue that will recur elsewhere on the membrane even after a patch. Flat roof leaks are also notoriously difficult to trace, since water can travel laterally under the membrane for metres before finding a low point to drip through, which makes professional diagnosis especially valuable on these roof types.
Skylights: A Special Leak Category
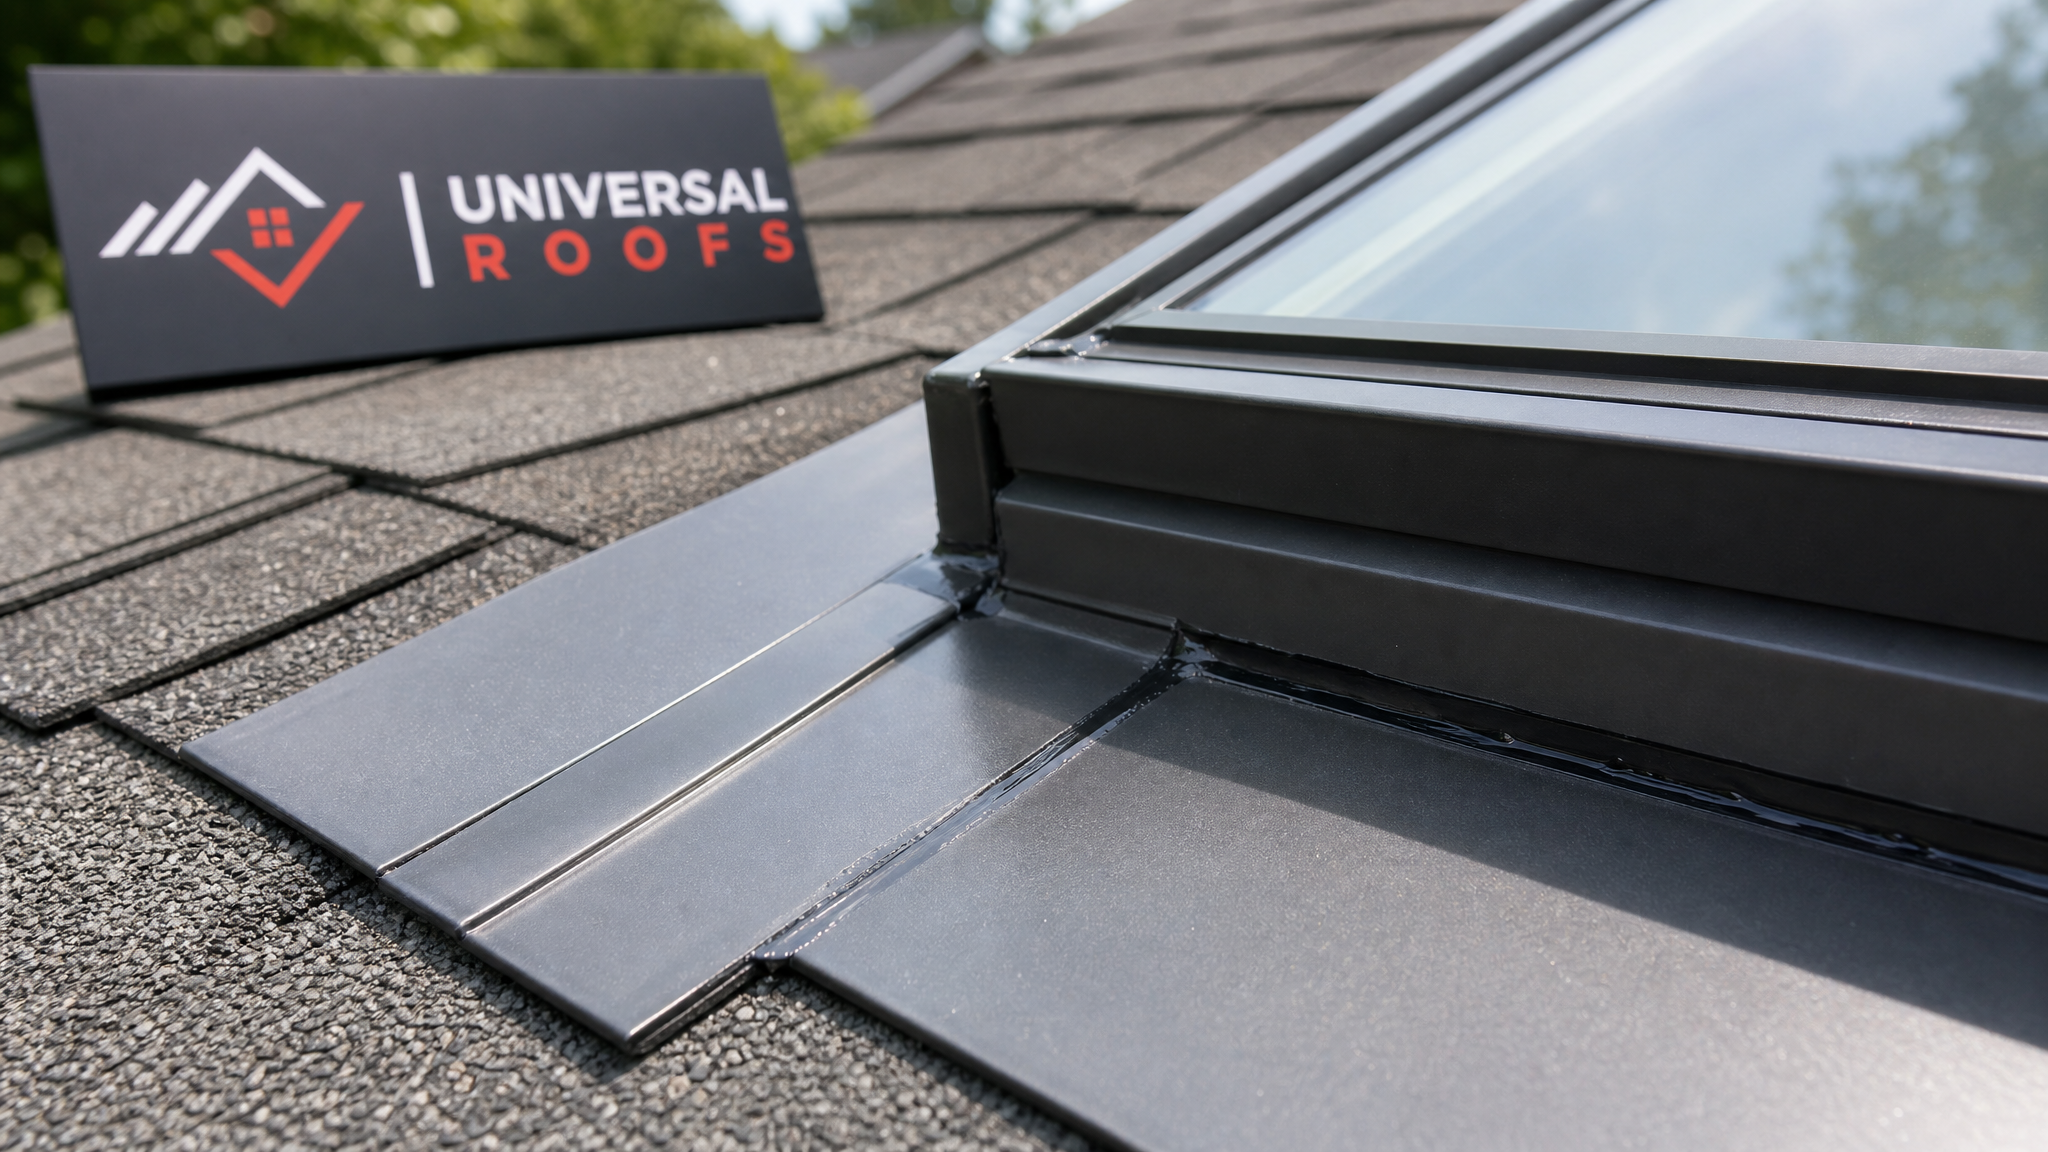
Skylights are one of the most common leak sources we investigate, and not always because the unit itself has failed. In many cases the flashing kit around the skylight, rather than the glass or frame, has degraded from sun exposure and thermal cycling. Older skylights installed with builder-grade flashing kits are especially prone to this, since original installation practices in many GTA subdivisions did not always match today’s manufacturer specifications for step and counter flashing.
If your skylight is leaking, the fix depends on the unit’s age and condition. A newer skylight with a flashing failure can often be repaired by removing and properly reinstalling the flashing kit, restoring a watertight seal without replacing the unit. An older skylight with a cracked frame, fogged double glazing, or a flashing kit that is simply no longer manufactured for that model is usually a better candidate for a full skylight replacement, which also gives homeowners the chance to upgrade to better-insulated, more leak-resistant glazing. Our skylights team can assess which path makes sense for your specific unit.
Attic Ventilation and Insulation: The Hidden Factor in Roof Leaks
Many homeowners are surprised to learn that a poorly ventilated or under-insulated attic can directly cause roof leaks, even when the shingles and flashing are in reasonably good shape. Warm, moist air escaping from living spaces into an attic raises the temperature of the roof deck from below. In winter, this melts snow on the upper roof surface while the eaves remain cold, creating the classic ice dam that forces meltwater back up under the shingles.
Beyond ice damming, poor ventilation also traps humidity inside the attic year-round, which accelerates the deterioration of roof sheathing, nails, and the underside of shingles from the inside out. A roof that looks fine from the street can still be failing prematurely if the attic beneath it is trapping moisture. Addressing attic ventilation and insulation alongside a leak repair is often the difference between a fix that lasts one season and one that lasts the life of the roof.
DIY Roof Leak Repair: What Homeowners Can (and Cannot) Safely Do
We understand the temptation to save money by handling a small leak personally, and some maintenance tasks are genuinely reasonable for a comfortable homeowner to tackle. Clearing debris from gutters, checking that downspouts drain away from the foundation, and doing a visual inspection from the ground with binoculars are all safe and useful.
However, actually climbing onto a sloped roof, especially a wet one, without proper fall protection is a serious safety risk, and it is also where most DIY repairs go wrong. A shingle replaced without the correct nail pattern, a bead of sealant applied over a flashing gap instead of proper metal work, or a skylight reseal done with the wrong product can all mask a leak temporarily while trapping moisture that causes worse damage underneath. In our experience, a large share of the emergency calls we receive follow a well-intentioned DIY patch that failed within weeks. If a leak is beyond simple exterior maintenance, it is worth getting a professional assessment rather than risking a fall or a repeat repair.
Choosing the Right Contractor for Roof Leak Repairs
Not every roofing company approaches leak repair the same way, and the difference shows up in how long the fix actually lasts. When evaluating a contractor for a leak repair, homeowners should look for:
- A written estimate that specifies the exact cause of the leak, not just a general description of work
- Proper licencing and liability insurance
- A warranty on both materials and labour
- Willingness to explain the diagnosis, not just quote a repair
- Local experience with GTA climate conditions and building code requirements
- Positive, verifiable customer feedback
You can review real feedback from homeowners across the region on our reviews page, and our FAQ page answers many of the other questions homeowners commonly ask before booking a repair. If you’d like more background on our team and history, our about page covers how we approach every job.
Seasonal Timing: Why Summer Is a Smart Time to Address Roof Leaks
While leaks can happen at any time of year, summer offers some real advantages for getting repairs done properly. Dry, stable weather gives crews the widest possible window to complete flashing work, membrane repairs, or shingle replacement without interruptions from rain or snow. Sealants and adhesives also cure more reliably in warm weather, which means a summer repair is often more durable than the same fix rushed in freezing conditions.
Booking a repair now, in July, also means avoiding the backlog that hits every roofing company in the GTA once fall arrives and homeowners rush to prepare for winter. If your roof showed any signs of a leak during the spring melt, this is the ideal window to have it properly diagnosed and fixed before autumn rain and the next winter’s freeze-thaw cycle test it again.
Comparing Common Roof Leak Repair Timelines
How quickly a leak gets resolved depends heavily on its cause and location. The table below gives homeowners a realistic sense of what to expect once a repair is scheduled.
| Leak Type | Typical Diagnosis Time | Typical Repair Time | Weather Dependency |
|---|---|---|---|
| Flashing failure (chimney/vent) | 30-60 minutes | 1-3 hours | Low, can often proceed in light rain-free conditions |
| Shingle wind/hail damage | 30-45 minutes | 2-4 hours | Requires dry roof surface |
| Valley leak | 45-90 minutes | 3-6 hours | Requires dry, calm conditions |
| Skylight seal failure | 30-60 minutes | 2-5 hours depending on scope | Requires dry weather window |
| Deck/structural rot | 1-2 hours (may need moisture meter) | 1-3 days depending on extent | Weather-sensitive, needs a dry stretch |
Scheduling around a stable weather window is one of the most overlooked factors in getting a leak repair done right the first time, which is another reason experienced GTA contractors plan repairs several days out rather than rushing a fix between storm systems.
Regional Considerations Across the GTA
While the causes of roof leaks are broadly consistent, some regional patterns are worth knowing. Homes in the Toronto core with older housing stock often have aging flashing details and outdated skylight installations that were never brought up to current standards. In Peel Region and York Region, newer subdivisions can still suffer from builder-grade materials or installation shortcuts that show up as leaks within the first decade. Halton Region properties near the lake often see accelerated wear from humidity and wind exposure, while Durham Region homes tend to deal with more open exposure to wind-driven rain given the terrain. Regardless of location, the fundamentals of proper diagnosis and repair remain the same.
What is the most common cause of roof leaks according to roof leak causes and repairs what to know?
How can I tell where a roof leak is actually coming from?
Is a roof leak always a sign I need a full replacement?
Why do roof leaks seem to get worse after winter in the GTA?
Can I safely repair a small roof leak myself?
How much does a typical roof leak repair cost in Toronto?
Need Help With Roof Leak Causes and?
Understanding what causes a leak is only half the equation, getting it properly diagnosed and repaired by an experienced team is what actually stops the water. Universal Roofs has been solving exactly these problems for GTA homeowners for two decades, from a single lifted shingle to a full ice-dam recovery.
Call us today at (416) 732-2421 or request a free inspection to get started.
Universal Roofs proudly serves Toronto, Mississauga, Brampton, Vaughan, Markham, Oakville and the GTA since 2005.