
Toronto roofs take a beating that few homeowners fully appreciate until a leak shows up on a bedroom ceiling. Between January freeze-thaw cycles, spring downpours, summer thunderstorms, and the occasional autumn windstorm, a GTA roof cycles through nearly every type of weather stress a roofing material can experience in a single calendar year. Weatherproofing is not a one-time task you complete when shingles first go on; it is an ongoing system of materials, details, and maintenance habits that work together to keep water, wind, and ice outside where they belong.
At Universal Roofs, we have spent nearly two decades inspecting, repairing, and rebuilding roofs across the Greater Toronto Area, and the pattern is always the same: the roofs that last 25-plus years without a major failure are the ones where a handful of weatherproofing strategies were done properly and maintained consistently. The roofs that fail early are almost always missing one of these fundamentals.
This guide walks through the four best strategies for weatherproofing your roof, why each one matters specifically for Toronto’s climate, and how to tell whether your own roof already has these protections in place. We will also cover the materials, costs, and warning signs you should know before your next storm season arrives.
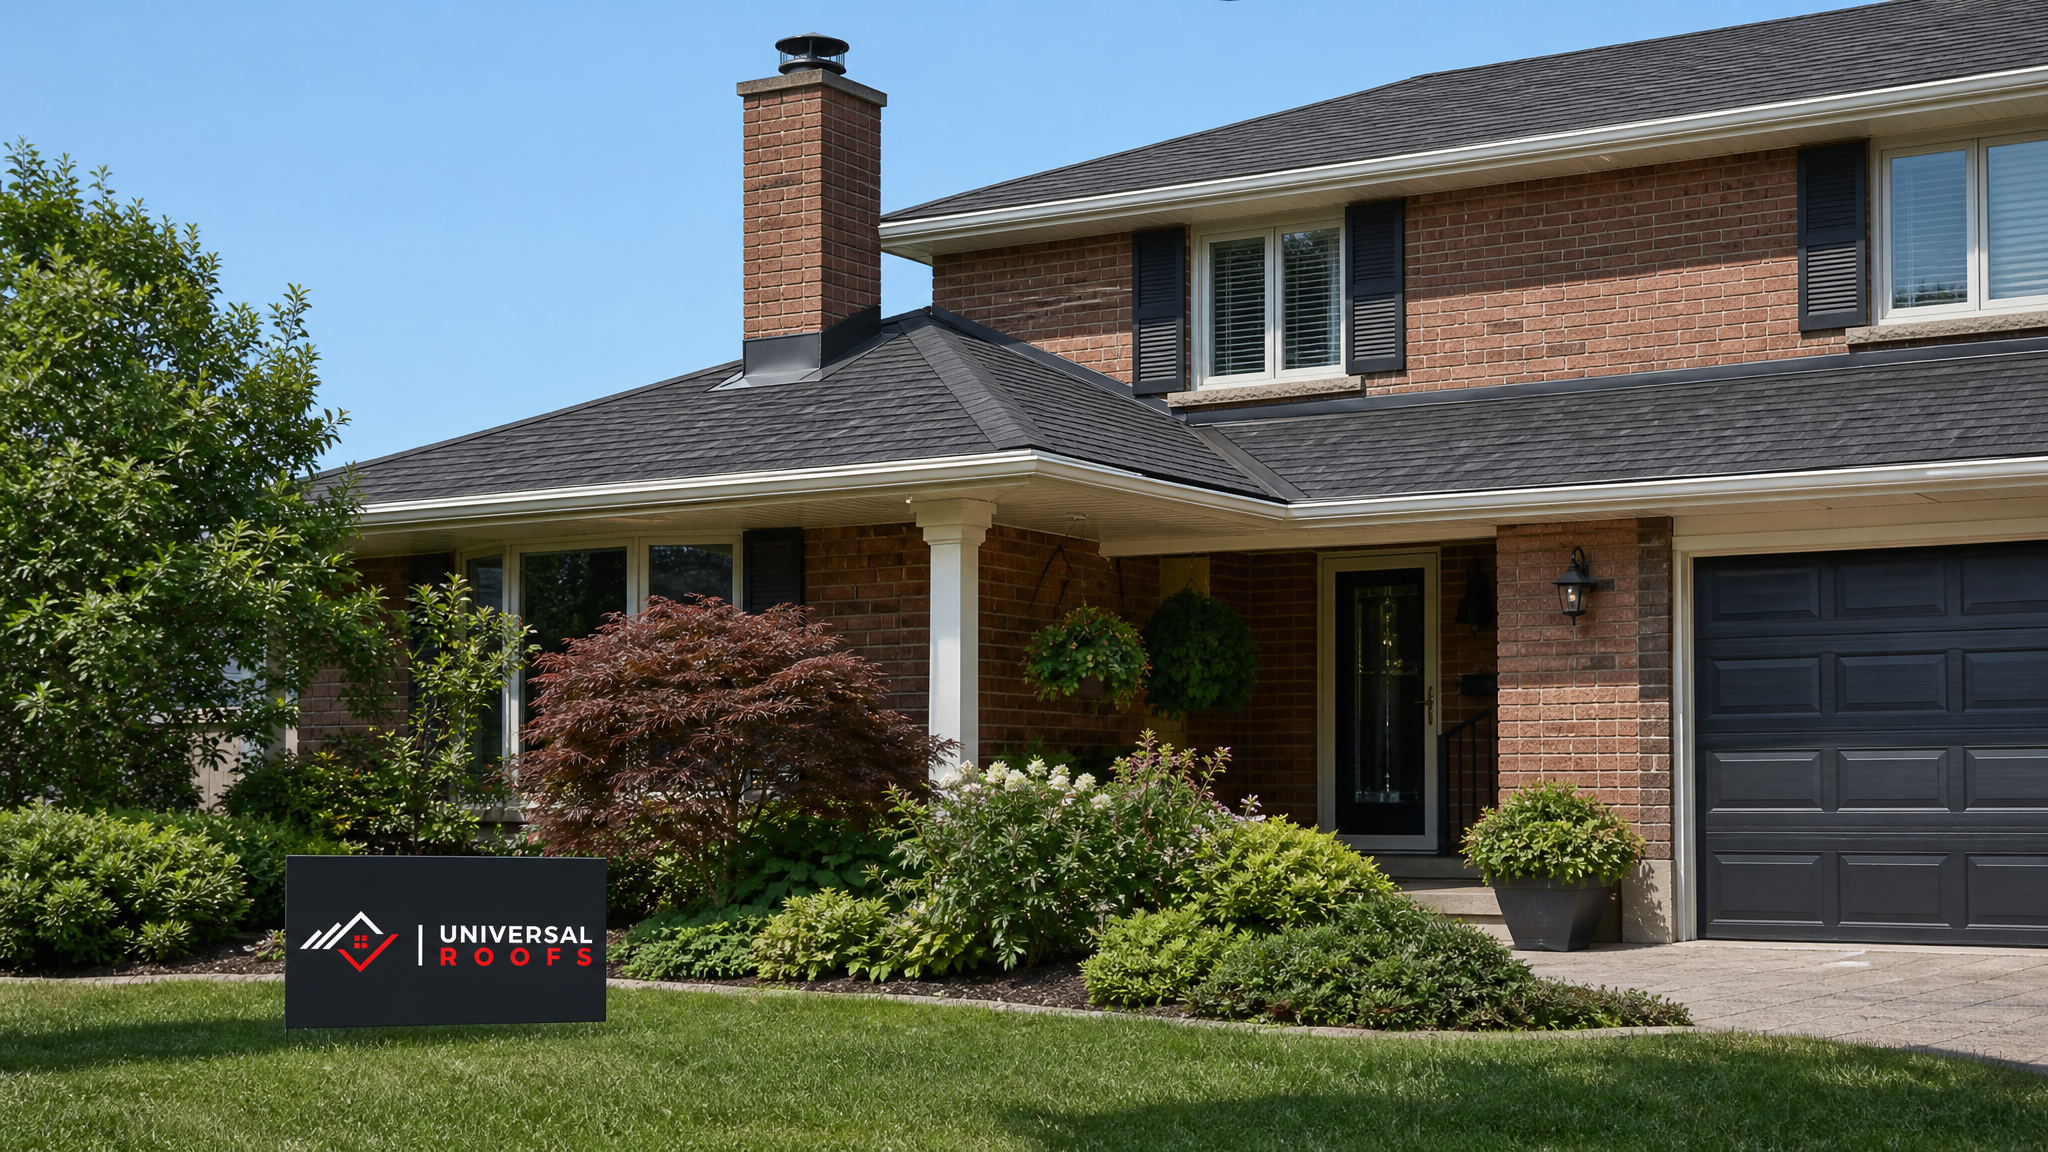
Strategy 1: Install a Continuous Ice and Water Membrane Barrier
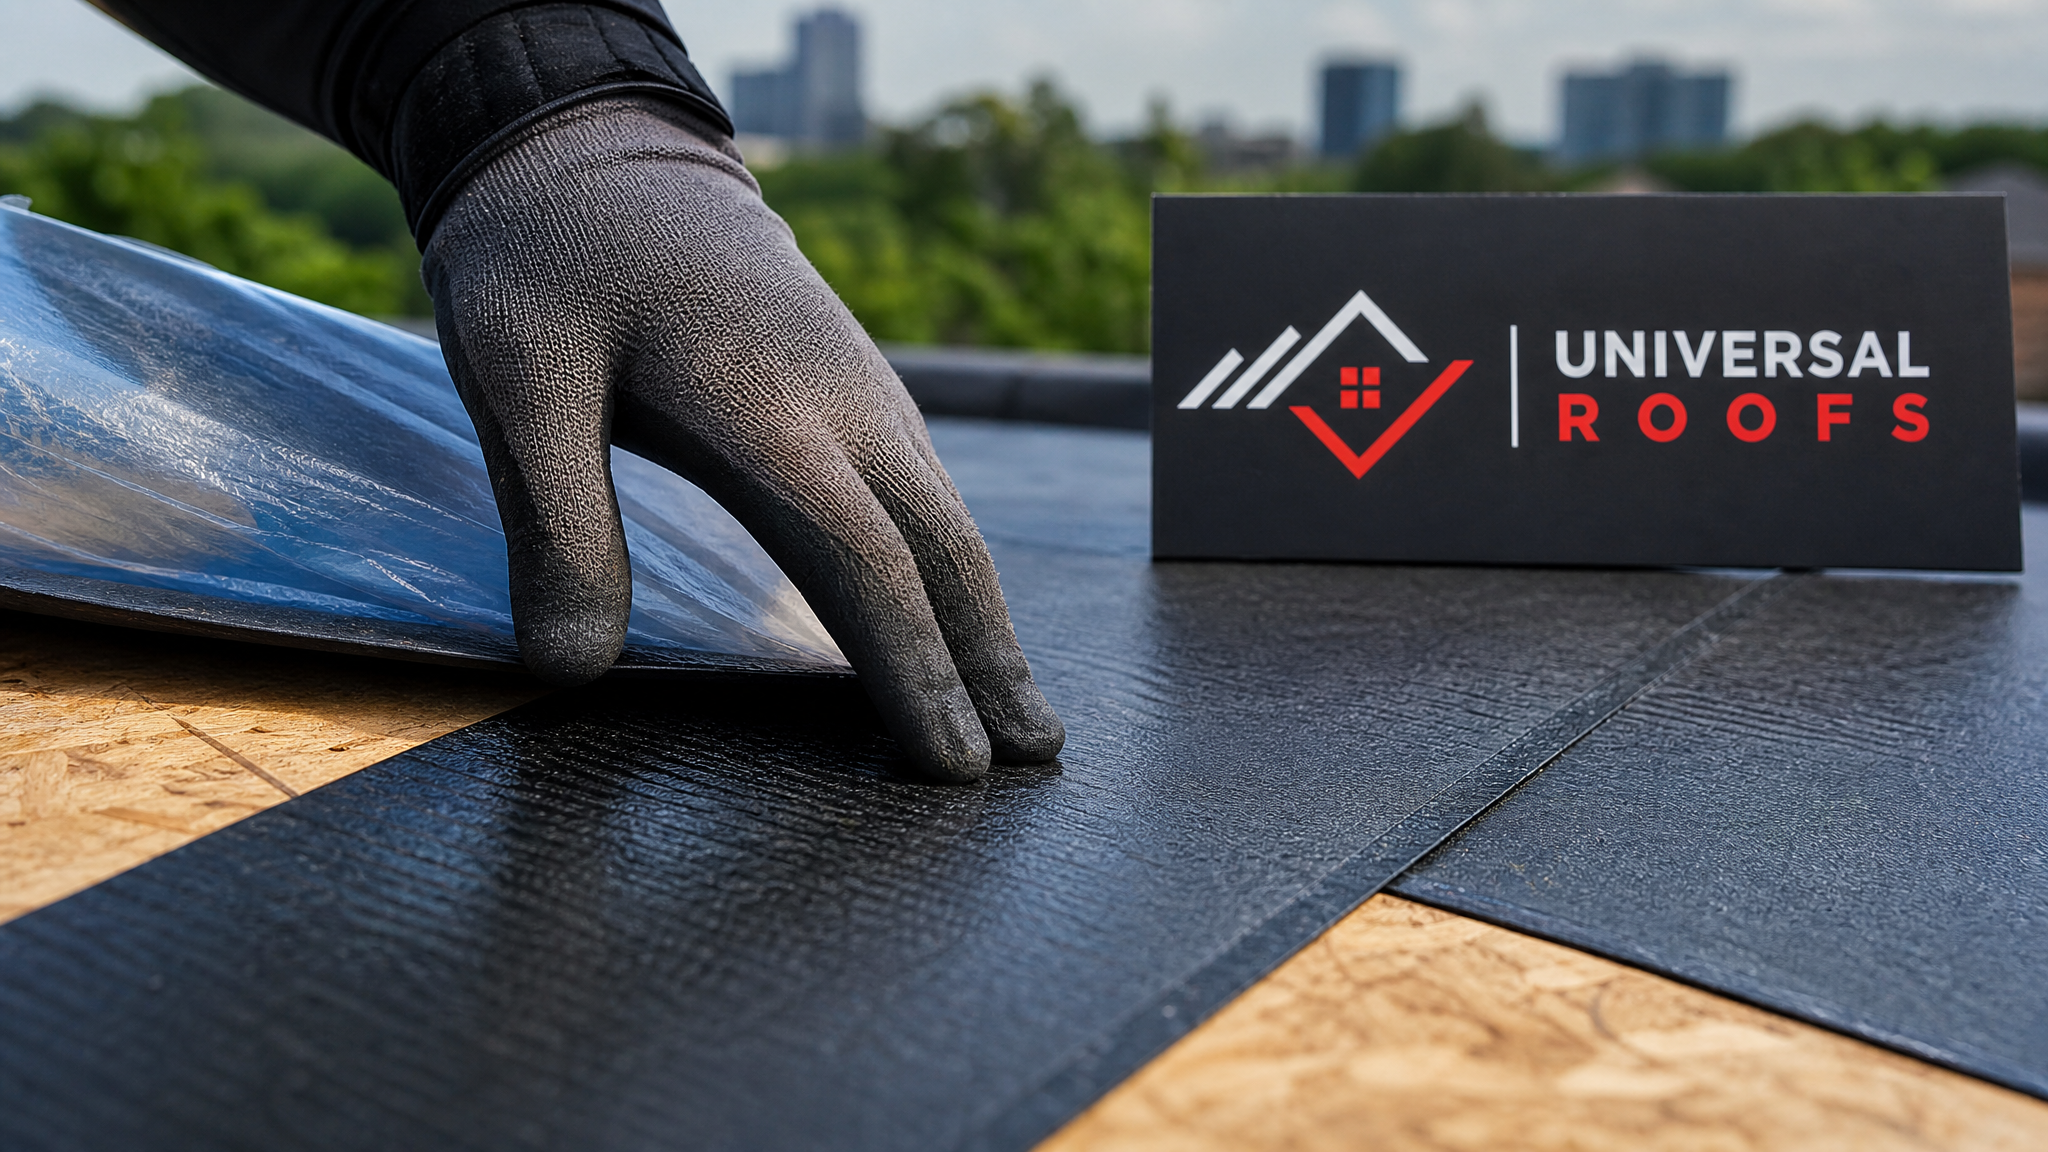
The single most important weatherproofing layer on any Toronto roof is the one you never see once shingles go down: the ice and water shield membrane. This self-adhering rubberized membrane is installed directly onto the roof deck before shingles or metal panels are applied, and it is what actually stops water when everything above it fails.
Ontario’s building code requires ice and water membrane along the eaves, extending at least 900mm (roughly 36 inches) up from the edge of the roof, measured from the interior wall line. In practice, most reputable roofers in the GTA extend this coverage further because our winters produce ice damming conditions that the minimum code requirement was never really designed around. Ice dams form when heat escaping from the attic melts snow on the upper roof, the meltwater runs down to the colder eaves, and refreezes into a dam that backs water up under the shingles.
Beyond the eaves, a properly weatherproofed roof also uses ice and water membrane in every valley, around every chimney, at every skylight curb, and along any wall-to-roof transition. These are the areas where two roof planes meet, where water concentrates, and where a standard felt underlayment simply is not durable enough. If your roof only has membrane at the eaves and felt paper everywhere else, you have covered the legal minimum but not the practical minimum for a Toronto winter.
Homeowners considering a full roof replacement should ask their contractor exactly where ice and water membrane will be installed and get it in writing on the quote. This is one of the cheapest upgrades to specify at replacement time and one of the most expensive to retrofit later, since it requires removing shingles to install.
| Underlayment Type | Water Resistance | Typical Use Area | Approximate Lifespan |
|---|---|---|---|
| Standard felt paper (Type 15) | Water-resistant, not waterproof | Main field of roof (older installs) | 10-15 years |
| Synthetic underlayment | Highly water-resistant | Main field of roof (modern installs) | 20-25 years |
| Ice and water membrane | Fully waterproof, self-sealing around nails | Eaves, valleys, chimneys, skylights | 25-40 years |
| Peel-and-stick full coverage | Fully waterproof | Entire deck (premium installs) | 30+ years |
Strategy 2: Seal and Reinforce Every Roof Penetration and Flashing Detail
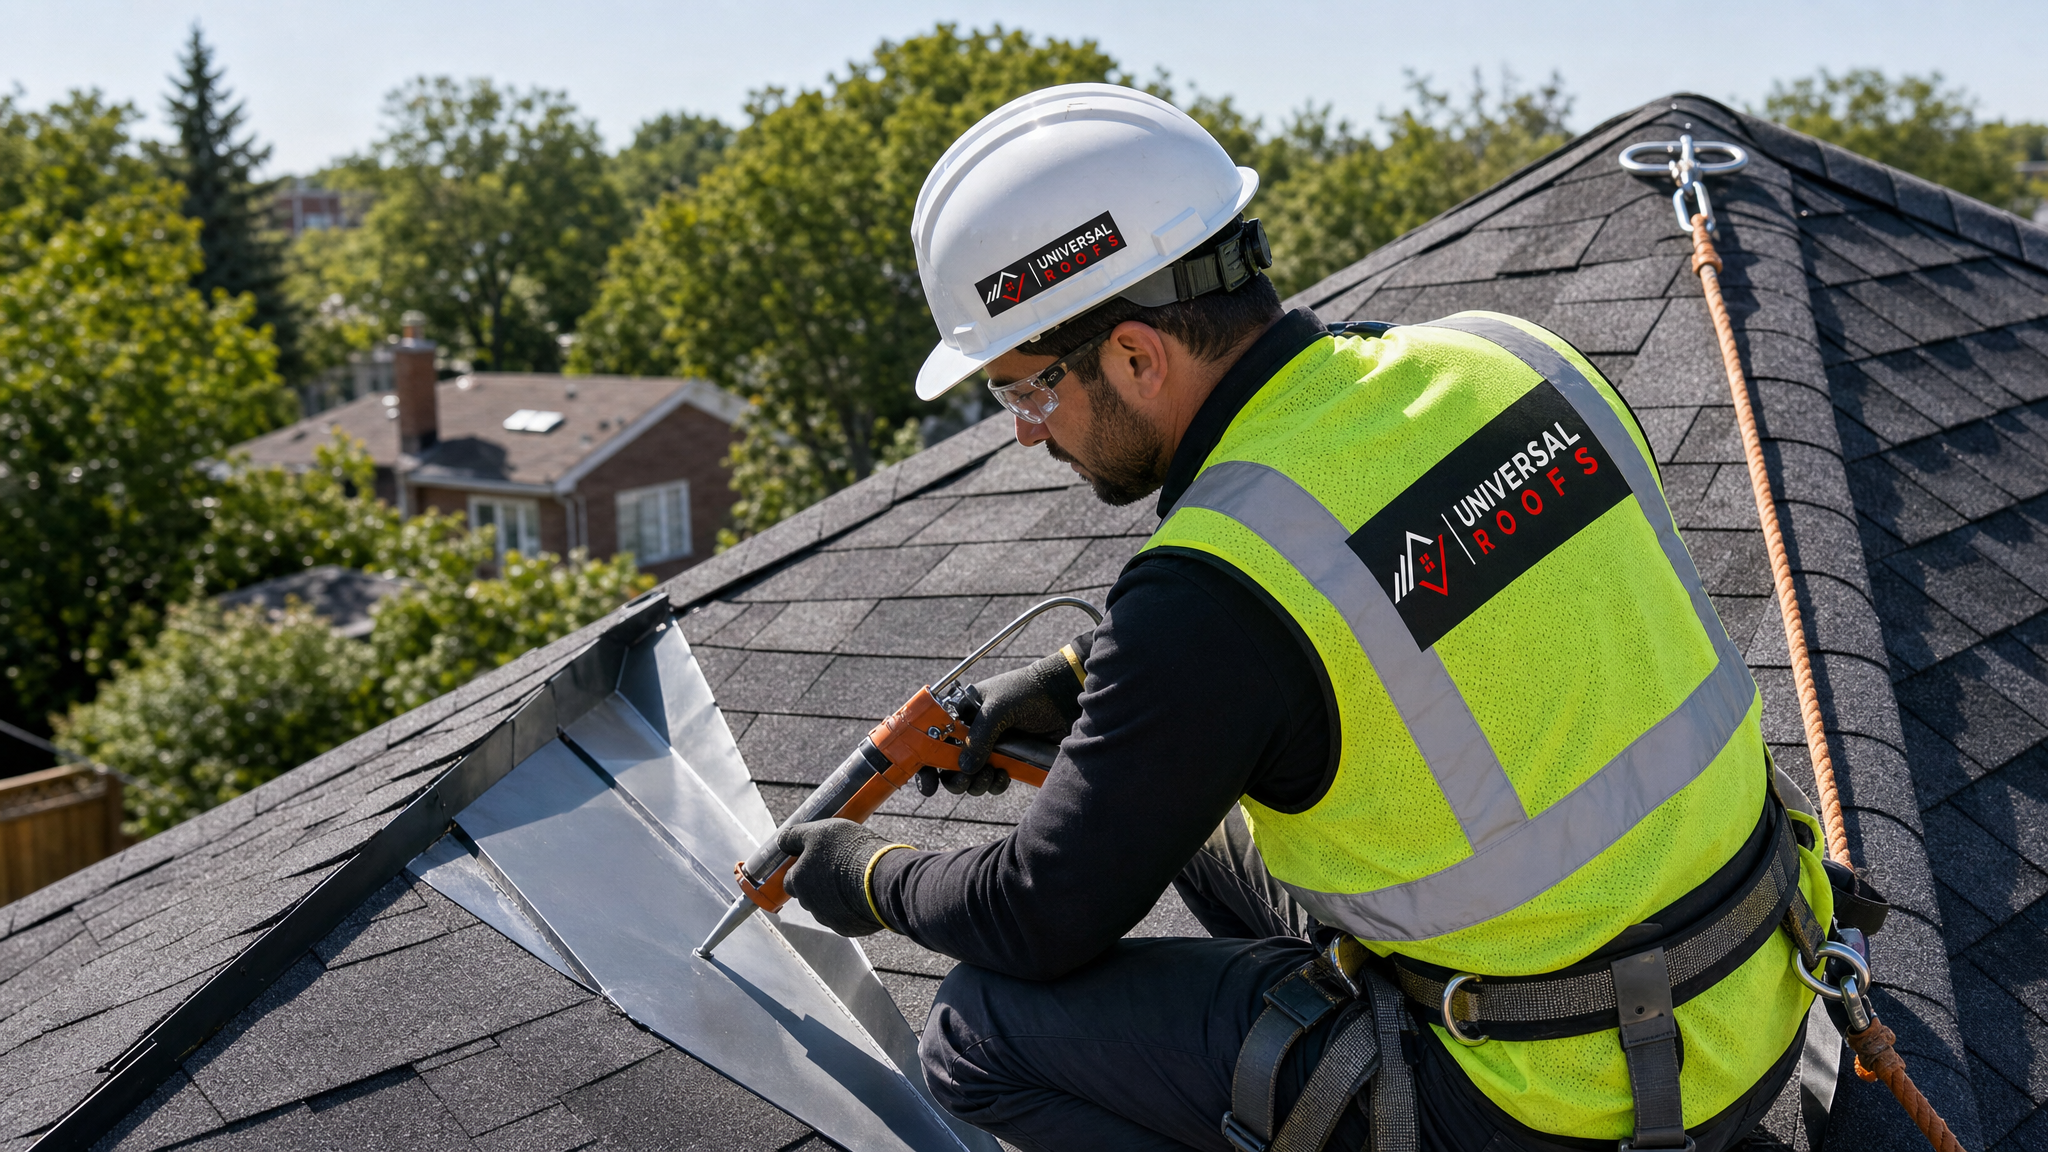
If ice and water membrane is the foundation of weatherproofing, flashing is the strategy that determines whether water actually gets diverted away from vulnerable points. Flashing is the metal (or sometimes rubber) detailing installed around anything that penetrates the roof plane: chimneys, plumbing stacks, skylights, dormers, and the joints where a roof meets a sidewall.
Roughly 80 percent of roof leaks we investigate in the GTA trace back to a flashing failure rather than a failure of the shingles themselves. Shingles are designed to shed water across a continuous flat plane; flashing is what has to manage water at every point where that plane is interrupted, which is inherently a more complex weatherproofing challenge.
Step flashing along walls and chimneys should be woven in with each course of shingles, not installed as one continuous strip. Continuous flashing looks fine at a glance but allows water to run behind it during wind-driven rain, which is common during Toronto’s summer thunderstorm season. Counter-flashing, cut into the brick or siding above step flashing, should overlap it by at least 50mm to shed water outward rather than letting it wick back toward the wall.
Skylight flashing deserves special attention since it is one of the most common leak sources on GTA homes. If your skylight is more than 15 years old, or if you notice staining on the drywall around the skylight shaft, the flashing kit has likely deteriorated even if the glass unit itself still looks fine. In many cases a skylight replacement with a modern, properly flashed curb resolves a leak that has been repeatedly patched without success.
Plumbing stack boots (the rubber collars around vent pipes) are the flashing component that fails most often simply due to material aging. UV exposure and temperature swings between a Toronto winter and summer cause the rubber to crack within 10 to 15 years, well before the surrounding shingles need replacement. Inspecting and replacing stack boots proactively is one of the best low-cost weatherproofing investments a homeowner can make.
Strategy 3: Maintain Proper Attic Ventilation and Insulation Balance
Weatherproofing is not only about keeping water out from above; it is equally about managing moisture and temperature from below. An improperly ventilated or under-insulated attic is one of the most common and least understood causes of premature roof failure in the GTA.
Here is the mechanism: warm, moist air from living spaces rises into the attic. If insulation is thin or has gaps, and if ventilation cannot move that warm air out efficiently, two problems compound each other. First, heat escapes through the roof deck, warming the snow above it and creating the ice dam conditions we described in Strategy 1 — even if your membrane is perfect, a large enough ice dam can eventually force water past any barrier. Second, moist air condenses on the cold underside of the roof deck and rafters, leading to mould, wood rot, and premature failure of the sheathing itself from the inside out, regardless of how good the exterior weatherproofing is.
The fix requires balance between intake and exhaust ventilation. Soffit vents at the eaves should draw in cool outside air, which travels up along the underside of the roof deck via baffles, and exits through ridge vents or roof vents at the peak. This continuous airflow keeps the roof deck close to outdoor temperature, which is the single best defence against ice damming, and it flushes out moisture before it can condense.
Insulation depth matters just as much as ventilation. Ontario’s climate zone calls for attic insulation levels well above what many older GTA homes currently have, particularly homes built before 2000. A quick and telling test: on a cold winter morning after a snowfall, look at your roof from the street. If snow has melted unevenly, in patches or stripes, especially near the peak, that is a visible sign of heat loss and a strong indicator that your attic needs an insulation and ventilation assessment.
| Attic Symptom | Likely Cause | Weatherproofing Risk | Recommended Action |
|---|---|---|---|
| Uneven snow melt pattern on roof | Heat loss / poor insulation | Ice dams, membrane overload | Insulation top-up, air seal attic floor |
| Frost or condensation on roof deck | Excess moisture, poor ventilation | Sheathing rot, mould | Add soffit and ridge ventilation |
| Musty smell in attic | Trapped humid air | Structural wood decay | Ventilation audit, bath fan venting check |
| Visible daylight through soffits | Blocked or damaged soffit vents | Reduced intake airflow | Clear insulation from vents, repair baffles |
| Icicles along the eaves | Ice damming in progress | Water backup under shingles | Improve ventilation, extend membrane coverage |
Strategy 4: Keep Drainage Clear and Roof Slopes Properly Managed
The fourth strategy is the one homeowners can most easily manage themselves between professional inspections: making sure water that lands on the roof actually leaves the roof, quickly and completely. Weatherproofing materials can only do so much if water is being allowed to pool, back up, or overflow due to poor drainage.
Gutters and downspouts should be cleared of leaves and debris at least twice a year in the GTA — once in late spring after the trees finish flowering and dropping seed pods, and again in late autumn after leaf fall is complete. Clogged gutters cause water to back up under the first course of shingles at the eaves, which is precisely the area your ice and water membrane is meant to protect, but no membrane should be relied on as a permanent substitute for clear drainage.
Flat and low-slope sections, common on additions, garages, and porch roofs across Toronto, need particular attention because they lack the gravity advantage of a steep pitched roof. Standing water on a flat roof for more than 48 hours after a rain event is a sign that the drainage slope (called “tapered insulation” or “cricket” in the trade) is inadequate or that a drain is blocked. Modern flat roofing systems are designed with a minimum slope, typically around 2 percent, specifically to prevent ponding, and this detail should be verified whenever a flat roof section is repaired or replaced.
Valleys, where two roof slopes meet, carry a disproportionate volume of water compared to the rest of the roof and should be inspected for granule loss, shingle lifting, or debris buildup at least once a year. A valley that has accumulated pine needles or leaf litter behaves like a partially clogged gutter, forcing water sideways under the shingles rather than down and off the roof.
Finally, confirm that your roof’s overall slope and any secondary drainage paths (kick-out flashing at the base of walls, scuppers on flat sections) are actually directing water toward the ground and away from the foundation, rather than toward a fascia board or wall assembly where it can cause rot that has nothing to do with the shingles themselves.
| Drainage Component | Recommended Inspection Frequency | Common Failure Sign | Typical Fix |
|---|---|---|---|
| Gutters and downspouts | Twice yearly (spring and fall) | Overflow, sagging, plant growth | Clean, re-pitch, add gutter guards |
| Roof valleys | Annually, plus after major storms | Granule loss, debris buildup | Clear debris, re-flash if worn |
| Flat roof drains/scuppers | Quarterly | Standing water after 48+ hours | Clear drain, correct slope with tapered insulation |
| Fascia and soffit joints | Annually | Peeling paint, soft wood | Reseal, replace damaged boards |
| Downspout extensions | Annually | Water pooling near foundation | Extend discharge 1.8m+ from foundation |
How These Four Strategies Work Together
It is worth emphasizing that these four strategies are not independent options to pick and choose from; they are a system. A perfect ice and water membrane cannot compensate for flashing that channels water into a wall assembly. Immaculate flashing will not stop chronic ice damming if the attic is poorly ventilated. Excellent ventilation does no good if clogged gutters send water back up under the shingles regardless. Weatherproofing a roof means addressing the membrane, the flashing, the attic, and the drainage as one integrated approach, which is exactly how our crews evaluate every roof we inspect, whether the job is a small repair or a full tear-off.
This is also why a roof that looks fine from the ground can still be actively failing. Shingles are the most visible component of a roof but represent only one of several weatherproofing layers, and the layers beneath and around them are where most serious problems originate.
When to Repair vs. When to Replace
Not every weatherproofing issue requires a full roof replacement. Isolated flashing failures, localized membrane damage, or a single deteriorated stack boot are typically addressed through targeted roof repair, often completed in a single day. However, certain conditions signal that patch repairs are no longer cost-effective and a full roof replacement is the more sensible investment.
Generally, if your shingles are already past 20 years old, if you have needed three or more repair calls in the past two years for different leak locations, or if a contractor finds that the underlying deck has soft spots or rot in multiple areas, the roof has likely reached the point where the weatherproofing system as a whole needs to be rebuilt rather than patched. Attempting to weatherproof an aging roof piecemeal, without addressing the ventilation and membrane strategy underneath, tends to produce diminishing returns and repeat service calls.
Regional Considerations Across the GTA
While the four strategies above apply everywhere, some regional nuances are worth noting. Homes in older neighbourhoods across Toronto often have narrower eave overhangs and older brick chimneys, which makes flashing detail and step-flashing quality especially important. In Peel Region and York Region, we see a higher proportion of newer builds with larger roof footprints and more complex valleys, which increases the importance of valley membrane coverage and drainage capacity. Homes in Halton Region near the escarpment can experience more localized wind exposure, making shingle fastening patterns and edge flashing a bigger factor. And in Durham Region, proximity to the lake can mean more humidity moving through attics, which raises the stakes on proper ventilation.
Regardless of neighbourhood, the underlying weatherproofing principles do not change. What changes is which of the four strategies deserves the most attention first, which is exactly the kind of assessment a proper roof inspection is designed to identify.
A Practical Weatherproofing Maintenance Schedule
Homeowners often ask for a simple checklist rather than a theory of how roofs work, so here is a practical, season-based maintenance rhythm that reinforces all four strategies above.
In spring, clear gutters and downspouts of winter debris, check for ice dam damage such as lifted shingles or granule loss near the eaves, and inspect the attic for any signs of moisture staining that appeared over winter. In summer, this is the ideal window for any repair or replacement work, since dry, warm weather allows adhesives, sealants, and membrane products to cure properly — a poor time to install these products is in cold or wet weather, which is why licensed roofers in the GTA are often booked solid through July and August. In autumn, clear gutters again after leaf fall, trim overhanging branches that drop debris into valleys, and confirm attic insulation has not shifted or compressed. In winter, monitor for icicles, ice dams, and uneven snow melt patterns, but avoid climbing on a snow- or ice-covered roof yourself; call a professional if ice damming appears to be forming.
Choosing a Contractor Who Weatherproofs Correctly
Since most of what makes a roof genuinely weatherproof is hidden beneath the shingles, the contractor you choose matters more than the shingle brand you choose. When getting quotes, ask specifically where ice and water membrane will be installed, whether step flashing will be woven or continuous, what the ventilation plan is for the attic, and how drainage will be handled on any flat or low-slope sections. A contractor who cannot answer these questions in detail is likely planning to install shingles without addressing the underlying system.
It is also worth reading independent customer reviews and checking a company’s track record, since weatherproofing failures often do not surface until a year or two after installation, well after the invoice has been paid. Our FAQ page covers many of the technical questions homeowners ask before committing to a project, and our about page outlines the licensing and experience behind our crews.
What are the best strategies for weatherproofing your roof in Toronto?
How much does professional roof weatherproofing cost?
Can I weatherproof my roof myself?
How do I know if my attic ventilation is causing weatherproofing problems?
How often should weatherproofing components be inspected?
Does weatherproofing differ for flat roofs versus pitched roofs?
Need Help With 4 Best Strategies for?
Weatherproofing a roof properly takes more than good shingles; it takes the right membrane, correctly woven flashing, balanced attic ventilation, and clear drainage all working together. Universal Roofs has been assessing and weatherproofing roofs across the GTA since 2005, and our crews can tell you exactly where your roof stands after a single inspection.
Call us today at (416) 732-2421 or request a free inspection to get started.
Universal Roofs proudly serves Toronto, Mississauga, Brampton, Vaughan, Markham, Oakville and the GTA since 2005.