
If you have ever heard shingles rattling during a summer squall or found asphalt granules collecting in your eavestrough after a storm, you already have a sense of why roof wind damage repair is important. Wind does not just knock a few shingles loose and stop there. It works its way under flashing, into fastener holes, and along roof edges, and every additional week of exposure lets water follow the path the wind opened up. For homeowners across the Greater Toronto Area, where lake-effect gusts, spring and autumn wind storms, and sudden summer downbursts are a normal part of the weather pattern, understanding why roof wind damage repair is important is the difference between a small, affordable fix and a five-figure interior renovation.
This guide walks through exactly what wind does to a roof system, why acting quickly matters more than most homeowners realize, how to spot the early warning signs, what repair actually costs and involves, and how insurance typically handles wind claims in Ontario. Whether you noticed a single lifted shingle after last week’s storm or you are trying to understand why your neighbour is having roofers out again this season, this article covers the full picture.
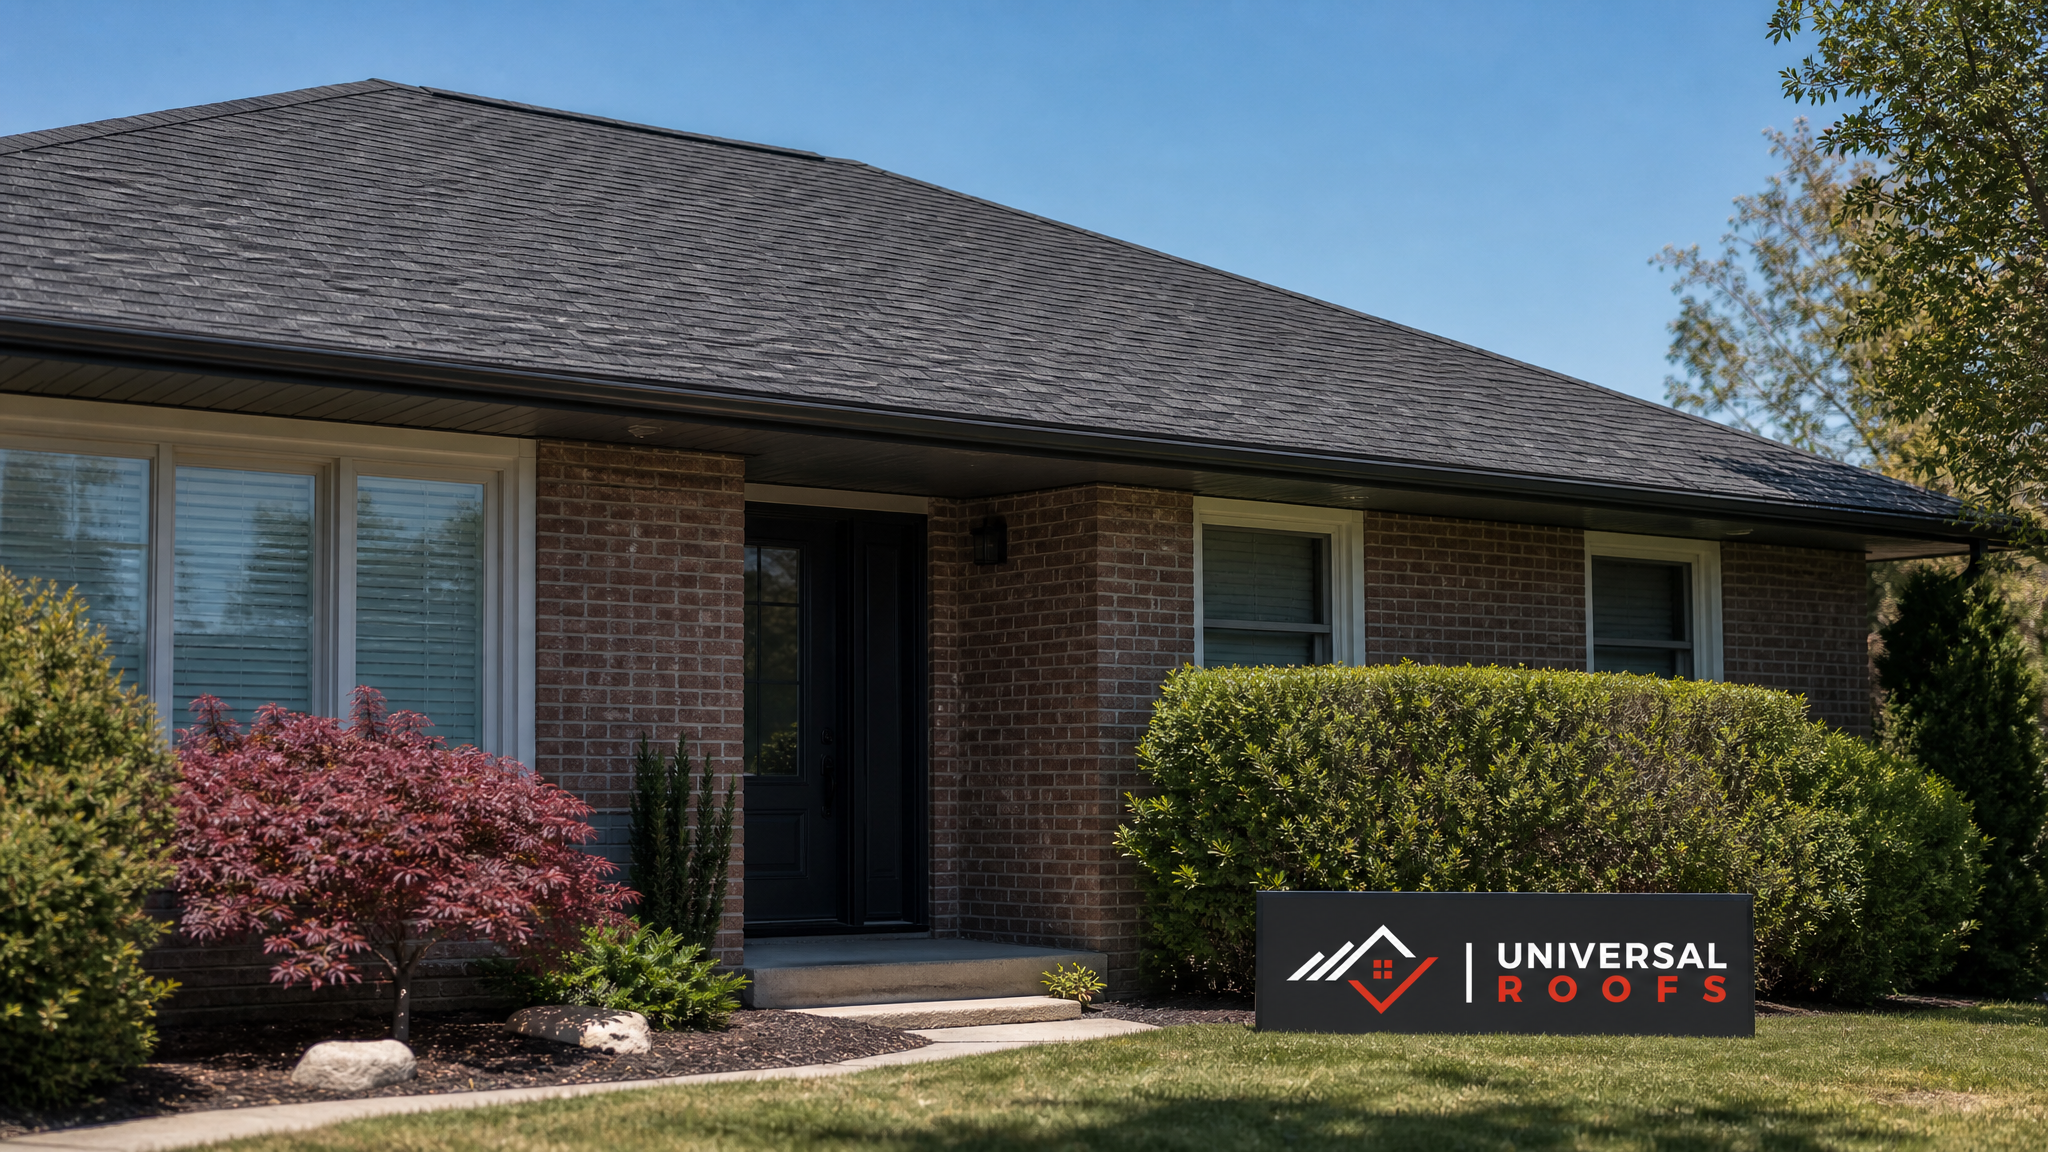
Why Roof Wind Damage Repair Is Important in the First Place
The core reason roof wind damage repair is important comes down to one simple fact: a roof is a sealed system, and wind damage breaks the seal. Shingles are designed to overlap and interlock so that water sheds downward and never reaches the wood decking underneath. Wind does not need a hurricane to disrupt that system. Sustained gusts of 60 to 90 km/h, which are common during GTA storm fronts, are enough to lift the sealant strip on asphalt shingles, bend or crease tabs, and loosen fasteners that hold the shingle course in place.
Once that seal is broken, three things start happening simultaneously. Water begins to infiltrate the underlayment during the very next rainfall. Additional wind events peel back more of the compromised area, because a shingle with a broken seal has nothing holding its edge down. And the exposed underlayment and decking begin absorbing moisture that, left unaddressed, leads to rot, mould, and insulation damage in the attic. This is why professional roof repair after a wind event is not a cosmetic nicety — it is the single action that stops all three of those problems from compounding.
What Wind Actually Does to Different Roofing Materials
Not every roof responds to wind the same way, and understanding the mechanism helps explain why repair timelines matter. Asphalt shingles fail primarily at the sealant strip and along the tab edges. Once wind gets a “finger” under a tab, uplift pressure — the same aerodynamic force that lifts an airplane wing — pulls the shingle further back with each gust. Metal roofing tends to fail at the seams and fastener points, where repeated flexing during high winds can loosen screws or work seams open. Flat and low-slope membrane roofs, common on additions, garages, and commercial buildings across the GTA, are vulnerable at the perimeter edges and at penetrations like vents and drains, where wind uplift can peel back membrane that was not properly adhered or mechanically fastened.
| Roofing Material | Primary Wind Failure Point | Typical Warning Sign | Urgency Level |
|---|---|---|---|
| Asphalt shingles | Sealant strip and tab edges | Lifted or curled tabs, granule loss | High — worsens with next storm |
| Architectural/laminate shingles | Fastener pull-through | Missing shingles, exposed nail heads | High — immediate leak risk |
| Standing seam metal | Seam separation, fastener loosening | Rattling or popping sounds, visible gaps | Medium — monitor and repair promptly |
| Flat/membrane roofing | Perimeter edge and penetration lifting | Bubbling, flapping membrane at edges | High — full uplift can occur quickly |
| Cedar shakes | Split or cracked shakes, blow-off | Missing shakes, visible decking gaps | Medium-High — moisture entry is rapid |
The Real Cost of Waiting: Why Timing Changes Everything
Homeowners often ask why roof wind damage repair is important right away rather than something that can wait until a slower month. The answer is that roofing damage does not behave linearly — it compounds. A handful of lifted shingles repaired within a week or two might cost a few hundred dollars. The same damage left through two or three more wind events, plus a rainy season, can turn into saturated decking, damaged attic insulation, stained drywall, and even mould remediation. We regularly see this progression on inspections: what would have been a $400 repair becomes a $4,000 to $8,000 interior and structural repair once water has had months to travel.
There is also a structural angle specific to older GTA housing stock. Many homes built in the 1960s through 1980s have roof decking that was installed to the standards of that era, which in some cases means thinner sheathing or wider fastener spacing than today’s building code requires. That decking has less margin for error once shingles are compromised, which is part of why prompt roof repair after wind events matters more on older homes than newer builds with modern sheathing and fastening schedules.
How to Identify Wind Damage on Your Own Roof
Most wind damage is visible from the ground with a good pair of binoculars, or from inside the attic during daylight hours. Here is the inspection sequence we recommend to homeowners after any storm with sustained winds over 50 km/h:
- Ground-level visual check. Walk the perimeter of the house and look for shingles in the yard, on the driveway, or caught in shrubs. Even one or two shingles on the ground usually means several more are compromised but still attached.
- Roofline binocular scan. Look along ridgelines, hips, and roof edges for shingles that appear lifted, curled, or a different colour than surrounding shingles (a sign the granule layer has been stripped, exposing the asphalt mat).
- Eavestrough check. Excess asphalt granules pooling in gutters after a storm indicate accelerated shingle wear, even if no shingles are visibly missing.
- Attic inspection. On a dry day, check the attic for any points of daylight showing through the decking, new water stains on the underside of the roof deck, or damp insulation.
- Interior ceiling check. New brown or yellow staining on ceilings, especially near exterior walls, often means wind-driven rain has already found an entry point.
If you spot any of these signs, it is worth having a professional confirm the scope before the next weather system arrives. A trained eye can often identify compromised sealant strips and loosened fasteners that are not obvious from a casual glance, which is exactly the kind of damage that turns into a full leak during the next storm.
What Professional Wind Damage Repair Actually Involves
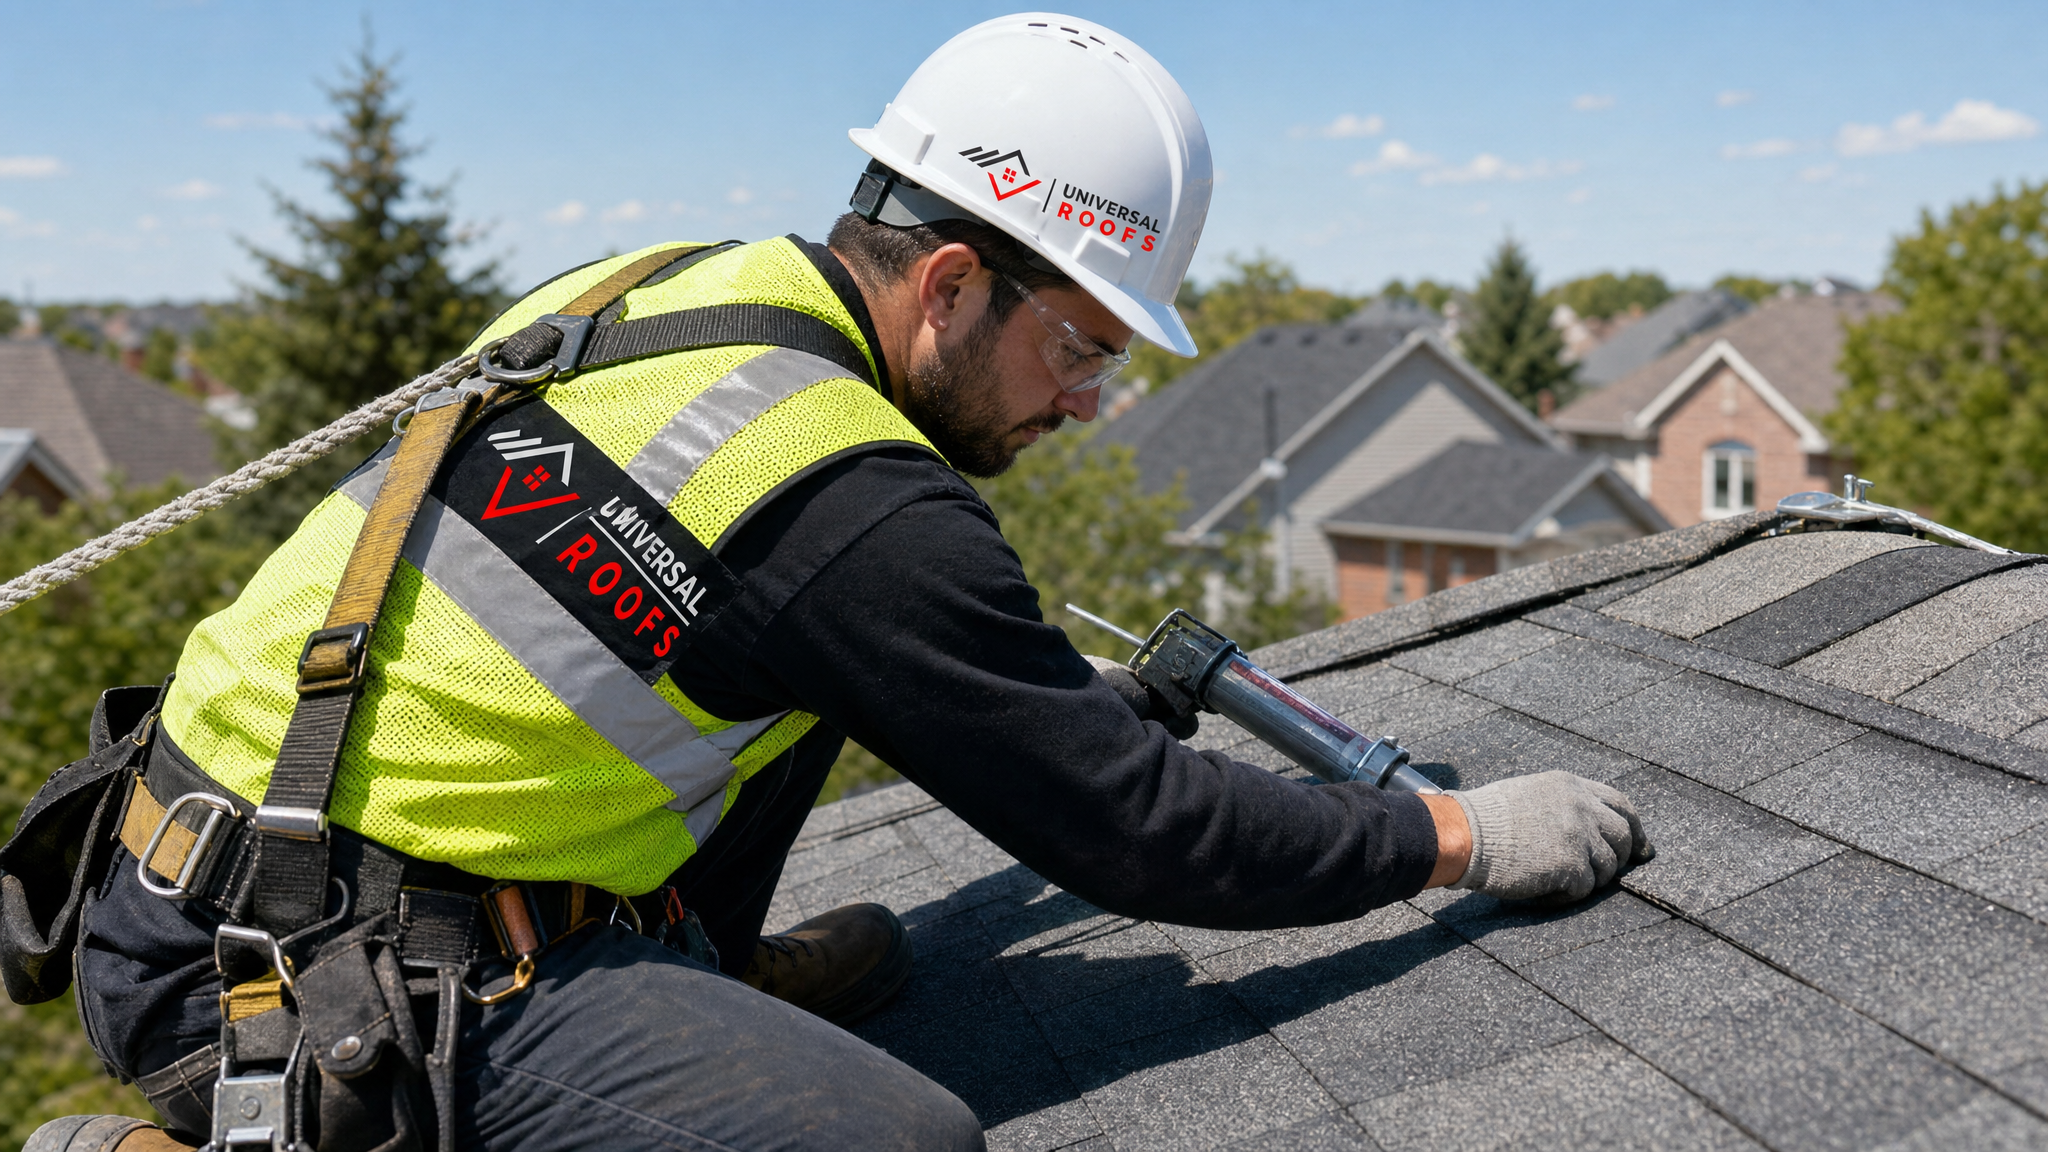
Repairing wind damage is not simply nailing a shingle back down. A proper repair addresses both the visible damage and the underlying cause so the same section does not fail again in the next storm. The typical process includes:
- Full roof assessment. Identifying every affected course, not just the shingles that are obviously missing, since adjacent shingles are often loosened even if still in place.
- Underlayment and decking check. Any area where shingles were missing for more than a day or two gets checked for moisture penetration into the underlayment and decking below.
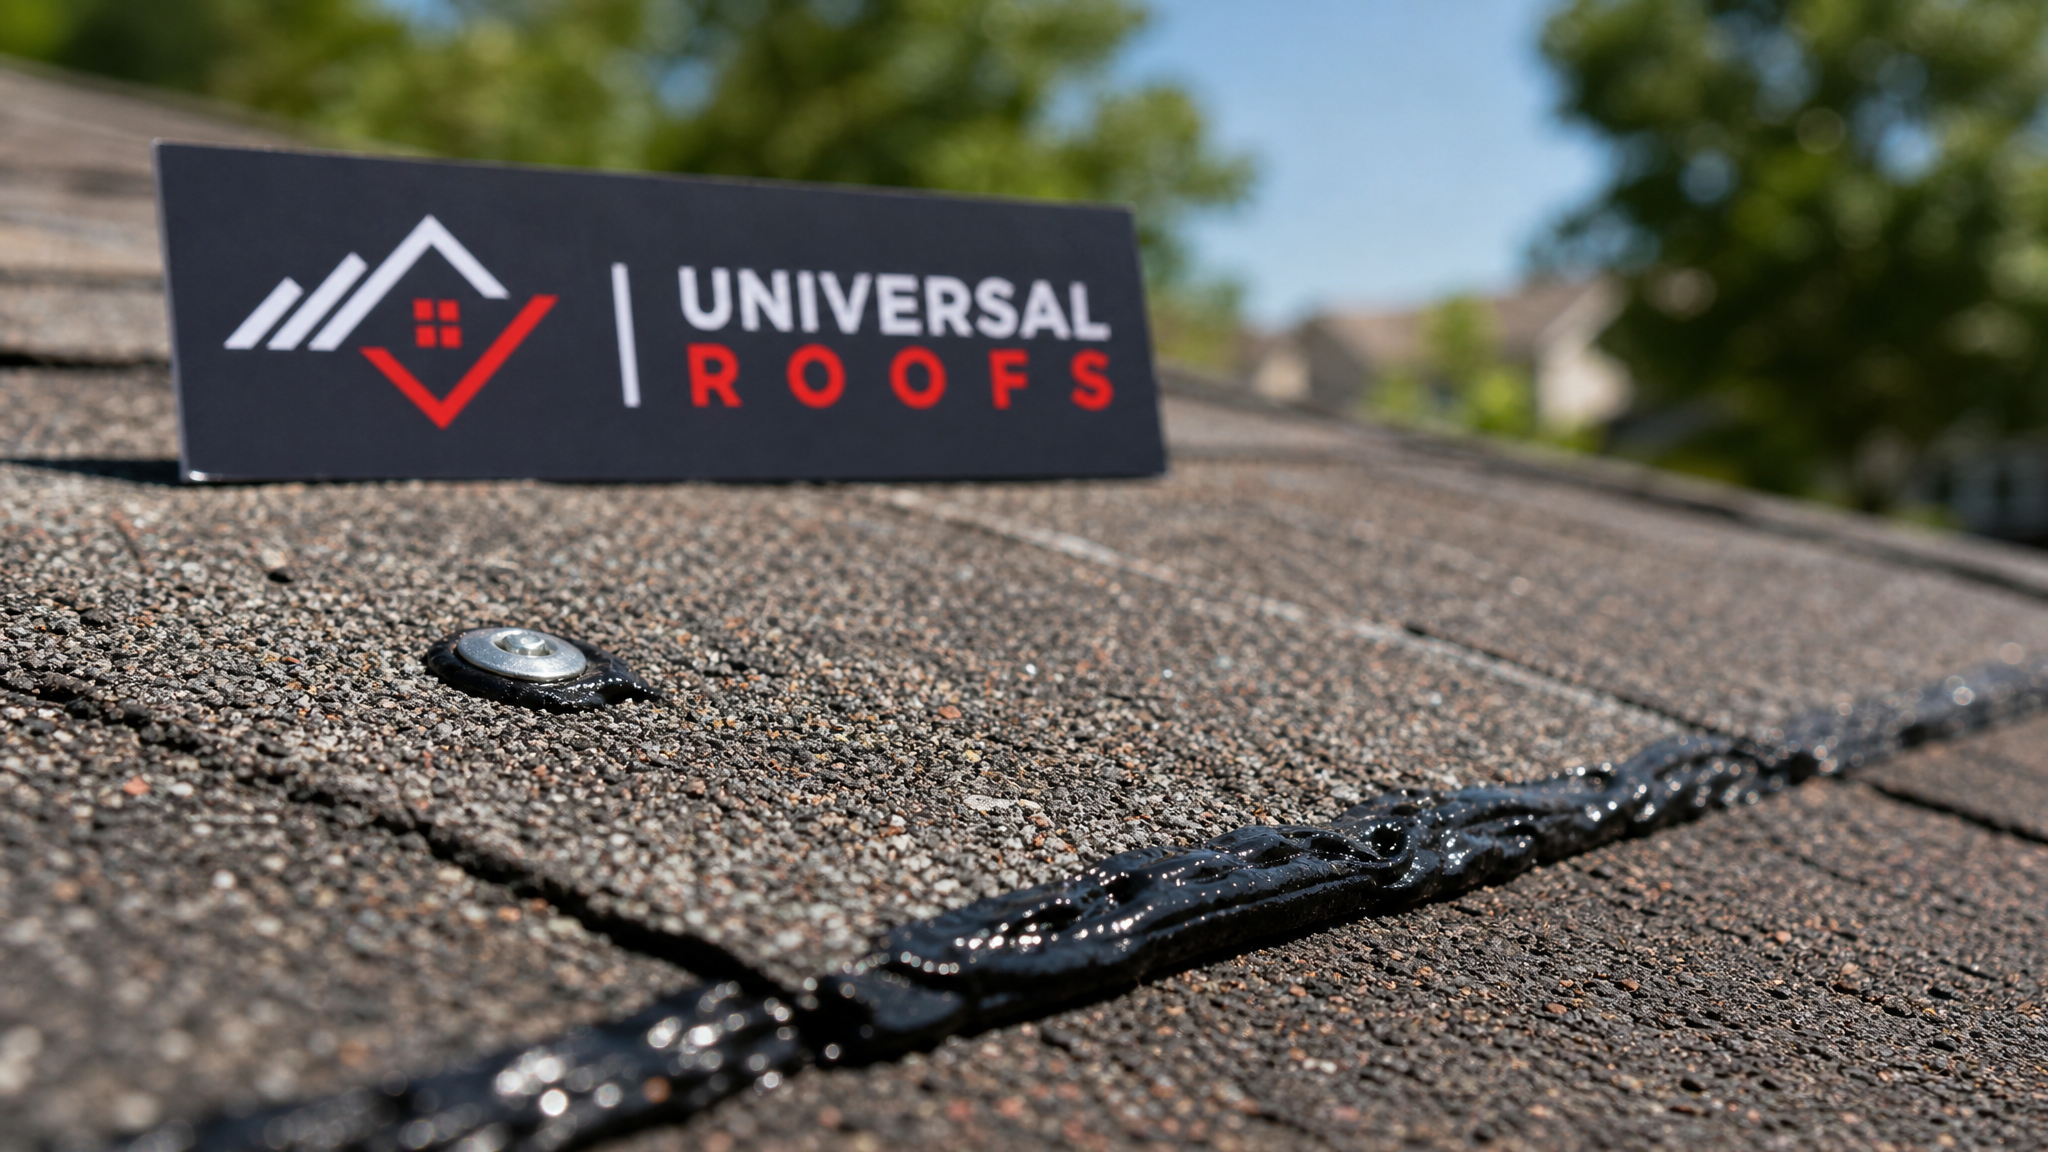
- Shingle replacement or re-securing. Damaged shingles are replaced with matching material where possible; lifted-but-intact shingles are re-sealed with roofing cement designed for that purpose.
- Flashing and edge inspection. Wind stress concentrates at valleys, roof edges, and around penetrations like vents and chimneys, so these areas are checked and resealed as needed.
- Fastener upgrade where applicable. In wind-prone or higher-elevation areas of the GTA, we sometimes recommend upgrading to six-nail fastening patterns or wind-rated shingles to reduce recurrence.
For roofs with more extensive damage — typically when 25% or more of a slope shows compromised shingles, or when the decking itself has sustained damage — a full or partial roof replacement is often more cost-effective than continuing to patch an aging roof section by section.
Typical Repair Costs and Timelines in the GTA
Costs vary based on roof pitch, accessibility, material, and the extent of the damage, but the table below reflects typical ranges we see across Toronto, Mississauga, Brampton, Vaughan, Markham, and Oakville.
| Repair Scope | Typical Cost Range (CAD) | Typical Timeline | When It Applies |
|---|---|---|---|
| Spot repair (1-5 shingles) | $300 – $600 | Same day | Isolated lifted or missing shingles, no decking damage |
| Section repair (one slope) | $800 – $2,200 | 1 day | Multiple courses affected, minor underlayment exposure |
| Flashing and edge resealing | $400 – $1,200 | Half day to 1 day | Wind-lifted flashing at valleys, edges, or penetrations |
| Decking repair + reshingle | $1,500 – $4,500 | 1 – 2 days | Water has reached and softened the plywood decking |
| Full slope or roof replacement | $6,000 – $18,000+ | 2 – 4 days | Widespread wind damage across an aging roof |
Same-day or next-day response matters most in the first category. A repair that would cost $400 today can migrate into the third or fourth row of that table within a single rainy month if it is ignored, which is the practical, dollars-and-cents reason roof wind damage repair is important to schedule promptly rather than “when it’s convenient.”
Insurance Considerations for Wind Damage Claims in Ontario
Most Ontario homeowner insurance policies cover sudden wind damage, but coverage details and deductibles vary significantly between insurers, so it is worth understanding the general shape of how these claims work before you call your provider.
| Claim Factor | What Insurers Typically Look For | Homeowner Action | Common Outcome |
|---|---|---|---|
| Wind speed at time of damage | Confirmation via weather data that winds exceeded a threshold (often 60+ km/h) | Note the storm date; insurers can cross-reference Environment Canada data | Claim typically approved if wind speed is documented |
| Age and condition of roof | Pre-existing wear versus sudden storm damage | Keep records of any prior roof maintenance or inspections | Older roofs may see depreciated payout (“actual cash value”) |
| Documentation quality | Clear photos of damage taken soon after the event | Photograph damage from ground and roof access before repairs begin | Faster claim processing, fewer disputes |
| Timing of the claim | Reasonable promptness after discovering damage | File within days, not months, of the storm | Reduces risk of claim denial for “failure to mitigate” |
| Repair estimate detail | An itemized, professional repair quote | Get a written assessment from a licensed roofing contractor | Smoother adjuster approval and payout |
One detail that surprises many homeowners: insurers generally expect you to take reasonable steps to prevent further damage once you are aware of a problem, sometimes called a “duty to mitigate.” Tarping an exposed section or scheduling prompt repair is usually viewed favourably, whereas leaving a known leak unaddressed for weeks can complicate a claim. This is another practical reason roof wind damage repair is important to arrange quickly rather than waiting for a formal claim decision.
Preventing Future Wind Damage
While no roof is completely wind-proof, several maintenance steps meaningfully reduce the odds of significant damage during the next storm season:
- Annual inspections. Catching a handful of loose fasteners or a slightly lifted shingle before storm season prevents it from becoming an entry point during the next high-wind event.
- Proper attic ventilation. A well-ventilated attic reduces the heat and moisture cycling that weakens shingle sealant strips over time, making them more susceptible to wind uplift.
- Sealant strip activation. New shingles rely on sun warmth to activate their self-sealing strip; roofs installed late in the season sometimes need a manual seal check before their first winter storms.
- Upgraded fastening patterns. Six nails per shingle instead of four, particularly on the exposed slopes of a home, adds real wind resistance for a marginal material cost increase.
- Flashing maintenance. Flashing around skylights, chimneys, and vents is a common wind-entry point; if your home has ageing skylights, confirming the flashing is properly sealed is worth including in an annual check, and in some cases a skylight replacement resolves recurring leaks that repeated flashing repairs have not fixed.
Flat and Low-Slope Roofs Face Unique Wind Risks
Flat and low-slope roofing systems — common on additions, garages, and many commercial and mixed-use buildings across the GTA — experience wind differently than pitched shingle roofs. Wind moving over a flat roof creates negative pressure (suction) at the edges and corners, which is precisely why membrane roofs so often fail at the perimeter first. If you own a building with a flat roofing system, perimeter fastening and edge detailing are the most important things to have checked after any significant wind event, since a small amount of edge lifting can progress to a much larger membrane failure surprisingly quickly.
Choosing the Right Contractor for Wind Damage Repair
Storm damage unfortunately attracts a wave of door-knocking contractors after major wind events, and not all of them are properly licensed or insured for roofing work in Ontario. A few practical checks protect homeowners from a bad repair experience:
- Confirm the contractor carries liability insurance and Workplace Safety and Insurance Board (WSIB) coverage for their crew.
- Ask for a written, itemized estimate rather than a verbal quote, especially if the repair may be submitted as part of an insurance claim.
- Check recent reviews from homeowners in your specific area, since local experience with GTA weather patterns and building codes matters.
- Be cautious of any contractor pressuring for an immediate cash payment or a same-day contract signature before a proper inspection has been completed.
Universal Roofs has served Toronto, the Peel Region, York Region, Halton Region, and the Durham Region since 2005, which means our crews have repaired wind damage through more than two decades of GTA storm seasons and understand exactly which failure points to check first on the roofing systems common to this region.
Summer Storm Season: Why Now Is the Right Time to Check Your Roof
July in the GTA brings its own wind risk profile: sudden downburst winds from summer thunderstorms can produce gusts comparable to a spring wind storm, often with little warning. Because summer conditions are dry and mild between storms, this is also the easiest time of year to schedule a thorough roof inspection and complete any repairs before autumn’s more sustained wind events arrive. Addressing minor wind damage now, while the weather cooperates and materials are easy to work with, is considerably simpler than trying to schedule an emergency repair during a November storm system.
Why is roof wind damage repair important if the damage looks minor?
How quickly should I get wind damage repaired?
Will my insurance cover roof wind damage repair?
How can I tell if my roof has wind damage after a storm?
Does wind damage repair cost less than a full roof replacement?
Can flat roofs suffer wind damage the same way shingle roofs do?
Need Help With Why Is Roof Wind?
Wind damage rarely stays the same size it started at, which is exactly why understanding why roof wind damage repair is important matters for every homeowner in the GTA. Whether you have a handful of lifted shingles, a flapping section of flat roof membrane, or you simply want a professional set of eyes on your roof after the last storm, the team at Universal Roofs can assess the damage and recommend the right fix before it grows into something bigger.
Call us today at (416) 732-2421 or request a free inspection to get started.
Universal Roofs proudly serves Toronto, Mississauga, Brampton, Vaughan, Markham, Oakville and the GTA since 2005.