
A summer hailstorm can move through the Greater Toronto Area in under twenty minutes and leave tens of thousands of dollars in roofing damage behind it. Unlike a leak that announces itself with a stain on the ceiling, hail damage is often invisible from the ground, which is exactly why so many homeowners miss the window to file a claim or arrange repairs before small bruises turn into full-blown leaks. Understanding the critical factors for effective roof hail damage repair is the difference between a straightforward insurance-covered fix and a costly, drawn-out battle with water infiltration, mould, and denied claims.
At Universal Roofs, we have inspected and repaired thousands of hail-affected roofs across the GTA since 2005, from asphalt shingle bungalows in Scarborough to steep-slope estate homes in King City. This guide walks through the factors that actually determine whether a hail repair holds up: correct damage identification, material selection, timing, workmanship, and documentation. We will also cover when a targeted repair is enough and when a full roof replacement is the smarter long-term choice.
Hail season in Ontario typically runs from May through September, with the highest frequency of severe convective storms in June and July. Because we are publishing this in the middle of summer 2026, this is precisely the window when GTA homeowners should be inspecting their roofs proactively rather than waiting for a leak to force the issue.
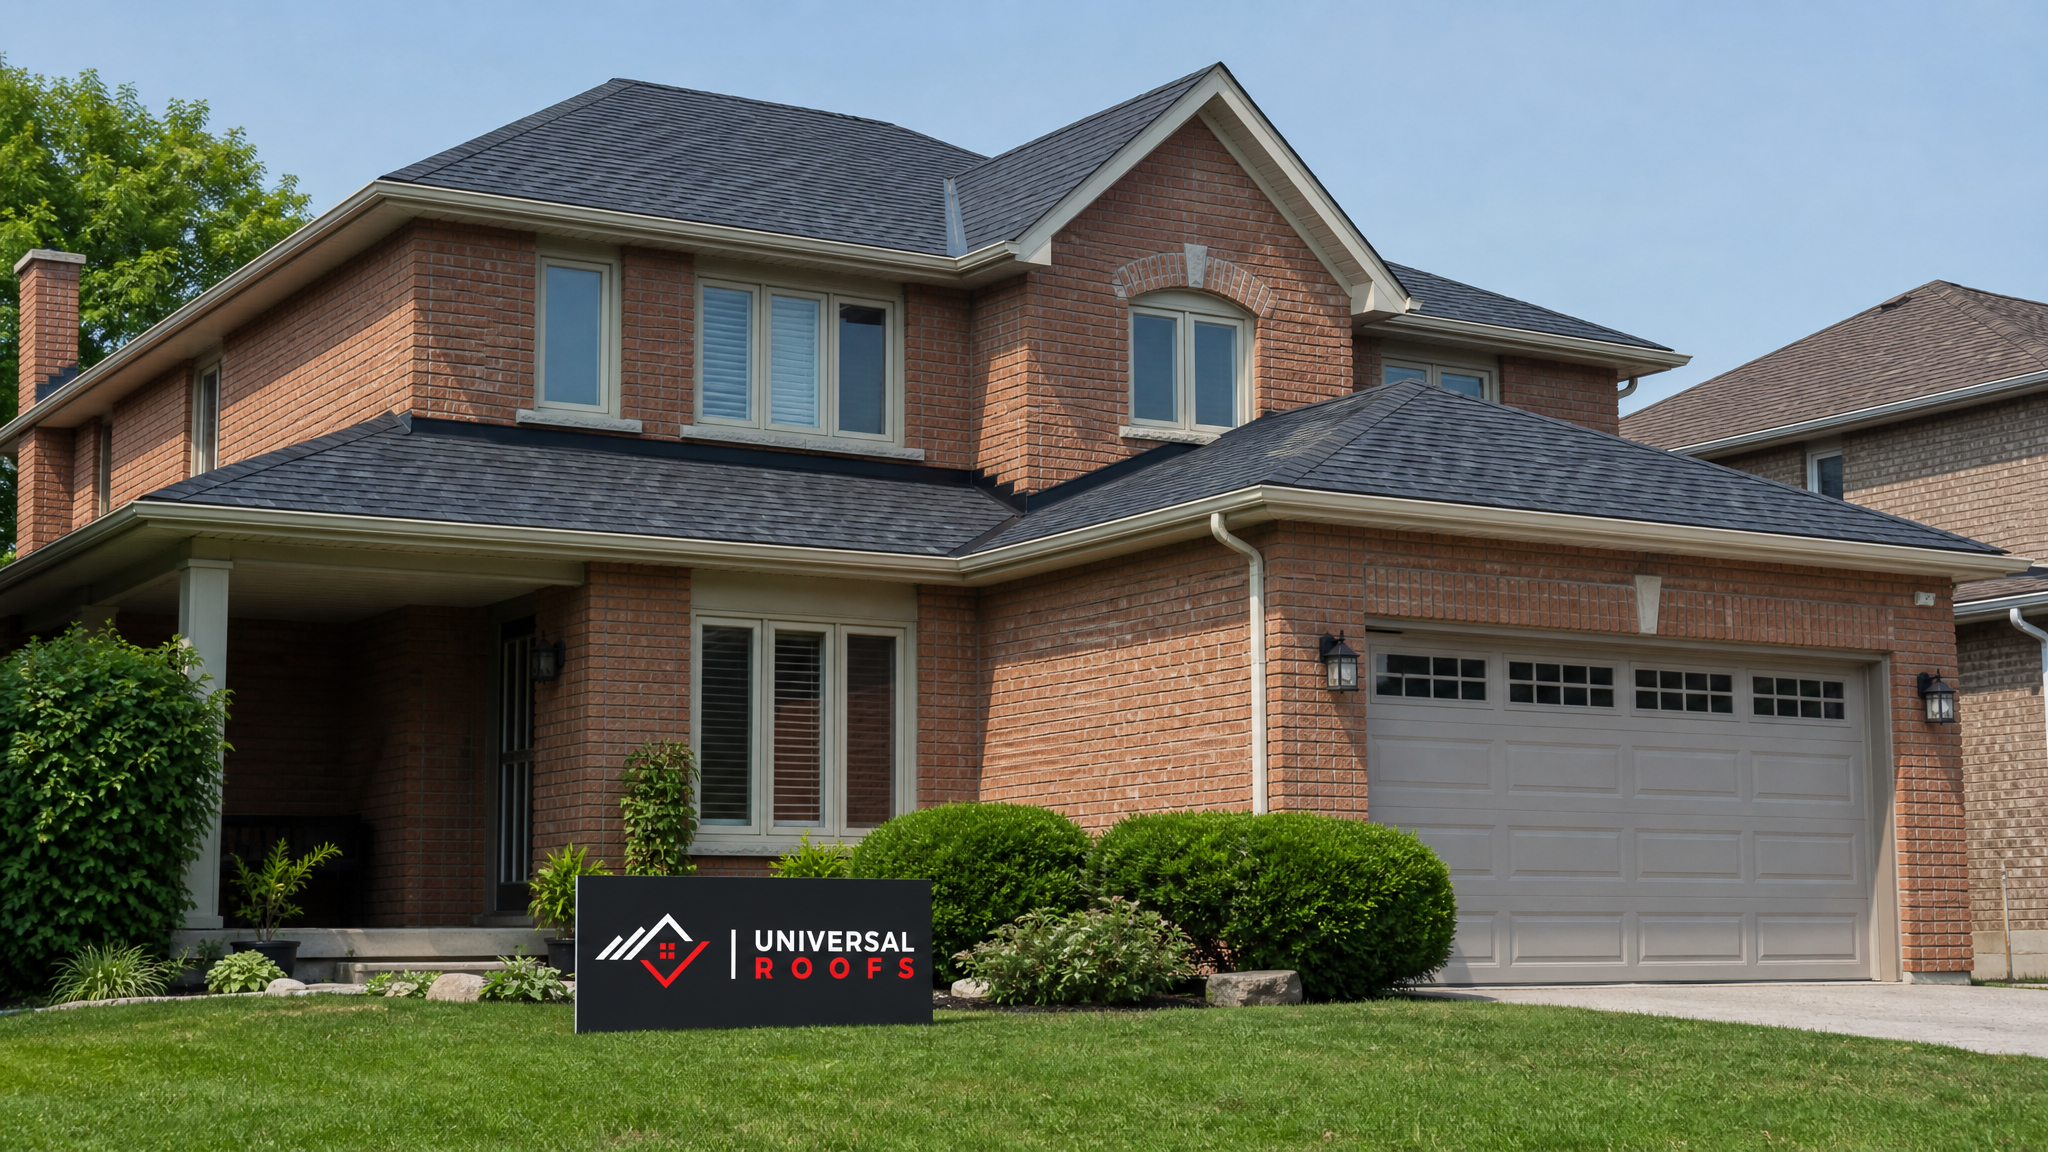
Why Hail Damage Is So Easy to Miss
Hail damage rarely looks dramatic. Unlike wind damage, which tears shingles off and leaves an obvious gap, hail impact usually just bruises the shingle mat, cracks the fibreglass reinforcement underneath, or knocks granules loose without creating a visible hole. From the driveway, the roof can look completely normal. The real damage is only visible up close, and often only from certain angles depending on the direction the hail was travelling.
This matters because the single biggest factor in effective hail damage repair is simply getting a proper inspection soon after the storm. Insurance policies in Ontario typically require damage to be reported within a defined window (commonly 12 to 24 months, though this varies by insurer and policy), and adjusters will often deny a claim if there is no documentation tying the damage to a specific, dated weather event. If you wait until a leak appears in January, it becomes very difficult to prove the damage was caused by a hailstorm the previous July rather than routine wear or a different weather event entirely.
The type of roofing material also affects how visible hail damage is. Asphalt shingles bruise and lose granules. Metal roofing dents but rarely fails structurally. Flat roof membranes can be punctured or have their surface aggregate driven into the membrane. Each material requires a different inspection approach, which we cover in detail below.
Factor One: Correct Damage Classification
Not all hail marks require the same repair approach. A professional inspection classifies damage by severity, and the classification determines whether the roof needs spot repairs, a full slope replacement, or a complete roof repair plan covering multiple elevations.
| Damage Class | Visual Indicators | Typical Cause | Recommended Action |
|---|---|---|---|
| Cosmetic granule loss | Shiny or dark patches where granules are missing, no mat exposure | Small hail (under 2.5 cm), glancing impact | Monitor; may not require insurance repair |
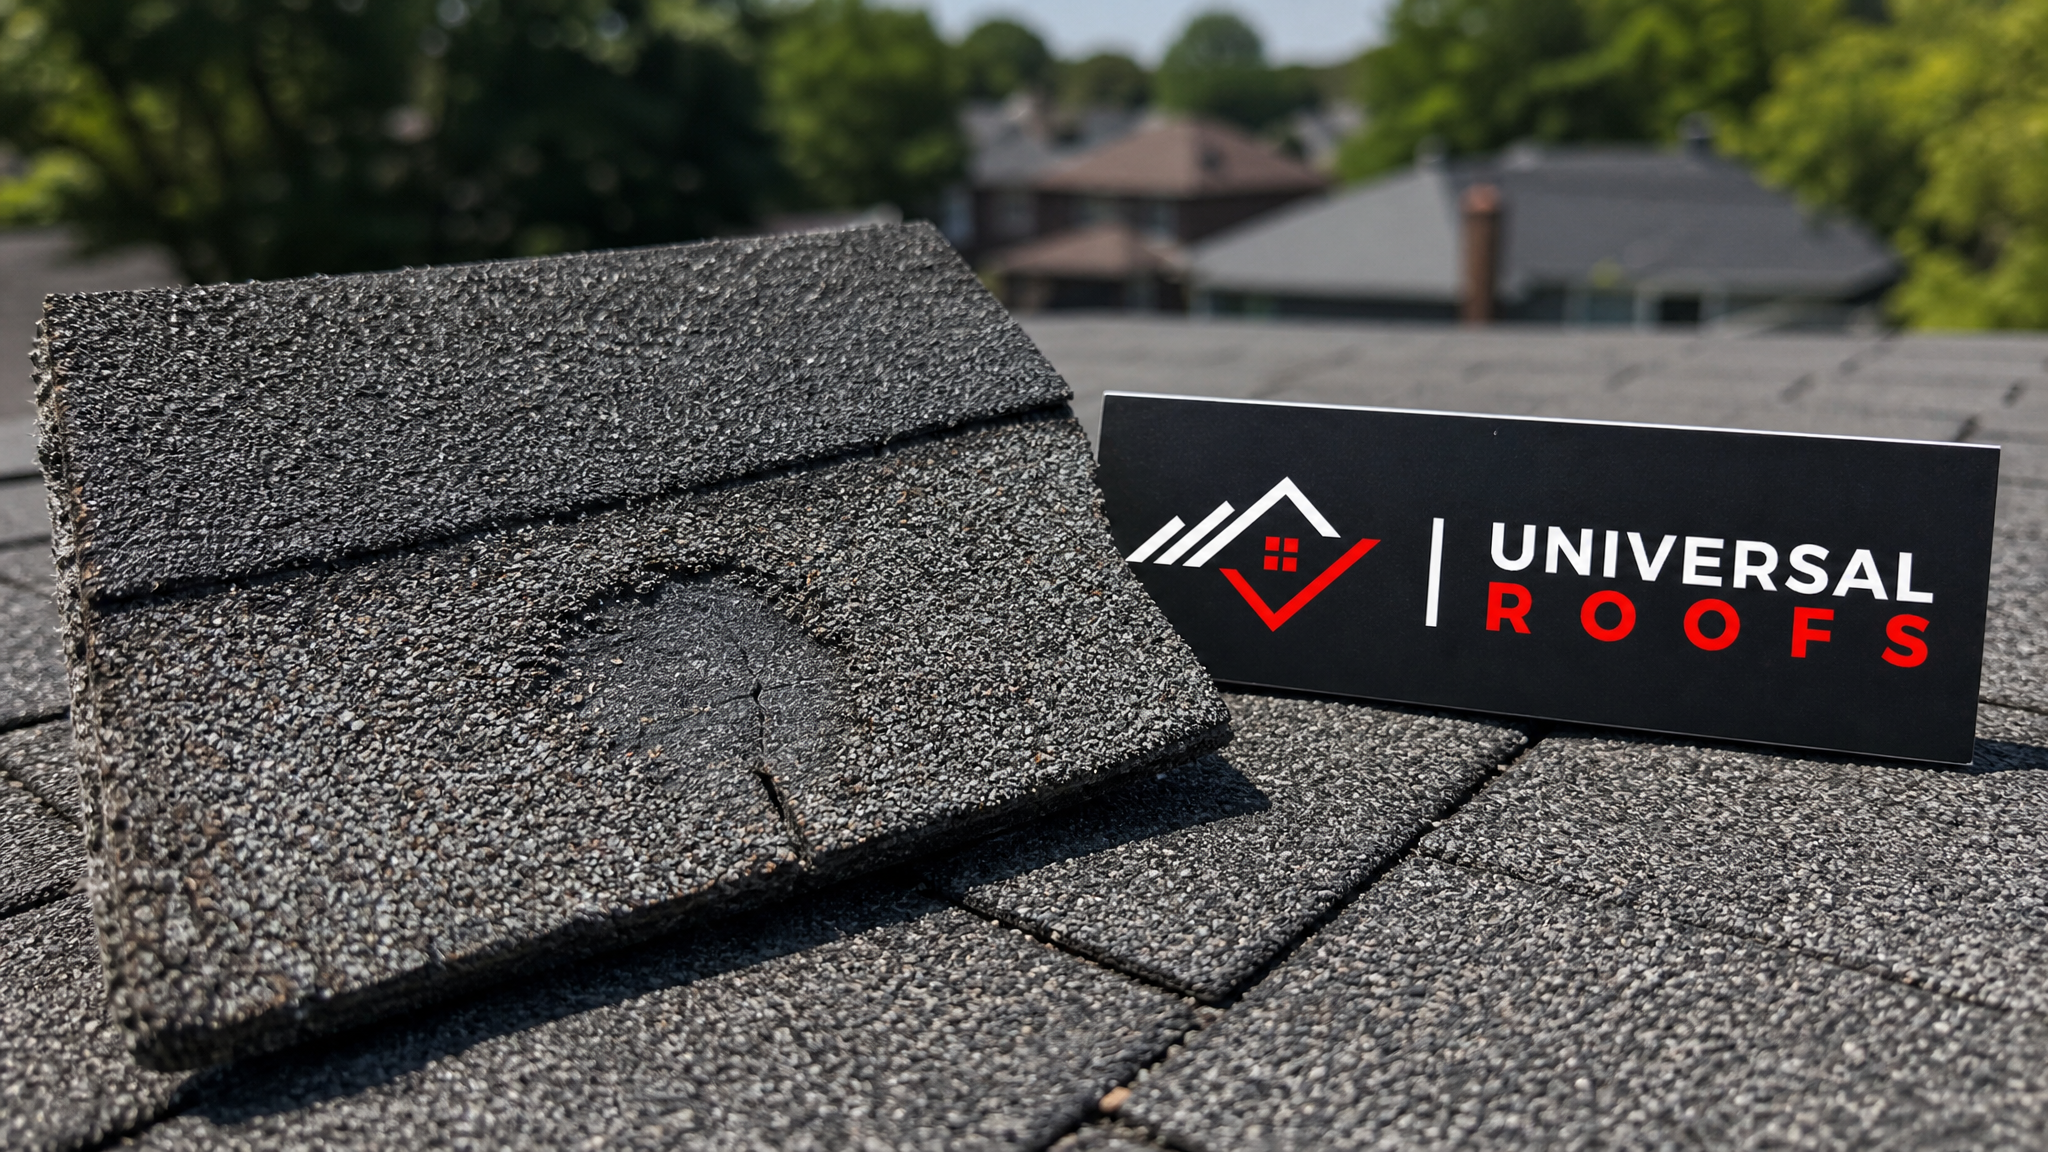
| Bruising | Soft, spongy spot when pressed; circular pattern; granules displaced into a ring | Medium hail (2.5-4 cm) at moderate velocity | Spot repair or full slope replacement depending on density |
| Mat fracture | Visible cracking of the fibreglass mat, brittle edges around impact site | Large hail (over 4 cm) or aged, brittle shingles | Full slope or full roof replacement |
| Puncture | Hole straight through the shingle and underlayment, active leak point | Large hail combined with high wind-driven velocity | Emergency repair, then full replacement of affected section |
| Flashing and vent damage | Dents in pipe boots, dented or cracked vent caps, bent drip edge | Any hail size on softer metal or plastic components | Component replacement, usually alongside shingle repair |
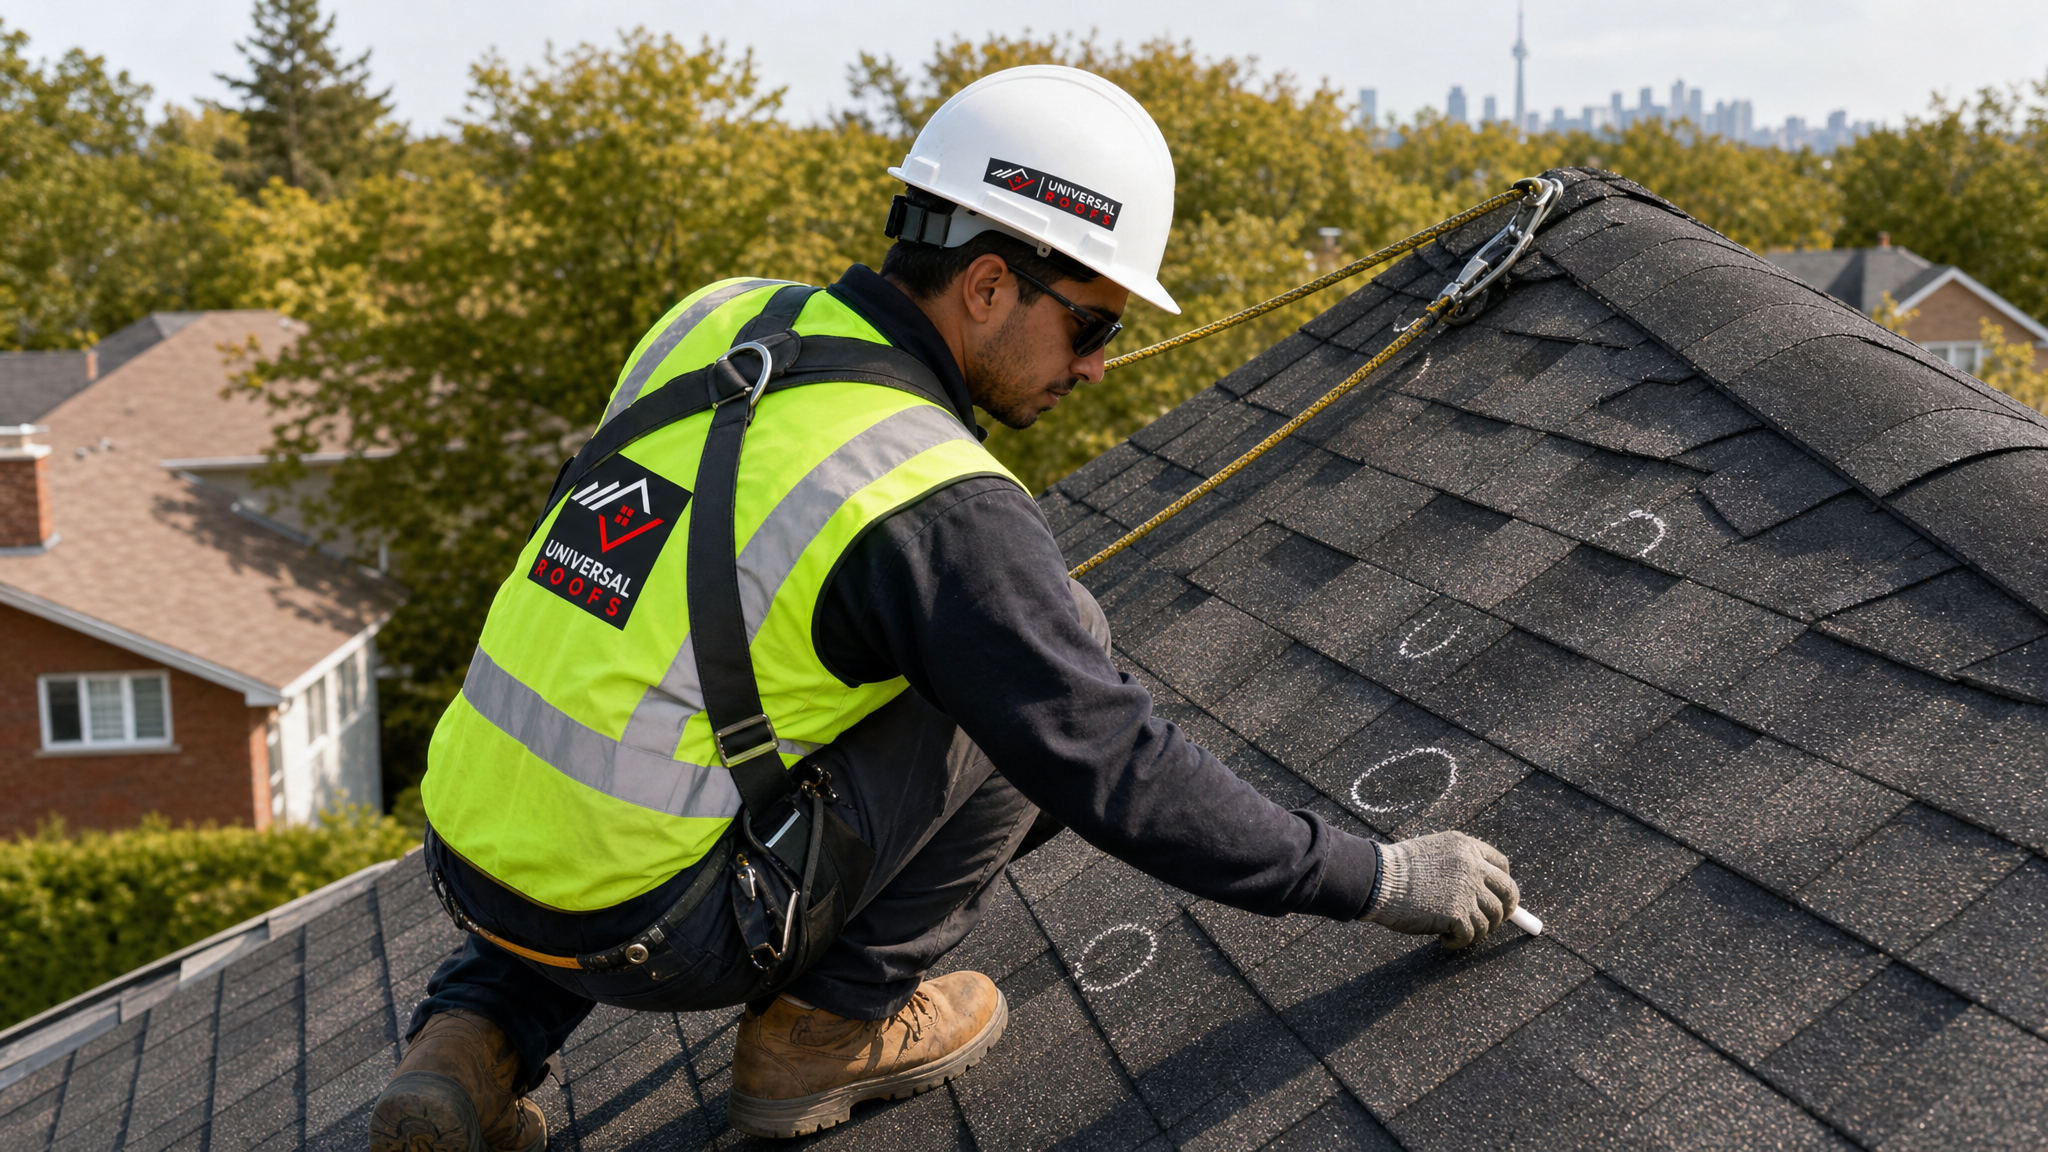
A qualified inspector will walk the roof (or use a drone for steep or fragile surfaces) and map out damage density per slope, typically counting hits per test square (a 1 metre by 1 metre section). Insurers generally use a threshold of 8 to 10 hail hits per test square on a slope before approving full replacement of that slope, though this varies by carrier. This is why a thorough, well-documented inspection is arguably the single most critical factor in the entire repair process: it directly determines what your insurer will approve.
Factor Two: Timing the Repair Correctly
Timing affects both the cost and the quality of a hail damage repair in three distinct ways.
First, there is claim timing. Most Ontario home insurance policies require notice of loss within a reasonable period, and many explicitly reference 12 to 24 months from the date of loss. Filing early preserves your ability to claim and gives the adjuster the best chance of confirming the storm date against Environment and Climate Change Canada records.
Second, there is contractor timing. In the weeks immediately following a major regional hailstorm, roofing companies across the GTA are flooded with inspection and repair requests. Homeowners who call promptly get scheduled before the seasonal backlog builds, and before storm-chasing contractors from outside the region move in, oversell unnecessary replacements, and leave town before the work is warrantied. Working with a locally established company that has served the Toronto, Peel Region, York Region, Halton Region, and Durham Region since 2005 means someone is still around to honour the workmanship warranty years later.
Third, there is weather-window timing. Asphalt shingle installation requires dry conditions and temperatures generally above 4 to 5 degrees Celsius for proper sealant activation, which is one reason summer and early fall are the ideal repair windows in Ontario. Waiting until late autumn or winter to address hail damage risks water intrusion during freeze-thaw cycles, when meltwater repeatedly enters cracked shingles, freezes, expands, and widens the damage.
Factor Three: Matching Materials and Repair Method to the Damage
Effective hail damage repair depends heavily on choosing the correct method for the roofing material involved. A generic “patch it and move on” approach is one of the most common reasons hail repairs fail within a year or two.
| Roofing Material | Common Hail Damage | Repair Method | Notes for GTA Homes |
|---|---|---|---|
| 3-tab asphalt shingles | Granule loss, mat bruising, cracking at tabs | Full slope replacement (colour matching individual shingles is rarely possible on older roofs) | Discontinued colour lines common on homes 10+ years old |
| Architectural (laminate) shingles | Bruising, edge fractures, occasional puncture | Spot replacement if isolated; full slope if density exceeds insurer threshold | Impact-resistant Class 4 shingles available for reroofing |
| Standing seam metal | Denting, coating stress fractures | Panel replacement for functional damage; cosmetic dents may be monitored | Metal rarely leaks from hail but can void paint warranty |
| Flat/low-slope membrane (TPO, EPDM, modified bitumen) | Punctures, granule displacement, seam stress | Membrane patching or full section replacement depending on membrane age | Requires a specialist familiar with flat roofing systems, not a generic shingle crew |
| Skylight domes and flashing | Cracked acrylic domes, dented flashing, seal failure | Dome replacement or full unit swap; flashing re-seal | See our skylights and skylight replacement guidance for aging units |
Colour and lot-run matching deserves special attention. Asphalt shingle manufacturers regularly discontinue and update colour blends, so a repair using new shingles on a roof installed even five years ago can leave a visibly mismatched patch. For roofs with dense, widespread hail hits, replacing the entire slope (or entire roof) with a uniform product almost always produces a better result, and is frequently what insurers approve once damage density crosses their threshold anyway.
Factor Four: Underlayment, Flashing, and Ventilation — Not Just the Shingles
A repair that only replaces the visibly damaged shingles but ignores the surrounding components is not an effective repair, it is a temporary patch. Hail impacts strong enough to bruise or crack shingles also stress the layers beneath and around them.
- Underlayment: Synthetic or felt underlayment beneath the shingles is your true water barrier. If it was compromised during the original install or has been exposed by a puncture, it needs replacement, not just the shingle layer above it.
- Flashing: Step flashing, counter-flashing, and valley flashing are typically thin-gauge aluminum and dent easily under hail impact. Dented flashing at wall intersections and valleys is one of the most overlooked repair items and a common source of leaks that appear months after a “completed” repair.
- Pipe boots and vent caps: Rubber pipe boots crack and plastic vent caps shatter under hail far more easily than shingles do. These inexpensive components are often the actual source of a post-storm leak, even when the surrounding shingles look fine.
- Attic ventilation: If hail has compromised roof vents or soffit intakes, airflow through the attic can be reduced, which accelerates ice damming in winter and shortens the lifespan of the new roofing installed during the repair.
- Gutters and eavestroughs: Hail dents aluminum gutters and can crack vinyl sections, leading to overflow that saturates fascia and soffit if left unaddressed alongside the roof repair.
Factor Five: Working Correctly With Insurance
Insurance-related mistakes are among the most common reasons hail repairs stall or get underpaid. A few practices consistently produce better outcomes for homeowners.
| Step | What to Do | Why It Matters | Typical Timeline |
|---|---|---|---|
| 1. Document immediately | Photograph visible damage (gutters, siding, vehicles) right after the storm, even before a roof inspection | Establishes a dated record tying damage to a specific event | Same day as storm |
| 2. Get an independent inspection | Have a licensed local contractor inspect before or alongside the adjuster | Contractors often catch damage adjusters miss on a quick drive-by inspection | Within 1-2 weeks |
| 3. File the claim | Submit notice of loss with photos and the contractor’s damage report | Starts the claims clock and assigns an adjuster | As soon as possible, within policy window |
| 4. Meet the adjuster on-site | Have your contractor present during the adjuster’s roof inspection when possible | Ensures damage density counts and material specifics are discussed accurately | 2-4 weeks after filing |
| 5. Review the scope and estimate | Compare the insurer’s approved scope against your contractor’s written estimate | Catches missing line items like flashing, vents, or ventilation before work begins | Before signing off |
| 6. Schedule the repair | Book the approved work with a contractor who provides a written workmanship warranty | Locks in labour and material availability before seasonal backlogs build | Ideally within 4-8 weeks |
One frequent point of friction is the gap between an adjuster’s initial estimate and the actual cost of a correct repair. Adjusters working from aerial imagery or a brief site visit sometimes under-scope items like ice-and-water shield upgrades, ventilation components, or full slope replacement when damage density warrants it. A detailed, photographed estimate from an experienced roof repair contractor gives you the documentation needed to request a supplement if the initial approved scope falls short of what the roof actually needs.
Factor Six: Workmanship and Warranty
Even with the correct materials and a properly approved insurance scope, a hail repair is only as good as the crew installing it. A few workmanship details separate a repair that lasts fifteen-plus years from one that fails within a couple of winters.
- Proper nailing pattern: Shingles fastened with the wrong nail count, placement, or angle are prone to blow-off and leaks regardless of how good the shingle itself is.
- Sealant activation: Asphalt shingle strips need sun and heat exposure to bond fully. Repairs done late in the season or in cool, cloudy conditions may need supplemental hand-sealing at vulnerable points.
- Consistent tie-in with existing roofing: Where a repair meets undamaged existing shingles, the tie-in needs to be woven and sealed correctly to avoid creating a new leak point at the boundary.
- Written workmanship warranty: A reputable local contractor backs labour separately from manufacturer material warranties, typically for several years, and stands behind that warranty because they are still operating in the same community.
- Post-repair inspection: A follow-up walk-through after the first significant rain confirms there are no active leaks before the file is closed.
Homeowners should also ask directly whether the crew doing the physical work are employees or subcontracted labour, and whether the same company that quoted the job will be the one completing it and honouring the warranty. This single question eliminates most of the horror stories associated with post-storm “storm chaser” roofing companies that disappear once the cheque clears.
Factor Seven: Deciding Between Repair and Full Replacement
Not every hail-damaged roof needs to be torn off and replaced, but a surprising number of homeowners either over-repair a roof that should be replaced or under-repair one that genuinely needs full replacement. A few questions help clarify which path makes sense:
- How old is the existing roof? A roof already at 15-20+ years of age with hail damage is generally a better candidate for full replacement than repair, since remaining shingle life is limited regardless of the hail event.
- What is the damage density per slope? If hits per test square exceed the threshold insurers typically use for full slope replacement, spot repairs are not a durable or often even an available option.
- Is the shingle colour still available? Discontinued colour runs make spot repair cosmetically obvious and can reduce resale value perception.
- Is there decking damage? Severe or repeated hail combined with age can compromise the roof deck itself, which only becomes visible once shingles are removed and which repair-only scopes will not address.
- What does the insurance settlement support? If the adjuster has approved full replacement based on damage density, taking that scope (rather than negotiating down to a cheaper patch) is usually the financially smarter move, since the homeowner has already paid premiums toward this exact scenario.
For roofs nearing the end of their service life anyway, a hail claim is often the practical trigger to move forward with a full roof replacement using upgraded materials, including impact-resistant Class 4 shingles, which some insurers reward with a premium discount.
How Universal Roofs Approaches Hail Damage Repair
Since 2005, our crews have handled hail damage repairs across every major roofing material found on GTA homes, from steep-slope asphalt shingle roofs in established Toronto neighbourhoods to flat commercial membranes in Mississauga and Brampton business parks. Our process for every hail damage call includes a full-roof inspection (not just the slope facing the street), a written damage density report by slope, direct coordination with your insurance adjuster when requested, and a repair or replacement scope that addresses shingles, underlayment, flashing, vents, and ventilation together rather than in isolation.
We also carry manufacturer certifications that allow us to offer extended material warranties on qualifying installations, and we back our labour with our own workmanship warranty. You can read what past clients across the region have said about their experience on our reviews page, and browse answers to common roofing questions on our FAQ page. To learn more about our history and licencing, visit our about page.
Preventive Steps Before the Next Storm
While no roof is truly hail-proof, a few preventive measures reduce both the frequency and severity of damage, and make any future insurance claim easier to support:
- Schedule an annual roof inspection each spring, before storm season peaks in June and July, so any prior wear is documented separately from new storm damage.
- Keep dated photos of your roof’s condition on file, ideally from a licensed inspection, to establish a clear “before” baseline.
- Consider impact-resistant Class 4 shingles at your next reroofing, particularly if your neighbourhood has a history of severe convective storms.
- Ensure gutters and downspouts are clear so that a hailstorm’s accompanying heavy rainfall drains properly rather than backing up under the roof edge.
- Trim overhanging branches that could compound hail damage by scraping or puncturing shingles during high winds.
What are the critical factors for effective roof hail damage repair?
How soon after a hailstorm should I get my roof inspected?
Can hail damage be repaired without replacing the whole roof?
Will my insurance cover roof hail damage repair in the GTA?
What does hail damage look like on asphalt shingles?
Is it worth upgrading to impact-resistant shingles after a hail repair?
Need Help With Critical Factors for Effective?
Getting a hail damage repair right the first time protects your home and your insurance standing for years to come, and the team at Universal Roofs has guided GTA homeowners through exactly this process since 2005.
Call us today at (416) 732-2421 or request a free inspection to get started.
Universal Roofs proudly serves Toronto, Mississauga, Brampton, Vaughan, Markham, Oakville and the GTA since 2005.