
A missing shingle, a dark stain spreading across the ceiling drywall, a handful of granules collecting in the eavestrough after a July thunderstorm — these are the moments when almost every homeowner in the GTA asks the same question: can I just patch this myself? DIY roof patching is tempting. The materials are cheap, the tutorials are everywhere, and climbing a ladder on a dry summer afternoon feels manageable. But roofing is one of the few home repairs where a small mistake at the surface can turn into a five-figure problem hidden inside your attic.
This guide walks through the real pros and cons of DIY roof patching, what jobs are genuinely safe for a confident homeowner to attempt, which ones should never be touched without a licensed contractor, and how Toronto’s climate — freeze-thaw winters, humid summers, and sudden hailstorms — changes the calculation. We’ll also cover the tools, materials, costs, and warning signs that determine whether a patch will actually hold or simply mask a bigger issue until the next rainstorm finds it.
Before you grab a caulking gun and head for the ladder, it helps to understand exactly what a “patch” is solving for, because roof problems are rarely just about the hole you can see.
What DIY Roof Patching Actually Involves
DIY roof patching weighing the pros and cons starts with understanding what a patch is meant to do. A patch is a targeted, localized repair — sealing a nail pop, replacing a cracked shingle, re-sealing flashing around a vent pipe, or filling a small puncture on a flat roof membrane. It is not a substitute for a full roof replacement when the underlying materials have reached the end of their service life.
Most homeowners who search for patching tutorials are dealing with one of a few common scenarios: a shingle that blew off during a windstorm, a small area of granule loss exposing the asphalt mat, a leak around a plumbing vent boot, or a soft spot on a flat or low-slope section near a garage or addition. Each of these has a different level of difficulty, and that difficulty is exactly what determines whether DIY is a reasonable option or a costly mistake waiting to happen.
Roofing materials in the GTA also see a wider temperature swing than almost anywhere else in the country — from minus 20 Celsius in January to plus 35 Celsius with humidity in July. That swing causes asphalt shingles to expand and contract, sealant strips to soften and re-bond, and any patch that wasn’t applied correctly to fail faster than it would in a more temperate climate. Understanding this seasonal stress is central to weighing the pros and cons honestly.
The Real Advantages of DIY Roof Patching
There are genuine, defensible reasons homeowners choose to patch a roof themselves rather than calling in a professional crew, especially for very small, well-defined problems.
Cost savings on minor repairs. A tube of roofing cement, a handful of replacement shingles, and a few roofing nails might cost under $50, compared with a contractor service call that could run several hundred dollars even for a small job. For a single popped nail or one lifted shingle tab, this cost difference is significant.
Speed for urgent, temporary fixes. If a shingle blows off during a summer storm and rain is forecast again within 24 hours, a homeowner who is comfortable on a ladder can apply a temporary tarp or sealant patch faster than waiting for a contractor appointment. This buys time, not a permanent solution, but it can prevent water from reaching the attic deck in the interim.
Learning your own roof. Homeowners who inspect and patch small issues themselves tend to notice problems earlier. Getting onto the roof (safely) once or twice a year to check flashing, sealant, and shingle condition builds familiarity that helps you catch bigger issues before they become emergencies.
No scheduling wait for minor cosmetic issues. Reputable roofing companies are often booked one to three weeks out during peak season (spring and after major storms). For a genuinely minor issue — not an active leak — doing it yourself avoids that wait.
The Serious Drawbacks and Risks
The disadvantages of DIY roof patching are less visible upfront but tend to be far more expensive than the money saved, which is why weighing the pros and cons carefully matters so much before you start.
Fall risk is real and underestimated. Falls from roofs and ladders send thousands of Canadians to the emergency room every year, and most residential roofs pitched above a 4:12 slope are genuinely dangerous to walk on without proper fall protection, roof brackets, and rope anchoring — equipment most homeowners don’t own and haven’t been trained to use.
Improper patches can trap moisture. One of the most common DIY mistakes is applying roofing cement or caulk over a shingle without lifting it to address what’s underneath. This can seal moisture into the underlayment rather than out, leading to rot that isn’t visible until the deck itself is compromised.
Wrong materials for the wrong roof type. Asphalt shingle repair materials are not interchangeable with the materials needed for a flat or low-slope roofing membrane. Using tar-based products on a modified bitumen or EPDM roof, for example, can actually accelerate membrane breakdown rather than fix the leak.
Voided warranties. Many shingle manufacturers void material warranties if repairs weren’t performed according to specification, and some insurance policies have language about “proper maintenance” that can be used to deny a claim if a DIY patch is found to have failed and caused further damage.
Masking symptoms instead of finding the cause. A stain on the ceiling rarely originates directly above the stain. Water travels along rafters and sheathing before it drips through drywall, so a homeowner patching “where the leak is” on the roof surface often patches the wrong spot entirely, leaving the actual entry point — frequently around skylights, chimneys, or vent flashing — untouched.
DIY vs. Professional Roof Patching: A Side-by-Side Comparison
The table below breaks down how DIY patching stacks up against professional repair across the factors that matter most to GTA homeowners.
| Factor | DIY Roof Patching | Professional Roof Repair |
|---|---|---|
| Upfront cost | $20–$150 in materials | $250–$900+ depending on scope |
| Safety equipment required | Rarely owned by homeowners | Harnesses, anchors, roof jacks standard |
| Root-cause diagnosis | Often missed or misidentified | Traced along the water path and flashing |
| Warranty impact | Can void shingle manufacturer warranty | Documented, often warrantied labour |
| Time to complete | Same day, weather permitting | Scheduled, typically 1–3 days out |
| Long-term durability | Variable, depends on skill and material match | Matched to manufacturer specifications |
Which Repairs Are Reasonable to DIY (and Which Aren’t)
Not every roof issue carries the same risk profile. The table below is a practical guide to which patch jobs a reasonably careful, moderately handy homeowner might attempt, and which should always go to a licensed crew.
| Repair Task | DIY Suitability | Why |
|---|---|---|
| Re-sealing a single popped nail head | Reasonable for confident homeowners | Low height risk on a walkable roof, simple sealant application |
| Replacing one wind-lifted shingle | Reasonable with proper footwear and a harness | Straightforward if the shingle underneath is intact |
| Re-caulking around a satellite mount or small penetration | Reasonable | Cosmetic sealant work with low consequence if imperfect |
| Flashing repair around a chimney or skylight | Not recommended | Requires proper step flashing technique; leaks here are high-consequence |
| Patching a flat or low-slope membrane | Not recommended | Requires specific membrane-matched materials and heat-welding or adhesive expertise |
| Any repair above a single storey or steep pitch | Not recommended | Fall risk increases significantly with height and slope |
| Repair after storm or hail damage affecting a wide area | Not recommended | Often signals structural or widespread damage requiring assessment and possible insurance claim |
Tools and Materials for a Basic, Low-Risk Patch
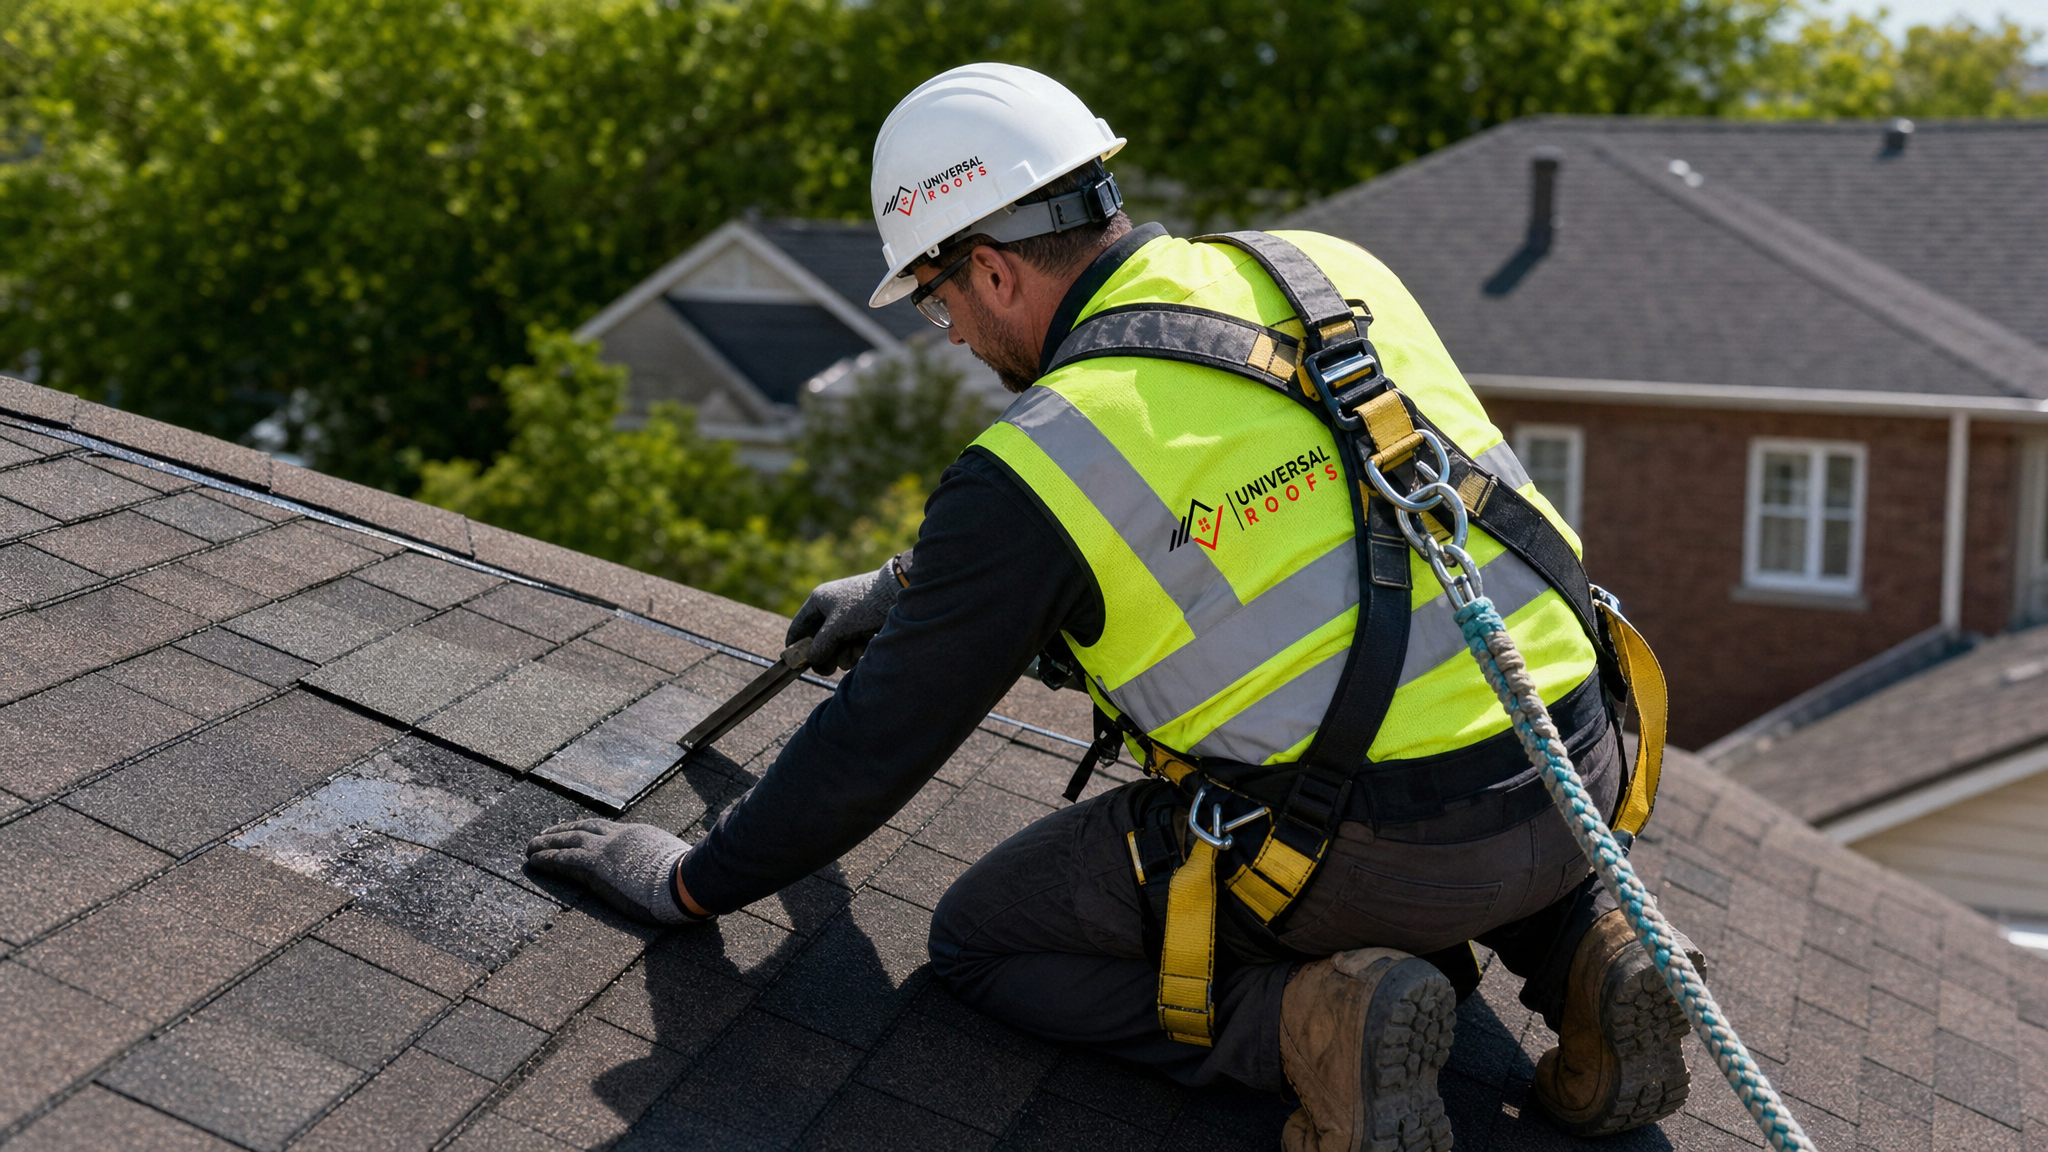
If you’ve decided a specific repair genuinely falls into the low-risk category — say, one lifted shingle tab on a single-storey, low-pitch roof, on a dry, calm day — here is what a proper job requires. Skipping these steps is the single biggest reason DIY patches fail within a season.
- A sturdy extension ladder rated for your weight plus tools, extending at least one metre above the roofline
- Roofing cement or asphalt plastic cement rated for the specific shingle type (three-tab vs. architectural)
- A pry bar to lift surrounding shingles without cracking them, especially important in cooler weather when asphalt is less pliable
- Galvanized roofing nails, not standard framing nails, which corrode and stain shingles over time
- A caulking gun for flashing sealant, using a polyurethane or butyl-based sealant rather than standard silicone caulk, which doesn’t bond well to asphalt or metal flashing long-term
- Soft-soled shoes for traction and to avoid damaging granules underfoot
- A helper on the ground and, ideally, a proper roof anchor and harness even for single-storey work
Summer is actually one of the better seasons in Toronto to attempt a minor patch, because shingles are pliable and less likely to crack when lifted, unlike in colder months when asphalt becomes brittle. That said, working during the hottest part of a July or August afternoon comes with its own risk: shingle surfaces can reach temperatures well above ambient air temperature, softening enough that foot traffic leaves permanent scuff marks or dislodges granules.
Cost Comparison: Materials Alone vs. Full Repair Service
One of the most persuasive arguments for DIY is the sticker price of materials versus a service call. But that comparison only tells part of the story, because it doesn’t account for callbacks, wasted materials, or damage caused by an incomplete fix. The table below lays out realistic cost ranges for common patch scenarios in the GTA.
| Scenario | DIY Material Cost | Typical Professional Cost | Risk of Redo if DIY Fails |
|---|---|---|---|
| Single shingle replacement | $15–$40 | $250–$400 (minimum service call) | Low-moderate |
| Vent pipe flashing reseal | $25–$60 | $300–$500 | Moderate-high |
| Small flat roof membrane patch | $40–$100 | $400–$800 | High |
| Chimney or skylight flashing repair | $50–$150 (often incomplete) | $450–$1,200 | Very high |
| Storm damage assessment and patch | Not recommended as DIY | $300–$1,500+ depending on scope | N/A — insurance implications |
Notice that the “risk of redo” column climbs quickly for anything involving flashing or membrane work. A failed DIY flashing repair almost always means paying for a professional visit anyway, plus any interior repairs for water damage that occurred in the meantime — erasing whatever was saved on materials, and then some.
Warning Signs a Patch Won’t Be Enough
Part of weighing DIY roof patching pros and cons honestly means recognizing when a “patch” mentality is the wrong frame entirely. These signs suggest you’re dealing with a problem that a sealant tube won’t solve:
Soft or spongy decking underfoot. If you can feel give when you step near the damaged area, the roof deck itself has likely absorbed moisture and begun to deteriorate. Patching the surface does nothing for compromised sheathing below.
Granule loss across a wide area, not just one shingle. Isolated granule loss on one tab is normal wear. Granule loss spread across multiple courses usually signals the shingles are near the end of their functional life, and patching one spot just delays the inevitable while looking cosmetically uneven.
Recurring leaks in the same general area after a previous patch. If water finds its way back within a season or two of a repair, the original patch didn’t address the actual entry point, which is common when homeowners guess at the source instead of tracing the water path along the rafters.
Daylight visible through the attic roof deck. This indicates a gap serious enough that a surface patch from the outside likely won’t fully seal it, and it may point to a larger issue with the decking or an ice-damming history from a previous winter.
Roof age near or past its expected lifespan. Standard asphalt shingles in the GTA typically last 18–25 years depending on ventilation and installation quality. Patching a roof already at that age is often just delaying an inevitable full replacement, sometimes at the cost of an interior repair bill if a delayed patch fails first.
Troubleshooting: Why DIY Patches Commonly Fail
Even careful homeowners run into predictable problems when patching a roof themselves. The table below covers the most common failure points and how to recognize them before they cause interior damage.
| Symptom After DIY Patch | Likely Cause | Recommended Next Step |
|---|---|---|
| Sealant cracked or peeled within weeks | Wrong sealant type for surface temperature or material | Remove old sealant fully, use polyurethane-based product matched to substrate |
| New leak appeared near old patch | Water travelling under shingles from a different entry point | Have a professional trace the water path rather than re-patch the same spot |
| Shingle patch doesn’t lie flat | Nails placed incorrectly or shingle cracked during installation | Replace the shingle entirely rather than force it flat |
| Staining reappeared on ceiling drywall | Patch addressed a symptom, not the source | Schedule a full roof inspection to locate the actual entry point |
| Granules collecting heavily near patch area | Shingle nearing end of life, patch is cosmetic only | Assess whether a section replacement or full re-roof is more cost-effective |
When to Call a Professional Instead
Some situations should never be handled with a DIY patch, regardless of how confident or handy you are. Roofs steeper than a comfortable walking pitch, any repair involving skylight flashing or replacement, chimney counter-flashing, multiple areas of storm damage, or anything involving the attic insulation and ventilation system behind the roof deck all call for a trained eye.
It’s also worth having a professional assessment even when you’re fairly sure the problem is minor, particularly if your roof is more than 12–15 years old. A technician can confirm whether a $150 patch is genuinely sufficient or whether it’s a stopgap on a roof that needs planning for full replacement within the next year or two. That kind of honest assessment is far more valuable than a quick sealant fix that needs revisiting every storm season.
Homeowners across the Toronto, Peel Region, York Region, Halton Region, and Durham Region areas deal with slightly different exposure depending on tree cover, wind patterns, and proximity to the lake, all of which affect how quickly a small patch job can turn into a bigger issue if it’s not diagnosed correctly the first time.
Insurance and Liability Considerations
One factor homeowners frequently overlook when weighing DIY roof patching pros and cons is how it interacts with home insurance. If a DIY patch fails and causes interior water damage, some insurers will ask for documentation of how and when the repair was performed, and a poorly executed patch can complicate or even jeopardize a claim if the insurer determines the damage resulted from inadequate maintenance rather than a sudden, unavoidable event.
There’s also a liability dimension: falls from ladders and roofs are among the most common sources of serious home-related injury claims. If a friend or family member is helping you with a DIY patch and is injured, homeowner’s liability coverage may or may not apply depending on the specifics of your policy. Professional roofing companies carry their own liability and workers’ compensation coverage specifically because roof work carries this level of risk.
For anyone still deciding between a DIY approach and hiring it out, reading firsthand accounts from other homeowners can help set realistic expectations. Our reviews page includes feedback from GTA homeowners who came to us after a DIY patch didn’t hold, as well as those who called for a first-time repair. Our FAQ page also answers common questions about repair timelines, warranty coverage, and what to expect during an inspection.
Making the Final Call: A Practical Decision Framework
To bring the pros and cons together into something usable, ask yourself these questions before deciding whether to patch a roof yourself:
Is the repair area on a single storey, walkable, low-pitch section of roof? If not, the fall risk alone should rule out DIY.
Is the damage isolated to one shingle, nail, or small sealant joint? Widespread damage, multiple missing shingles, or anything involving flashing around a chimney or skylight is a professional job.
Do you have the correct, material-matched product on hand? Using the wrong sealant or cement is one of the most common reasons DIY patches fail within a single season.
Is your roof under 15 years old with no history of leaks in this area? An older roof or one with a leak history in the same spot suggests a deeper problem that a surface patch won’t resolve.
Would a failed patch cause disproportionate damage? If the area is above a finished living space, home office, or expensive flooring, the cost of getting it wrong outweighs any savings from doing it yourself.
If you answer “no” to any of these, it’s worth getting a second opinion before climbing the ladder. A quick roof repair assessment from a licensed technician often costs less than the cascading damage from a patch that doesn’t hold, and it gives you a clear picture of whether you’re dealing with a five-minute fix or the early signs of a much bigger issue.
Is DIY roof patching weighing the pros and cons worth it for a single missing shingle?
What’s the biggest risk when weighing DIY roof patching pros and cons?
Can a DIY roof patch void my shingle manufacturer’s warranty?
How does Toronto’s climate affect the decision between DIY and professional roof patching?
When should I skip DIY roof patching entirely and call a professional?
Does a failed DIY roof patch affect a home insurance claim?
Need Help With DIY Roof Patching Weighing?
Whether you’ve already attempted a patch that didn’t hold, or you’d rather have a professional assess the problem from the start, Universal Roofs has been helping GTA homeowners make the right call on repairs since 2005.
Call us today at (416) 732-2421 or request a free inspection to get started.
Universal Roofs proudly serves Toronto, Mississauga, Brampton, Vaughan, Markham, Oakville and the GTA since 2005.