
A roof leak rarely announces itself the moment it starts. Water finds the path of least resistance, travelling along rafters, insulation, and drywall before it ever shows up as a stain on your ceiling. By the time a homeowner notices a discoloured patch or a musty smell, the damage has often been developing for weeks or months. That is why effective strategies for durable roof leak detection matter so much more than simply reacting to visible drips.
In the Greater Toronto Area, our climate makes early detection even more important. Freeze-thaw cycles through the winter, sudden spring melts, and intense summer thunderstorms all stress roofing systems in different ways. A roof that looks fine in July can be hiding an ice-dam-related leak that started back in February. The good news is that durable leak detection does not require guesswork. With the right combination of visual inspection, moisture-tracing techniques, and preventative maintenance, most leaks can be caught early, traced accurately, and resolved before they cause structural damage.
This guide walks through the strategies our roofing technicians use every day, the tools and materials involved, realistic cost expectations, and the warning signs every GTA homeowner should know. Whether you are dealing with an active leak right now or simply want to build a proactive maintenance routine, these methods will help you protect your home for the long term.
Why Roof Leaks Are Hard to Catch Early
Roof leaks are deceptive because water does not always drip straight down from the point where it enters. Shingles, underlayment, decking, and framing members are all installed at slight slopes and overlaps, and water travels along the lowest available surface until it finds a gap, a nail hole, or a seam in the drywall to escape through. A leak that appears above your kitchen window might actually originate several metres away, near a chimney flashing or a roof valley.
Several factors make leak detection particularly challenging on GTA homes:
- Ice damming. Heat escaping from the attic melts snow on the upper roof, which refreezes at the colder eaves, forcing meltwater to back up under shingles.
- Aging flashing. Metal flashing around chimneys, skylights, and vent pipes loses its seal over time, often silently, long before shingles show visible wear.
- Hidden decking rot. Small leaks can saturate roof decking from below without ever creating a visible ceiling stain if insulation absorbs the moisture first.
- Seasonal masking. A leak that only appears during heavy wind-driven rain from one direction can go undetected for an entire dry season.
This is exactly why durable leak detection strategies rely on more than a single glance at the ceiling. A systematic approach that checks the attic, the roof surface, the flashing details, and the drainage system together is far more reliable than waiting for a stain to appear.
Step One: Start With a Thorough Attic Inspection
Most experienced roofers agree that the attic is the single best place to begin any leak investigation. Unlike the finished ceiling below, the attic exposes the underside of the roof decking directly, which means early signs of moisture intrusion are visible here long before they reach living space.
During an attic inspection, we look for:
- Dark staining or streaking on the underside of the roof decking, particularly along rafters and near penetrations
- Soft or sagging plywood, which indicates the wood has absorbed water repeatedly
- Rusted nail tips, which suggest condensation or repeated moisture exposure
- Compressed or discoloured insulation, a sign that water has been dripping onto it
- Daylight visible through the roof deck, particularly around vent boots and chimney chases
- Mould or mildew odour, which often shows up before visible staining does
A flashlight inspection during daylight hours, ideally right after or during rainfall, gives the clearest picture. Technicians will often trace stains back toward their highest point, since gravity and the slope of the roof deck dictate that the entry point is almost always higher than where the stain appears. If you are comfortable and have safe attic access, a homeowner can perform a basic version of this check twice a year. For anything beyond a quick visual scan, our roof repair team can perform a full diagnostic assessment.
Step Two: Exterior Roof Surface and Flashing Checks
Once the attic has been checked, the next strategy is a systematic exterior inspection. This should never be attempted by a homeowner without fall protection, but understanding what professionals look for helps you know what questions to ask and what to expect from a proper inspection report.
Exterior checks focus on:
- Shingle condition — cupping, curling, cracking, or granule loss that exposes the asphalt mat underneath
- Flashing integrity around chimneys, skylights, dormers, and wall-to-roof transitions, where the majority of leaks originate
- Valley condition, since valleys concentrate water flow and wear faster than open field shingles
- Vent boot seals, which are made of rubber or plastic and degrade with UV exposure over 8 to 12 years
- Fastener condition, checking for popped, backed-out, or missing nails
- Gutter and downspout function, since clogged gutters cause water to back up under the first course of shingles
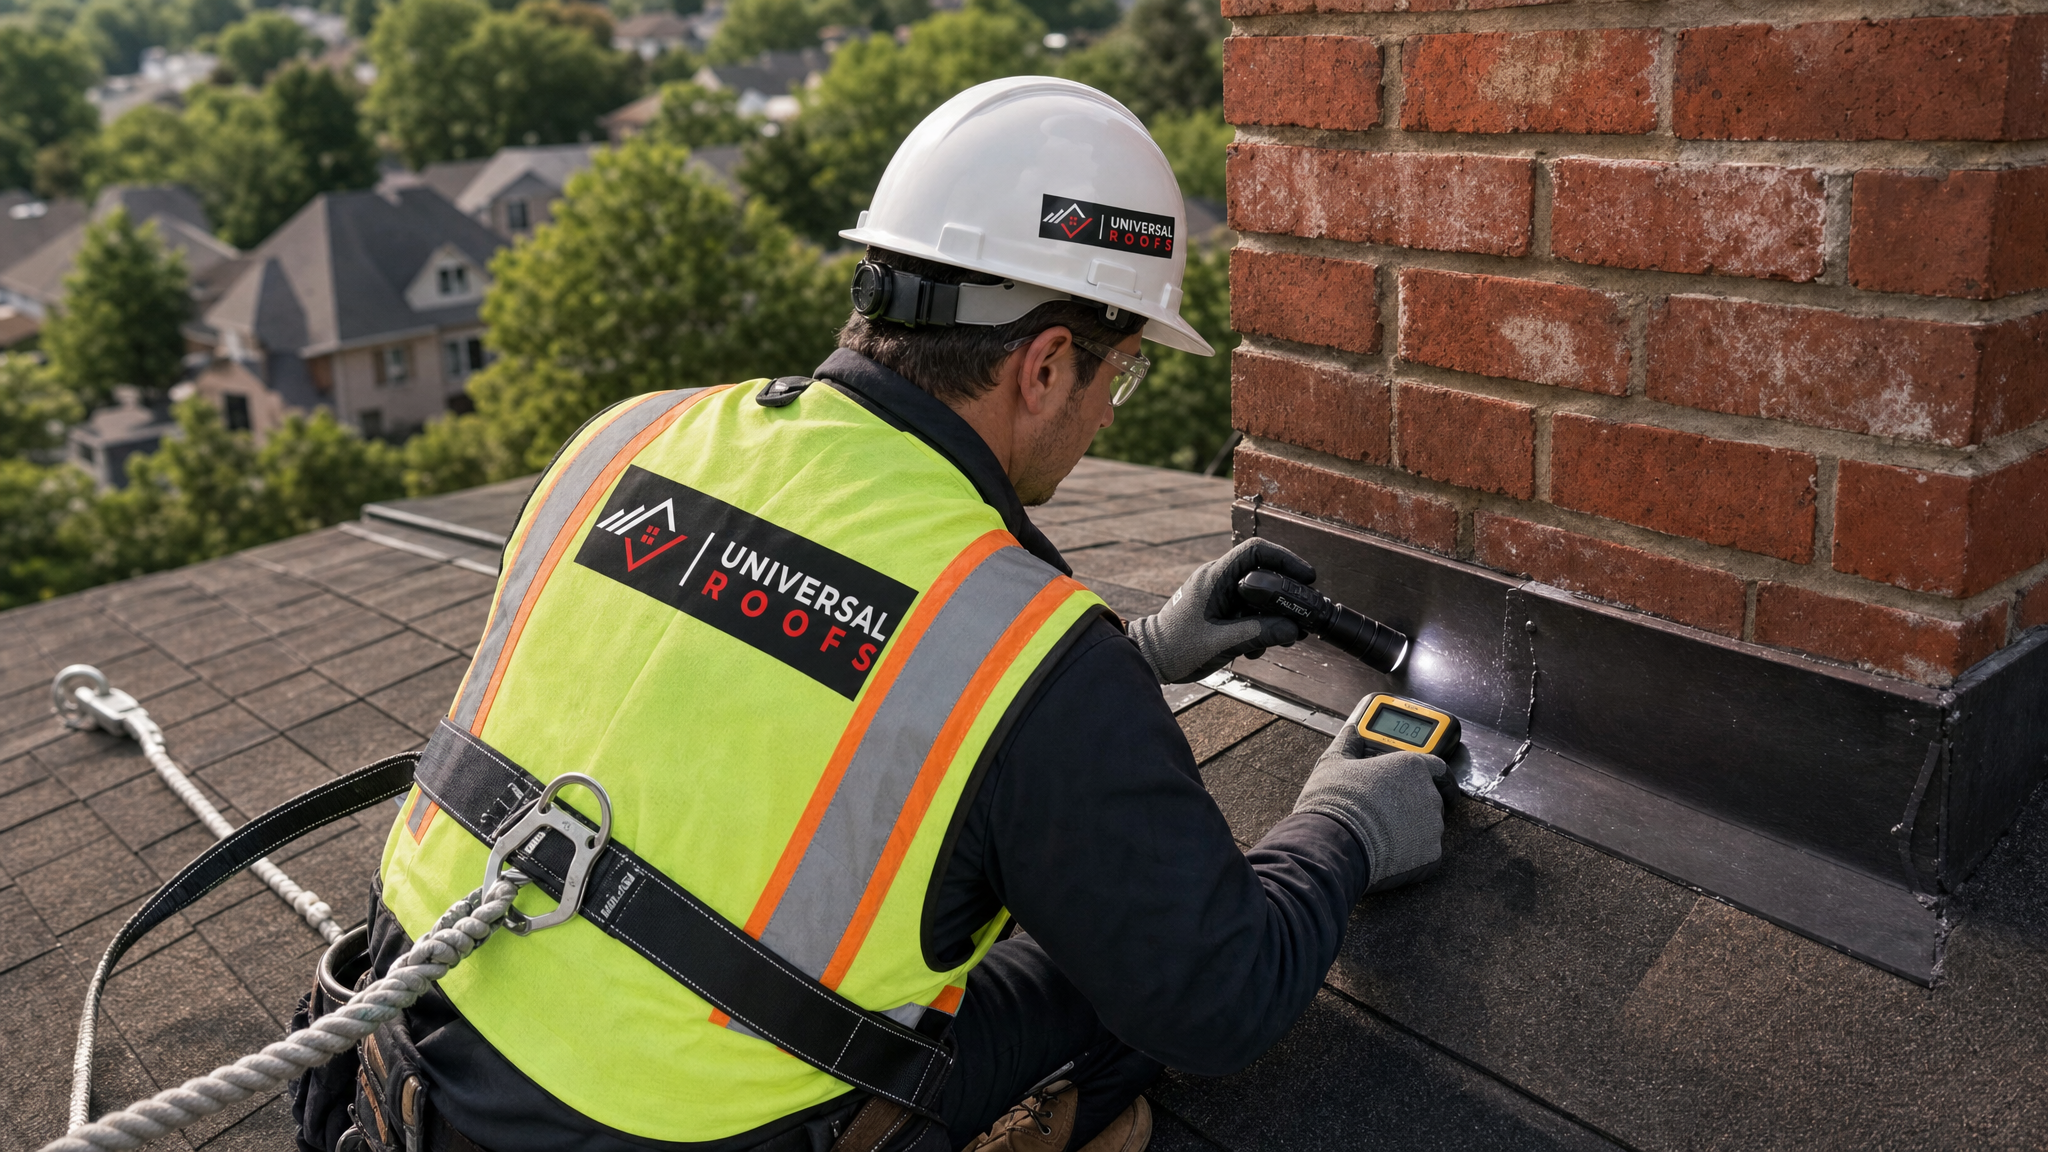
Flashing deserves special attention because it accounts for a disproportionate share of roof leaks relative to the small surface area it covers. Skylight flashing in particular is a common failure point on older installations. If your home has ageing or poorly sealed skylights, our skylight replacement service addresses both the unit and the surrounding flashing detail in a single project, which is often more cost-effective than repeated flashing repairs.
Step Three: Water Testing and Moisture Mapping
When a leak’s source is not obvious from a visual inspection alone, controlled water testing is one of the most reliable strategies available. This involves systematically wetting sections of the roof with a garden hose, starting at the lowest point near where the leak appears indoors and working upward, while a second technician watches the attic or ceiling for the first sign of water intrusion.
Each section is tested for 10 to 15 minutes before moving to the next area, since it can take that long for water to travel through underlayment and decking to a visible point. This methodical approach isolates the exact failure point rather than relying on assumptions, and it is especially useful for leaks that only occur during wind-driven rain from a specific direction.
For more complex or hidden leaks, moisture meters provide a non-destructive way to quantify dampness in decking, insulation, and drywall. These handheld tools measure electrical resistance or capacitance in building materials and give a percentage reading that indicates how saturated a material is compared to a dry baseline. Infrared thermal imaging is another tool increasingly used in leak detection, since wet materials retain and release heat differently than dry ones, creating a visible temperature contrast on a thermal camera even when no staining is visible yet.
| Detection Method | Best Used For | Typical Time Required | Relative Cost |
|---|---|---|---|
| Visual attic inspection | Routine seasonal checks, early warning signs | 20-40 minutes | Low |
| Exterior roof and flashing check | Confirming shingle and flashing wear | 30-60 minutes | Low to moderate |
| Controlled water testing | Isolating hard-to-find or intermittent leaks | 1-3 hours | Moderate |
| Moisture meter reading | Quantifying hidden dampness in decking/drywall | 15-30 minutes | Moderate |
| Infrared thermal imaging | Mapping moisture across large or complex roofs | 1-2 hours | Moderate to high |
Common Leak Sources Across Different Roof Types
Not every roof leaks in the same way, and durable detection strategies need to account for the specific vulnerabilities of each roofing system. Sloped asphalt shingle roofs, flat roofs, and roofs with skylights each have their own common failure points.
On sloped shingle roofs, the most frequent leak sources are valley flashing, chimney step flashing, and vent boots. On flat and low-slope roofs, leaks are more often caused by membrane seams that have separated, ponding water that eventually finds a weak point, or deteriorated flashing at the roof edge and parapet walls. Our flat roofing specialists inspect these systems differently than sloped roofs, since membrane systems require seam-specific testing rather than shingle-by-shingle checks. Skylights present their own unique challenge, since the curb flashing, glazing seals, and drainage channels around the unit can each fail independently; our skylights page outlines the inspection points specific to these installations.
| Roof Type | Most Common Leak Point | Typical Cause | Recommended Check Frequency |
|---|---|---|---|
| Asphalt shingle (sloped) | Valleys and chimney flashing | Sealant breakdown, granule loss, ice damming | Twice yearly |
| Flat/low-slope membrane | Seams and parapet edges | Membrane shrinkage, ponding water | Twice yearly, plus after major storms |
| Skylight installations | Curb flashing and glazing seals | Sealant age, thermal expansion cycling | Annually, plus post-storm |
| Chimney penetrations | Step and counter-flashing | Mortar joint failure, flashing corrosion | Annually |
| Vent pipe boots | Rubber collar around pipe | UV degradation, cracking | Every 2-3 years after initial 8 years |
The Role of Attic Ventilation and Insulation in Preventing Leaks
It may seem counterintuitive, but many leaks that appear to be a roofing problem actually begin with poor attic ventilation or insulation. When warm, moist air from inside the home escapes into a poorly ventilated attic, it can condense on the underside of cold roof decking, especially during winter. Over time, this condensation soaks into the wood in the same way an external leak would, and it can be mistaken for a shingle or flashing failure when the real cause is airflow and moisture balance inside the attic itself.
Proper attic ventilation, achieved through a balanced combination of soffit intake vents and ridge or roof-mounted exhaust vents, keeps the attic temperature close to the outdoor temperature. This reduces condensation risk and also helps prevent the ice damming that causes so many winter leaks in the GTA. Adequate insulation, paired with proper air sealing at penetrations like pot lights, bathroom fans, and plumbing stacks, keeps warm air where it belongs rather than letting it escape into the attic space. Our attic assessment service evaluates ventilation balance and insulation levels together, since addressing one without the other rarely solves a recurring condensation-related leak.
DIY Checks Homeowners Can Safely Perform
While we always recommend a professional inspection for anything involving roof access, there are several detection strategies homeowners can perform safely from the ground or from inside the attic hatch:
- Binocular scan. Use binoculars from the ground to check for missing, curled, or displaced shingles, damaged flashing, or sagging areas without climbing a ladder.
- Attic hatch check. Open the attic access and shine a flashlight along the rafters and decking, looking for staining, especially after a heavy rain.
- Ceiling and wall monitoring. Note any new discolouration, bubbling paint, or soft drywall spots, and photograph them with a date so you can track whether they are spreading.
- Gutter checks. Confirm gutters and downspouts are clear of debris, since backed-up water is one of the most preventable causes of eave leaks.
- Post-storm walkaround. After any significant wind or hailstorm, do a visual check for displaced shingles or debris on the roof surface without going up yourself.
If any of these checks reveal a potential issue, it is worth having it professionally assessed promptly rather than waiting. A small, contained leak addressed early is a straightforward repair; the same leak left unaddressed through another season can mean replacing rotted decking, insulation, and drywall.
When Detection Leads to Repair Versus Replacement
One of the most valuable outcomes of a proper leak detection process is a clear, honest recommendation on whether a targeted repair will solve the problem or whether the roof has reached the point where full replacement is the more durable, cost-effective choice. This decision typically comes down to the extent of the damage, the age of the roofing system, and how many separate problem areas the inspection uncovers.
| Situation Found During Inspection | Typical Recommendation | Approximate Cost Range (CAD) |
|---|---|---|
| Single failed flashing point, roof otherwise sound | Targeted flashing repair | $300 – $900 |
| Isolated shingle damage, roof under 10 years old | Section shingle replacement | $500 – $1,800 |
| Widespread granule loss, multiple leak points, roof 15-20+ years old | Full roof replacement | $8,000 – $18,000+ |
| Rotted decking from long-term hidden leak | Decking replacement plus new roofing system | $10,000 – $20,000+ |
| Failed skylight seals, unit near end of service life | Skylight replacement with new flashing | $1,200 – $3,500 per unit |
These figures vary based on roof size, pitch, material, and accessibility, and every recommendation we make follows a documented inspection rather than a guess. If your roof is approaching or past the 20-year mark and inspections are turning up multiple independent issues, our roof replacement team can walk you through the full cost-benefit comparison against continued patch repairs.
Building a Year-Round Leak Detection Routine
The most durable strategy for leak detection is not a single inspection but a consistent, seasonal routine. In the GTA, we recommend the following schedule for most homes:
- Spring (April-May): Full inspection after the winter freeze-thaw cycle, checking for ice-dam damage, cracked flashing sealant, and gutter debris from melting snow.
- Summer (July-August): Attic ventilation check, shingle granule inspection, and confirmation that summer storm drainage is functioning properly. This is also the ideal season for any repair or replacement work identified earlier in the year, since dry, stable weather allows for proper sealant curing.
- Fall (September-October): Gutter clearing before leaf drop is complete, flashing recheck before winter, and attic insulation assessment ahead of the heating season.
- After any major storm: A visual check regardless of season, since wind and hail damage can occur at any time of year and often creates the entry point for a leak that only becomes obvious months later.
Homeowners who follow this kind of routine consistently catch problems while they are still inexpensive to fix. It is a far more durable long-term strategy than waiting for a ceiling stain to force the issue. You can review real examples of how this proactive approach has worked for other GTA homeowners on our reviews page, and our FAQ page answers many of the specific questions homeowners ask about inspection frequency and warning signs.
Serving Homeowners Across the GTA
Since 2005, Universal Roofs has performed leak detection and roofing assessments on thousands of homes throughout the region. Our technicians are familiar with the specific building styles, roof ages, and weather exposure patterns found across Toronto, Peel Region, York Region, Halton Region, and Durham Region, which helps us identify likely problem areas faster during an on-site visit. You can learn more about our background and approach on our about page.
What are the most effective strategies for durable roof leak detection?
How can I tell where a roof leak is actually coming from?
How often should I have my roof inspected for leaks?
Can attic ventilation problems cause what looks like a roof leak?
What tools do professionals use for durable roof leak detection?
Is it better to repair a leak or replace the whole roof?
Need Help With Effective Strategies for Durable?
Chasing an elusive leak on your own can waste time and money on guesswork, while a hidden leak keeps causing damage in the background. The team at Universal Roofs uses a systematic, documented approach to trace leaks to their true source and recommend the right fix the first time.
Call us today at (416) 732-2421 or request a free inspection to get started.
Universal Roofs proudly serves Toronto, Mississauga, Brampton, Vaughan, Markham, Oakville and the GTA since 2005.