
Flashing is the unsung hero of any roof system. It is the thin metal barrier tucked around chimneys, skylights, vent pipes, and roof valleys that keeps water from working its way into your home at every joint and transition. When flashing fails, the damage rarely announces itself with a dramatic leak on day one — it shows up months later as a stained ceiling, a musty smell in the attic, or soft drywall near a chimney. Knowing when is it time to call a flashing repair professional, rather than reaching for a caulking gun yourself, can save Toronto homeowners thousands of dollars in structural repairs down the road.
This guide walks through the warning signs, the difference between a do-it-yourself patch and a proper flashing repair, and the specific situations where calling in a licenced roofing contractor is not just advisable but necessary. We will also cover costs, materials, and the seasonal factors that make flashing especially vulnerable in the Greater Toronto Area’s freeze-thaw climate.
At Universal Roofs, we have been repairing and replacing flashing on GTA homes since 2005, and the same handful of failure patterns keep appearing on service calls every spring and fall. Understanding them ahead of time helps you decide when is it time to call a flashing repair professional versus when a small patch will genuinely hold.
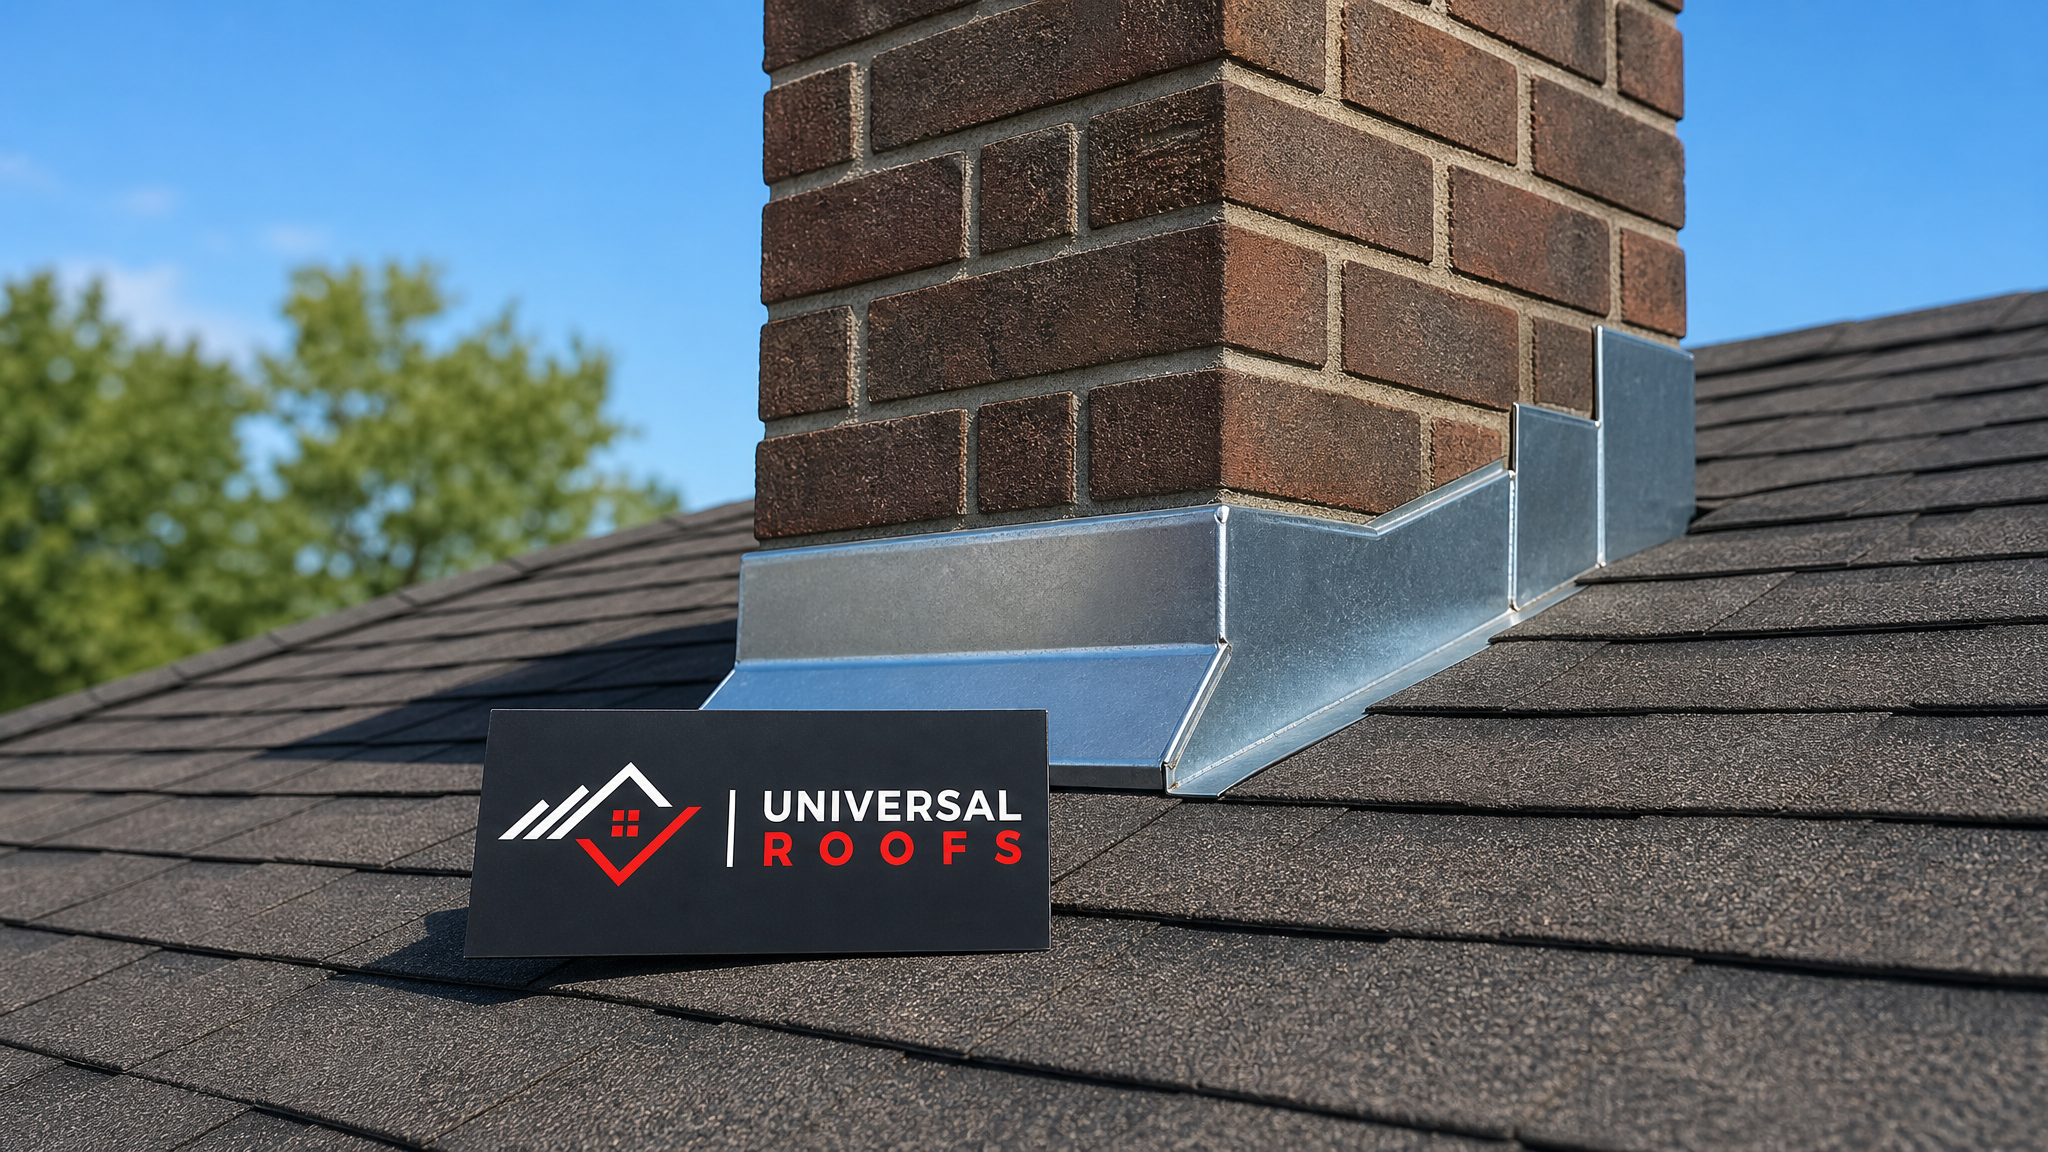
What Roof Flashing Does and Why It Fails
Flashing is installed anywhere two roof planes meet, or anywhere something penetrates the roof surface: chimneys, skylights, plumbing vents, dormer walls, and roof-to-wall transitions. It is usually made from galvanized steel, aluminum, or copper, and it works by directing water away from the seam rather than trying to seal the seam completely watertight on its own. A well-installed flashing system relies on overlapping layers, step flashing at wall junctions, and counter-flashing embedded into masonry or siding.
Flashing fails for a few predictable reasons. Sealant and caulking around flashing edges dry out and crack after five to eight years of ultraviolet exposure and temperature swings. Nails used to fasten flashing can back out as the roof deck expands and contracts, especially through Toronto’s freeze-thaw cycles between November and March. Corrosion sets in on lower-quality galvanized flashing as the metal degrades, particularly under overhanging trees that trap moisture against the surface. Physical damage from ice damming, falling branches, or careless work by other trades — satellite installers, chimney sweeps, solar installers — can bend or puncture flashing outright.
Because flashing sits at the most complex geometric points on the roof, it is also the area most prone to installation error in the first place. A flashing repair professional does not just replace metal; they diagnose whether the underlying issue is a flashing problem, a shingle problem, or something happening inside the wall assembly.
Warning Signs You Should Not Ignore
Most homeowners do not inspect their flashing until there is visible evidence of a problem indoors or in the attic. Here are the signs that consistently precede a call to a flashing repair professional:
- Water stains on ceilings or walls near a chimney, skylight, or where a dormer meets the main roof.
- Visible rust or discolouration streaking down the flashing metal or the brick below a chimney.
- Cracked, shrunken, or missing caulking along flashing edges, especially around vent pipe boots.
- Lifted or curling shingles adjacent to a flashing line, which lets wind-driven rain get underneath.
- Daylight visible through the attic at any roof penetration point.
- A musty or mildew smell in the attic or top-floor closets, indicating trapped moisture.
- Granules collecting near downspouts combined with bare metal showing at flashing seams.
- Ice damming that repeatedly forms at the same spot near a chimney or valley every winter.
Any single sign on this list is worth a closer look. Two or more together usually means water has already found its way past the flashing and into the roof deck or wall cavity, and the longer it sits, the more expensive the fix becomes. This is often the exact moment homeowners start asking when is it time to call a flashing repair professional rather than continuing to monitor the situation.
DIY Patch vs. Professional Flashing Repair: Knowing the Line
Not every flashing issue needs a professional the moment it appears. A homeowner comfortable on a ladder can sometimes re-caulk a small gap around a vent boot with quality roofing sealant, provided the metal underneath is still sound and the area is easily reached from a stable position. That said, the line between a reasonable DIY fix and a job that needs a licenced contractor is narrower than most people think.
| Situation | DIY-Appropriate? | Why |
|---|---|---|
| Small caulking crack around a single vent boot, flashing metal intact | Yes, with care | Surface-level fix, low fall risk if roof pitch is gentle and accessible |
| Visible rust-through or a hole in the flashing metal itself | No | Metal replacement requires removing shingles and re-flashing correctly |
| Water stain on an interior ceiling near a chimney | No | Indicates water has already breached the roof deck; source diagnosis needed |
| Loose or lifted step flashing along a dormer wall | No | Requires removing siding or shingle courses to reset properly |
| Steep roof pitch above 6/12 or roof height over one storey | No | Fall risk exceeds what most homeowners should accept without harness training |
| Chimney counter-flashing pulling away from mortar joints | No | Requires re-cutting a reglet into masonry and proper embedment |
The general rule of thumb: if the fix involves only surface sealant on flashing that is otherwise structurally sound, and the roof is safely accessible, a careful homeowner can handle it as a stop-gap. Anything involving removing shingles, re-bending or replacing metal, working at height, or diagnosing where water is actually entering should go to a professional. Our roof repair team sees a steady stream of “quick fixes” that masked a bigger problem for a year or two before finally failing during a heavy rain event.
Specific Situations That Call for a Professional Immediately
Certain scenarios move straight past the DIY-or-not question because they carry either a safety risk or a level of complexity that non-specialists consistently get wrong.
Chimney Flashing Failures
Chimneys move independently of the roof structure because they have their own foundation, so the flashing around them has to accommodate differential settling. When counter-flashing pulls away from the mortar joints, or when the step flashing along the sides has corroded, water tracks straight down into the wall cavity behind the chimney. This is one of the most common sources of hidden water damage in older Toronto homes, particularly ones built before 1980 with tuck-pointed brick chimneys.
Valley Flashing Problems
Roof valleys carry more water volume per square metre than almost any other part of the roof, which means valley flashing takes the brunt of debris, ice, and wear. A dented, corroded, or improperly overlapped valley flashing section needs a professional because reinstalling it correctly requires removing shingle courses on both sides of the valley in the right sequence, without disturbing the underlayment beneath.
Skylight Flashing Leaks
Skylight flashing kits are engineered to a specific skylight model and roof pitch. A leaking skylight is very often a flashing issue rather than a glazing issue, and misdiagnosing it leads to wasted money resealing glass that was never the problem. If you are dealing with a skylight leak, it is worth reviewing our skylight and skylight replacement pages, since in many cases the flashing kit needs to be replaced alongside the unit itself once the original installation has degraded.
Ice Dam Related Flashing Damage
Toronto winters routinely produce ice dams along eaves and at flashing transitions where roof planes change pitch. Repeated ice dam formation physically lifts shingles and flashing, breaking the seal even after the ice melts. If the same spot dams every winter, the flashing and underlying ventilation need professional attention, not just more ice-melt tablets each December.
Flat Roof to Sloped Roof Transitions
Additions, dormers, and porch roofs often create a transition between a flat or low-slope section and a steeper main roof. These transitions need specialized flashing details, and improper installation is one of the most frequent causes of leaks we diagnose. If your home has this kind of hybrid roofline, our flat roofing team can assess whether the transition flashing was detailed correctly in the first place.
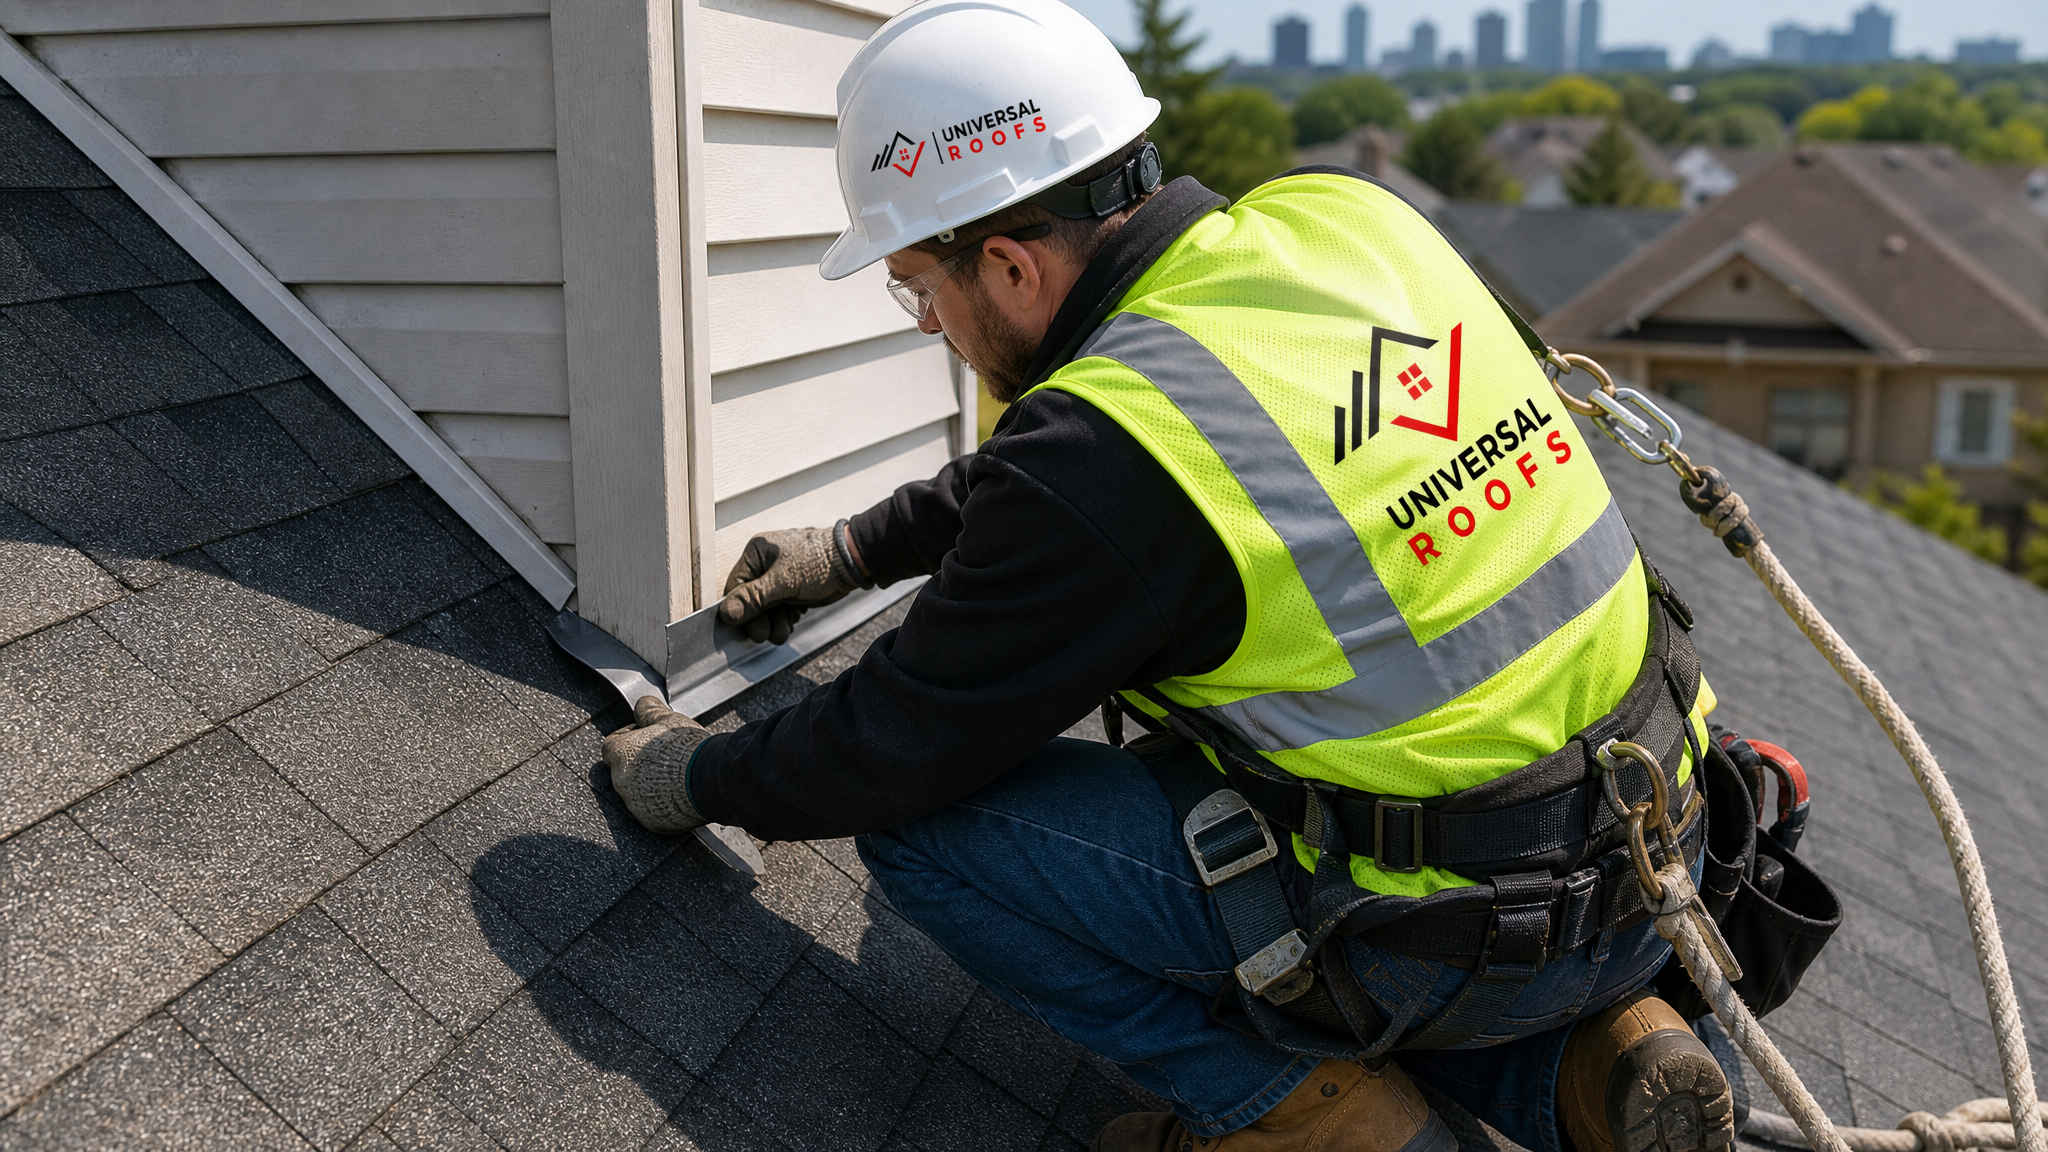
How Professionals Diagnose a Flashing Problem
A proper flashing assessment starts well before anyone climbs a ladder. Experienced roofers ask about when the stain or leak first appeared, whether it correlates with wind direction or heavy rain, and whether it has gotten worse. From there, the inspection typically follows this sequence:
- Attic inspection first, checking the underside of the roof deck for staining, mould, or wet insulation directly below the suspect flashing points.
- Exterior visual inspection of all flashing points, checking for lifted edges, rust streaks, cracked sealant, and gaps at overlaps.
- Water testing in some cases, where a hose is run over a suspected area in controlled stages while someone watches the attic side, to pinpoint the exact entry point.
- Assessment of surrounding materials — shingles, underlayment, and in the case of chimneys, the mortar joint condition — since flashing rarely fails in isolation.
- A written scope covering exactly which flashing sections need replacement versus which can simply be resealed, with photos attached.
This process matters because flashing problems are notorious for producing symptoms far from the actual entry point. Water can travel along a rafter or truss for several metres before dripping onto a ceiling, so a stain in a bedroom does not always mean the flashing failure is directly above it. This is exactly why homeowners should not try to self-diagnose a persistent leak — it is another clear signal for when is it time to call a flashing repair professional rather than continuing to chase the wrong spot.
Cost and Timeline Expectations for Flashing Repairs
Costs vary significantly depending on the type of flashing, the roof pitch, and whether shingles need to come off to access it. The table below reflects typical ranges we see across the GTA for common flashing repair scenarios, though every roof should be quoted after an in-person or photo-based assessment.
| Repair Type | Typical Cost Range (CAD) | Typical Timeline |
|---|---|---|
| Vent boot resealing or replacement | $150 – $350 per vent | 1–2 hours |
| Chimney counter-flashing repair or replacement | $600 – $1,800 | Half day to full day |
| Valley flashing replacement, single valley | $500 – $1,400 | Half day |
| Skylight flashing kit replacement | $450 – $1,200 per skylight | Half day |
| Step flashing reset along a dormer or wall | $400 – $1,000 per section | Half day to full day |
| Flat-to-sloped roof transition flashing | $800 – $2,200 | Full day to two days |
These figures assume the roof deck underneath is in good condition. If a water intrusion has been ongoing for a season or more, expect additional costs for plywood deck replacement, insulation removal, or drywall repair inside the home. Catching flashing failure early is almost always the cheaper path, which is why an annual inspection favours your budget as much as your roof’s lifespan. Homeowners comparing quotes should also ask whether a full roof replacement makes more financial sense if the shingles themselves are near end of life anyway — there is little point paying to re-flash a roof that will need full replacement within two or three years.
Seasonal Timing: Why Summer Is the Best Window to Act
July is one of the best months in the GTA to address flashing issues. Sealants and adhesives used in flashing repair cure properly in warm, dry conditions, shingles are pliable enough to lift and reset without cracking, and contractors are not competing with the ice-and-snow emergency calls that flood in every January and February. Addressing a flashing issue now, before autumn rains and the first winter freeze-thaw cycle, means the repair has months to be fully tested before the roof faces its harshest conditions of the year.
Waiting until late fall or winter to fix flashing is one of the most common mistakes we see. Cold-weather sealant does not bond the same way, shingles become brittle and are more likely to crack when lifted for step flashing work, and any delay through a Toronto winter usually means at least one more freeze-thaw cycle working its way into an already-compromised joint before the repair crew even arrives.
What Happens if Flashing Problems Are Left Unaddressed
Ignoring early flashing warning signs rarely resolves the underlying issue, and it tends to follow a predictable escalation pattern. Left long enough, a small flashing gap can compromise the roof deck, insulation, and even framing members, turning a same-day repair into a multi-thousand-dollar renovation.
| Time Left Unaddressed | Likely Damage Progression | Estimated Repair Escalation |
|---|---|---|
| 0–3 months | Minor staining, slightly damp insulation directly below flashing | Flashing repair only, no interior damage |
| 3–12 months | Wood sheathing begins to soften, mould spores develop in attic insulation | Flashing repair plus partial deck replacement |
| 1–2 years | Ceiling drywall staining or sagging, insulation compressed and ineffective | Flashing, deck repair, insulation replacement, drywall patching |
| 2+ years | Structural rot in rafters or trusses, potential mould remediation required | Structural carpentry, remediation, full section re-roofing |
The good news is that most homeowners catch flashing issues in the first window, when the fix is still straightforward. The key is not waiting for a ceiling stain to appear before scheduling an assessment, and not talking yourself out of the question of when is it time to call a flashing repair professional simply because the leak has not gotten worse yet this month.
Preventive Maintenance to Extend Flashing Life
Flashing that is inspected and maintained regularly can last as long as the roofing material around it, sometimes twenty to thirty years for quality metal. A few habits make a measurable difference:
- Have an annual or bi-annual inspection, ideally once in spring after the freeze-thaw season and once in fall before winter arrives.
- Keep gutters clear so water is not backing up against eave flashing and fascia boards.
- Trim overhanging branches that drop debris onto valleys and hold moisture against flashing seams.
- Re-caulk exposed sealant joints every three to five years rather than waiting for visible cracking.
- After any other trade works on your roof, such as a satellite dish install, solar panel mount, or chimney sweep visit, have the flashing checked for disturbed fasteners or shifted metal.
- Address ice dams the same winter they occur rather than assuming they are a one-time event that will not recur.
Homeowners in Toronto, the Peel Region, York Region, Halton Region, and Durham Region all deal with the same freeze-thaw stress on flashing, though homes with mature tree cover or heavier winter snow load in the outer regions tend to see valley and eave flashing wear slightly faster than homes in the urban core.
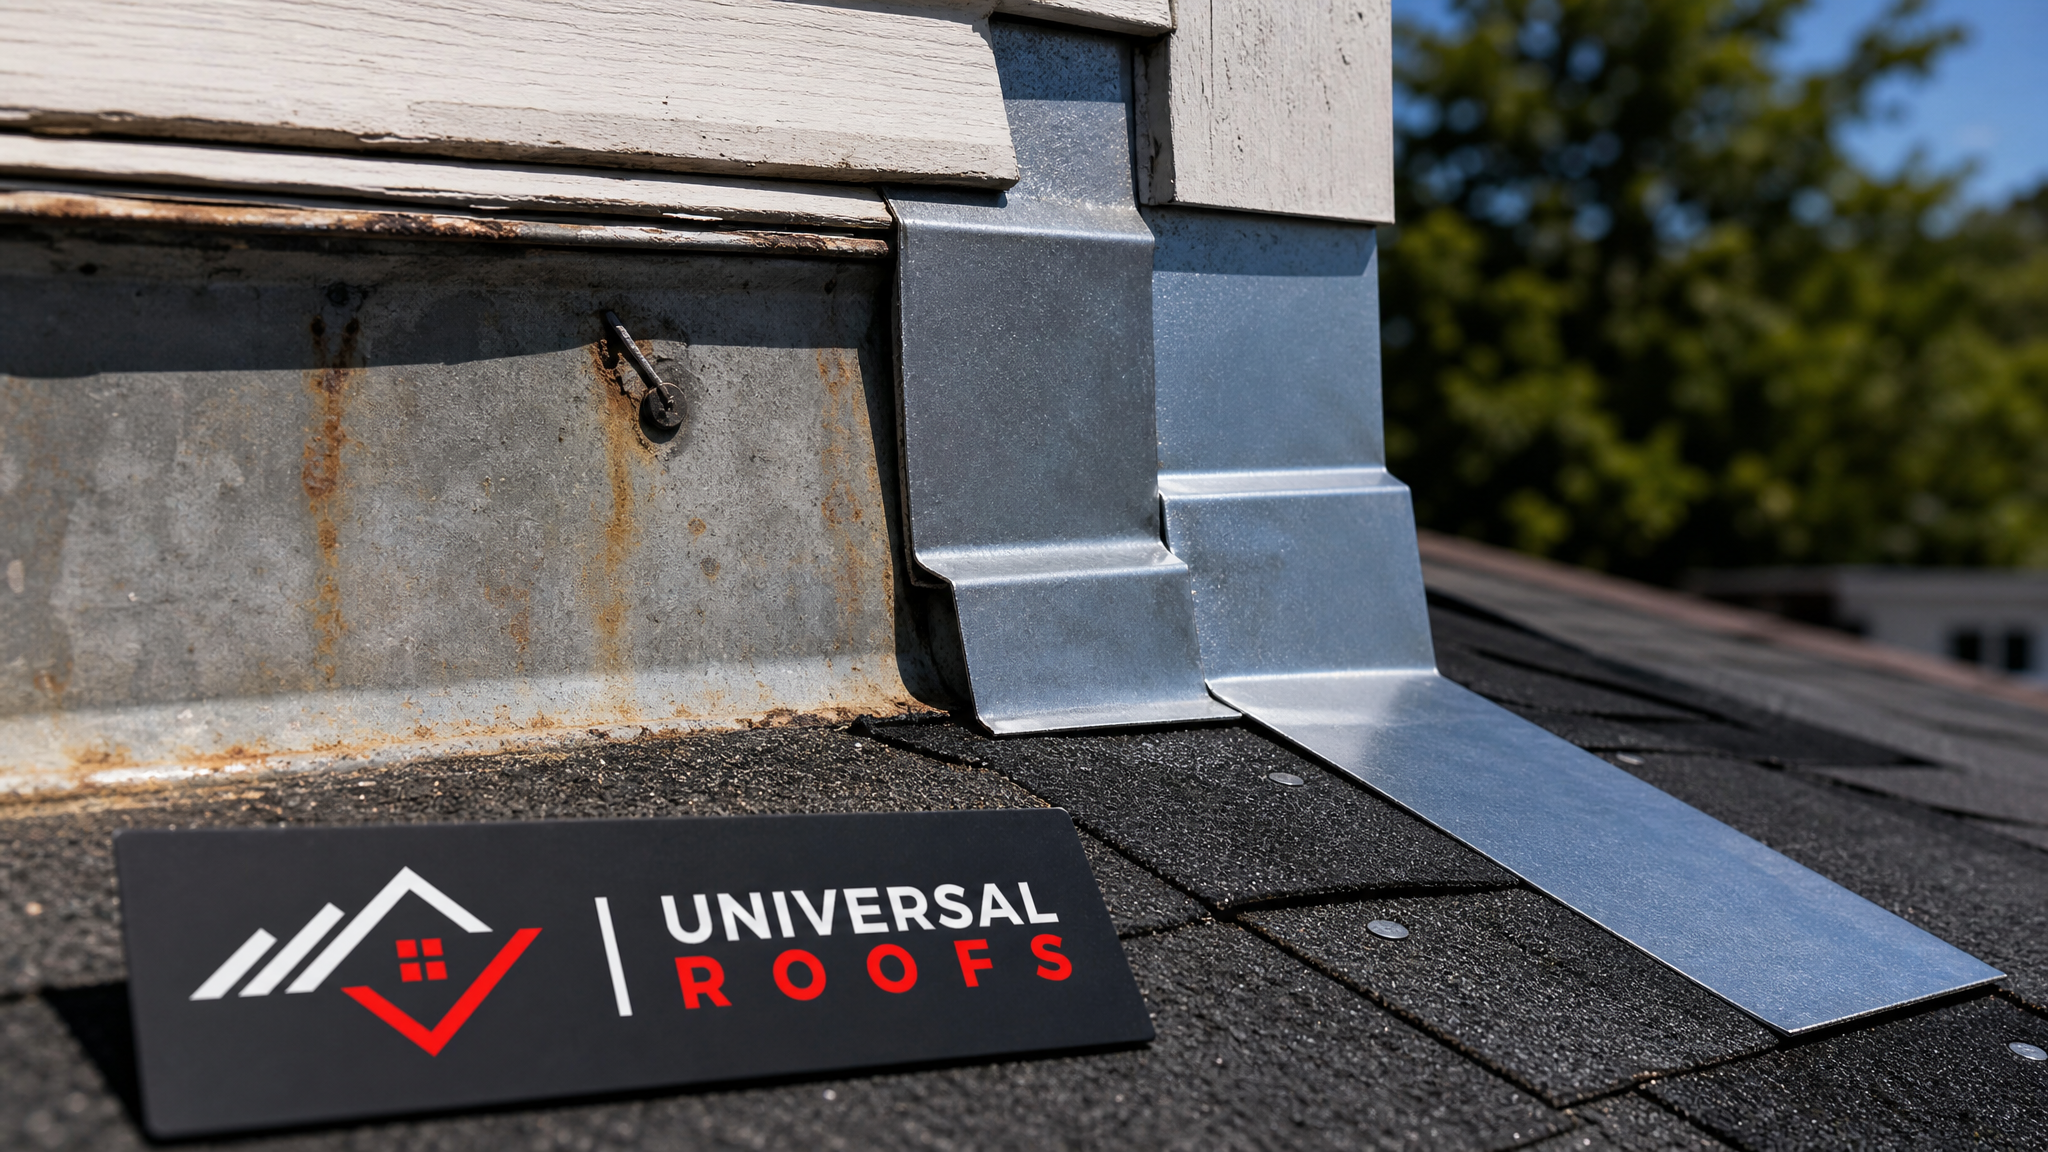
Choosing a Qualified Flashing Repair Contractor
Not every roofer treats flashing with the attention it deserves, since it is a smaller line item than a full re-roof. When vetting a contractor for flashing work specifically, look for a few markers of quality that separate a careful specialist from a crew that will simply caulk over the problem:
- They inspect the attic interior, not just the exterior, before quoting.
- They specify the flashing material, whether galvanized steel, aluminum, or copper, and gauge in the quote rather than a vague “flashing repair” line item.
- They explain whether shingles need to be removed and replaced as part of the job, not just caulked over.
- They carry liability insurance and can produce a WSIB clearance certificate on request.
- They offer a workmanship warranty separate from the material manufacturer’s warranty.
- Their reviews mention flashing or leak-specific repairs, not only full roof replacements.
If you are still unsure whether your situation needs a same-day emergency response or can wait for a scheduled assessment, our FAQ page covers common questions about scheduling, warranty coverage, and what to expect during an inspection visit. You can also learn more about our background and licencing on our about page, and browse before-and-after examples of flashing and attic work on our attic services page.
When is it time to call a flashing repair professional instead of doing it myself?
How do I know if my flashing is leaking versus my shingles?
What does a flashing repair professional typically charge in the GTA?
Can flashing repair wait until fall or winter?
What happens if I ignore a flashing leak for too long?
Does a flashing repair professional need to inspect the attic, or just the roof surface?
Need Help With When Is It Time?
Flashing problems rarely fix themselves, and the cost of waiting almost always outweighs the cost of an early inspection. Whether you have spotted a rust streak on a chimney, a damp patch in the attic, or recurring ice damming in the same corner every winter, Universal Roofs can assess the situation and tell you plainly whether it is a simple reseal or a full flashing replacement.
Call us today at (416) 732-2421 or request a free inspection to get started.
Universal Roofs proudly serves Toronto, Mississauga, Brampton, Vaughan, Markham, Oakville and the GTA since 2005.