
If you have ever dealt with a stained ceiling, a musty attic smell, or water pooling where it shouldn’t, you already understand why roof waterproofing matters more than almost any other maintenance decision a homeowner makes. In the Greater Toronto Area, roofs face an unusually punishing combination of heavy spring rain, humid summer storms, and repeated winter freeze-thaw cycles that force water into every seam, fastener hole, and flashing gap a roof has to offer. A roof that isn’t properly waterproofed doesn’t just risk a leak — it risks rotted decking, ruined insulation, mould growth, and thousands of dollars in structural repair.
The good news is that effective roof waterproofing isn’t mysterious. It’s a set of proven techniques, applied in the right places, using the right materials, by people who understand how water actually moves across a roof surface. This guide walks through the top 10 roof waterproofing techniques that professional roofers rely on across Toronto and the surrounding GTA, what each one costs, how long it lasts, and how to know which combination is right for your home.
Whether you’re planning ahead of a roof replacement, patching a problem area with a roof repair, or simply trying to understand what your contractor is proposing, this article will give you the practical, plain-language grounding you need.
Why Roof Waterproofing Matters So Much in the GTA Climate
Toronto’s climate is uniquely hard on roofs. Winters bring repeated freeze-thaw cycles where meltwater seeps into tiny cracks during the day and expands as ice overnight, widening every weak point year after year. Spring delivers heavy, sustained rainfall. Summer brings intense thunderstorms and, increasingly, extended stretches of humidity that keep moisture sitting on roofing materials longer than in drier climates. This is exactly why generic advice from American sunbelt sources often falls short for GTA homeowners — the waterproofing techniques that matter most here are the ones built specifically to handle expansion, contraction, and prolonged moisture exposure.
A properly waterproofed roof does three things at once: it sheds bulk water quickly, it seals every penetration and transition point where water pressure concentrates, and it manages the water vapour trying to escape from inside the home. Miss any one of those three jobs and you end up with a leak, even if the shingles themselves look perfectly fine. That’s why the techniques below aren’t a menu to pick one from — they’re a system, and most well-waterproofed roofs use six, seven, or more of them together.
1. Self-Adhered Rubberized Membrane at Vulnerable Points
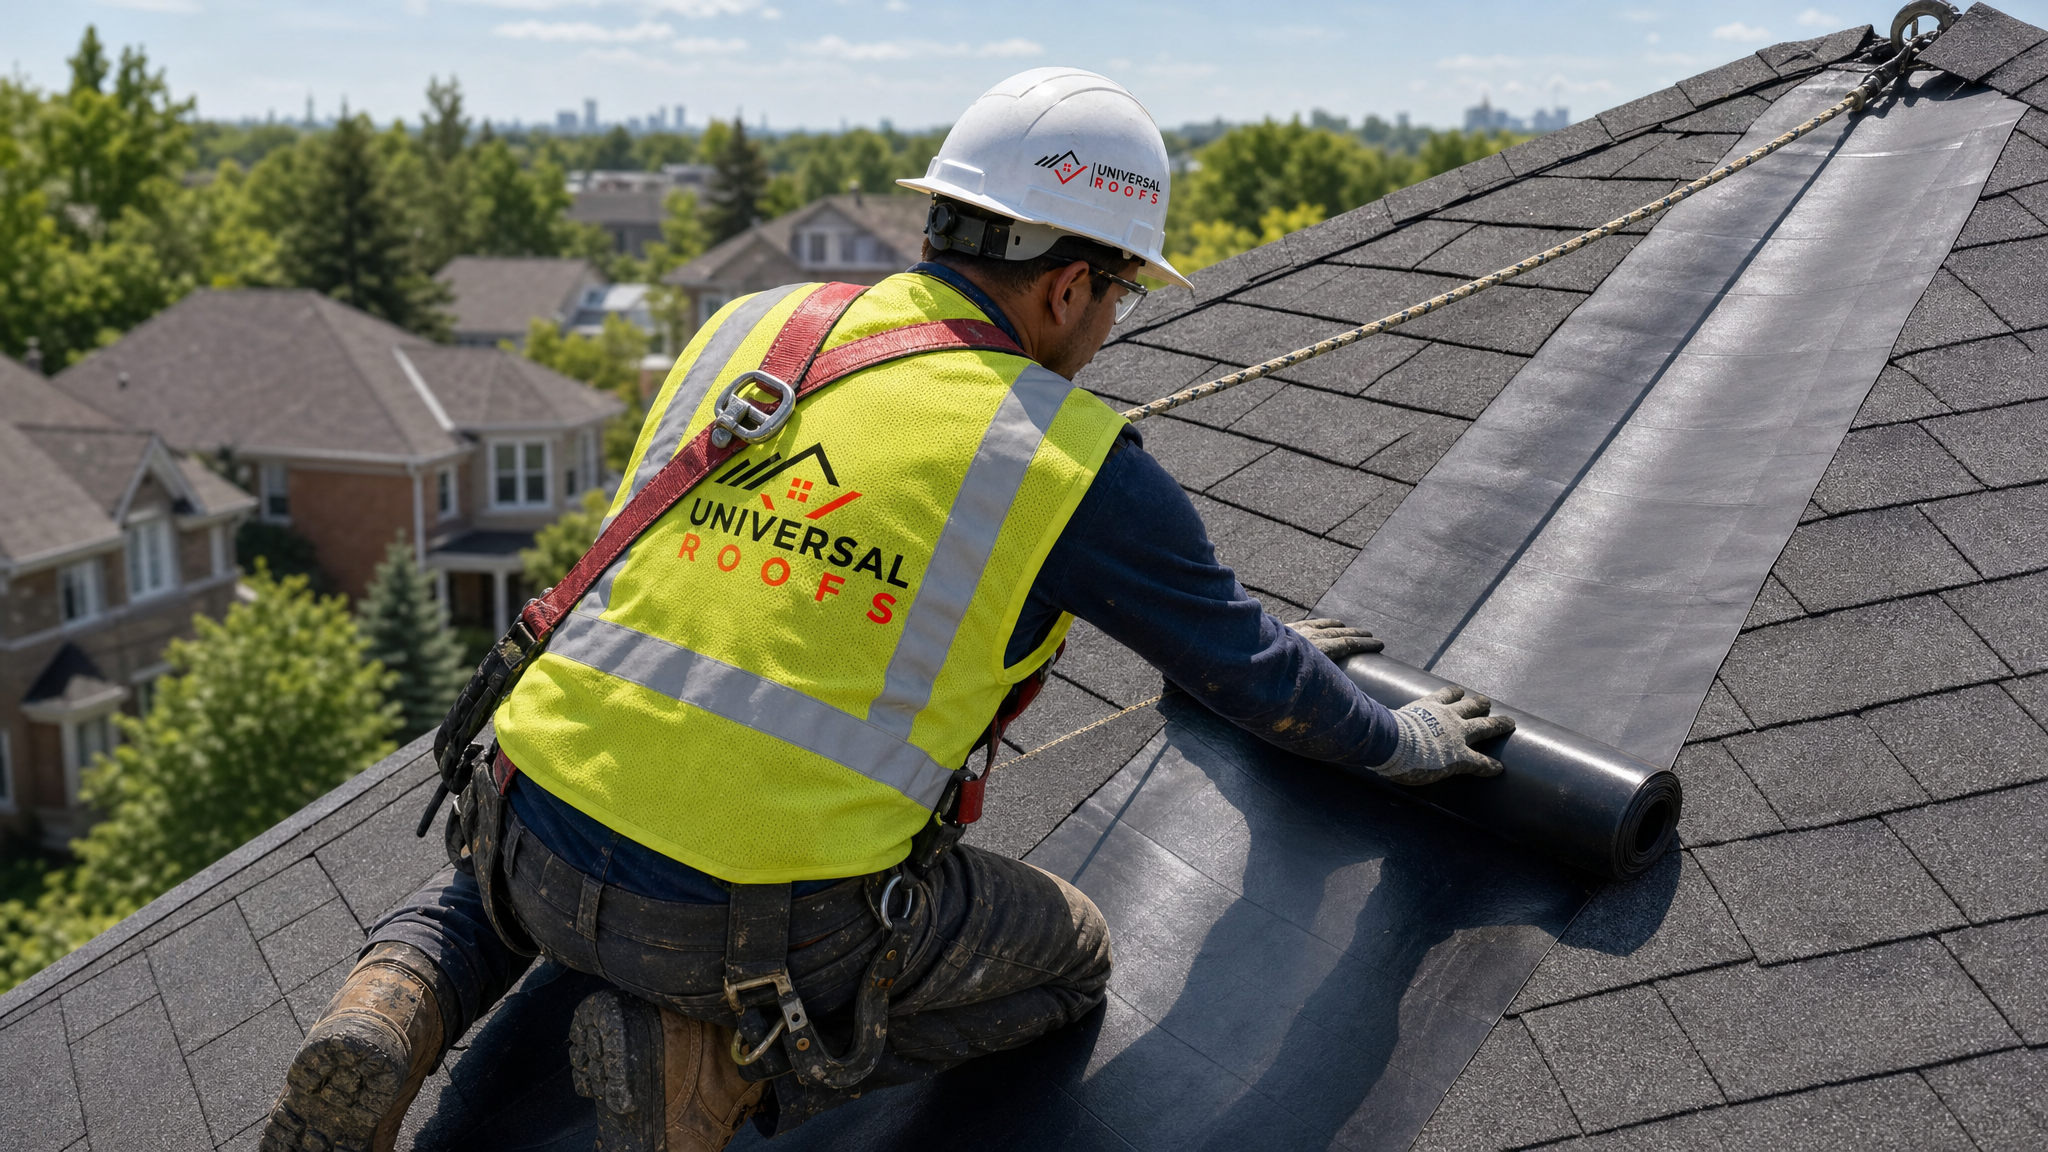
The single most effective roof waterproofing technique for GTA homes is the use of self-adhered rubberized asphalt membrane (often called ice-and-water shield) at every location where water pressure is highest: eaves, valleys, skylight curbs, chimneys, and roof-to-wall transitions. Unlike standard felt underlayment, this membrane has a rubberized adhesive backing that bonds directly to the roof deck and self-seals around nail penetrations, effectively closing off the small punctures that shingle fasteners create.
Ontario Building Code requires ice-and-water membrane at eaves in most residential applications specifically because of ice damming, but the best roofing contractors extend it well beyond the minimum, wrapping it up valleys and around every roof penetration. This single technique prevents more leaks than any other item on this list.
2. Proper Flashing at Every Roof Transition
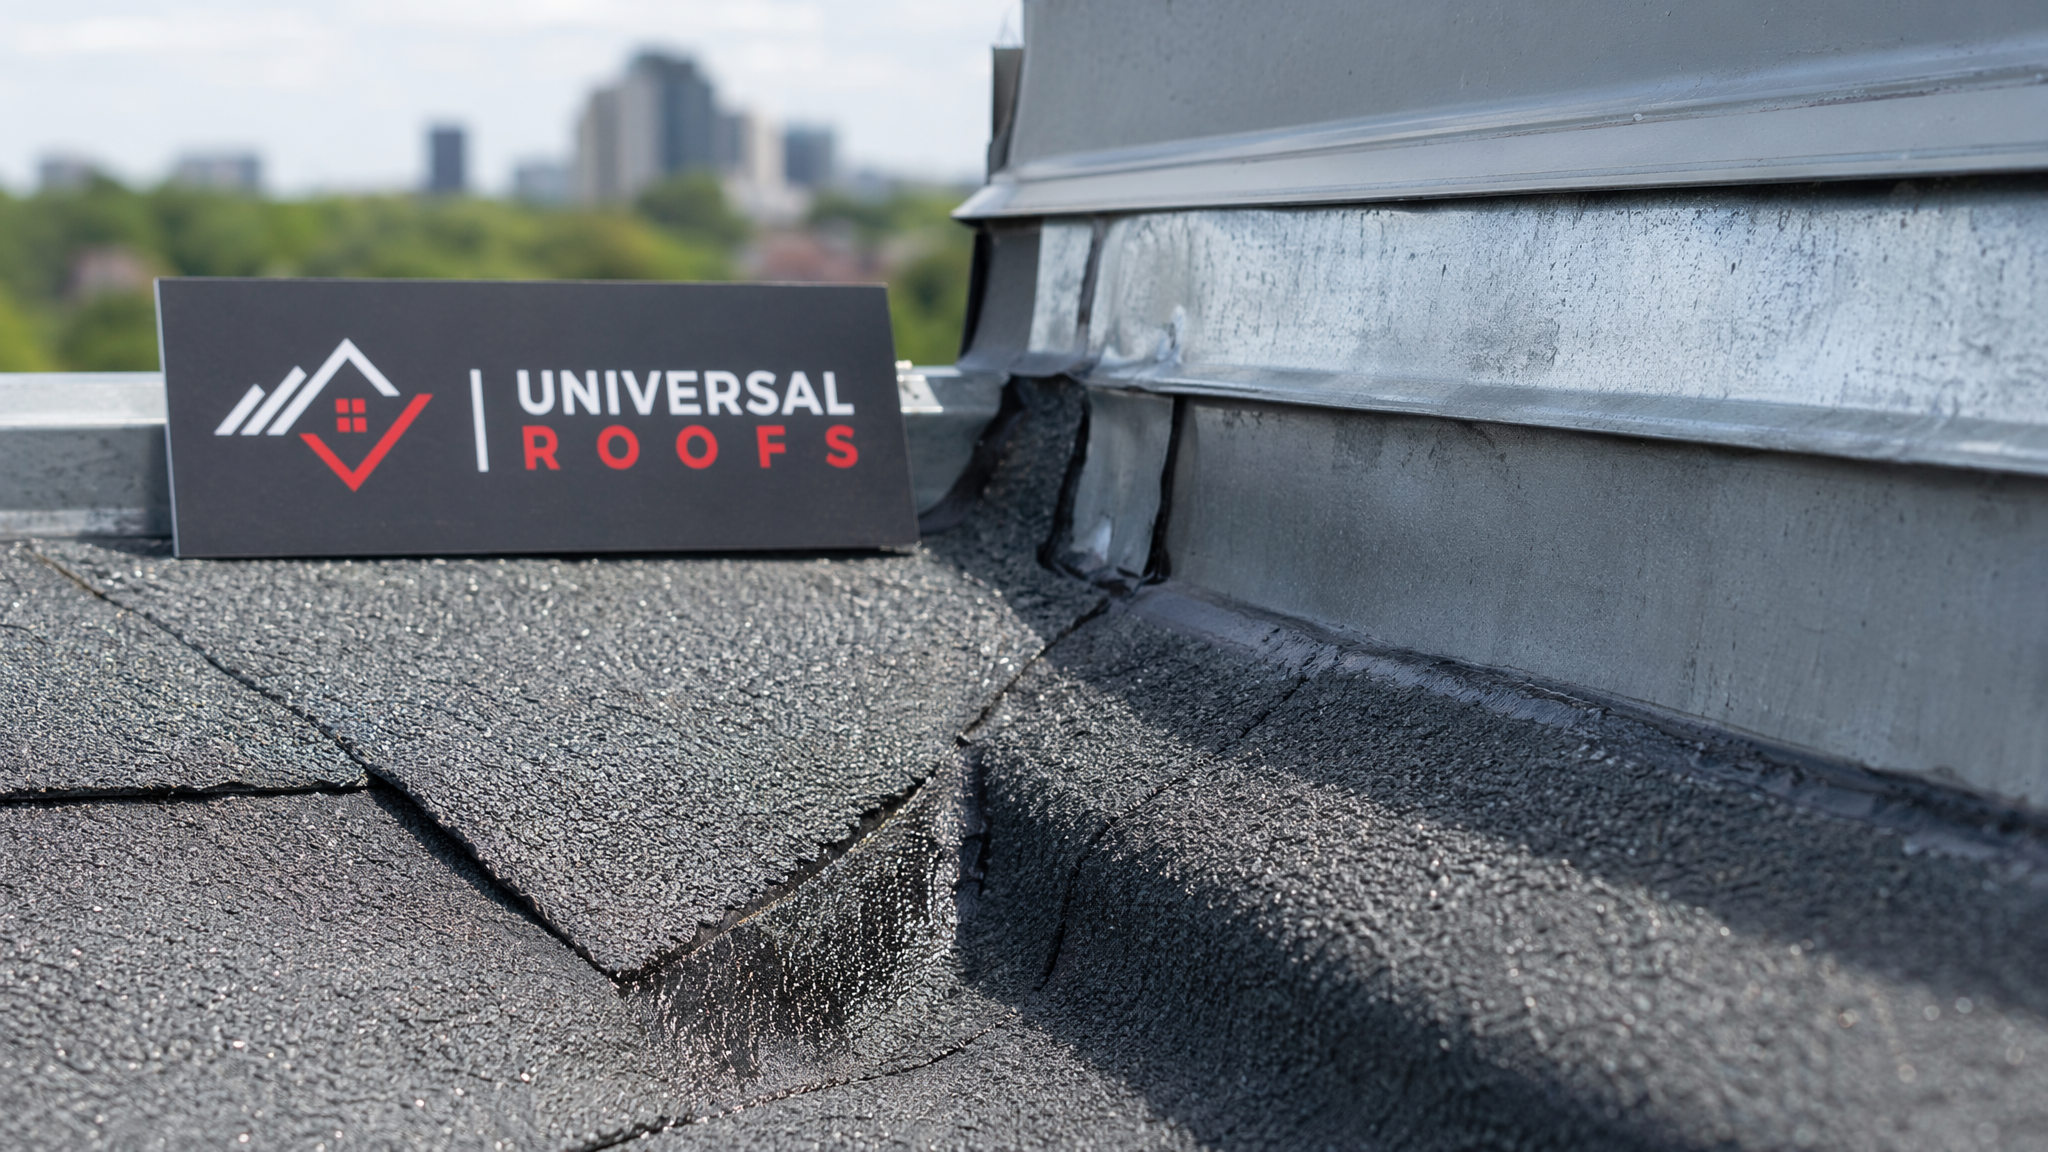
Flashing is the metal (or occasionally rubber) material installed at every point where the roof plane changes direction or meets a vertical surface — chimneys, sidewalls, dormers, and skylights. Flashing failure is, by a wide margin, the most common source of roof leaks reported to our crews across Toronto, Mississauga, and Vaughan. Water doesn’t usually fail through the shingle field; it fails where two different materials or planes meet.
Effective flashing work uses step flashing (individual L-shaped pieces woven between each shingle course along a sidewall), continuous counter-flashing at chimneys, and dedicated flashing kits at skylight curbs. If you’re evaluating skylights or planning a skylight replacement, flashing quality is the single biggest factor separating a skylight that never leaks from one that becomes a chronic problem.
3. High-Quality Underlayment Across the Full Roof Deck
Beyond the targeted membrane at vulnerable points, the rest of the roof deck needs a continuous layer of synthetic or felt underlayment beneath the shingles. This secondary water barrier catches wind-driven rain that manages to get past the shingles themselves, and it protects the deck during construction before shingles go on. Synthetic underlayment has largely replaced traditional felt paper because it resists tearing, doesn’t wrinkle when it gets wet, and provides significantly better secondary protection during the freeze-thaw season.
4. Sealed Roof Penetrations (Vents, Pipes, and Fasteners)
Every plumbing vent stack, exhaust vent, and satellite mount is a hole cut deliberately into your roof. Each one needs a purpose-built boot or collar, sealed with roofing cement or a rubberized gasket rated for the material it’s paired with. Cheap or aging rubber boots are one of the most overlooked causes of slow, hard-to-diagnose leaks — the rubber cracks with UV exposure over 8 to 12 years, long before the shingles around it show any wear.
5. Waterproof Membrane Systems for Flat and Low-Slope Roofs
Flat and low-slope roofs waterproof completely differently than steep-slope shingle roofs because there’s no gravity assist to shed water quickly. Instead of relying on shingle overlap, flat roofing depends on a continuous, fully-adhered membrane — typically modified bitumen, TPO, or EPDM rubber — that acts as one seamless waterproof skin across the entire surface. Seams are heat-welded or chemically bonded rather than simply overlapped, and the membrane is turned up at every parapet wall and drain to create a watertight tub.
If your home or commercial building has a flat roof section over a garage, addition, or porch, this is a different discipline entirely from asphalt shingle work, and it’s worth having it assessed separately through our flat roofing services.
6. Proper Slope and Drainage Design
No membrane or sealant can compensate for water that simply has nowhere to go. Ponding water — water that sits on a roof surface for more than 48 hours after rain — accelerates membrane breakdown and is one of the leading causes of premature flat roof failure. Effective waterproofing always starts with correcting slope: tapered insulation on flat roofs to direct water toward drains, properly pitched crickets behind chimneys and dormers to divert water around obstacles, and valleys cut wide enough to handle peak flow during heavy storms.
7. Attic Ventilation and Vapour Control
This is the technique homeowners least expect to hear about, but it’s critical. Roof waterproofing isn’t only about keeping rain out — it’s also about managing the water vapour generated inside the home from cooking, showering, and simply breathing. Without balanced intake and exhaust ventilation, that warm, moist air condenses on the underside of a cold roof deck in winter, soaking insulation and rotting sheathing from the inside out. This looks identical to a roof leak but has nothing to do with the shingles.
A well-ventilated attic with soffit intake vents, a ridge or roof vent exhaust, and an air-sealed ceiling plane is just as important to a dry roof system as any membrane on the exterior. We routinely find that “mystery leaks” reported by GTA homeowners are actually condensation problems traced back to blocked soffits or missing insulation baffles.
8. Sealants and Roofing Cement at Fine Details
Polyurethane and butyl-based roofing sealants fill the gaps that flashing and membrane can’t — nail heads on exposed fasteners, small gaps at flashing edges, and the final seal at drip edges. These products are not a substitute for proper flashing and membrane work; they’re the finishing touch that closes the last small pathways water could otherwise find. Quality matters enormously here: cheap tube sealant from a hardware store shrinks, cracks, and fails within a season or two of Toronto’s temperature swings, while professional-grade polyurethane sealants remain flexible for 15-plus years.
9. Elastomeric and Liquid-Applied Coatings for Existing Roofs
For flat roofs, metal roofs, and ageing membranes that aren’t yet ready for full replacement, liquid-applied elastomeric coatings offer a cost-effective way to extend service life. These acrylic or silicone coatings are rolled or sprayed on to form a seamless, flexible waterproof skin that bridges small cracks and reflects UV to slow further degradation. They’re best used as a maintenance and life-extension technique on a roof that is still structurally sound, not as a fix for a roof with underlying deck rot or major membrane failure.
10. Scheduled Professional Inspections
The tenth technique isn’t a material at all — it’s the discipline of catching small problems before they become expensive ones. A twice-yearly inspection (spring and fall are ideal in the GTA) catches lifted shingles, cracked sealant, clogged drains, and damaged flashing while the fix is still a simple repair rather than an emergency. Most roof waterproofing failures we see didn’t happen suddenly; they were small, visible issues that went unaddressed for two or three seasons until water finally found its way through.
Our reviews from homeowners across the region consistently mention how a routine inspection caught an issue before it became a ceiling stain, which is exactly the outcome this whole list is designed to produce.
Comparing the Top Roof Waterproofing Techniques
| Technique | Best Used On | Typical Lifespan | Relative Cost |
|---|---|---|---|
| Self-adhered rubberized membrane | Eaves, valleys, penetrations | 25-40 years | Moderate |
| Metal flashing (step, counter, apron) | Chimneys, sidewalls, skylights | 30-50 years | Moderate |
| Synthetic underlayment | Full roof deck (shingle roofs) | Life of shingles | Low |
| TPO/EPDM membrane systems | Flat and low-slope roofs | 20-30 years | Moderate-High |
| Elastomeric liquid coating | Ageing flat or metal roofs | 5-10 years | Low |
| Professional roofing sealant | Fasteners, small flashing gaps | 10-15 years | Low |
Estimated Costs for Common Waterproofing Projects in the GTA
| Project | Typical Price Range (CAD) | Timeline |
|---|---|---|
| Ice-and-water membrane upgrade (eaves and valleys) | $800 – $2,200 | 1 day |
| Chimney or sidewall re-flashing | $500 – $1,600 | Half day – 1 day |
| Flat roof membrane replacement (per section) | $3,500 – $9,000 | 1-3 days |
| Elastomeric coating application | $1,200 – $4,000 | 1-2 days |
| Attic ventilation correction | $600 – $2,500 | 1 day |
| Full roof waterproofing package (new roof install) | $8,000 – $18,000+ | 2-4 days |
Troubleshooting: Matching Symptoms to the Right Fix
| Symptom | Likely Cause | Recommended Technique |
|---|---|---|
| Ceiling stain near an exterior wall | Failed step or counter-flashing | Flashing replacement |
| Leak only during heavy wind-driven rain | Gaps in underlayment or fastener seals | Underlayment upgrade + sealant |
| Musty attic smell, no visible leak | Condensation from poor ventilation | Attic ventilation and vapour control correction |
| Standing water on a flat roof after rain | Inadequate slope or clogged drains | Tapered insulation, drainage correction |
| Leak around a skylight | Deteriorated skylight flashing kit | Skylight reflashing or replacement |
| Ice buildup at the eaves each winter | Missing or insufficient ice-and-water membrane | Membrane upgrade at eaves |
How to Choose the Right Combination for Your Home
Most GTA homes need a layered combination of these techniques rather than a single fix. A typical asphalt shingle roof relies on self-adhered membrane at the eaves and valleys, synthetic underlayment across the field, properly installed step and counter-flashing, sealed penetrations, and a functioning attic ventilation system working together. A flat roof relies almost entirely on membrane quality, seam integrity, and drainage slope. Knowing which category your roof falls into — and which of the ten techniques above it’s currently missing — is the first step toward stopping a leak for good rather than chasing it season after season.
If you’re not sure where your roof stands, the fastest path to clarity is a physical inspection. Our crews serve homeowners across Toronto, Peel Region, York Region, Halton Region, and Durham Region, and every inspection includes a plain-language explanation of exactly which of these techniques your roof needs and which are already working fine.
Summer Maintenance Window: Why Now Is the Right Time
July is one of the best times of year in the GTA to have waterproofing work done. The roof deck is dry, membrane adhesives cure properly in warm weather, and any work completed now has the entire fall and winter freeze-thaw season to prove itself before spring meltwater arrives. Waiting until October or November means competing for scheduling against every other homeowner rushing to beat the first frost, often at a rushed pace that isn’t ideal for adhesive-based membrane products.
What is the most effective roof waterproofing technique for a Toronto home?
How often should roof waterproofing be inspected or renewed?
Can roof waterproofing be done without a full roof replacement?
Why does my roof still leak even though the shingles look fine?
Is roof waterproofing different for flat roofs versus sloped roofs?
How much does professional roof waterproofing cost in the GTA?
Need Help With Top 10 Effective Roof?
Water always finds the weakest point in a roof system, which is exactly why a layered, professional approach matters more than any single product. Universal Roofs has been diagnosing and solving these problems across the GTA since 2005, and our teams know exactly which of these ten techniques your roof needs.
Call us today at (416) 732-2421 or request a free inspection to get started.
Universal Roofs proudly serves Toronto, Mississauga, Brampton, Vaughan, Markham, Oakville and the GTA since 2005.