
A severe summer thunderstorm rolls through the Greater Toronto Area, the wind dies down, the sun comes back out, and from the driveway your roof looks… fine. This is precisely the moment when the most costly roofing mistakes get made. Understanding why damaged shingles are crucial to address post storm is not about panic or upselling — it is about recognizing that asphalt shingles fail in ways that are often invisible from ground level, and that the seven to fourteen days after a storm are the window in which small problems either get fixed cheaply or quietly become expensive ones.
At Universal Roofs, we have inspected thousands of GTA roofs in the days following hailstorms, straight-line windstorms, and the freeze-thaw cycles that bookend our Canadian winters. The pattern is remarkably consistent: homeowners who schedule a professional inspection within two weeks of a storm catch damage while it is still a simple shingle repair. Homeowners who wait — often because the roof “looks okay” — tend to discover the same damage six months later as a stained ceiling, a mouldy attic, or a denied insurance claim because the loss was reported too late.
This guide walks through exactly what happens to shingles during a storm, why the damage is dangerous even when it looks minor, how to inspect safely, what a professional assessment involves, and how the timeline interacts with both your roof repair options and your home insurance policy. Our goal is to give Toronto-area homeowners a genuinely useful reference, not a sales pitch.
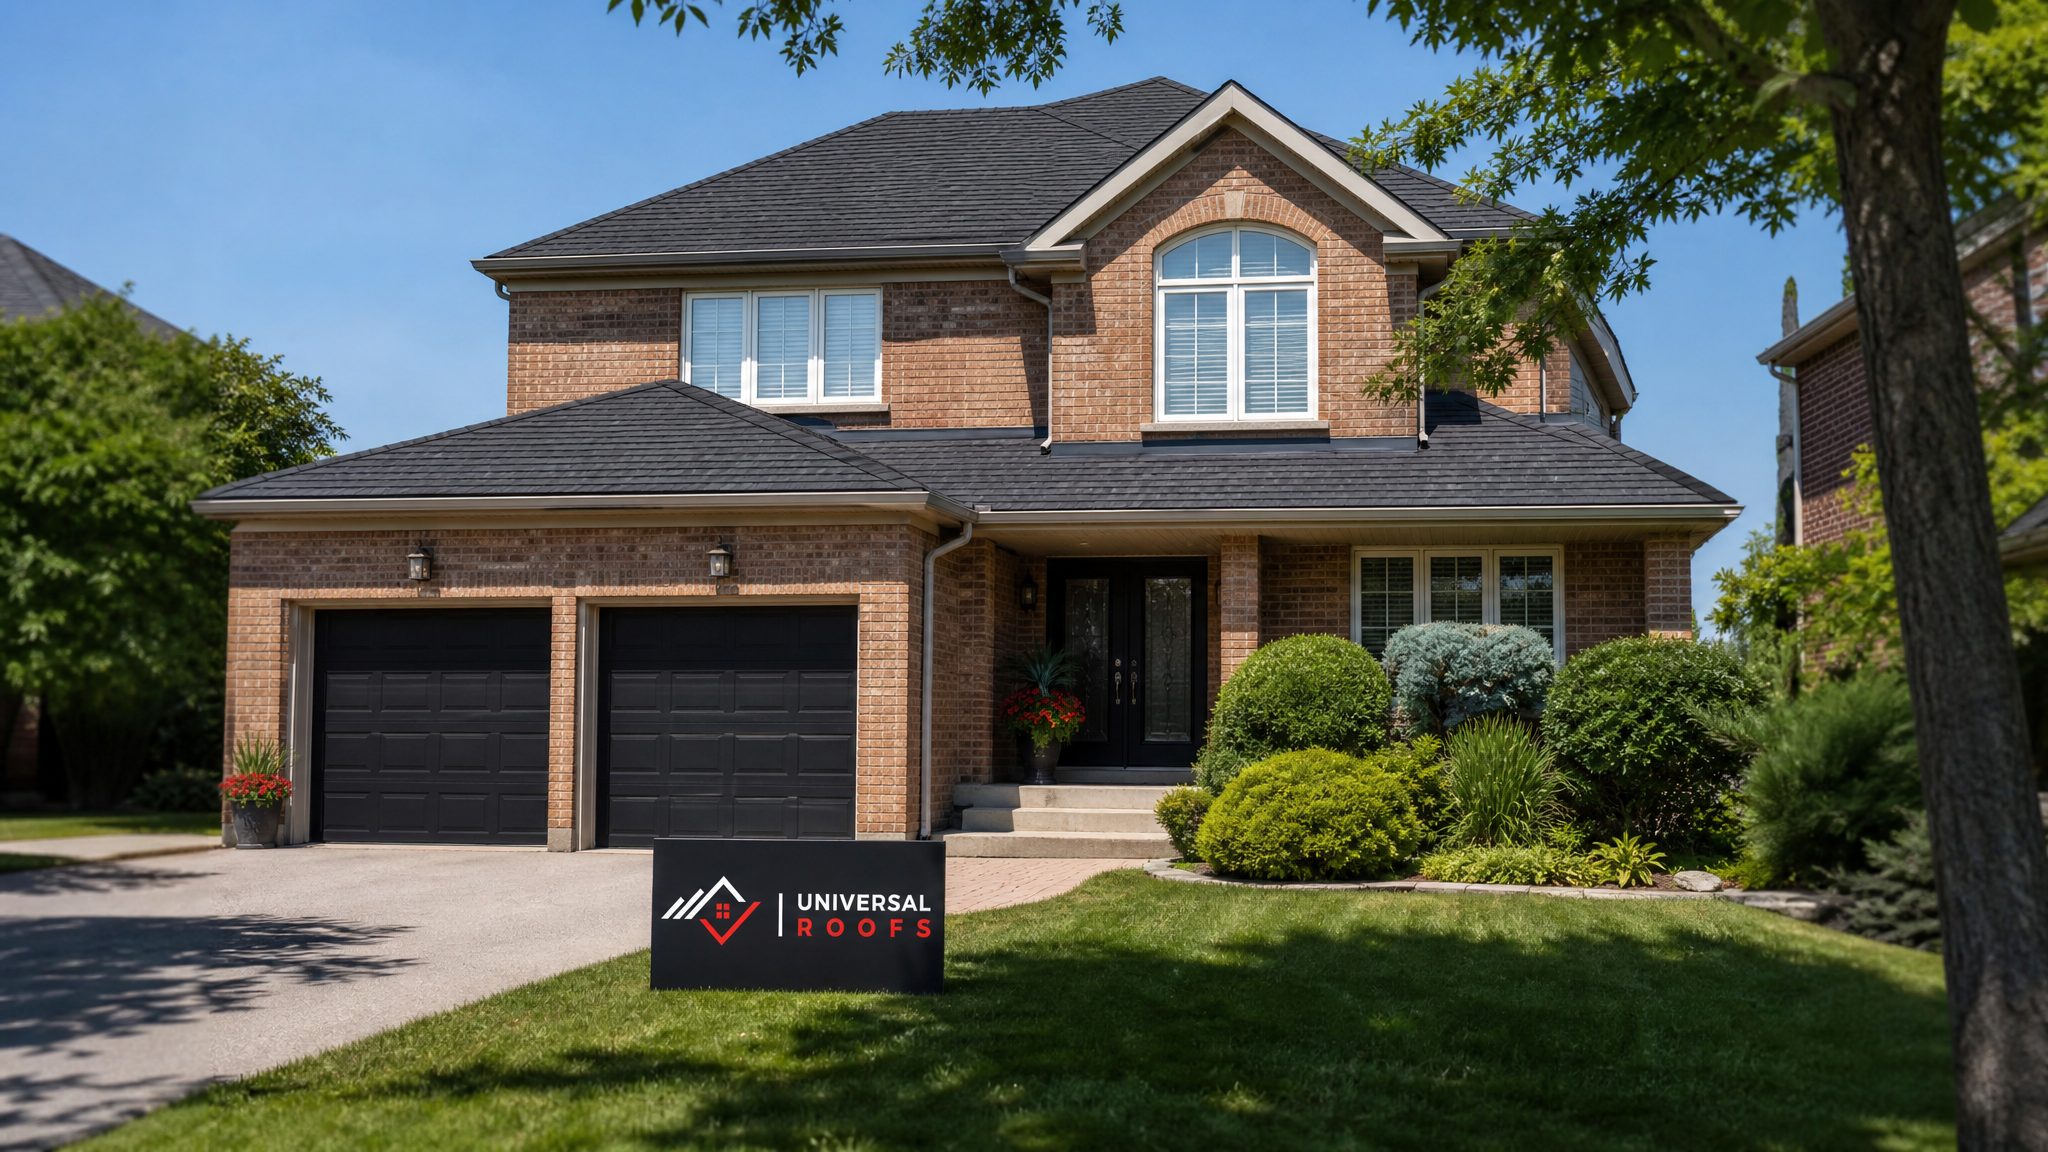
How Storms Actually Damage Asphalt Shingles
Most homeowners picture storm damage as missing shingles scattered across the lawn. That is the most obvious form of damage, but it is far from the only one, and in our experience it is not even the most common. Shingles fail in several distinct ways during high wind, hail, and heavy rain events, and each type of damage has a different risk profile.
Wind uplift and creasing happens when gusts get underneath the shingle tab and flex it upward. If the wind is strong enough, the sealant strip that bonds each shingle to the one below tears and the shingle blows off entirely. More often in Toronto’s climate, the wind is just strong enough to break the seal without removing the shingle — leaving it “creased” or loosely resting in place. It looks intact from the ground, but the watertight bond is gone.
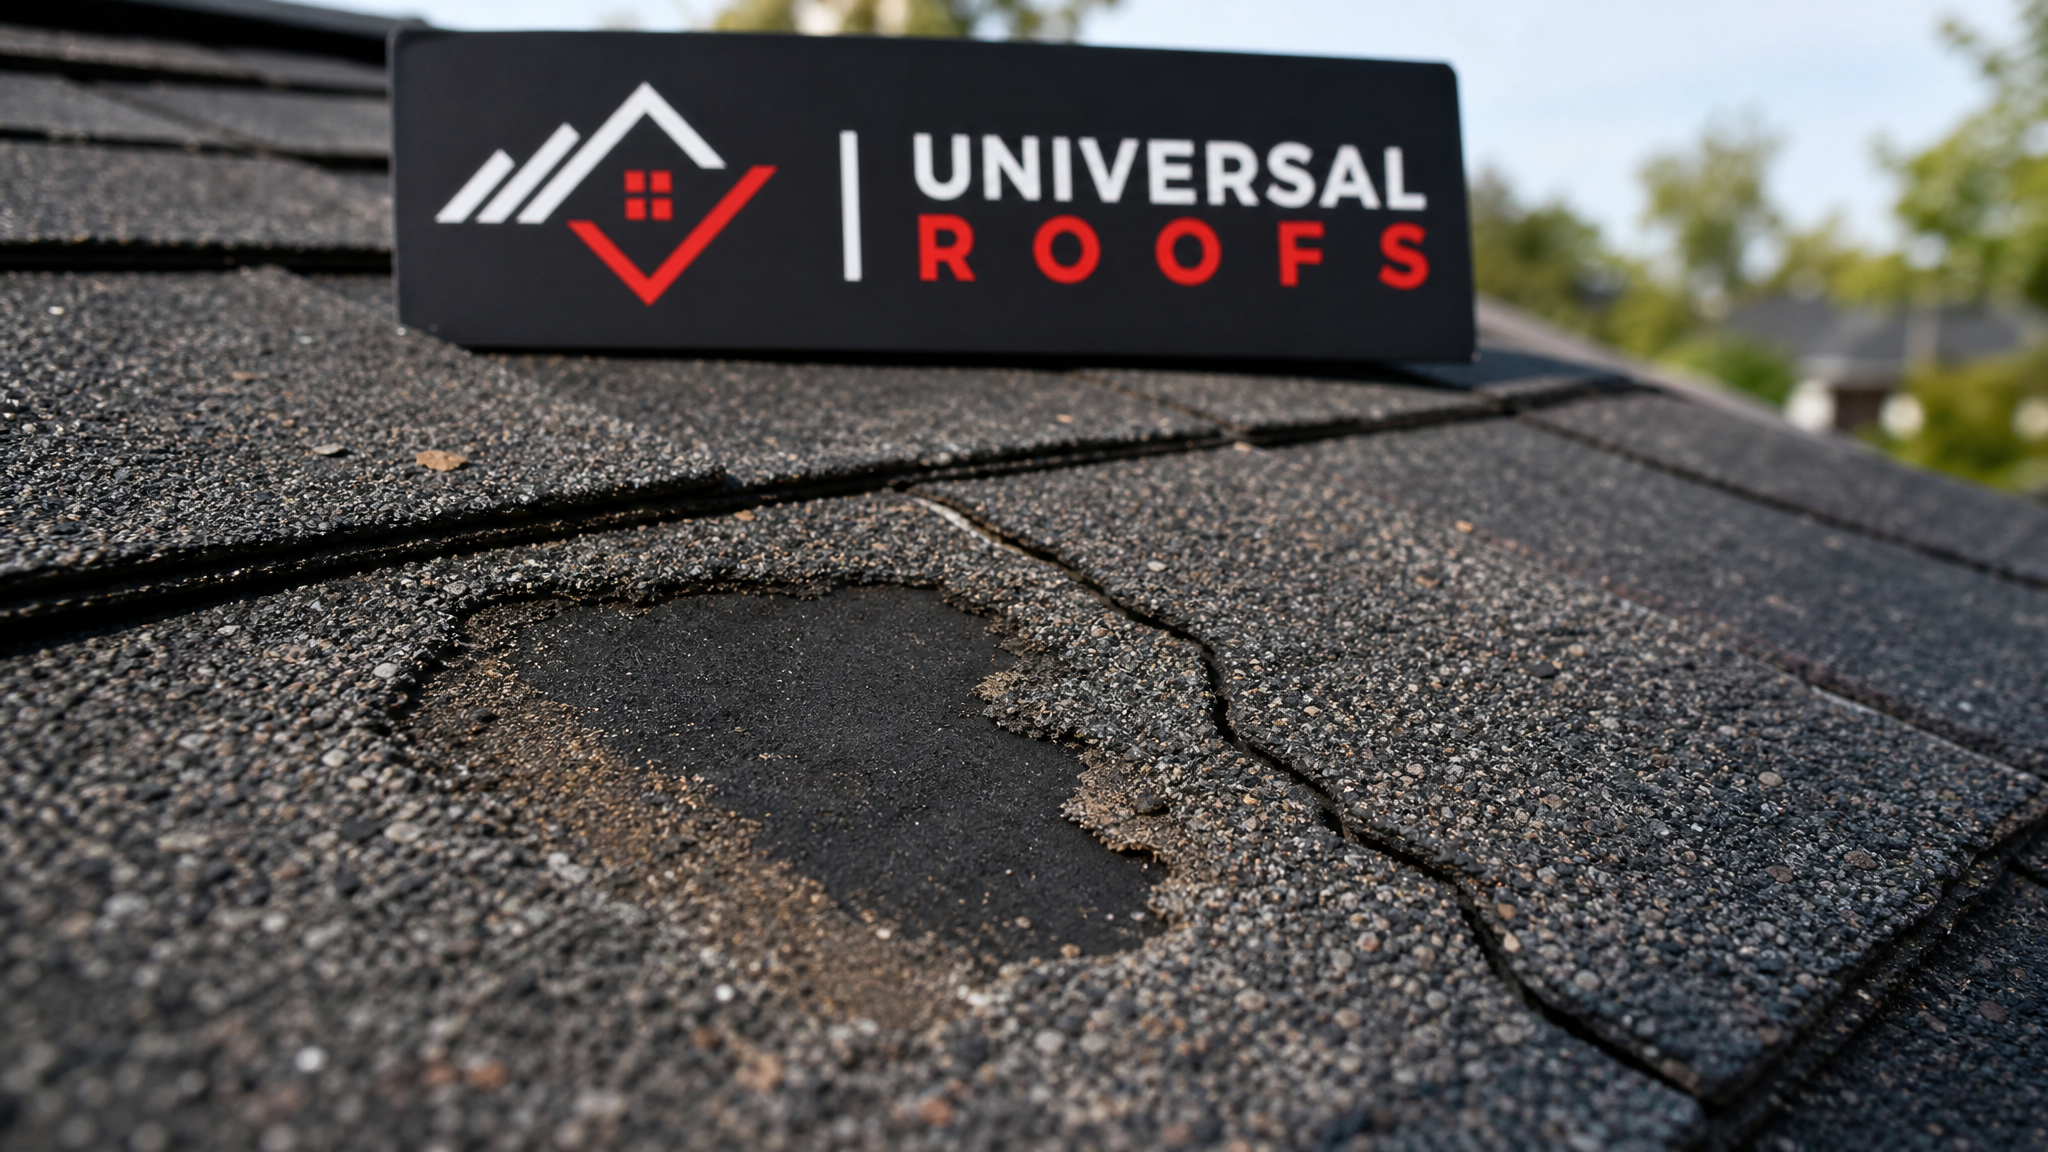
Granule loss occurs when wind-driven rain or hail strips away the protective mineral granules embedded in the shingle’s surface. Those granules block UV radiation and add fire resistance; without them, the underlying asphalt mat degrades rapidly under sun exposure. A shingle that has lost granules is still “there,” but its remaining lifespan has been cut dramatically.
Cracking and bruising is typical of hail impact. A hailstone strikes the shingle, and depending on size and speed, either cracks the mat outright or leaves a soft “bruise” that will crack later as the shingle continues to flex through seasonal temperature swings. Bruised shingles are notoriously difficult to spot without a trained eye or a chalk-test inspection.
Lifted or torn flashing around chimneys, vents, and valleys is a secondary but very common storm casualty. Flashing failures often get blamed on “old shingles” when the real cause was wind prying up a metal edge during the last storm.
| Damage Type | What It Looks Like | Visible From Ground? | Typical Risk if Ignored |
|---|---|---|---|
| Wind uplift / broken seal | Shingle edges look slightly raised or wavy | Rarely | Water infiltration on next rain event |
| Granule loss | Bald, shiny patches on shingle surface | Sometimes, from a distance | Accelerated UV degradation, early failure |
| Hail cracking/bruising | Circular soft spots or hairline cracks | No, requires close inspection | Splitting and leaks within one season |
| Missing shingles | Bare patch of exposed underlayment or decking | Yes | Immediate active leak risk |
| Lifted flashing | Gap or bend at chimney, vent, or valley edges | Rarely | Concentrated leaks at penetration points |
Why “It Looks Fine From the Ground” Is a Dangerous Assumption
The single biggest reason damaged shingles go unaddressed after a storm is that the damage genuinely is not visible from a standing position on the driveway or even from a second-storey window. Asphalt shingle roofs are engineered to shed water efficiently when every layer — shingle, sealant strip, underlayment, and flashing — is intact. The moment any one of those layers is compromised, water finds the path of least resistance, and that path is rarely a straight line down to the exact spot where you will notice a stain.
Water that enters through a broken seal or a cracked shingle often travels laterally along the underlayment or roof decking before it finds a gap, a nail hole, or a seam to drip through into the attic. By the time a ceiling stain appears inside the home, the water has typically been intruding for weeks or months. In Toronto’s climate, that intrusion period frequently spans a full freeze-thaw cycle, during which trapped moisture expands as ice, widening the original crack and accelerating decking rot.
This is also why insurance adjusters and reputable roofing contractors alike insist on a proper inspection rather than a driveway assessment. A trained inspector walks the roof, checks for soft spots by hand and foot, examines the granule wear pattern, tests shingle flexibility, and inspects every flashing point and valley — none of which can be done accurately with binoculars from the ground.
The Domino Effect: What Happens When Repairs Are Delayed
Understanding why damaged shingles are crucial to address post storm really comes down to understanding the cascading sequence of failures that follows a delay. It rarely stays a single-shingle problem.
Within the first few weeks, a compromised shingle allows minor moisture into the underlayment. If caught here, the fix is typically a straightforward, inexpensive shingle or flashing repair. Left through one or two more rain events, moisture reaches the wood roof decking. Plywood or OSB decking that stays damp begins to soften, and nails that once held shingles tight start to lose their grip, which in turn makes surrounding shingles more vulnerable to the next windstorm.
Given a full season, trapped moisture in the attic space raises humidity levels enough to support mould growth on the underside of the decking and on insulation. This is when the problem stops being a roofing issue and becomes an indoor air quality and structural issue — one that costs significantly more to correct and can affect resale value and home inspections down the line.
We have replaced entire sections of roof decking on jobs that started as a homeowner mentioning “a couple of shingles look a bit off” after a windstorm eight months earlier. The shingle repair itself would have taken an afternoon. The decking replacement, insulation removal, and interior drywall repair took the better part of a week.
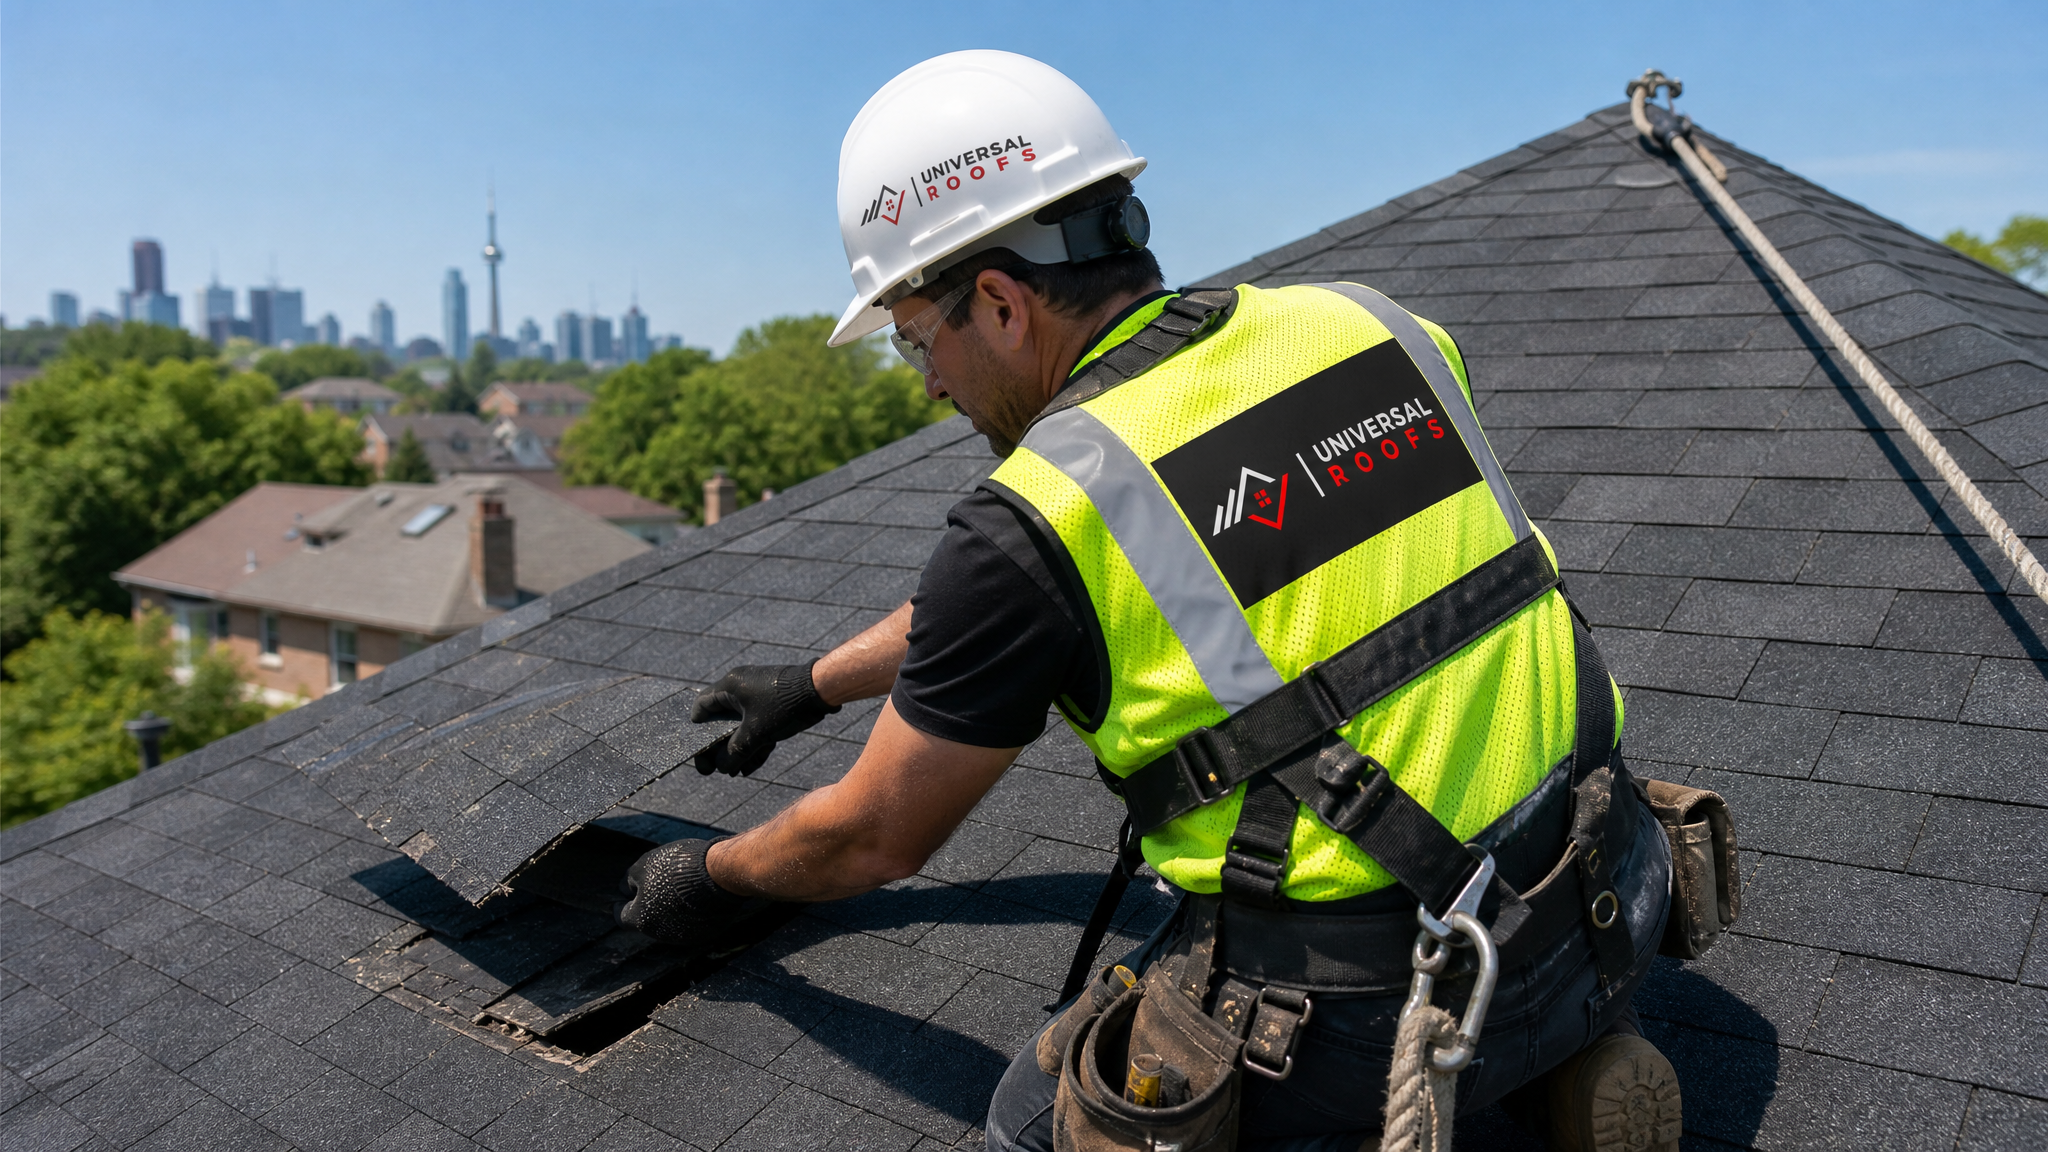
DIY Ground-Level Checks You Can Safely Do First
We do not recommend homeowners climb onto a roof after a storm — wet or debris-covered shingles are slippery, and fall injuries are far more common and far more serious than most people assume. However, there is a useful amount of information you can gather safely from the ground or from an upstairs window using binoculars.
Start with the eavestroughs and downspouts. After any significant storm, walk the perimeter of the house and look at what has collected in the gutters. A handful of dark mineral granules is normal wear over years, but a noticeably heavier-than-usual pile of granules right after a hailstorm is a strong signal that shingles across the roof took an impact.
Next, scan the roof plane itself for colour irregularities. Storm-damaged shingles often appear as slightly darker or shinier patches compared to the surrounding surface, because the lost granules expose the black asphalt beneath. Also look along roof edges and ridges for shingles that appear lifted, curled, or misaligned compared to their neighbours.
Check the yard and gutters for any shingle fragments, especially around the base of downspouts. Inspect the attic from inside the home with a flashlight, looking for new water spots on the underside of the roof decking, damp insulation, or a musty smell — all early indicators of an active leak even before ceiling staining appears.
Finally, photograph everything with a timestamp, including the date of the storm itself from local weather records. This documentation matters significantly if you end up filing an insurance claim.
| Ground-Level Check | What To Look For | Tools Needed | Follow-Up Action |
|---|---|---|---|
| Gutters and downspouts | Excess granules, shingle fragments | Ladder (short, stable) or binoculars | Book a full roof inspection |
| Roof surface from a distance | Dark/shiny bald patches, curling edges | Binoculars, smartphone zoom | Photograph and note location |
| Yard and driveway | Loose shingle pieces or granule piles | None | Bag as evidence for insurance |
| Attic interior | Water stains, damp insulation, odour | Flashlight | Call a professional immediately if found |
| Weather records | Confirmed storm date, wind speed, hail size | Environment Canada archive | Attach to insurance claim documentation |
What a Professional Post-Storm Inspection Involves
When our crews respond to a post-storm inspection request in Toronto, Mississauga, Vaughan, or elsewhere in the GTA, we follow a consistent process designed to catch damage that a homeowner cannot safely or reliably assess alone.
The inspection begins on the ground, reviewing the same clues described above — gutter debris, visible damage patterns, and any interior signs the homeowner has already noticed. From there, a technician accesses the roof directly, using proper fall protection, and walks every plane of the roof rather than relying on a single vantage point.
On the roof, we check each shingle course for broken seals by gently lifting tabs to test adhesion, examine granule wear with a hand lens where hail impact is suspected, and flex-test shingles in shaded, cooler areas where cracking is more likely to show. We pay particular attention to valleys, chimney flashing, plumbing vent boots, and skylight curbs, since these penetration points fail disproportionately often compared to open shingle field. If your home has a skylight, storm inspections should always include the flashing around its frame, since that is one of the most common leak origins after wind events.
We also check the attic from the inside, looking at the underside of the decking for moisture staining, checking insulation for dampness, and confirming that ventilation baffles have not been dislodged by wind. A roof can look completely fine on the exterior while the attic already shows early staining — this cross-check is one of the most valuable parts of the inspection.
The result is a written report identifying every finding, photographs of specific problem areas, and a clear recommendation: monitor, spot-repair, or in cases of extensive or widespread damage, discuss a full roof replacement instead of a patchwork of repairs.
Repair Timelines and What Delay Actually Costs
One of the most persuasive arguments for prompt action is simply the cost curve. Roofing damage does not get cheaper to fix with time — it gets more expensive, and the rate of increase is not linear. A single displaced shingle repaired within days of a storm is a minor job. The same displaced shingle, left through several more rain events and a winter freeze-thaw cycle, frequently becomes a decking repair, an insulation replacement, and in the worst cases, interior drywall and mould remediation.
The table below reflects the general pattern we see across GTA jobs — actual costs vary by roof size, pitch, and material, but the trend holds consistently.
| Time Since Storm | Typical Damage State | Typical Repair Scope | Relative Cost |
|---|---|---|---|
| 0–2 weeks | Loose seals, minor cracking, isolated missing shingles | Spot shingle repair | Lowest |
| 1–3 months | Minor moisture reaching underlayment | Repair plus underlayment patch | Moderate |
| 3–8 months | Decking softening at leak point | Localized decking replacement | Higher |
| 8+ months / full season | Attic moisture, insulation damage, possible mould | Decking, insulation, interior repair, remediation | Highest |
The timeline above is also why we encourage homeowners not to wait for “a more convenient time” to schedule an inspection. A roof repair booked promptly after a storm is almost always a same-visit or single-day job. The version of that same repair booked eight months later, after a winter of freeze-thaw cycling has worked on the original crack, is a substantially larger project.
Insurance Claims: Why the Post-Storm Window Matters Twice Over
Beyond the physical cost of delayed repair, there is a second, entirely separate reason timing matters: most Canadian home insurance policies include language around prompt reporting of storm-related damage, and some adjusters will scrutinize claims filed long after a documented weather event.
Insurers can reasonably question a claim filed eight months after a storm, asking whether the damage was actually storm-related or the result of ordinary wear, deferred maintenance, or an unrelated later event. A claim filed within days or a couple of weeks of a confirmed storm, backed by dated photographs and a professional inspection report, is far more straightforward to process and far less likely to be disputed or reduced.
We routinely provide homeowners with detailed, photographed inspection reports specifically formatted to support an insurance claim. This documentation identifies the type of damage, its likely cause, and its location on the roof — information that adjusters need and that is far harder to reconstruct months after the fact once granules have washed away or additional weather events have altered the roof surface.
Special Considerations for Flat Roofs and Skylights After a Storm
While this article focuses primarily on sloped asphalt shingle roofs, it is worth noting that many GTA homes — particularly additions, garages, and some older builds — include sections of flat roofing as well. Flat roof membranes respond differently to storms than shingles do; rather than lifting or cracking individually, damage tends to appear as membrane punctures from wind-blown debris or pooling water at seams that have separated. If your home has any flat roof sections, they deserve the same post-storm inspection urgency as the shingled areas.
Similarly, homes with skylights face a distinct storm risk at the flashing seams around the skylight frame. Even when the skylight glazing itself is undamaged, wind can work the surrounding flashing loose in the same way it lifts shingle seals. If your skylight is original to an older roof, a storm is also a reasonable moment to have a technician assess whether a skylight replacement makes more sense than a repeated flashing repair, particularly if the unit is nearing the end of its service life.
Homes with finished or storage space beneath the roof deck should also have their attic ventilation and insulation checked after any storm involving high winds, since dislodged baffles or vents can both reduce roof lifespan and mask early signs of moisture intrusion.
Summer Storms in the GTA: Why This Season Deserves Extra Attention
July and August in the Greater Toronto Area regularly bring severe convective thunderstorms, straight-line wind events, and occasional hail — often with very little advance warning compared to the more predictable winter storm systems. These summer storms combine high wind gusts with intense, short-duration downpours, which is precisely the combination that both loosens shingle seals and immediately tests that same compromised seal with heavy rain.
Summer inspections also have a practical advantage: warm shingles are more pliable and easier to work with than shingles in cold weather, which means repairs identified now can typically be completed cleanly in a single visit before autumn rains and eventual winter freeze-thaw cycling have a chance to make the damage worse. Homeowners across Toronto, the Peel Region, York Region, Halton Region, and the Durham Region who book a summer inspection after a storm are, in effect, taking advantage of the best repair conditions of the year.
Signs You Should Never Wait On
While a full professional inspection is always the safest path after any notable storm, certain signs indicate the situation has already moved past “monitor and schedule” into “call today.” Active dripping or visible water inside the home during or immediately after a storm means water has already breached multiple protective layers. A sagging section of ceiling or roofline is a structural warning sign, not just a cosmetic one. Visible daylight through the attic roof boards, a sudden musty smell in upper-floor rooms, or shingles found in the yard following high winds all warrant an immediate call rather than a wait-and-see approach.
In each of these cases, the cost of an emergency response is almost always lower than the cost of the damage that continues to accumulate during a delay.
How Universal Roofs Approaches Post-Storm Assessments
Since 2005, we have built our post-storm process around thoroughness rather than speed for its own sake. Every inspection includes a full walk of the roof surface, attic cross-check, and photographed documentation, whether the outcome is a simple shingle repair or a broader conversation about full replacement. We aim to give homeowners an honest, evidence-based recommendation rather than defaulting to the most expensive fix, and we are transparent about what can wait, what should be scheduled soon, and what needs immediate attention.
You can see how we have handled similar situations for other GTA homeowners on our reviews page, and our FAQ page covers additional common questions about scheduling, insurance documentation, and repair scope. To learn more about our history and approach, visit our about page.
Why are damaged shingles crucial to address post storm rather than waiting?
Can I tell if my shingles are storm-damaged just by looking from the ground?
How soon after a storm should I schedule a shingle inspection?
Will my home insurance cover storm-damaged shingle repair?
What happens if damaged shingles are left unaddressed for months?
Is a full roof replacement ever necessary after storm shingle damage?
Need Help With Why Are Damaged Shingles?
If a recent storm has left you wondering whether your shingles need attention, do not wait for a small problem to become a large one. Universal Roofs has been inspecting and repairing GTA roofs since 2005, and we can tell you exactly what your roof needs and why.
Call us today at (416) 732-2421 or request a free inspection to get started.
Universal Roofs proudly serves Toronto, Mississauga, Brampton, Vaughan, Markham, Oakville and the GTA since 2005.