
A small leak rarely stays small in the GTA. Between spring downpours, summer thunderstorms, and the freeze-thaw cycles that hammer Toronto roofs every winter, a neglected crack or lifted shingle can turn into a soaked attic within a single season. That is why Universal Roofs gets so many calls asking the same question: when is it safe to patch a roof yourself, and when does the damage need a professional repair? This guide breaks down roof patching into four essential, timely tips that homeowners across Toronto and the surrounding regions can use to make the right call before a minor issue becomes a major renovation.
Roof patching is not a single technique — it is a category of repair that changes depending on the roofing material, the location of the damage, and how quickly you act after noticing a problem. A patch applied within days of discovering a lifted shingle behaves very differently than one applied after months of water intrusion have already softened the decking underneath. Timing, material choice, and proper technique are the three variables that determine whether a patch lasts five years or fails in the next rainstorm.
Throughout this article we will walk through the warning signs that signal it is time to patch, the materials and methods that hold up best in our climate, the step-by-step process a qualified roof repair technician follows, and the point at which patching stops making financial sense and full roof replacement becomes the smarter investment. We will also cover flat roof membranes, skylight flashing, and attic ventilation issues that often masquerade as simple leaks.
Tip One: Recognize the Warning Signs Before They Become Emergencies
The single biggest factor separating a $300 patch from a $3,000 repair is how quickly the damage is identified. Most roofing failures in the GTA do not happen suddenly — they build slowly through a combination of UV exposure, wind uplift, ice damming, and ordinary material fatigue. Homeowners who inspect their roof twice a year (spring and fall are ideal) catch problems while they are still small and localized.
Look for these early indicators from the ground with a pair of binoculars, or better yet, from your attic with a flashlight during daylight hours:
- Granules collecting in gutters or at the base of downspouts, which signals asphalt shingles are wearing thin
- Curling, cupping, or cracked shingle edges, especially on south and west-facing slopes that take the most sun
- Dark streaks or stains on interior ceilings, particularly near chimneys, vents, or skylights
- Daylight visible through the attic roof deck, or damp insulation after a rainstorm
- Rusted, lifted, or separated flashing around any roof penetration
- Sagging sections of the roofline, which can indicate deeper structural moisture damage
Any one of these signs on its own may only need a localized patch. Multiple signs appearing together, or signs that keep recurring in the same spot after a previous patch, usually mean the underlying decking or membrane has already failed and a larger repair is warranted. If you are unsure which category your roof falls into, our team offers a straightforward assessment — you can request a free inspection and get a clear answer rather than guessing.
Tip Two: Match the Patch Material to the Roofing System
Not all patches are created equal, and using the wrong product is one of the most common DIY mistakes we see. Asphalt shingle roofs, flat membrane roofs, and metal roofs each require a different repair approach, and mixing techniques — for example, using roofing cement meant for asphalt on a modified bitumen flat roof — almost always leads to premature failure.
| Roof Type | Recommended Patch Material | Typical Lifespan of Patch | Best Applied When |
|---|---|---|---|
| Asphalt shingle | Matching shingle + roofing cement/sealant | 5-10 years | Dry, above 10°C |
| Flat / modified bitumen | Torch-applied or peel-and-stick membrane patch | 8-12 years | Warm, low humidity |
| EPDM rubber membrane | EPDM primer + seam tape or liquid rubber | 10-15 years | Above 5°C, surface clean and dry |
| Metal roofing | Butyl tape + matching metal flashing | 10-20 years | Any season, avoid extreme cold for sealants |
| Skylight flashing | Step flashing + counter-flashing, sealant | 10-15 years | Dry conditions, professional install recommended |
Homes throughout the Toronto core tend to have a higher proportion of older asphalt shingle roofs on steep-slope designs, while many properties in Peel Region and newer developments across York Region feature a mix of shingle and low-slope flat sections over garages, additions, and porches. If your home has a flat roofing section, patching it correctly requires membrane-specific materials — asphalt shingle products will not bond properly and can trap moisture underneath, accelerating rot in the deck below.
Tip Three: Time Your Patch Around Toronto’s Climate, Not the Calendar
Timing matters as much as material selection. Roofing sealants, adhesives, and membrane materials all have an application temperature range, and applying them outside that range is one of the most overlooked reasons a patch fails within a year. Asphalt-based products need warmth to properly bond and self-seal; below roughly 10°C they become stiff and will not adhere correctly, which is exactly why late-October and November patch jobs in the GTA so often need to be redone the following spring.
That said, “wait until spring” is not always the right advice either. A leak that is actively soaking insulation or drywall does far more cumulative damage than the cold-weather limitations of a temporary patch. In these situations, a professional crew can perform an emergency weatherproofing patch — using techniques and materials rated for cold application — to stop water intrusion immediately, then schedule a permanent repair once temperatures allow for a proper seal.
| Season | Patch Suitability | Key Consideration | Recommended Action |
|---|---|---|---|
| Spring (Mar-May) | Excellent | Post-winter damage assessment | Full permanent patch or repair |
| Summer (Jun-Aug) | Excellent | Ideal bonding temperatures | Full permanent patch, ideal for flat roof membrane work |
| Fall (Sep-Nov) | Good, narrowing | Prep roof before winter | Complete repairs before first frost |
| Winter (Dec-Feb) | Emergency only | Cold-rated materials required | Temporary seal, permanent fix in spring |
Because summer offers the widest and most forgiving window for permanent repairs, July is genuinely one of the best months to address any patch you have been putting off. Warm shingles are more pliable and less prone to cracking during the repair itself, sealants cure fully within hours rather than days, and flat roof membrane seams bond far more reliably in dry, warm conditions. If your roof has been on your to-do list all spring, this is the moment to act rather than waiting for autumn urgency to force the issue.
Tip Four: Know the Proper Patching Process — and When to Call a Professional
A durable patch follows a consistent sequence regardless of roofing material. Skipping steps to save time is the single most common reason a DIY patch fails within a season.
| Step | Task | Why It Matters | Common Mistake |
|---|---|---|---|
| 1 | Clear debris and dry the area completely | Adhesives will not bond to wet or dirty surfaces | Patching over damp decking traps moisture |
| 2 | Inspect and remove any rotted decking beneath the damage | A patch over compromised wood will fail regardless of surface material | Only fixing the visible surface, not the substrate |
| 3 | Cut back damaged material to a clean, square edge | Irregular edges create weak points for water entry | Leaving frayed or curled shingle edges in place |
| 4 | Apply matching material and seal all edges and fasteners | Consistent material prevents differential expansion and premature cracking | Using mismatched or incompatible sealants |
| 5 | Inspect surrounding flashing and fasteners for secondary damage | A patch is only as good as the roof system around it | Ignoring nearby flashing that is also failing |
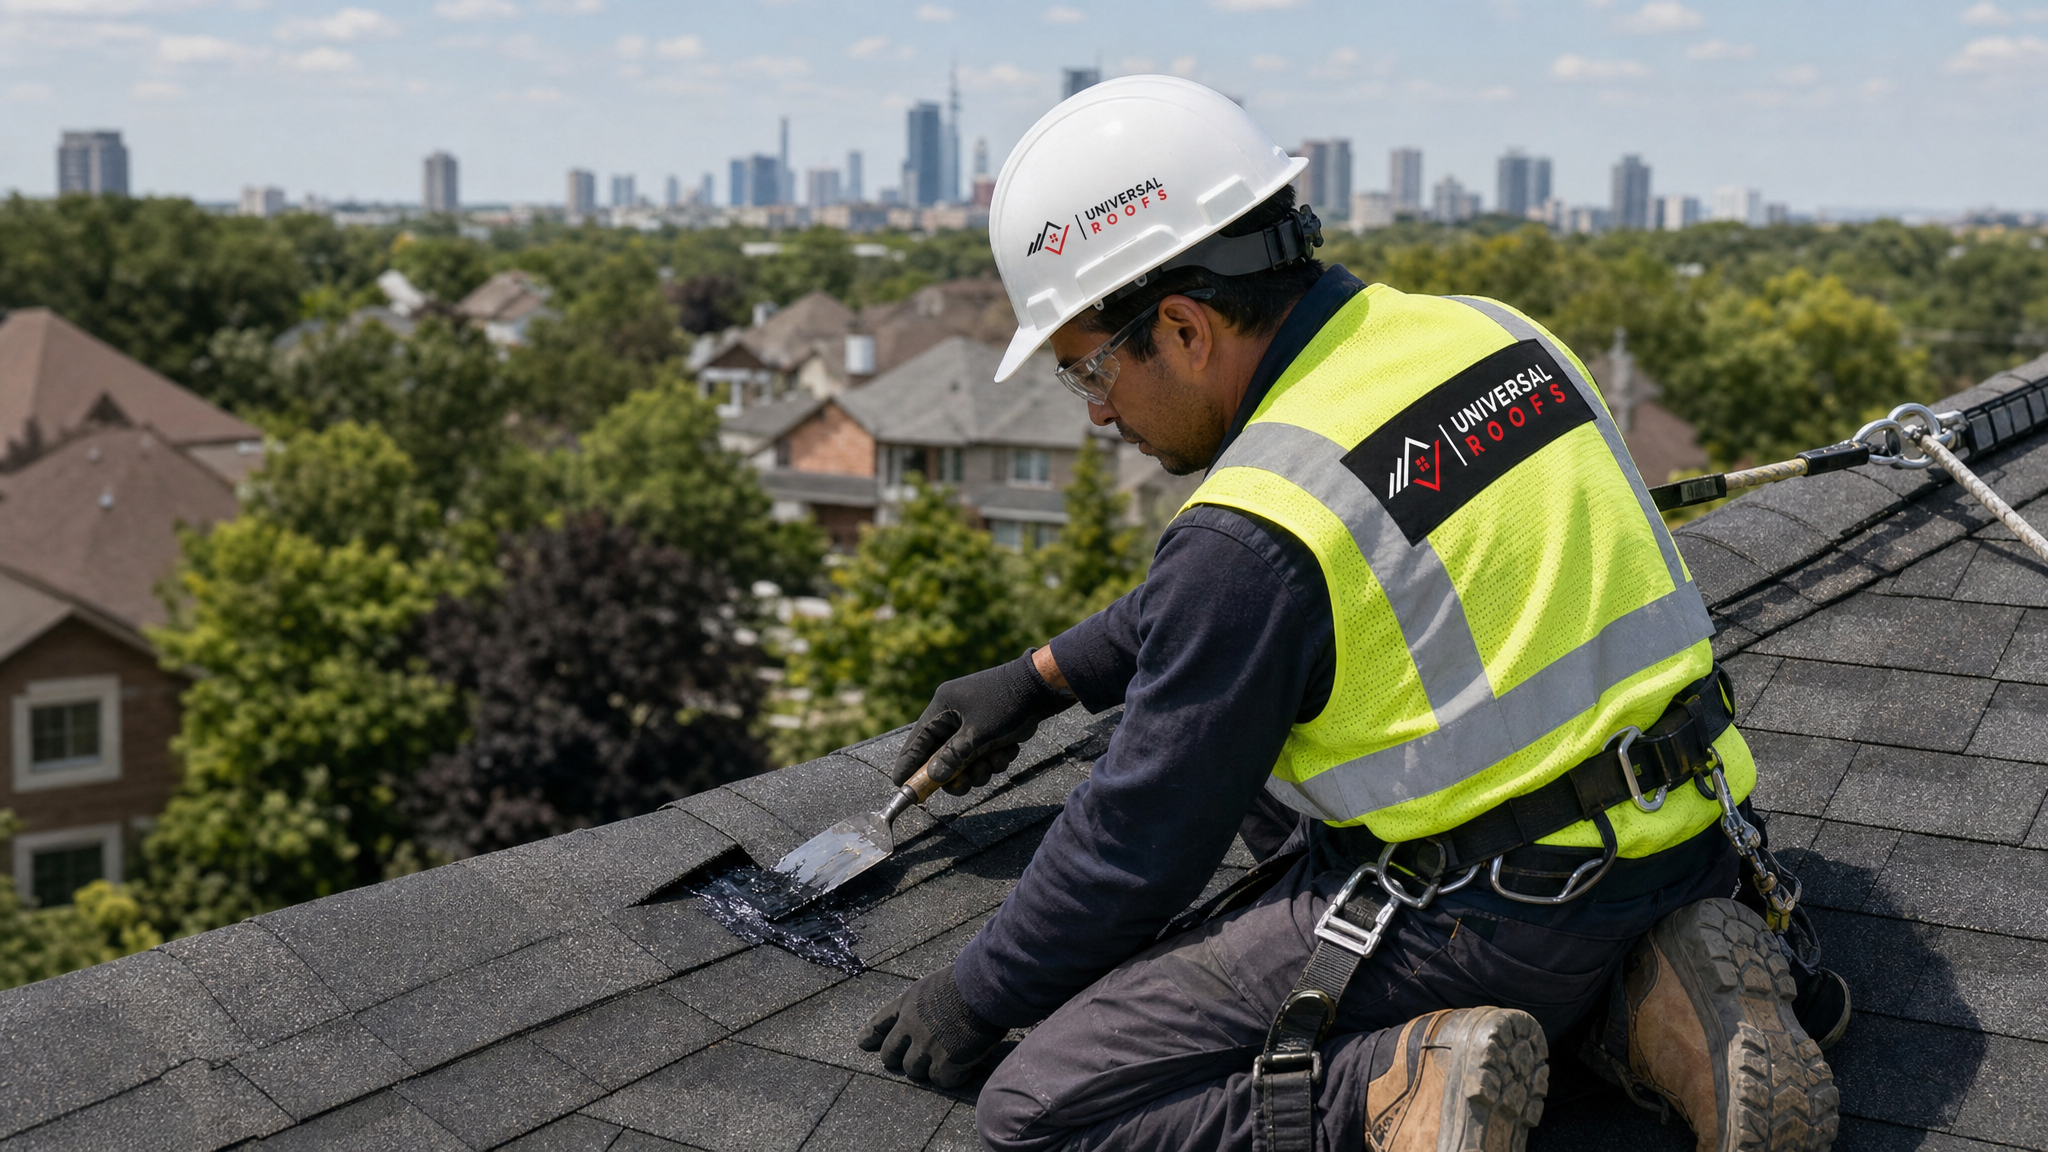
Homeowners can safely handle very minor tasks, such as reapplying a small dab of roofing sealant around an exposed nail head, provided they can access the area safely from a stable ladder without walking on the roof surface. However, most patching work involves risks that go beyond the roofing itself — working at height, on a pitched or wet surface, near power lines, or around chimneys and vents requires the harnesses, fall-protection lines, and training that professional crews use as standard practice.
There is also a diagnostic skill involved that is easy to underestimate. Water rarely enters a roof at the exact spot where it appears on your ceiling; it often travels along rafters or sheathing before dripping at a lower point. A trained technician traces the actual entry point — frequently near a skylight, chimney, or vent penetration — rather than simply patching where the stain is visible. If your skylight is the source of repeated leaks around its frame, in many cases a full skylight replacement resolves the issue permanently rather than requiring repeated flashing patches on an aging unit.
When a Patch Is Enough — and When It Is Time to Consider Replacement
Patching makes sense when the damage is localized, the roofing material is less than two-thirds through its expected service life, and the underlying deck is sound. It stops making financial sense once a roof needs the same area patched repeatedly, once granule loss and curling are widespread rather than isolated, or once the deck itself shows signs of rot in multiple locations.
| Situation | Patch Recommended? | Approximate Cost Range | Notes |
|---|---|---|---|
| Single lifted shingle, roof under 12 years old | Yes | $250 – $600 | Quick, cost-effective fix |
| Isolated flashing leak around chimney or vent | Yes | $300 – $900 | Re-flash and reseal penetration point |
| Recurring leak in the same spot, patched twice already | Rarely | $800 – $2,000+ | Underlying deck likely needs replacement |
| Widespread granule loss across multiple slopes | No | N/A | Full roof replacement recommended |
| Roof over 20 years old with multiple problem areas | No | N/A | Patching becomes a short-term fix on a failing system |
An honest assessment matters here more than an upsell. At Universal Roofs, our technicians will tell you directly when a patch is the smarter, more economical choice, and we will only recommend full replacement when the numbers and the roof’s condition genuinely support it. You can see how we have handled these calls for other GTA homeowners on our reviews page, or browse common questions on our FAQ page before booking an assessment.
Don’t Overlook Attic Ventilation During a Patch
One factor that gets missed constantly in DIY patch jobs is attic ventilation. Poor airflow through the attic causes condensation that mimics a roof leak, and it also shortens the life of any new patch by trapping heat and moisture against the underside of the roof deck. Before assuming a stain is purely a leak from outside, check whether your attic has adequate intake and exhaust ventilation. In many older homes across the GTA, inadequate ventilation combined with ice damming in winter creates recurring “leaks” that are actually condensation or meltwater working its way past ice-blocked eaves rather than a failure in the shingles themselves.
If a patch keeps reappearing in the same location every winter despite proper repair technique, ask your contractor to evaluate attic insulation levels and ventilation balance alongside the roof surface itself. Addressing both at once prevents a cycle of repeated, ultimately unnecessary patch work.
Regional Considerations Across the GTA
Roofing conditions vary meaningfully across the region we serve. Homes in Halton Region and parts of Durham Region often see more direct lake-effect wind exposure, which accelerates shingle lifting along roof edges and ridge caps. Meanwhile, mature tree canopy in older Toronto neighbourhoods means more debris accumulation in valleys and gutters, which traps moisture against shingles and speeds up granule loss in shaded areas. Knowing your specific micro-climate helps prioritize where to inspect first and how often a repeat inspection makes sense.
Regardless of which municipality you are in, the fundamentals of Tip One through Tip Four apply consistently: catch the damage early, match the material to the roofing system, time the work around temperature and moisture conditions rather than convenience, and follow — or hire someone who follows — the full patching process rather than a surface-level fix.
What are the 4 essential timely tips for roof patching?
How long does a roof patch typically last?
Can I patch my own roof, or should I hire a professional?
What is the best time of year for roof patching in Toronto?
How do I know if a patch is enough or if I need a full roof replacement?
Does attic ventilation affect how well a roof patch holds up?
Need Help With Roof Patching 4 Essential?
Whether you have a single lifted shingle after a summer storm or a recurring leak that has been patched more than once, the team at Universal Roofs can give you a clear, honest assessment of what your roof actually needs. Learn more about our full range of services, from roof repair to roof replacement, and about our approach on our about page.
Call us today at (416) 732-2421 or request a free inspection to get started.
Universal Roofs proudly serves Toronto, Mississauga, Brampton, Vaughan, Markham, Oakville and the GTA since 2005.