
A sagging roofline is one of those problems that homeowners often notice long before they understand it. You glance up from the driveway, or you’re raking leaves in the backyard, and something about the ridge line or the edge of the roof just looks “off” — a soft dip, a wave, a bow where there should be a straight line. Uncovering the causes of roof sagging early is one of the most important things a homeowner can do, because a sagging roof is rarely a cosmetic issue. In almost every case, it’s a visible symptom of a structural problem happening out of sight, in the rafters, trusses, or decking above your ceiling.
At Universal Roofs, we’ve been inspecting, repairing, and replacing roofs across the Greater Toronto Area since 2005, and roof sagging is one of the most common “something looks wrong, can you take a look” calls we get. The good news is that a sag almost always has an identifiable, fixable cause. The challenging part is that several very different problems — from age-related wear to water damage to a botched renovation years ago — can all produce the same visual symptom. This guide walks through exactly how to spot a sagging roof, what’s actually happening structurally when it sags, the most common causes we see on Toronto-area homes, and what your realistic repair options look like.
If you’ve already noticed a dip or wave in your roofline, don’t wait. A small sag today can become a much larger structural repair — or a safety hazard — within a year or two, especially once winter snow loads are added on top of an already-weakened frame.
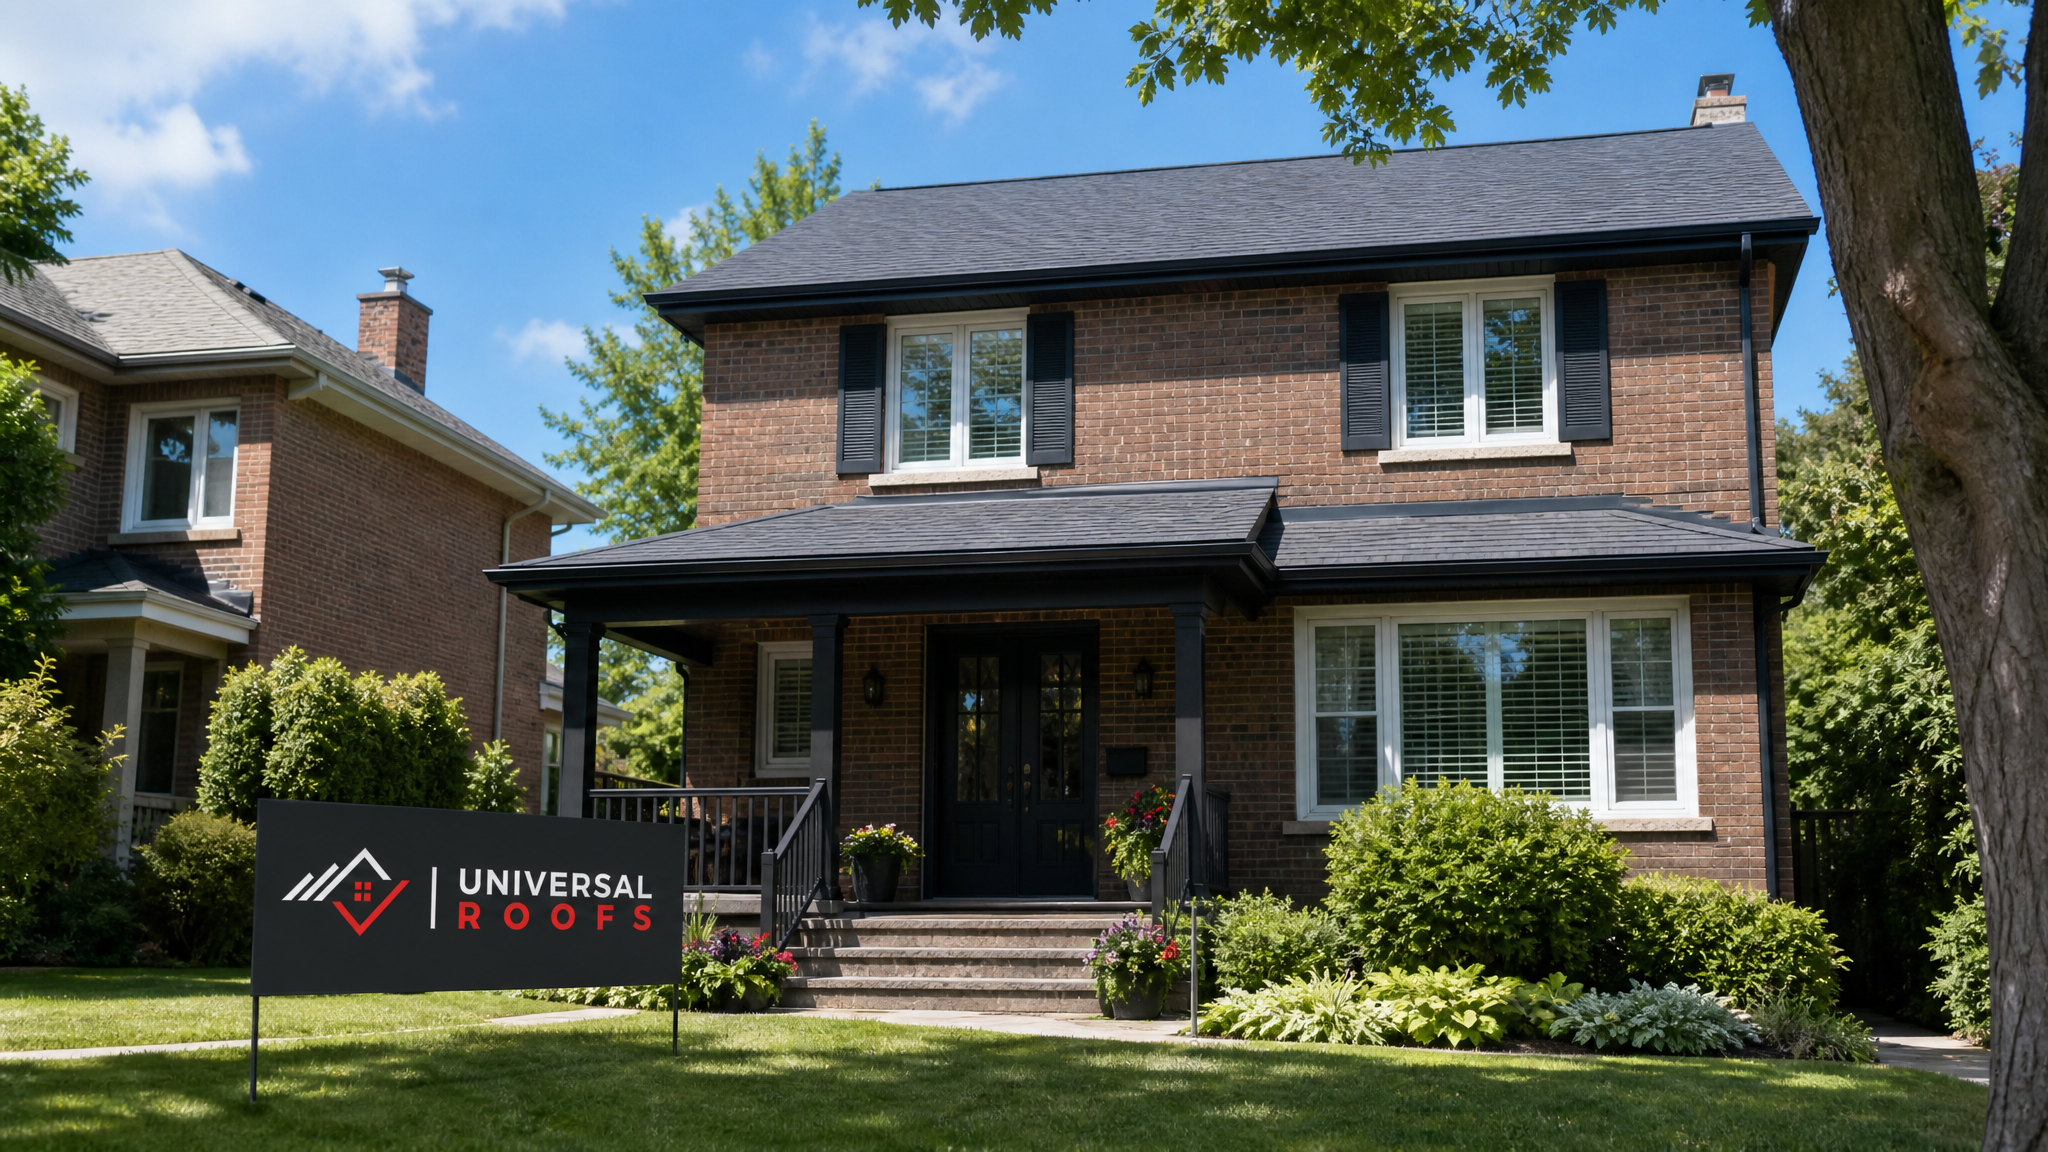
What Roof Sagging Actually Looks Like
Before getting into causes, it helps to know what you’re looking for. Roof sagging shows up in a few distinct patterns, and where the dip appears often tells an experienced roofer a lot about what’s causing it.
- Ridge sag: The horizontal line at the very peak of the roof dips downward in the middle instead of running perfectly straight. This is usually the most visible sign and often the most serious, because the ridge carries significant structural load.
- Rafter or truss sag between the ridge and the eave: You’ll see a wave or dish shape on one slope of the roof, usually between two rafters or trusses, rather than along the ridge itself. This often points to a localized problem, like a single damaged rafter or water-weakened decking.
- Eave or fascia sag: The lowest edge of the roof droops or pulls away from the fascia board. This is frequently tied to rot at the ends of the rafters where they meet the exterior wall.
- Valley sag: A dip where two roof slopes meet. Valleys handle a disproportionate amount of water runoff, so this pattern often signals long-term moisture damage.
The best way to check your own roof is to stand back at least 15 to 20 metres from the house — across the street works well — and sight down the ridge line and each slope from the side. A perfectly healthy roof reads as a series of straight, crisp lines. Even a shallow dip of a few centimetres is visible from this distance once you know to look for it. Binoculars can help confirm what you’re seeing.
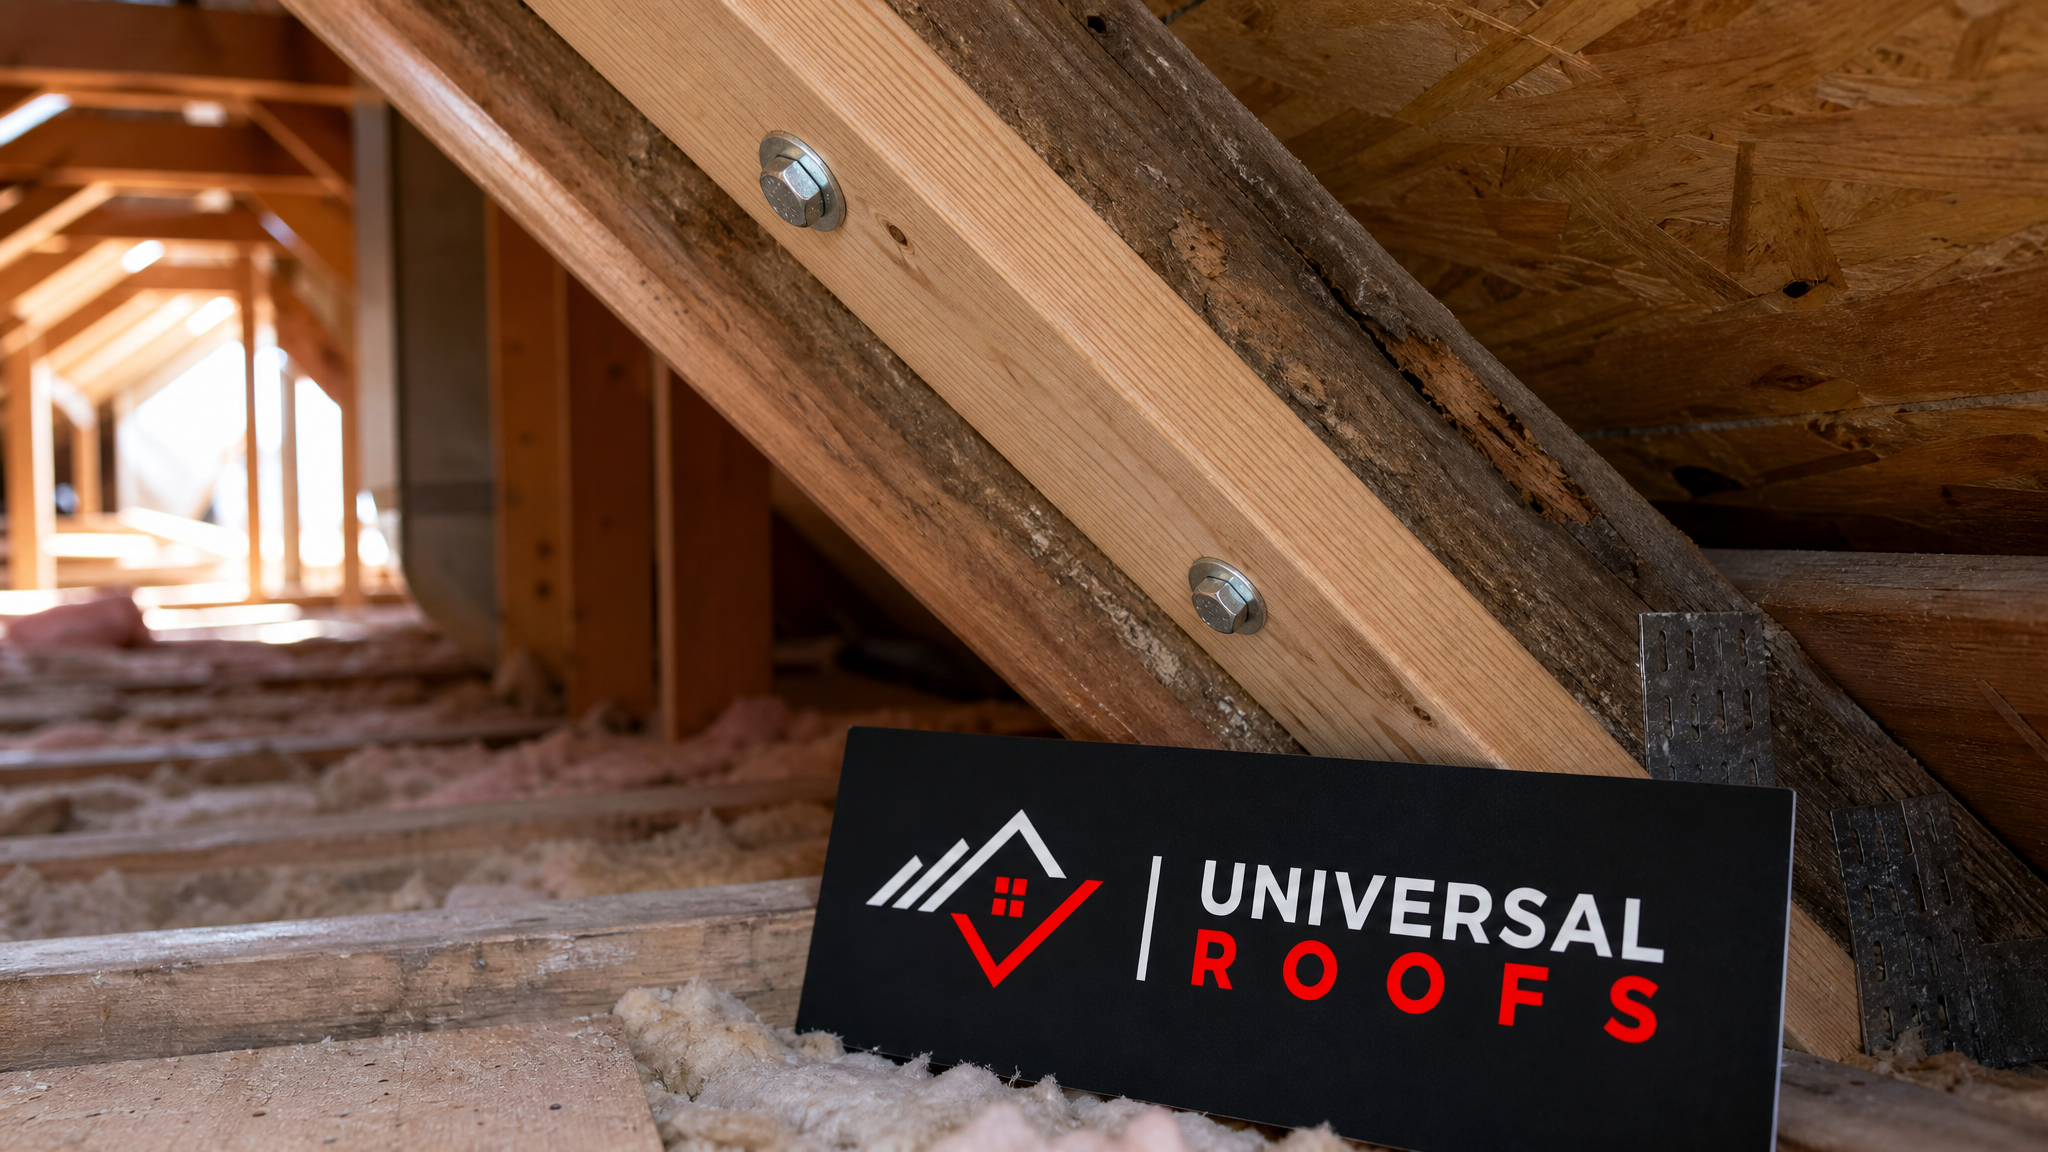
Inside the attic, sagging shows up as visibly bowed rafters, daylight gaps where boards have pulled apart, or truss members that no longer sit flush against their connector plates. If you can safely access your attic, this is often the fastest way to confirm what’s happening before calling in a professional.
The Structural Mechanics Behind a Sagging Roof
To understand why roofs sag, it helps to understand what they’re designed to resist in the first place. A roof structure — whether built with traditional rafters or engineered trusses — is designed to carry three main categories of load:
- Dead load: The permanent weight of the roofing materials themselves — shingles, decking, underlayment, and framing.
- Live load: Temporary weight added on top, most significantly snow accumulation in a Canadian winter, plus the occasional worker or equipment during maintenance.
- Lateral and wind load: Forces that push, pull, or twist the structure, particularly during storms.
Every rafter or truss is engineered with a safety margin above the expected combination of these loads. Sagging happens when something erodes that margin — either the load increases beyond what was planned for, or the structure’s ability to carry that load decreases due to damage, decay, or a design flaw. Once a wood member is stressed beyond its capacity, it doesn’t necessarily snap. Instead, it deforms gradually, which is exactly what produces that slow, creeping dip homeowners notice over months or years rather than overnight.
This is also why sagging tends to accelerate once it starts. A bowed rafter is structurally weaker than a straight one, even if no further damage occurs, because the wood fibres are already under tension and compression from the bend itself. That’s why what looks like a minor cosmetic dip today can become a significant structural repair — or in the worst cases, a partial collapse risk — within a relatively short window.
The Most Common Causes of Roof Sagging in GTA Homes
After inspecting thousands of roofs across Toronto, Mississauga, Brampton, Vaughan, Markham, and Oakville, we consistently see the same handful of root causes behind sagging rooflines. Understanding which one applies to your home determines the right fix.
1. Undersized or Aging Rafters
Many homes built in the GTA between the 1950s and 1980s used rafter dimensions that met the building codes of their era but are noticeably lighter than what’s required today, especially relative to modern snow load calculations. Over decades of freeze-thaw cycles and repeated snow loading, these rafters slowly lose their ability to hold a perfectly straight line, particularly if the original spacing between rafters was wider than ideal.
2. Water Damage and Wood Rot
This is, by a wide margin, the single most common cause we encounter. Water finds its way into a roof structure through failed flashing, cracked or missing shingles, ice damming at the eaves, or a poorly sealed skylight. Once moisture reaches the wood framing, rot sets in. Rotted wood loses most of its compressive and tensile strength, so even normal loads that the rafter handled for decades suddenly become too much. Rot-related sagging is often localized to one section of roof — frequently near a valley, chimney, or skylight curb, where water intrusion is most likely to originate.
3. Insufficient Attic Ventilation and Insulation
An improperly ventilated attic traps warm, moist air against the underside of the roof deck. In winter, this warm air melts snow from below, which then refreezes at the colder eaves, creating ice dams. Ice dams force water backward under the shingles and into the structure — a slow-motion version of the rot problem above, but one that tends to affect the entire eave line rather than a single spot. Poor ventilation also accelerates the natural aging of roof decking, making sagging more likely even without an obvious leak.
4. Excessive Weight From Multiple Roofing Layers
Ontario building code permits a maximum of two layers of asphalt shingles on most residential roofs, but we still regularly find homes with three or more layers stacked from decades of re-roofing without tear-off. Each additional layer adds substantial dead load — often 90 to 135 kilograms per 10 square metres for a standard architectural shingle layer — that the original structure was never designed to carry indefinitely. Combined with a heavy wet snowfall, this extra weight is a common tipping point for visible sagging.
5. Snow and Ice Load
The GTA’s winters bring repeated heavy, wet snow events, and roofs that were already compromised by age, rot, or undersizing often show their first visible sag after a particularly heavy snow season. Snow load sagging tends to appear suddenly, following a specific storm, rather than developing gradually, which is a useful clue when diagnosing the cause.
6. Structural Modifications Without Proper Engineering
Removing an interior load-bearing wall, cutting into a truss to run ductwork, adding a skylight without properly framing the opening, or converting attic space into a room without reinforcing the structure below are all common renovation mistakes. Trusses in particular are engineered as a complete system — cutting or modifying even one member without professional reinforcement can compromise the entire truss’s load path, sometimes with effects that don’t show up as visible sagging for years.
7. Poor Original Construction or Material Defects
Less commonly, we find rafters or trusses that were simply installed with defects from the start — undersized lumber substituted during a labour or material shortage, improperly nailed connector plates, or spacing that exceeded the engineered design. These issues tend to surface earlier in a home’s life than age-related causes, sometimes within the first 10 to 15 years.
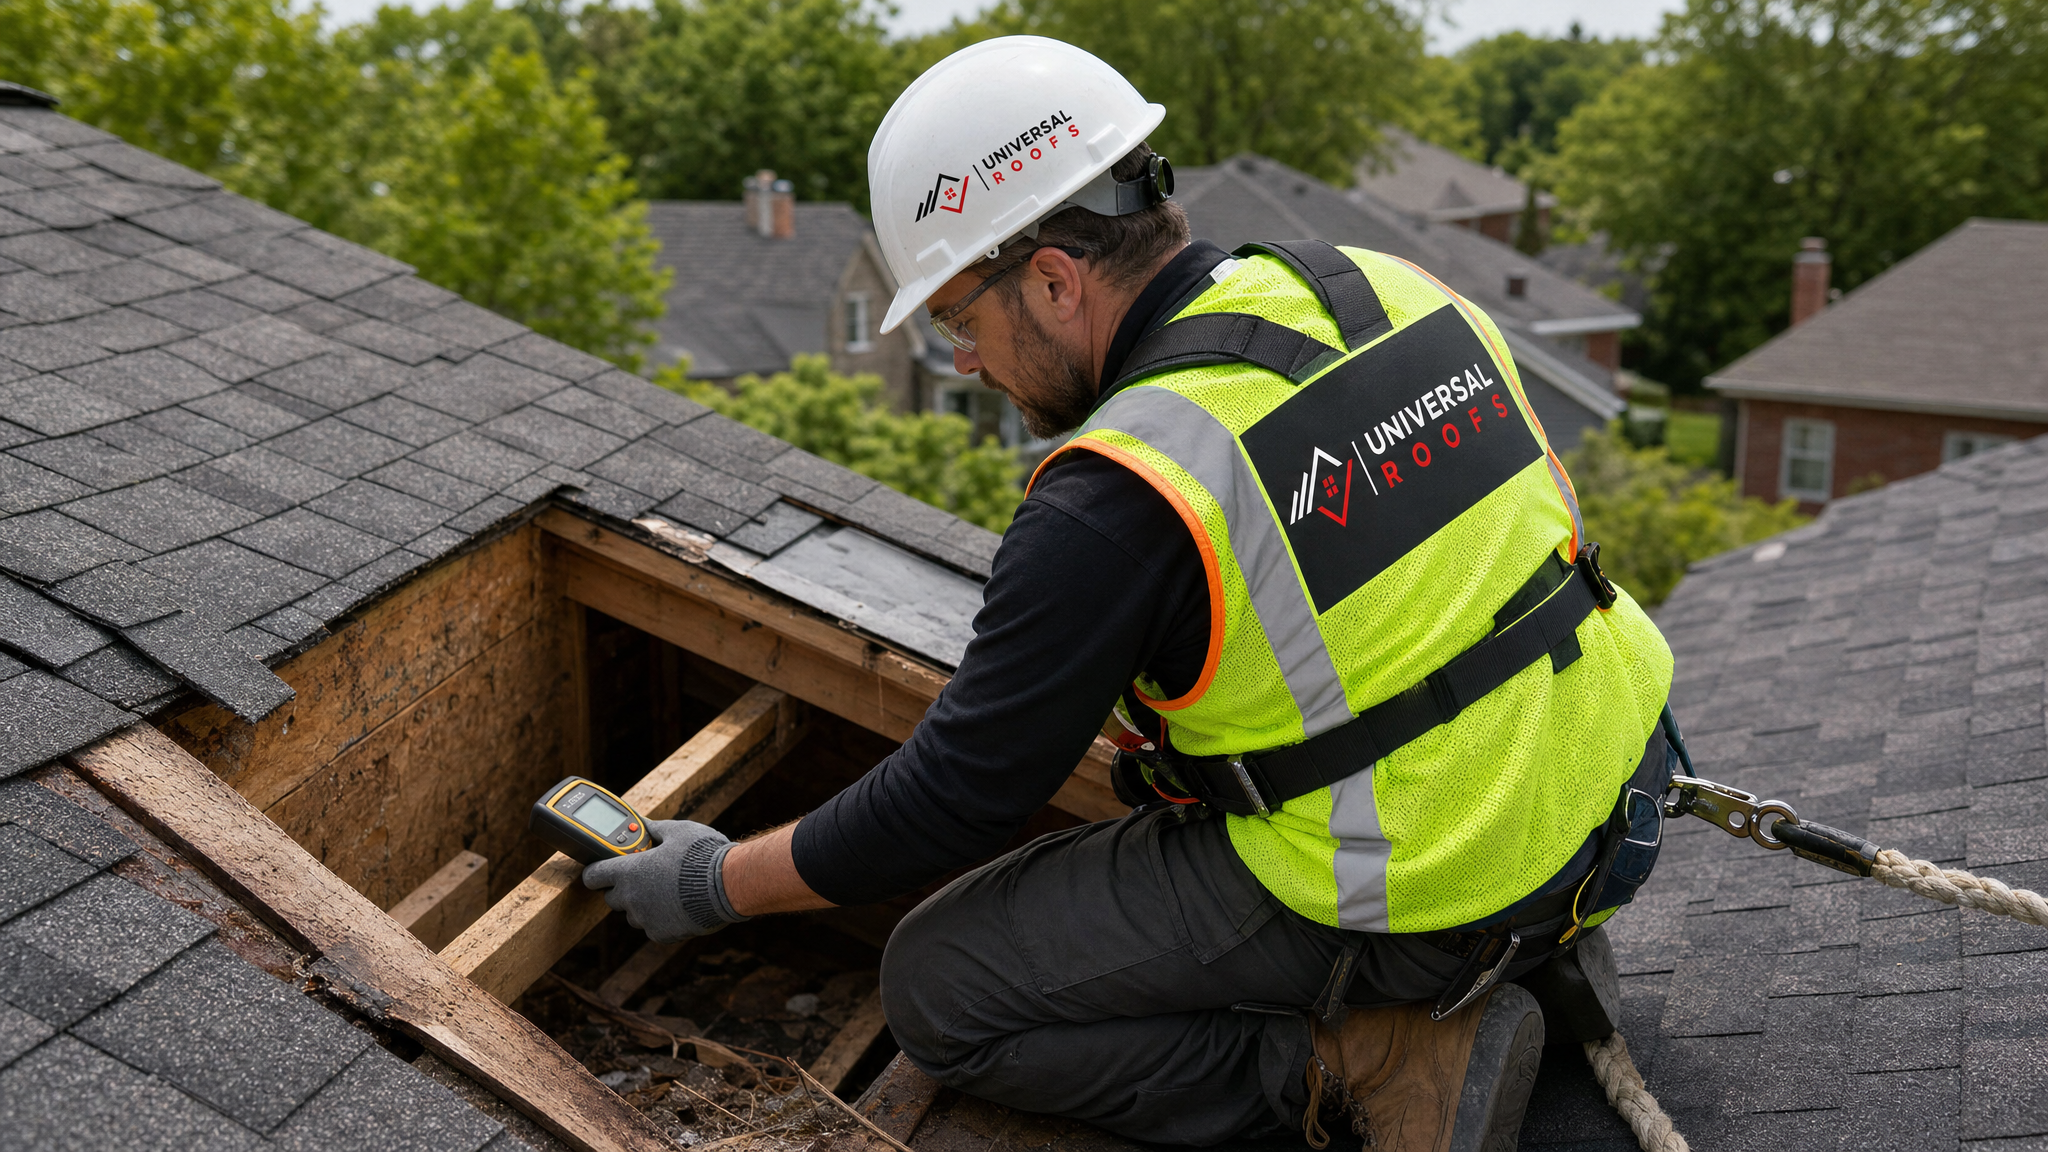
How Professionals Diagnose the Root Cause
A visual dip from the street tells you that a problem exists, but not what’s causing it. A proper diagnosis requires inspecting both the exterior roofing surface and the structure from inside the attic. Here’s what a thorough roof inspection typically involves:
- Sighting the roofline from multiple angles to map exactly where the sag is located and how severe it is.
- Entering the attic to visually inspect rafters, trusses, and decking for bowing, cracking, staining, or soft spots.
- Probing suspect wood with an awl or moisture meter to check for rot versus sound but bent lumber.
- Checking ventilation — soffit intake, ridge or gable exhaust — and insulation depth and condition.
- Counting existing shingle layers and estimating total roof dead load.
- Reviewing any past renovation history that might have altered the load path, such as removed walls or added skylights.
- Checking flashing condition around chimneys, valleys, and any roof penetrations for active or historical leak points.
This combination of exterior and interior inspection is the only reliable way to separate a cosmetic issue from a genuine structural concern, and it’s the standard approach our team follows on every sagging roof call across the GTA.
Diagnostic Checklist: Matching Symptoms to Likely Causes
The table below summarizes the practical checks an inspector runs through, and what each result typically points to. This is useful as a starting checklist if you’re trying to gauge severity before booking a professional visit.
| What You Observe | Where to Check | Likely Indication | Next Step |
|---|---|---|---|
| Wood feels soft, spongy, or crumbles under light pressure | Rafters near valleys, chimneys, skylights | Active or historical water damage / rot | Moisture meter test, plan for section replacement |
| Rafters are bowed but wood is hard and sound | Full slope, mid-span areas | Undersized framing or long-term load stress | Consider sistering or engineering review |
| Frost or staining on the underside of the roof deck | Eaves and lower roof edges | Poor ventilation / ice damming | Improve soffit and ridge ventilation |
| Three or more shingle layers visible at roof edge | Roof edge, gable ends | Excess dead load from re-roofing without tear-off | Plan full tear-off and re-roof |
| Sag appeared suddenly after a storm | Widest unsupported spans | Snow or ice load event on a weakened structure | Immediate inspection, possible emergency support |
Comparing the Common Causes: Signs, Severity, and Typical Locations
| Cause | Typical Location on Roof | Onset Pattern | Relative Severity |
|---|---|---|---|
| Wood rot from water damage | Near valleys, chimneys, skylights, eaves | Gradual, worsens with each rainy season | High — compromises wood strength directly |
| Undersized or aging rafters | Broad areas, often full slope | Slow, over many years | Moderate to High |
| Poor attic ventilation / ice damming | Eave lines and lower roof edges | Gradual, seasonal (worse after winter) | Moderate |
| Multiple shingle layers (excess dead load) | Entire roof surface | Gradual, accelerates with snow load | Moderate |
| Heavy snow or ice load event | Widest unsupported spans | Sudden, tied to a specific storm | High if pre-existing weakness present |
| Improper structural modification | Localized to altered area (e.g., near a cut truss) | Can appear immediately or years later | High — often needs engineering review |
Repair Options: What Fixing a Sagging Roof Actually Involves
The right repair depends entirely on the cause, the severity of the sag, and how much of the structure is affected. Broadly, homeowners face one of three scenarios:
Localized reinforcement: When the sag is confined to one or two rafters, and the wood itself is still structurally sound (or only mildly rot-affected), a roofer can often sister new lumber alongside the existing rafter, restoring strength without a full rebuild. This is the least invasive and least expensive option.
Section replacement: When rot has progressed too far for sistering, or a section of decking has failed, the affected rafters, trusses, and decking are removed and replaced. This is common where a leak has been active for years near a valley or skylight, and it’s often bundled with correcting the original water intrusion source, whether that’s flashing, a skylight seal, or ice dam prevention.
Full roof replacement: When sagging is widespread, tied to systemic undersizing across the whole structure, or found alongside multiple shingle layers and significant deferred maintenance, a full roof replacement is usually the more cost-effective long-term solution rather than repeatedly patching isolated sections. This also provides the opportunity to correct ventilation, add proper insulation, and remove old shingle layers that were contributing to the excess load in the first place.
In every case, addressing the underlying cause matters as much as fixing the visible sag itself. Sistering a rotted rafter without stopping the water source that rotted it in the first place just delays the same problem’s return.
Estimated Costs and Timelines for Sagging Roof Repairs
| Repair Type | Typical Timeline | Approximate Cost Range (CAD) | Best Suited For |
|---|---|---|---|
| Sistering 1-3 rafters | 1 day | $800 – $2,200 | Localized, early-stage sag with sound wood |
| Rafter/truss and decking section replacement | 2 – 4 days | $2,500 – $7,500 | Rot-damaged area with active or past leak |
| Ventilation and ice dam correction | 1 – 2 days | $1,200 – $4,000 | Eave sagging tied to ice damming |
| Full re-roof with structural correction | 3 – 7 days | $9,000 – $22,000+ | Widespread sag, multiple layers, aging structure |
| Engineering assessment (for structural modifications) | 1 – 2 weeks (report turnaround) | $500 – $1,500 | Post-renovation sagging or truss alterations |
These figures are general GTA-area ranges and will vary based on roof size, pitch, material choice, and accessibility. A proper on-site assessment is always the best way to get an accurate number for your specific home.
When Roof Sagging Becomes an Emergency
Not every sag needs same-day attention, but some warning signs mean you should call a professional immediately rather than monitoring the situation:
- New cracking sounds coming from the attic or ceiling, especially during or after snowfall.
- Visible daylight through the roof deck from inside the attic.
- A sag that has visibly worsened over a period of just weeks rather than months or years.
- Interior ceiling cracks or drywall separation appearing at the same time as the roof sag.
- Doors or windows on the top floor that have suddenly become difficult to open or close, which can indicate the whole frame is shifting.
Any of these signs suggest the structure may be approaching its limit, and waiting for a scheduled inspection is not advisable. This is especially true heading into a heavy snow season, when added live load is exactly the kind of extra stress that turns a slow-moving problem into a fast one.
Preventing Roof Sagging Before It Starts
Prevention is far less expensive than correction, and most sagging causes are avoidable with routine attention:
- Schedule an inspection every 2 to 3 years, or after any major storm, to catch small issues like flashing failures before they become rot.
- Keep attic ventilation and insulation up to code to prevent ice damming, which is one of the most common and preventable causes of eave-line sagging in Ontario.
- Remove old shingle layers during re-roofing rather than layering new shingles over old ones, to avoid the cumulative dead-load problem.
- Have any structural renovation reviewed by a professional before cutting into trusses or removing walls beneath the roof structure.
- Clear heavy, wet snow from flat or low-slope sections after major storms, particularly on additions or garage roofs that may have less structural margin.
If your home also has a flat roofing section — common on additions, garages, and older Toronto homes — note that flat and low-slope assemblies handle snow load differently than pitched roofs and deserve their own seasonal check, since ponding water adds weight in ways a sloped roof naturally sheds.
Why Homeowners Across the GTA Trust Universal Roofs With Structural Repairs
Diagnosing a sagging roof correctly takes experience, not guesswork. Since 2005, our team has inspected and repaired roofs across Toronto, Peel Region, York Region, Halton Region, and Durham Region, giving us a clear sense of exactly how local climate, common construction eras, and typical renovation histories combine to produce sagging in this area specifically. We don’t recommend a full replacement when a targeted repair will genuinely solve the problem, and we don’t patch a symptom while ignoring the underlying cause. You can read what past clients say about that approach on our reviews page, and browse more general questions on our FAQ page. Learn more about our team’s background on our about page.
What are the most common causes of roof sagging?
Is a sagging roof always a structural emergency?
Can a sagging roof be repaired without full replacement?
How does poor attic ventilation contribute to roof sagging?
Does removing an interior wall cause the roof to sag?
How much does it cost to fix a sagging roof in the GTA?
Need Help With Uncovering the Causes of?
If you’ve noticed a dip, wave, or bow anywhere along your roofline, don’t wait for it to get worse. Universal Roofs has been diagnosing and repairing structural roofing issues across the GTA since 2005, and our team can pinpoint the exact cause of your sagging roof and recommend the right fix — whether that’s a targeted repair or a full replacement.
Call us today at (416) 732-2421 or request a free inspection to get started.
Universal Roofs proudly serves Toronto, Mississauga, Brampton, Vaughan, Markham, Oakville and the GTA since 2005.