
Choosing the right attic or roof insulation is one of the highest-leverage decisions a Toronto homeowner can make, yet it is also one of the most confusing. Walk into any hardware store and you will find batts, blown-in cellulose, rigid foam boards, and spray foam kits all claiming to be the “best” option, with wildly different price tags attached. Our insider tips for selecting the perfect roof insulation are built from two decades of GTA attic inspections, so you can skip the guesswork and choose a system that actually performs through our freeze-thaw winters and humid summers.
Insulation is not just about staying warm in January. In the Greater Toronto Area, poorly insulated attics are the single biggest contributor to ice dams, which force water backward under shingles and into ceilings every February. The same gaps that let heat escape in winter let hot, humid attic air build up in July and August, straining air conditioners and accelerating shingle aging from underneath. Getting insulation right protects your roof deck, your shingles, and your energy bills simultaneously.
This guide walks through R-values, material comparisons, installation methods, common mistakes, and the specific climate factors that make Toronto attics different from a generic insulation chart you might find online. We will also cover when insulation problems are actually ventilation problems in disguise, and how the two systems need to work together.
Understanding R-Value and Why Toronto Needs More Than the National Minimum
R-value measures a material’s resistance to heat flow — the higher the number, the better the insulation performs. It is tempting to buy whatever bag has the biggest number on the shelf, but the right R-value depends on your climate zone, your attic’s construction, and whether you are insulating a flat ceiling, a cathedral ceiling, or a low-slope roof assembly.
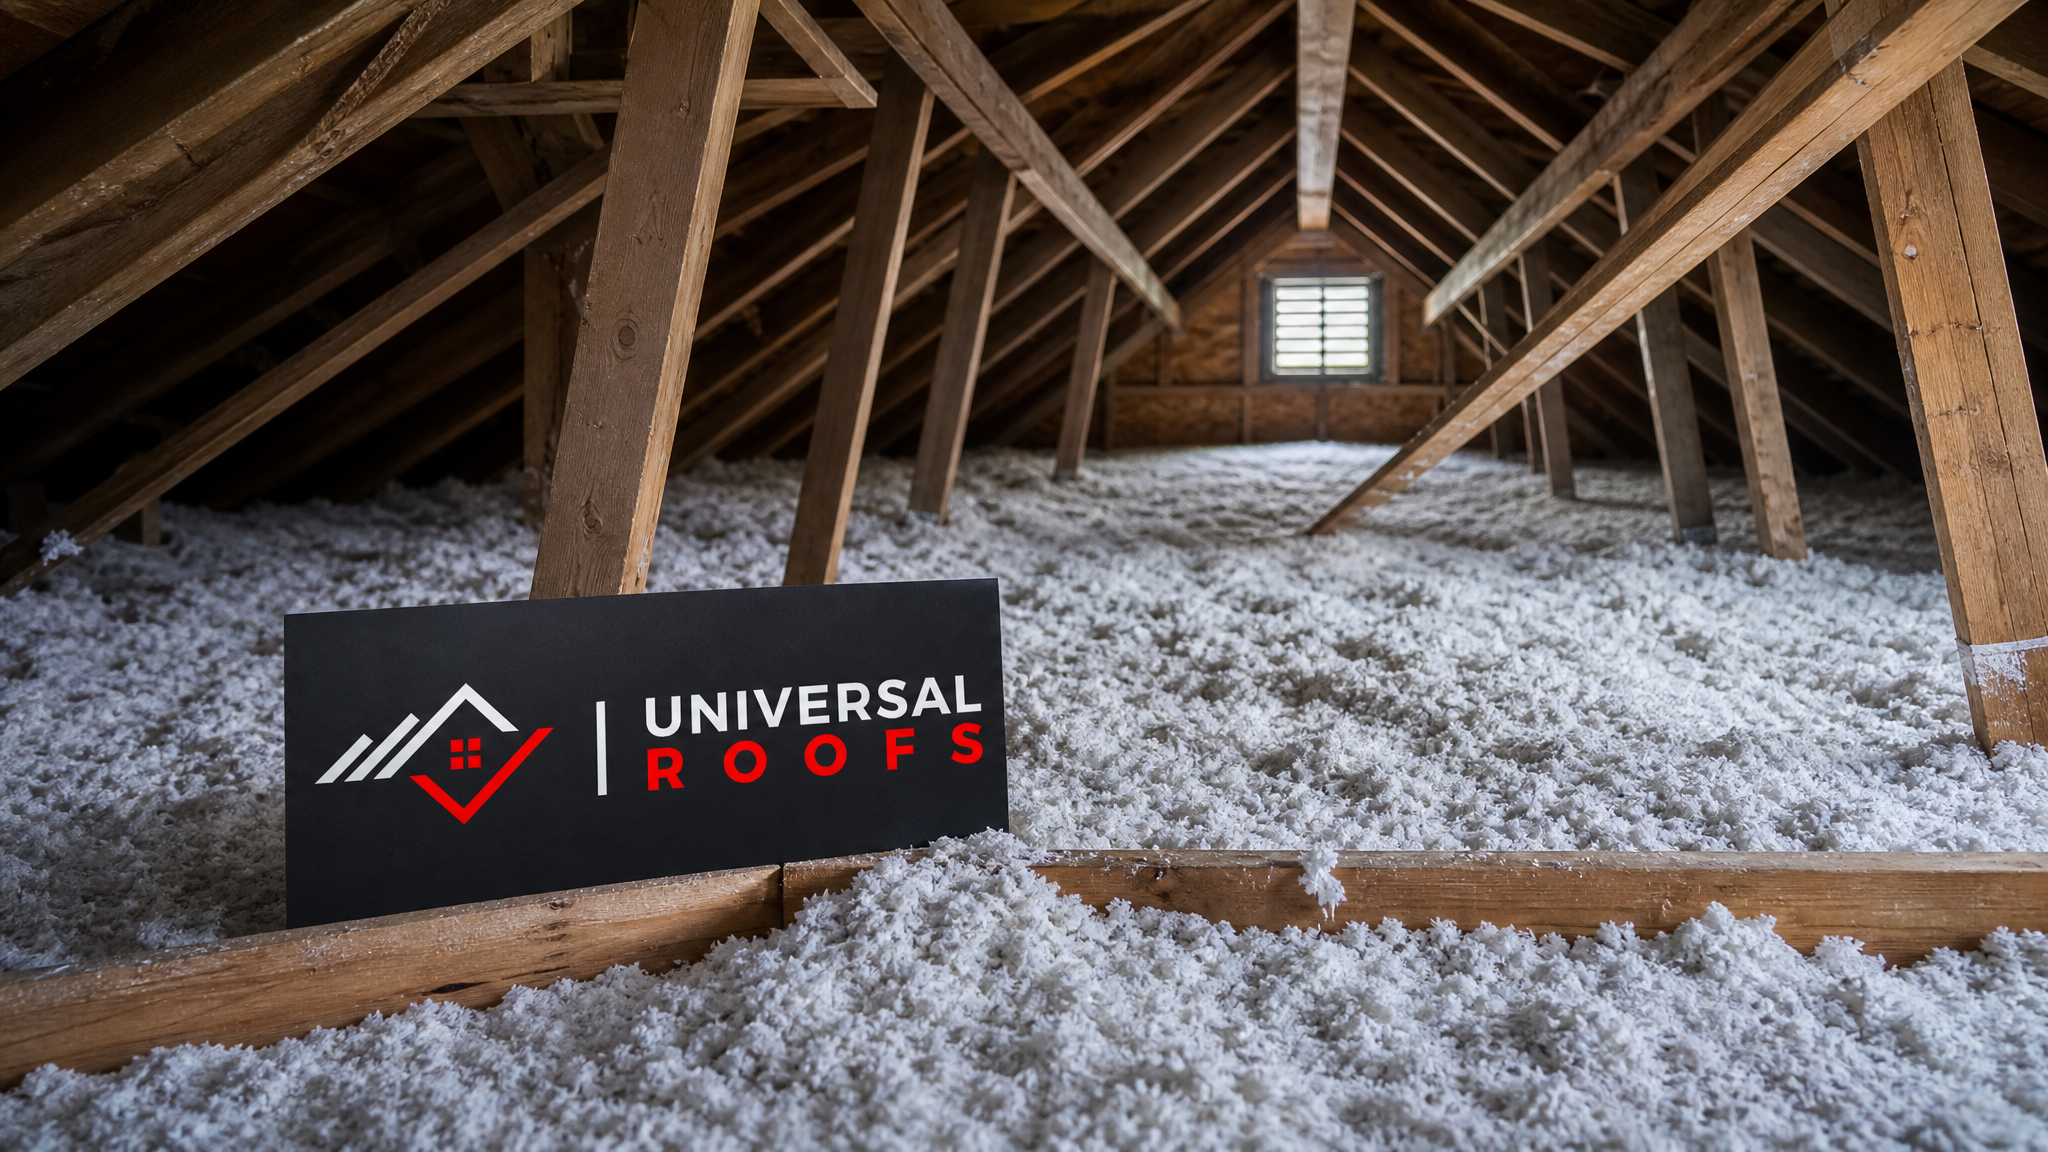
Ontario’s building code places most of the GTA in Climate Zone 6, which calls for attic insulation in the R-50 to R-60 range for new construction, well above the R-38 to R-40 often cited in older American guides. Many century homes and 1960s-1980s subdivision houses across Toronto, Mississauga, and Brampton are still sitting at R-20 or lower because they were built to standards from decades ago and never topped up. If your energy bills spike every winter and you have never had your attic insulation measured, that gap is very likely part of the story.
It is also worth noting that R-value is a per-inch or per-material rating, not a fixed number — you need enough thickness of the chosen material to reach the target. A contractor who tells you “R-60 no matter what you choose” without asking about your material is skipping a step. Our attic insulation and ventilation team always measures existing depth before recommending a top-up strategy, because adding the wrong material over the wrong base can trap moisture instead of solving the problem.
Comparing the Main Insulation Materials Available in the GTA
Homeowners researching this topic usually narrow it down to four realistic options: fibreglass batts, blown-in fibreglass, blown-in cellulose, and spray foam. Each has a place, and none of them is universally “best” — the right choice depends on your attic access, your budget, and whether you are dealing with a finished cathedral ceiling or an open, unfinished attic.
| Material | Typical R-Value per Inch | Best For | Approximate Cost (installed, per sq. ft.) |
|---|---|---|---|
| Fibreglass batts | R-3.1 to R-3.4 | Open attics with regular joist spacing, DIY-friendly jobs | $1.00 – $1.80 |
| Blown-in fibreglass | R-2.2 to R-2.7 | Irregular attics, topping up existing insulation | $1.20 – $2.00 |
| Blown-in cellulose | R-3.2 to R-3.8 | Older homes, tighter air-sealing, recycled-content preference | $1.40 – $2.20 |
| Closed-cell spray foam | R-6.0 to R-6.5 | Cathedral ceilings, low-slope roofs, rim joists, air sealing | $3.50 – $6.50 |
Blown-in cellulose is a favourite among GTA energy auditors because it settles into irregular gaps around wiring, pot lights, and ductwork better than batts, and it carries a strong per-inch R-value at a reasonable cost. Spray foam commands a premium price but earns it in cathedral ceilings and flat or low-slope roof assemblies where there is no deep attic cavity to fill — situations we see constantly on our flat roofing projects across the region.
Insider Tip: Air Sealing Comes Before Insulation, Not After
This is the single most overlooked step in residential insulation, and it is the one that separates a mediocre result from a genuinely high-performing attic. Insulation slows heat transfer, but it does almost nothing to stop air leakage. Warm, moist household air escapes through pot lights, attic hatches, plumbing stacks, and top plates, carrying heat and humidity straight into the insulation layer regardless of how thick it is.
A contractor who dumps 16 inches of cellulose over an attic full of unsealed penetrations is treating the symptom, not the cause. Before any new insulation goes in, every visible gap, crack, and penetration should be sealed with caulking, canned foam, or fire-rated caulk around chimneys and flues. This single step can improve real-world performance more than upgrading from R-40 to R-60 without sealing anything.
| Common Leak Point | Typical Sealing Method | Priority Level |
|---|---|---|
| Attic hatch or pull-down stairs | Weatherstripping + insulated cover box | High |
| Recessed pot lights | Airtight IC-rated covers or gasketed trim | High |
| Plumbing and electrical penetrations | Expanding spray foam | High |
| Top plates along exterior walls | Caulk or foam bead along the framing | Medium |
| Chimney chase framing | Fire-rated caulk (never combustible foam) | Medium |
Matching Insulation Type to Your Attic and Roof Assembly
Not every roof in Toronto has a traditional open attic. Cathedral ceilings, additions with minimal roof cavity depth, and flat or low-slope commercial roofs all demand different insulation strategies than a standard pitched-roof bungalow.
- Open, unfinished attics: Blown-in cellulose or fibreglass is usually the most cost-effective way to reach R-50 to R-60, especially when topping up existing insulation that has settled or compacted over time.
- Cathedral and vaulted ceilings: Limited cavity depth means spray foam or rigid foam boards are often the only way to hit target R-values without reducing ventilation clearance to nothing.
- Additions and knee walls: These transition areas are notorious for gaps. Rigid foam board combined with careful air sealing at the knee wall base performs far better than batts alone.
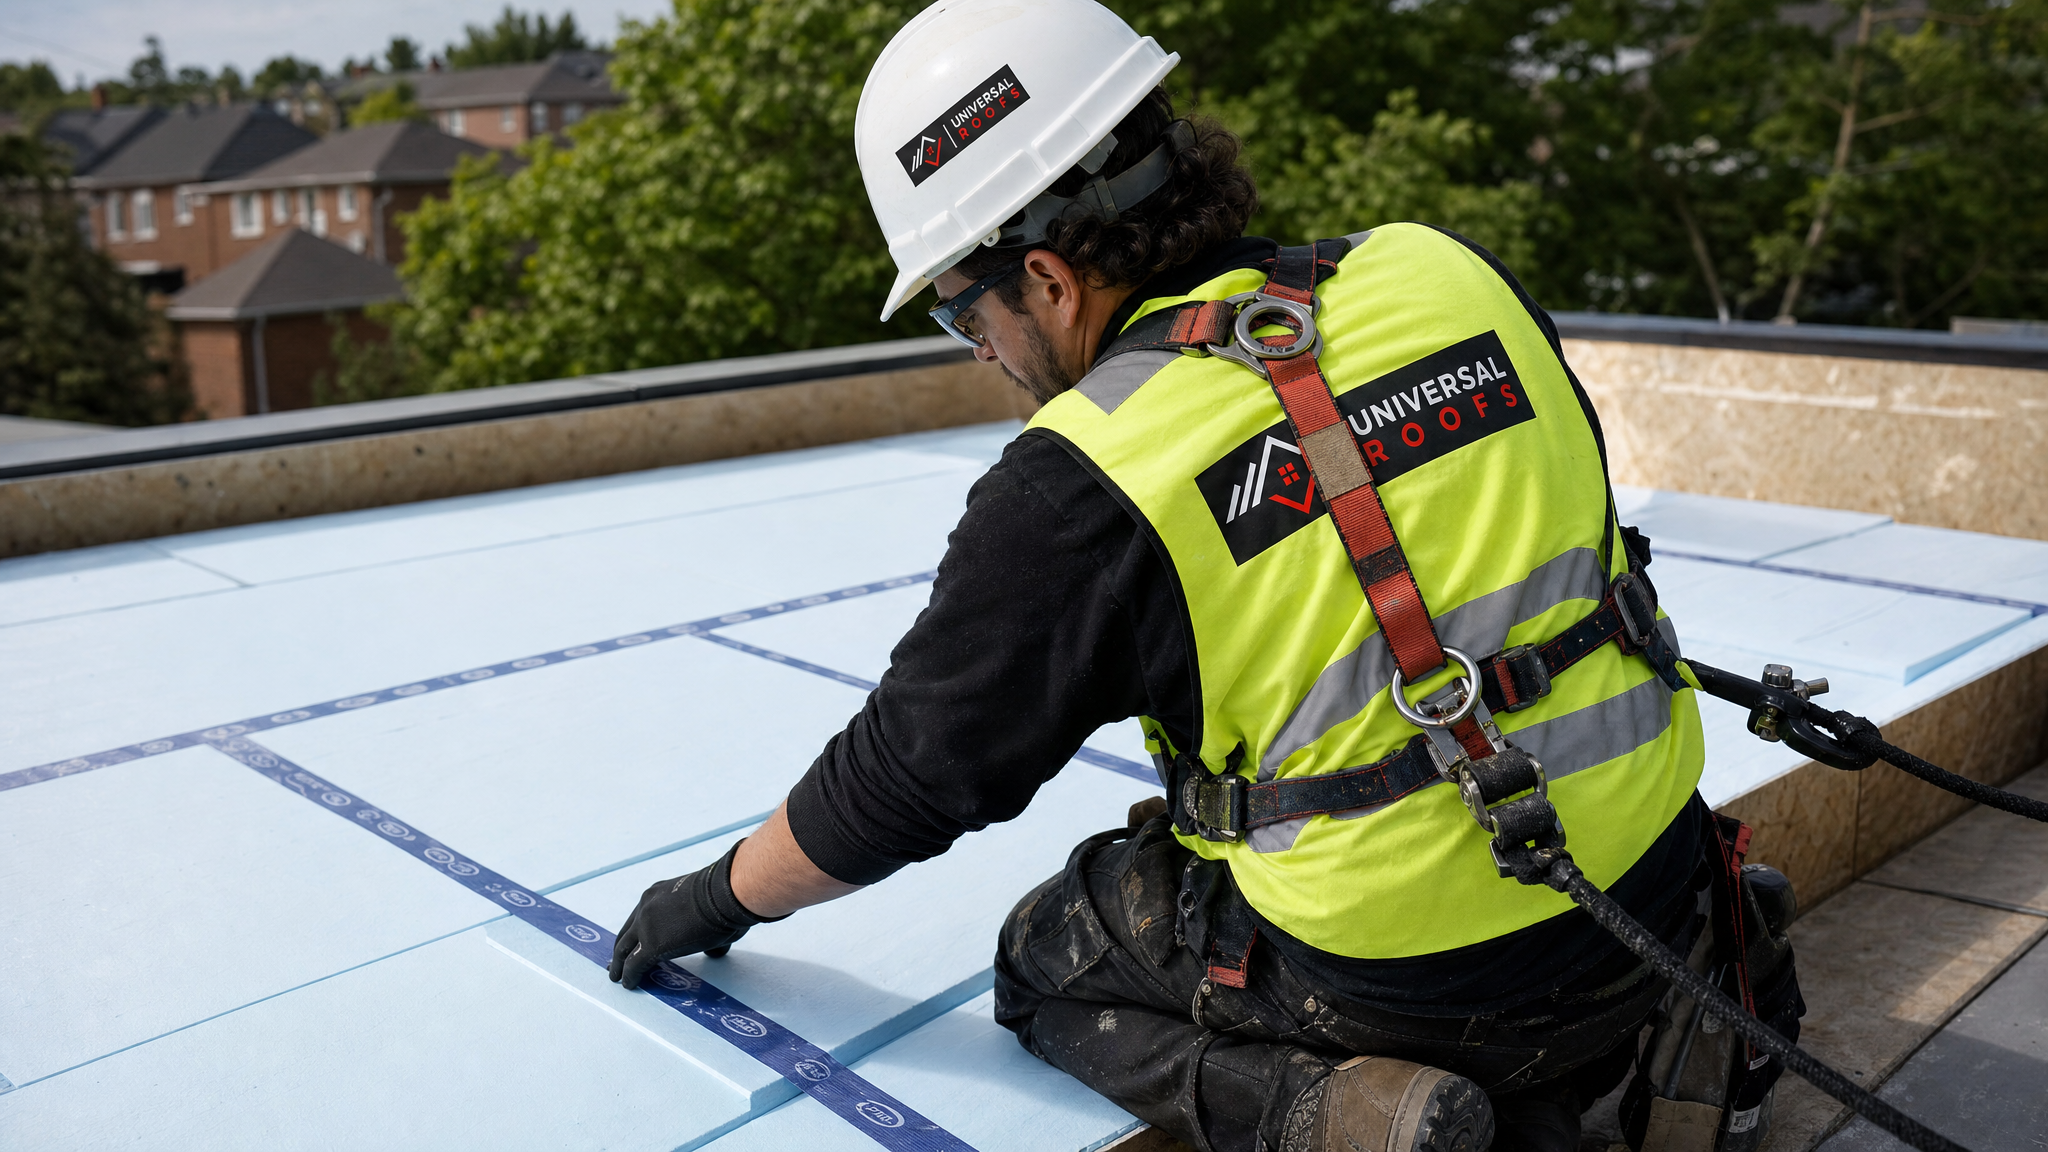
- Flat and low-slope roofs: Rigid polyisocyanurate or EPS board insulation installed above the deck (as part of a re-roof) gives continuous, thermal-bridge-free coverage — something our crews install regularly during roof replacement projects on low-slope homes and additions.
If you are unsure which category your home falls into, a quick attic inspection settles it fast. Homeowners who bundle an insulation assessment with a broader roof repair visit often catch both issues — a failing shingle section and an underperforming attic — in a single appointment.
Insulation and Ventilation: Why One Without the Other Fails
Insulation and ventilation are a matched pair, not competing systems. Adequate attic ventilation — intake at the soffits, exhaust at the ridge or through roof vents — removes the small amount of moisture and heat that inevitably makes it past even a well-sealed insulation layer. Without it, condensation forms on the underside of the roof deck, wetting the insulation from above and encouraging mould growth on rafters.
A classic and costly mistake we see across older GTA homes is insulation piled up against the soffits, completely blocking the intake vents. This traps warm air against the underside of the roof deck, which is exactly the condition that causes ice dams along the eaves in winter. Baffles (also called rafter vents) installed at each soffit bay before insulation goes in keep a clear air channel from the soffit to the attic space, letting the whole ventilation system function as designed.
| Symptom | Likely Cause | Fix |
|---|---|---|
| Ice dams along the eaves every winter | Insufficient insulation and/or blocked soffit intake | Top up insulation, install baffles, verify exhaust venting |
| Frost or condensation on roof deck underside | Warm moist air reaching the deck, poor ventilation | Air seal ceiling penetrations, restore soffit-to-ridge airflow |
| Musty smell or visible mould in attic | Trapped humidity, blocked or absent ventilation | Full ventilation audit alongside insulation upgrade |
| High summer cooling bills | Undersized insulation letting heat radiate into living space | Increase R-value to code-recommended level for Zone 6 |
Vapour Barriers, Moisture Control, and Freeze-Thaw Considerations
Toronto’s climate swings from humid summers to deeply cold winters, and that swing is hard on any assembly that traps moisture. A properly placed vapour barrier — typically polyethylene sheeting on the warm (interior) side of the insulation in most GTA construction — stops household humidity from migrating into the insulation and condensing when it hits the cold zone near the roof deck.
Retrofitting insulation into an older home without addressing the vapour barrier is a common shortcut that causes problems years later. If your attic insulation feels damp, clumped, or has a mildew smell, that is often a sign moisture is getting in from below (bathroom fans vented into the attic instead of outside are a frequent culprit) rather than a sign you simply need more material. Bathroom and kitchen exhaust fans should always vent through the roof or wall to the exterior, never terminate loose in the attic space.
Freeze-thaw cycling also matters at the material level. Cellulose and fibreglass are not damaged by cold temperatures themselves, but if they get wet and then freeze, their R-value drops and they compress permanently once thawed. This is another reason air sealing and moisture control matter as much as the R-value number on the bag.
What Professional Installation Includes That DIY Often Misses
Homeowners can absolutely install batts or rent a blower for cellulose, but a professional insulation upgrade typically includes several steps that get skipped in a DIY approach:
- Pre-installation air sealing of every penetration, not just the obvious ones
- Baffle installation at every soffit bay to preserve ventilation
- Proper clearance maintained around recessed lighting and exhaust fans to prevent fire risk
- Insulation dams built around the attic hatch and any mechanical equipment
- Depth verification with a measuring tool at multiple points, not just an eyeball estimate
- A final inspection that checks ventilation intake and exhaust are still balanced
Skipping any one of these steps can undermine the whole project. We have inspected attics with excellent, expensive insulation material that still performed poorly because the soffits were blocked or the hatch was left uninsulated, creating a massive localized heat-loss point.
Cost, Payback, and Rebate Considerations for GTA Homeowners
Insulation upgrades tend to have some of the fastest payback periods of any home improvement, particularly when moving from a badly under-insulated attic (R-12 to R-20) up to current code recommendations. Depending on your home’s size, existing insulation depth, and chosen material, a full attic top-up typically runs from a modest few hundred dollars for a small bungalow topping up with blown-in fibreglass, up to several thousand dollars for larger homes needing full removal and replacement plus spray foam in cathedral sections.
Utility rebate programs periodically become available in Ontario for attic insulation upgrades, and enrolled contractors can often help homeowners navigate eligibility. It is worth asking directly whether current rebates apply before starting a project, since program availability changes from year to year.
| Starting R-Value | Target R-Value | Typical Payback Period |
|---|---|---|
| R-12 or less | R-50 to R-60 | 3 – 6 years |
| R-20 to R-30 | R-50 to R-60 | 5 – 9 years |
| R-40+ | R-60 (topping up) | 8 – 12 years |
Signs It Is Time to Reassess Your Roof Insulation
Beyond a formal energy audit, several everyday signs point to inadequate or failing insulation. Rooms directly under the attic that feel noticeably colder in winter or hotter in summer than the rest of the house are a strong indicator. Ice dams forming along the eaves, icicles hanging heavier on one section of roof than another, or snow melting unevenly across the roof surface (patches melting faster where insulation is thin) are all visible, free diagnostic clues you can check from the ground or a quick attic visit.
If you notice any of these signs, or if your home has never had an insulation assessment, a quick inspection can confirm current R-value, check for moisture damage, and identify whether ventilation is part of the problem. Reviewing recent customer reviews or our frequently asked questions page can also help you understand what a typical assessment and installation involves before you book one.
Working With a Qualified Insulation Contractor
Because insulation work touches ventilation, moisture control, fire safety around lighting fixtures, and roof deck condition, it pays to work with a contractor who understands the full roof assembly rather than treating insulation as an isolated product installation. Ask any contractor how they plan to air seal before insulating, how they will maintain soffit ventilation, and what R-value they are targeting and why — a contractor who can answer all three clearly is worth hiring.
Homeowners across Toronto, Peel Region, York Region, Halton Region, and Durham Region often combine an insulation upgrade with other roof work, such as addressing an ageing skylight that is a known heat-loss point, or planning skylight replacement alongside attic upgrades since old skylight curbs are notoriously poor thermal performers. Learn more about our full range of services on our about page.
What is the best insulation R-value for a Toronto attic?
Which of the insider tips for selecting the perfect roof insulation matters most for older homes?
Is spray foam or blown-in cellulose better for a Toronto roof?
Can too much insulation cause ice dams?
How do I know if my current roof insulation needs to be replaced?
Does upgrading roof insulation qualify for any rebates in Ontario?
Need Help With Insider Tips for Selecting?
Putting these insider tips for selecting the perfect roof insulation into practice starts with an honest look at your current attic — its R-value, its air sealing, and its ventilation balance. Universal Roofs has been assessing and upgrading attics across the GTA since 2005, and we bring that same full-assembly approach to every insulation project.
Call us today at (416) 732-2421 or request a free inspection to get started.
Universal Roofs proudly serves Toronto, Mississauga, Brampton, Vaughan, Markham, Oakville and the GTA since 2005.