
Every summer, we get calls from homeowners across the GTA who waited too long to deal with a handful of damaged shingles, only to find themselves facing a bill for a full roof replacement instead of a simple patch. If you want to save money on shingles, 3 repair tips make the difference between a $400 afternoon fix and a $12,000 tear-off. The good news is that shingle problems are almost always cheaper to solve early, and most of the damage we see on Toronto roofs falls into a small number of predictable, fixable patterns.
This guide walks through the three repair strategies that save our clients the most money over the life of their roof: catching and sealing minor damage before it spreads, replacing individual shingles instead of whole sections, and timing repairs around Toronto’s freeze-thaw cycle so the work actually holds. We will also cover what a professional repair should cost, how to tell the difference between a patch job and a warning sign of bigger trouble, and when repair simply is not the economical choice anymore.
Whether you are dealing with a few curling shingles after a windy spring, granule loss after a hailstorm, or a slow leak that only shows up during a heavy rain, the principles below apply. None of this requires you to get on the roof yourself; the goal is to help you make informed decisions when you are talking to a contractor, comparing quotes, or deciding whether now is the time to call for an inspection.
Why Shingle Repairs Are the Cheapest Insurance You Can Buy
Asphalt shingles fail gradually, not all at once. A shingle roof rarely goes from “fine” to “leaking” overnight; instead, it moves through stages: granule loss, curling edges, cracked tabs, lifted seals, and finally torn-away or missing shingles that expose the underlayment and deck. Each stage is progressively more expensive to fix, and each stage also increases the risk of water getting underneath the shingles and causing rot, mould, or damaged insulation in the attic.
The homeowners who save the most money are the ones who treat their roof the way they treat their car: with scheduled inspections rather than waiting for a breakdown. A roof repair caught at the granule-loss or curling stage might cost a few hundred dollars. The same problem left alone for two more Toronto winters can mean replacing decking, insulation, and drywall, on top of the shingles themselves. If you are unsure what stage your roof is in, our roof repair team can assess it and tell you honestly whether a patch will hold or whether you are better off planning for replacement.
It also helps to understand the economics from the contractor’s side. A repair crew that is already reviewing warranty and labour costs for a small job.
Repair Tip 1: Catch and Seal Damage Before It Spreads
The single highest-leverage thing you can do to save money on shingles is to catch damage in its earliest, cheapest stage. This means doing a visual check from the ground twice a year, ideally in late spring after winter winds and ice have had their say, and again in early autumn before the next freeze-thaw cycle starts.
Signs to look for from the ground with binoculars, or from an upstairs window with a clear sightline to the roof:
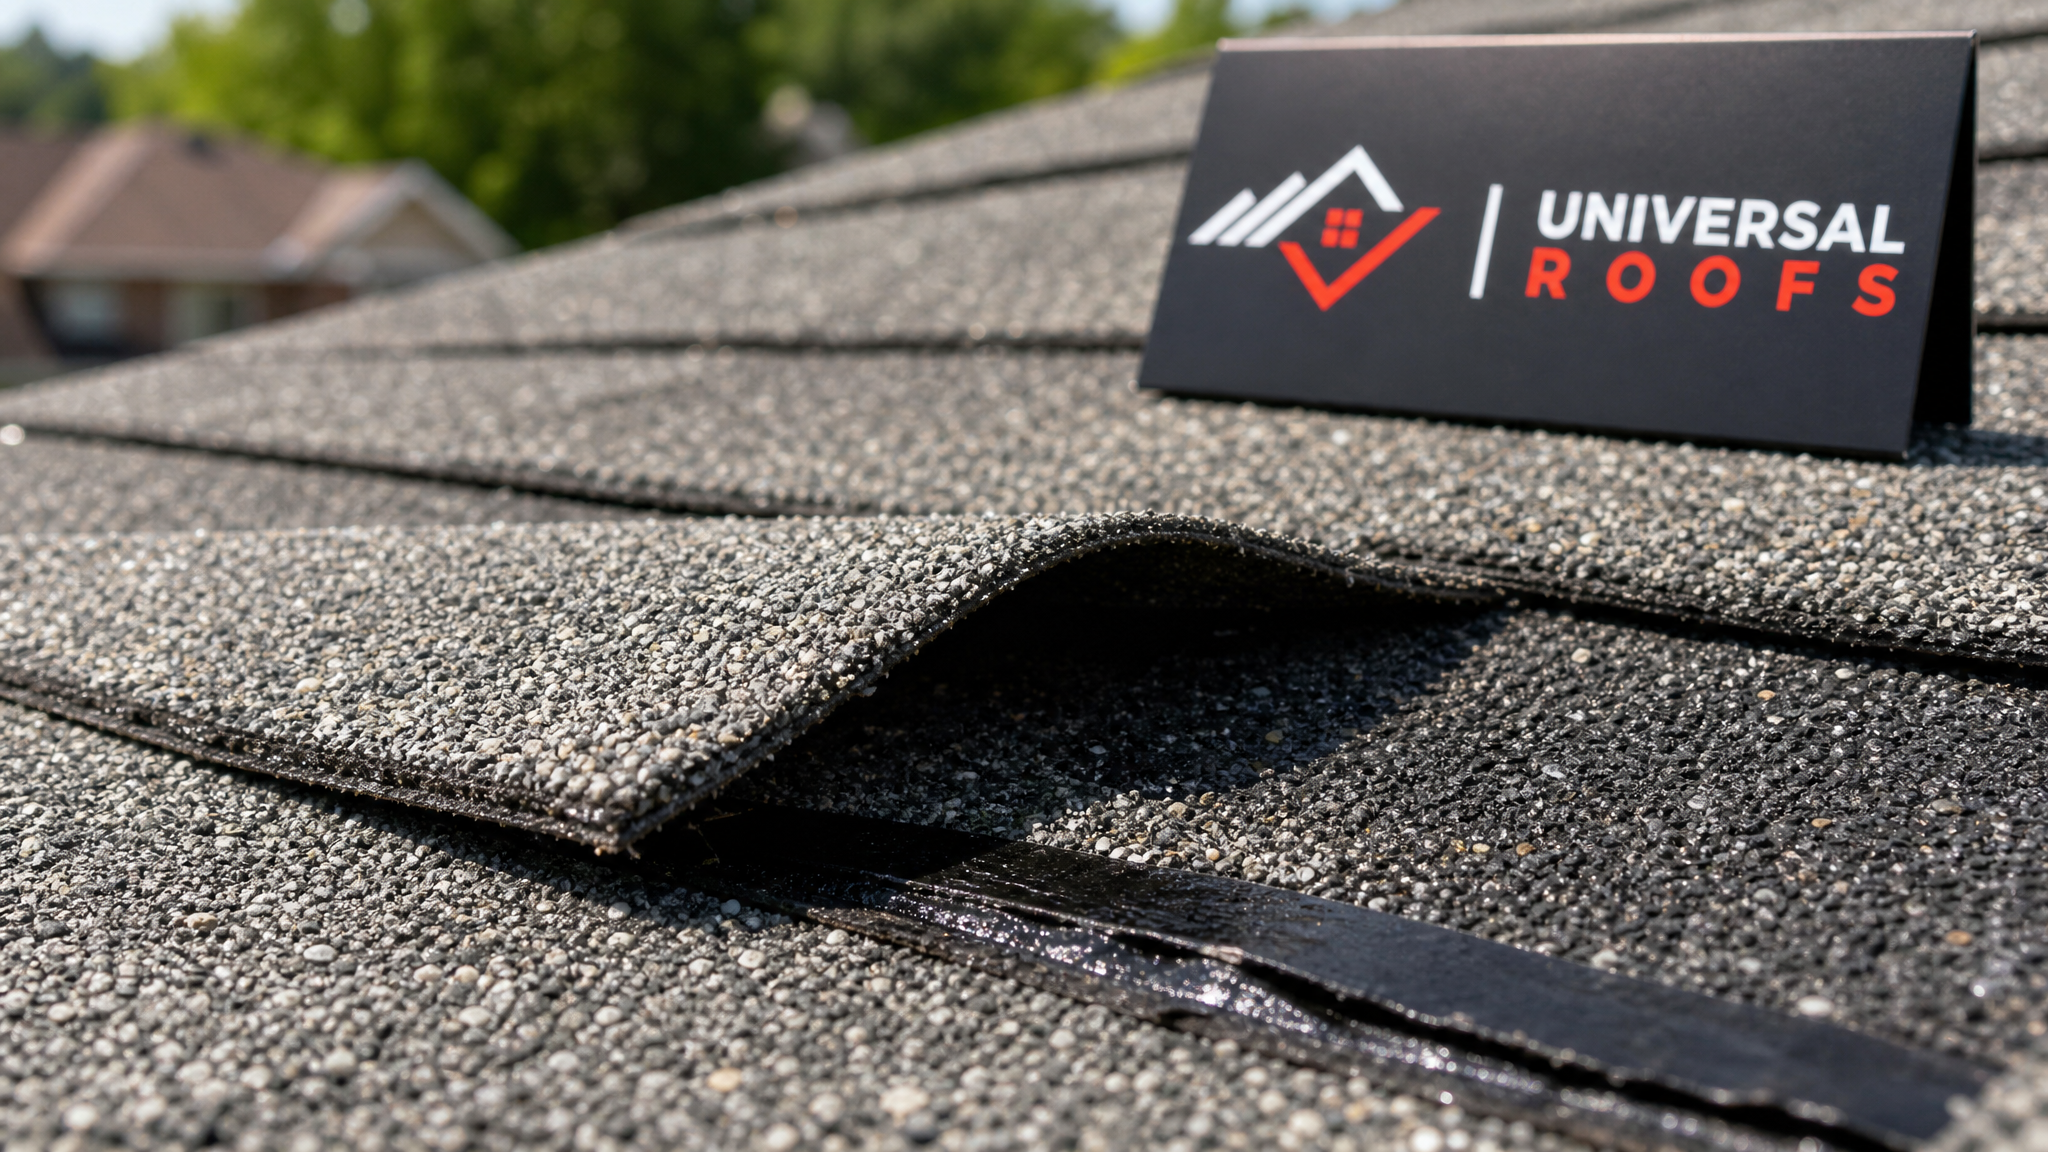
- Shingle tabs that are curling up at the corners or lifting away from the roof deck
- Bare or dark patches where granules have washed away, exposing the black asphalt underneath
- Cracked or split shingles, often near valleys, ridges, or roof penetrations like vents and chimneys
- Granules collecting in gutters or at the base of downspouts after a rainstorm
- Visible daylight or staining on the underside of the roof deck when you check the attic
Once you spot one of these signs, the repair itself is usually straightforward: a technician lifts the affected shingle, applies roofing cement or a compatible sealant beneath the tab, and presses it back into place, or replaces the single shingle outright if it is cracked. This is a targeted job that takes an hour or two, not a day. The cost savings come from stopping water infiltration before it reaches the underlayment, the decking, or the attic insulation behind the shingle.
| Damage Stage | What It Looks Like | Typical Repair Cost (CAD) | Risk If Ignored |
|---|---|---|---|
| Granule loss | Bare patches, granules in gutters | $150 – $350 | Accelerated UV damage, shortened shingle life |
| Curling or lifting tabs | Edges pull up, visible gaps | $200 – $450 | Wind can tear shingles off entirely |
| Cracked or split shingles | Visible cracks, especially near valleys | $250 – $600 | Water tracks under the crack into the deck |
| Missing shingles | Bare deck or felt exposed | $400 – $900 | Active leak risk, deck rot within one season |
| Deck or underlayment damage | Soft spots, staining in attic | $1,200 – $4,000+ | Structural repair, mould remediation, possible full replacement |
The pattern in that table is the whole argument for early intervention: cost roughly doubles or triples with each stage you let the damage progress through. Waiting even one extra season can turn a $300 repair into a $2,000 one.
Repair Tip 2: Replace Individual Shingles Instead of Whole Sections
One of the most common mistakes we see, often from well-meaning but inexperienced contractors, is replacing far more shingles than necessary. If three shingles near a roof valley are damaged, there is rarely a reason to strip an entire slope. Spot repair using shingle-by-shingle replacement is both structurally sound and dramatically cheaper, provided the surrounding shingles are still in good condition and a reasonably close colour match is available.
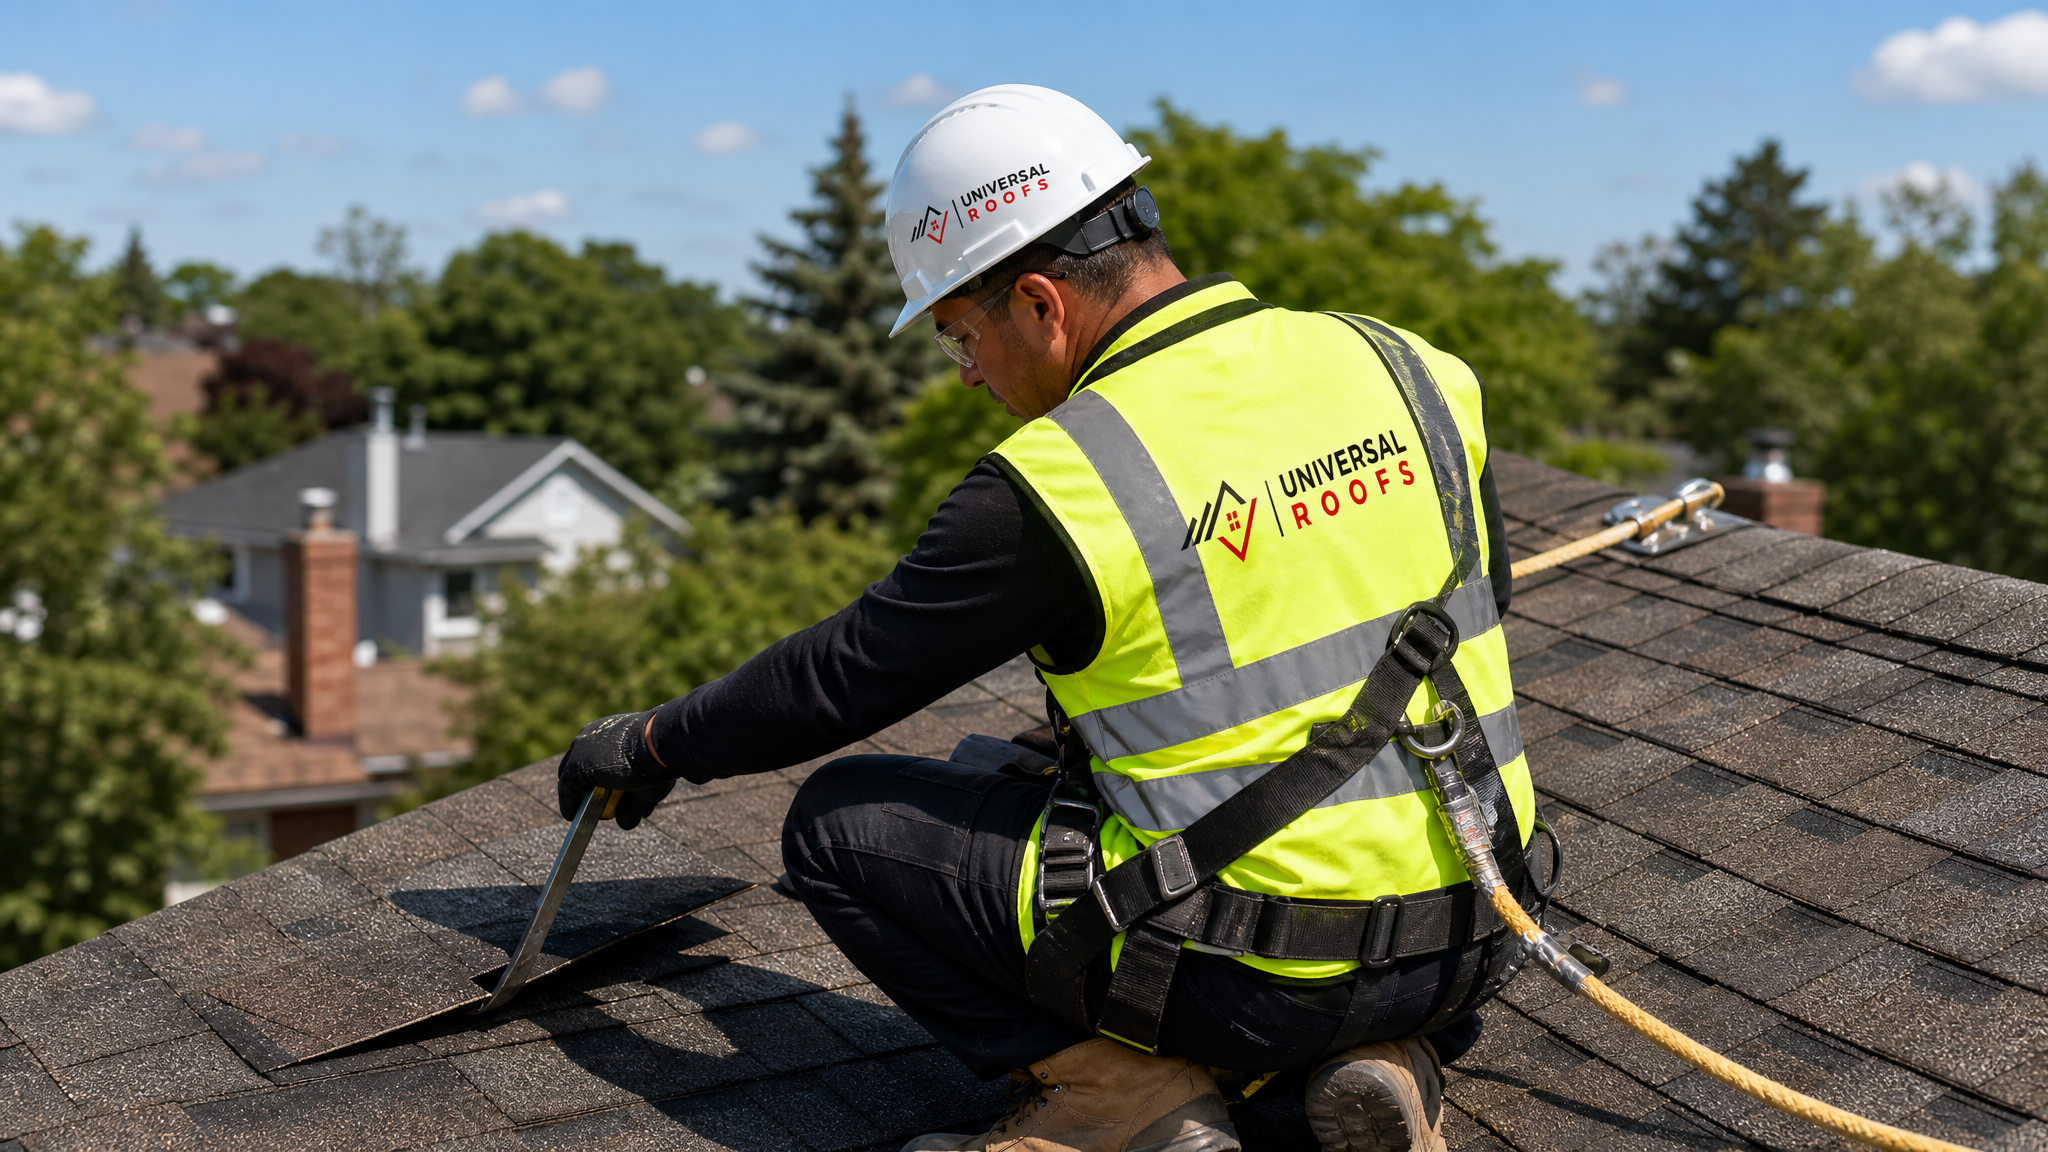
The technique matters here. A proper single-shingle replacement involves carefully lifting the shingles above the damaged one, removing the nails holding the damaged shingle in place with a flat pry bar or shingle removal tool, sliding the new shingle into position, and re-nailing according to the manufacturer’s nailing pattern before sealing the tabs above it back down. Done correctly, a spot repair is indistinguishable from the surrounding roof within a season, once the new shingle weathers slightly.
Where this approach breaks down is on roofs where the shingles are already near the end of their expected lifespan, roughly 18 to 22 years for standard three-tab asphalt shingles and 22 to 28 years for architectural shingles in the GTA climate. On an older roof, individual replacement shingles may not match the surrounding colour due to UV fading, and the surrounding shingles themselves may be brittle enough that lifting them for the repair causes new cracks. In that case, a contractor may recommend broader section replacement or, if the roof is more than two-thirds through its expected life, a conversation about full roof replacement instead of continuing to chase individual repairs.
| Repair Approach | Best Used When | Relative Cost | Typical Turnaround |
|---|---|---|---|
| Single shingle swap | 1-5 shingles damaged, roof under 15 years old | Lowest ($150-$400) | 1-2 hours |
| Section replacement | Cluster of damage in one area (valley, ridge) | Moderate ($600-$1,800) | Half day to full day |
| Full slope replacement | One side of roof significantly more worn or storm-damaged | High ($2,500-$6,000) | 1-2 days |
| Full roof replacement | Roof near or past expected lifespan, widespread wear | Highest ($8,000-$18,000+) | 2-4 days |
The key money-saving principle is matching the repair to the actual scope of damage. A homeowner who insists on getting three separate quotes, one from a contractor who proposes a single-shingle fix, one proposing a section replacement, and one proposing a full slope tear-off, will often find that the cheapest quote is also the most appropriate one for the actual condition of the roof. It is worth asking any contractor to explain, in plain terms, why they are recommending the scope they are recommending, and what happens if you choose the smaller-scope option instead.
Repair Tip 3: Time Repairs Around Toronto’s Freeze-Thaw Cycle
Timing is the third lever that affects both repair cost and repair durability in the GTA. Asphalt shingles rely on a self-sealing adhesive strip that bonds to the shingle above it once activated by heat. In cooler weather, that strip does not bond properly, which means a repair performed in cold conditions may look fine on the day of the job but fail to seal properly once winter arrives.
Toronto’s climate makes this especially relevant. The freeze-thaw cycle, where temperatures swing above and below freezing repeatedly through late fall, winter, and early spring, is one of the hardest conditions on a roofing system anywhere in Canada. Water that gets under a poorly sealed shingle can freeze, expand, and force the shingle further out of position, turning a minor issue into a much larger one by the time the snow melts.
This is why late spring through early autumn, roughly May through October, is the ideal window for shingle repairs in the GTA. Since it is currently summer, this is close to the best time of year to book a repair: warm enough for the sealant strips to bond fully, dry enough that crews are not working around rain delays, and early enough in the season that any settling or minor touch-ups can be checked before winter arrives. Homeowners who wait until October or November to book repairs often end up on a waitlist, since every roofing company in the region is trying to finish weather-dependent work before the first snowfall.
| Season | Repair Suitability | Why |
|---|---|---|
| Late spring (May-June) | Excellent | Warm enough to seal properly, post-winter damage is visible |
| Summer (July-August) | Excellent | Ideal sealing temperatures, longest daylight for crews |
| Early autumn (September-October) | Good | Still warm enough to seal; book early before winter rush |
| Late autumn (November) | Fair, urgent only | Cooler temperatures slow proper sealing; high demand |
| Winter (December-March) | Emergency only | Sealant will not bond properly; only tarping and stopgap fixes recommended |
If you notice shingle damage in the dead of winter, the right move is a temporary, professional stopgap, such as a tarp or emergency sealant, followed by a proper repair as soon as temperatures allow. Trying to force a permanent shingle repair in freezing weather rarely saves money; it just delays the real fix while giving you a false sense that the problem is solved.
How to Tell a Repairable Roof From a Roof That Needs Replacement
Not every roof is a good candidate for the repair-first approach, and knowing the difference is itself a way to save money, since paying for repeated repairs on a roof that is genuinely at the end of its service life is money spent without solving the underlying problem. A few honest markers we use when assessing a roof:
- Age relative to expected lifespan. A 10-year-old roof with a few damaged shingles is an easy repair call. An 24-year-old three-tab asphalt roof with the same damage is often a sign that the whole system is reaching the end of its service life.
- Extent of granule loss across the whole roof, not just the damaged area. Isolated granule loss near a vent is a repair. Granule loss across every slope suggests the whole roof has aged out.
- Condition of the underlayment and decking. If a contractor lifts a damaged shingle and finds soft, discoloured, or rotting wood underneath, that is a structural issue that a shingle swap will not fix.
- Number of prior repairs. A roof that has needed three or four separate repair visits in two years is telling you something. At a certain point, ongoing repair costs exceed what you would have paid toward a full replacement.
A straightforward inspection is the best way to get a clear answer rather than guessing. If you would like a second opinion before committing to a repair or a replacement, our team offers assessments that lay out both options honestly, including projected cost and expected remaining lifespan for each path.
What a Fair Shingle Repair Quote Should Include
Part of saving money on shingle repairs is knowing what a fair quote actually looks like, so you are not overpaying or, just as importantly, not underpaying for a job that skips steps and fails within a year. A trustworthy quote should specify:
- The exact number and location of shingles being replaced or resealed
- Whether matching shingles are available on-site or need to be sourced, and how that affects colour matching
- Labour cost separate from material cost
- Whether the quote includes a check of the underlying felt or synthetic underlayment where shingles are lifted
- A warranty period on the workmanship, separate from any manufacturer material warranty
Be cautious of quotes that are dramatically lower than others for the same described scope of work; this is often a sign that a step is being skipped, most commonly proper sealing of the surrounding shingles or a check of the decking underneath. It is also worth reading a few customer reviews before booking, since repair quality is much harder to verify after the fact than replacement quality, simply because a bad repair may not show its failure until the next big storm.
Other Roofing Elements Worth Checking During a Shingle Repair
Since a repair crew is already on the roof, it is efficient and cost-effective to have them check a few related items at the same time, rather than scheduling separate visits later:
- Flashing around chimneys, vents, and skylights. Flashing failures are one of the most common causes of leaks that get mistakenly blamed on shingles. If your home has a skylight, the flashing around it deserves a look, and older units may be due for skylight replacement rather than just a flashing patch.
- Attic ventilation and insulation. Poor attic ventilation accelerates shingle aging from underneath by trapping heat and moisture. A quick check of the attic can reveal whether ventilation issues are contributing to premature shingle wear.
- Low-slope or flat sections. Many GTA homes have a mix of pitched shingle roofing and a flat section over an addition, porch, or garage. If yours does, it is worth having the crew check that flat roofing section too, since it ages on a different timeline and uses entirely different materials.
- Gutters and downspouts. Granule buildup in gutters is a sign of shingle wear, but clogged gutters also contribute to ice damming in winter, which stresses the shingles along the eaves.
Bundling these checks into one visit is one of the simplest ways to save money, since you avoid multiple service call fees and get a complete picture of your roof’s condition in a single report.
DIY Versus Professional Shingle Repair: An Honest Comparison
We understand the appeal of a DIY fix, particularly for a single visible shingle. But shingle repair carries real risk, both physical and financial, that is worth weighing honestly.
| Factor | DIY Repair | Professional Repair |
|---|---|---|
| Upfront cost | Lower (materials only, roughly $30-$80) | Higher (includes labour, roughly $150-$450) |
| Fall risk | Significant, especially on steep or wet roofs | Minimized with harnesses, ropes, and proper anchoring |
| Warranty impact | May void manufacturer warranty on surrounding shingles | Typically preserves warranty when performed to spec |
| Long-term reliability | Variable, depends on skill and weather timing | Backed by workmanship warranty |
| Ability to assess underlying deck | Limited, without training | Full assessment as part of the job |
For a homeowner comfortable on a ladder and working with a single, easily accessible shingle on a low-slope roof, a careful DIY patch is not unreasonable. But for anything involving a steep pitch, multiple shingles, or a roof more than one storey off the ground, the fall risk alone makes professional repair the more sensible choice, and the cost difference is often smaller than homeowners expect once you account for materials, tools, and the risk of doing the repair incorrectly and having to redo it.
Building a Simple Maintenance Routine That Prevents Costly Repairs
The homeowners who spend the least money on their roof over 20 years are rarely the ones who never need a repair. They are the ones who catch small problems early and address them promptly. A simple routine that costs almost nothing but time:
- Walk the perimeter of your home twice a year with binoculars, checking for curling, cracking, or missing shingles
- Check gutters after major storms for granule accumulation
- Look at your attic ceiling and insulation for staining or dampness after heavy rain or snowmelt
- Book a professional inspection every three to five years, even with no visible signs of damage, particularly once the roof passes the 12-year mark
- Keep a simple record of any repairs performed, including date and scope, so you and any future contractor have a clear history
Homeowners across our Toronto, Peel Region, York Region, Halton Region, and Durham Region service areas deal with slightly different exposure depending on tree cover, wind patterns, and proximity to the lake, but the underlying maintenance principles are the same everywhere in the GTA.
What is the fastest way to save money on shingles when a few are already damaged?
Can I really save money on shingles by doing 3 repair tasks myself?
How do I know if a shingle repair will actually hold, or if I need a bigger fix?
What time of year is best in Toronto to get the most value from shingle repairs?
Do small shingle repairs affect my roof’s overall lifespan?
How much does a typical shingle repair cost compared to a full roof replacement?
Need Help With Save Money on Shingles?
If any of the warning signs above sound familiar, the smartest next step is a professional assessment rather than guesswork. Universal Roofs has been repairing and replacing roofs across the GTA since 2005, and we will always tell you honestly whether a repair will hold or whether it is time to plan for something bigger.
Call us today at (416) 732-2421 or request a free inspection to get started.
Universal Roofs proudly serves Toronto, Mississauga, Brampton, Vaughan, Markham, Oakville and the GTA since 2005.