
A single missing shingle or a fist-sized bald patch rarely feels urgent, especially in the middle of a dry Toronto summer. But asphalt shingles are a system, not a collection of independent parts, and a small gap in that system is an open invitation for water. This ultimate guide to asphalt roof patching walks GTA homeowners through exactly how professional patch repairs are diagnosed, planned, and executed, what materials belong on a Canadian roof, what a fair price looks like, and — just as importantly — when patching is the wrong call entirely.
We wrote this guide from the field, not from a textbook. Every technique described below reflects how our crews approach real patch jobs across the Toronto area, where freeze-thaw cycles, ice damming, and sudden summer downpours put more stress on a shingle roof than almost any other climate in the country.
If you are dealing with an active leak right now, skip ahead to the diagnostic steps below, or go straight to our roof repair team for an assessment. For everyone else, read on — understanding the process will help you make a smarter decision, whether you patch it yourself, hire a contractor, or start planning a full replacement.
What Asphalt Roof Patching Actually Fixes (and What It Doesn’t)
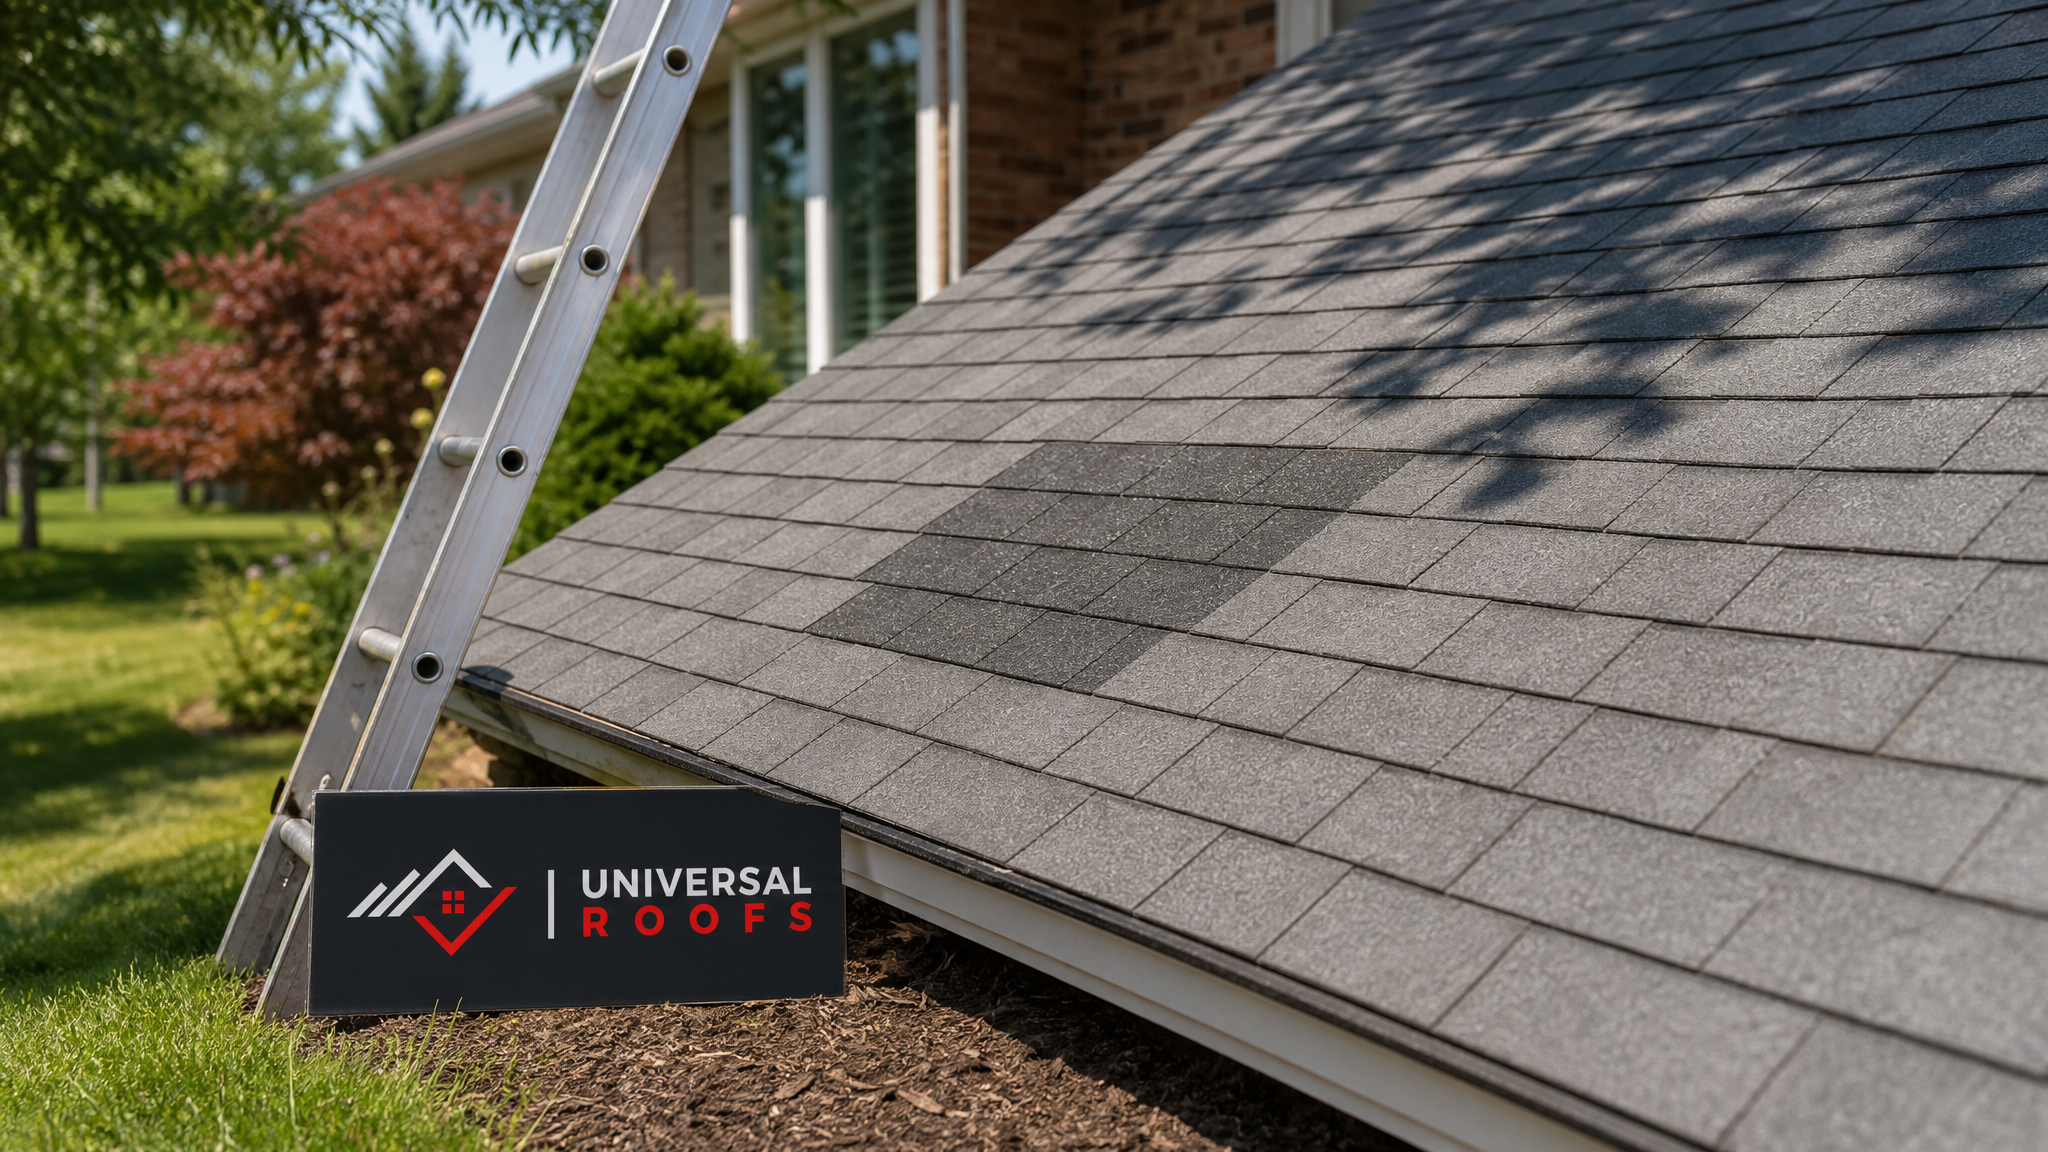
Patching is a targeted repair, not a rejuvenation. It is the right tool for isolated damage on a roof that is otherwise structurally sound and reasonably young. Understanding that boundary is the first step in any sensible repair decision.
Good candidates for patching include a handful of cracked or missing shingle tabs after a wind event, a localized leak around a single nail pop, minor granule loss from a fallen branch, or damage confined to one small area of an otherwise healthy roof. In all of these cases, the surrounding shingles still have flexibility and adhesive strength, which means a new shingle or a cement repair will bond properly and hold for years.
Patching stops being the right answer once damage is spread across multiple slopes, the shingles are brittle and curling at the edges, granules are washing into the eavestroughs by the handful, or the roof is already past 18-20 years old. At that point you are not fixing a defect — you are trying to keep a roof that has reached the end of its service life limping along, and that rarely ends well financially. A roof replacement assessment is the more honest conversation in that scenario.
Diagnosing Asphalt Shingle Damage Before You Patch
Every proper patch job starts with a diagnosis, not a fix. Climbing up and slapping cement on the first thing you see is how small leaks turn into rotted decking. Here is the sequence we use on every service call.
Start from the inside. Check the attic on a dry day with a flashlight, looking for water staining on the underside of the sheathing, dark trails along rafters, or damp insulation. Water almost never drips straight down from where it enters — it travels along the underlayment or decking and shows up several feet away from the actual hole. Note the staining location relative to the ridge, and use that to narrow your search area on the roof itself before you ever touch a ladder.
From the ground, scan with binoculars for missing tabs, shingles that are visibly curled or lifted, dark discoloration (a sign of moss, algae, or moisture retention), and granules collecting in the gutters. Granule loss is normal aging, but heavy, sudden loss after a storm usually means impact damage.
Only once you have a shortlist of suspect areas should you get on the roof — and only if you have safe, dry conditions, a properly footed extension ladder, and ideally a second person present. This is the point where most DIY inspections should stop and a professional inspection should begin, particularly on steep slopes or anything above a single storey.
| Symptom | Likely Cause | Patch-Suitable? | Recommended Action |
|---|---|---|---|
| One or two missing shingle tabs after high winds | Wind uplift, aged sealant strip | Yes | Replace individual shingles, reseal tabs |
| Nail pop with a small leak ring on ceiling | Improper nailing depth, thermal movement | Yes | Reset nail, seal with roofing cement |
| Cracked shingles concentrated around one vent or chimney | Failed flashing or old pipe boot | Yes, with flashing replacement | Patch shingles and replace flashing/boot together |
| Widespread curling and granule loss across multiple slopes | Shingles at end of service life | No | Full or partial roof replacement |
| Soft, spongy decking felt underfoot | Long-term water intrusion, rotted sheathing | No | Deck repair required before any shingle work |
| Ice damming leak lines along the eaves each winter | Poor attic ventilation or insulation | Partial — patch plus ventilation fix | Add ice-and-water shield, check attic ventilation |
Materials You Need for a Proper Asphalt Patch
Toronto’s climate is unforgiving on roofing materials — hot, humid summers followed by deep freeze-thaw cycles all winter. Using the wrong product, or the right product applied at the wrong temperature, is the single most common reason DIY patches fail within a season.
A correctly stocked patch kit should include matching replacement shingles (colour and profile matched as closely as possible to the existing roof — mismatched patches are a common cosmetic complaint we get called out to fix), roofing cement or plastic roof cement rated for asphalt (not general-purpose caulking), galvanized or stainless roofing nails, a pry bar for lifting sealed tabs without tearing them, a utility knife with a hooked shingle blade, and self-adhesive ice-and-water membrane for any repair near an eave, valley, or penetration.
Skip anything advertised as an all-purpose sealant or silicone caulk. These products do not bond well to asphalt granules, degrade quickly under UV exposure, and often trap moisture rather than shedding it. We see this mistake constantly on service calls — a homeowner used a tube of clear caulk from the hardware store, it looked fine for a few months, and then failed completely the following spring.
| Material | Best Use | Approx. Cost (CAD) | Lifespan of Repair |
|---|---|---|---|
| Matching 3-tab or architectural shingles | Replacing missing/damaged shingle tabs | $40-$90 per bundle | 10-20 years if matched properly |
| Asphalt roofing cement (trowel or caulk-tube) | Sealing tabs, edges, small punctures | $12-$25 per tube/can | 2-5 years, needs reapplication |
| Self-adhesive ice-and-water membrane | Eaves, valleys, chimney/vent penetrations | $45-$75 per roll | 15-25 years |
| Galvanized roofing nails | Fastening replacement shingles | $8-$15 per box | Life of the shingle |
| Pipe boot / vent flashing replacement | Repairing cracked rubber collars around vents | $15-$40 per unit | 10-15 years |
Step-by-Step: How Professionals Patch an Asphalt Roof
Once damage is confirmed and the area is safely accessible, the actual patch follows a consistent sequence regardless of the size of the repair.
First, the surrounding area is cleared of debris, loose granules, and any remaining nails from the damaged shingle. Adjacent shingle tabs are gently lifted — never forced, since cold or aged asphalt cracks easily — using a flat pry bar, working from the row above downward.
Second, the damaged shingle is fully removed, including any old nails left in the deck. Leaving old fasteners behind is one of the most common shortcuts that causes a “fixed” roof to leak again within a year, since the new shingle simply sits on top of an existing puncture point.
Third, if the sheathing underneath shows any softness, staining, or rot, that section of decking must be addressed before a new shingle goes down. Patching over compromised decking is cosmetic, not structural, and will fail.
Fourth, a new shingle is slid into place, matched for colour and profile, and fastened with four to six galvanized nails placed above the sealant line per manufacturer specification — never below it, where exposed nail heads become their own leak point.
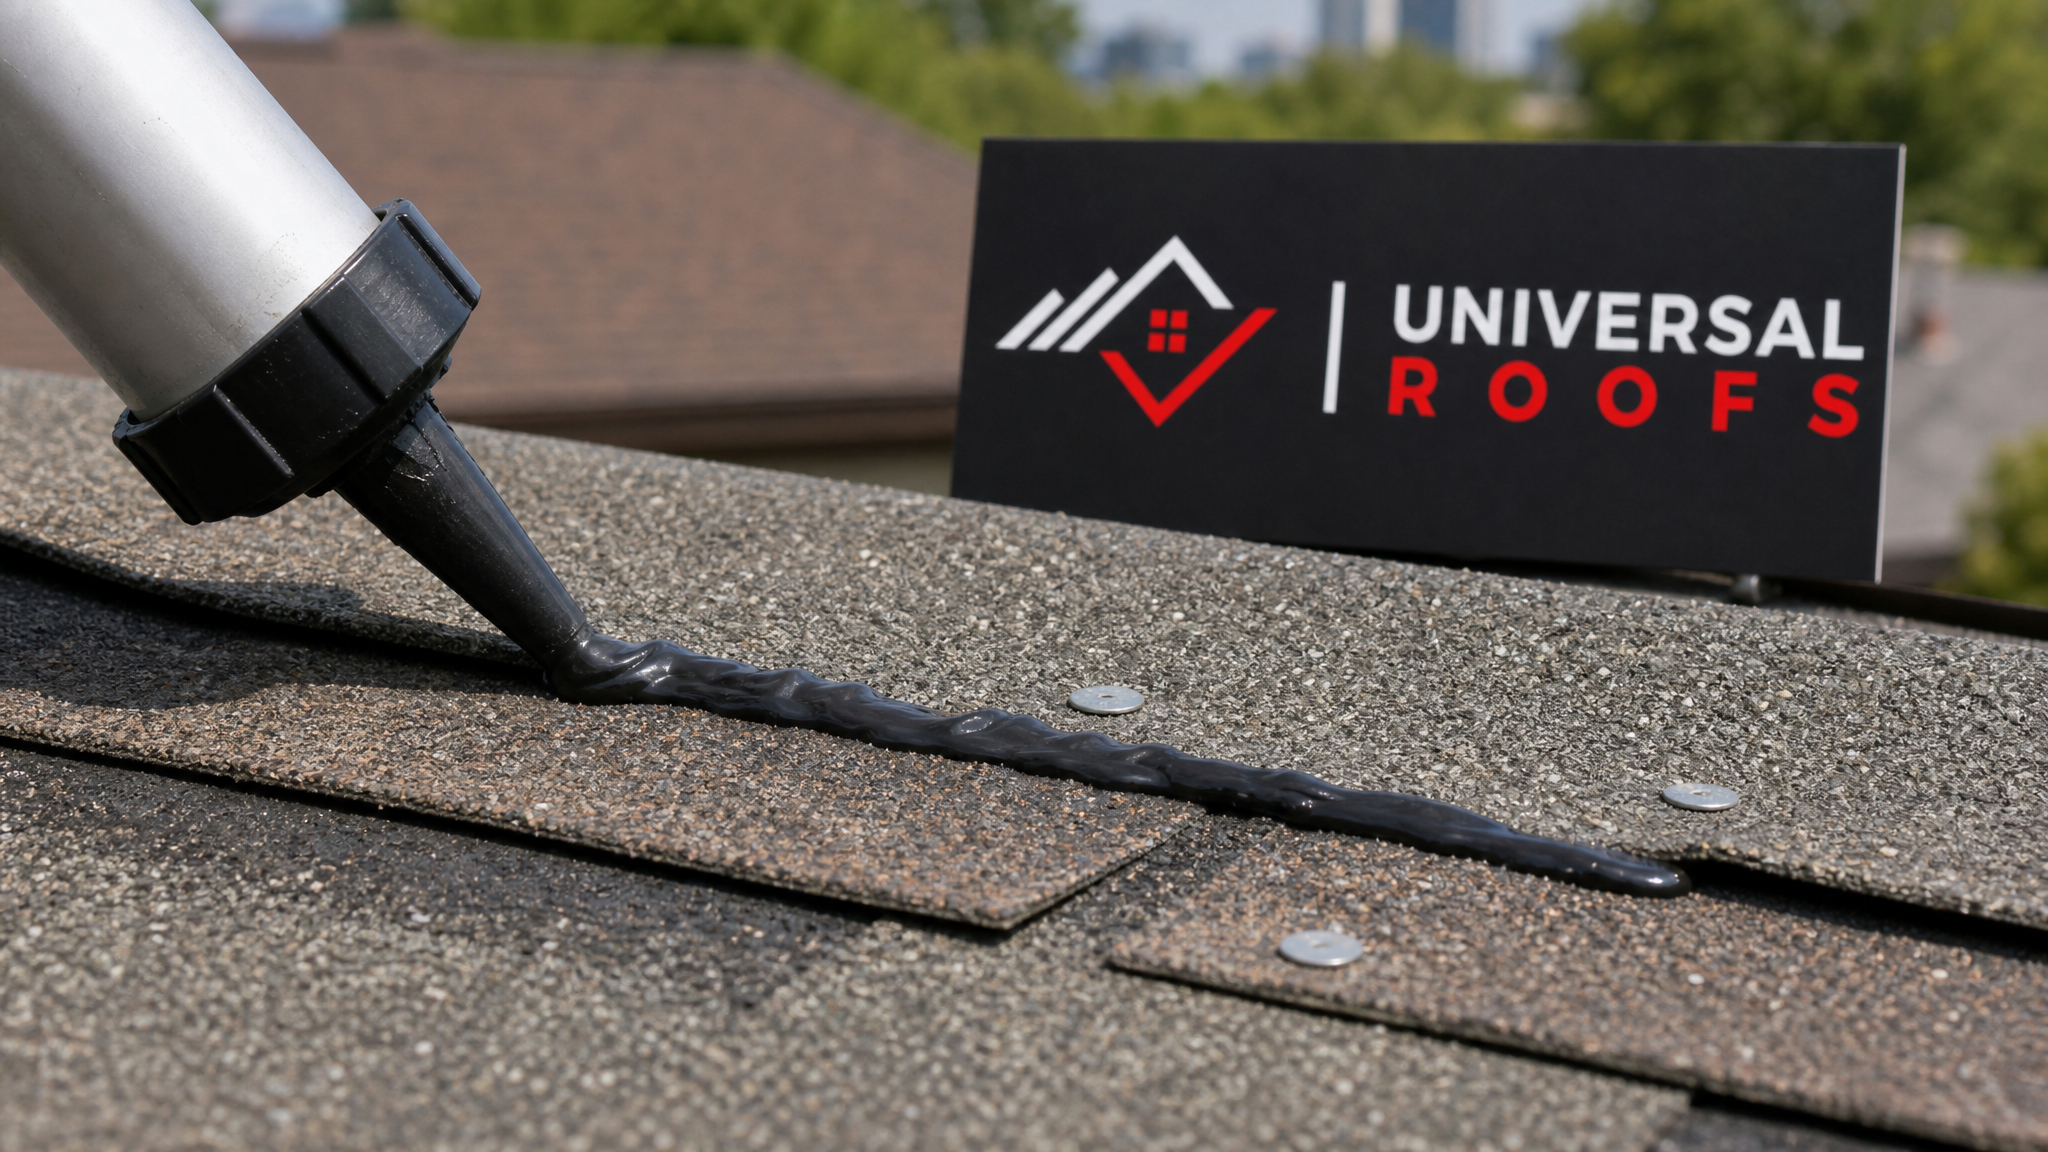
Fifth, roofing cement is applied under the tabs of the shingle above to reseal the shingle in place, and along any cut edges to seal against wind-driven rain. The patch is then pressed firmly and, in warm weather, the self-sealing strips are given a few hours of sun to properly adhere.
Why Timing and Temperature Matter More Than Most Homeowners Realize
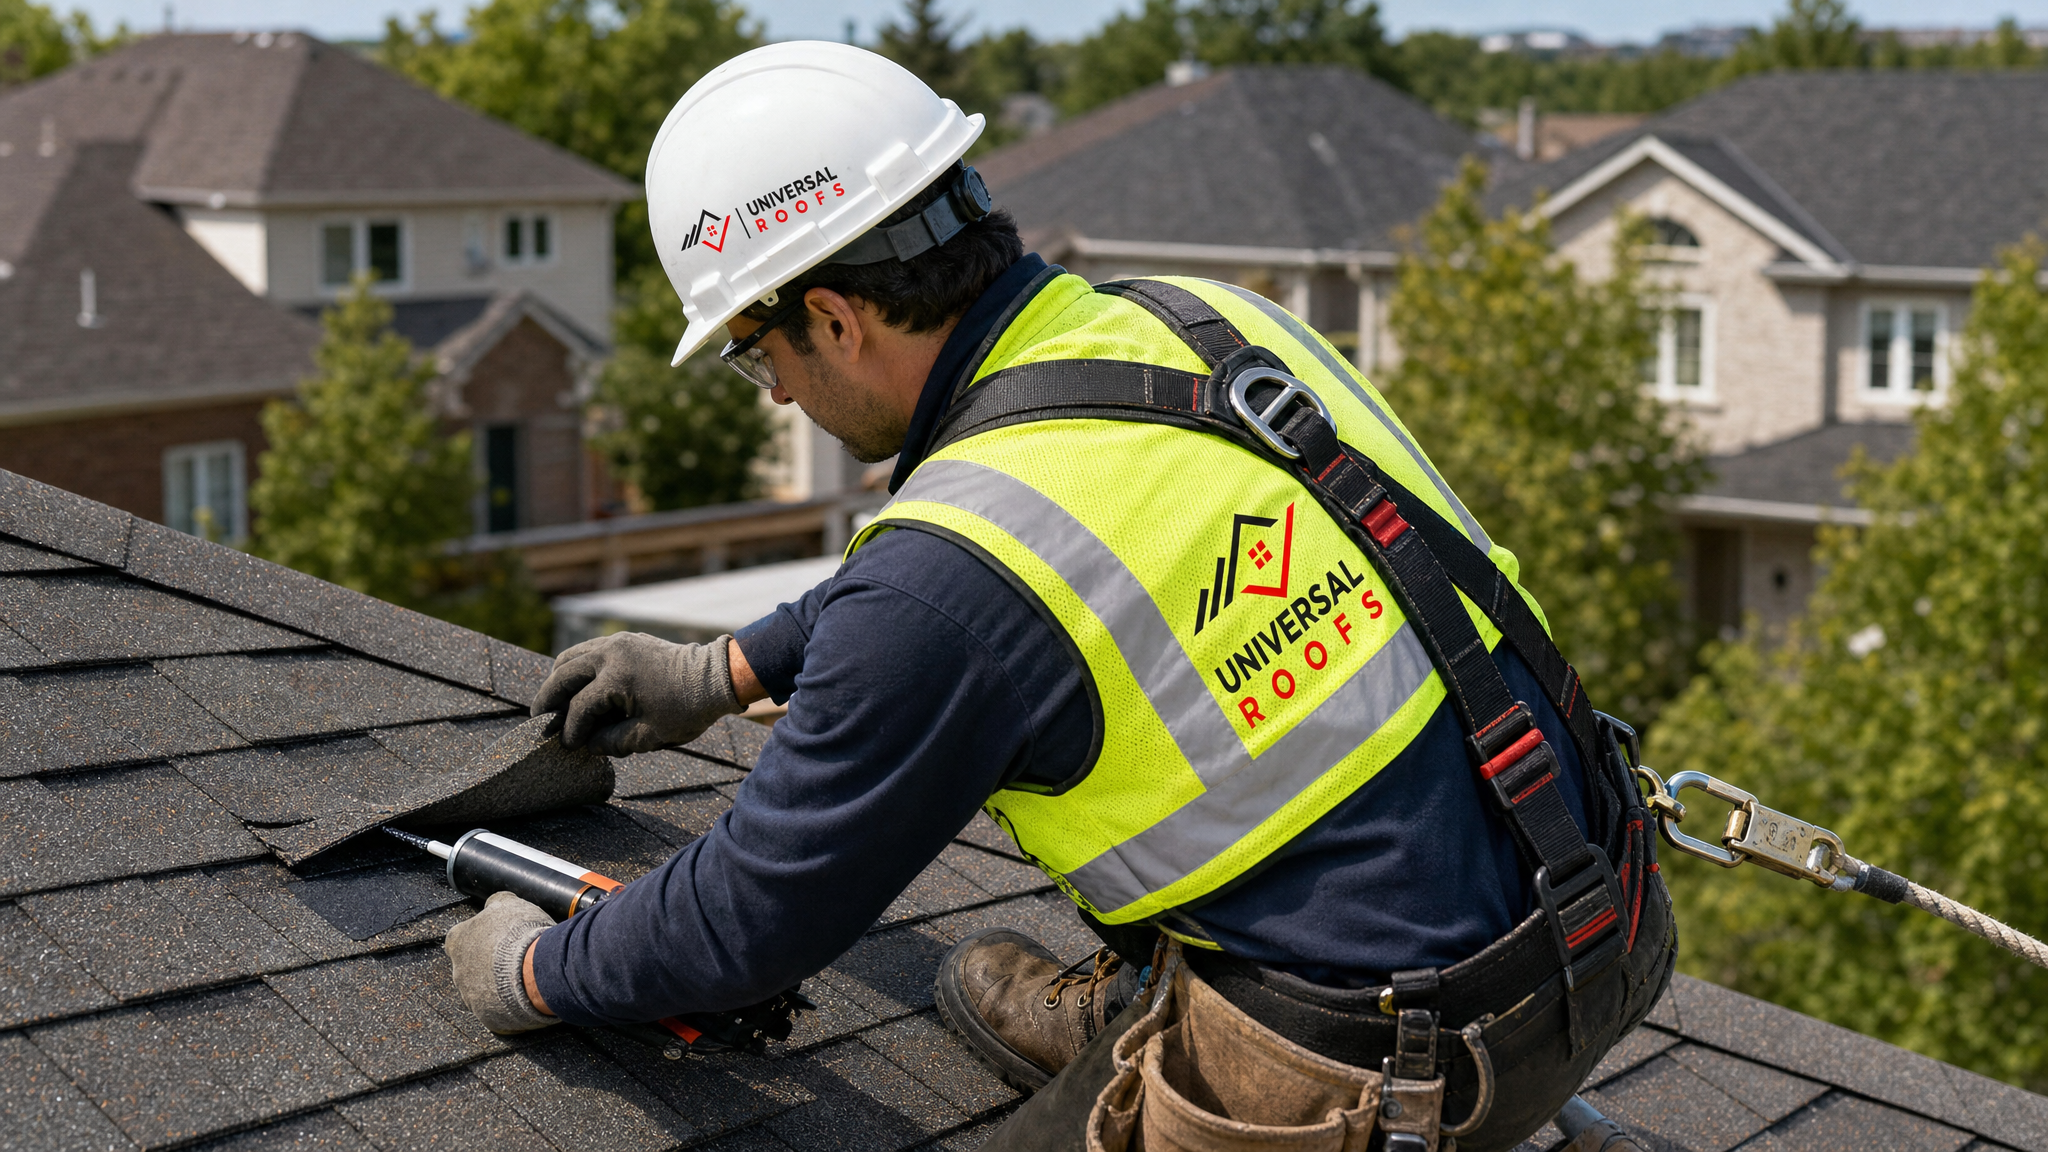
Asphalt shingles are engineered to be workable within a fairly narrow temperature band, and this is one of the most overlooked factors in a DIY patch job. Below about 4-7°C, shingles become stiff and prone to cracking the moment you try to lift or bend them, which is why legitimate roofing crews avoid non-emergency patch work through most of the Toronto winter. Above roughly 27-30°C, shingles become soft and can be scuffed, gouged, or have granules dislodged simply by walking on them.
Late spring through early autumn — which conveniently includes right now, in the middle of a Toronto summer — is the most forgiving window for patch work, provided you work during cooler morning hours to avoid softened shingles underfoot on the hottest afternoons. If a patch absolutely cannot wait during a winter cold snap, a professional crew will use cold-weather-rated cement and warm the shingle slightly before flexing it, which is not something most homeowners are equipped to do safely.
DIY Patching vs. Hiring a Professional: An Honest Comparison
We are not going to pretend every patch requires a licensed contractor — a single loose tab on a bungalow with safe, low-slope access is a reasonable weekend project for a comfortable, properly equipped homeowner. But the calculation changes quickly with roof pitch, height, and the scope of hidden damage.
| Factor | DIY Patch | Professional Patch |
|---|---|---|
| Cost | $30-$100 in materials | $250-$700 typical service call, depending on scope |
| Safety equipment required | Ladder, harness (often skipped) | Harness, rope, roof anchors, insurance coverage |
| Hidden damage detection | Limited to visible surface | Deck, flashing, and ventilation checked together |
| Warranty on repair | None | Typically 1-5 years depending on scope |
| Insurance/resale documentation | None generated | Invoice and photos provided for records |
For anything above a single storey, any pitch steeper than roughly 6:12, or any repair near a chimney, valley, or skylight, we recommend calling in a professional. Flashing details around penetrations are frequently the actual source of a “shingle” leak, and a skylight or skylight replacement job that looks like simple shingle damage from the ground is a different repair entirely once you’re standing next to it.
Common Asphalt Patching Mistakes We See on Service Calls
Certain mistakes come up so often on our repair calls that they are worth calling out directly. Nailing through the sealant strip instead of above it is one of the most frequent — it looks secure initially but creates a guaranteed future leak point as the nail head sits exposed to weather. Using clear silicone caulk instead of asphalt-rated roofing cement is another, since silicone does not bond to granulated shingle surfaces and peels away within a season or two of UV exposure and thermal cycling.
Ignoring flashing while focusing only on shingles is a third common gap — a huge share of “roof leaks” are actually flashing failures around chimneys, vents, and valleys that happen to show up as staining near a shingle seam. Patching over rotted decking rather than replacing it is a fourth mistake, and arguably the costliest, since it hides a structural problem under a cosmetic fix until the ceiling below eventually gives way. Finally, mismatching shingle colour or profile creates a repair that is structurally fine but visibly obvious — a legitimate concern for resale value and curb appeal, and one reason we always try to source close colour matches even for small patch jobs.
How Long Does a Proper Asphalt Patch Last?
A well-executed patch, using matched shingles and proper roofing cement, typically holds for 10 to 20 years — essentially matching the remaining service life of the surrounding roof, since the patch is not a separate product but an extension of the existing system. A rushed patch using the wrong sealant, or one applied without addressing the underlying cause (poor ventilation, failed flashing, deck rot), commonly fails within one to three years, sometimes in the very first winter freeze-thaw cycle.
This is why we always recommend pairing a patch with a broader inspection rather than treating it as an isolated event. If your roof needed patching once because of storm damage, that’s simply bad luck. If it’s needed patching three times in five years in different spots, that’s a signal the roof itself, or its ventilation, needs a closer look — something our FAQ page covers in more detail for homeowners trying to figure out where their roof sits on that spectrum.
Patching Around Flat Sections, Valleys, and Transitions
Many GTA homes, particularly additions, garages, and porch roofs, have a mix of asphalt shingle slopes and a low-slope or flat section tied in at a valley or transition wall. Patching asphalt shingles in isolation on these homes without checking the transition point is a common source of repeat leaks, because water concentrates exactly at that junction during heavy rain.
If your damage is near one of these transitions, it is worth having the flat portion inspected alongside the shingle repair — our flat roofing team frequently gets called to a “shingle leak” that turns out to originate from a failed membrane seam a few feet away at the transition. Treating the whole intersection as one system, rather than patching the shingle side and hoping the flat side is fine, is the only way to actually stop a recurring leak in these spots.
Seasonal Considerations for GTA Homeowners
Because Toronto sees such a wide seasonal temperature swing, the timing of a patch affects both how well it goes down and how long it lasts. Summer patch work, like anything scheduled right now, benefits from soft, workable shingles and long dry stretches, but crews need to avoid granule scuffing during the hottest midday hours and should never walk a shingle roof during or right after a thunderstorm when surfaces are slick.
Autumn is arguably the best window for non-emergency patching, since temperatures are moderate and any repair has a full season to cure before winter’s freeze-thaw cycle tests it. Winter patches are reserved for genuine emergencies, since cold, brittle shingles crack easily and cement takes far longer to cure properly in low temperatures — if you are dealing with an active winter leak, it is safer to have a professional apply an emergency membrane patch and revisit a permanent shingle repair once temperatures recover. Spring often reveals winter’s damage as snow and ice melt away, which is why late April and May tend to be our busiest patch-repair months across Toronto, the Peel Region, York Region, Halton Region, and Durham Region.
When a Patch Is a Stopgap, Not a Solution
It bears repeating: patching buys time, it does not reset the clock on an aging roof. If your shingles are already past 18 years old, if granule loss is heavy and roof-wide rather than localized, or if you are patching the same general area for the second or third time, the honest advice is to start budgeting for a replacement rather than continuing to chase individual failures. A short conversation with a roofer, informed by an actual on-roof inspection rather than a ground-level guess, will tell you which category your roof falls into. You can see examples of the kind of work and outcomes past clients have had on our reviews page, and read more about our approach on our about page.
What is the ultimate guide to asphalt roof patching missing if my shingles keep cracking in winter?
How much does asphalt roof patching typically cost in Toronto?
Can I patch asphalt shingles myself, or should I always hire a roofer?
How long does an asphalt roof patch last before it needs redoing?
Why does my patched roof keep leaking in the same spot?
What is the best time of year to patch an asphalt roof in the GTA?
Need Help With Ultimate Guide to Asphalt?
Reading about the process is one thing — having a trained crew diagnose the actual cause and match materials correctly is another. Universal Roofs has been patching, repairing, and replacing asphalt shingle roofs across the GTA since 2005, and we bring the same diagnostic approach outlined in this guide to every service call.
Call us today at (416) 732-2421 or request a free inspection to get started.
Universal Roofs proudly serves Toronto, Mississauga, Brampton, Vaughan, Markham, Oakville and the GTA since 2005.