
If your roof has ever leaked despite the shingles looking perfectly fine, the culprit was almost certainly the flashing, not the roofing material itself. Homeowners across the Greater Toronto Area often assume a leak means it is time for a full roof replacement, but in a large share of service calls we attend, the real issue is a section of flashing that has corroded, lifted, or been sealed with the wrong product. Understanding the significance of roof flashing for effective repairs is one of the most valuable things a homeowner can learn, because it changes how you diagnose problems, how you budget for maintenance, and how you evaluate the quality of work a contractor performs on your home.
Flashing is the thin, often overlooked metal (or occasionally rubber or composite) material installed at every transition point on your roof: chimneys, skylights, sidewalls, valleys, vents, and the edges of the roof itself. Its job sounds simple — keep water out — but the engineering behind a correctly flashed roof is more nuanced than most homeowners realize. A single missing nail, an undersized step flashing piece, or a bead of caulking used in place of proper metalwork can undo an otherwise excellent roofing job.
In this guide, we will walk through what flashing actually does, the materials and types used on Toronto homes, how our team evaluates and repairs failed flashing, what it costs, and how our GTA climate — with its freeze-thaw cycles, ice damming, and summer thunderstorms — makes flashing quality even more critical here than in milder climates. Whether you are dealing with an active leak or simply want to understand what a contractor is telling you about your roof, this article will give you the knowledge to make informed decisions.
What Roof Flashing Actually Does
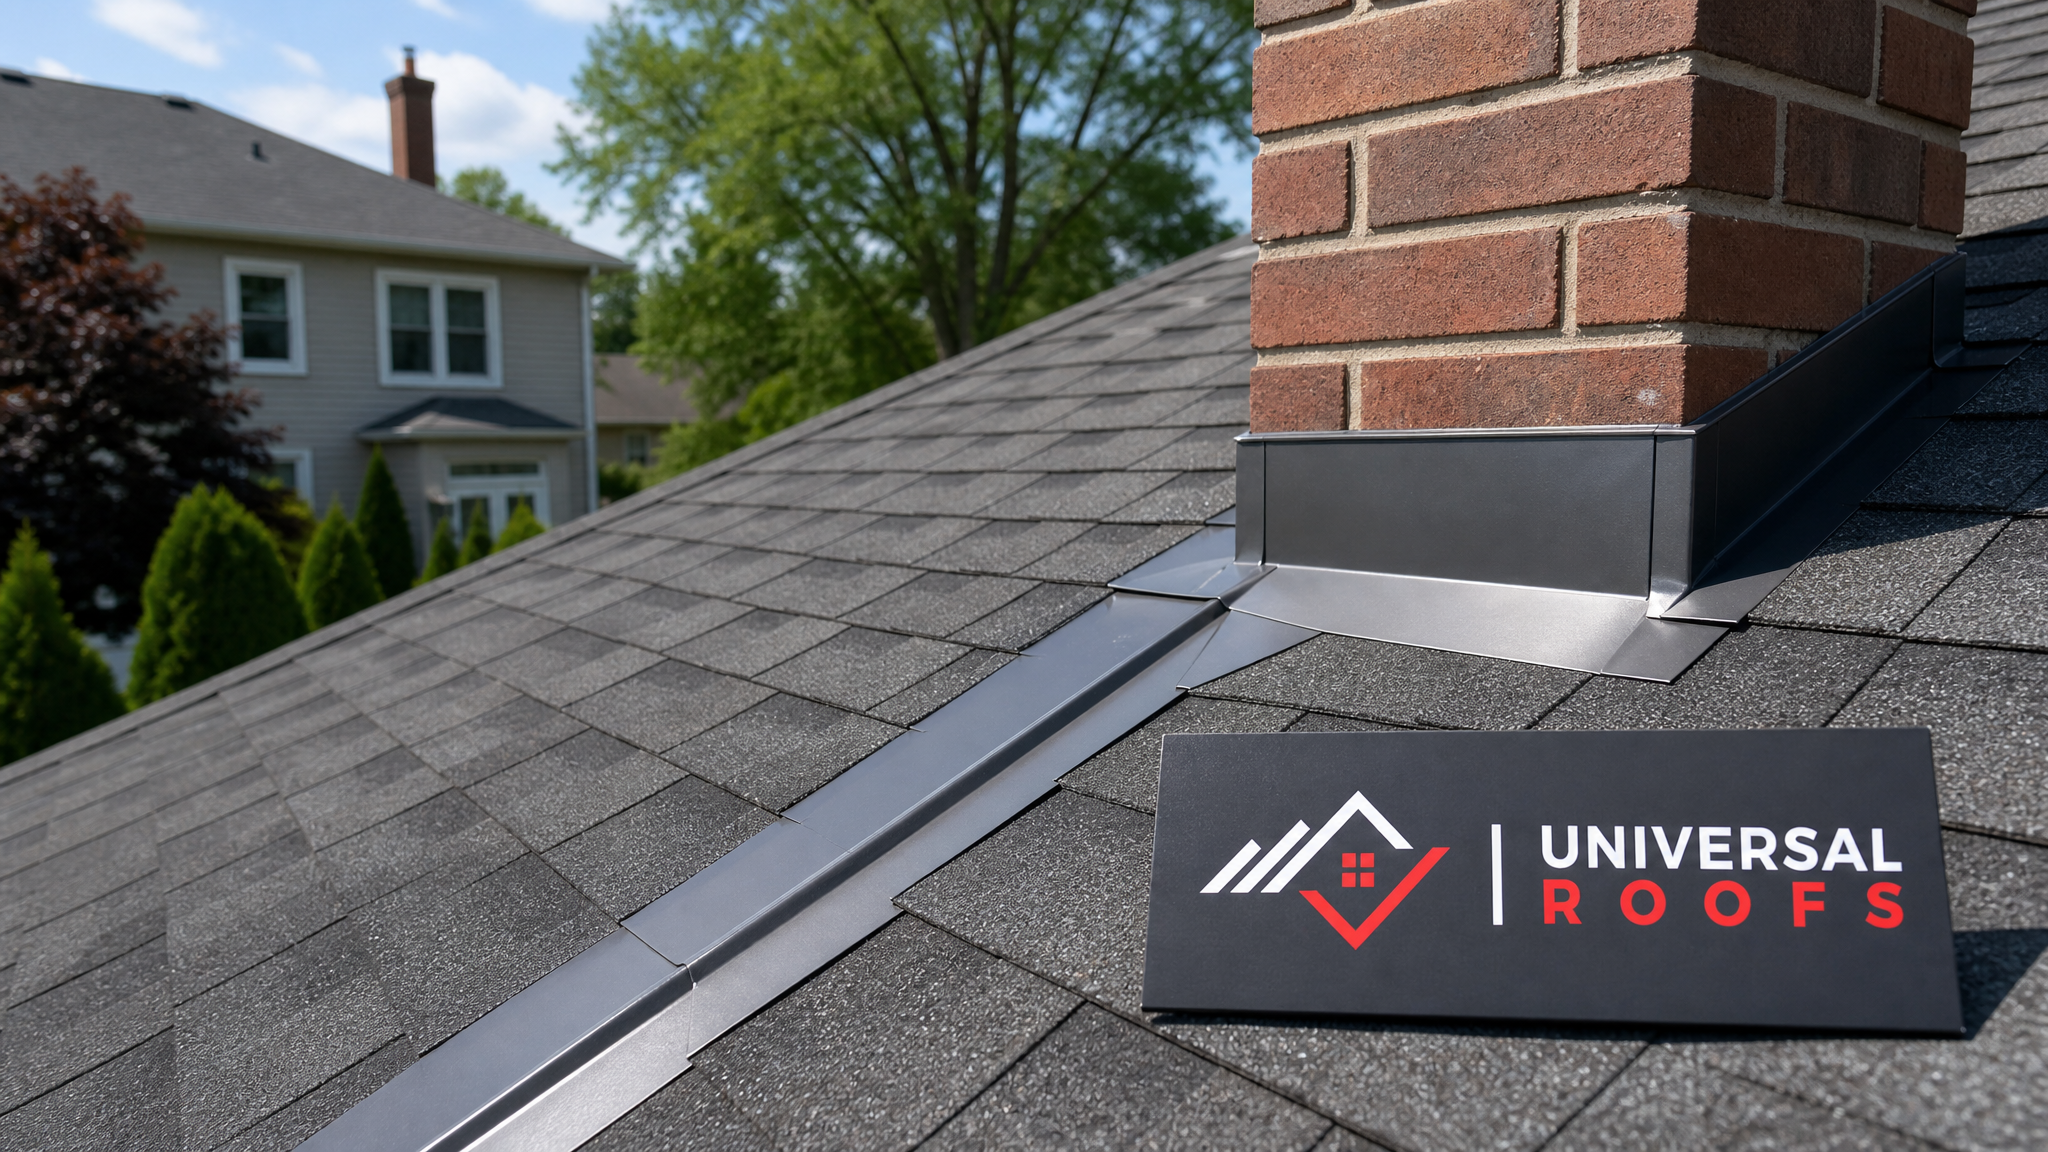
Flashing is the waterproofing layer installed at every joint, penetration, and transition on a roof where two surfaces meet or where something protrudes through the roof plane. Shingles, membranes, and underlayment are designed to shed water when installed on a continuous, unbroken slope. The moment you introduce a chimney, a skylight, a wall, a vent pipe, or a valley where two roof planes meet, water no longer has a simple downhill path. Flashing redirects that water back onto the roof surface and away from the vulnerable seam.
Without proper flashing, water finds the path of least resistance, which is almost always into the building through nail holes, sheathing seams, or gaps around penetrations. This is why the significance of roof flashing for effective repairs cannot be overstated: even a roof with premium shingles and a 30-year warranty will leak within a season or two if the flashing details are wrong.
Flashing works through a combination of material properties and installation technique. Metal flashing (aluminum, galvanized steel, or copper) is durable, holds its shape, and does not degrade under UV exposure the way sealants do. Correct installation relies on overlapping pieces shingled in the same direction as water flow, so gravity does the work rather than relying on adhesives or caulking as the primary water barrier. Sealants and cement have their place, but they should always be a secondary defence, never the primary one. This is one of the most common shortcuts we see on older Toronto homes: a previous contractor caulked over a poorly fitted flashing joint instead of correcting the metalwork, and the caulking failed within two or three years, exactly as it always does.
The Main Types of Flashing on a Residential Roof
Every roof has several distinct flashing types, each engineered for a specific transition. Recognizing them helps you describe problems accurately when you call for a roof repair and helps you understand a contractor’s inspection report.
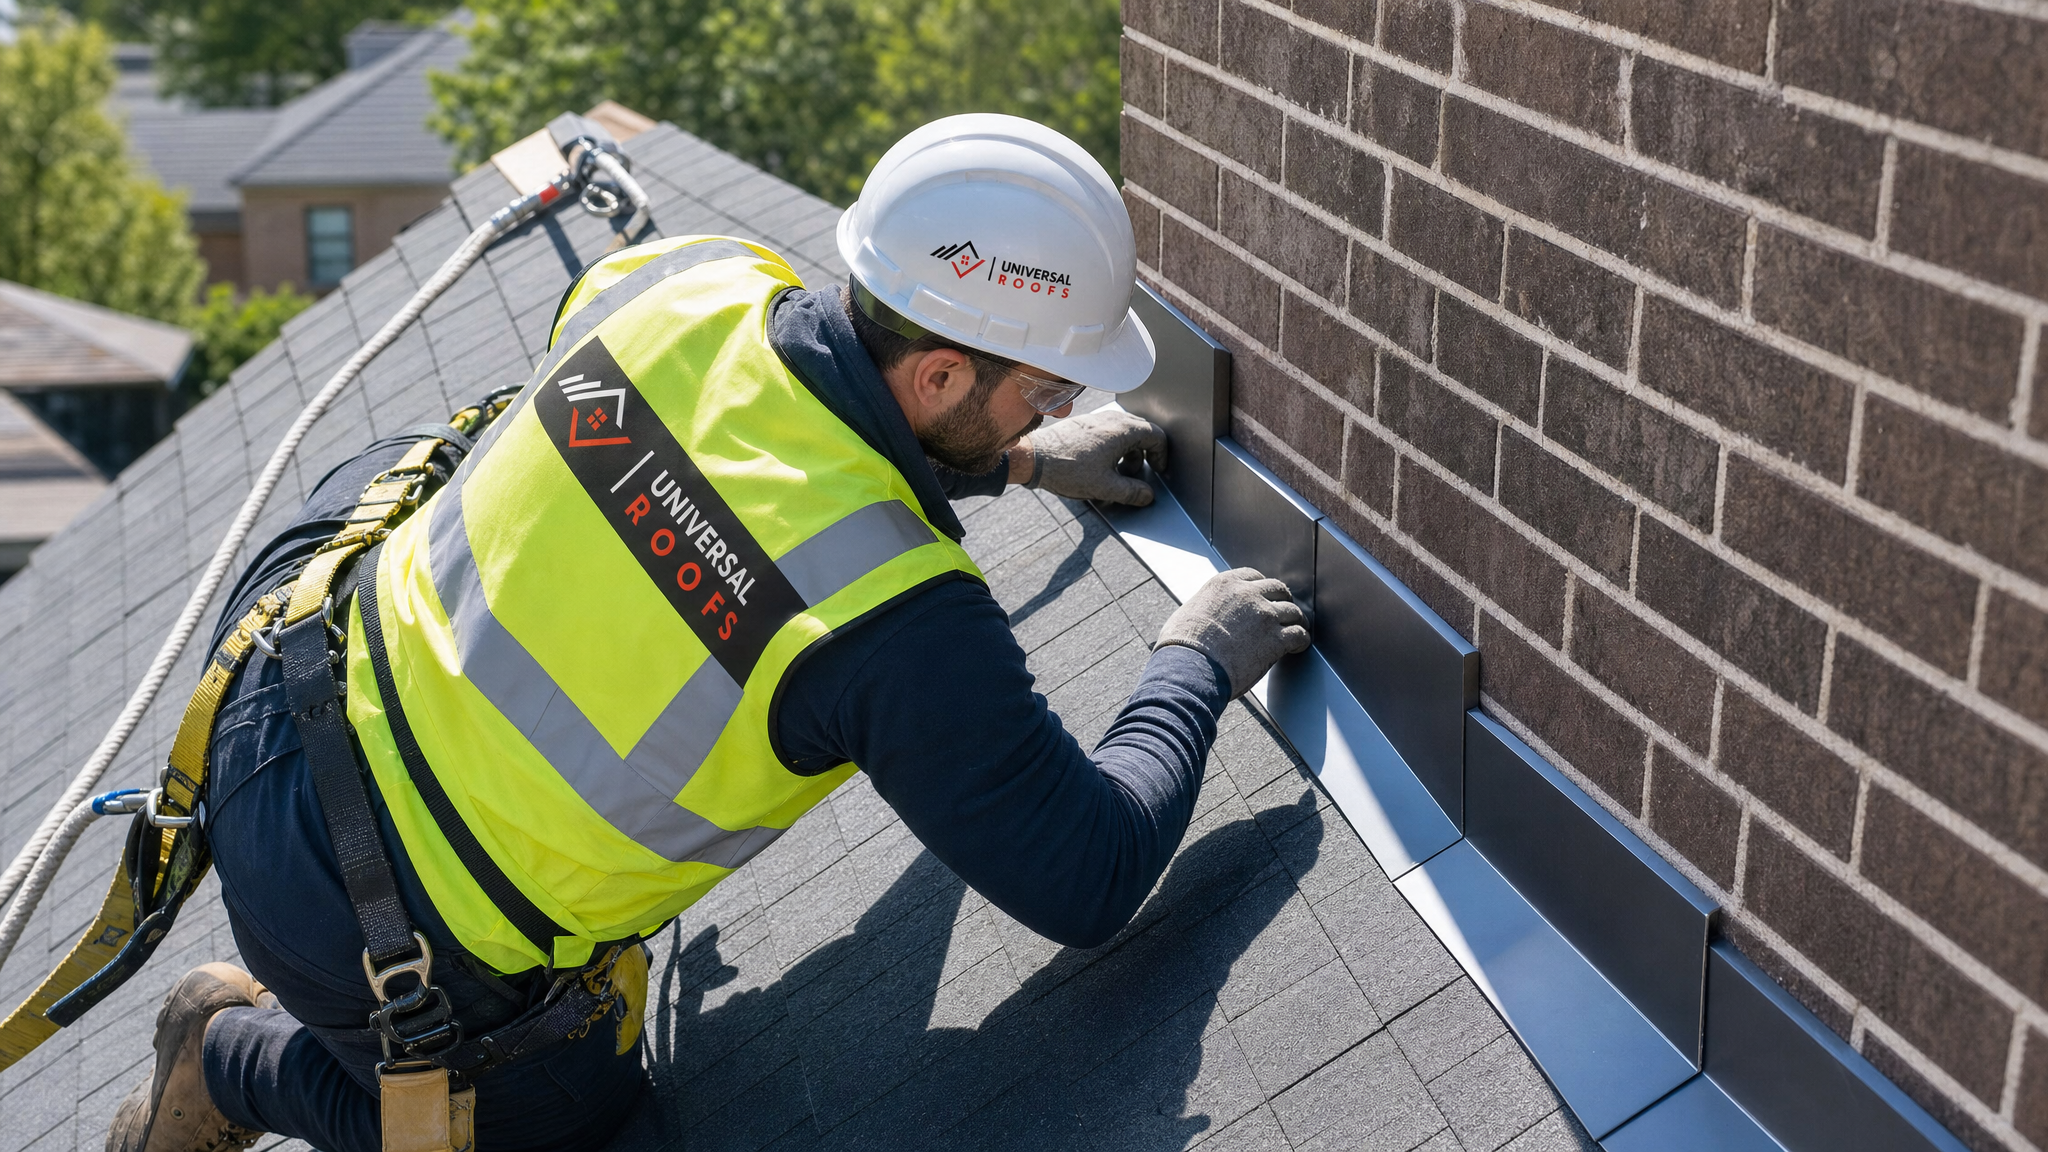
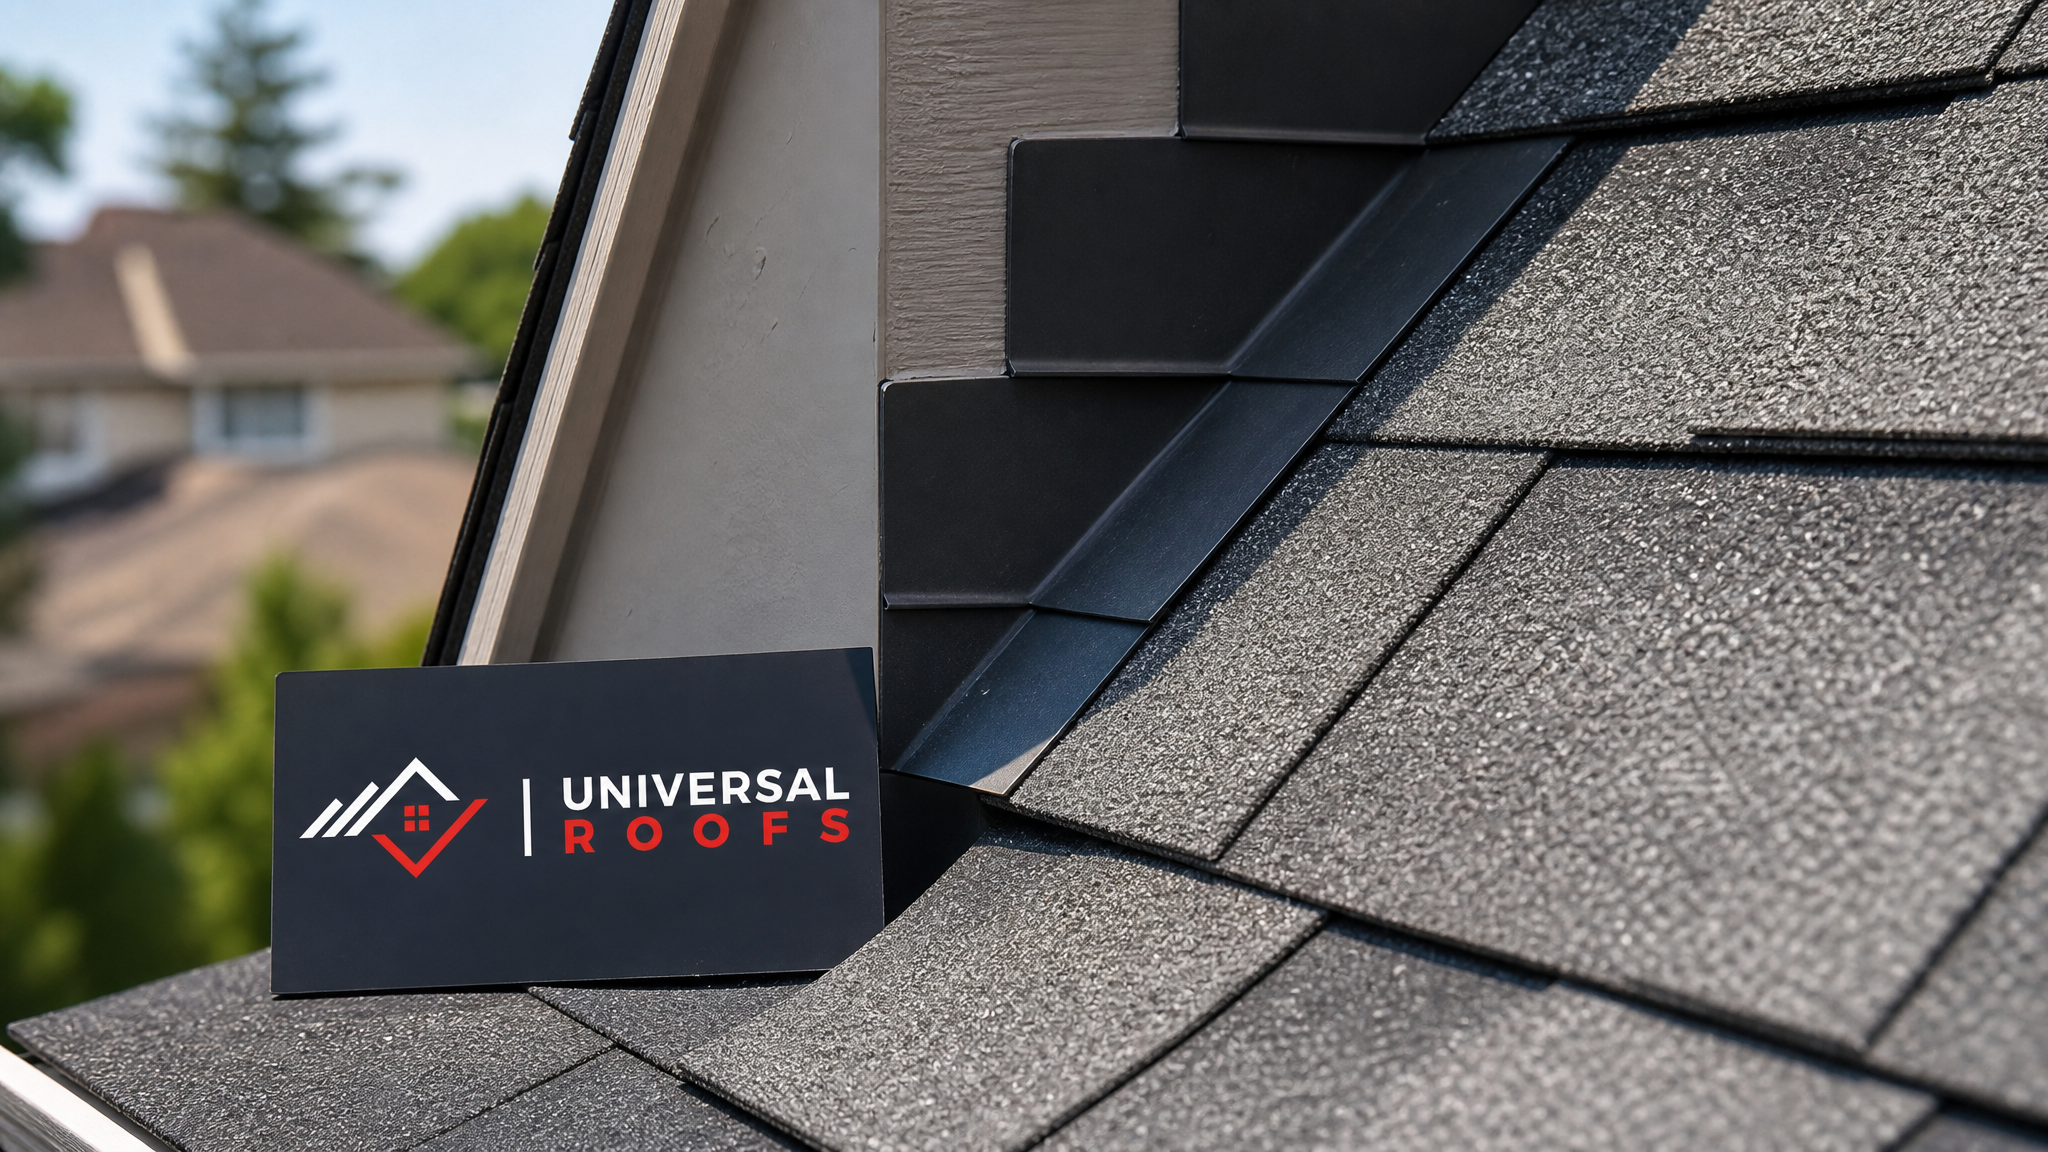
- Step flashing — small L-shaped pieces woven into each shingle course where a roof plane meets a vertical wall or dormer. Each piece overlaps the one below it, creating a shingled, water-shedding assembly.
- Counter-flashing — a second layer set into a reglet (a cut groove) in masonry, such as a chimney, that laps over the step flashing to seal the top edge against the wall.
- Valley flashing — continuous metal (open valley) or interwoven shingles (closed valley) installed where two roof slopes meet, channelling large volumes of water down a concentrated path.
- Drip edge flashing — installed along eaves and rakes to direct water into the gutters and away from the fascia board.
- Vent pipe and skylight flashing — pre-formed boots or custom-built metal aprons and side flashing that seal around penetrations. This is especially important for skylights, where the flashing kit is as important to leak prevention as the glazing unit itself.
- Kick-out flashing — a small diverter piece where a roof-wall step flashing run ends at a gutter, directing water into the gutter instead of behind it and down the wall.
Each of these has a distinct failure mode, and an experienced roofer inspects them differently. A chimney leak is diagnosed differently than a skylight leak, even though both are technically “flashing failures.”
Materials Comparison: Choosing the Right Flashing for Toronto Conditions
Not all flashing materials perform equally well in our climate. The GTA sees hot, humid summers, sub-zero winters, and repeated freeze-thaw cycles every spring and fall, all of which stress metal and sealants differently than a milder coastal climate would. The table below compares the most common flashing materials we install and repair.
| Material | Typical Lifespan | Best Use Case | Cost (Relative) | Toronto Climate Notes |
|---|---|---|---|---|
| Aluminum | 20-25 years | Standard residential flashing, valleys, drip edge | Low-Moderate | Lightweight, resists rust, but can gall against masonry over time |
| Galvanized steel | 15-20 years | Step flashing, vent boots | Low | Prone to rust once the zinc coating wears through in freeze-thaw cycles |
| Copper | 50+ years | Chimney counter-flashing, premium detailing | High | Excellent longevity, patinas naturally, ideal for older character homes |
| Painted steel (Galvalume) | 25-30 years | Custom colour-matched flashing | Moderate | Good corrosion resistance, colour options match shingles or trim |
| PVC/rubber boots (vent pipes) | 10-15 years | Plumbing and vent stack penetrations | Low | UV and freeze-thaw cause cracking; the most common cause of small pinhole leaks |
We generally favour aluminum or painted steel for most residential step, valley, and drip edge applications because they balance cost and durability well for a 20-25 year roofing system. Copper is worth the investment on heritage homes or where a chimney has repeated flashing failures, since its lifespan typically exceeds the shingles it protects. Rubber vent boots are the most frequent point of failure we find during inspections, and we recommend homeowners have them checked every few years regardless of the age of the rest of the roof.
Common Signs of Flashing Failure
Flashing problems rarely announce themselves as clearly as a missing shingle does. They tend to show up as secondary symptoms, which is why so many leaks go undiagnosed for months. Watch for the following:
- Water stains on ceilings or walls near chimneys, skylights, or where an addition meets the main roof
- Rust streaks running down siding or brick below a flashing joint
- Visible gaps, lifted edges, or nail pops in the metal itself
- Cracked or dried-out caulking where flashing meets a vertical surface
- Granule loss or discolouration in shingles immediately adjacent to flashing, indicating repeated moisture exposure
- Soft or spongy decking felt underfoot near a valley or chimney (a sign water has already reached the sheathing)
- Mould or musty odours in an attic near a penetration point
If you notice any of these, it is worth scheduling an assessment before the damage spreads to the decking, insulation, or interior finishes. Small flashing repairs are inexpensive; repairing rotted decking and drywall after prolonged water intrusion is not.
How Toronto’s Climate Accelerates Flashing Failure
The freeze-thaw cycle is the single biggest stressor on flashing in our region. Water that gets behind a flashing joint in November can freeze, expand, and force the joint open further by the time it thaws in March. Repeat this cycle for several winters and even a well-installed flashing detail can loosen. Ice damming compounds the problem: when heat escapes through poorly insulated attics, snow melts on the upper roof, refreezes at the cold eaves, and backs water up under shingles and flashing that was never designed to handle standing water. This is one reason flashing inspections should always include a look at attic insulation and ventilation, which you can learn more about on our attic services page.
Summer brings its own challenges — sudden, heavy thunderstorms can overwhelm marginal flashing details in minutes, and UV exposure gradually breaks down rubber boots and exposed sealants. A flashing system that would perform adequately in a drier, more temperate climate often fails prematurely here, which is why we always factor in local conditions rather than defaulting to manufacturer minimums when we plan repairs or a roof replacement.
The Flashing Repair Process, Step by Step
A proper flashing repair is not a quick caulk-and-go job. Here is how our crews approach it on most residential calls:
- Inspection and diagnosis — we trace the leak from the interior stain back to its likely roof-level source, which is often several feet away from where water actually enters the attic space.
- Removal of surrounding shingles — the shingle courses around the flashing are carefully lifted or removed so the metal can be replaced without simply layering a patch over a hidden problem.
- Assessment of the decking — any wood beneath the failed flashing is checked for rot or soft spots and replaced if compromised.
- Installation of new flashing — step, counter, valley, or vent flashing is fabricated or selected to match the existing profile and properly shingled with the surrounding courses.
- Sealing secondary points — a compatible, high-quality sealant is applied only where it is meant to be a backup, such as at counter-flashing reglets, never as the primary water barrier.
- Shingle reinstallation — courses are relaid over the new flashing in the correct shingled sequence.
- Final water test — where practical, we run water over the repaired area to confirm the seal before closing out the job.
This process takes longer than a quick sealant patch, but it is the difference between a repair that lasts one season and one that lasts fifteen years.
Repair Costs and Timelines
Flashing repair costs vary by location on the roof, material, and accessibility. The table below reflects typical ranges we see across the GTA for common flashing repair scenarios.
| Repair Type | Typical Cost Range (CAD) | Typical Timeline | Notes |
|---|---|---|---|
| Vent pipe boot replacement | $150 – $350 | 1-2 hours | Most common and least expensive repair |
| Chimney step and counter-flashing | $600 – $1,500 | Half day to full day | Cost varies with chimney size and masonry condition |
| Valley flashing replacement | $500 – $1,800 | Half day to full day | Depends on valley length and shingle removal required |
| Skylight flashing kit replacement | $400 – $1,200 | Half day | Often paired with a skylight inspection or reseal |
| Kick-out flashing addition | $150 – $400 | 1-2 hours | Frequently missing entirely on older homes |
| Full re-flash (multiple penetrations) | $1,500 – $4,000+ | 1-2 days | Recommended when a roof has widespread flashing age or failure |
These figures are general guidance rather than a quote — the only way to get an accurate number for your home is a physical inspection, since roof pitch, accessibility, and the extent of hidden decking damage all affect final pricing.
Flashing and Skylights: A Special Case
Skylights deserve particular attention because they combine a large roof penetration with a glazing unit that expands and contracts with temperature. A skylight is only as leak-proof as its flashing kit, and generic or improvised flashing around a skylight is one of the most common causes of interior water damage we are called out to address. If your skylight is original to an older home, or if you have noticed staining on the drywall around the frame, it is worth having both the unit and its flashing assessed together. In many cases, a skylight replacement is the more cost-effective long-term solution once the original flashing kit has begun to fail, rather than repeatedly patching an ageing installation.
Flashing on Flat and Low-Slope Roofs
Flat and low-slope roofs handle flashing differently than sloped shingle roofs. Instead of shingled step flashing, flat roofing systems typically rely on membrane flashing that is heat-welded, torched, or adhered directly to parapet walls, curbs, drains, and penetrations. Because there is little to no slope to help shed water, any flashing weakness on a flat roof tends to show up faster and more severely, since water can pond directly against a compromised seam rather than running off quickly. If you own a commercial building or a home with a flat-roofed addition, garage, or porch, it is worth having the membrane flashing details inspected on the same schedule as the main roof. Our flat roofing team handles these systems specifically because the materials, welding techniques, and detailing differ substantially from sloped-roof flashing work.
Troubleshooting Guide: Matching Symptoms to Likely Flashing Causes
Use this table as a starting point when trying to identify where a leak is originating before calling for service.
| Symptom | Likely Flashing Location | Common Cause | Urgency |
|---|---|---|---|
| Stain on ceiling near fireplace | Chimney step/counter-flashing | Lifted counter-flashing or failed reglet sealant | High — repair before winter |
| Drip during heavy rain near a dormer | Step flashing at wall junction | Missing or improperly overlapped step pieces | High |
| Leak appears only during snow melt | Valley or eave flashing | Ice damming forcing water under flashing | Moderate — address before next winter |
| Small ceiling spot below bathroom vent | Vent pipe boot | Cracked rubber boot from UV/age | Low-Moderate — inexpensive fix |
| Staining around skylight frame | Skylight flashing kit | Failed seal or aged flashing components | High |
| Water streaking down siding below roofline | Kick-out flashing (missing) | No diverter directing water into gutter | Moderate |
Preventive Maintenance to Extend Flashing Life
Flashing lasts significantly longer with a small amount of routine attention. We recommend the following maintenance rhythm for GTA homeowners:
- Have flashing visually inspected once a year, ideally in the spring after freeze-thaw season and before summer storms
- Clear debris from valleys, which trap moisture against flashing and accelerate corrosion
- Check attic insulation and ventilation to reduce ice damming risk, which indirectly protects eave and valley flashing
- Re-inspect sealant at counter-flashing reglets every 3-5 years, since sealant degrades faster than the metal itself
- Have any renovation that adds a new roof penetration (solar panels, new vents, satellite mounts) reviewed to confirm proper flashing was used, not just surface-applied sealant
A five-minute inspection during a routine gutter cleaning can catch a lifted flashing edge long before it becomes an interior leak. This preventive approach is far less expensive than reactive repairs after water has already reached your ceiling or walls.
Why Professional Installation Matters
Flashing work looks simple from the ground, but it is one of the most skill-dependent parts of a roofing system. The metal has to be cut, bent, and layered in the correct sequence relative to the shingles, and every roof has slightly different geometry at each penetration. We have replaced a significant amount of flashing that was installed correctly in terms of material choice but incorrectly in terms of sequencing — for example, counter-flashing installed before step flashing, or shingles nailed directly through flashing instead of allowing it to float and shed water beneath the course above.
This is why the significance of roof flashing for effective repairs extends beyond material selection into workmanship. A homeowner comparing quotes should ask specifically how a contractor plans to handle flashing at each penetration, not just what shingle brand they will install. You can read about our approach and see examples of completed work on our reviews page, and learn more about our background on the about page.
Serving Homeowners Across the GTA
Flashing failures are not unique to any one neighbourhood, but local building age, tree cover, and microclimate differences mean the specific patterns vary across the region. We regularly repair flashing on older character homes in Toronto, newer subdivisions throughout Peel Region, larger estate homes across York Region, lakeside properties in Halton Region, and growing communities throughout Durham Region. If you are unsure whether your symptoms point to a flashing issue or something else, our FAQ page covers many of the questions we hear most often, and our team is always available to walk through what we find during an on-site assessment.
What is the significance of roof flashing for effective repairs?
How do I know if my leak is caused by flashing rather than damaged shingles?
How long does roof flashing typically last?
Can flashing be repaired without replacing the whole roof?
Why does caulking alone not fix a flashing leak?
How much does flashing repair typically cost in Toronto?
Need Help With The Significance of Roof?
Flashing problems rarely resolve on their own, and delaying a repair almost always costs more once water reaches the decking, insulation, or interior finishes. Universal Roofs has been diagnosing and repairing flashing failures across the GTA since 2005, and our crews know exactly where these leaks tend to hide on both older and newer homes in this region.
Call us today at (416) 732-2421 or request a free inspection to get started.
Universal Roofs proudly serves Toronto, Mississauga, Brampton, Vaughan, Markham, Oakville and the GTA since 2005.