
When temperatures drop across the Greater Toronto Area, a missing or lifted shingle stops being a cosmetic nuisance and starts being an active leak risk. Cold-weather shingle repair is one of the trickiest jobs in residential roofing, because the same asphalt shingles that flex easily in July become stiff, brittle, and prone to cracking once the mercury falls below about 4°C. Homeowners who try to force a repair using warm-weather techniques often end up cracking three shingles while trying to fix one.
This guide walks through exactly how professional roofers approach fixing shingles in chilly weather, a step by step process that protects the shingle, the underlayment, and the deck below it, whether you are dealing with a single wind-lifted tab in November or a full ice-damaged section in February. We will cover the tools, the sealants that actually cure in the cold, the sequence of steps, and the point at which a repair stops being a do-it-yourself job and becomes a call to a licensed contractor.
Toronto’s freeze-thaw cycle is unusually hard on roofs. A shingle can be soaked by rain, frozen solid overnight, then thawed by a sunny afternoon — sometimes three or four times in a single week during shoulder-season months. That constant expansion and contraction is exactly why cold-weather repair technique matters so much here, more than it might in a climate with a single long, stable winter.
Why Cold Weather Changes Everything About Shingle Repair
Asphalt shingles are made from a fibreglass mat coated in asphalt and mineral granules. That asphalt coating is designed to stay flexible in a wide temperature range, but every shingle has a practical lower limit — usually cited by manufacturers as around 4°C to 7°C — below which the material becomes stiff and loses its ability to bend without cracking. Try to lift a cold shingle to slide a replacement underneath it, and you will often hear a faint crackling sound. That is the asphalt coating fracturing along the granule line, and it is permanent damage.
There are three practical consequences of this stiffness that shape every step of a proper cold-weather repair:
- Shingles must be warmed before they are manipulated. A heat gun, a propane torch used with extreme caution, or simply working during the warmest part of the day are the standard approaches.
- Sealant selection changes. Standard roofing cement and many self-sealing shingle strips are formulated to activate with heat from the sun. In cold weather they will not bond on their own, so a cold-weather-rated sealant becomes mandatory, not optional.
- Foot traffic on the roof itself is riskier. Frost, dew, or a light dusting of snow on shingles makes the surface far more slippery than the same roof in summer, which is one of the biggest reasons homeowners should think twice before climbing up themselves.
Professional crews who perform roof repair work through the colder months build all three of these realities into their process from the very first step.
Tools and Materials You Actually Need
Before climbing a ladder, assemble everything at ground level. Cold-weather repairs go wrong most often because someone runs out of a warmed tube of sealant or a specific tool halfway up the roof and has to climb down mid-repair, exposing the open shingle to moisture longer than necessary.
| Tool or Material | Purpose | Cold-Weather Note | Approx. Cost (CAD) |
|---|---|---|---|
| Flat pry bar / shingle removal tool | Lift nails and loosen adjacent shingles | Move slowly; cold nails can shear off instead of pulling | $15–$30 |
| Roofing hammer or nail gun | Fasten replacement shingles | Nail guns need pressure adjusted for stiffer material | $25–$120 |
| Heat gun (dual-temperature) | Soften shingle tabs before bending | Essential below 7°C; keep 15cm from the surface | $40–$90 |
| Cold-weather roofing sealant | Bond tabs and seal nail heads | Must be rated for application below 4°C | $12–$20 per tube |
| Replacement shingles (matched) | Direct replacement of damaged pieces | Store indoors so they are pliable on arrival | $45–$65 per bundle |
| Roofing nails (galvanized, 1.25″) | Fastening | Standard length works fine in cold | $8–$12 per box |
| Roof safety harness and rope grab | Fall protection | Non-negotiable — frost dramatically increases slip risk | $150–$300 (or rent) |
| Ice cleats / roof traction pads | Footing on cold surfaces | Recommended anytime frost is possible | $25–$50 |
Keep replacement shingles inside your home or garage the night before the repair, not in an unheated shed. A shingle brought straight from a cold shed is far more brittle than one that has spent 12 hours at room temperature, and that difference alone can be the reason a repair cracks or holds.
Step 1: Confirm the Weather Window and Warm the Work Area
Check the forecast for a stretch of at least three to four hours without precipitation and with the temperature at or above roughly 4°C if possible. Early afternoon on a clear day is usually the best window, since the sun will have had time to naturally warm the shingle surface even if the air temperature itself is marginal.
If you must repair below that threshold — which happens often enough in a Toronto winter that professional crews plan around it — use a heat gun on a low or medium setting to warm the shingle and the surrounding tabs for 20 to 30 seconds before attempting to lift or bend anything. Never use an open flame directly on a shingle; scorched granules and melted asphalt are common results of impatience with a torch.
Step 2: Remove the Damaged Shingle Without Cracking Neighbours
Working from the shingle course above the damaged one, gently lift the tabs to expose the nails securing the damaged shingle below. In cold weather, lift slowly and only as far as needed — a few centimetres of clearance is usually enough to slide the pry bar under the nail head.
Remove all four nails typically holding a standard three-tab shingle (position varies for architectural shingles, which may have more). Slide the damaged shingle out carefully. If it resists, do not force it; warm the area again rather than pulling harder, since a torn shingle can take part of the underlayment with it.
| Damage Type | Repair Approach in Cold Weather | Estimated Time | DIY-Friendly? |
|---|---|---|---|
| Single lifted tab (wind) | Warm, apply cold-weather sealant under tab, weigh down until set | 15–20 minutes | Yes, with care |
| Cracked shingle (1–2 shingles) | Full removal and replacement with matched shingle | 30–45 minutes | Yes, for confident DIYers |
| Missing shingle exposing underlayment | Temporary seal, then full replacement once conditions allow | 20–30 minutes (temp fix) | Yes for temporary fix only |
| Ice-damaged section (3+ shingles) | Assess deck for water intrusion, replace section, check flashing | 1.5–3 hours | Recommend a professional |
| Valley or flashing-adjacent damage | Requires flashing inspection and possible resealing | 2–4 hours | Professional recommended |
Anything beyond a single shingle or two is a good moment to pause and consider whether the smarter move is a professional inspection rather than continued DIY work in difficult conditions — particularly when ice or snow is involved.
Step 3: Prepare and Warm the Replacement Shingle
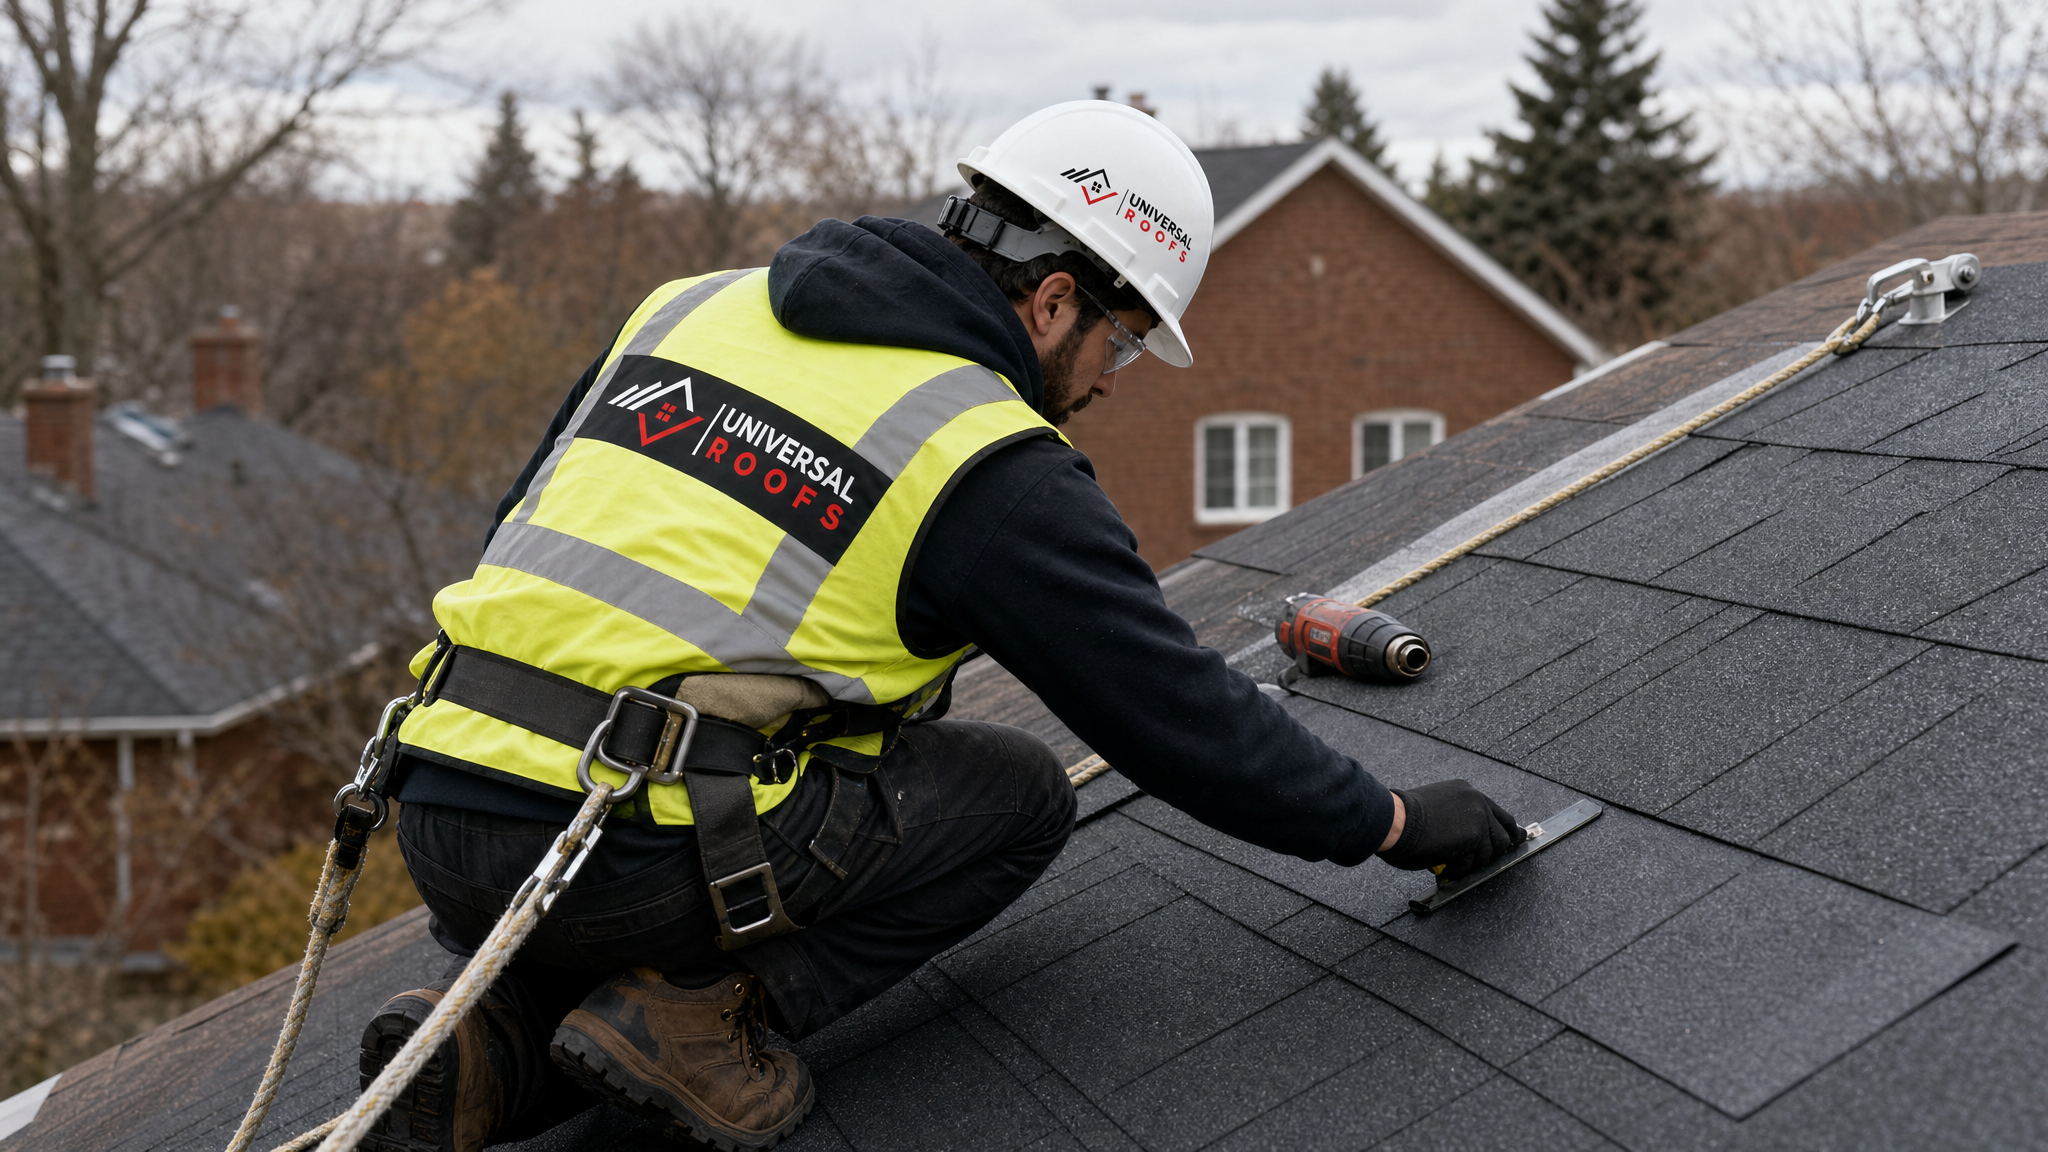
Before installing the new shingle, warm it gently with the heat gun along the tab line where it will bend over the roof edge or interlock with adjacent shingles. This is the single most commonly skipped step in DIY cold-weather repairs, and it is the reason so many replacement shingles crack within the first winter after installation.
Match the replacement shingle’s colour and style as closely as possible to the surrounding roof. A mismatched shingle is not just a cosmetic issue — it is also a sign to future buyers or home inspectors that a repair was made, which can raise questions during a real estate transaction.
Step 4: Nail Placement and Cold-Weather Sealant Application
Slide the new shingle into position, aligning it with the course lines on either side. Nail it using four galvanized roofing nails placed just below the adhesive strip line, angled slightly to avoid puncturing straight through into the shingle below at the wrong depth. Overdriven nails are a common cause of leaks that show up months later, so check that each nail head sits flush with the shingle surface rather than sunk into it or proud of it.
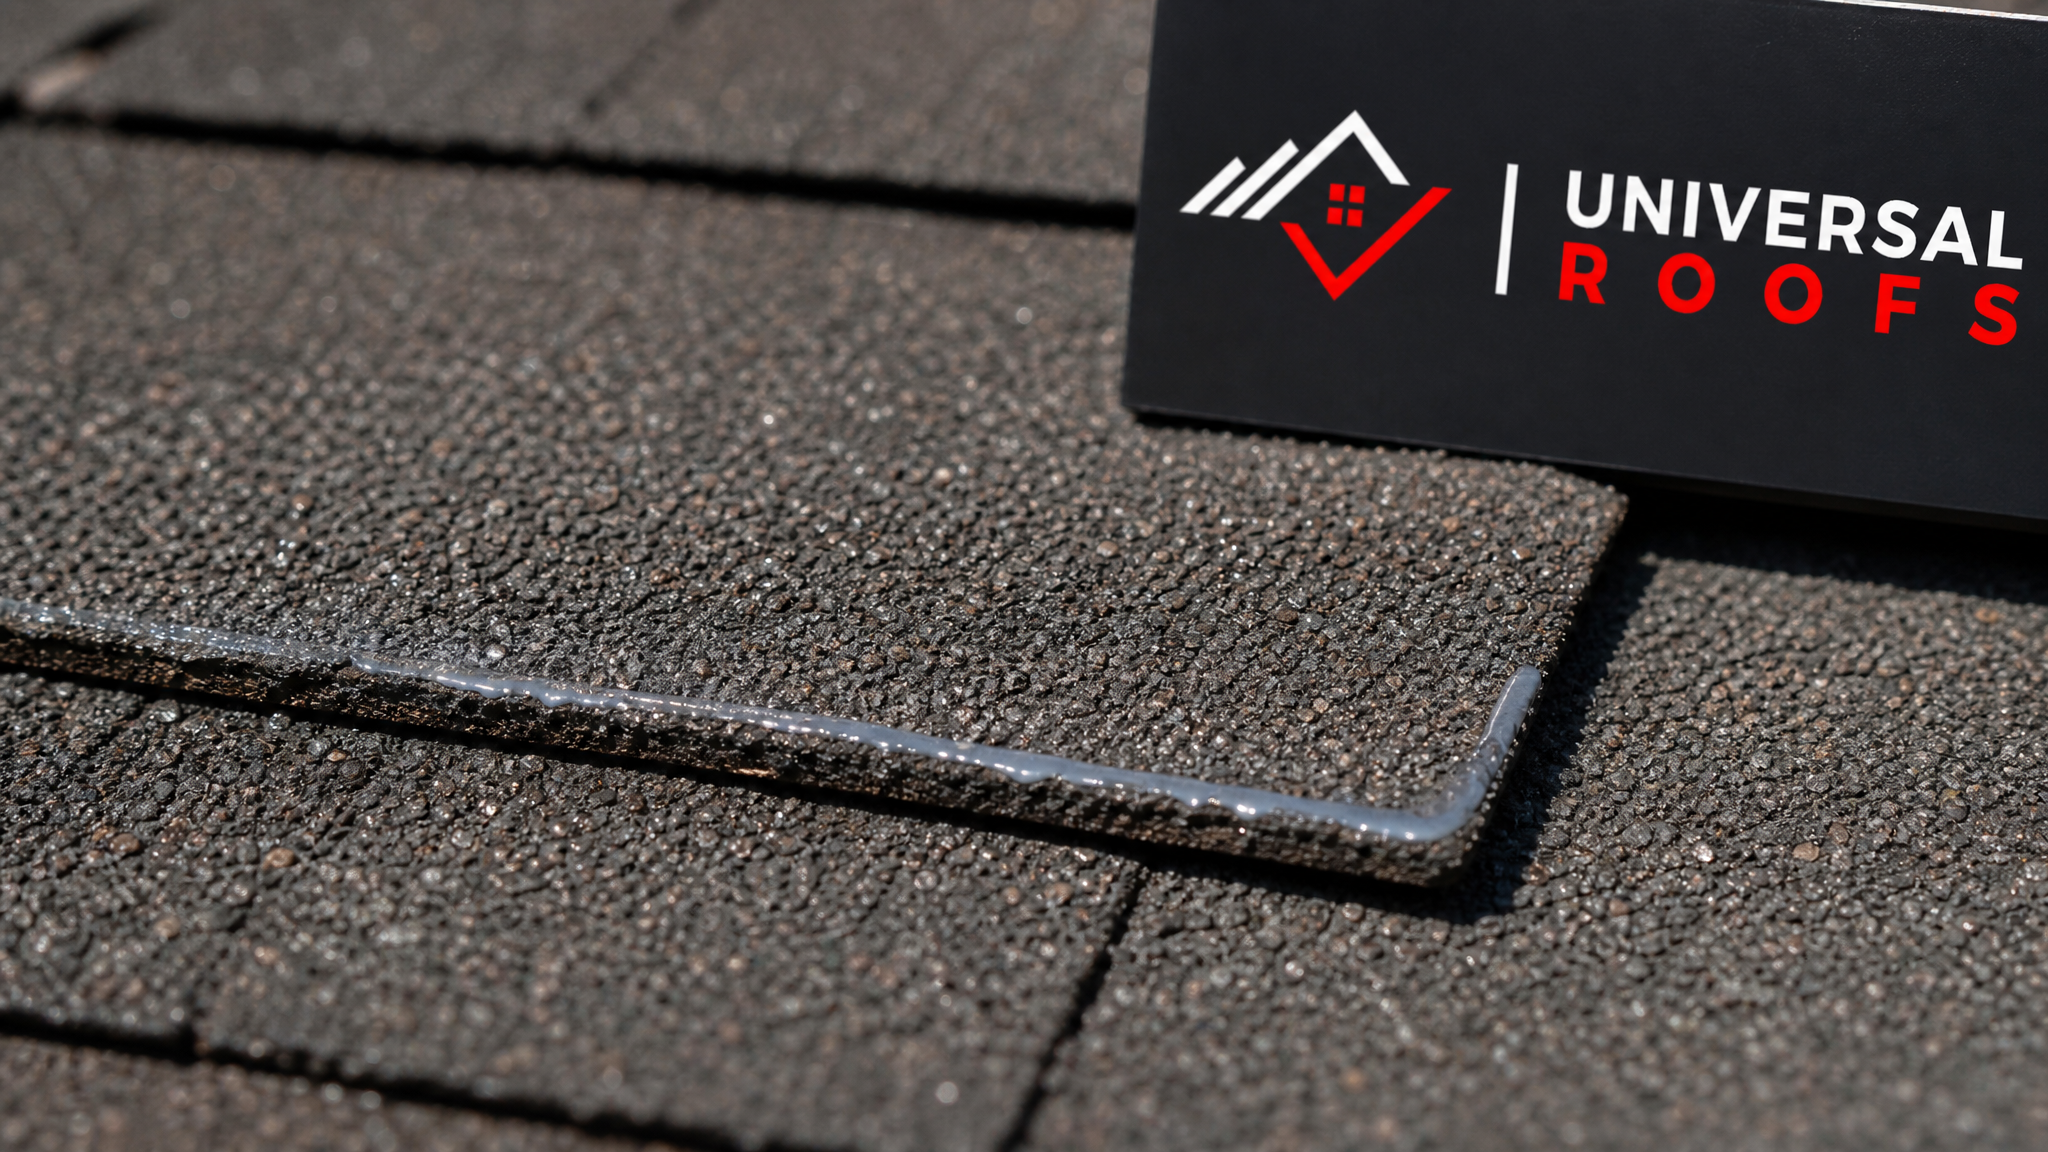
Because the self-sealing adhesive strip on the underside of most shingles needs sun-generated heat to activate — heat that simply is not available in December or January — apply a dab of cold-weather-rated roofing sealant under each tab corner and under the nail heads. This is the step that separates a repair that survives the winter from one that lifts again in the first windstorm.
| Sealant Type | Cures Below 4°C? | Best Use Case | Notes |
|---|---|---|---|
| Standard asphalt roofing cement | Poorly | Warm-season repairs | Stays soft and slow-curing in cold; avoid below 7°C |
| Cold-weather-rated polyurethane sealant | Yes | Nail heads, tab corners, flashing edges | Flexible even after curing; ideal for winter repairs |
| Butyl rubber sealant | Yes | Long-term flexible seals | Higher cost but excellent adhesion in low temperatures |
| Silicone roofing sealant | Partially | Small spot repairs | Can be hard to paint over or shingle-match later |
Apply sealant sparingly. A thick glob of sealant does not seal better than a thin, even bead — it just traps moisture underneath and can actually accelerate granule loss on the surrounding shingles.
Step 5: Weigh Down or Tape the Tab Until the Seal Sets
Because cold-weather sealant can take longer to fully cure than it would on a warm day, professional crews often place a small weight (a clean brick wrapped in a cloth, for example) on freshly sealed tabs for a few hours, or use temporary roofing tape to hold the tab flat until the sealant sets. Remove any temporary weight or tape only once the sealant has firmed up — usually within four to eight hours, though full cure can take 24 to 48 hours depending on the product and the temperature.
Skipping this step is one of the most common reasons a cold-weather repair “looks fine” on the day it is done but lifts again during the next windstorm — the sealant simply never got the chance to grab before wind pressure tested it.
Step 6: Inspect the Surrounding Area Before You Leave the Roof
A shingle rarely fails in isolation. Before wrapping up, check the shingles immediately uphill and downhill of the repair for granule loss, curling edges, or additional lifted tabs. Also glance at any nearby flashing, since a shingle failure near a chimney, vent stack, or valley is often a symptom of a flashing problem rather than the shingle itself being the root cause.
If the repair sits anywhere near a skylight curb, take the extra minute to check that flashing too — skylight flashing failures often masquerade as shingle problems, and a proper fix sometimes needs input from a specialist in skylights or skylight replacement rather than a shingle patch alone.
When a Cold-Weather Shingle Repair Isn’t Enough
Not every winter roofing issue can be solved with a single replacement shingle and a tube of sealant. Some situations that look like a simple shingle problem are actually signs of a larger issue developing underneath:
- Ice damming — if ice has built up at the eaves and is forcing water back under the shingles, replacing the shingle without addressing attic ventilation and insulation just repeats the failure next winter. This is closely tied to how well your attic is ventilated and insulated.
- Widespread granule loss — if you are finding granules in the eavestrough across many shingles, not just around the repair site, the roof may be near the end of its service life, and patch repairs are a short-term measure at best.
- Soft or spongy deck sections — if the plywood decking underneath flexes when you press on it, water has already been getting through for some time, and the fix needs to go deeper than the shingle layer.
- Repeated failures in the same spot — three shingle repairs in the same location over two winters usually points to a structural or flashing issue, not a shingle quality issue.
In any of these cases, a full assessment makes more sense than another patch. Depending on the extent of the damage, that might mean a larger section of roof repair or, for an older roof nearing the end of its lifespan, a conversation about roof replacement.
DIY Versus Calling a Professional: An Honest Comparison
Plenty of single-shingle repairs are within reach for a confident, careful homeowner with the right tools and a mild afternoon to work with. But cold-weather roofing carries real risks that are easy to underestimate from the ground.
| Factor | DIY Repair | Professional Repair |
|---|---|---|
| Fall risk on frosty shingles | Significant without harness training | Managed with proper harness, anchor points, and experience |
| Access to cold-weather-rated materials | Available at most hardware stores, but easy to choose incorrectly | Stocked and matched to the specific repair |
| Warranty implications | May void manufacturer warranty if done incorrectly | Often preserves or extends warranty coverage |
| Diagnosing hidden damage | Limited to what is visible from the surface | Trained to spot underlayment, deck, and flashing issues |
| Cost | $40–$100 in materials for a small repair | $150–$450 for a professional single-shingle repair visit, more for larger sections |
| Time investment | Half a day including prep and cleanup | Typically completed in one visit |
If you are ever uncertain whether a repair is within your skill level, it is worth reading through real experiences from other GTA homeowners on our reviews page, or checking our FAQ page for answers to common roofing questions before deciding.
Safety Precautions Specific to Cold-Weather Roof Work
Roofing is dangerous work in any season, but cold weather adds a specific set of hazards that deserve their own checklist:
- Never walk on a frosted or frozen roof without traction aids. Even a slight morning frost can turn a normally grippy asphalt shingle surface into something closer to ice.
- Wear layered clothing that does not restrict movement. Bulky winter coats can catch on vents, flashing edges, or harness hardware.
- Keep tools warm in an inside pocket where practical. Cold metal tools become harder to grip with gloved hands, and gloved hands are already less dexterous than bare ones.
- Always use fall protection — a harness anchored to a rated point, not just a rope tied to a vent pipe. This matters even more in cold weather when reaction time and grip strength are both reduced.
- Watch for daylight limits. Toronto winter days are short. Start early enough that you are not rushing the final steps of a repair as the light fades.
- Check the ladder base for ice or frozen ground before setting it up, and use ladder levellers on uneven or frozen soil.
These precautions are exactly why most homeowners across Toronto, the Peel Region, York Region, Halton Region, and Durham Region choose to have even minor winter shingle repairs handled by a licensed crew rather than attempting a rooftop repair alone in freezing conditions.
Preventing Future Cold-Weather Shingle Damage
The best cold-weather shingle repair is the one you never have to make. A few maintenance habits go a long way toward reducing how often shingles lift or crack once temperatures drop:
- Inspect the roof each autumn, before the first hard frost, and address any loose or curling shingles while the material is still flexible enough to work with easily.
- Keep gutters and downspouts clear heading into winter, since blocked gutters contribute directly to ice damming at the eaves, which stresses the shingles right above them.
- Check attic ventilation. A poorly ventilated attic lets warm air escape upward, melting snow on the roof surface, which then refreezes at the colder eaves and forms ice dams that lift shingles from underneath.
- Trim overhanging branches that could drop ice or snow load directly onto a section of roof.
- Schedule a professional inspection every one to two years, particularly if the roof is more than ten years old, so small issues are caught before a January cold snap turns them into a bigger repair.
Homeowners who stay ahead of these small maintenance items typically spend far less on emergency winter repairs over the life of the roof. If you would like to learn more about how Universal Roofs approaches long-term roof care, our about page outlines our experience serving the GTA since 2005.
What is the best method for fixing shingles in chilly weather, a step by step approach that actually holds?
Can you shingle a roof in cold weather at all?
What temperature is too cold to repair shingles?
Why does my shingle repair keep lifting again after a windstorm?
Is it safe to walk on my roof in winter to check for damage?
How much does a cold-weather shingle repair typically cost in the GTA?
Need Help With Fixing Shingles in Chilly?
Cold-weather shingle repairs demand the right materials, the right technique, and a healthy respect for how slippery a frosty roof can be. If you would rather leave the ladder, the harness, and the heat gun to a trained crew, Universal Roofs has been handling shingle repairs across every season in the GTA since 2005.
Call us today at (416) 732-2421 or request a free inspection to get started.
Universal Roofs proudly serves Toronto, Mississauga, Brampton, Vaughan, Markham, Oakville and the GTA since 2005.