
Flashing is the unsung hero of every roofing system in the Greater Toronto Area, yet it is the single most common source of leaks that homeowners deal with. While shingles and membranes get all the attention, the thin strips of metal tucked around chimneys, valleys, skylights and walls are what actually keep water from finding its way into your attic. The significance of routine roof flashing maintenance becomes obvious the moment a homeowner discovers a water stain on a ceiling after a heavy spring rain, but by then the damage is often already done.
At Universal Roofs, we have inspected thousands of GTA roofs since 2005, and flashing failures remain one of the top three reasons homeowners call us for emergency repairs. Metal flashing does not fail all at once. It fails slowly, through fastener backout, sealant breakdown, and corrosion, until a small gap becomes a steady drip. Understanding why routine flashing maintenance matters, what a proper inspection should cover, and how often it should happen can save you thousands of dollars in interior repairs.
This guide walks through the practical side of flashing maintenance: the components involved, the seasonal risks specific to Toronto’s freeze-thaw climate, what a professional inspection actually checks, and how to tell the difference between a minor tune-up and a full flashing replacement.
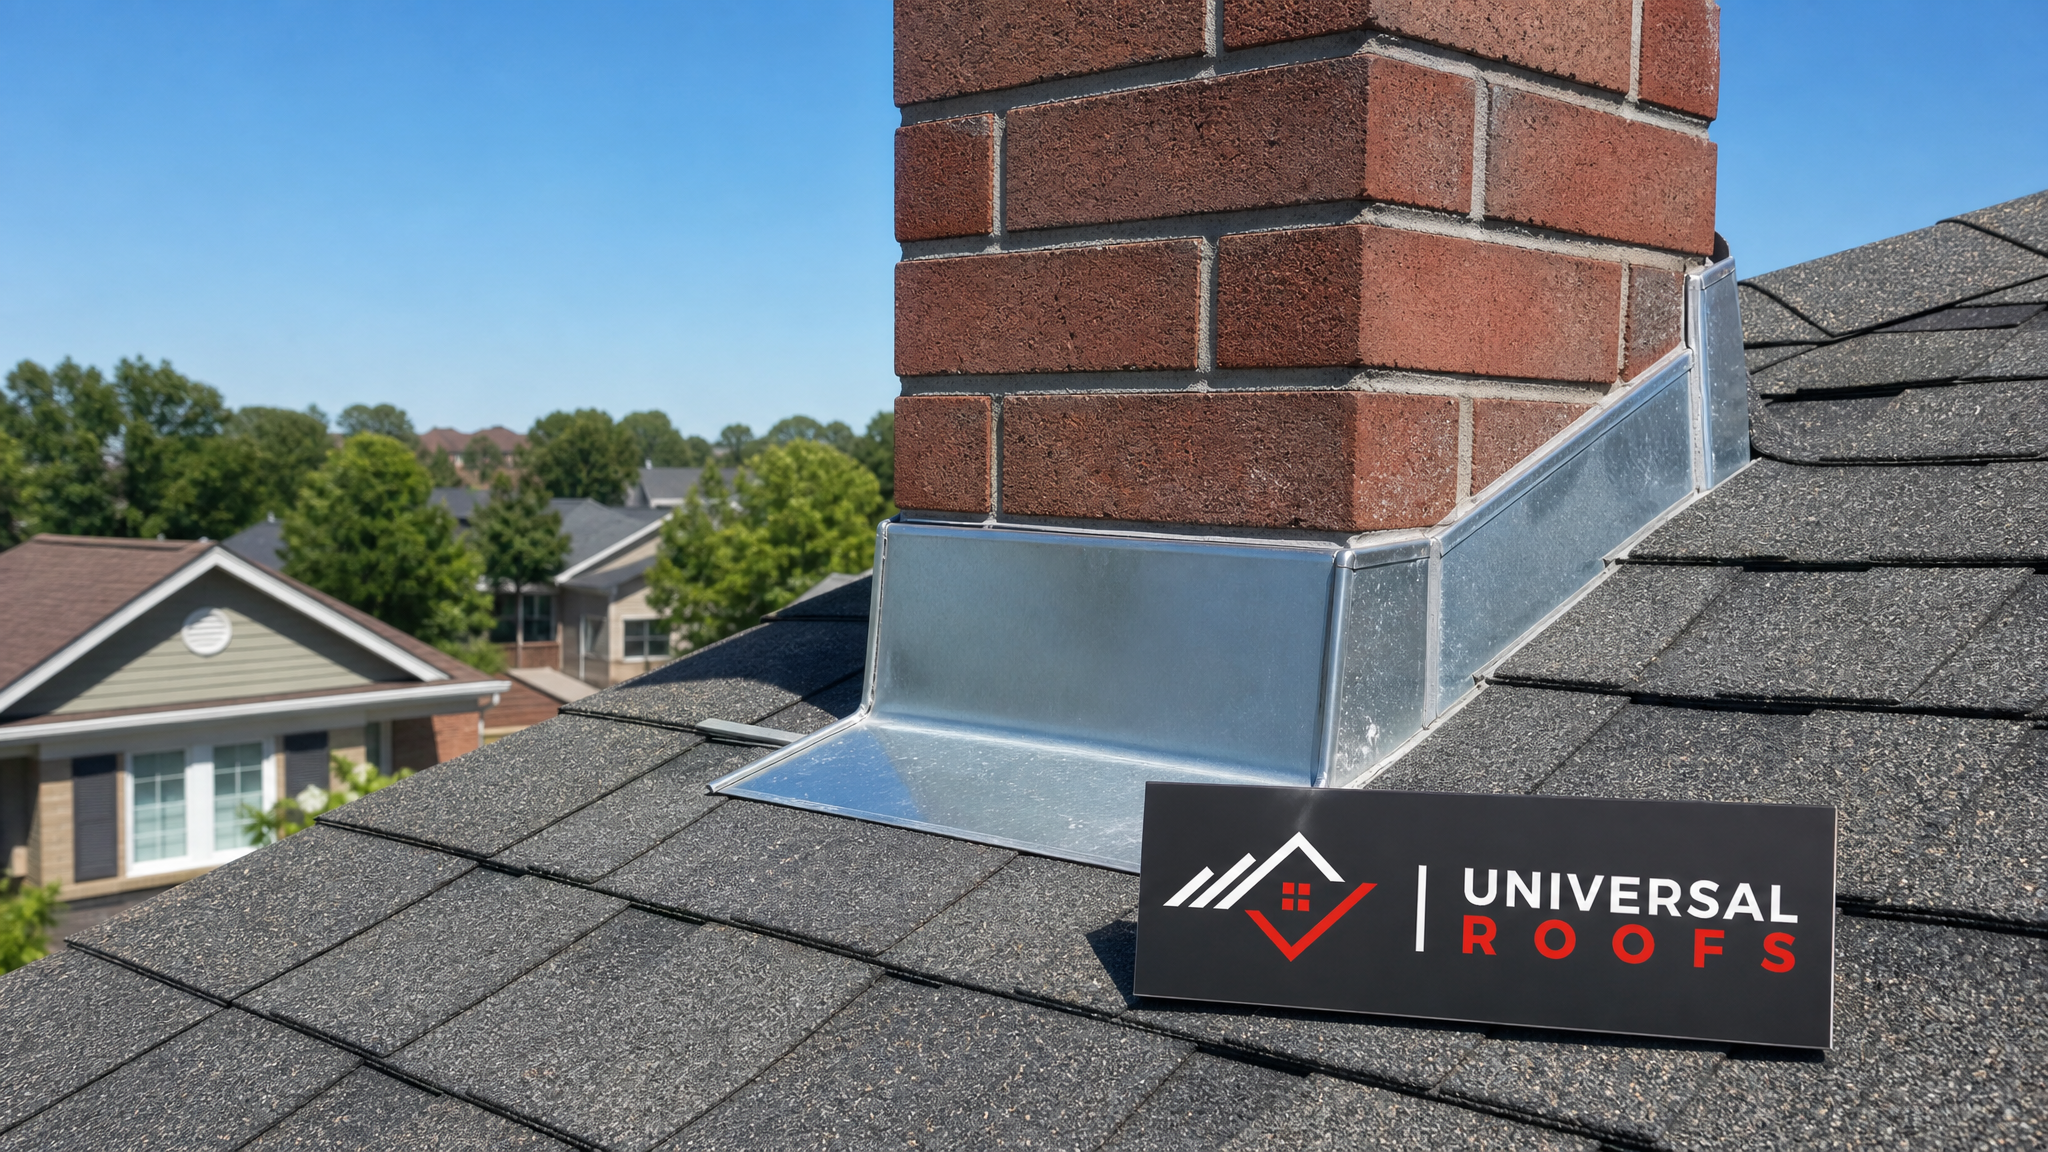
What Roof Flashing Actually Does
Flashing is the thin, weatherproof material (almost always galvanized steel, aluminum, or copper) installed at every point where your roof plane changes direction, meets a vertical surface, or is interrupted by a fixture. Common flashing locations include:
- Chimney bases and crickets
- Roof valleys where two slopes meet
- Sidewalls and headwalls where a roof meets a wall
- Skylight perimeters
- Vent stacks and exhaust pipes
- Eaves and drip edges
Every one of these locations is a break in the roofing membrane, and shingles alone cannot seal a break. Flashing is what redirects water back onto the shingle surface and down toward the gutters instead of allowing it to seep underneath. Because flashing does the heavy lifting at every vulnerable junction, its condition matters far more than most homeowners realize when it comes to overall roof lifespan.
This is exactly why the significance of routine roof flashing maintenance is not just a marketing phrase from contractors. Flashing is a mechanical system with fasteners, sealant, and metal-to-metal overlaps, all of which degrade over time and need periodic attention just like any other building component.
Why Toronto’s Climate Puts Extra Stress on Flashing
The GTA experiences one of the more demanding climate cycles for roofing components in North America. Winters bring repeated freeze-thaw cycles, ice damming along eaves, and heavy snow loads. Spring and early summer bring intense rain events. Summer heat causes metal flashing to expand, while overnight cooling causes it to contract. This constant expansion and contraction, repeated across hundreds of cycles every year, gradually loosens fasteners and breaks down sealant bonds around flashing edges.
Ice damming is a particularly aggressive threat to flashing integrity. When heat escapes from a poorly insulated attic, it melts snow on the upper roof while the eaves stay frozen. The resulting ice dam forces meltwater backward, up under the shingles and flashing, rather than down and off the roof. Flashing that was perfectly sealed the previous autumn can be pried loose or corroded by a single bad ice-damming season. Homeowners who want a deeper look at attic-related heat loss and ventilation issues that contribute to ice damming can review our dedicated attic ventilation resources.
Summer, meanwhile, is the ideal season to catch and correct any flashing issues that developed over the winter, before the next freeze-thaw cycle begins. July and August in Toronto typically bring drier, more stable weather, which makes this the best window of the year to schedule an inspection and any needed repairs without weather delays.
The Warning Signs That Flashing Maintenance Has Been Skipped
Flashing problems rarely announce themselves loudly. Instead, they show up as small, easy-to-dismiss signs that homeowners often attribute to something else entirely. Recognizing these signs early is central to the significance of routine roof flashing maintenance, because catching a problem at this stage usually means a simple repair rather than a costly one.
- Rust-coloured streaks running down brick chimneys or siding
- Small water stains on ceilings near chimneys, skylights, or exterior walls
- Visible gaps or lifted edges where flashing meets shingles
- Granules from asphalt shingles collecting near flashing joints (a sign of accelerated wear)
- Musty odours in the attic after rain
- Daylight visible around chimney or vent flashing from inside the attic
If you notice any of these signs, it is worth arranging a professional look through our roof repair services before the next major storm rolls through. A flashing repair caught early is typically measured in hours of labour; a neglected one can mean replacing sections of roof deck, insulation, and drywall.
What a Professional Flashing Inspection Actually Covers
A thorough flashing inspection is more detailed than a quick glance from the ground. Our crews at Universal Roofs walk the roof surface directly (weather and pitch permitting) and physically test flashing at every critical junction. A proper inspection typically includes:
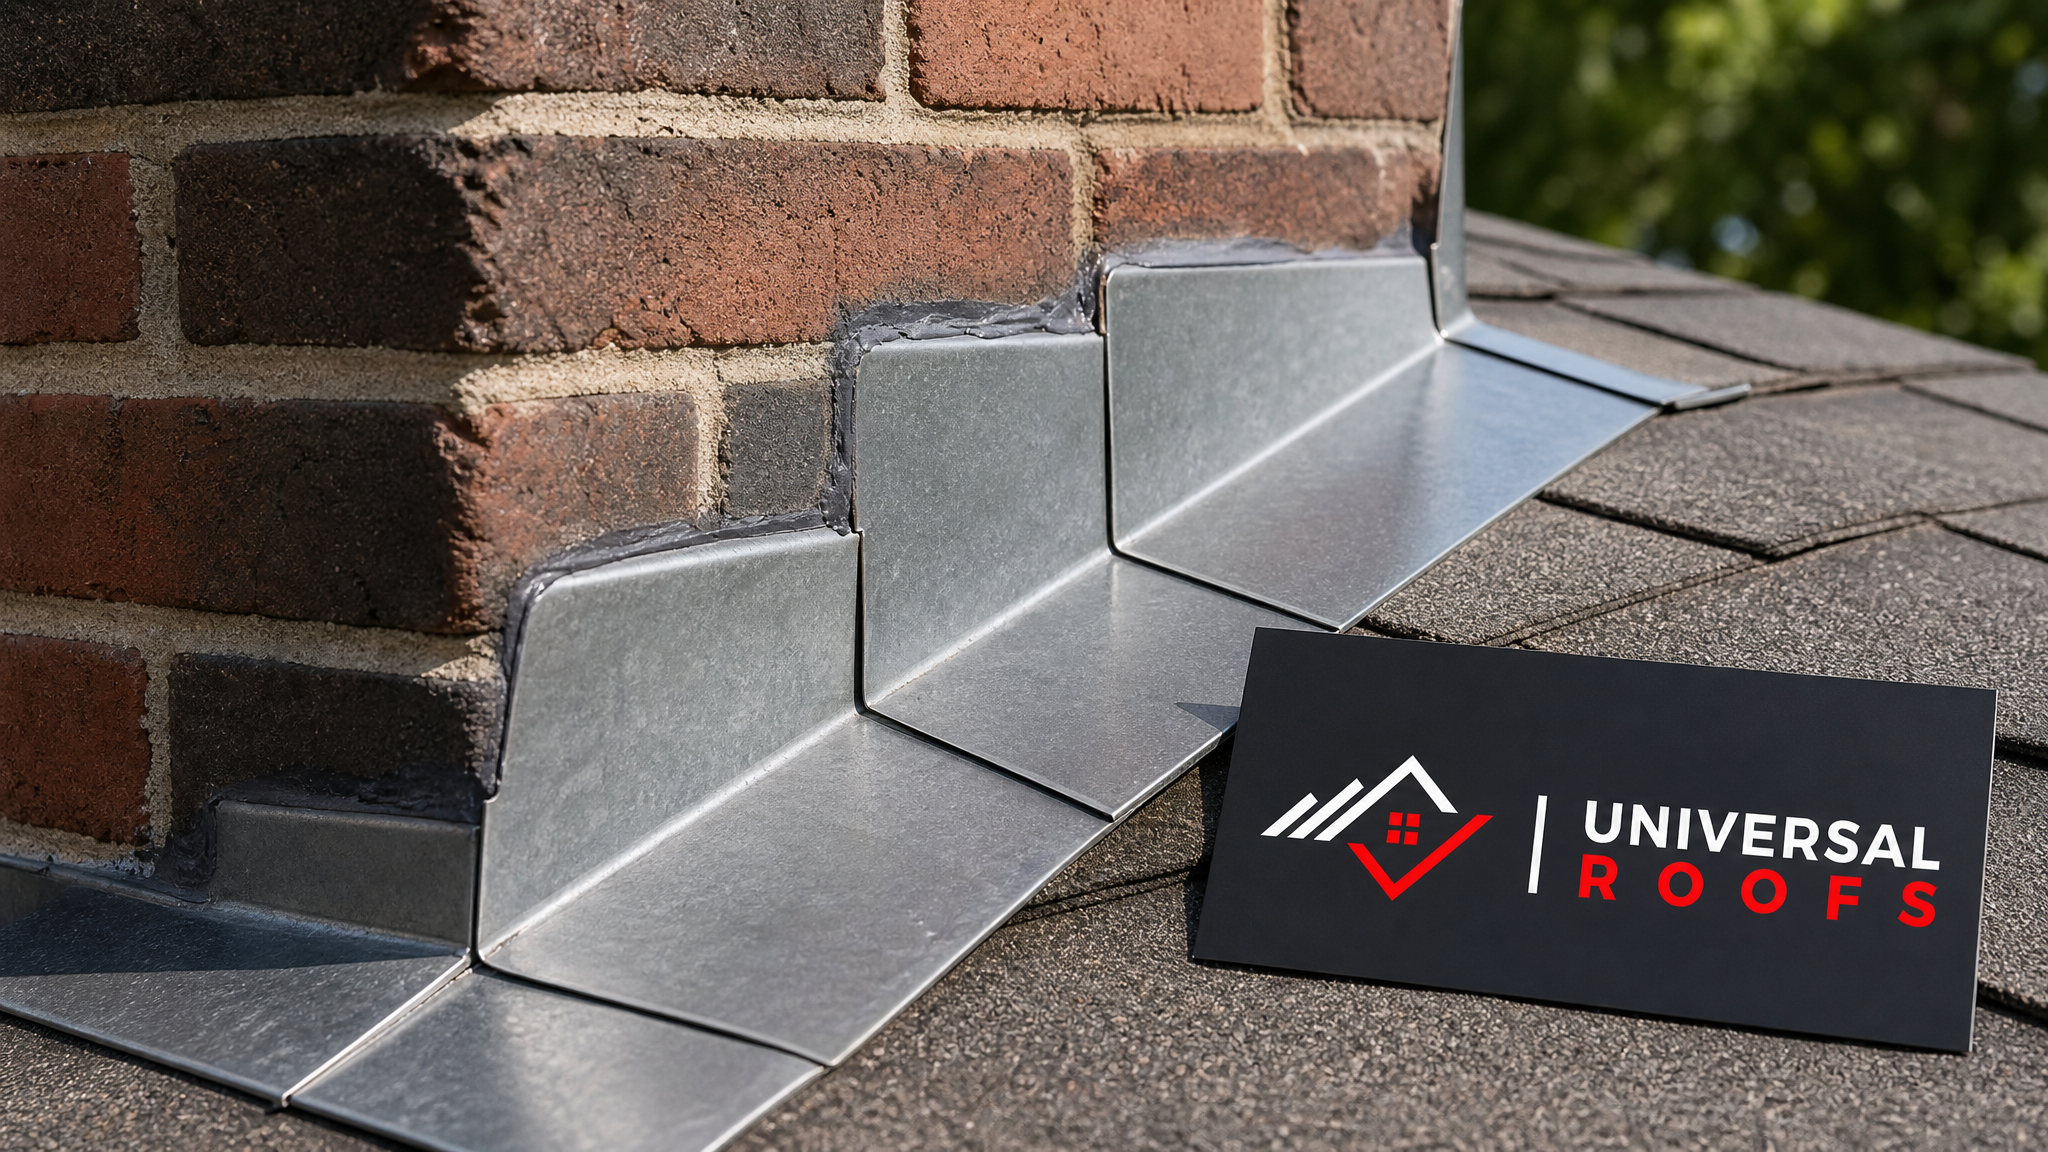
- Visual and physical check of chimney step flashing and counter-flashing for separation
- Inspection of valley flashing for corrosion, granule buildup, and proper overlap
- Sealant condition check at all penetrations, including vent stacks and skylight curbs
- Fastener check for backed-out or missing nails and screws
- Interior attic inspection for water staining, mould, or daylight penetration near flashing points
- Photographic documentation of any at-risk areas for the homeowner’s records
Skylights deserve particular attention during a flashing inspection, since skylight curb flashing is a four-sided, multi-piece system that is more complex than a simple wall or chimney flashing detail. If your skylight flashing is more than 10 to 15 years old, it is worth having it assessed alongside the skylight unit itself through our skylight services or, where the flashing and glazing have both reached end of life, our skylight replacement program.
| Flashing Location | Typical Lifespan | Most Common Failure Mode | Recommended Inspection Frequency |
|---|---|---|---|
| Chimney step/counter-flashing | 20-25 years | Mortar joint separation, sealant cracking | Annually |
| Valley flashing | 20-30 years | Corrosion, granule wear from water flow | Annually |
| Skylight curb flashing | 15-20 years | Sealant failure at corners, fastener backout | Every 6-12 months |
| Vent pipe/stack flashing | 10-15 years | Rubber boot cracking from UV exposure | Annually |
| Sidewall/headwall flashing | 20-25 years | Gap formation from settling or siding work | Every 1-2 years |
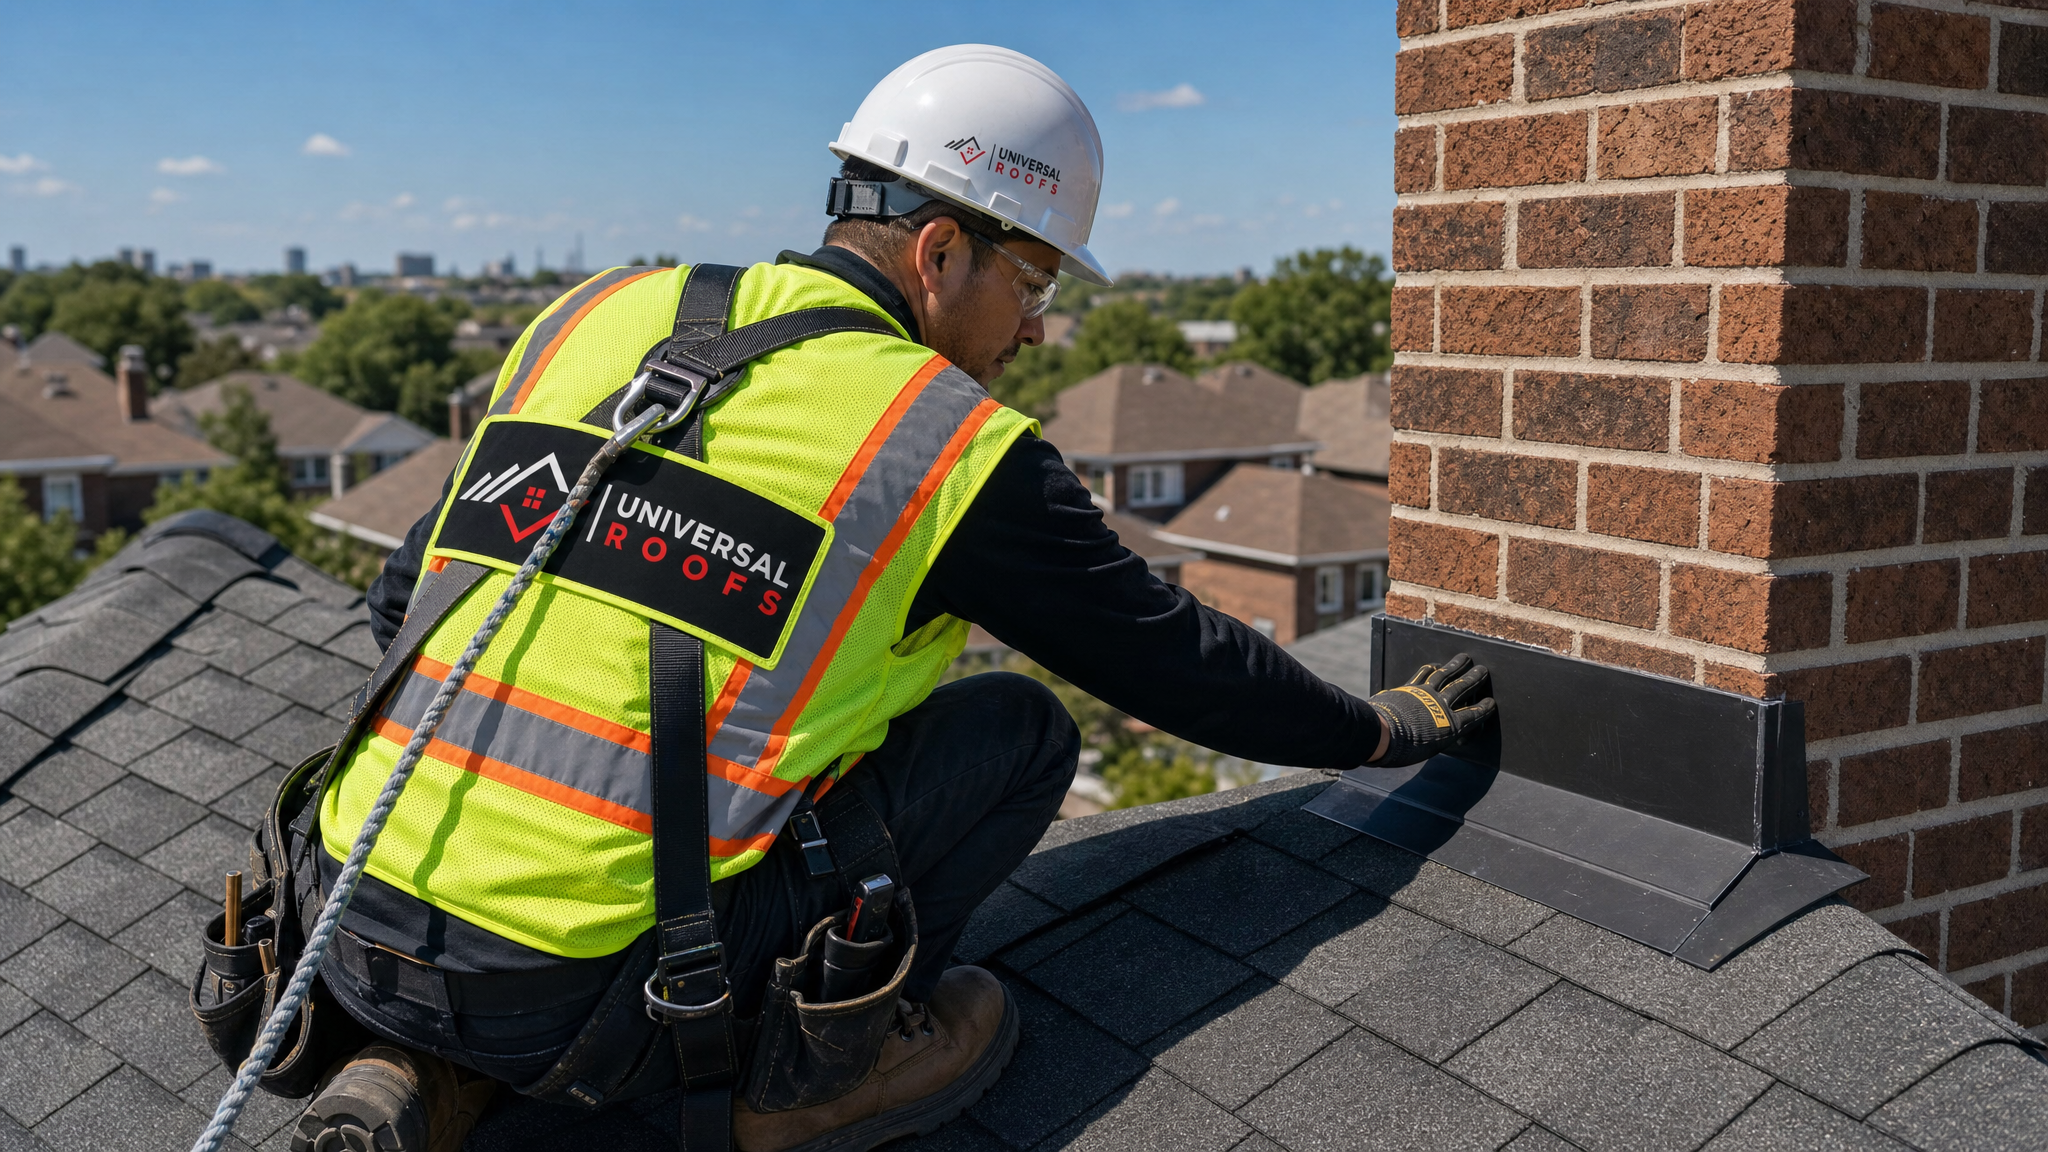
Repair, Reseal, or Replace: Choosing the Right Response
Not every flashing issue calls for the same level of intervention. Part of understanding the significance of routine roof flashing maintenance is knowing which response actually solves the underlying problem rather than masking a symptom temporarily.
Resealing is appropriate when the metal flashing itself is still structurally sound and correctly positioned, but the sealant bead around its edges has dried out, cracked, or pulled away. This is common on skylight curbs and vent boots after 5 to 8 years of UV exposure. Resealing is a fast, low-cost maintenance task, but it is only a lasting fix when the flashing underneath is in good shape.
Repair becomes necessary when a section of flashing has physically shifted, been punctured, or corroded through in a localized area. This typically involves removing a few courses of shingles, replacing or re-bending the flashing piece, and reinstalling the surrounding roofing material correctly.
Full replacement is warranted when corrosion has spread across a large portion of the flashing, when the underlying roof deck has already sustained water damage, or when an older roof is due for a full roof replacement that would make it wasteful to invest heavily in patching aging flashing that will be removed anyway.
| Approach | Best For | Typical Cost Range (CAD) | Expected Lifespan of Fix |
|---|---|---|---|
| Resealing only | Sound flashing, degraded sealant | $150 – $400 | 3-6 years |
| Localized flashing repair | One or two damaged sections | $350 – $900 | 10-15 years |
| Full flashing replacement (single detail) | Corroded or end-of-life flashing at one penetration | $600 – $1,800 | 20-25 years |
| Whole-roof flashing replacement | Aging roof with multiple failure points | $2,500 – $6,000+ | 20-25 years |
Homeowners in different parts of the GTA sometimes ask whether local conditions change these recommendations. In practice, the fundamentals of flashing maintenance are consistent whether you are in the Toronto core with its older housing stock and masonry chimneys, the newer subdivisions across Peel Region, the mixed rural-urban roofs of York Region, the lakeside exposure common in Halton Region, or the wide range of roof ages found throughout Durham Region. What changes is the age and construction of the housing stock, which affects how often certain flashing types need attention.
Flat Roof Flashing: A Different Set of Rules
Flashing maintenance on flat and low-slope roofs deserves its own discussion, because the failure patterns differ from steep-slope residential roofs. On a flat roof, flashing typically appears at parapet walls, roof-to-wall transitions, drains, and mechanical curbs. Because water sits and drains more slowly on a low-slope surface, any gap in flashing on a flat roof tends to allow more water infiltration over a longer period compared with a sloped roof where water sheds quickly.
Membrane-to-flashing transitions on flat roofs are also more prone to UV degradation, since flashing on a flat roof is typically more exposed to direct summer sun for longer stretches of the day. If your property has a flat or low-slope section, whether a garage addition, a rear extension, or a full commercial flat roof, it is worth having that flashing checked on its own schedule through our flat roofing team, since general steep-slope inspection routines do not always catch flat-roof-specific issues.
Building a Maintenance Schedule That Actually Works
The most effective flashing maintenance plans are not reactive; they are scheduled. We recommend homeowners think about flashing maintenance the same way they think about furnace servicing or eavestrough cleaning: a predictable, low-cost routine that prevents expensive emergencies.
A practical annual schedule looks like this:
- Spring (April-May): Post-winter inspection to catch any damage from ice damming, snow load, or freeze-thaw cycling
- Summer (June-August): Ideal window for any repair or resealing work identified in the spring inspection, since dry, stable weather allows sealants to cure properly
- Fall (September-October): Pre-winter check to confirm all flashing is sealed and secure before snow and ice arrive
- After major storms: A quick visual check any time the area experiences high winds, hail, or heavy rain events
This cadence is exactly why the significance of routine roof flashing maintenance keeps coming up in industry guidance: a roof with excellent shingles but neglected flashing will still leak, while a roof with older shingles but well-maintained flashing can go years longer without an interior water problem.
| Season | Primary Risk to Flashing | Recommended Action | Ideal Timing |
|---|---|---|---|
| Spring | Ice dam damage, fastener loosening from freeze-thaw | Full inspection and photo documentation | April – May |
| Summer | UV degradation of sealants, thermal expansion | Repairs, resealing, and replacements | June – August |
| Fall | Debris buildup blocking drainage near flashing | Pre-winter tune-up and gutter clearing | September – October |
| Winter | Ice damming, snow load stress | Visual monitoring only; avoid roof access in ice conditions | December – February |
DIY Checks Versus When to Call a Professional
Homeowners can safely perform some basic flashing checks without climbing onto the roof. From the ground, use binoculars to look for visibly lifted or rusted flashing edges, especially around the chimney and any roof-wall junctions. From inside the attic, check for daylight coming through around vent pipes or chimney chases, and look for staining on the underside of the roof deck near any penetration.
What homeowners should not attempt is climbing onto a sloped roof to inspect or repair flashing directly. Flashing issues are frequently located at steep sections, near roof edges, or around chimneys where a fall risk is significant, and the repair itself often requires lifting shingles correctly without damaging them, something that takes training to do without creating a new leak path. Our technicians are equipped with full fall-protection harnesses and safety lines specifically because flashing work concentrates around the highest-risk areas of a roof.
If you have identified a possible flashing issue through a ground-level or attic check, the next step is a professional assessment rather than a DIY fix. You can review homeowner feedback on past inspections and repairs on our reviews page, and browse common questions on our FAQ page before booking a visit.
The Real Cost of Skipping Flashing Maintenance
The financial argument for routine flashing maintenance is straightforward once you compare the numbers. A resealing visit costs a few hundred dollars. A localized repair, caught early, typically runs under a thousand dollars. But a flashing failure that goes unnoticed for one or two seasons can lead to rotted roof decking, saturated attic insulation, mould remediation, and drywall replacement, easily pushing total costs into the five-figure range for a single chronic leak.
Insurance is not always a safety net here either. Many homeowner insurance policies in Ontario treat gradual water damage from deferred maintenance differently than sudden, accidental damage, and claims related to long-term neglect can be denied or reduced. Routine maintenance is, in effect, a form of self-insurance: a small, predictable cost that prevents a much larger, unpredictable one.
To learn more about how we approach roofing as a company that has served the GTA since 2005, visit our about page, where you can see our full range of services and history in the region.
What is the significance of routine roof flashing maintenance?
How often should roof flashing be inspected in the Toronto area?
Can flashing be repaired without replacing the whole roof?
What are the signs that roof flashing needs maintenance?
Is flashing maintenance different for flat roofs?
How much does flashing maintenance typically cost?
Need Help With The Significance of Routine?
Whether your flashing needs a simple reseal or a full inspection after this past winter, the team at Universal Roofs has the experience to identify problems before they become expensive repairs.
Call us today at (416) 732-2421 or request a free inspection to get started.
Universal Roofs proudly serves Toronto, Mississauga, Brampton, Vaughan, Markham, Oakville and the GTA since 2005.